
With over a year of 3D-printing and only a hand full of failed prints, I can honestly say my Lulzbot Mini 3D printer is a reliable piece of hardware. But after a recent failure, it turned out my printer needed some extra love.
During the failed print, the printed had some problems feeding the filament thru the extruder. The hobbed bolt had eaten a large chunk of my filament and therefore it needed some cleaning. During the cleaning process, it became clear what caused the issue. The extruder body is a 3D part en started to delaminate. Because of this the filament couldn’t be pressed against the hobbed bolt, resulting in the failed print.

Even though the warranty of my printer is long gone, I reached out to Lulzbot support and received a reply within half an hour. They offered me to repair my printer or send me a replacement part so that I could repair the printer myself. Honestly, I was presently surprised witch such a swift an helpful answer.
But if you ever reached out to these guys, You probably know this wasn’t an exception. This is one of the reasons I highly recommend the Lulzbot printers. (And no, this is not a sponsored post.)
Less then 48 hours later, I received a package in the mail. All the way from the United Stated of America (The country that was saved from Aliens by Will Smith on this very day) to my doorstep in the United Country of Wooden Shoes and Windmills.
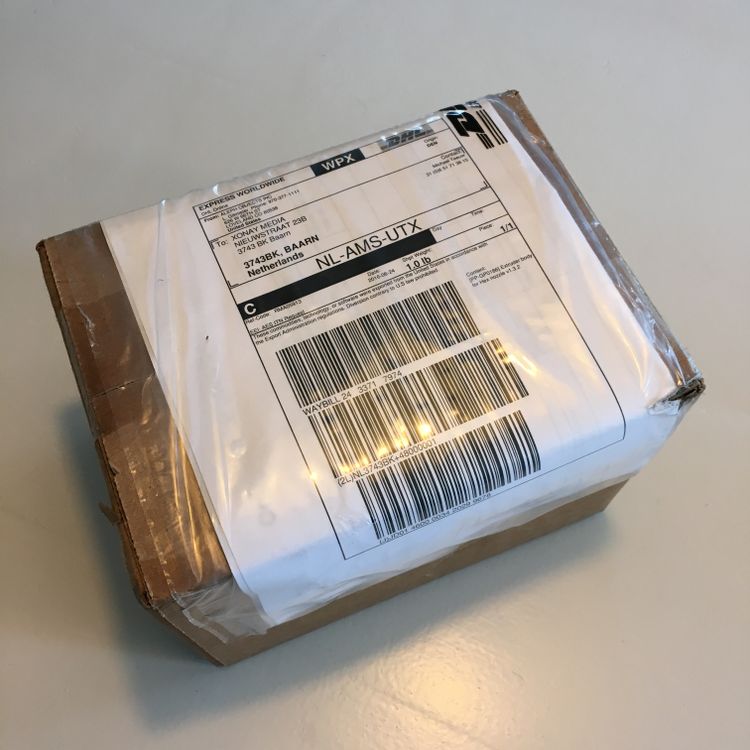
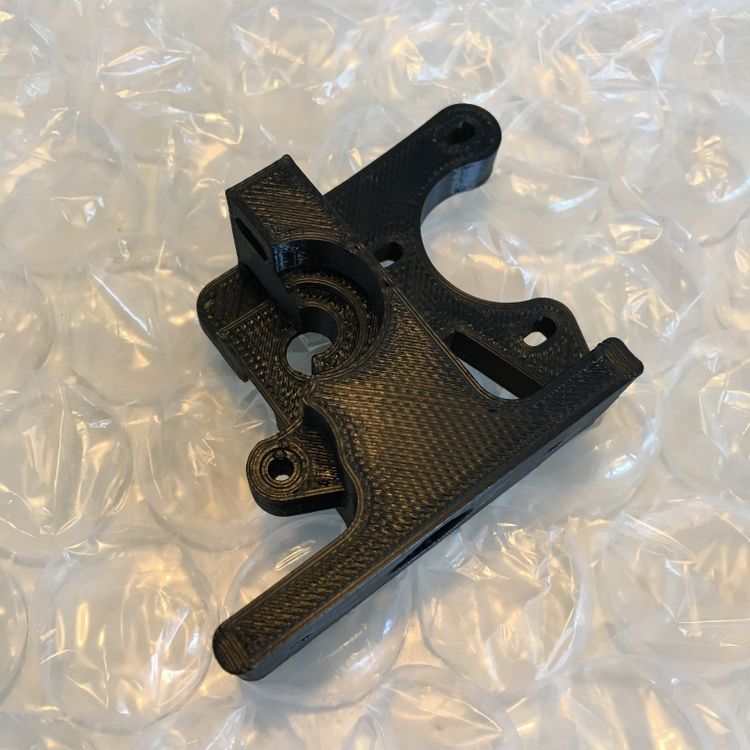
The packed contained the necessary replacement part. A 3D-printed extruder body. Of course I could have printed the part myself … If my printer wasn’t broken. And yes, I do have the 3d model for this. Provided by Lulzbot, since the Lulzbot if fully open hardware.
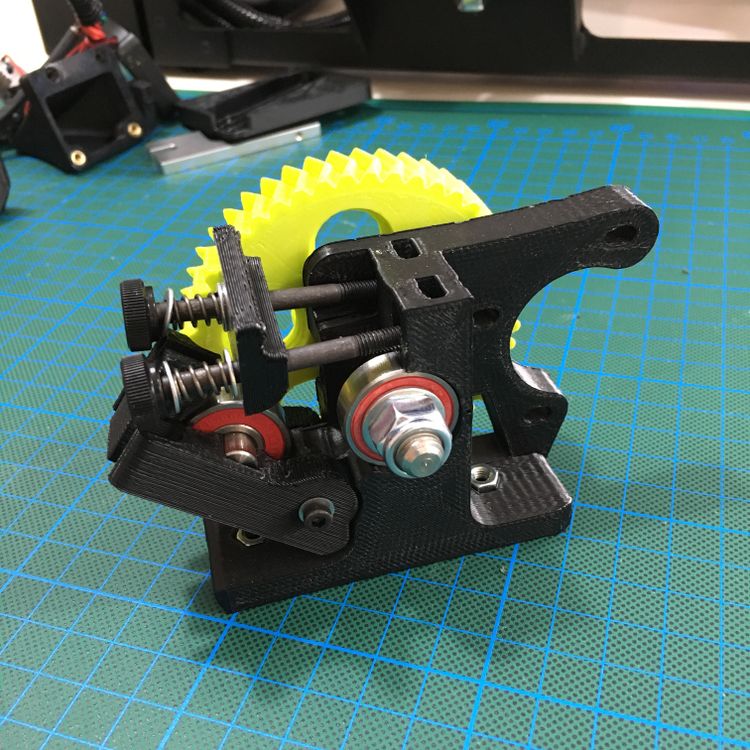
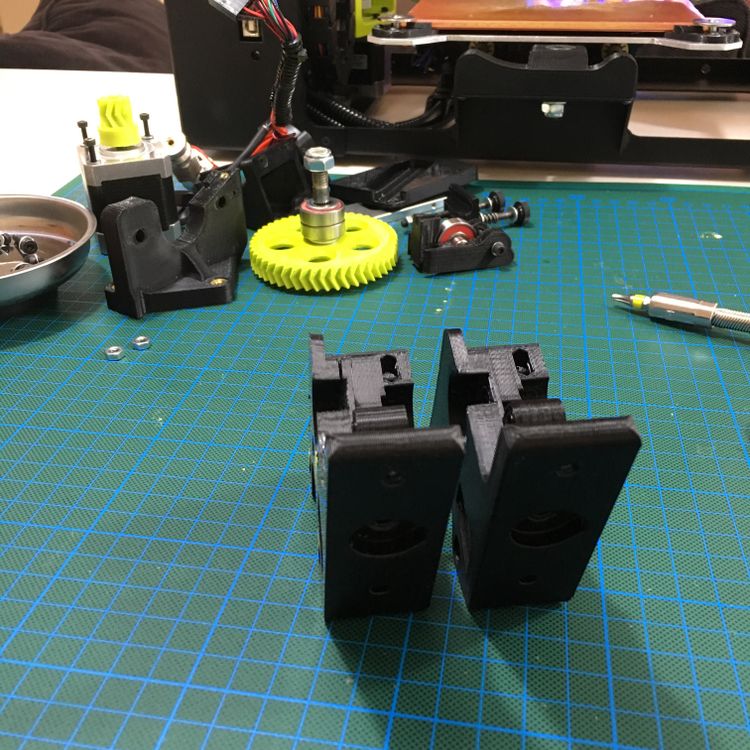
With the replacement part ready, it was time to start the repair work. Luckily Lulzbot provided an extensive guide on how to do this. Which starts of with unmounting the extruder.

A lot of screws and bolts later, I’m almost down to the part I need to replace. A great way to get to know your printer better.
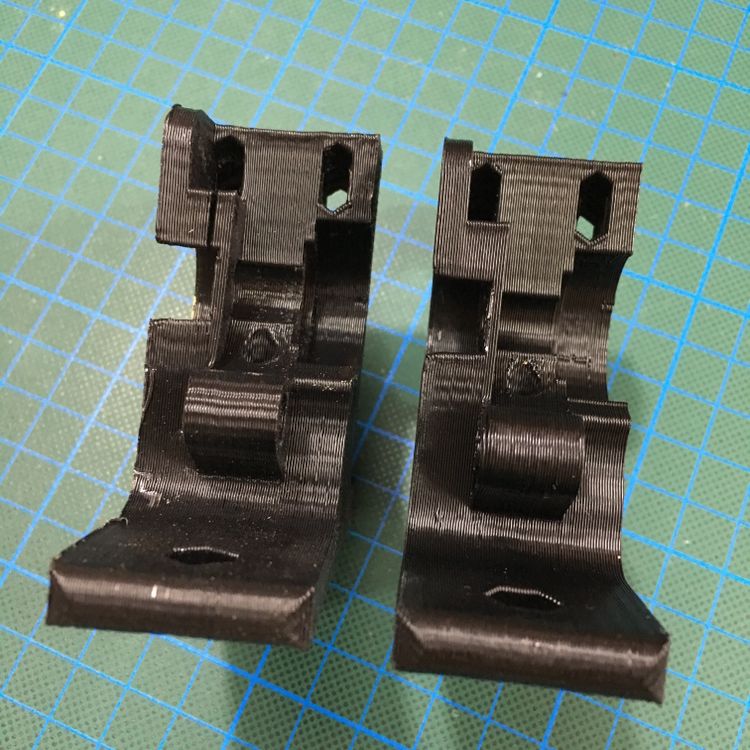
And there we are. Down to the damaged part. An even though it doesn’t look very damaged, it sure has a enormous impact on the print results.
Since the part is made from ABS I might try to chemical weld the damaged part back together. This way I always have a spare part. (Or I could just print some extra spare parts upfront …)
And after taking all the same steps in the reversed order, my printer was ready to rock again!
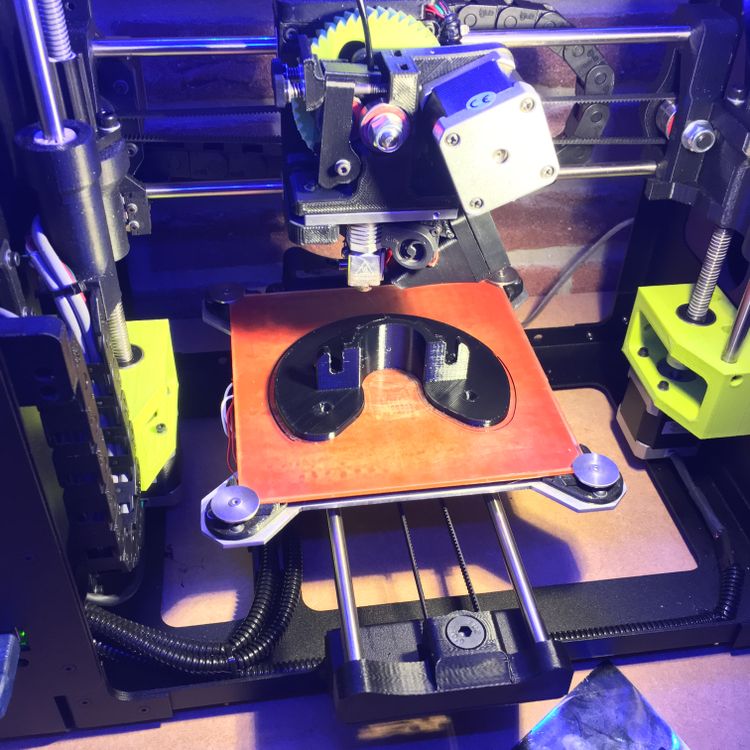
Extremely fulfilling to see a nice piece of design appearing on your built plate. Especially if it is a part requested by my dad. The one person that got me into tinkering! :)
Happy printing!