Last weeks instalment of the on board computer was the core of all electronics on the Power Suit. But still, there are some important parts missing. This week we’ll finish all the electronics by adding the sound amplifier, the bluetooth audio receiver and the nunchuck controller.
The Amplifier. Turn up the bass!
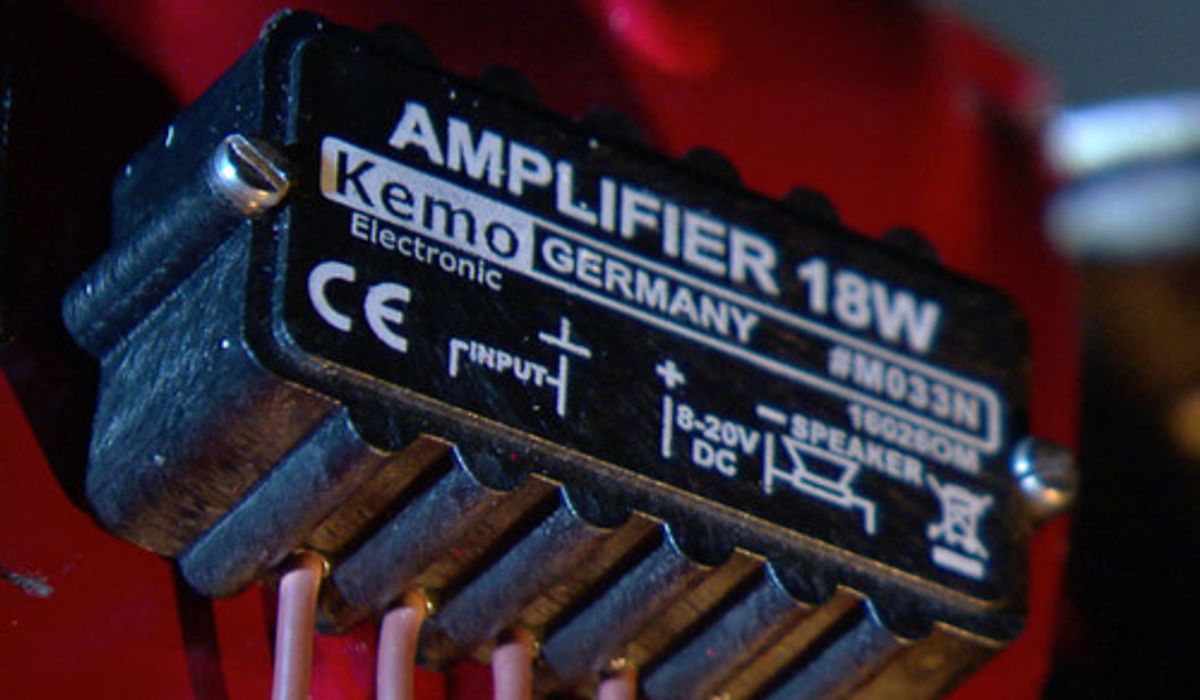
Although the NeoPixel LEDs give the suit a lot of special effects, it’s not complete until the suit has some cool sound effects. As told in thesecond post, the suit is fitted with a 300 million megawatt speaker. This speaker will be connected to a 18 watt amplifier, sold by Conrad Electronics.
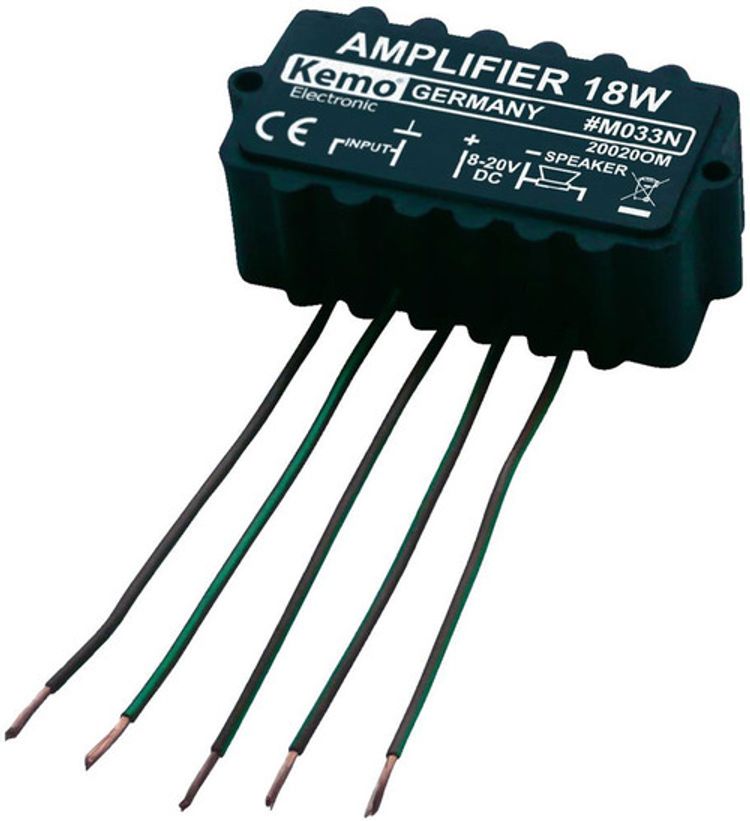
As the description says, the amplifier needs 8 to 20 volts. Unfortunately, I will be using a 7.3 volt battery back to feed my Power Suit. So to make sure that would work, I decided to go for a testdrive.
In the video below, you’ll see the first experiments of the audio application on an iPad. It features some early versions of the sound effects. Eventually this app will be extended to utilise the bluetooth connection. For now, it’s a good way to test the sound effects on the speaker.
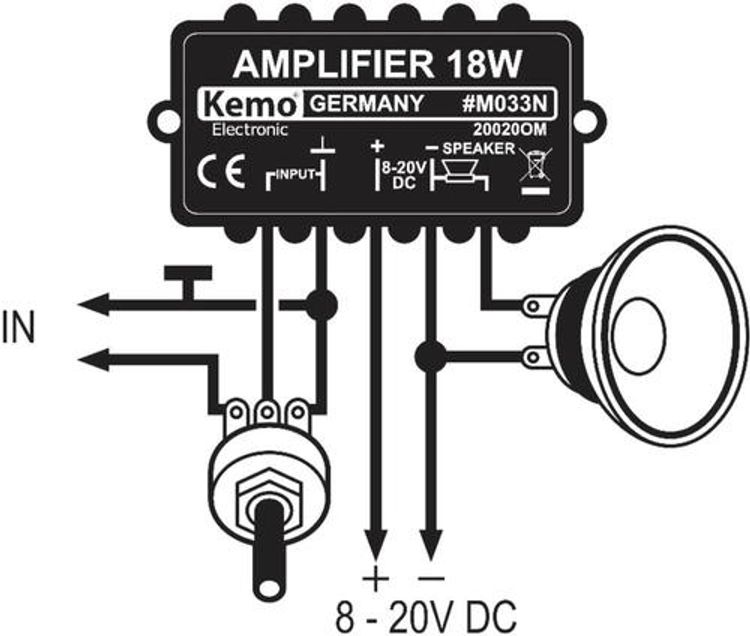
In my first attempt, the goal was to feed all the wires into my on board computer board, and from there on to the speaker, the input source and the power supply. Eventually I noticed the line in needed to be a shielded wire, as far away from the Arduino as possible, since the NeoPixel LEDs generate a lot of interference. Aside from that, the amplifier needs correct grounding, but the included schematics helped to achieve that.
Everything wireless
Of course eventually I could have connected my iPhone to the amplifier with an 3.5mm jack plug. But since the the data between the Arduino and the iPhone was already wireless, I preferred an wireless bluetooth connection as well.
Since the nRF8001 BLE Shield (The bluetooth shield discussed in previous post) only does the data part, the suit also needed a Bluetooth Audio receiver. Brands like Philips sell these for a pretty decent price, and thus this part was relatively simple. Just like with the amplifier, there was a power issue. The Bluetooth receiver required 9 volts. But once again, it turned out the Bluetooth device would work just fine with 7.3 volts. Sometimes electronics are less difficult than expected.
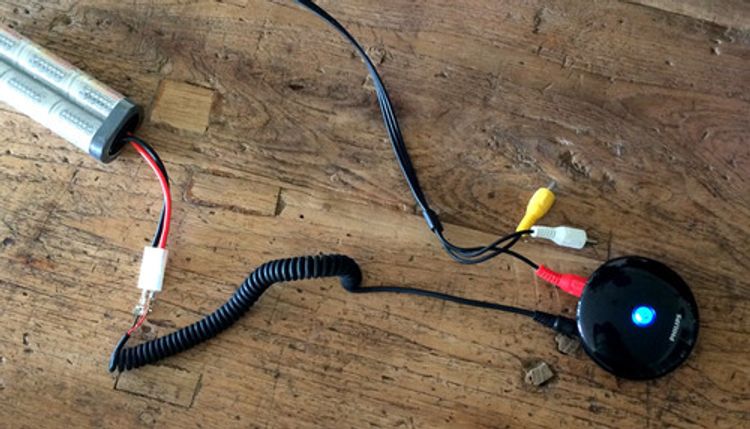
To keep things simple, I wired the left channel to the amplifier (it is a Mono amplifier anyway), and the right channel to the on board computer to analyse the sound. This way, the audio the the Amplifier is completely separated from the Arduino and all parts that might generate interference.
Since the electronics in the bluetooth module are a bit fragile, I decided to mount it to the suit in it’s original casing. As a side benefit, this way I promote the upside down version of the Philips brand. I’m sure they are willing to pay me for this.

I want you to take over control!
“I want you to take over control!” - A famous quote by the philosophers A. Jack and E. Simons. And so I did take over control: last but not least. I experimented with different kinds of controls for the light effects and wings. Using my iPhone App was an option, but I preferred an option which I could use without looking. Additionally the control needed a lot of options, because I want to control the Light Effect, Light Color and the two separate wings. After some experimenting, I figured out a Nintendo Wii Nunchuck was perfect for this task.

For only 5 euros each, I managed to pickup a couple of brand new Nunckucks. These controllers contain 2 buttons (Z & C), a 2 axis (X & Y) joystick and a gyroscope. Although I find the idea of the gyroscope fascinating, I opted to use the joystick and the buttons:
- Joystick X & Y: Control the light effects.
- Button Z + Joystick X & Y: Control the light colours.
- Button C + Joystick X & Y: Control the wings.
- Button Z + Button C + Joystick X & Y: Control settings (i.e. turn off the lights).
Connecting the nunchuck to the Arduino is extremely easy. It will communicate over the i2c bus, and thus it only needs 4 simple connections. Although the Nunckuck is a 3v3 device, it can handle 5 volts safely.

Double … no … TRIPPLE check you use the right pins, and make sure you connect ground first, because the Nunckucks are extremely easy to destroy. After I was sure everything was connected correctly, I once again used a Molex SL connector to make it more permanent.
The story continues
To use the Nunchuck, I need to program the Arduino get it working. But before I’m ready to do so, I want to finish the hardware part of the suit. So the next thing on the to-do list is the paint job.
I love it when a plan comes together!
Like what you’re see? Leave a comment down below!