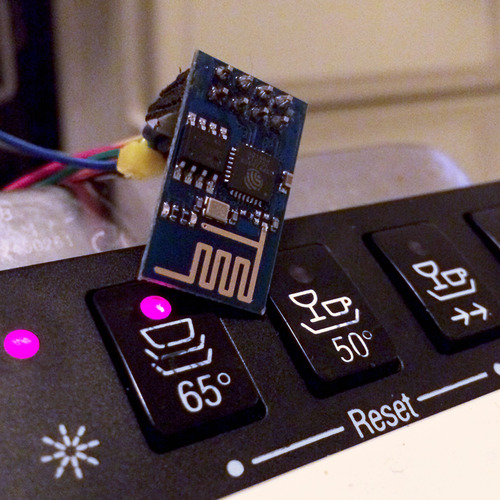
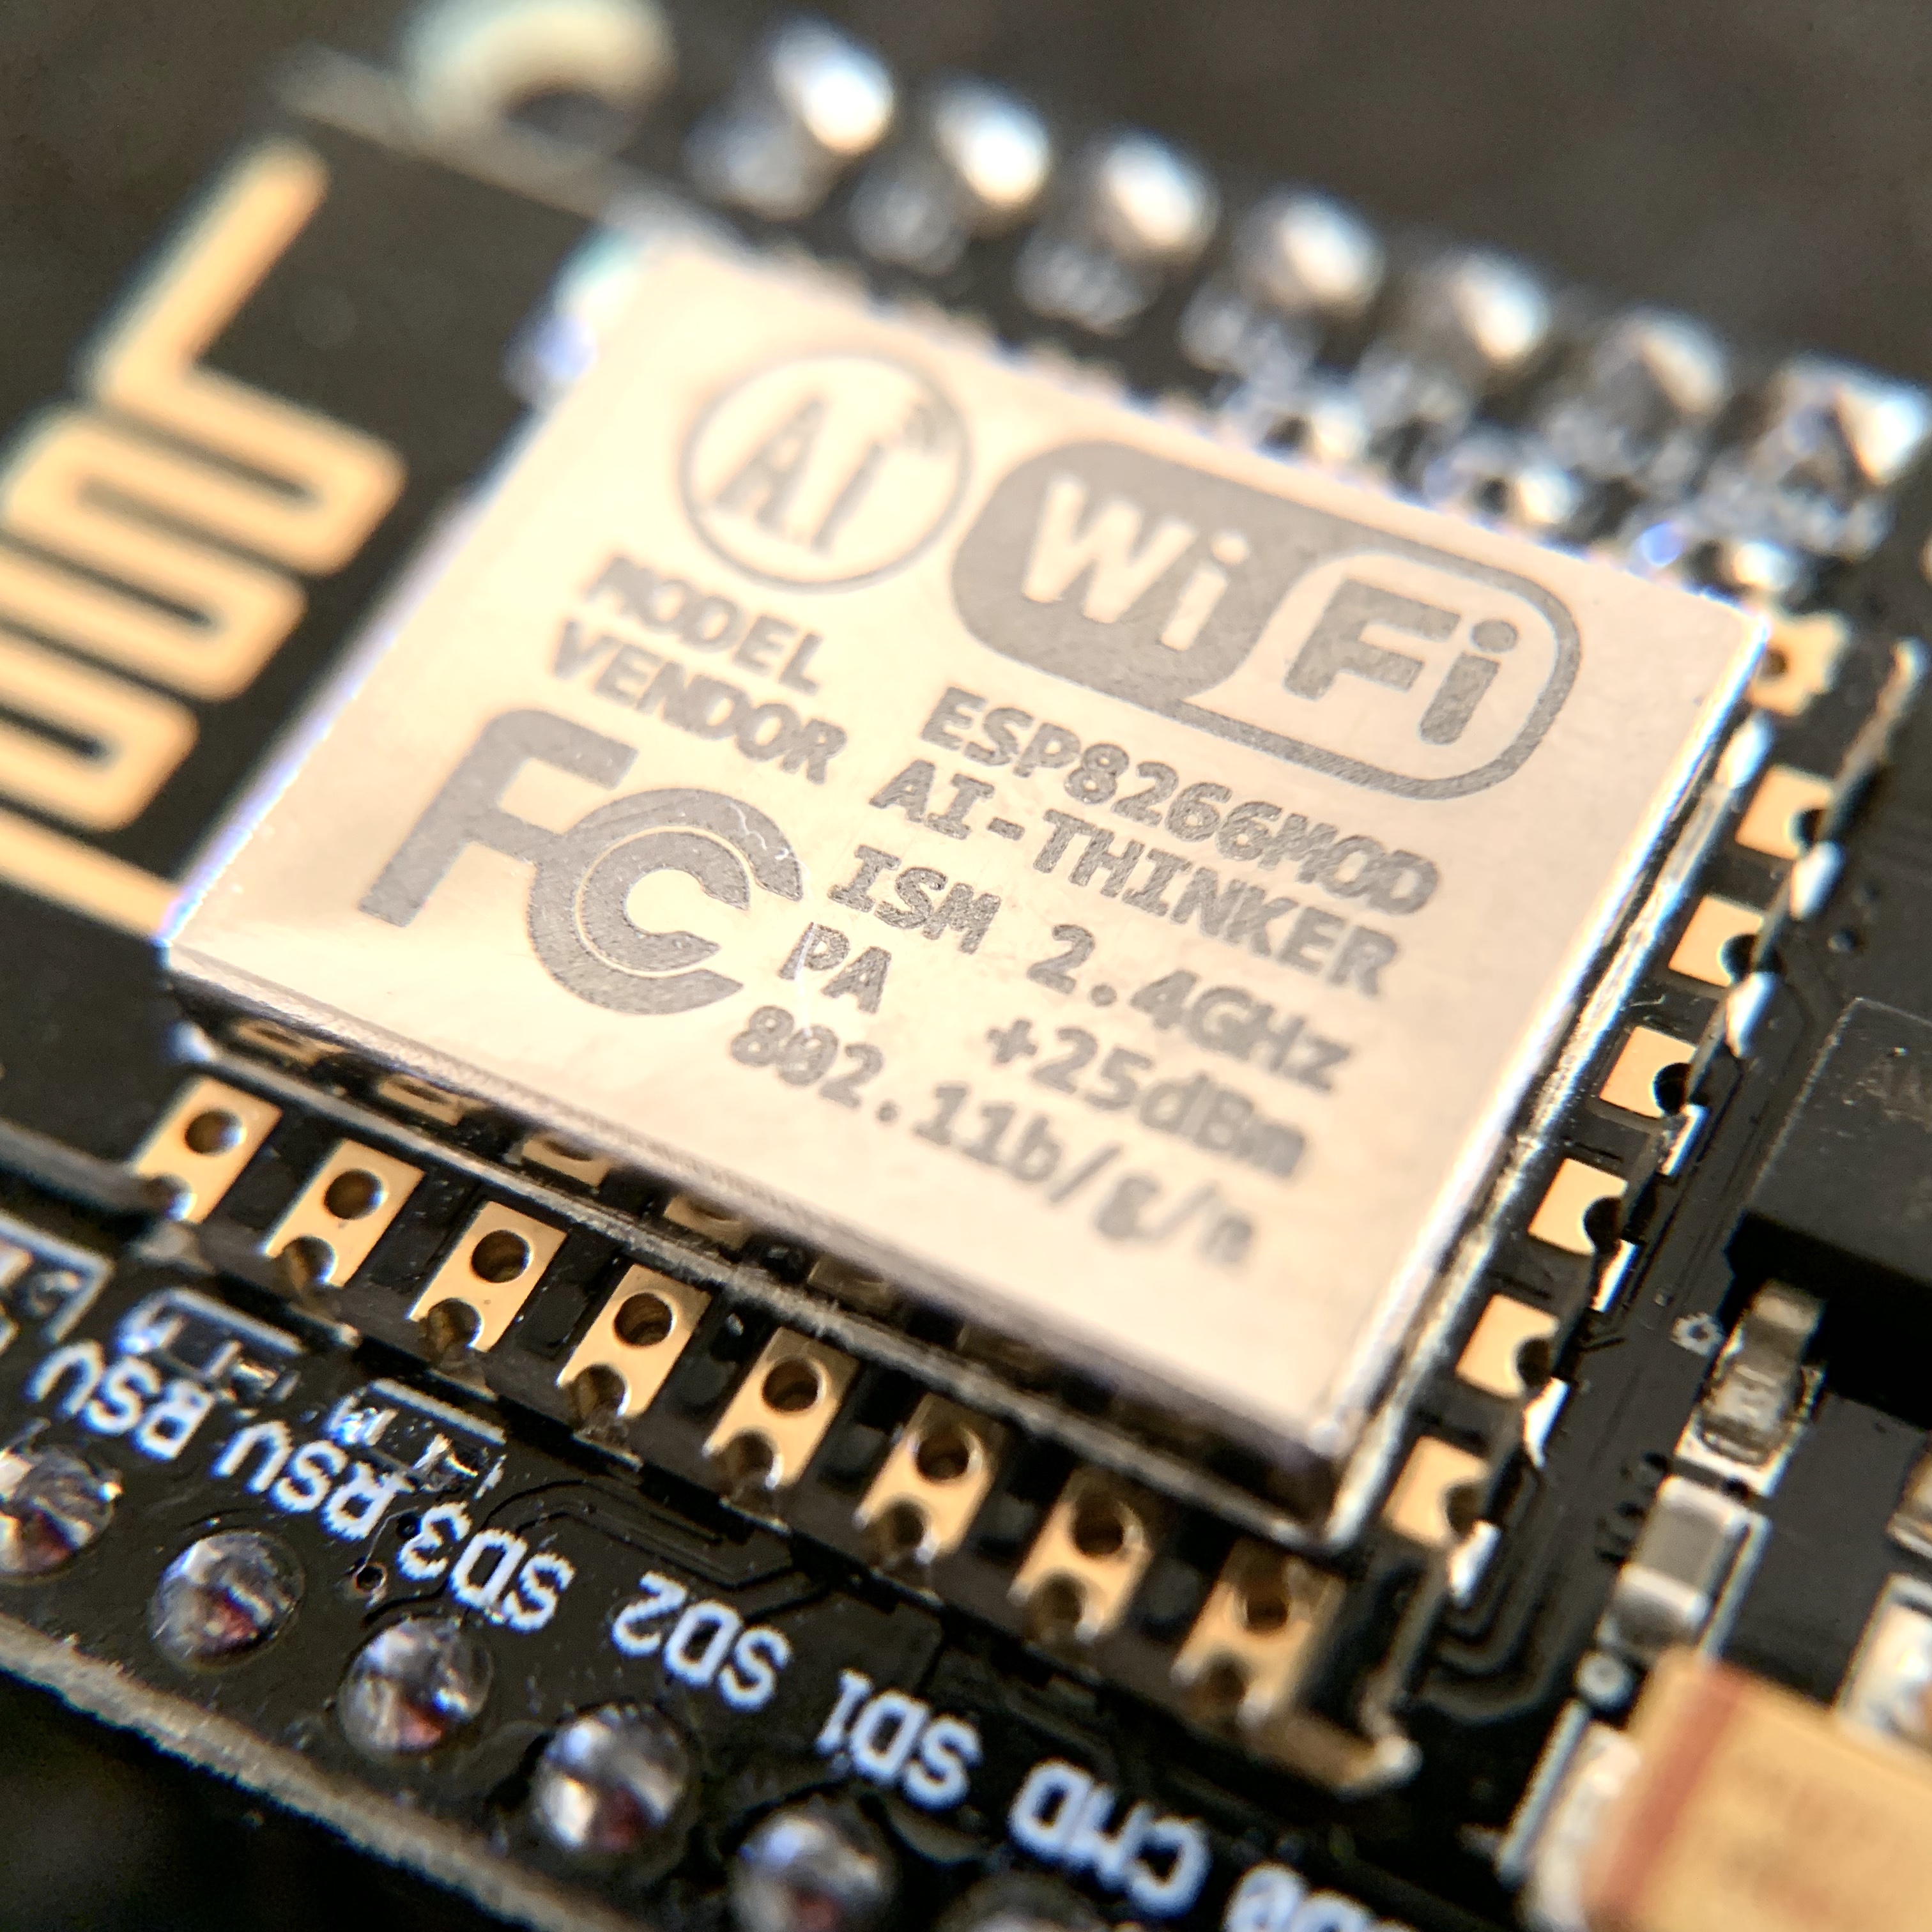
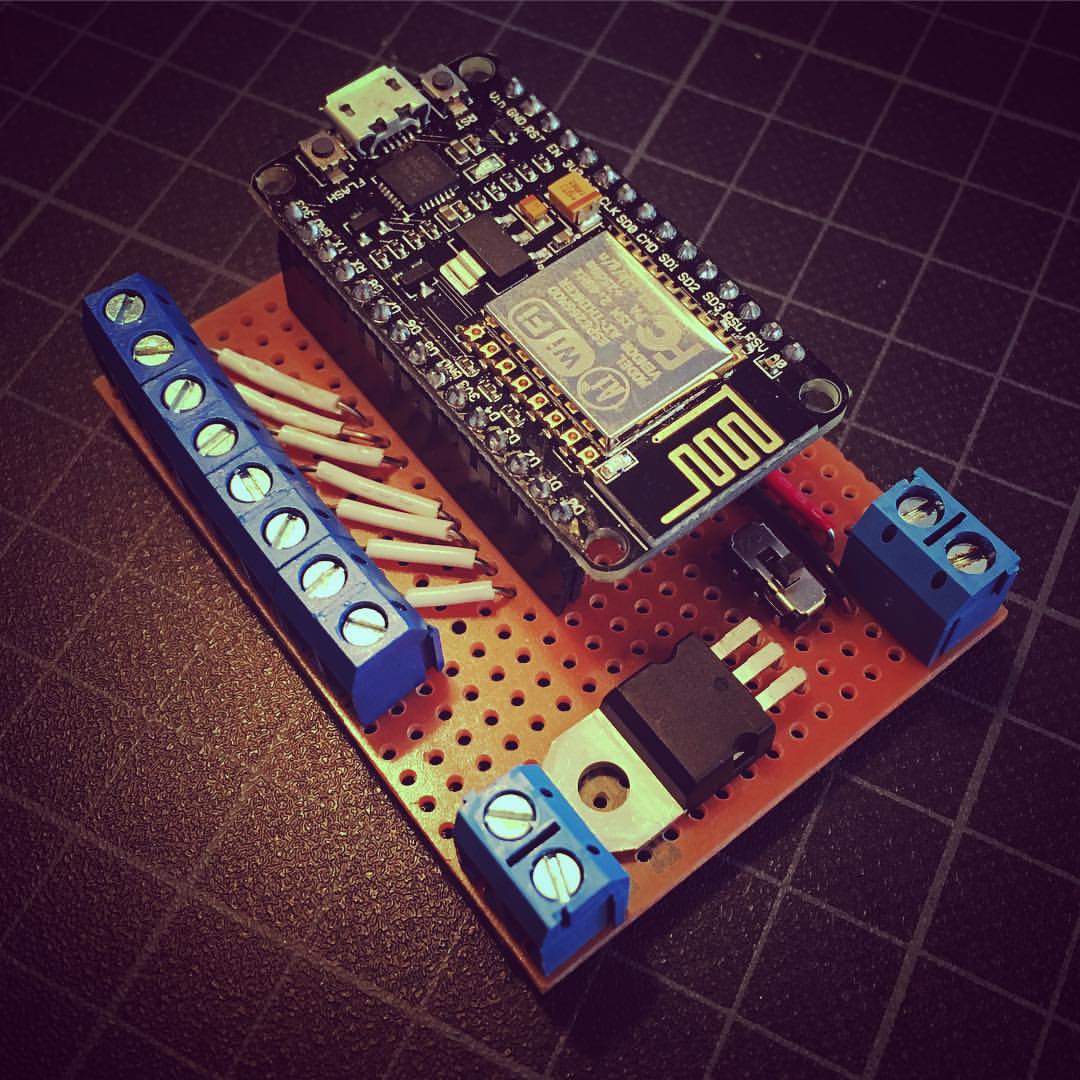
After I discovered the awesome little ESP8266 Wifi module last week, I spent some extra time to check out how suitable this module is when I want to use it in an ‘Internet of Things’ environment. Or, to be more concrete: Could I use this module to connect my Annoying Dishwasher directly to the internet, without the use of the XBee & Raspbery system?
Annoying Dishwasher: The from XBee to Mirror
Although the XBee & Raspberry Pi system has always worked as desired, I prefer a solution with less 'chains’. The more hardware there is between the Dishwasher and the Internet, the bigger the odds are that something will fail eventually.
Using the ESP8266 as a standalone device.
Even though connecting the ESP8266 Wifi module to an Arduino is a piece of cake, It would be even better if I can use the wifi module without any additional microcontrollers. Luckily, the ESP8266 has many GPIO (General-purpose input/output) pins, from which 2 of them are easy accessible on the small breakout board I have. Because the Annoying Dishwasher only needs 1 pin, we’re good to go.
Of course, we need to program the ESP8266 to send a signal whenever the GPIO pin state changes. The basic firmware of this device, does not allow such functionality to be programmed, but luckily, the ESP8266 community has created the impressive NodeMCU firmware.
Arduino-like hardware IO. Advanced API for hardware IO, which can dramatically reduce the redundant work for configuring and manipulating hardware. Code like arduino, but interactively in Lua script.
Nodejs style network API. Event-driven API for network applicaitons, which faciliates developers writing code running on a 5mm*5mm sized MCU in Nodejs style. Greatly speed up your IOT application developing process.
Installing the firmware is very straight forward: a full walk-thru on how to do this, can be found on openhomeautomation.net. After the firmware is installed, the open-source ESPlorer (an Integrated Development Environment (IDE) for the ESP8266) can be used to program your new BFF!
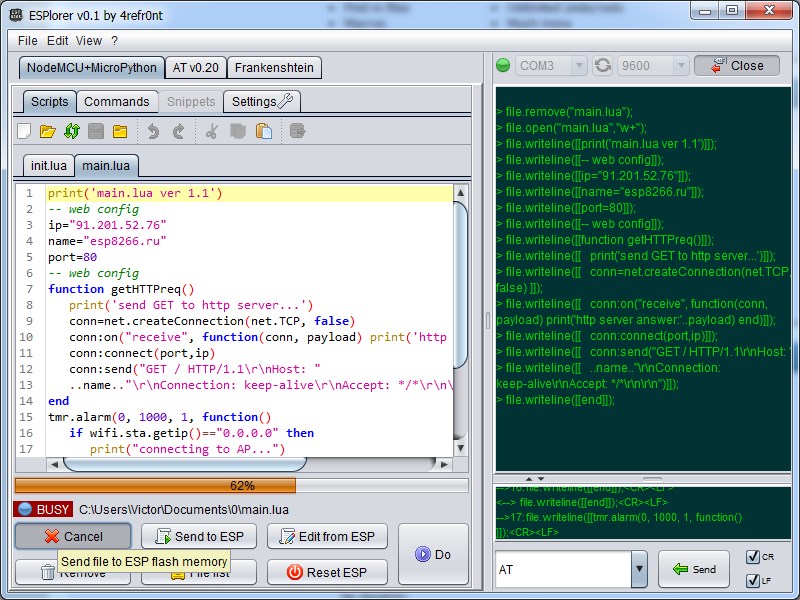
Lua
Although the name NodeMCE suggests it will run Node.js code, It will actually will run Lua code. If you’ve never used this language before, It seems a bit odd at first sight, but turns out to be a very straight forward, easy to pick-up language. So after some playing around, I was able to built my first Blink scripts, create a webserver, or in this case: send some http requests whenever a button was pressed. This button is the temporary replacement for the dishwasher, since I prefer to test out my code behind my desk, in stead behind the kitchen sink.
I used the following diagram to connect my ESP8266 to my 'virtual dishwasher’:
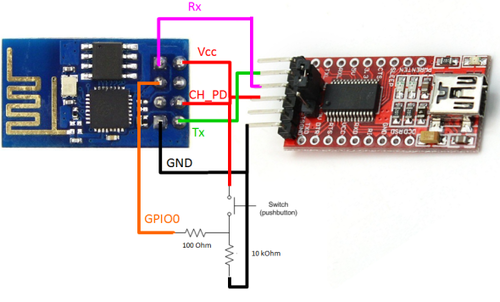
Image courtesy of importhack.wordpress.com. Note that this image also includes the FTDI mudule to connect the ESP8266 to USB. Make sure the FTDI converter is set to 3v3. (Which it isn’t in this image …)
Azure Mobile Services
Last week I attended the #MDEVCON mobile developers conference. One of breakout speakers during the Event was Rajen Kishna, a Technical Evangelist for the Developer Experience and Evangelism (DX) division at Microsoft. During this Keynote, Rajen demonstrated the power and simplicity of Azure Mobile Services. And besides the fact that I really enjoyed the keynote, I was intrigued by how easy it was to set up a cloud hosted application.

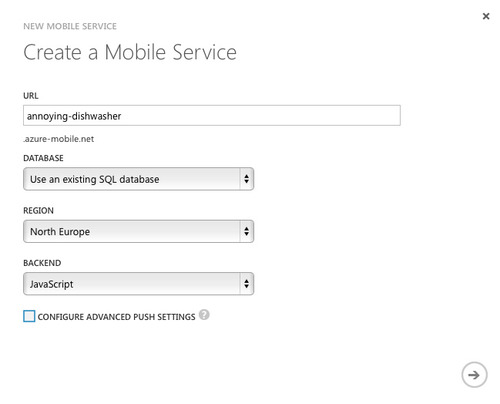
My Annoying Dishwasher is the perfect project to give Azure a spin, so let’s give it a try. After signing up (for free, if you don’t plan to connect millions of dishwashers …), I created a mobile service using the web management .
1. Create a Mobile Service
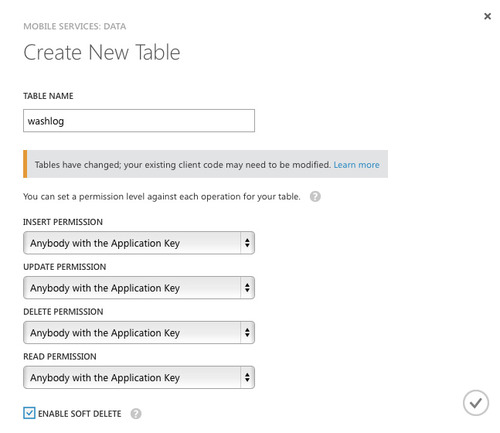
2. Create a new table. Open your newly added mobile service, and go to DATA. There, add a new table to store your data.
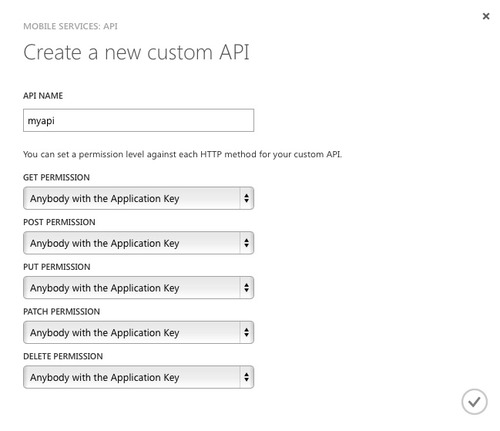
3. Create a new API Go to API and create a new API to enable HTTP requests.
4. Copy your Application key Last but not least, in the Mobile Services overview, select the annoying-dishwasher service and click on 'Manage Keys’. This will give us the key we need to access our API.
From Lua to Azure
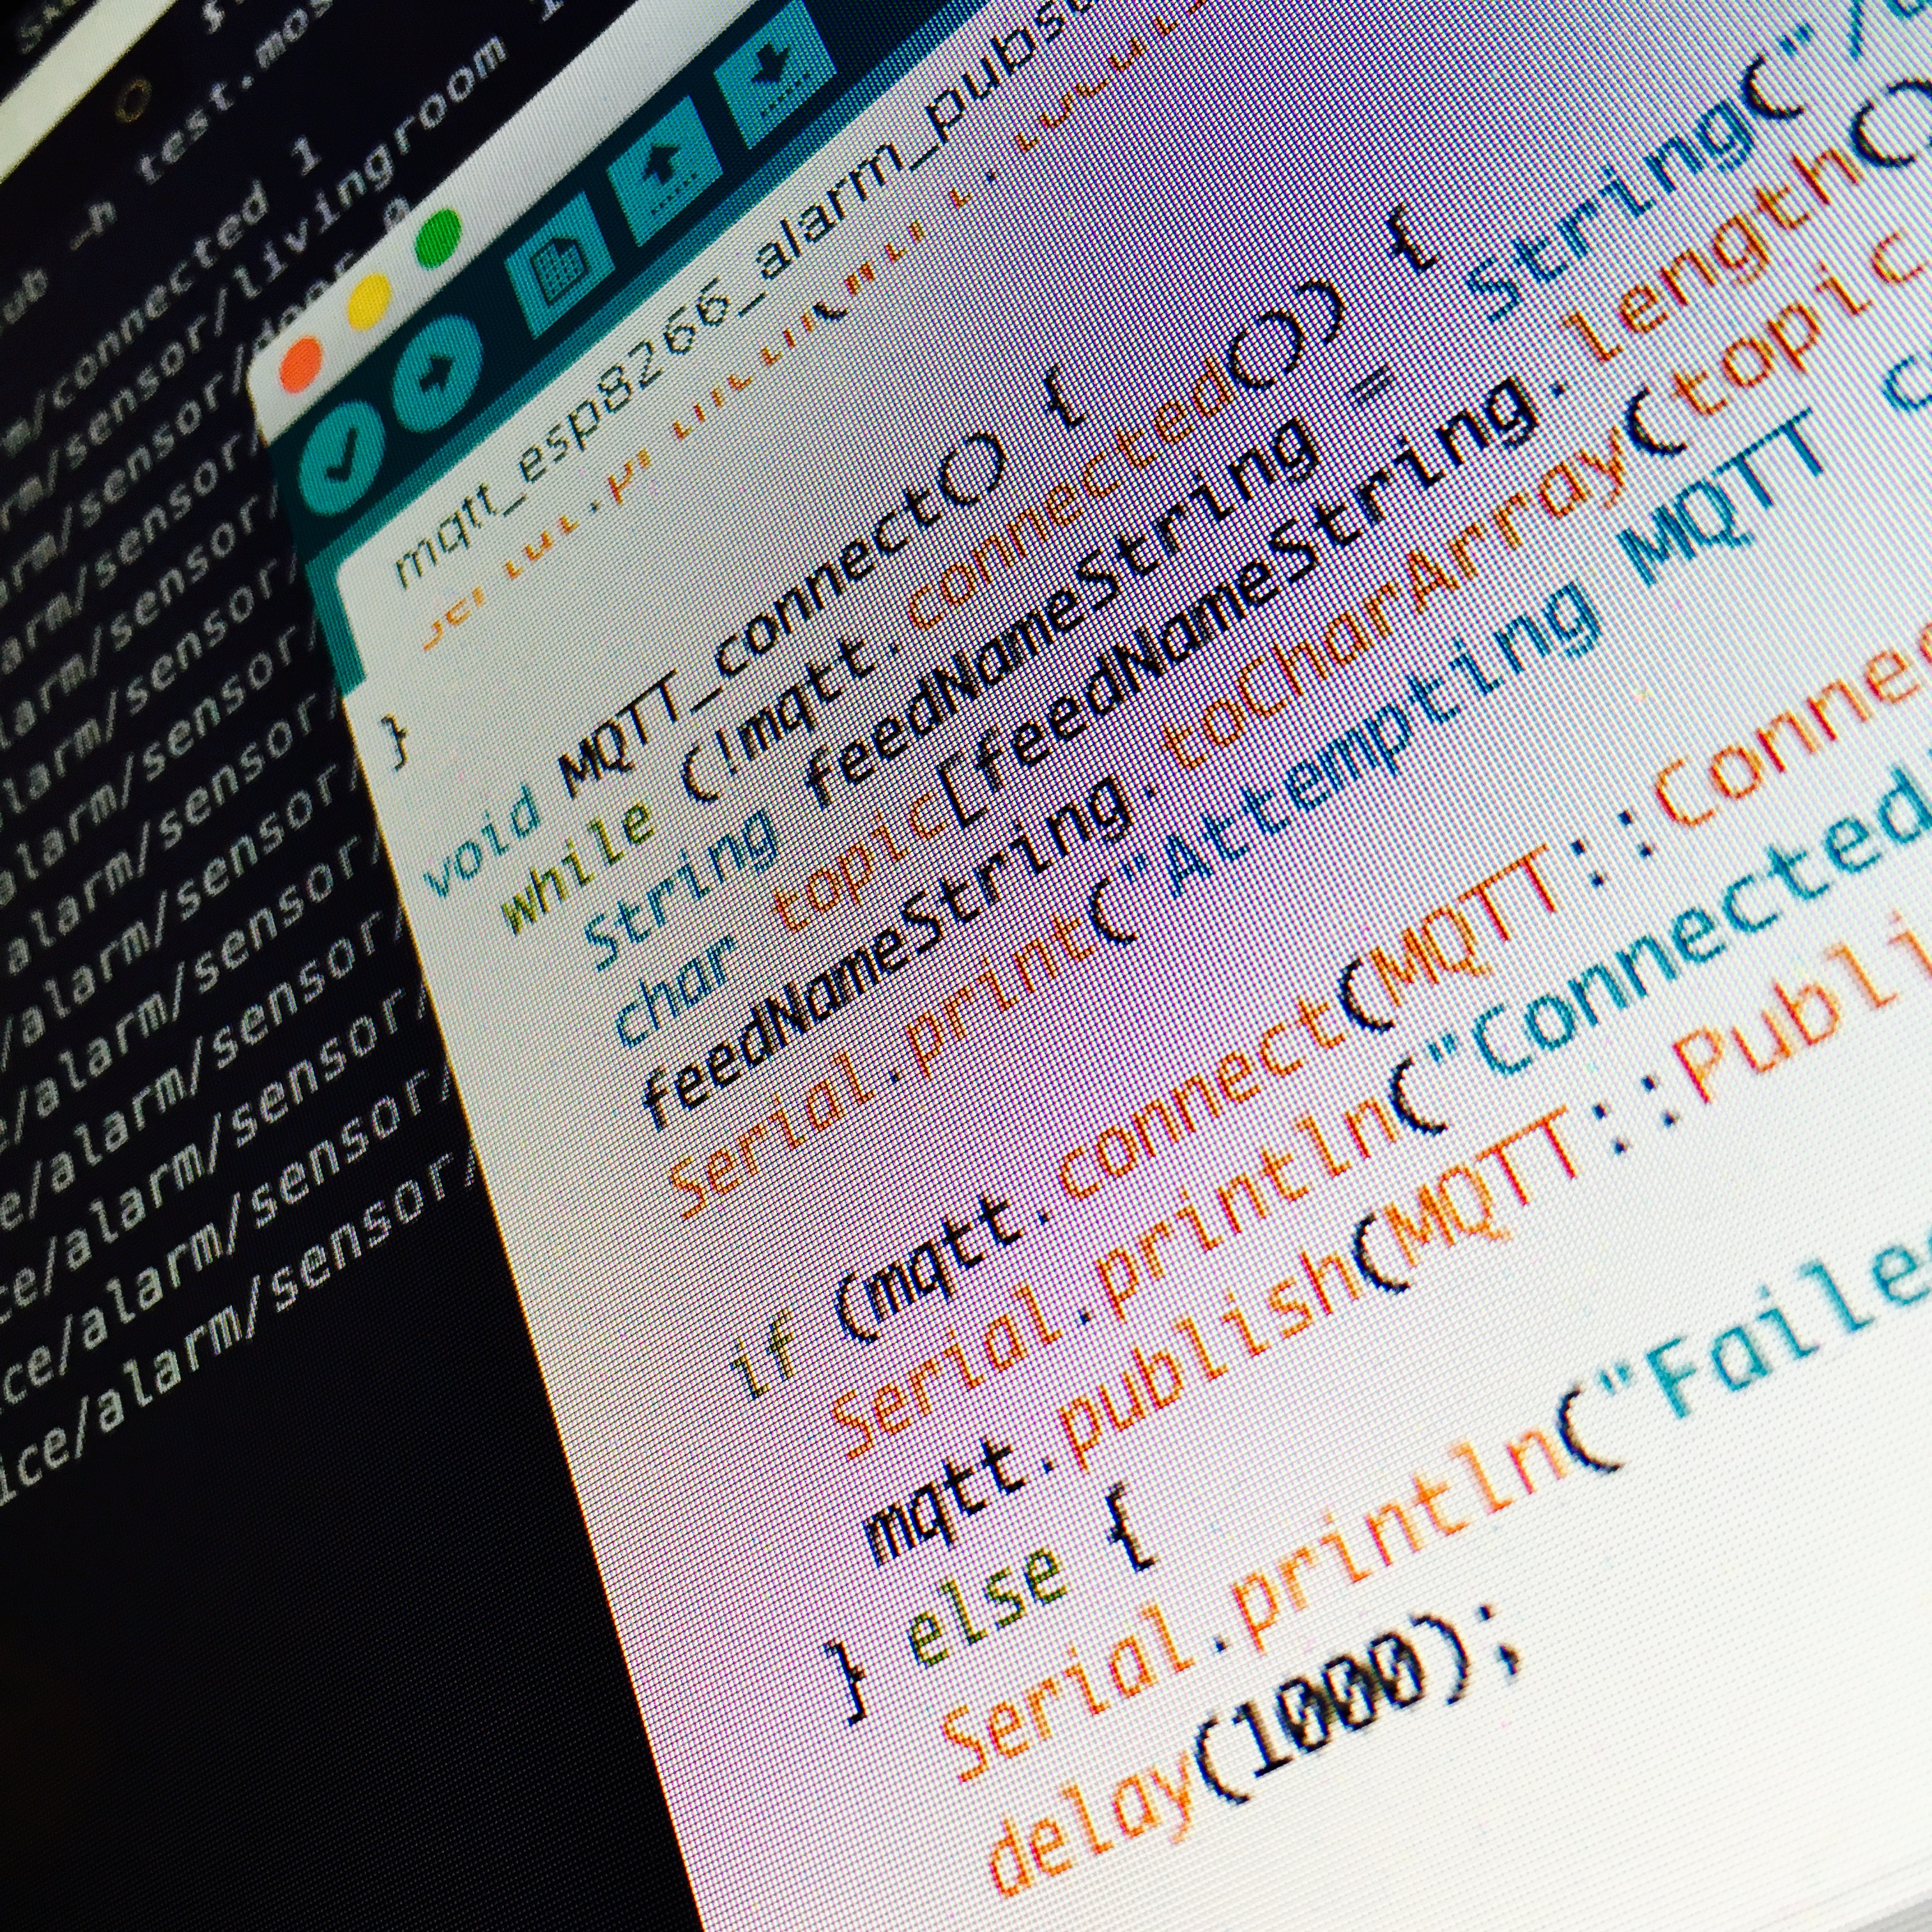
With our new Azure configuration in place, it’s time to tie the ESP8266 and Azure platform together using a small Lua script. For simplicity, all code will be in init.lua, which will run when the ESP8266 is powered on. Are you ready for some code? Let’s get going …
First off, let’s configure the WIFI connection:
wifi.setmode(wifi.STATION)
wifi.sta.config("MyAccessPoint","MySecretPasswor.
-- To check the connection, let's print the ESP8266's assigned IP.
print(wifi.sta.getip())
Next, we create a function which will be able to submit a JSON string to the azure servers. To submit something to your newly created washlog table, we simple do a POST request to [http://annoying-dishwasher.azure-mobile.net/tables/washlog](http://annoying-dishwasher.azure-mobile.net/tables/washlog). Since this API request expects a application key, we must add a header: X-ZUMO-APPLICATION: IDpADvwsTxYsRhLcDGOrksbqijFHJy82.
function submit(json)

    -- Create the connection object
    local conn = net.createConnection(net.TCP, 0)

    -- Once connected, request page (send parameters to a php script)
    conn:on("connection", function(conn, payload)
        print('\nConnected')
        conn:send("POST /tables/washlog HTTP/1.0\r\n"

            -- Add the Application key to the header we send in the post request.
            .."X-ZUMO-APPLICATION: IDpADvwsTxYsRhLcDGOrksbqijFHJy82\r\n"
            .."Host: annoying-dishwasher.azure-mobile.net\r\n"
            .."User-Agent: Mozilla/4.0 (compatible; esp8266 Lua; Windows NT 5.1)\r\n"

            -- Add the length of the string we send.
            .."Content-Length: "..string.len(json).."\r\n"
            .."\r\n"

            -- Add the JSON string to the post object.
            ..json)
    end)

    -- Show the retrieved web page
    conn:on("receive", function(conn, payload)
        print(payload)
    end)

    -- When disconnected, let it be known
    conn:on("disconnection", function(conn, payload)
        print('\nDisconnected')
    end)

    -- Submit
    print("Submit: "..json)
    conn:connect(80,'annoying-dishwasher.azure-mobile.net')

end
Of course, this function must be called when the state of GPIO0 changes. To accomplish this, we configure an interrupt on pin 3 (GPIO0) which calls the submit function including a JSON string. This string contains the data that will be added to the database:
local pin = 3

gpio.mode(pin, gpio.INT)

gpio.trig(pin, 'both', function()

    -- Use a timer to debounce the signal.
    tmr.alarm(0, 50, 0, function()
        print('The pin value has changed to '..gpio.read(pin))
        submit('{"dishwasher_state":"'..gpio.read(pin)..'"}')
    end)

end)
Using the ESPlorer software mentioned before, we can upload the init.lua to the ESP8266, and start pressing the 'virtual dishwasher’ button … After sending the changed pin state to the Azure servers, the ESP8266 will print Azure’s response to the terminal:
> HTTP/1.1 201 Created
> Cache-Control: no-cache
> Content-Length: 68
> Content-Type: application/json
> Location: [https://annoying-dishwasher.azure-mobile.net/tables/washlog/0198F403-A3A0-4AB8-9011-6C2153F61C27](https://annoying-dishwasher.azure-mobile.net/tables/washlog/0198F403-A3A0-4AB8-9011-6C2153F61C27)
> Server: Microsoft-IIS/8.0
> x-zumo-version: Zumo.master.0.1.6.4242.Runtime
> X-Powered-By: ASP.NET
> Date: Mon, 16 Mar 2015 20:19:20 GMT
> Connection: close
> {“dishwasher\_state”:“0”,“id”:“0198F403-A3A0-4AB8-9011-6C2153F61C27”}
But more important, using the Azure web interface we can see the data in the database:
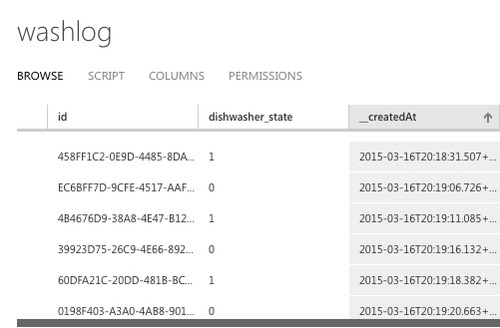

Awesome! Of course, storing data is a bit boring, but it’s a good starting point. Azure Mobile Services allows you to run Node.js scripts and has a great push notification implementation. With that in mind, using Azure with your ESP8266 is a great starting point for your IoT projects!
As an Apple minded guy, I must admit I’m impressed by Azure’s simplicity. Rajen’s keynote encouraged me to give it a spin, I hope this blog will encourage you to give it a try as well. Let me know if you like it … Leave a comment down below.
Annoying Dishwasher: Reconnect the Dishwasher
