
After I finished the front panel, and getting an approval of Enzo, the next step in the process of the activity board is finishing the casing. A nice reason for some evenings in the shed.
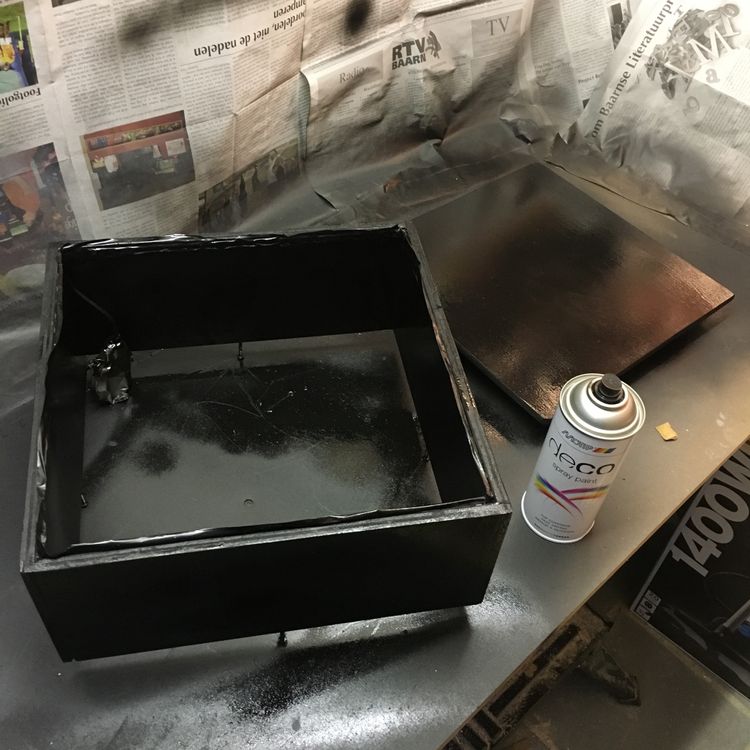
My bad carpentry is easily hidden with some layers of paint. Since I’m a pretty lazy guy, this involves a bunch of spray cans.

To pretend like I know what I’m doing, I start off with a primer.

After the primer you should sand and waterproof it, but just like any other impatient maker we skip this step. Let’s continue with unleashing the inner goth, and putting the black spray paint to work.
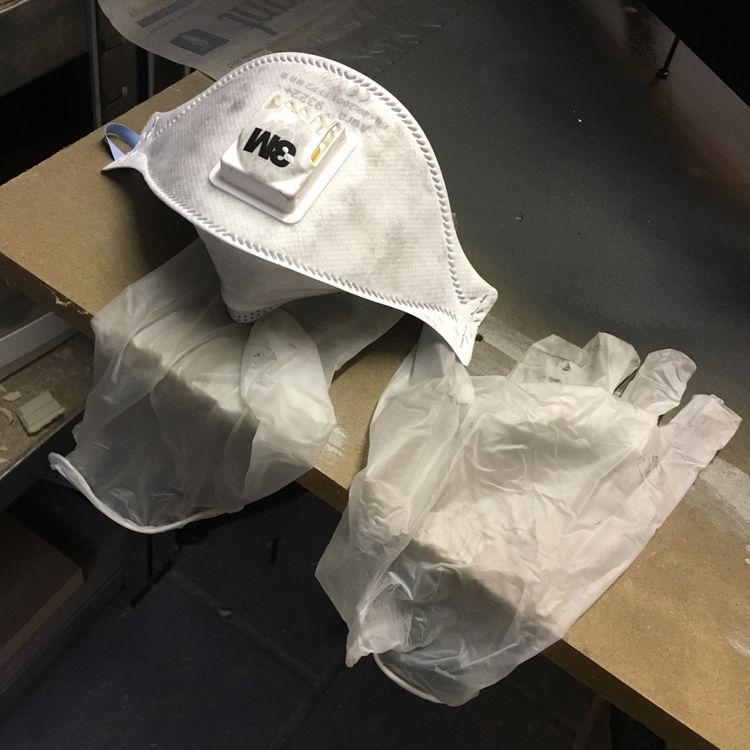
A great suggestion for any inexperienced spray painter: always use some gloves and a mask. Do not wait until the third layer of paint before you start using these. *cough, cough*
The inside looks pretty bad-ass. The outside could have used a bit of extra primer, but don’t worry, in the end the outside of the case will not be visible.

Of course the LED-strip needs to be hidden, as well as the end face of the wood. Time to put my new belt- and disc sander to work!
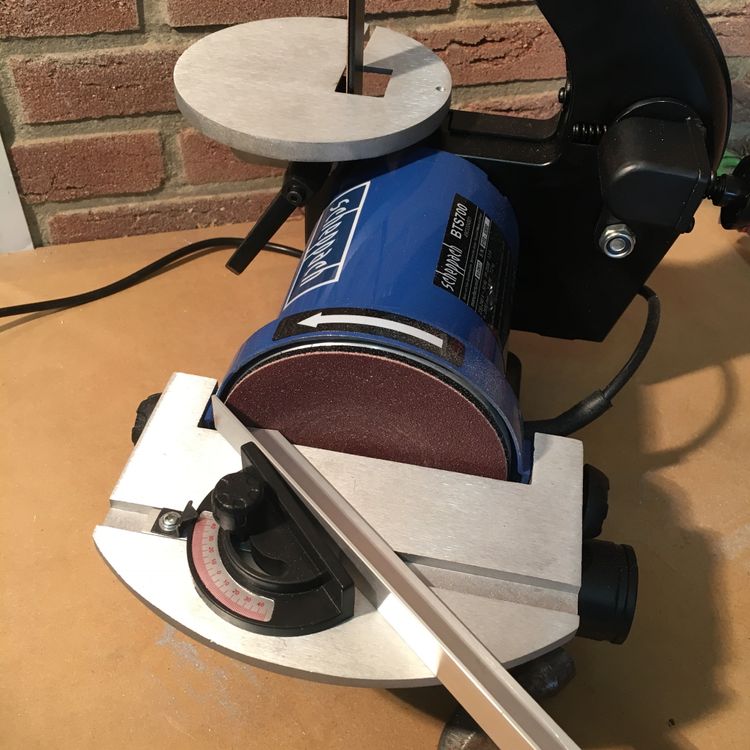
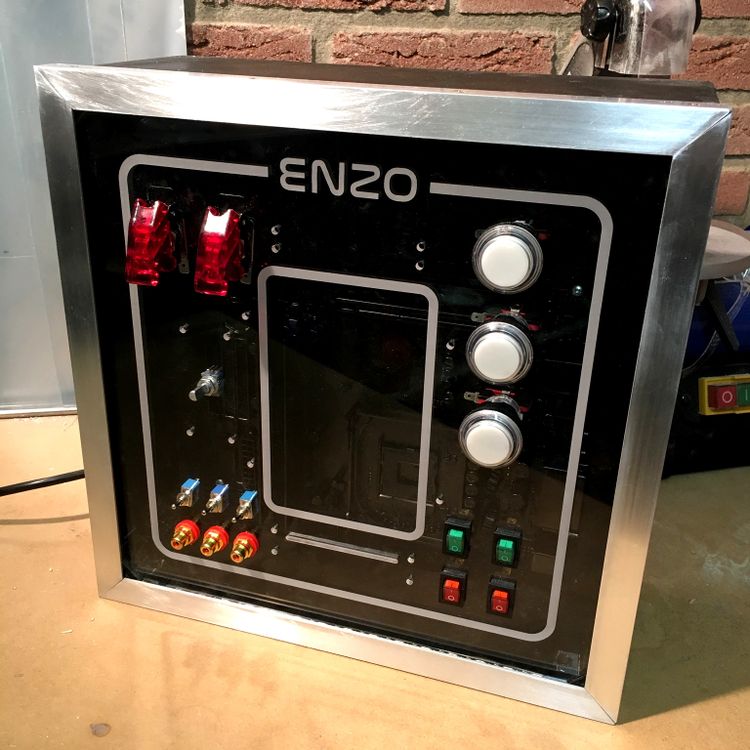
To give the activity board an industrial look, I combine the black paint and transparent front panel with some 2 cm width aluminum L-profiles. The disk sander helps me to get the miters perfectly flush.
Of course, the first miter is the easiest, the other 3 took a lot of sweat, swearing and … aluminum, to get it right.
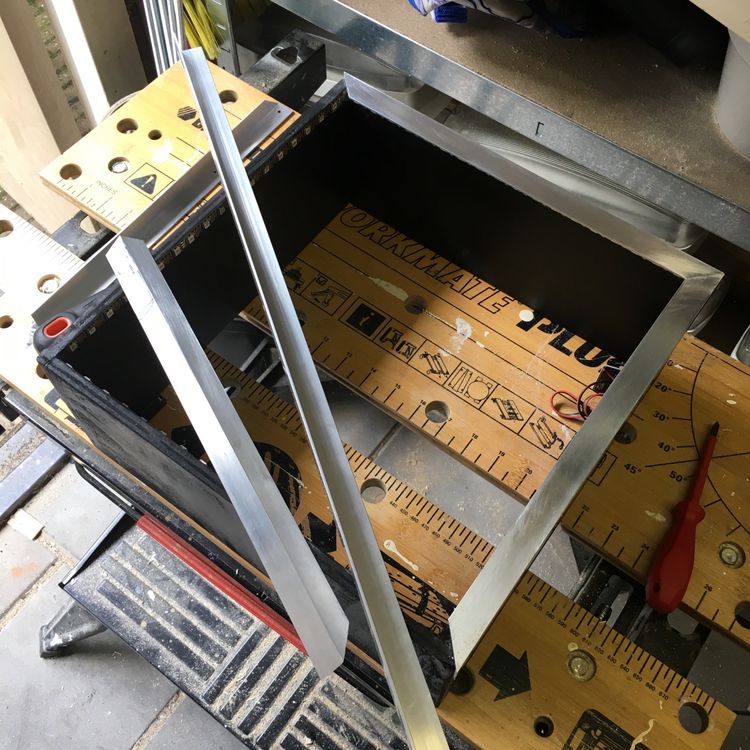
I’ll be honest with you: it took me 3 evenings to get it the way I wanted. I will not disclose how many pieces of aluminum were wasted in this process.
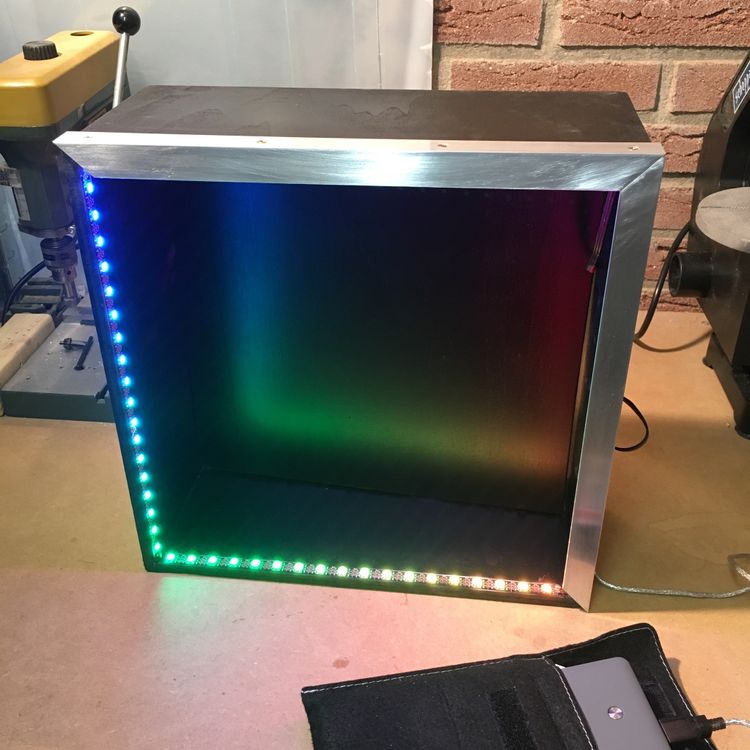
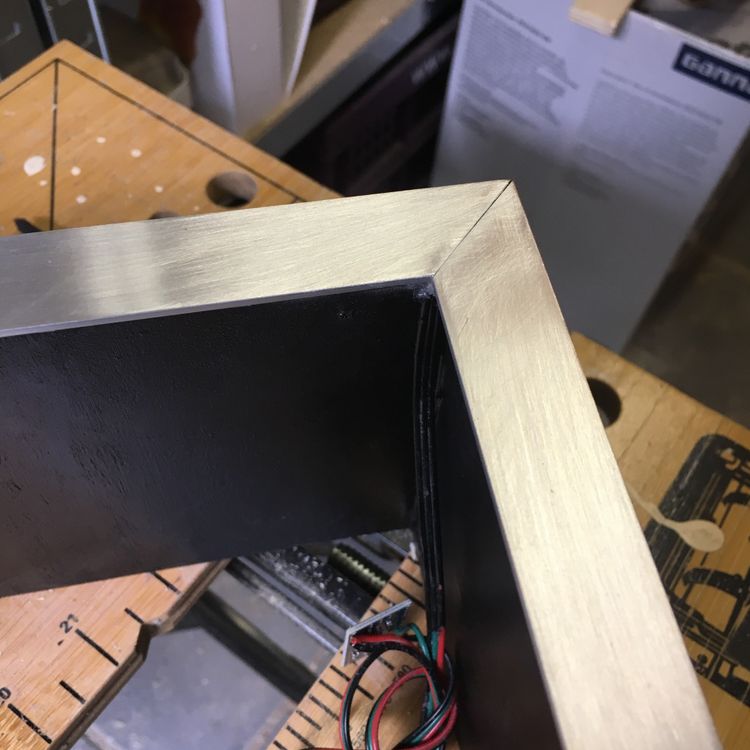
The combination of the black background, the brushed aluminum and the LEDs give a pretty bad ass result. So after some nights of hard labor, the casing had the desired robust industrial look.
But to give it a final touch, I decided to put some extra effort in the black background. It needed a little technical touch.
So, like most of us do, I had an old motherboard freshly cleaned waiting for me in the dishwasher. It’s always handy to have a dust and grease free motherboard at hand …

Especially when you want to cover that motherboard with a few layers of back paint.
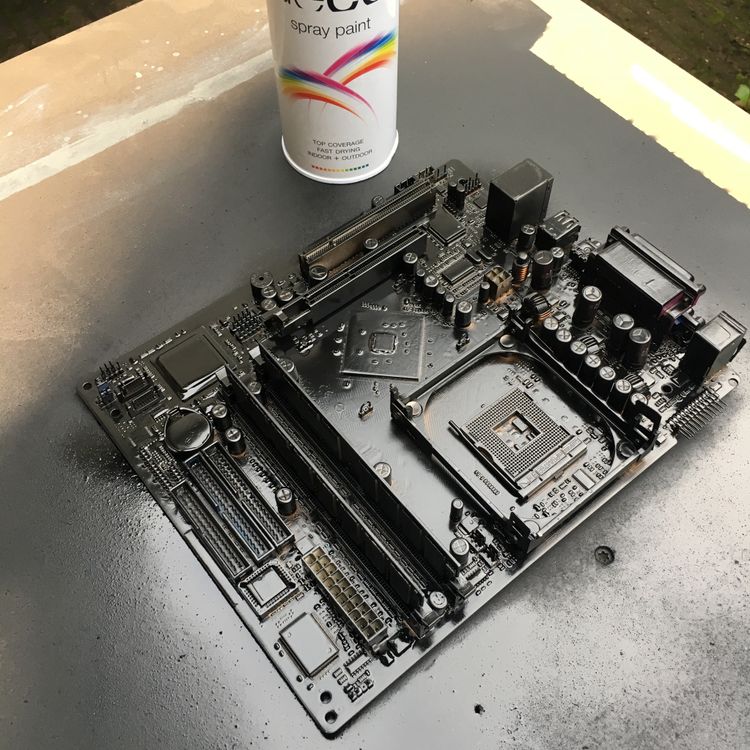
The freshly painted motherboard will be mounted on the inner back plate using some 1 cm standoffs.
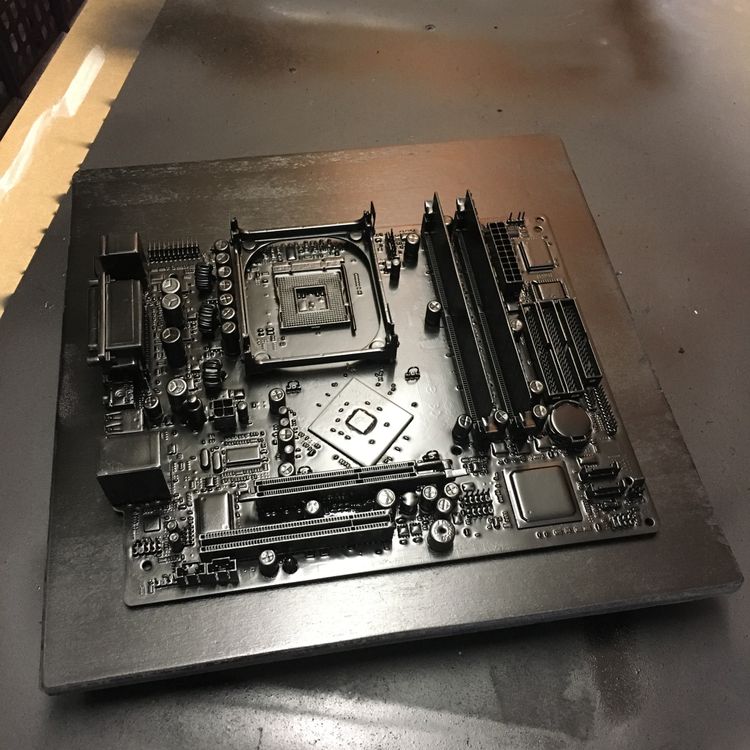
It will give the inside an technical appearance and helps me to hide the wires that will to to all the buttons and LEDs.
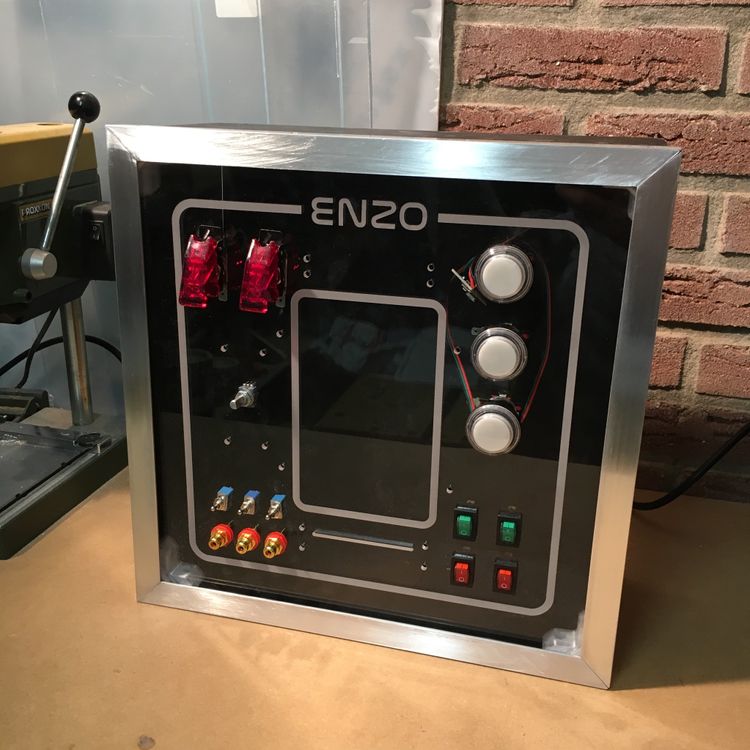
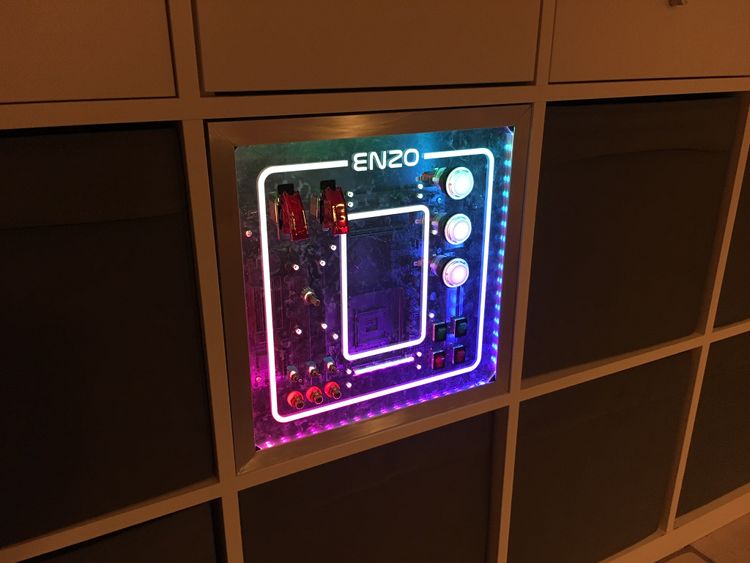
And with that finishing touch, It’s time to light it up on it’s final destination.
Now, the next step would have been mounting all the buttons, LEDs en display’s. But after the picture above, you won’t be surprised that I’ll first be spending a few hours to clean that front panel. A transparent acrylic front panel, a dusty shed and greasy fingers don’t go well together …