Most of my projects start behind my desk, Tinkering. But every now and then, new ideas come to mind while I’m not geeking. Just as with my MagicMirror, those projects and ideas are usually the best. Today I start a new project which, just as with my MagicMirror, popped in my mind far away from my soldering iron and computer: A digital music controller in an analog form factor.
The last few weeks, I haven’t been spending a lot of time behind my desk or laptop, due to some back problems. I spent a lot of time wandering through my house doing every day tasks that didn’t need any desk work. Because of this, I didn’t have my Sonos Music controls at hand, and while Alexa occasionally offered me a good way to switch music without reaching for my computer or phone, the options to quickly start a different playlist was limited.
It turned out I somehow missed the old fasioned way to put on a record or CD. This gave me the idea to build a digital music controller in an analog form factor: The MusiCubes!
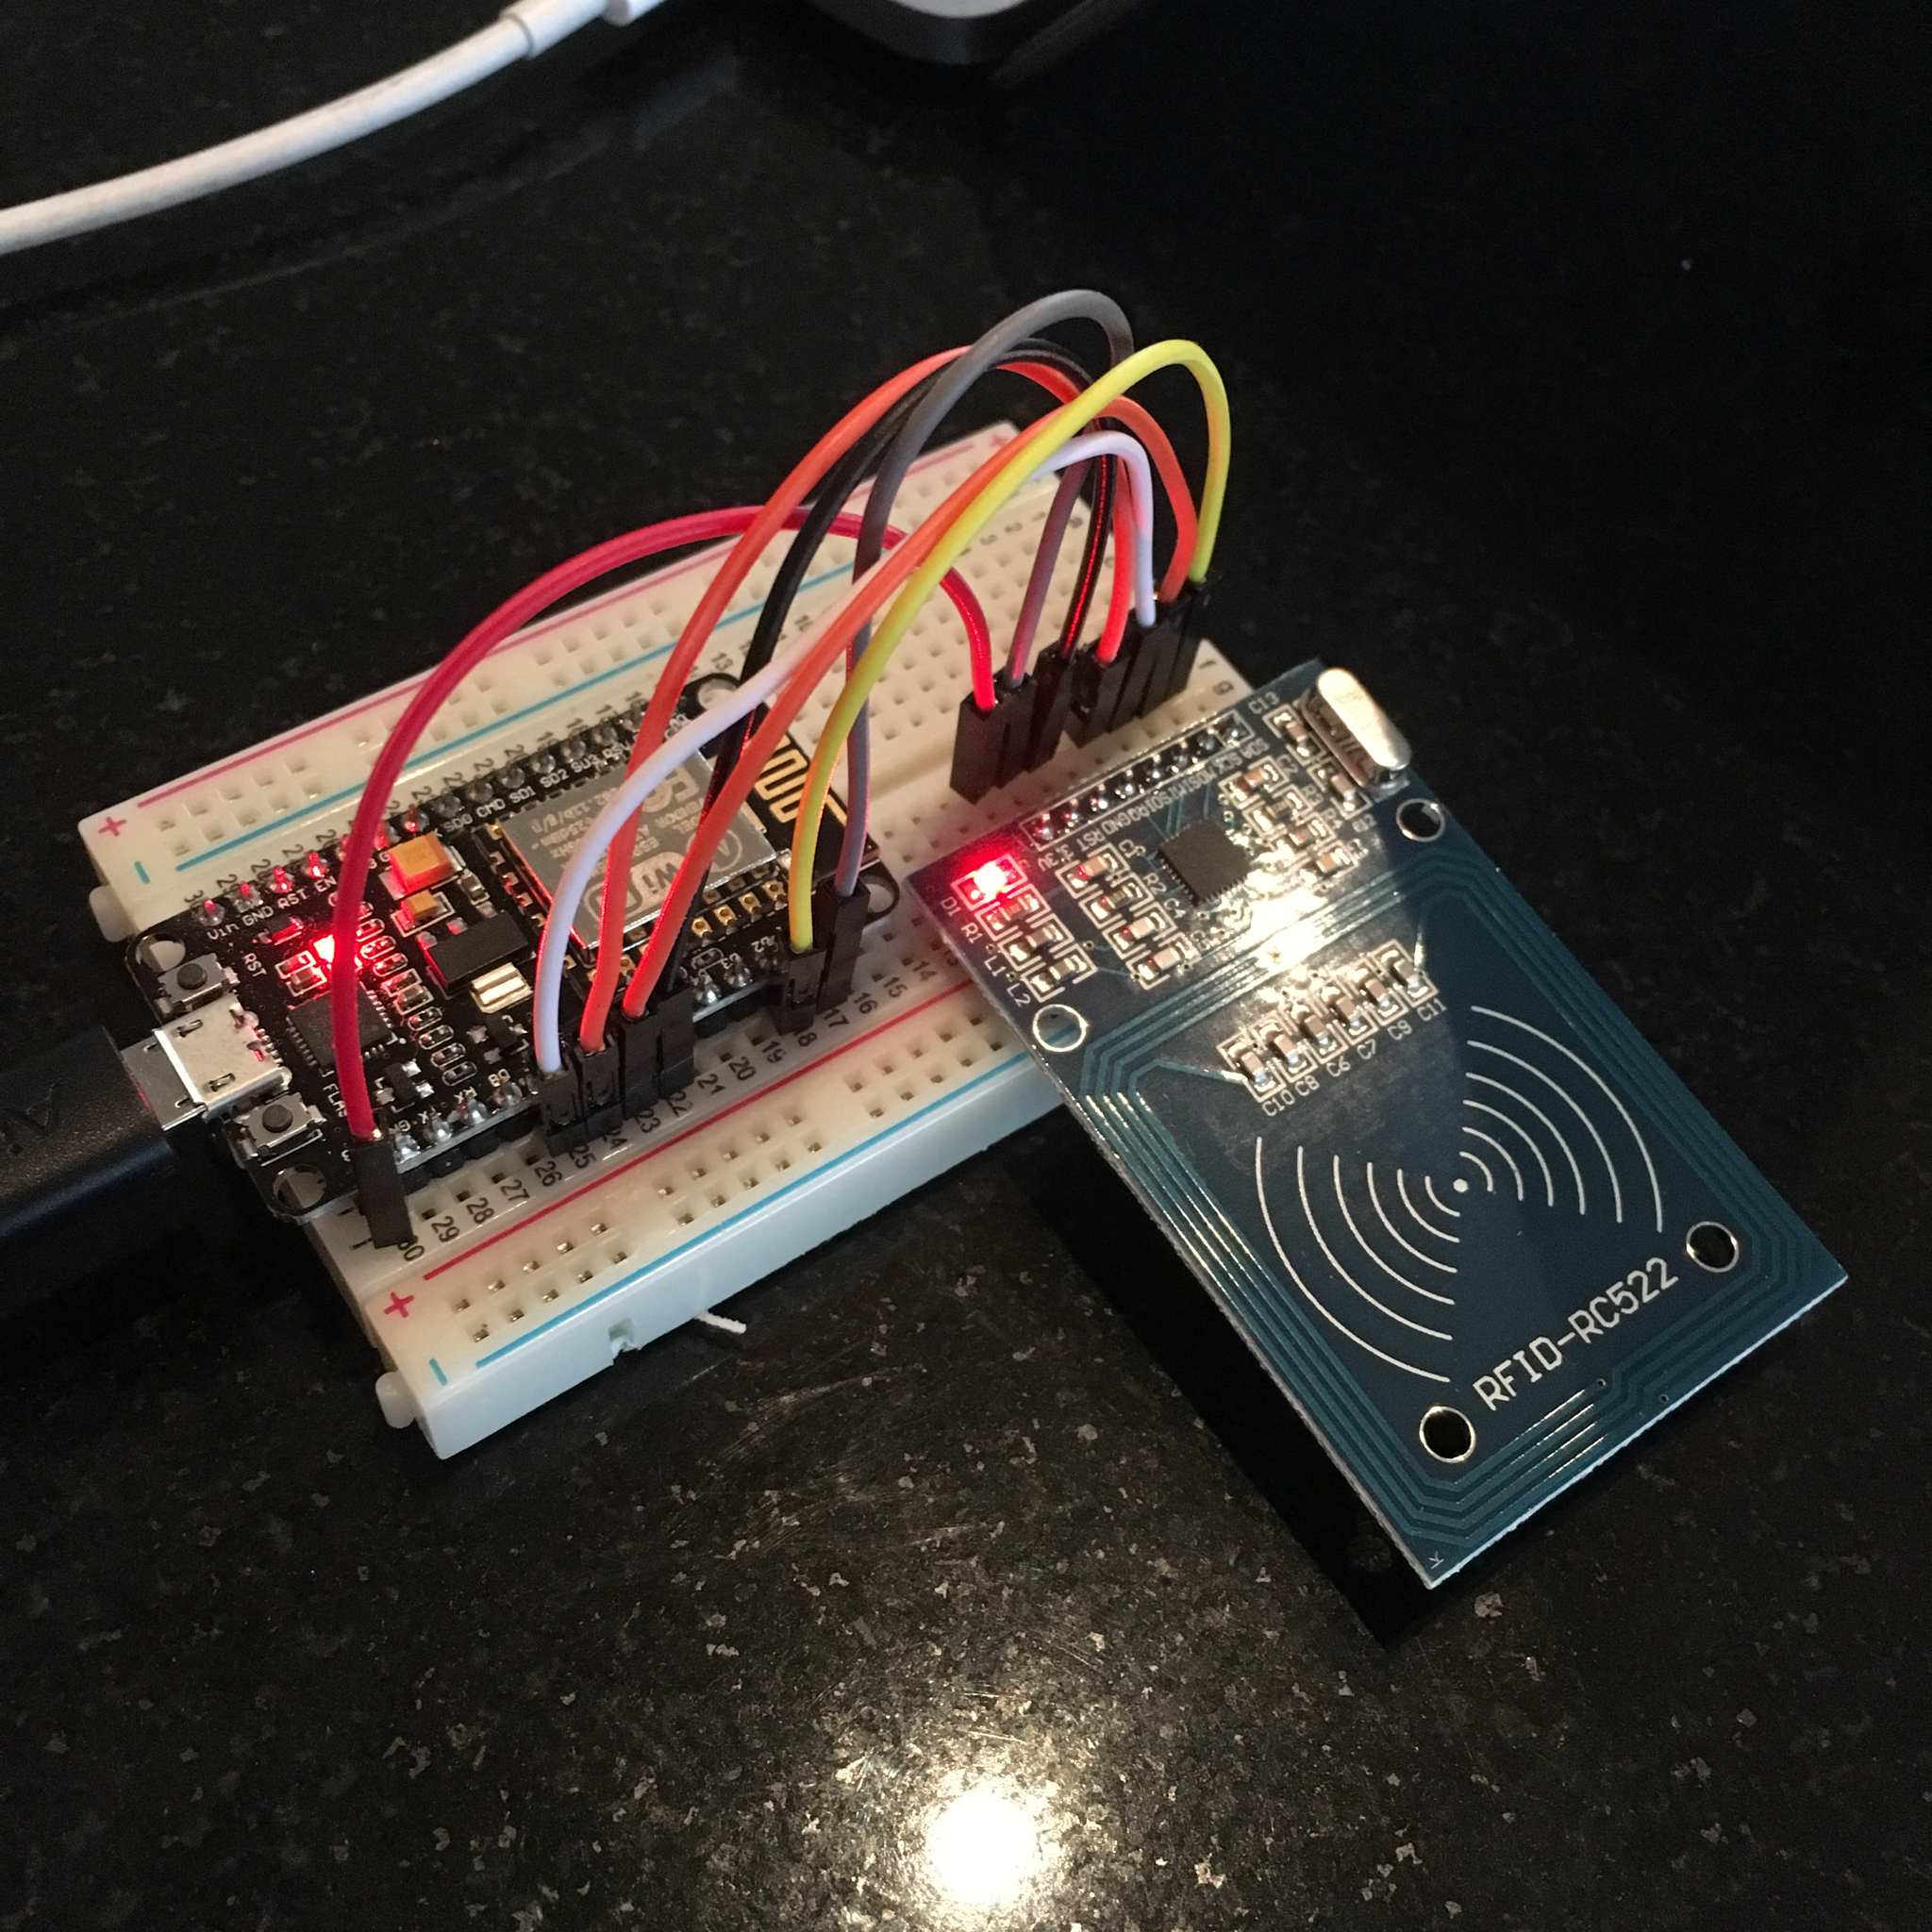
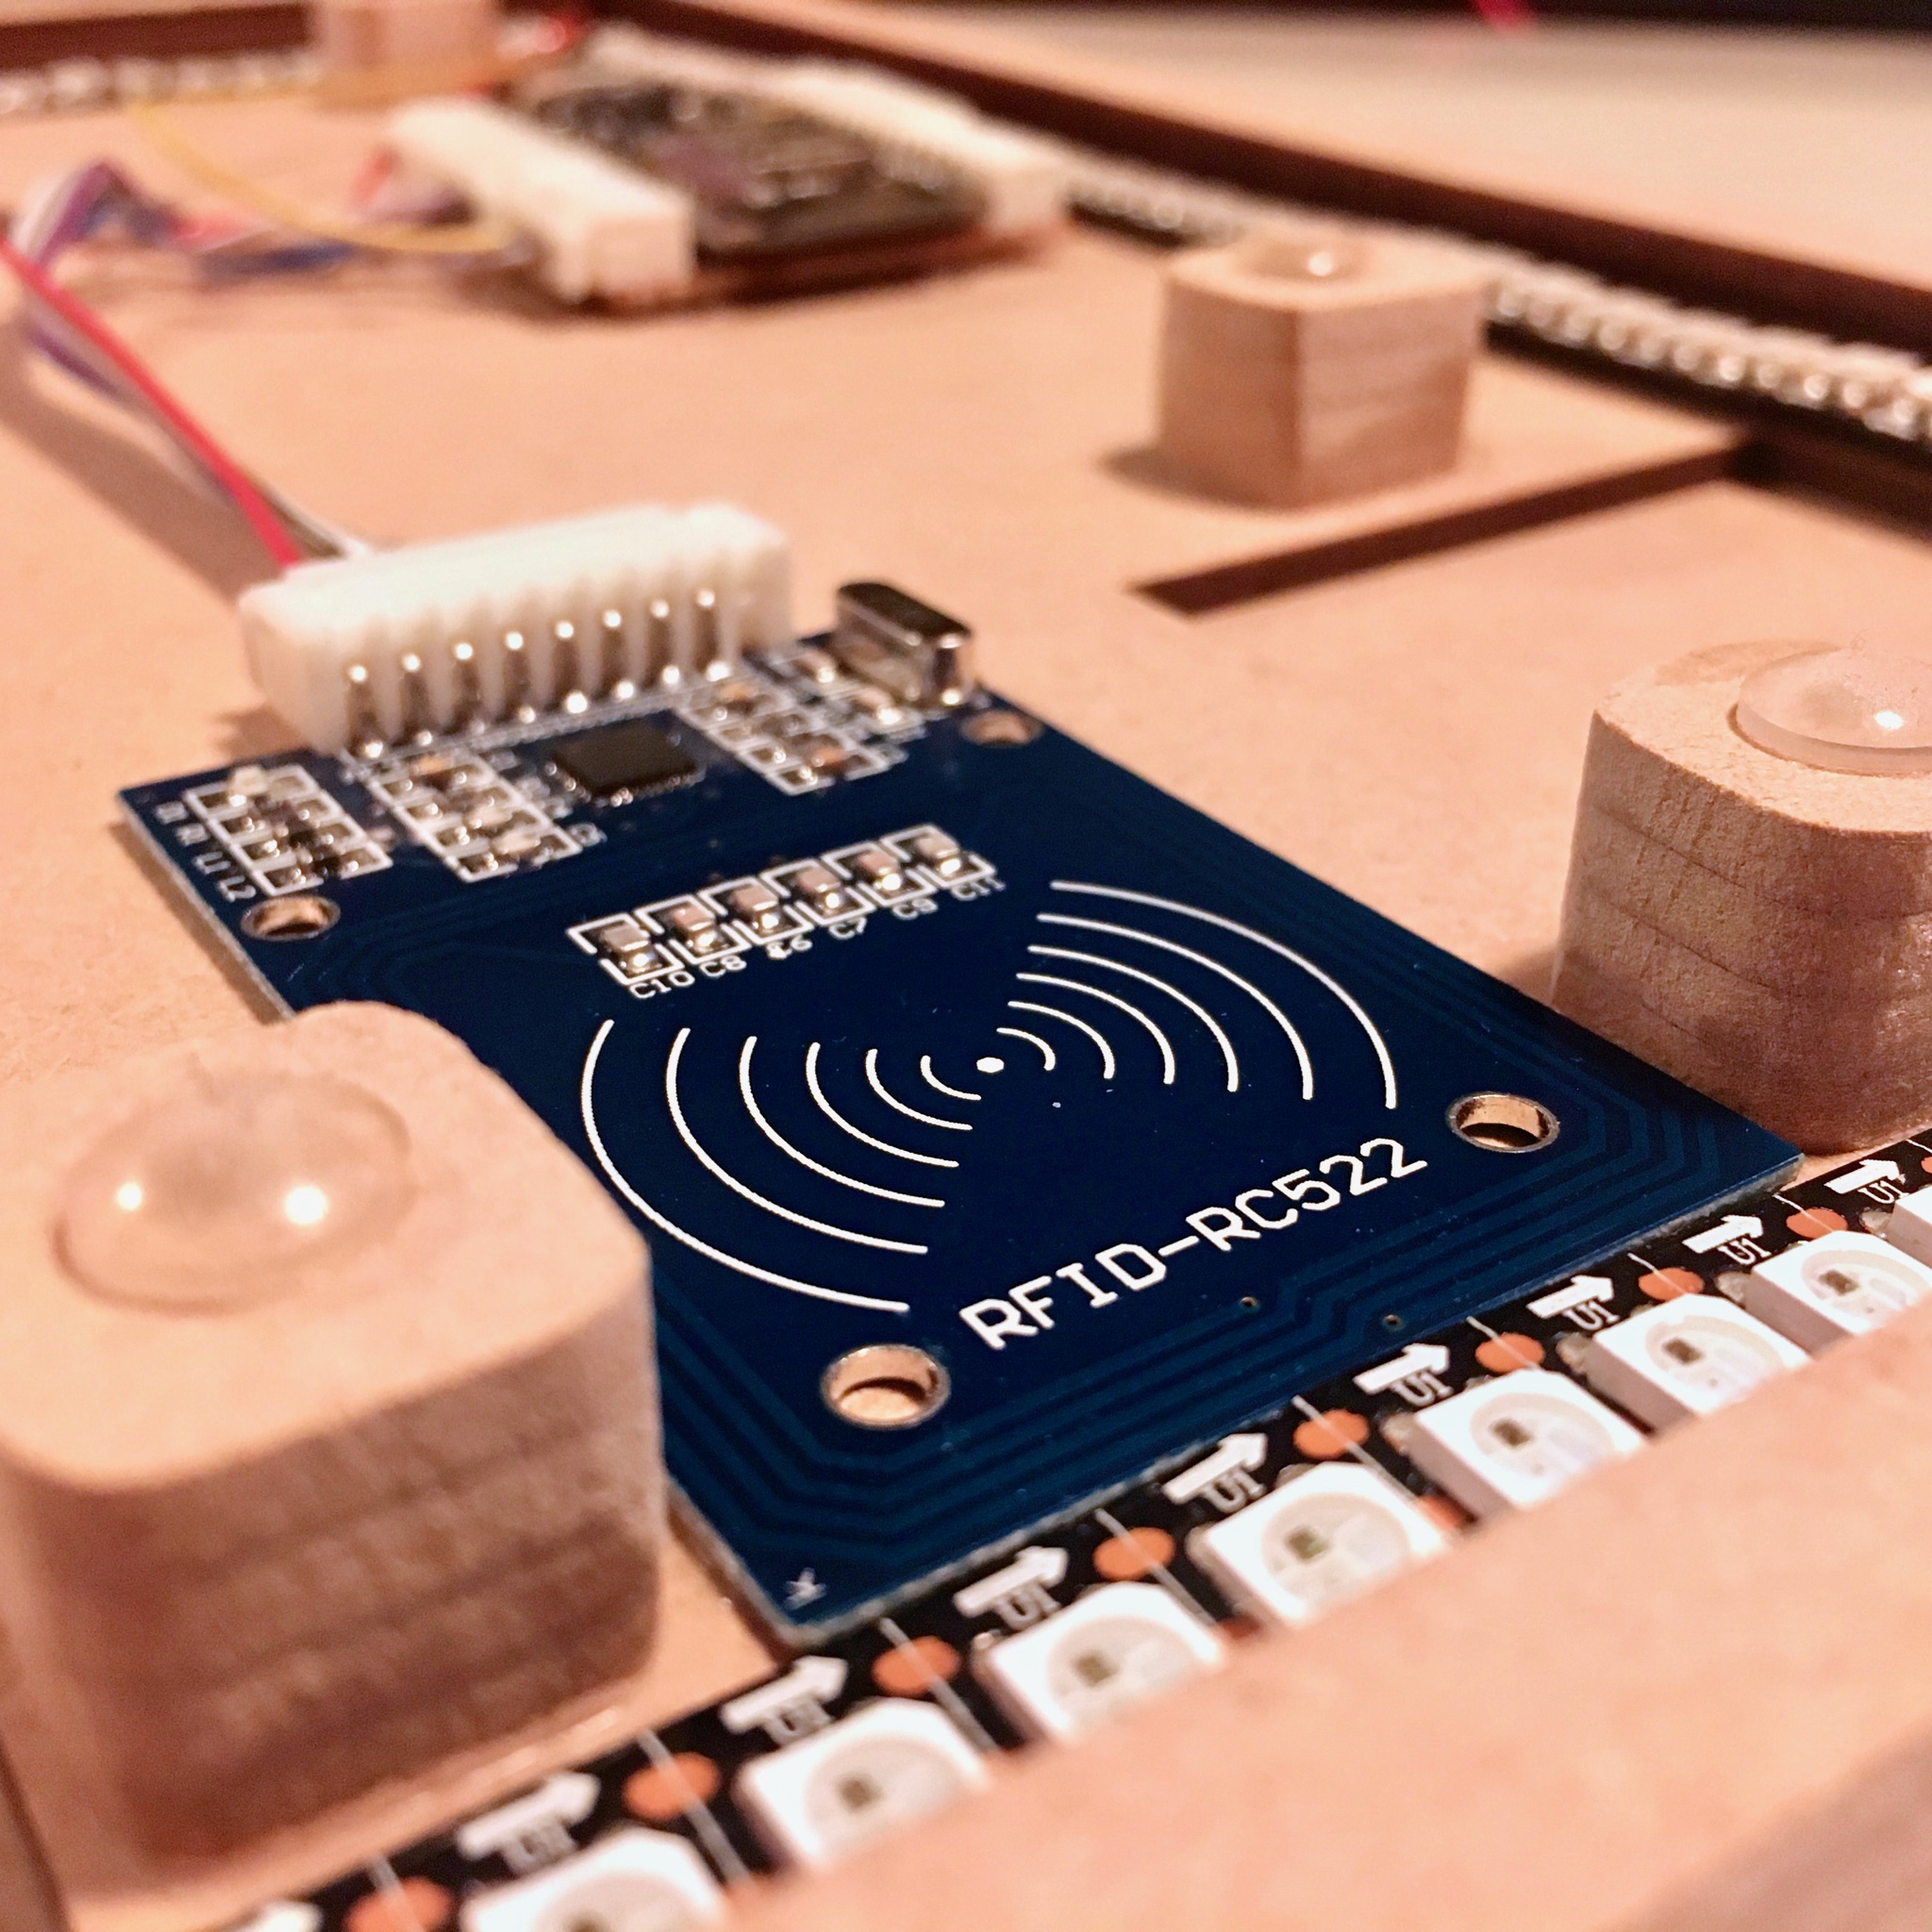
The first thing that came to mind was the RC522 RFID reader that I ordered over a year ago. After plugging it on to a breadboard to confirm I could use an ESP8266 to read out the RFID Unique Identifiers, I knew I was on the right track.
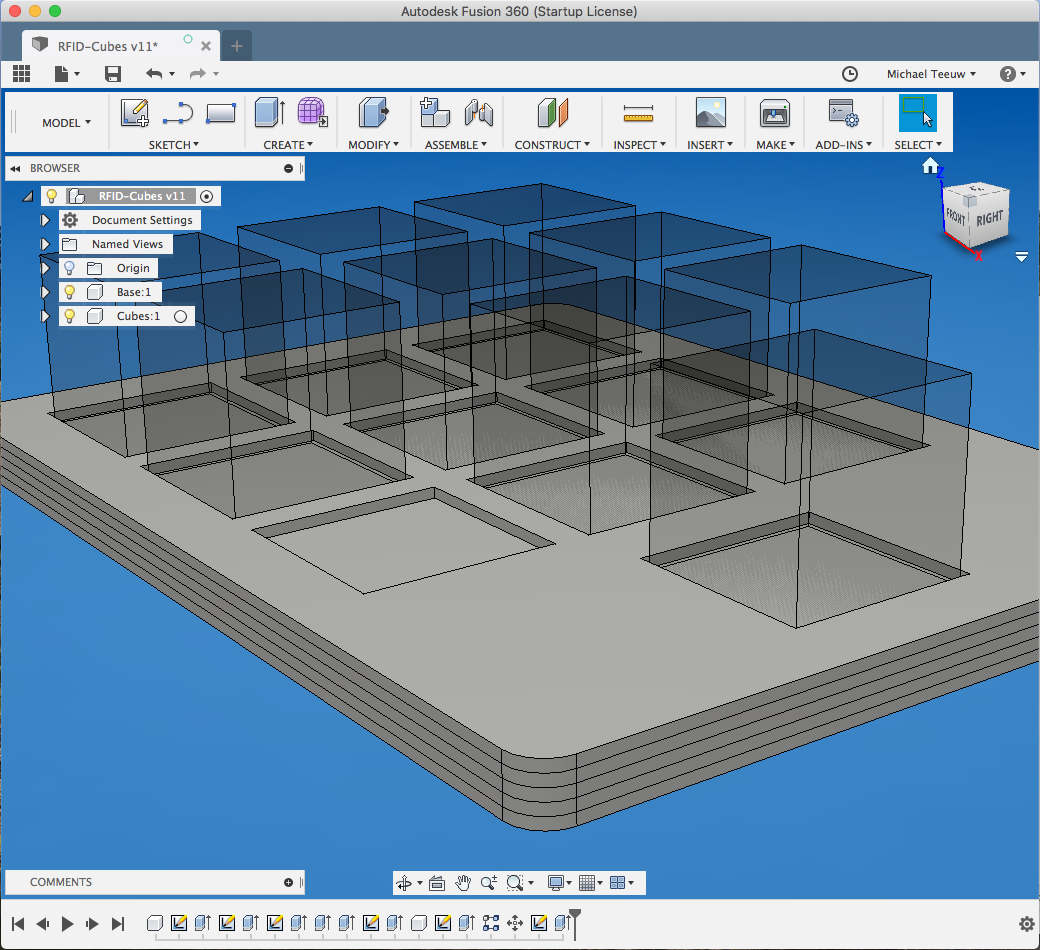
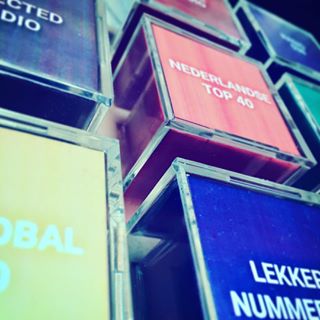
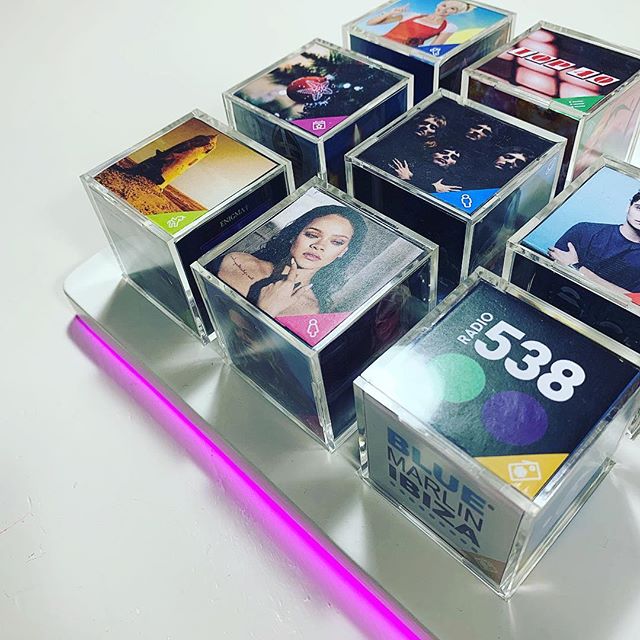
My initial idea was to add RFID tags to the original CD jewel cases. But after playing around in Fusion 360, I came up with a different concept which was a little more abstract. If I use cubes in stead of the jewel cases, it would allow me to have 6 RFID tags per cube. With a set of 9 cubes, this would allow me to play 54 playlists, streams, or artists. It also gives a more futuristic look and feel to the design, which is still an analog interface.

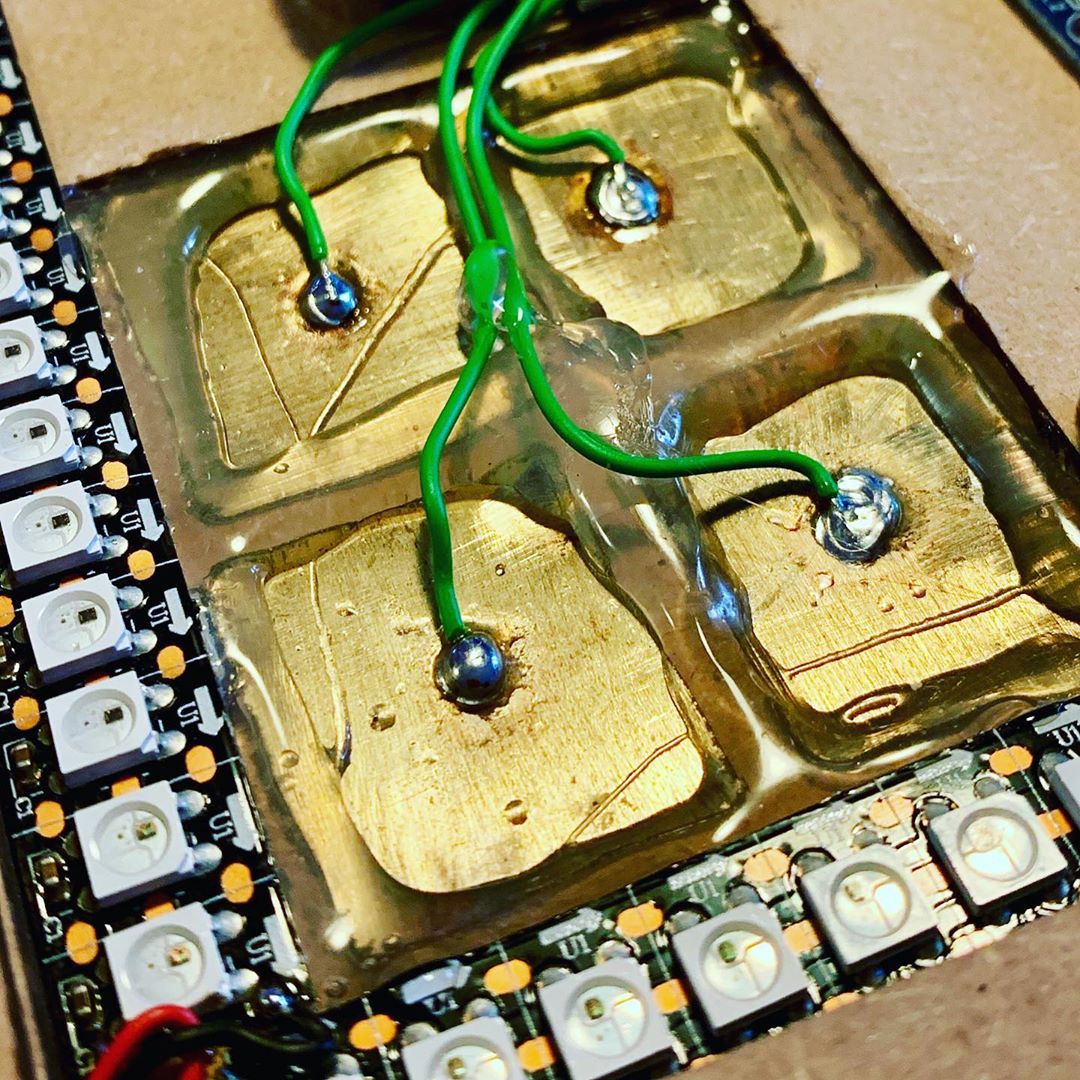
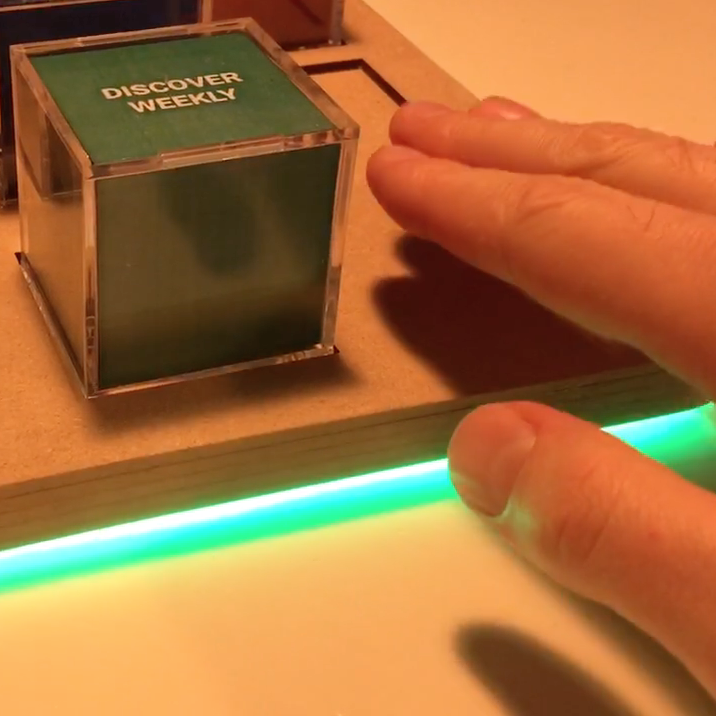
Fusion’s render function really shows what I want: 9 acrylic cubes on a high-gloss white tray. The tray will ‘float’ in the air. LED illumination from below is used to confirm user interaction. One separate recess will contain the RFID reader and function as the play-bay. The empty planes next to the play-bay will get capacitive touch sensors to control the volume of my Sonos system.
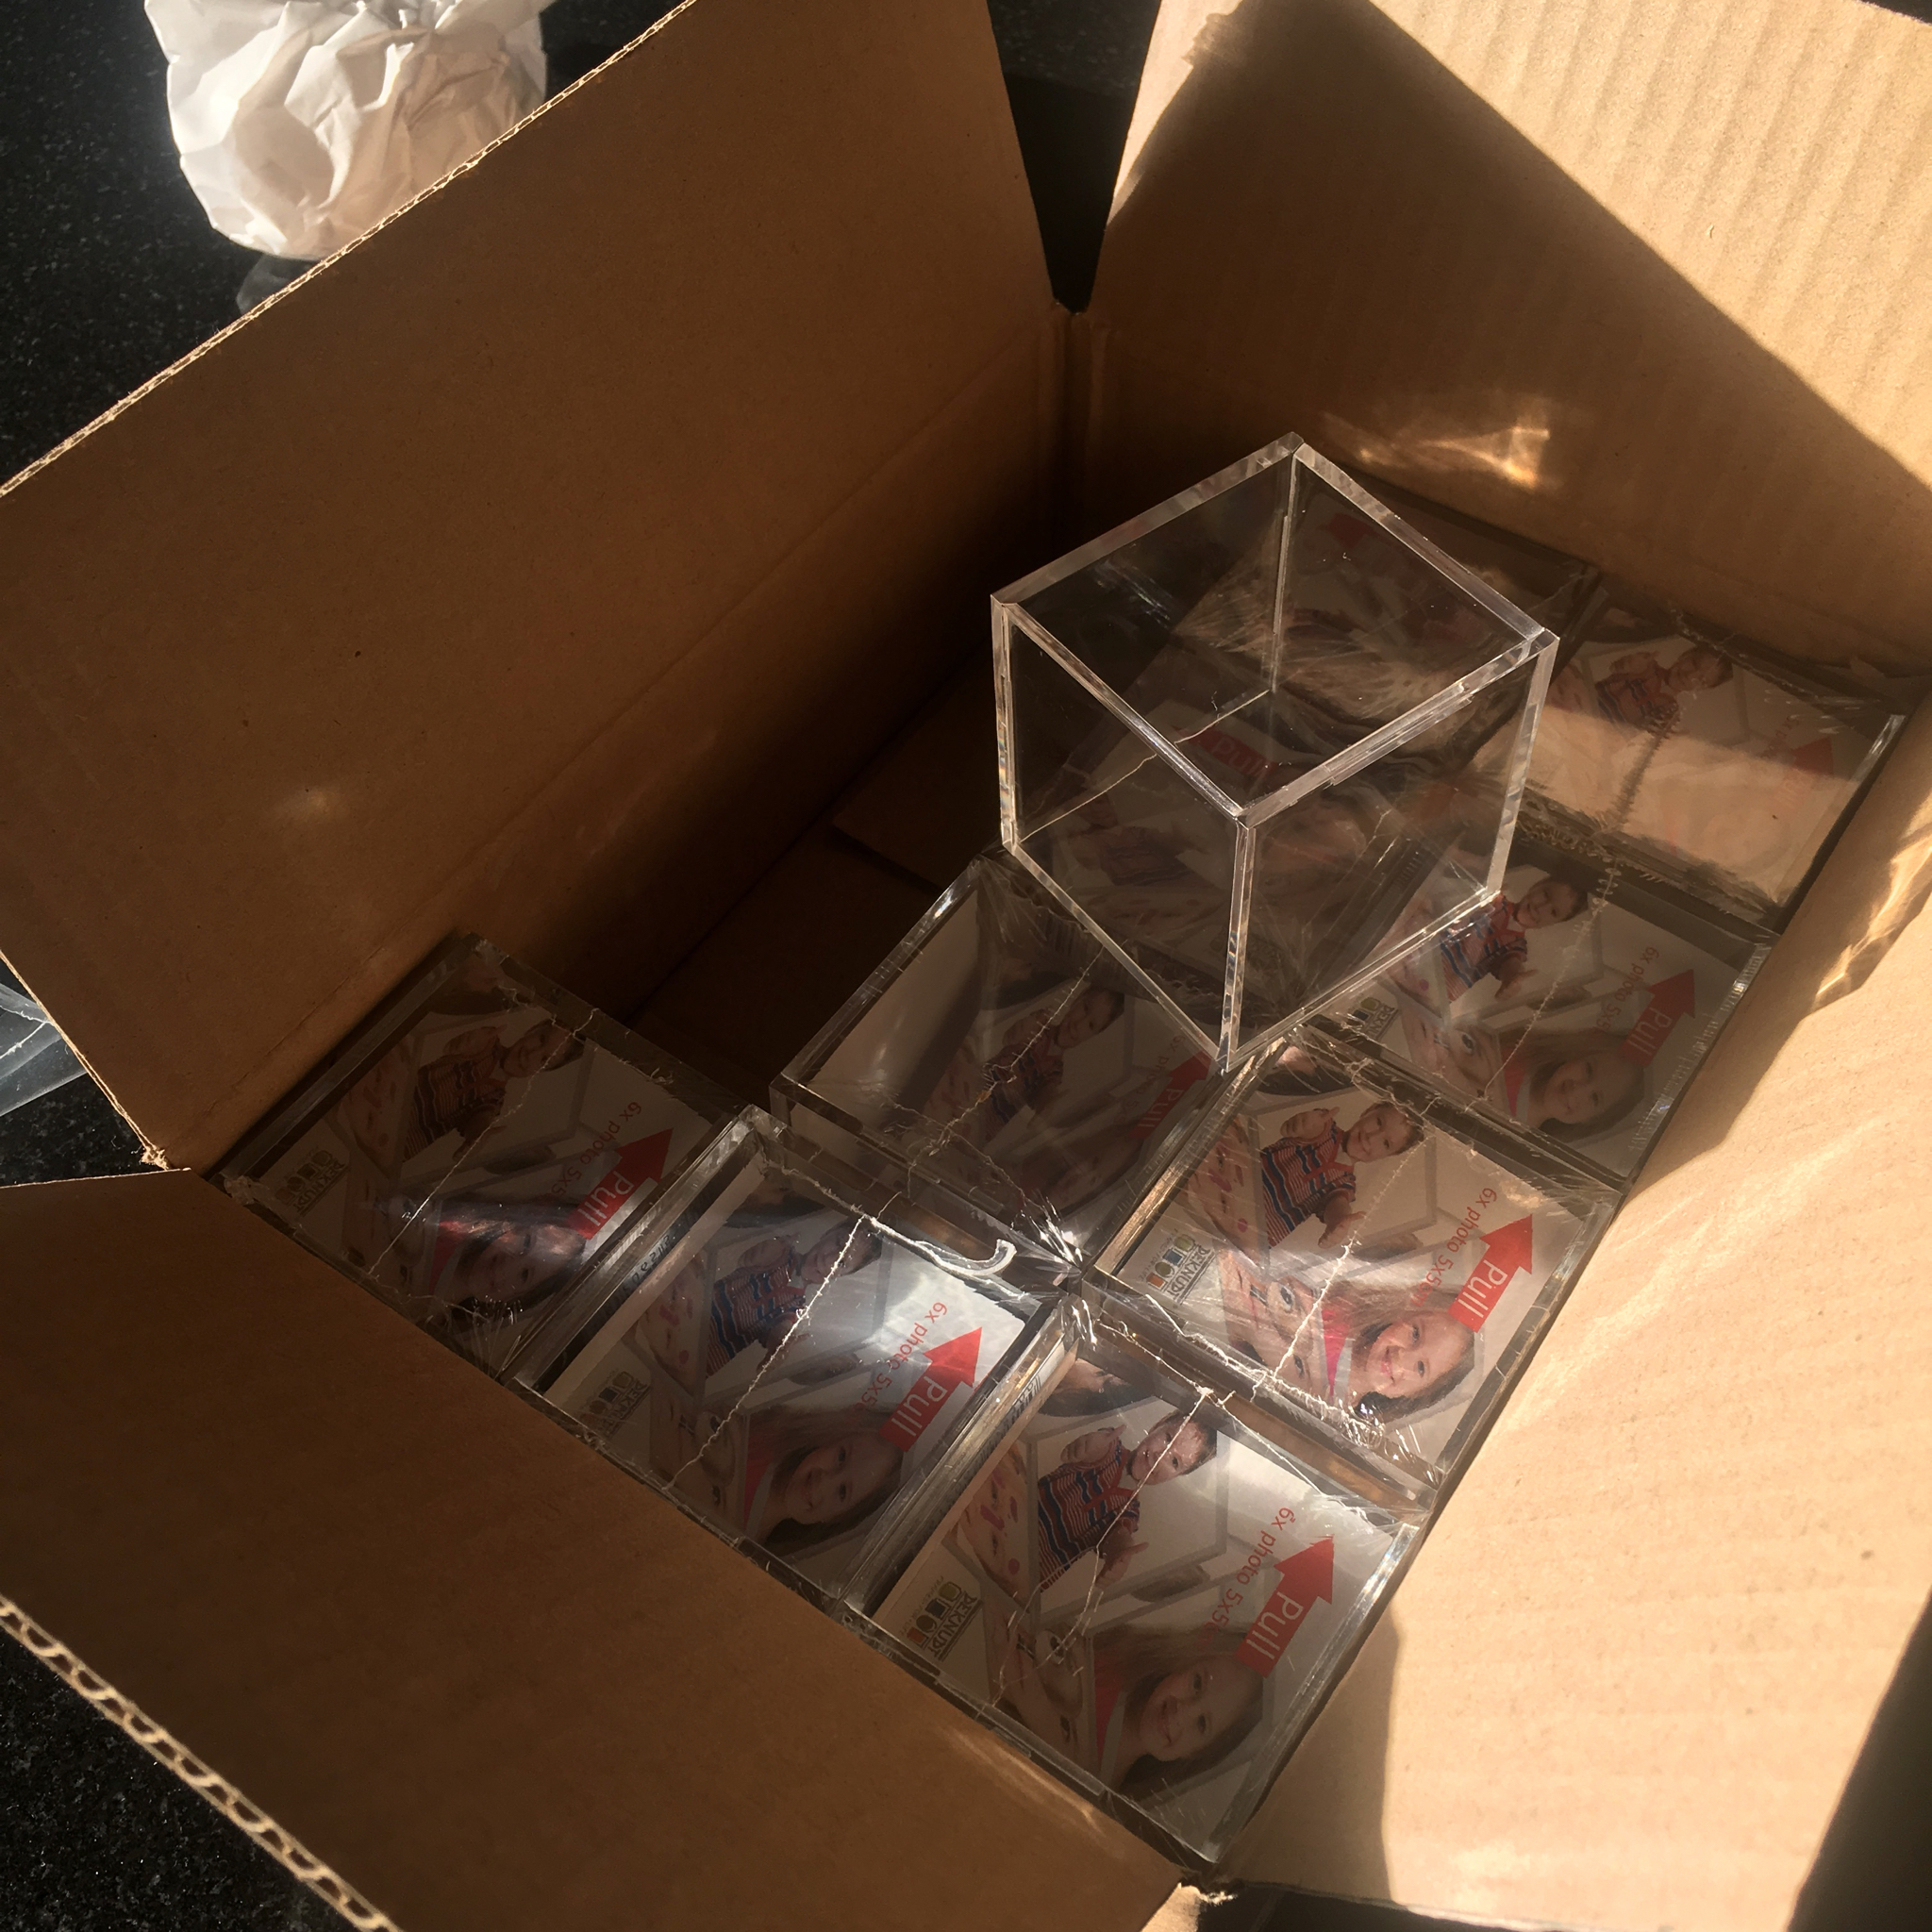
Of course, the cubes won’t be fully transparent. To show which cube plays what, I’ll be using 50x50mm photo cubes. This allows me to print inlays showing album covers, icons, artist photos or station logo’s. Finding these photo cubes took me a while, so if you are looking for them, check out this link.
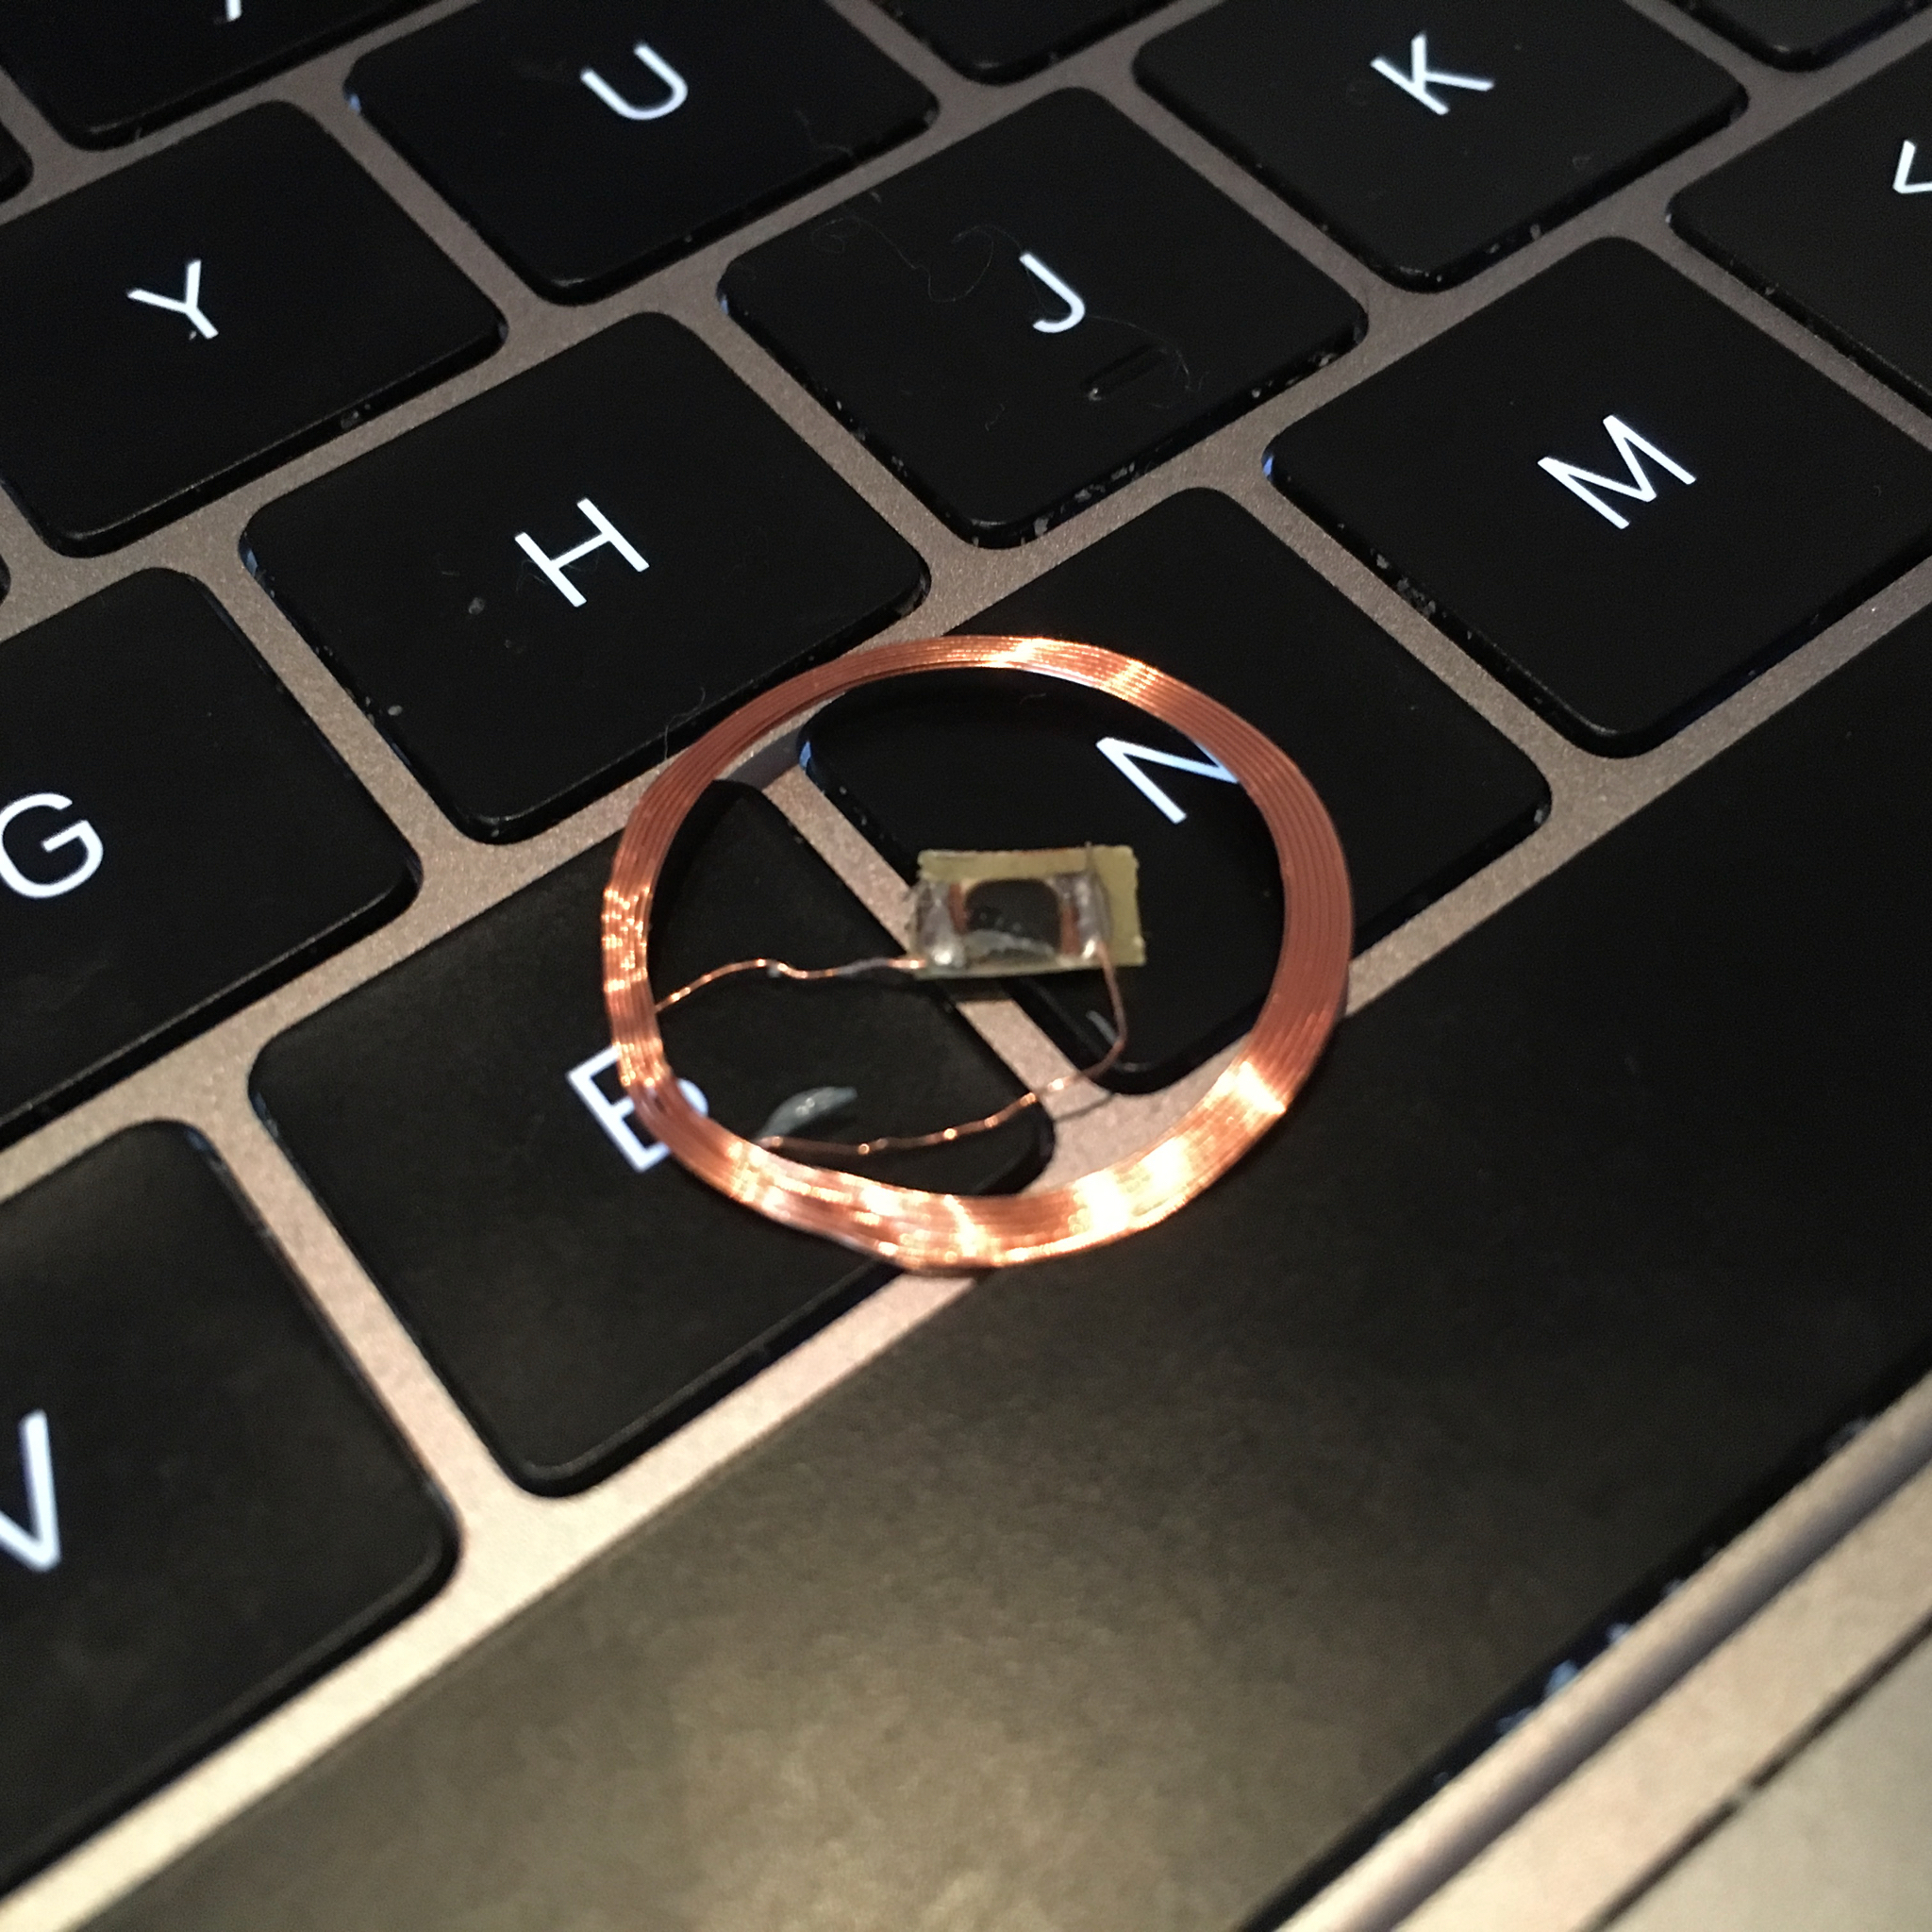
I initially wanted to use the RFID tags extracted from the key chain tags. But since extracting these is a pretty tedious process with a high risk of damaging the RFID tags, I checked AliExpress to see if there was a better solution.
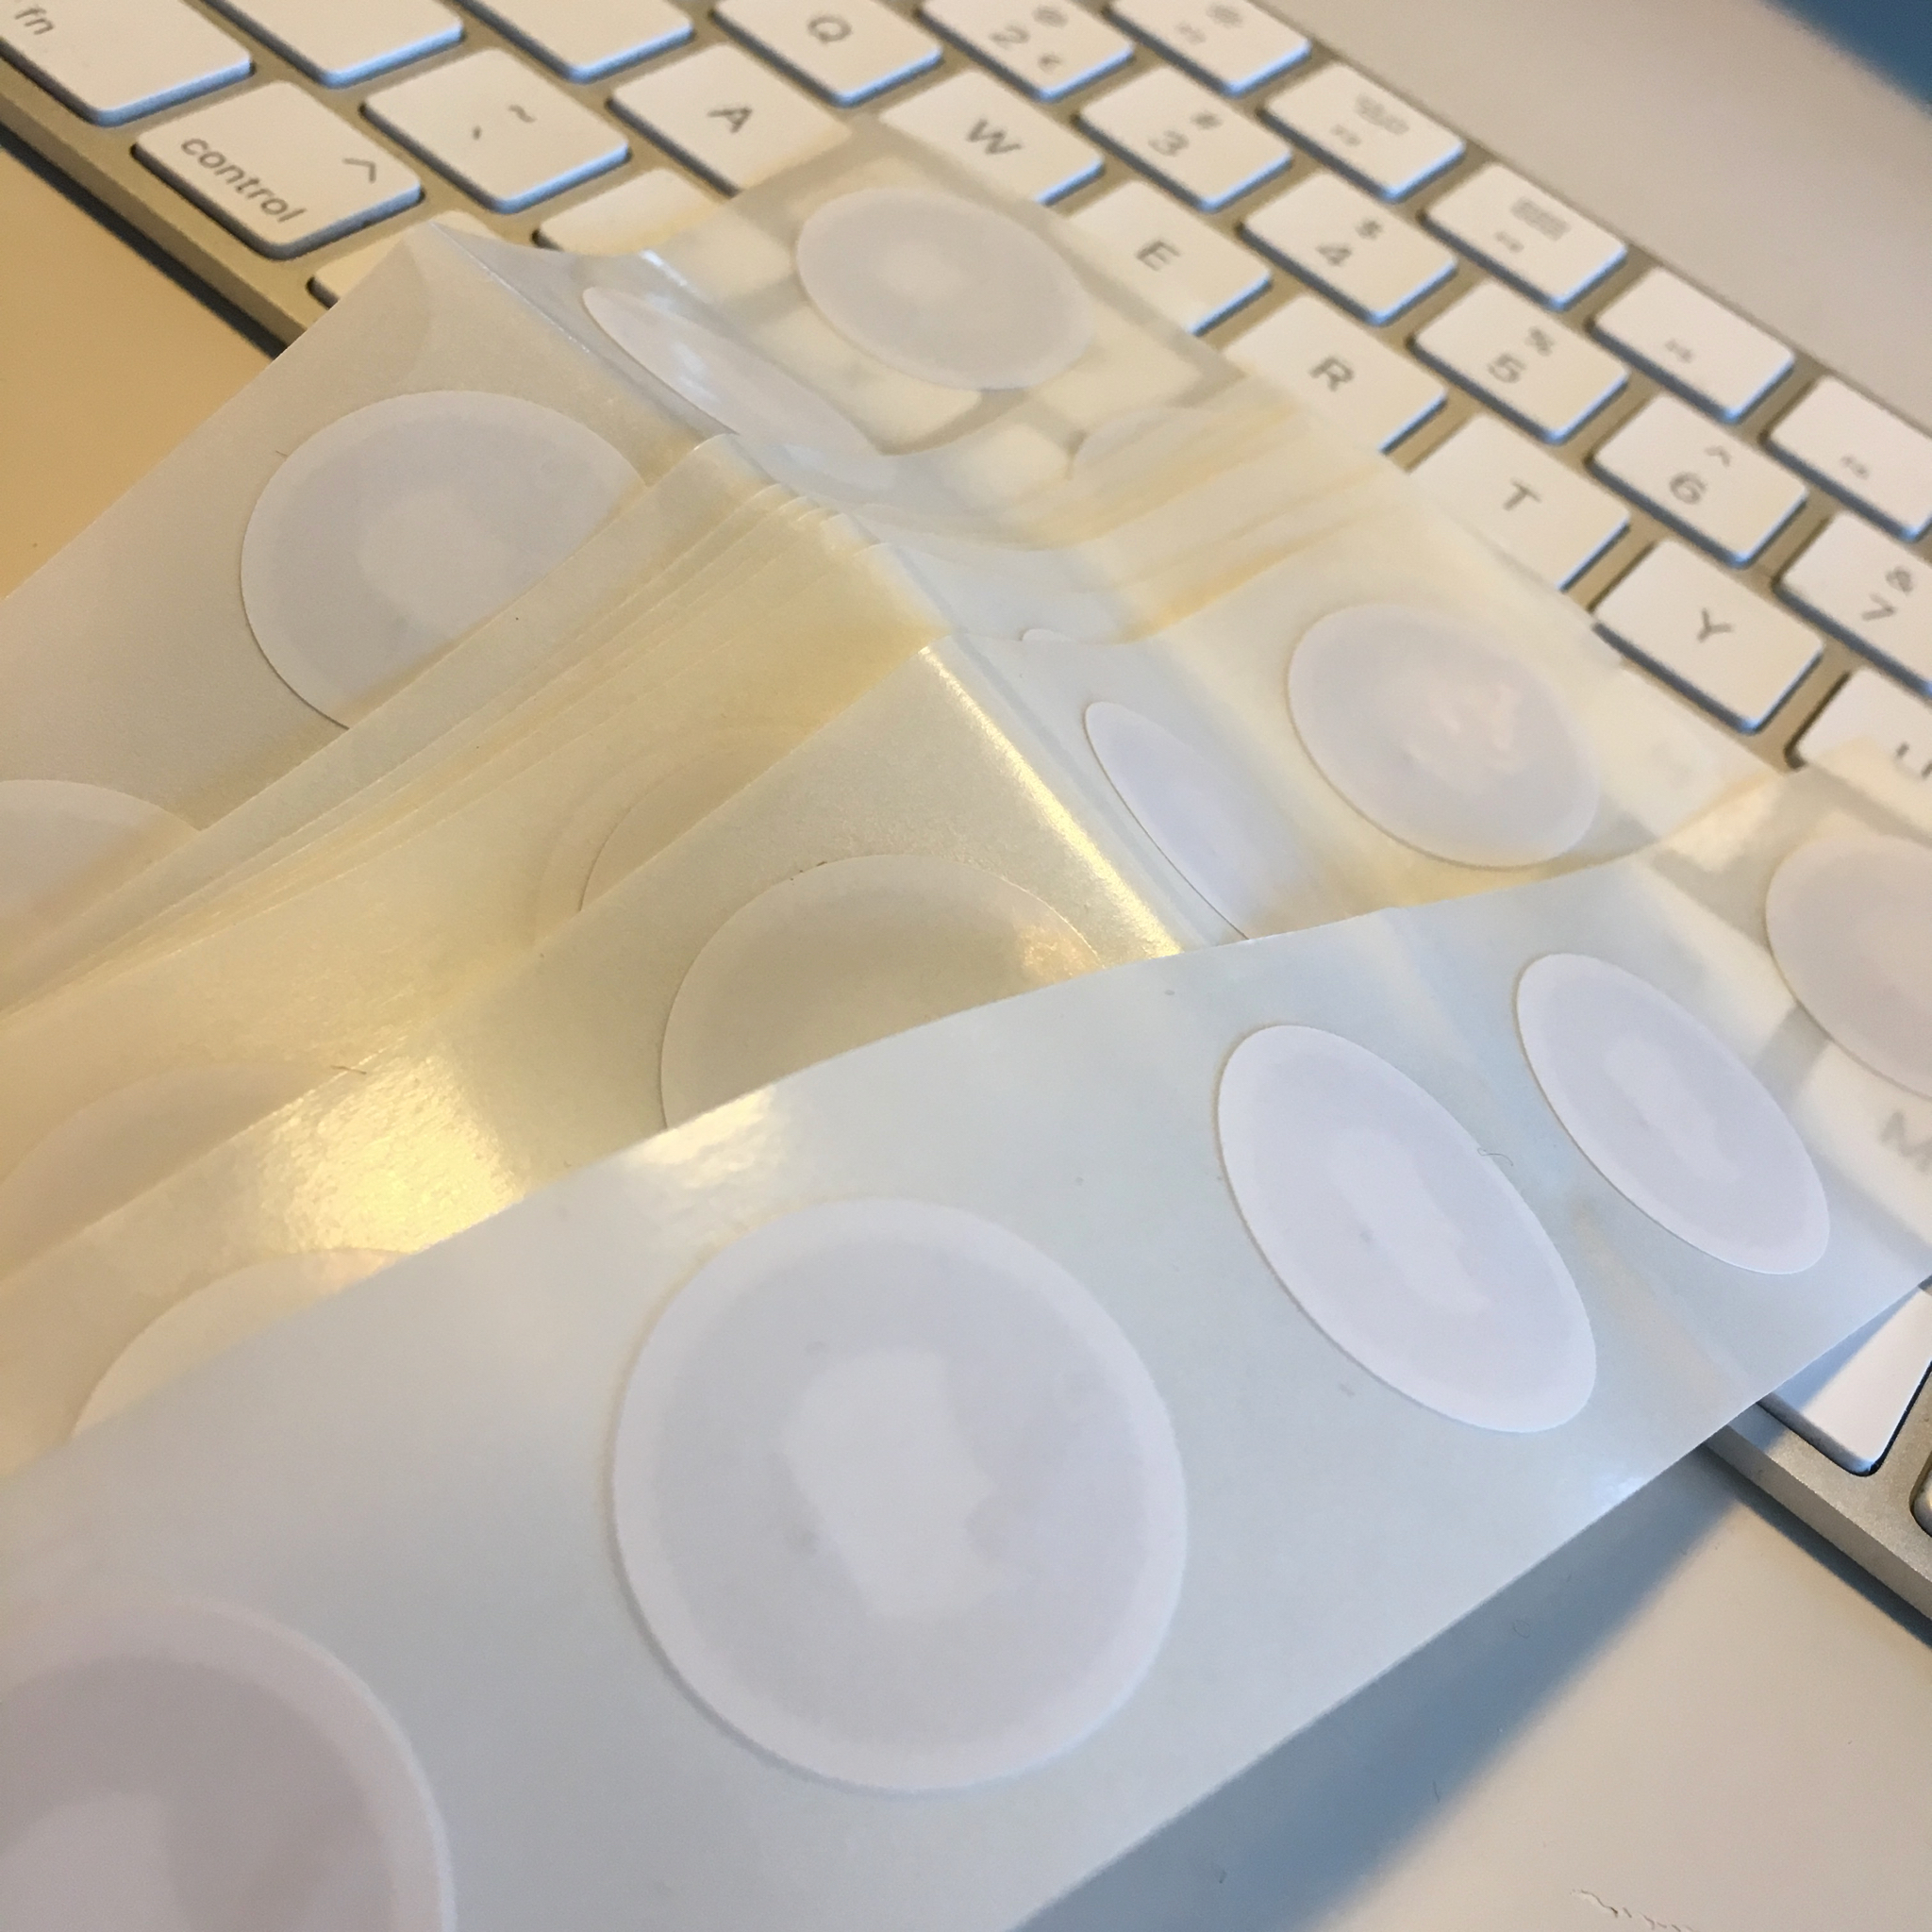
And luckily it turned out there is! For around 10 cents a piece you can buy RFID stickers. This makes the process way easier, and not unimportant: way cheaper.
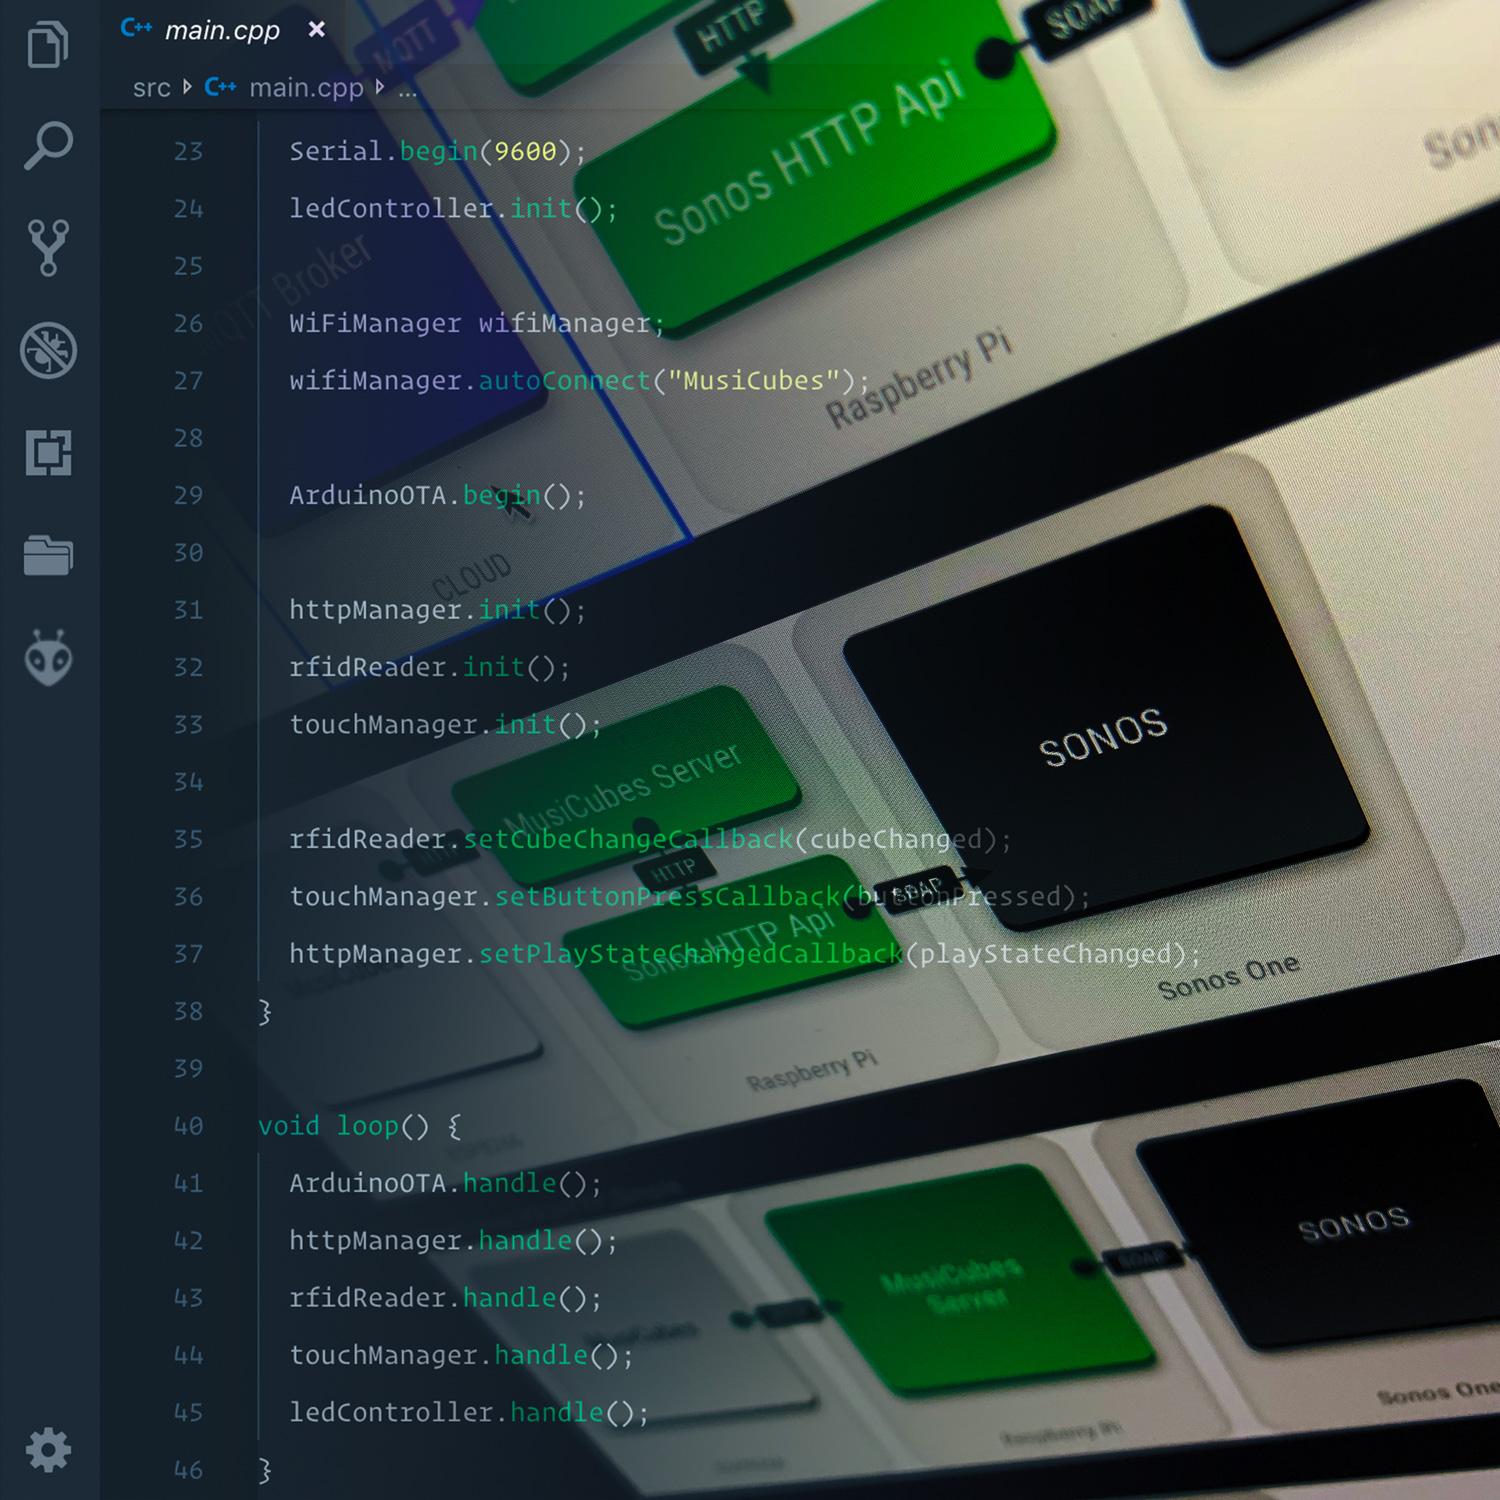
There was one issue that I needed to check: since the 6 tags are contained within the 50x50mm cube, I was worried the RFID reader would pick up more than one tag a time. To make sure it would only pick up the bottom one, I built a small demo. And since I was coding anyway, I decided to hook it up to my Sonos to give me an impression of the result.
Awesome! This works perfectly. Time to start working on the real deal. Unfortunately I don’t own a laser cutter (yet). But luckily the good folks of Snijlab.nl run a perfect service to quickly order the parts I need.

So only a few days later I received this exciting package … the first parts of the MusiCubes controller!
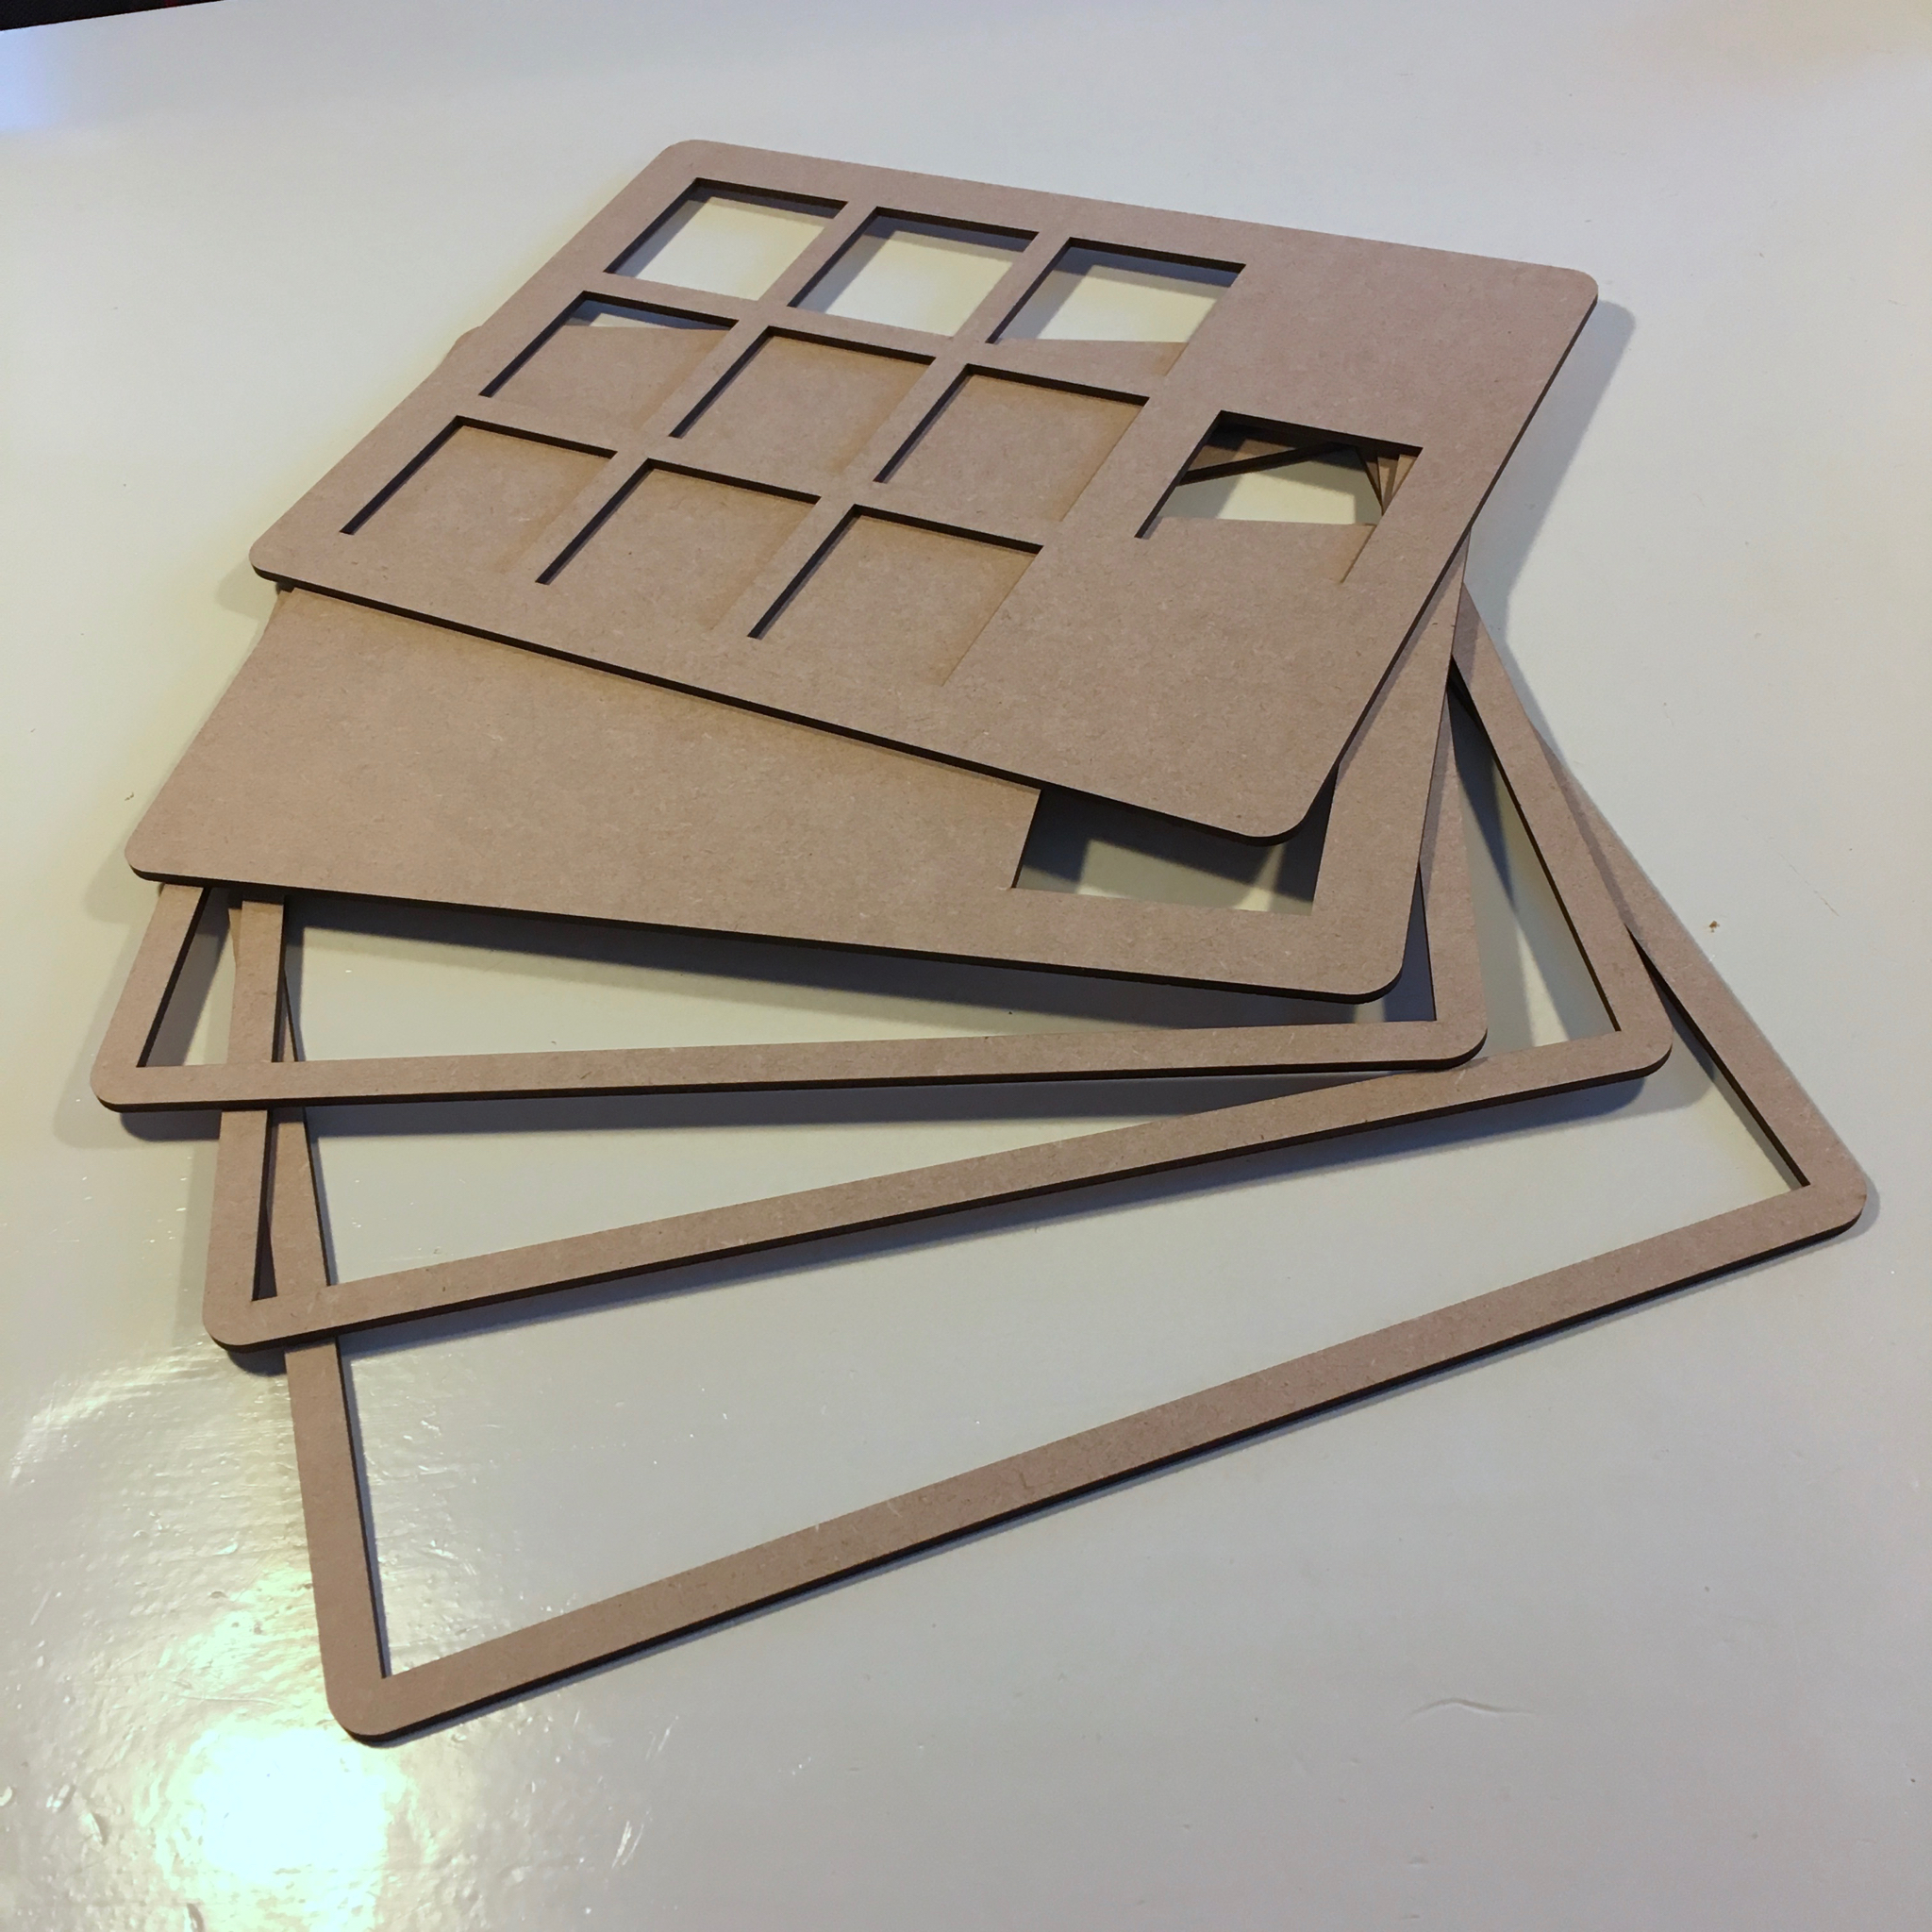
These are the 5 layers that together will form the MusiCubes base tray. Next step: gluing them together and adding the electronics.
Make sure to keep an eye on my blog to follow the next steps of this projects, or follow me on Twitter and Instagram to be notified of the updates.
See you in two weeks!
MusiCubes: Assembling The Tray
