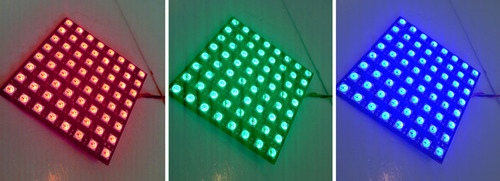
As told a few weeks ago I was quite successful in blowing up my Adafruit Neopixel NeoMatix. Not once, but twice. And although the bypass was a nice workaround for the time being, I wanted a more permanent fix for my beloved LEDs.
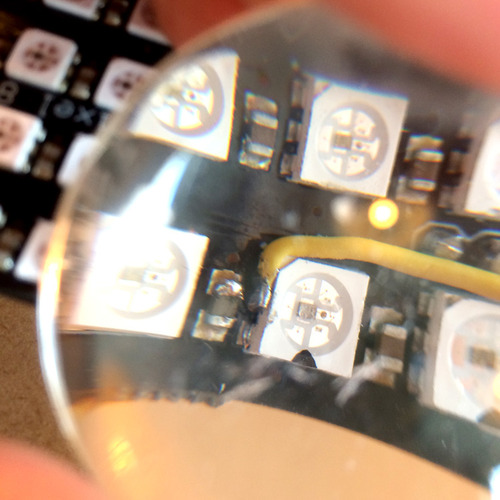
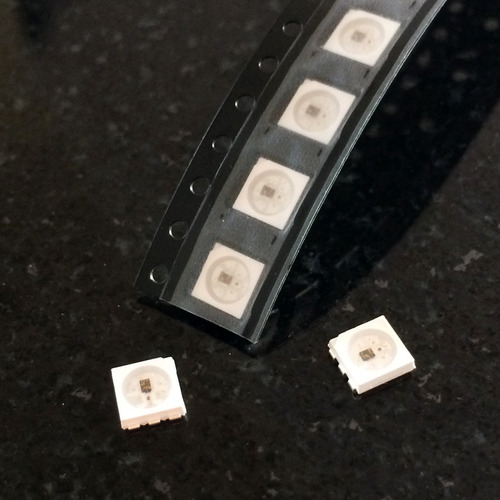
First I needed to figure out which of the NeoPixels is needed to repair my NeoMatrix. Luckily I only had to choose between the 6 pin WS2812S and the 4 pin WS2812B. Because counting to 6 is one of my talents, I managed to order the right NeoPixels …
In my expectations, removing the old Pixels would be te easy part. Soldering the new NeoPixels would be the difficult part. Is turned out to be the opposite.
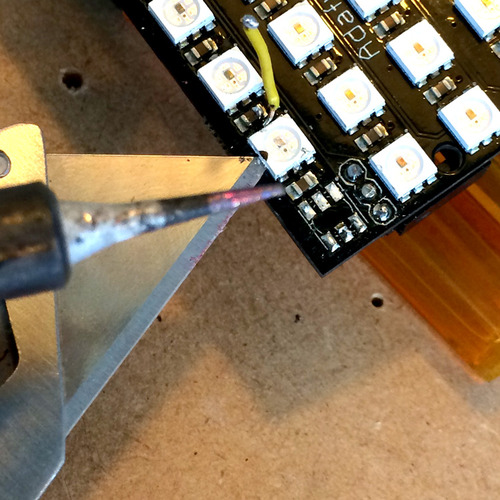
With the help of a sharp knife, a burning hot soldering iron, and some brute force, I managed to remove the two damaged neopixels.
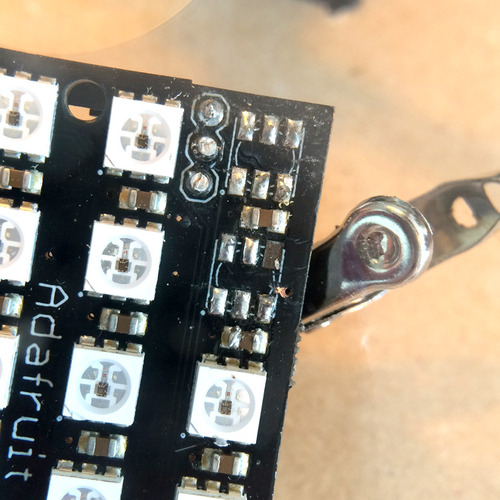
As you can clearly see I used a bit too much brute force and managed to damage one of the soldering pads. After some useless swearing, I figured out this connection is unused. So it didn’t really matter.
Soldering the new pixels went so smooth, I even forgot to take some pictures in while doing it. But hey, just believe me when I say I did it while making a barista worthy cappuccino, and solving a rubrics cube at the same time …

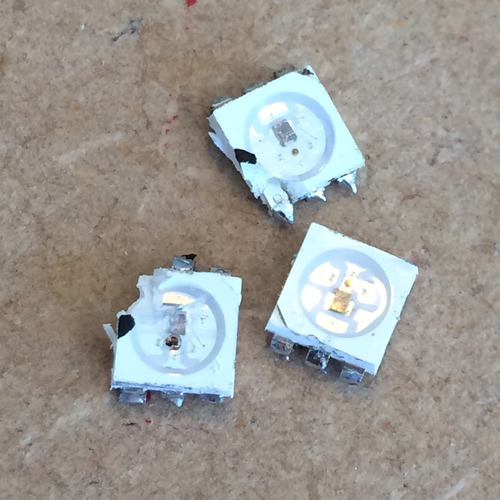
After some measurements with the multi meter. And running a test on one of of my arduino’s, I noticed the 3rd neopixel appeared to have some issues as well. Eventually I replaced three damaged Neopixels.
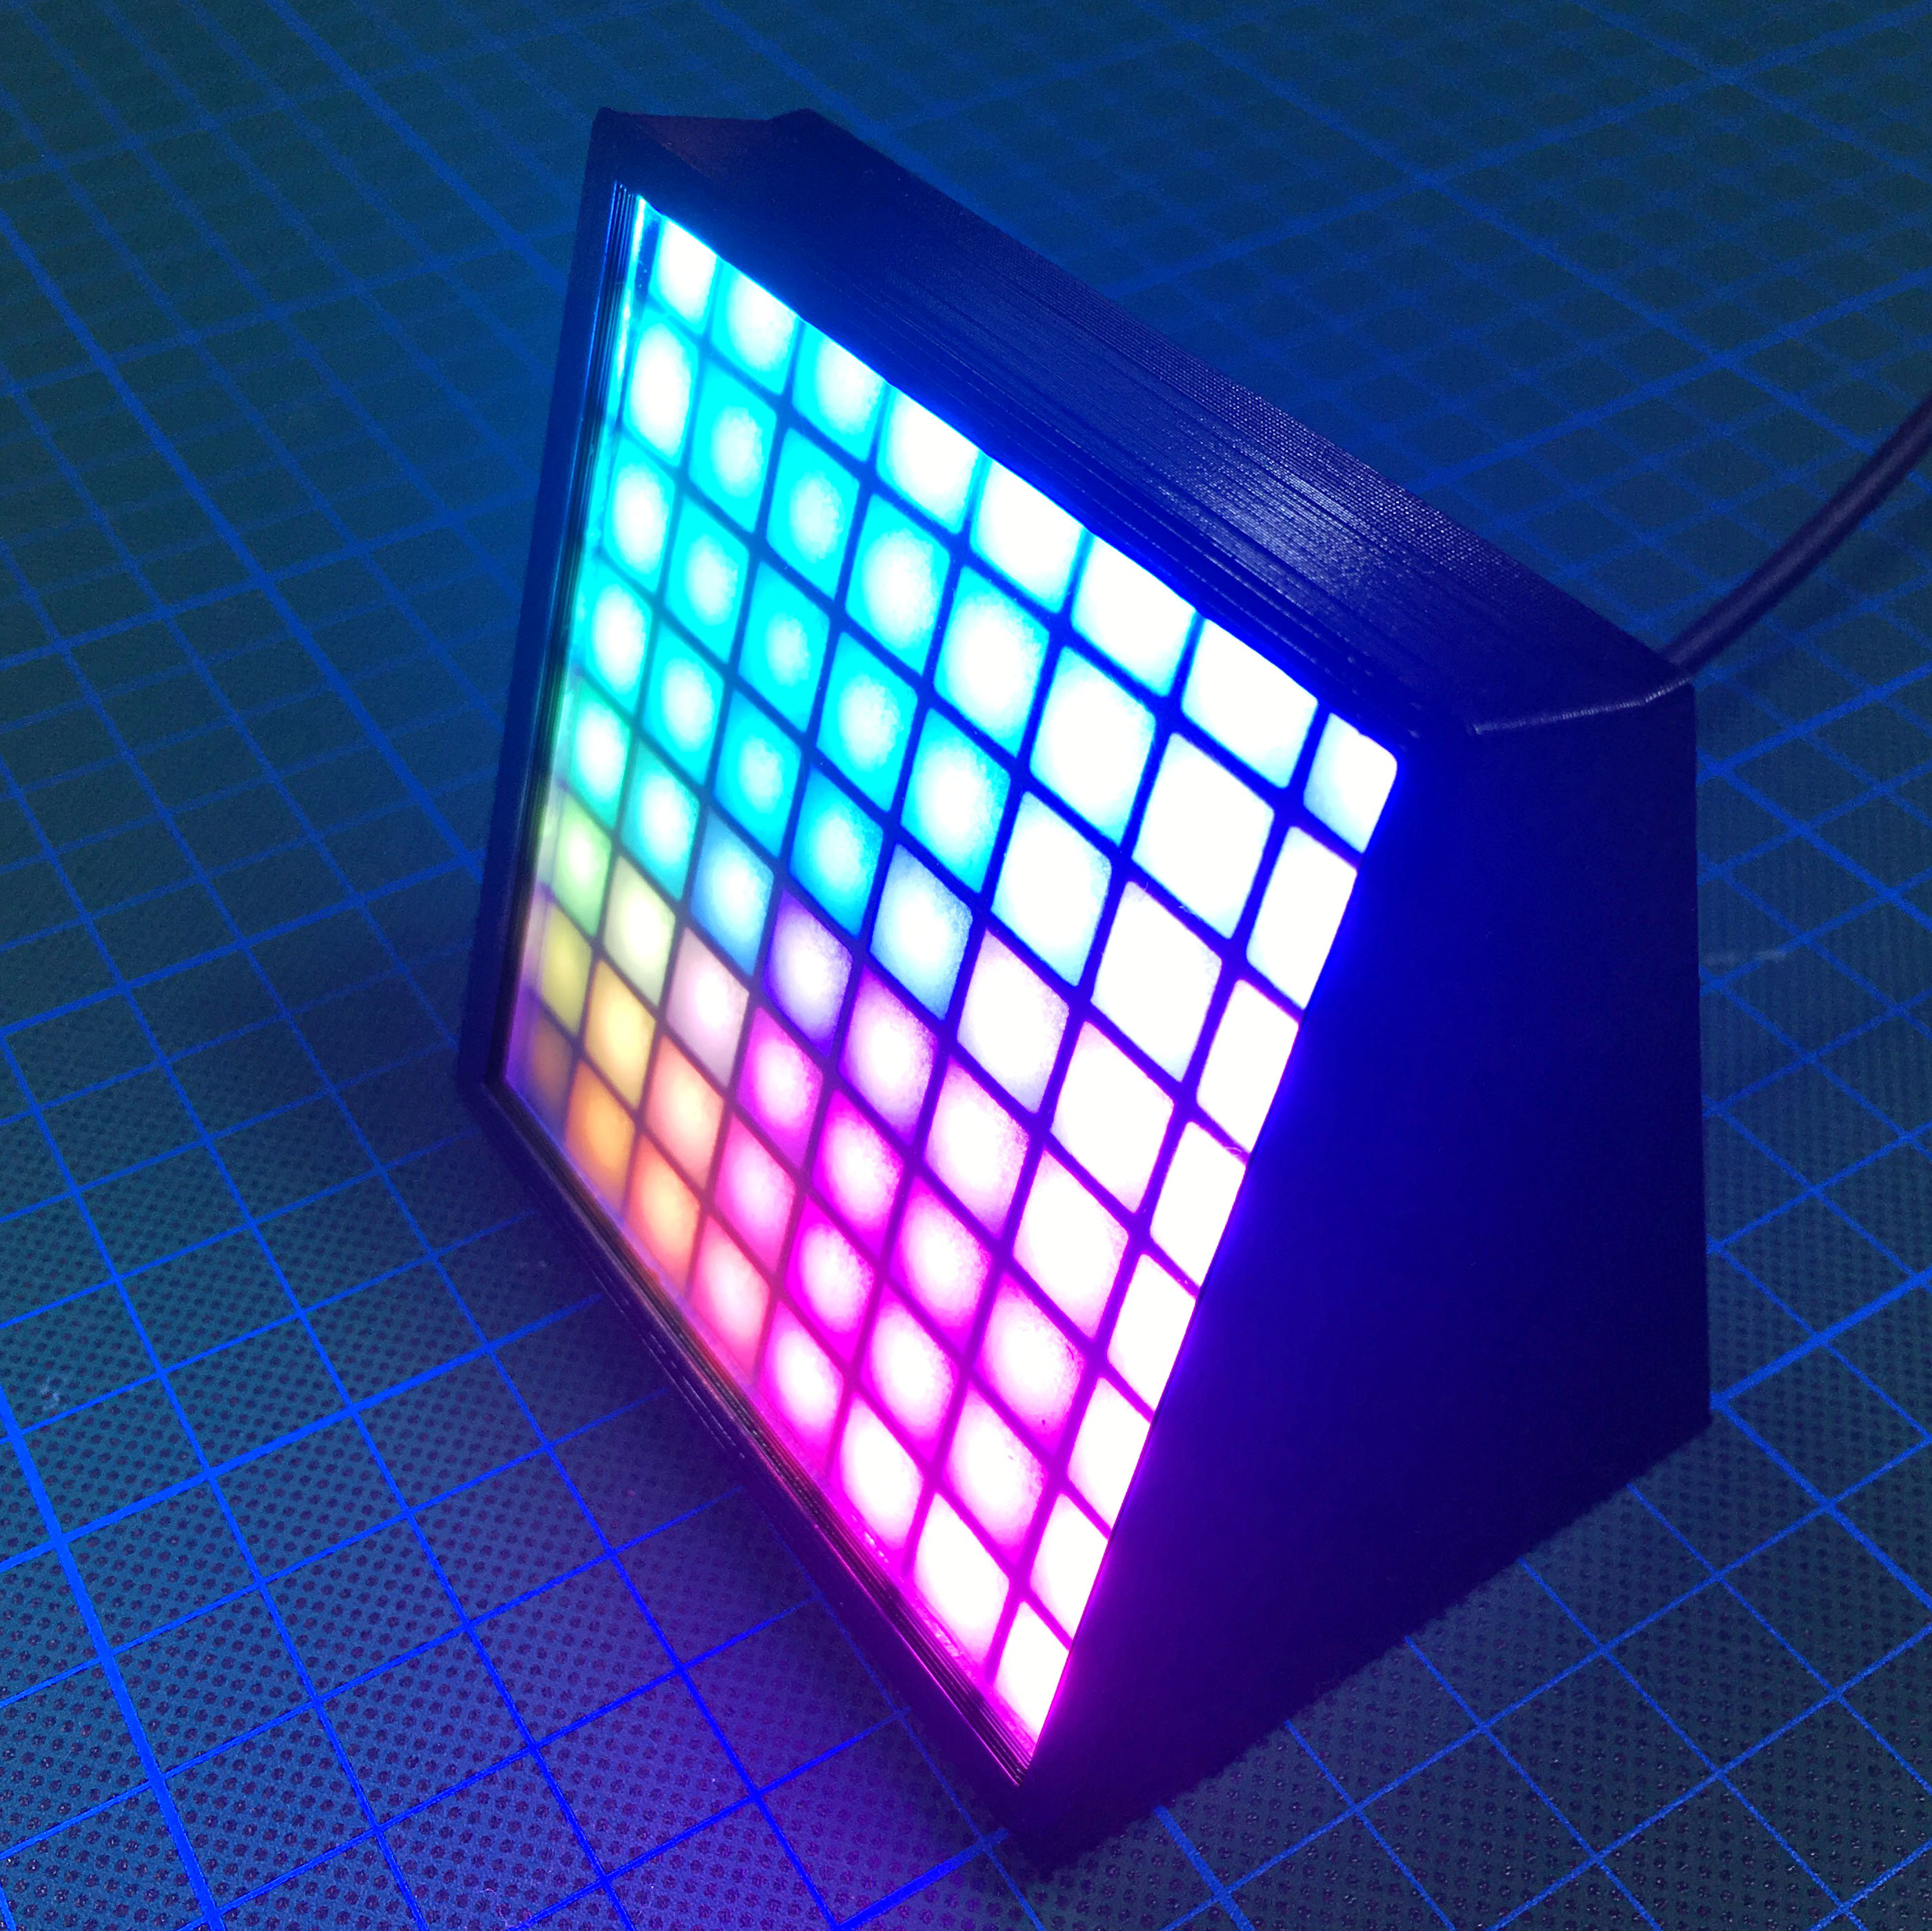
One last test showed me everything worked perfect! Time to enjoy that cappuccino!