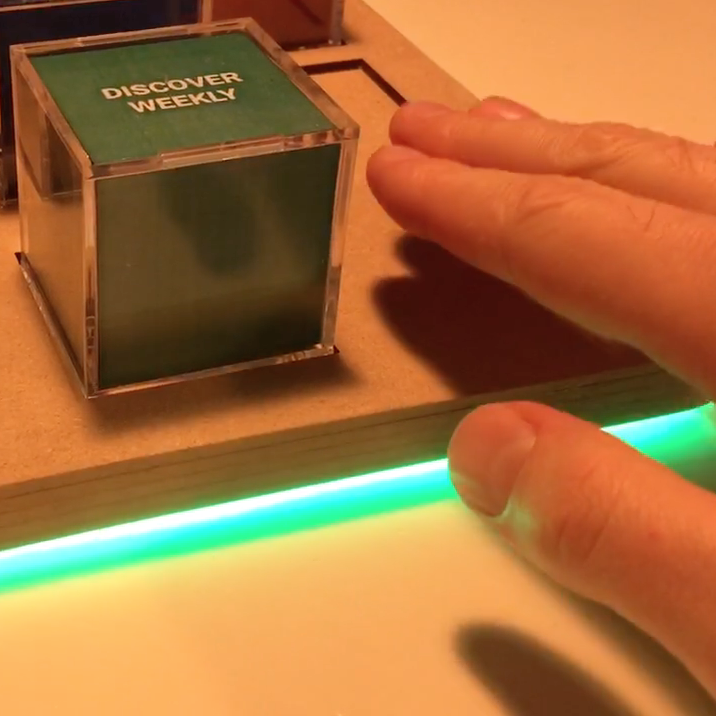
MusiCubes:
Touch Me!
Now that the MusiCubes tray is assembled and the RFID-sensor and LEDs are working as expected, It’s time to add the last feature of the original concept: invisible capacitive touch sensors to control the volume of the music.
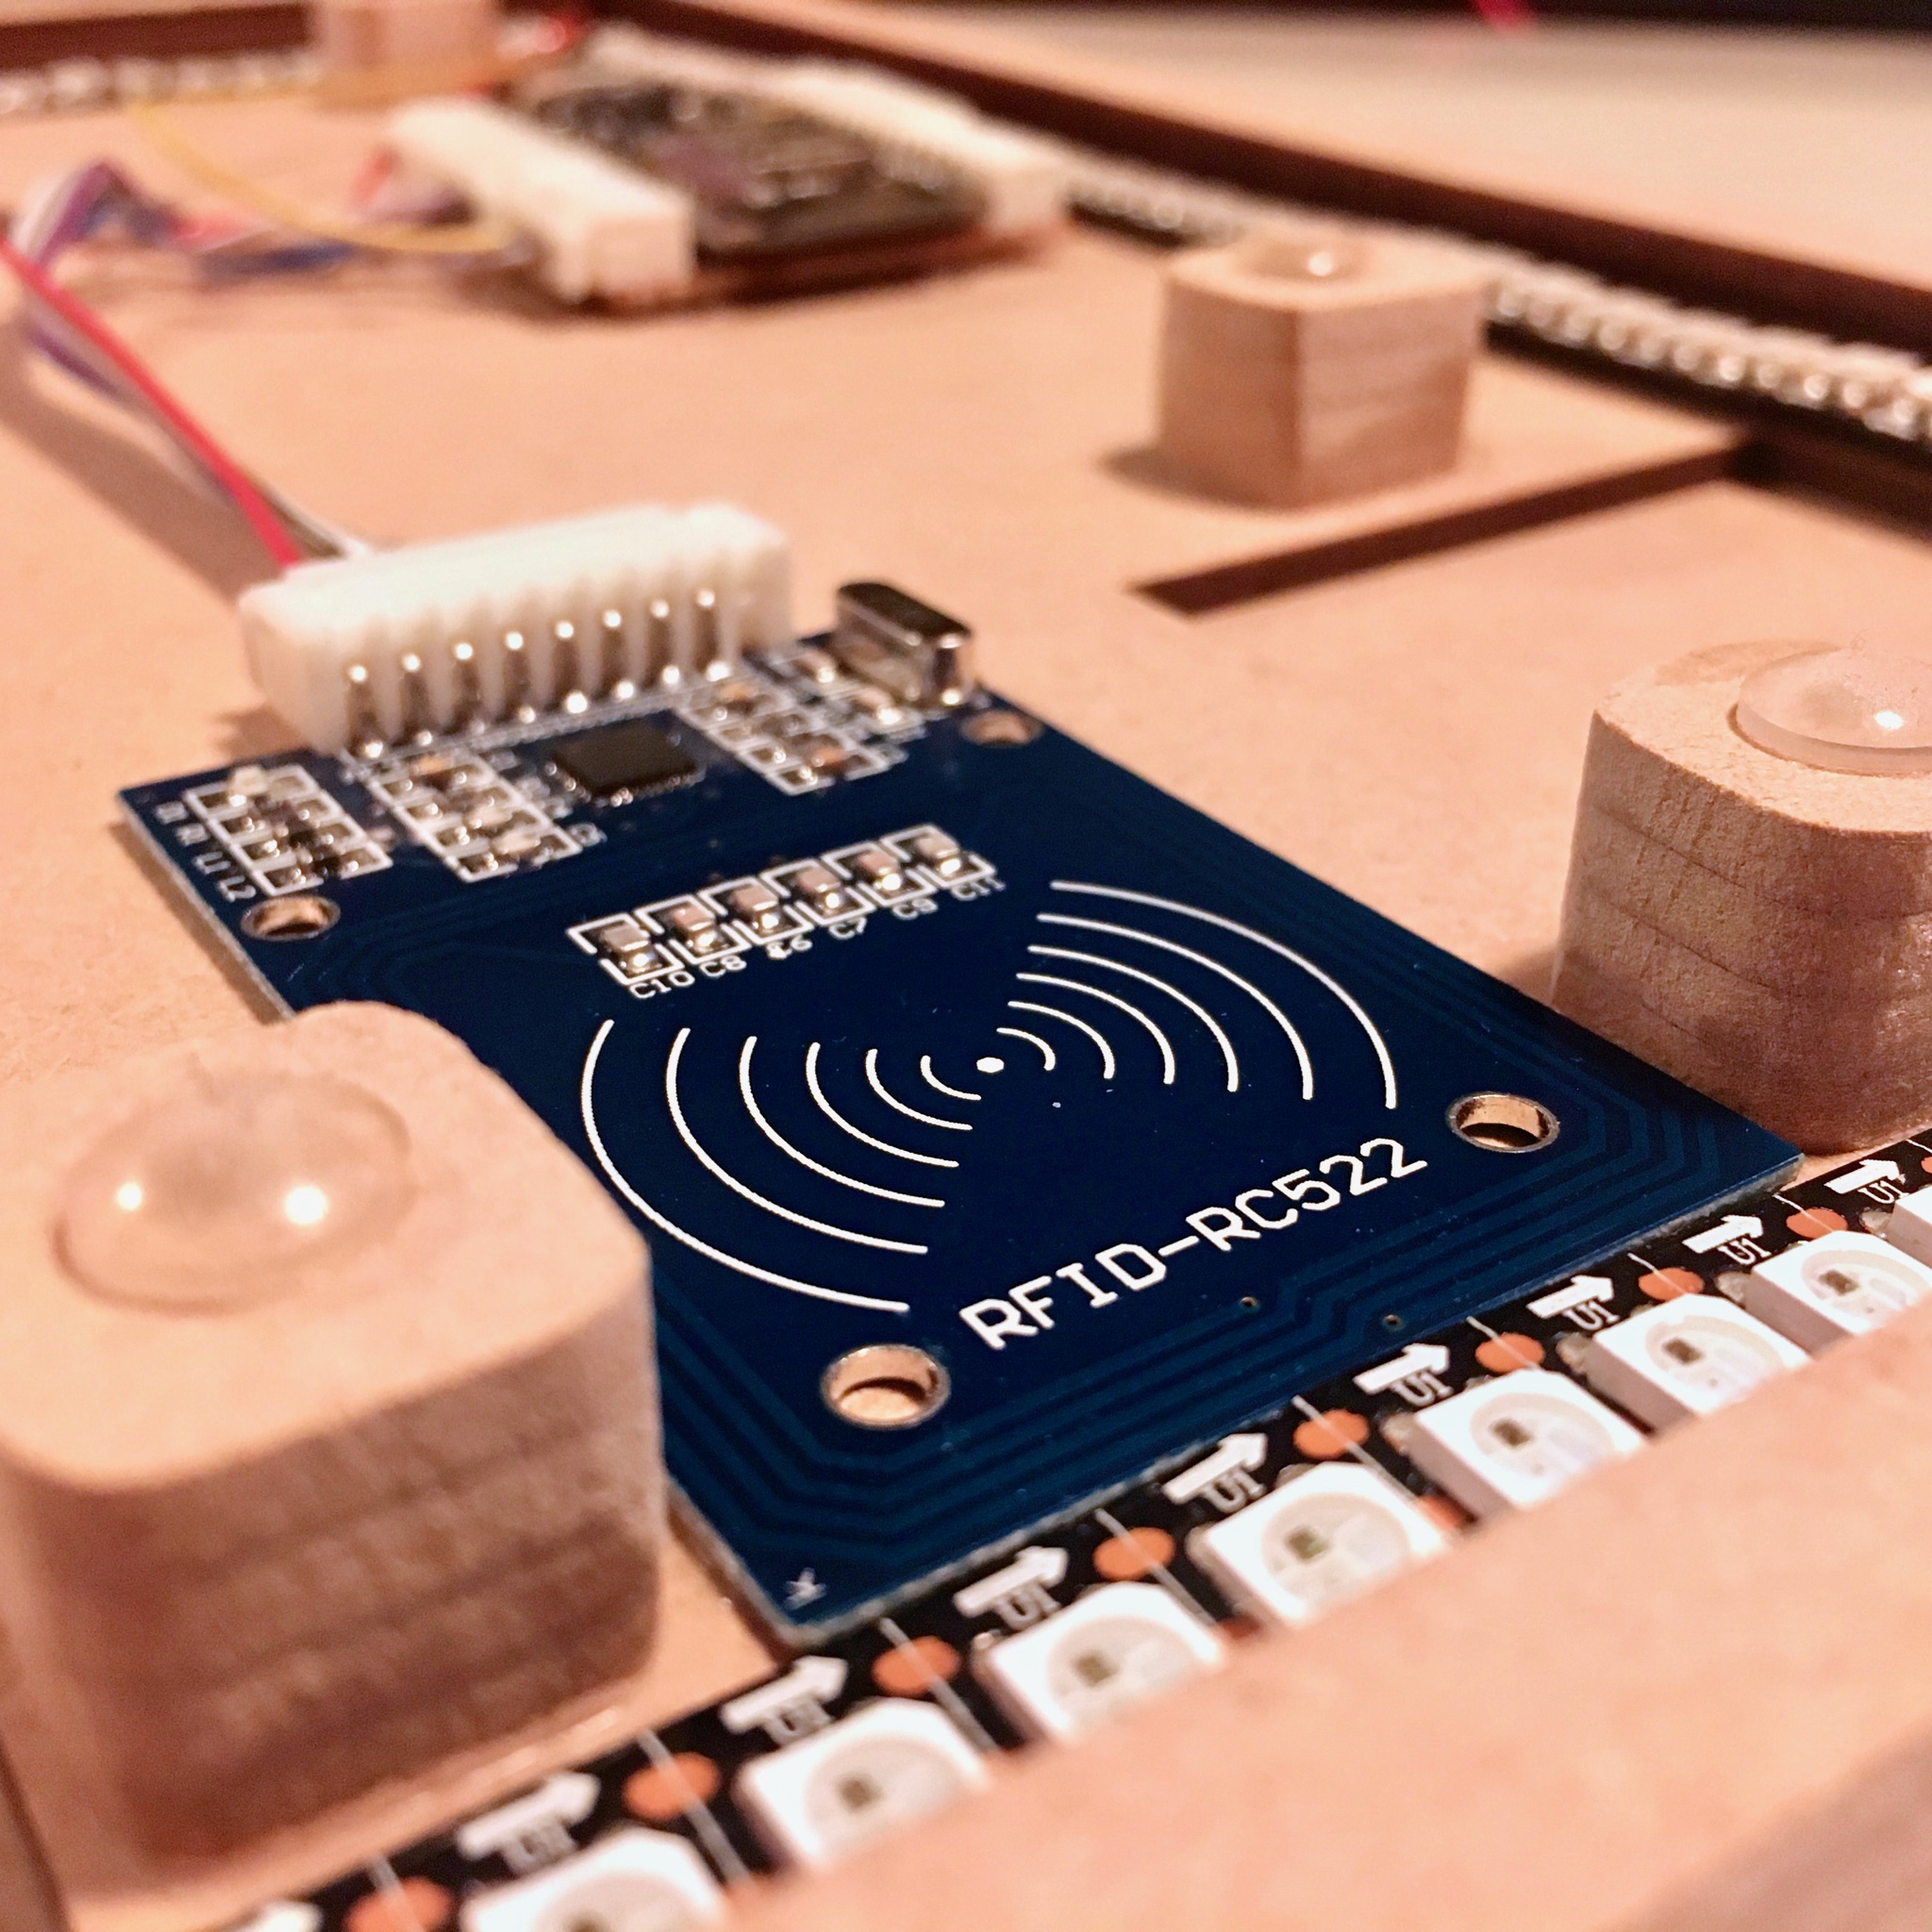
MusiCubes:
Assembling The Tray
After last week’s proof of concept it is time to assemble the MusiCubes tray. Just slap on some wood glue and you’re ready to go! What could go wrong, right?
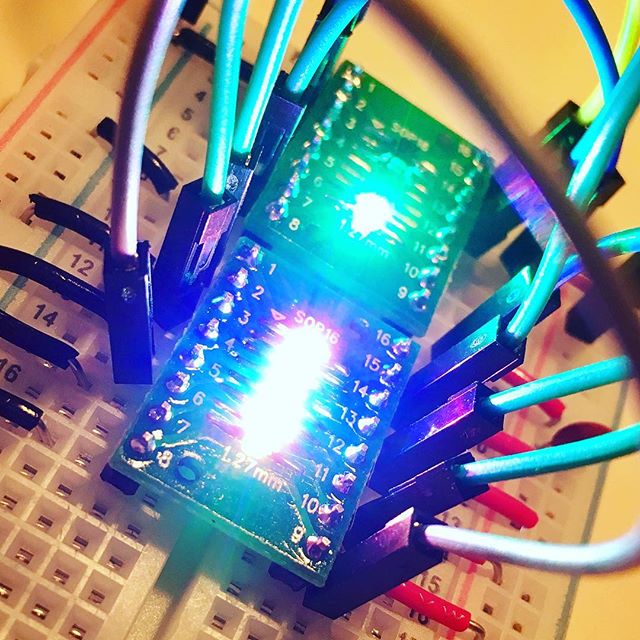
A Tiny Mistery: The Odd Leds
After the previous breakthrough which allows me to program the ATTiny10 and a small delay caused by a wonderful sunny Ibiza holiday, it’s time to get the WS2812 2020 leds working on this wonderful small microcontroller.

Activity Board:
The Final Touch
It has been almost a year since I started the activity board project. So it is time to wrap it up. As said in the last activity board blog post, the only thing left to do was to finish the interface …
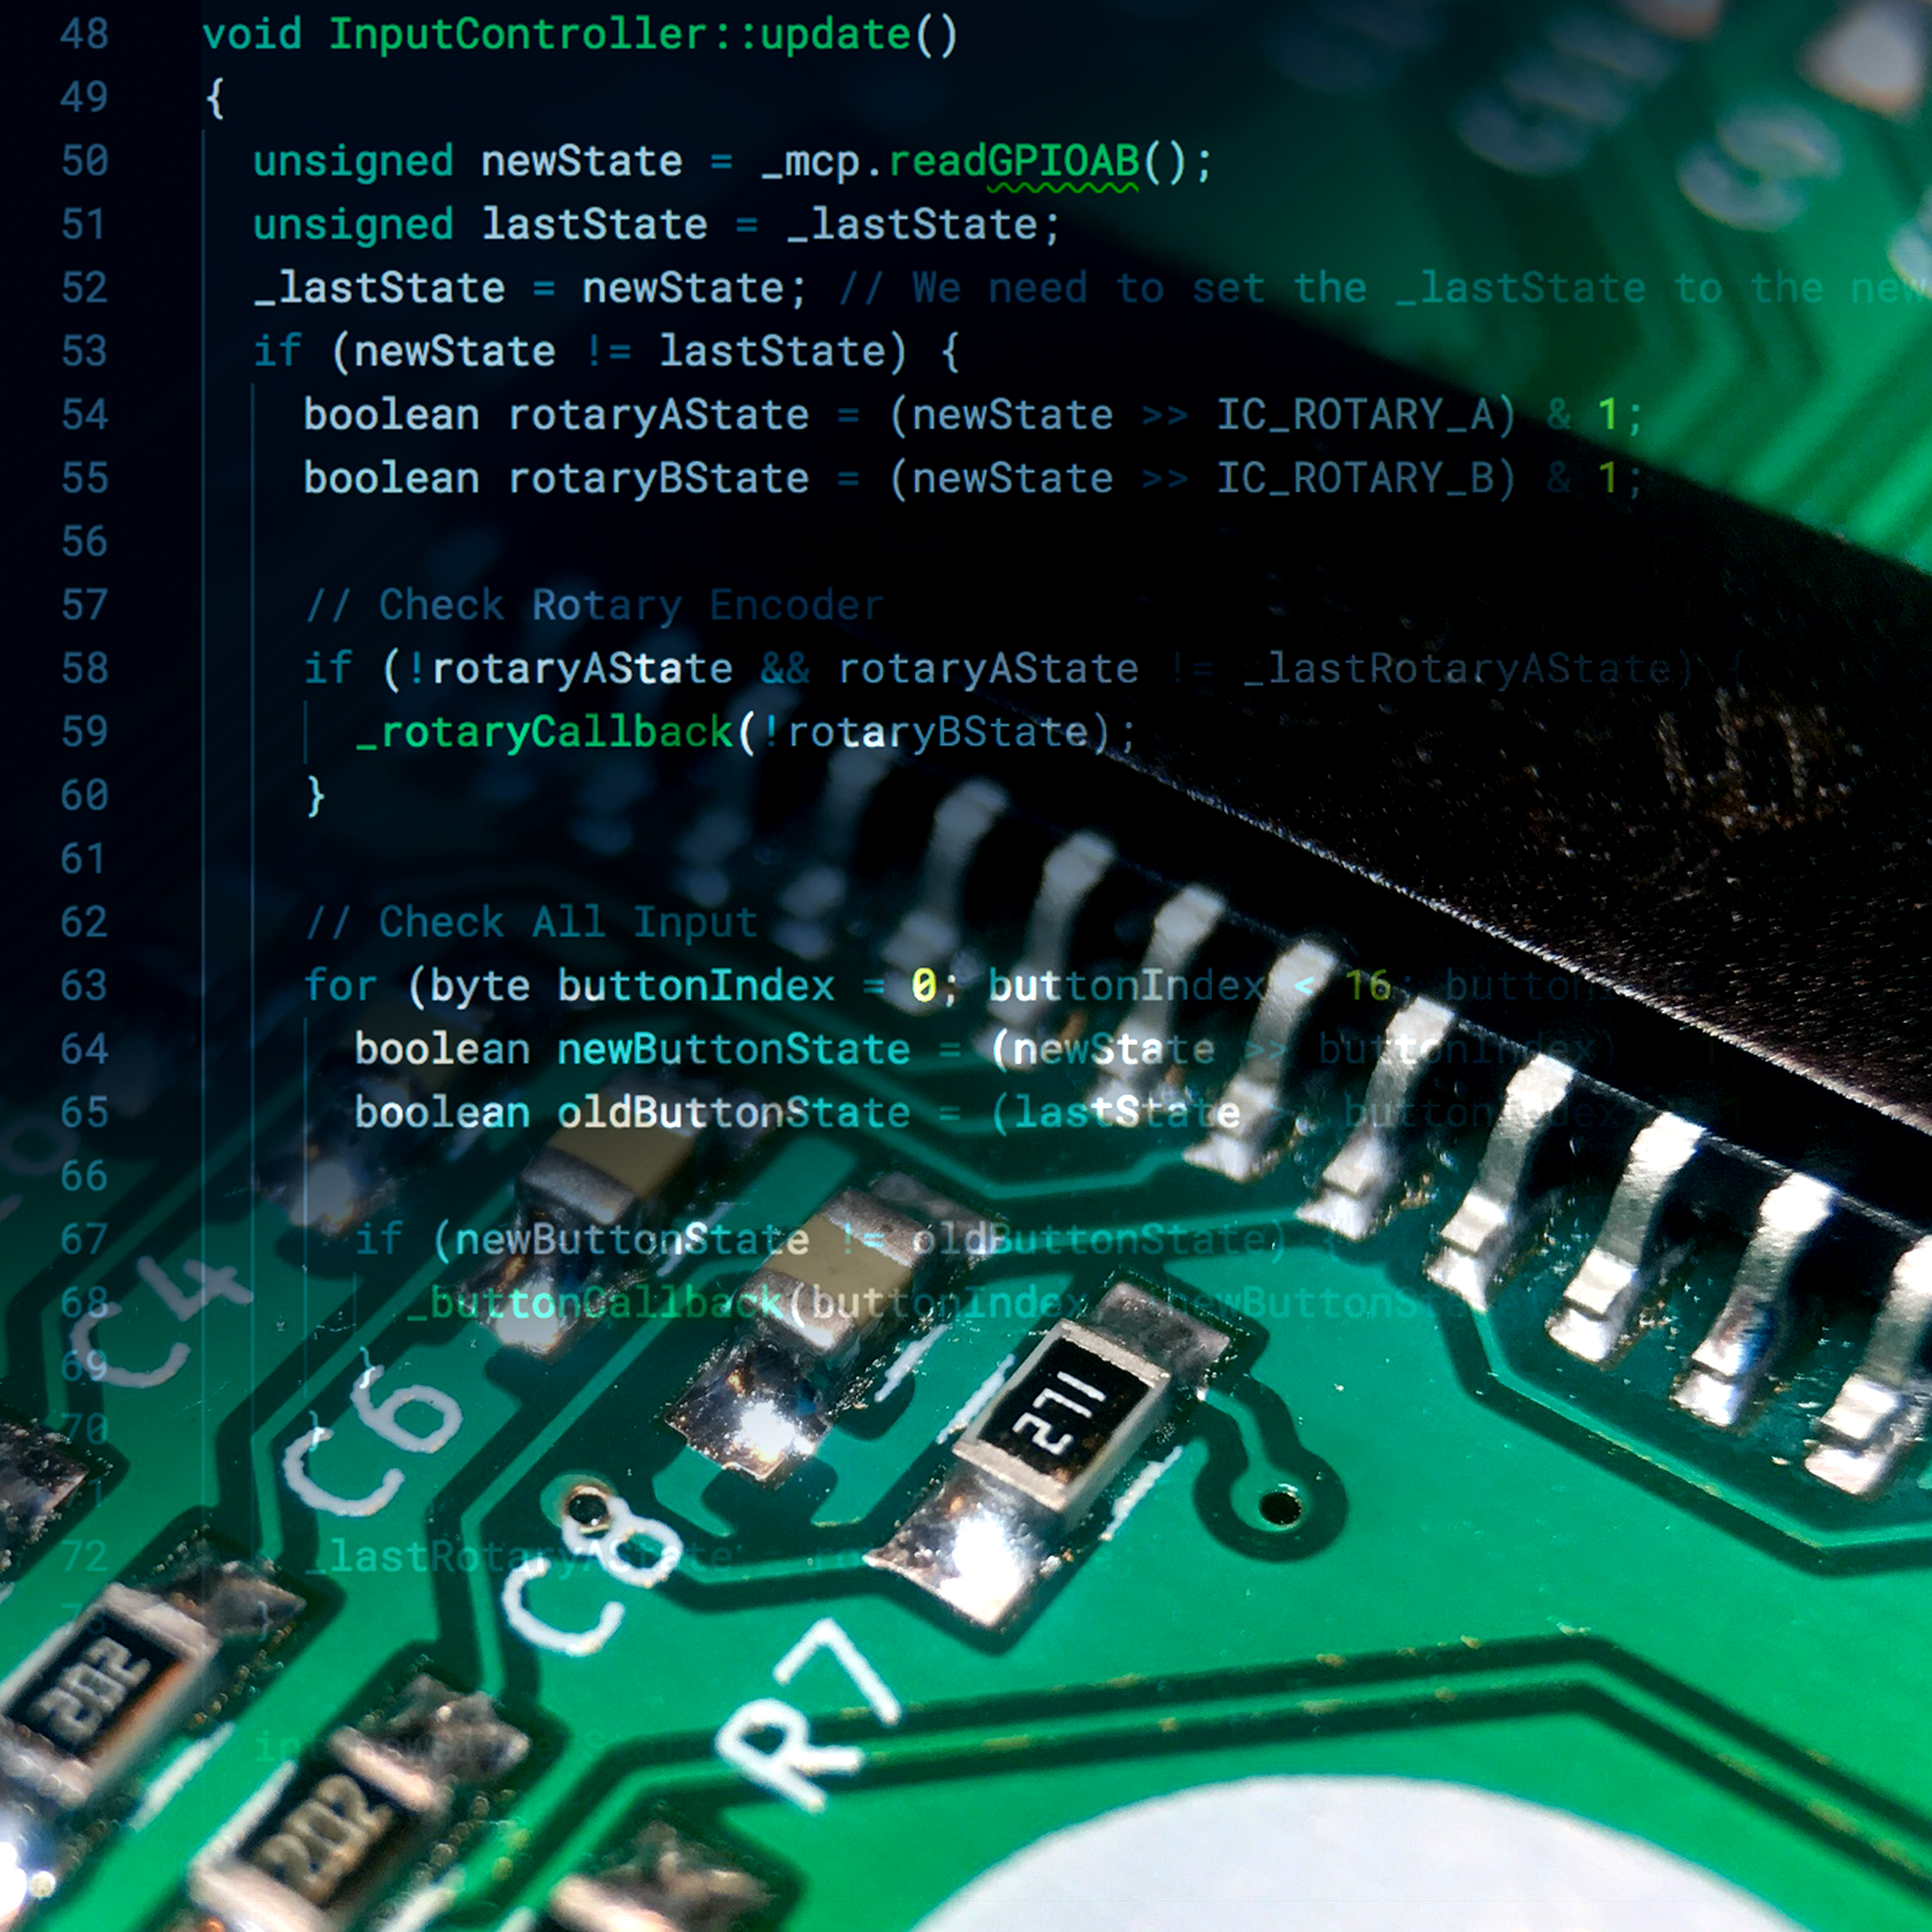
Activity Board:
It's all about the code!
With the activity board controller finally in place and tested. It’s time to throw together the actual firmware. Let’s fire up VSCode!
Activity Board:
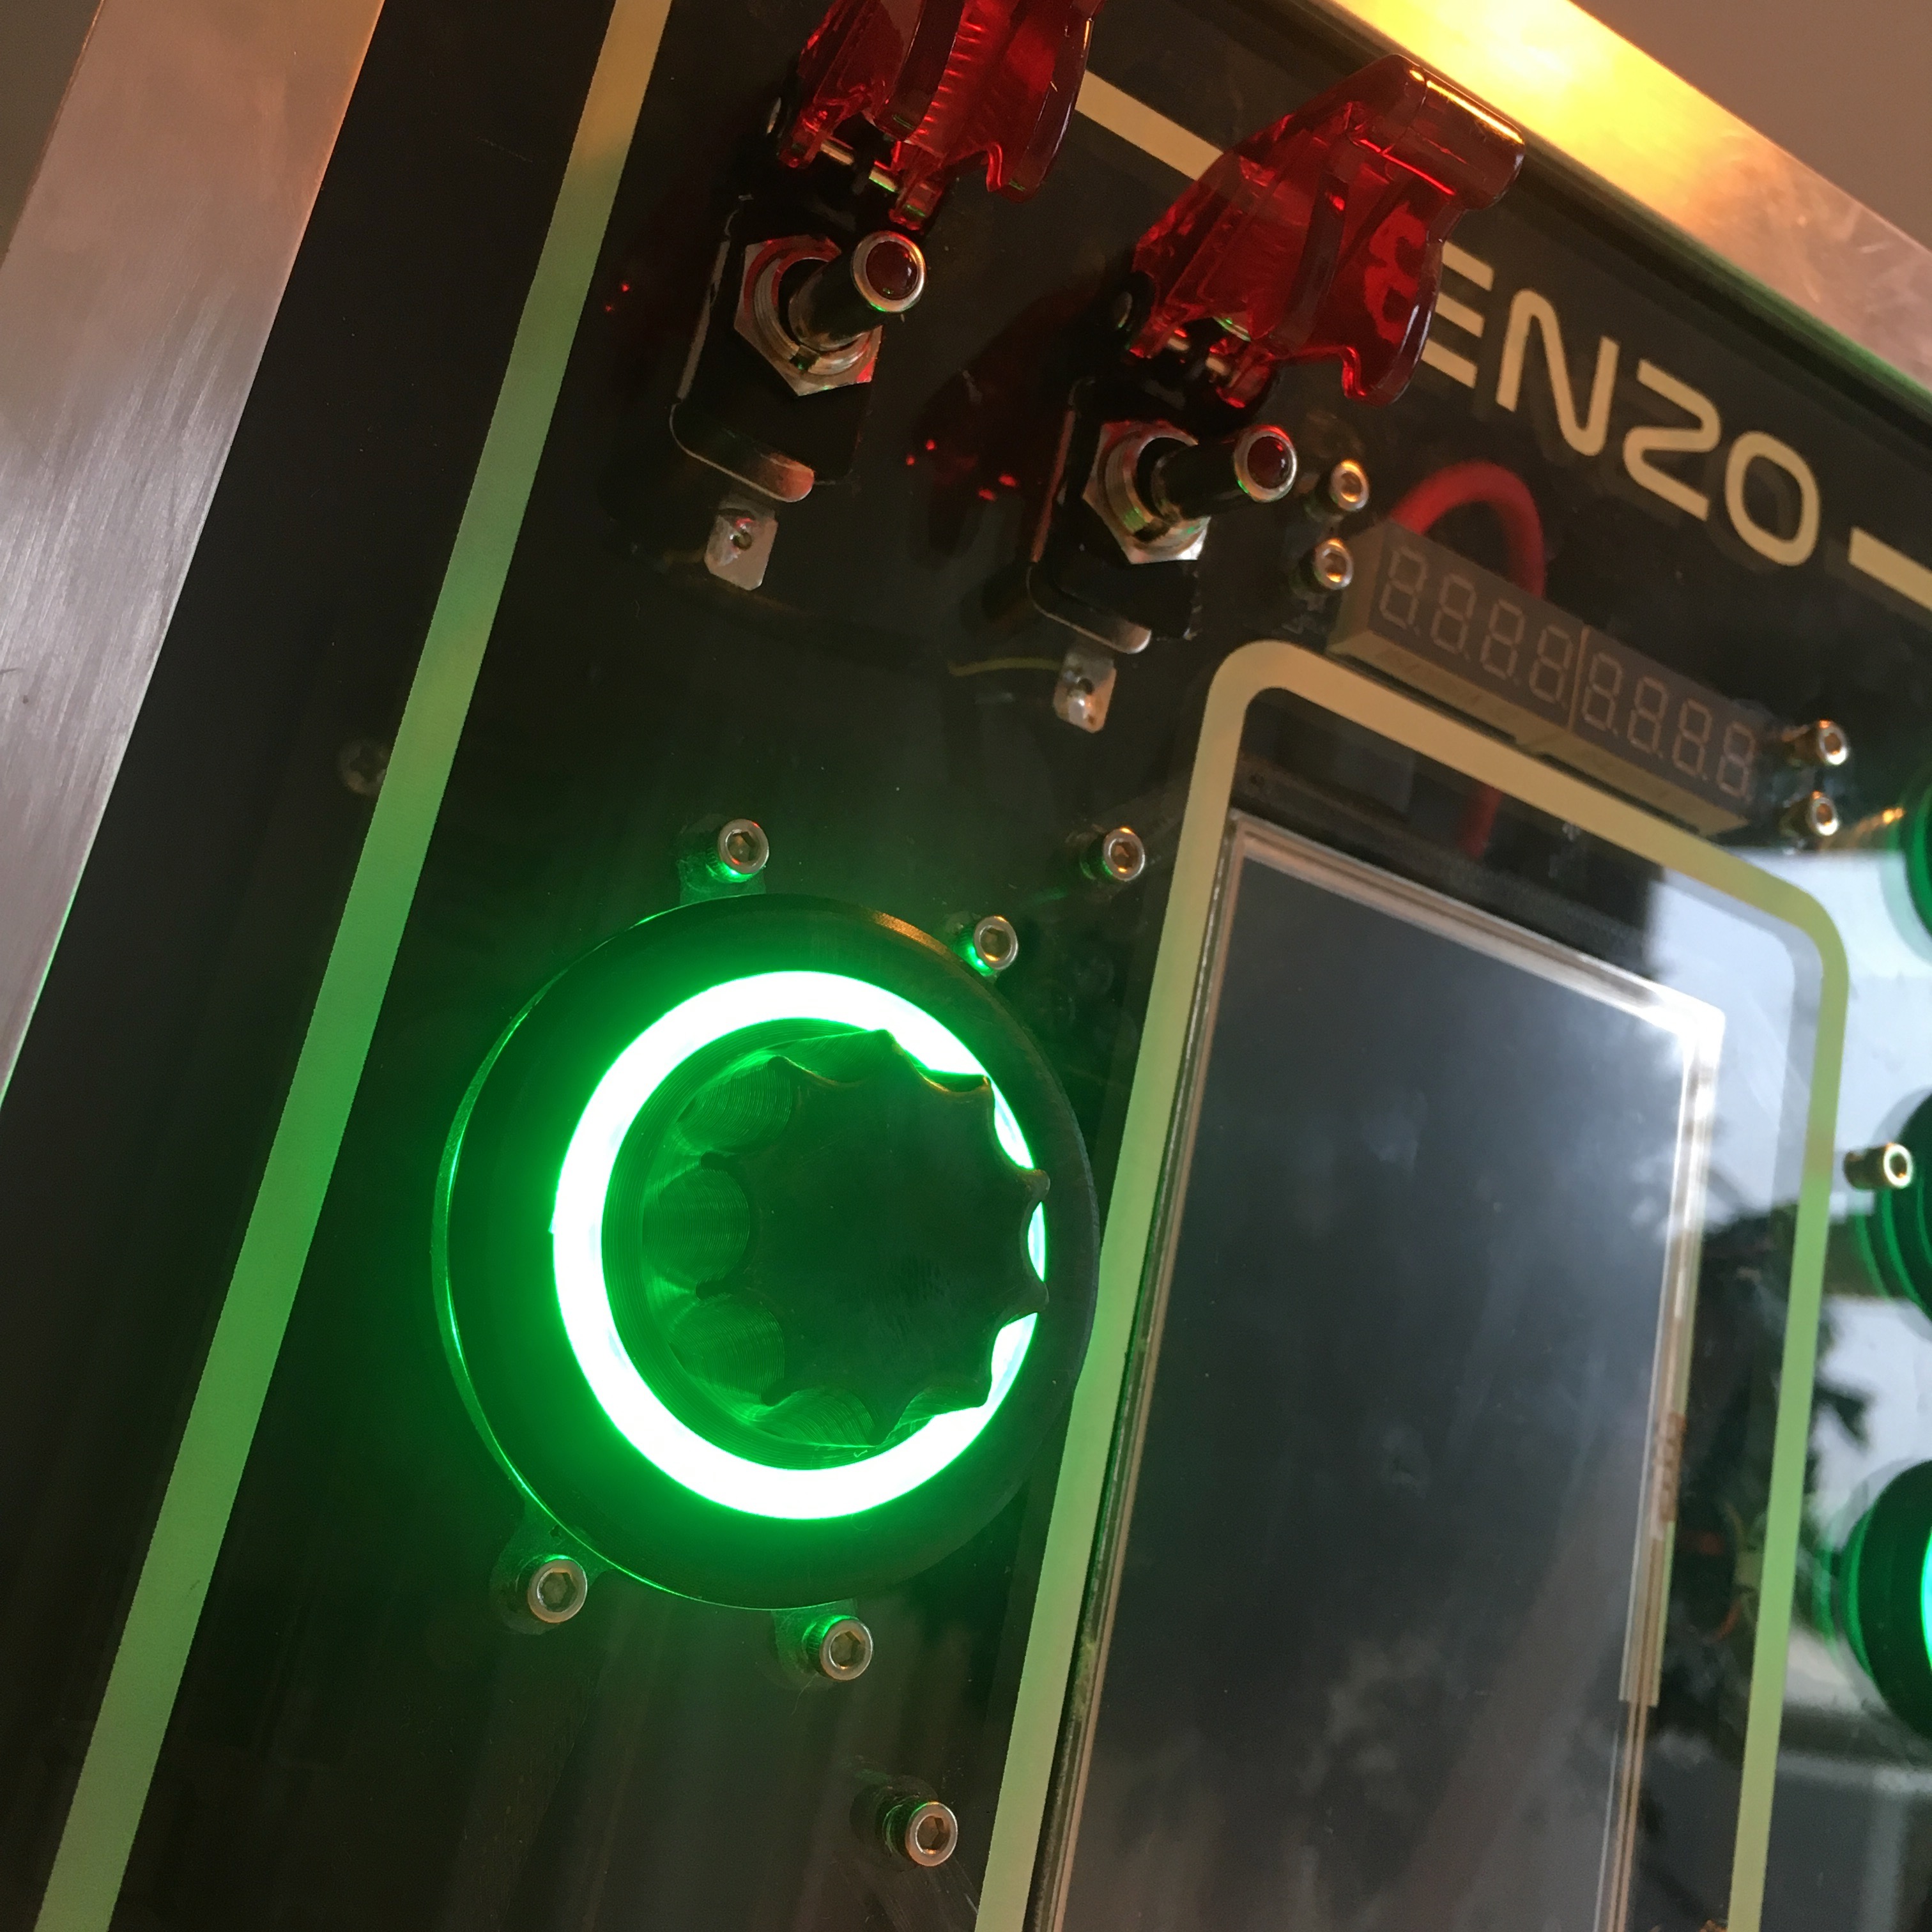
The dial on the board goes round and round
Creating an nice big dial knob for the activity board, isn’t that difficult since I own a 3D printer. But to make it a big more special than the average dial, I wanted to add a nice light effect to the button.
Activity Board:
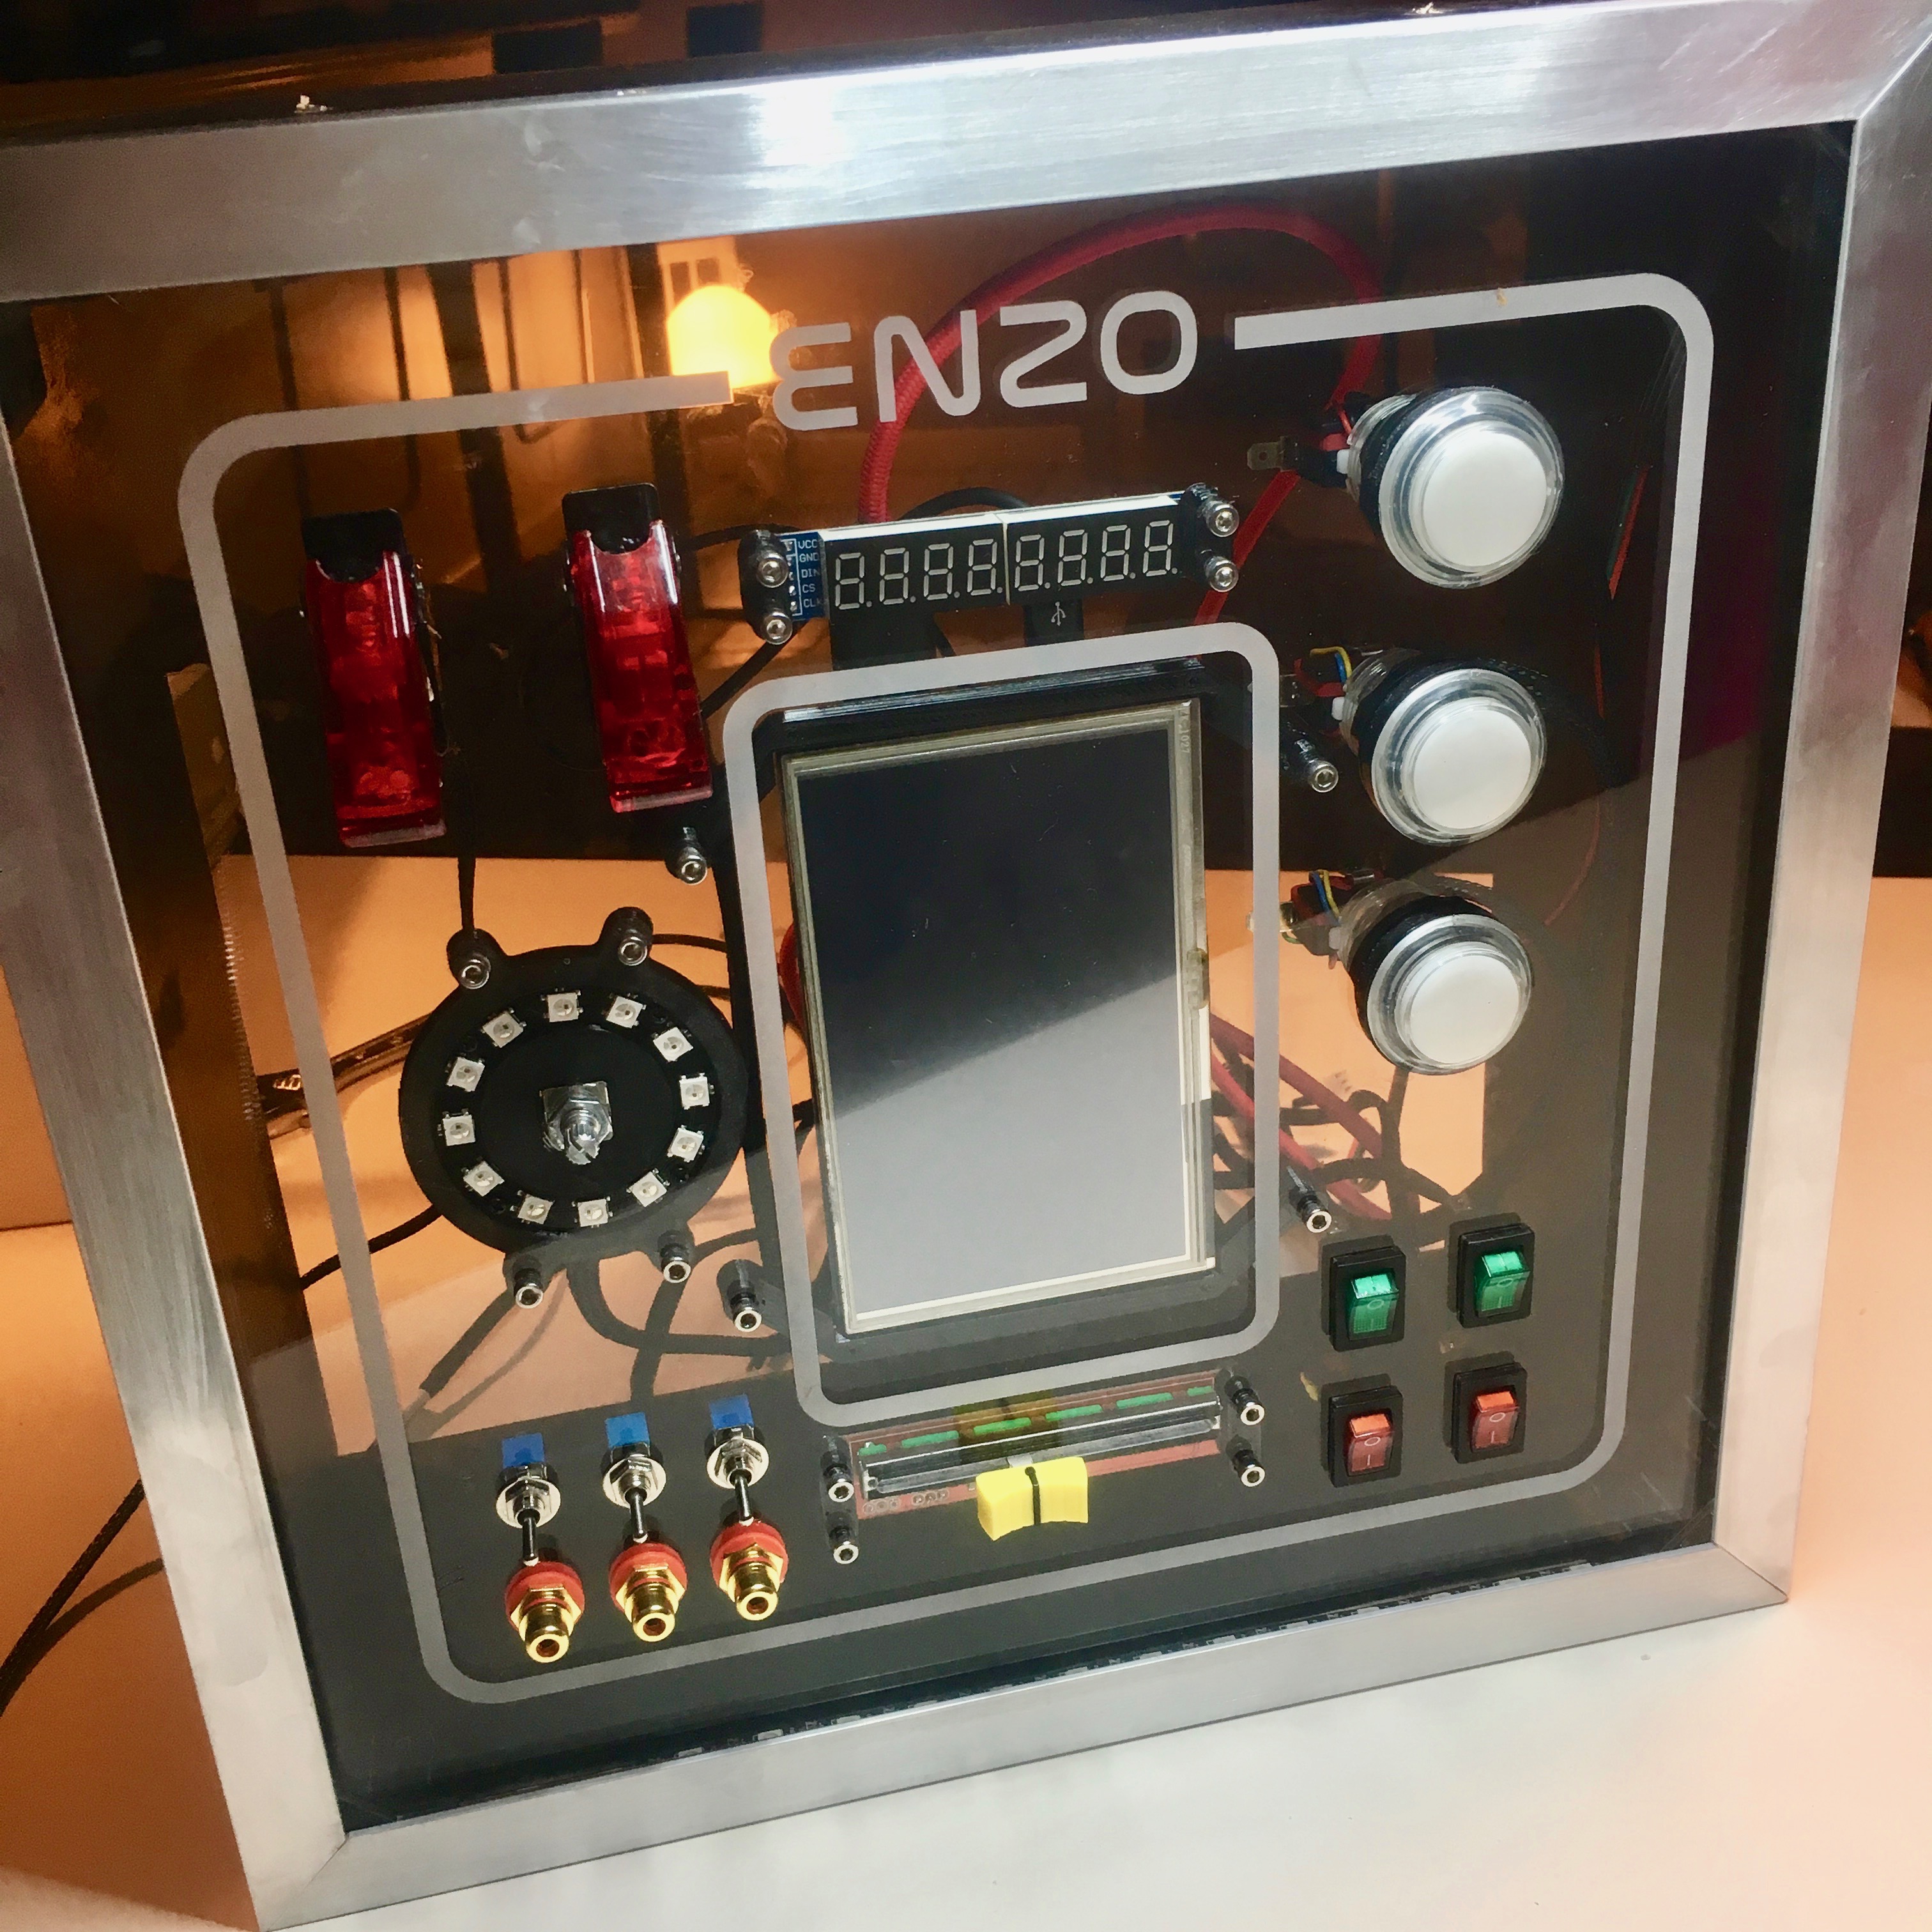
Assembling the panel
After a succesful intergration of the push buttons it is time to wrap up the front panel. With 9 switches, 3 buttons, 2 displays, 1 slide pot, 1 rotary encoder and a lot of LEDs, this includes a lot of wiring.
Activity Board:
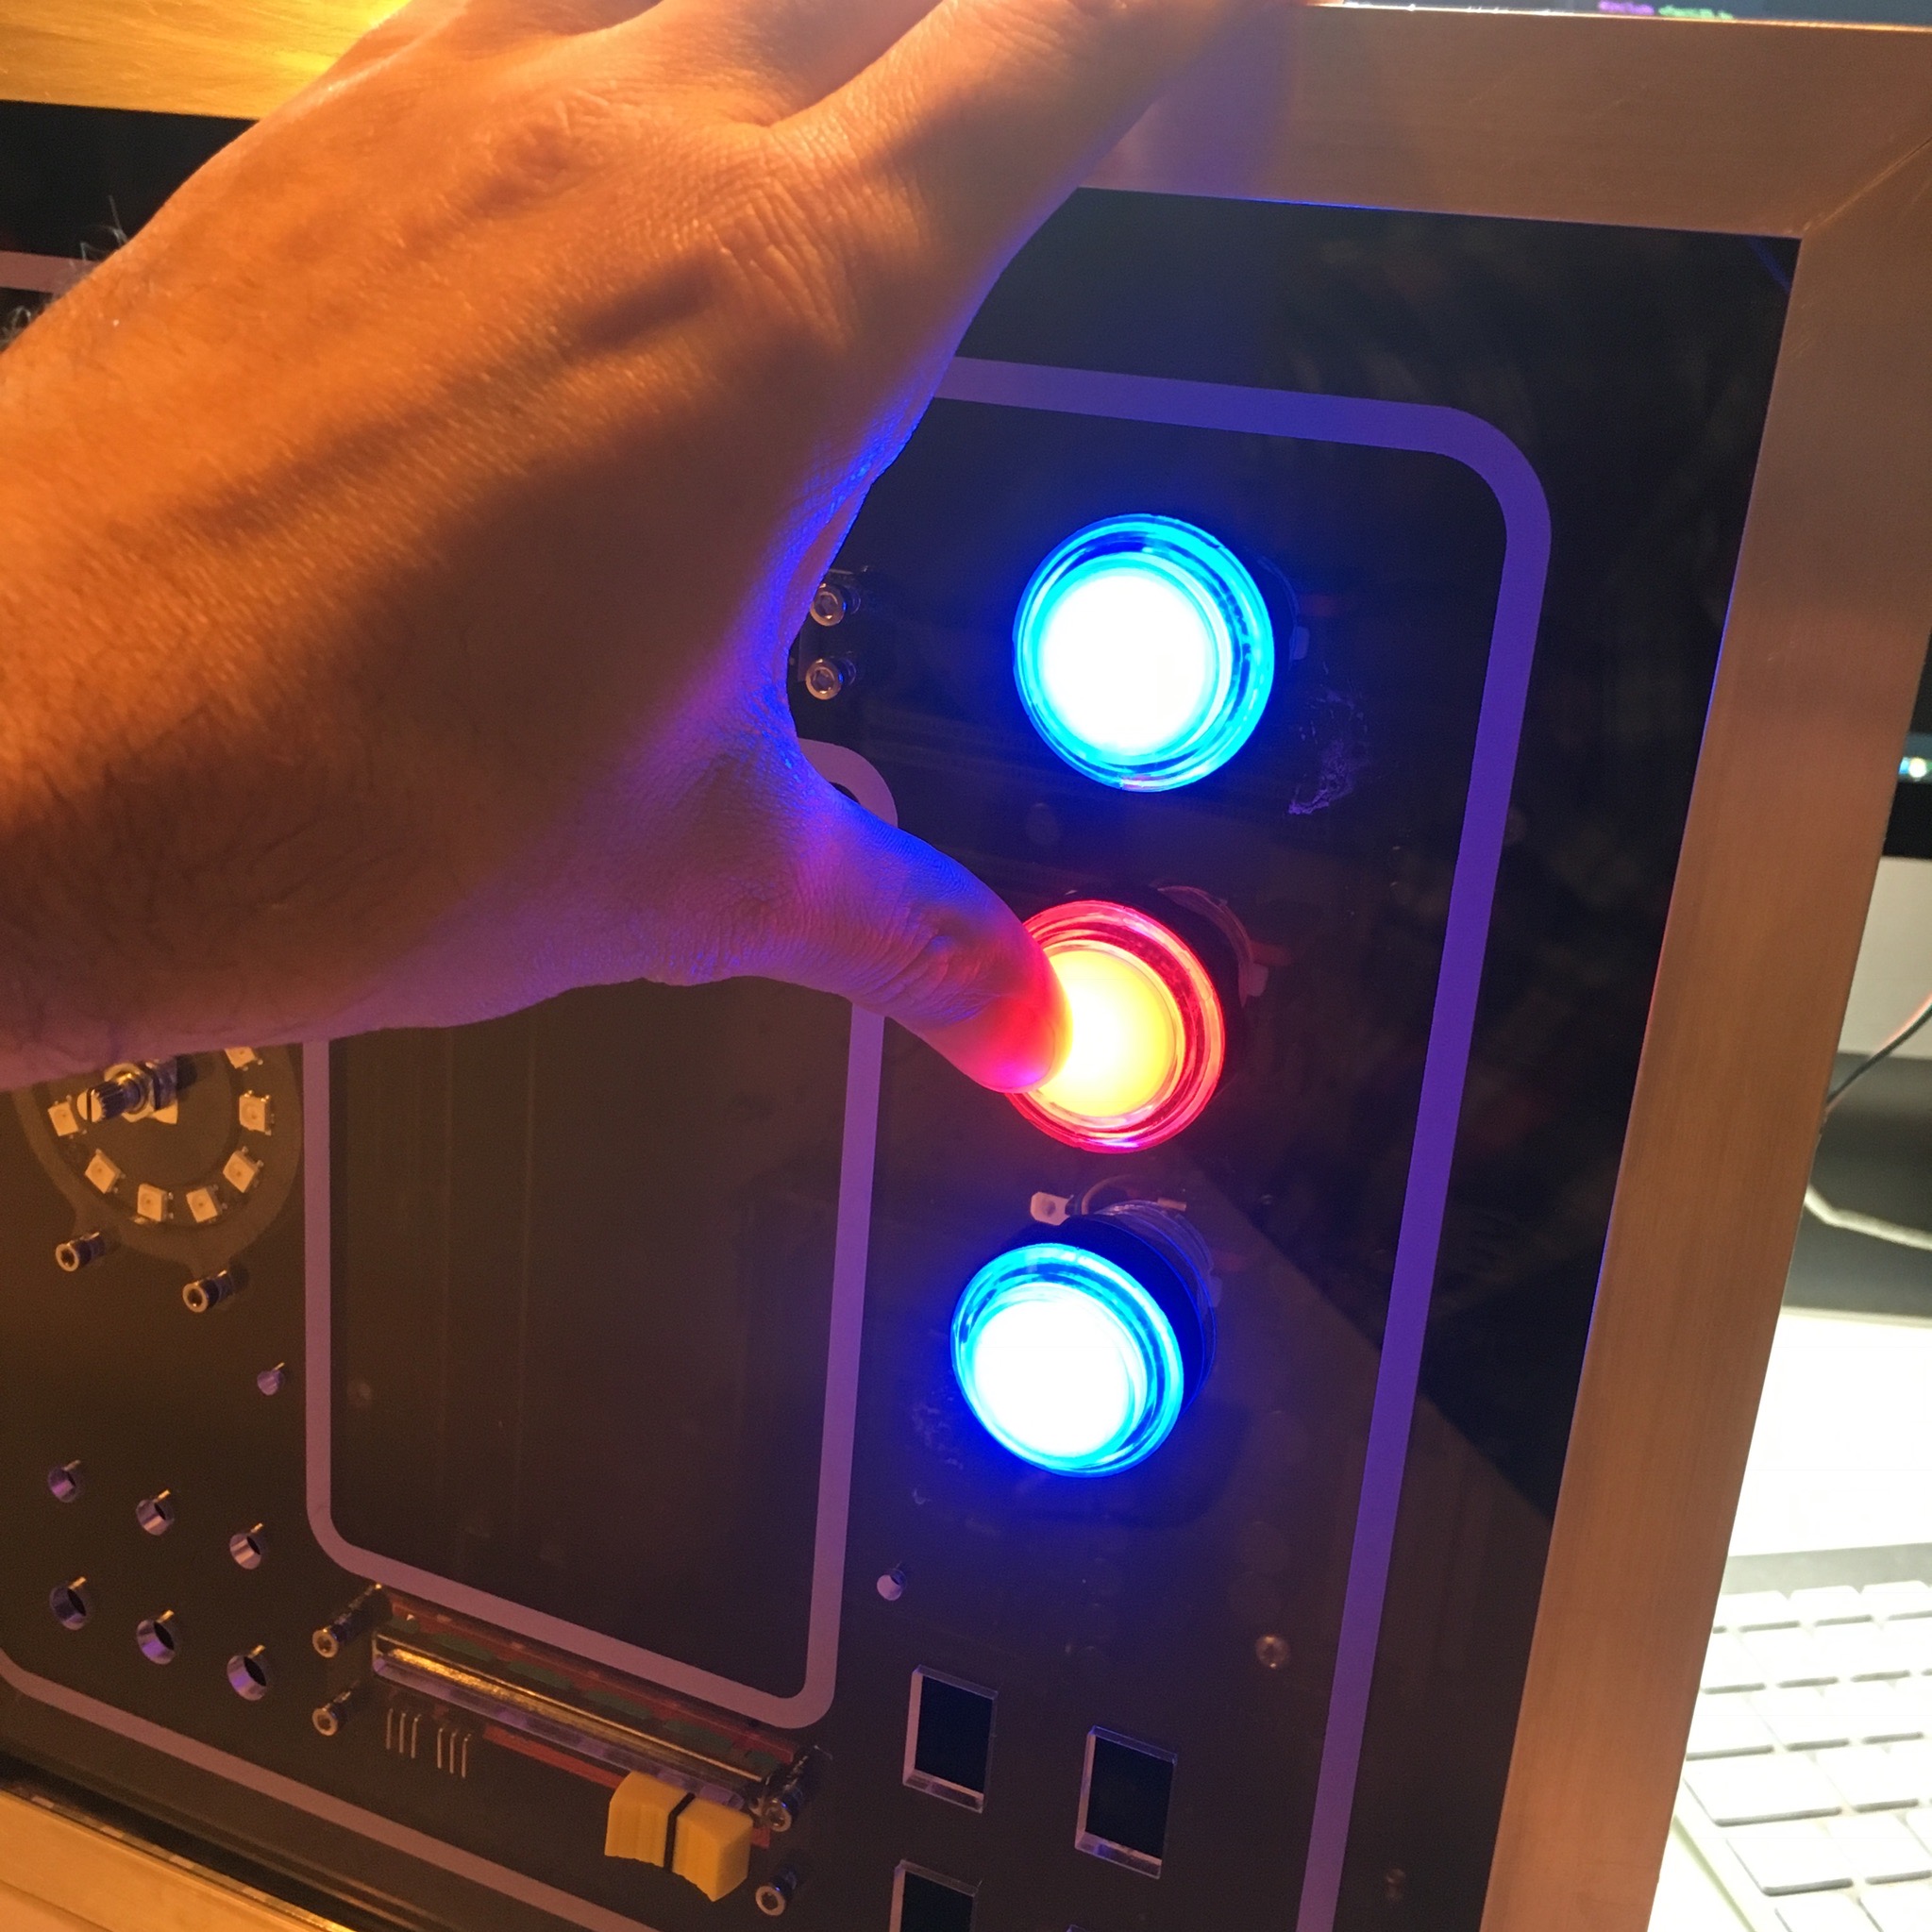
Push the button!
Now that the activity board casing is done. It’s time to start the wiring of all the components. A tedious job which I take way too serious.
Activity Board:
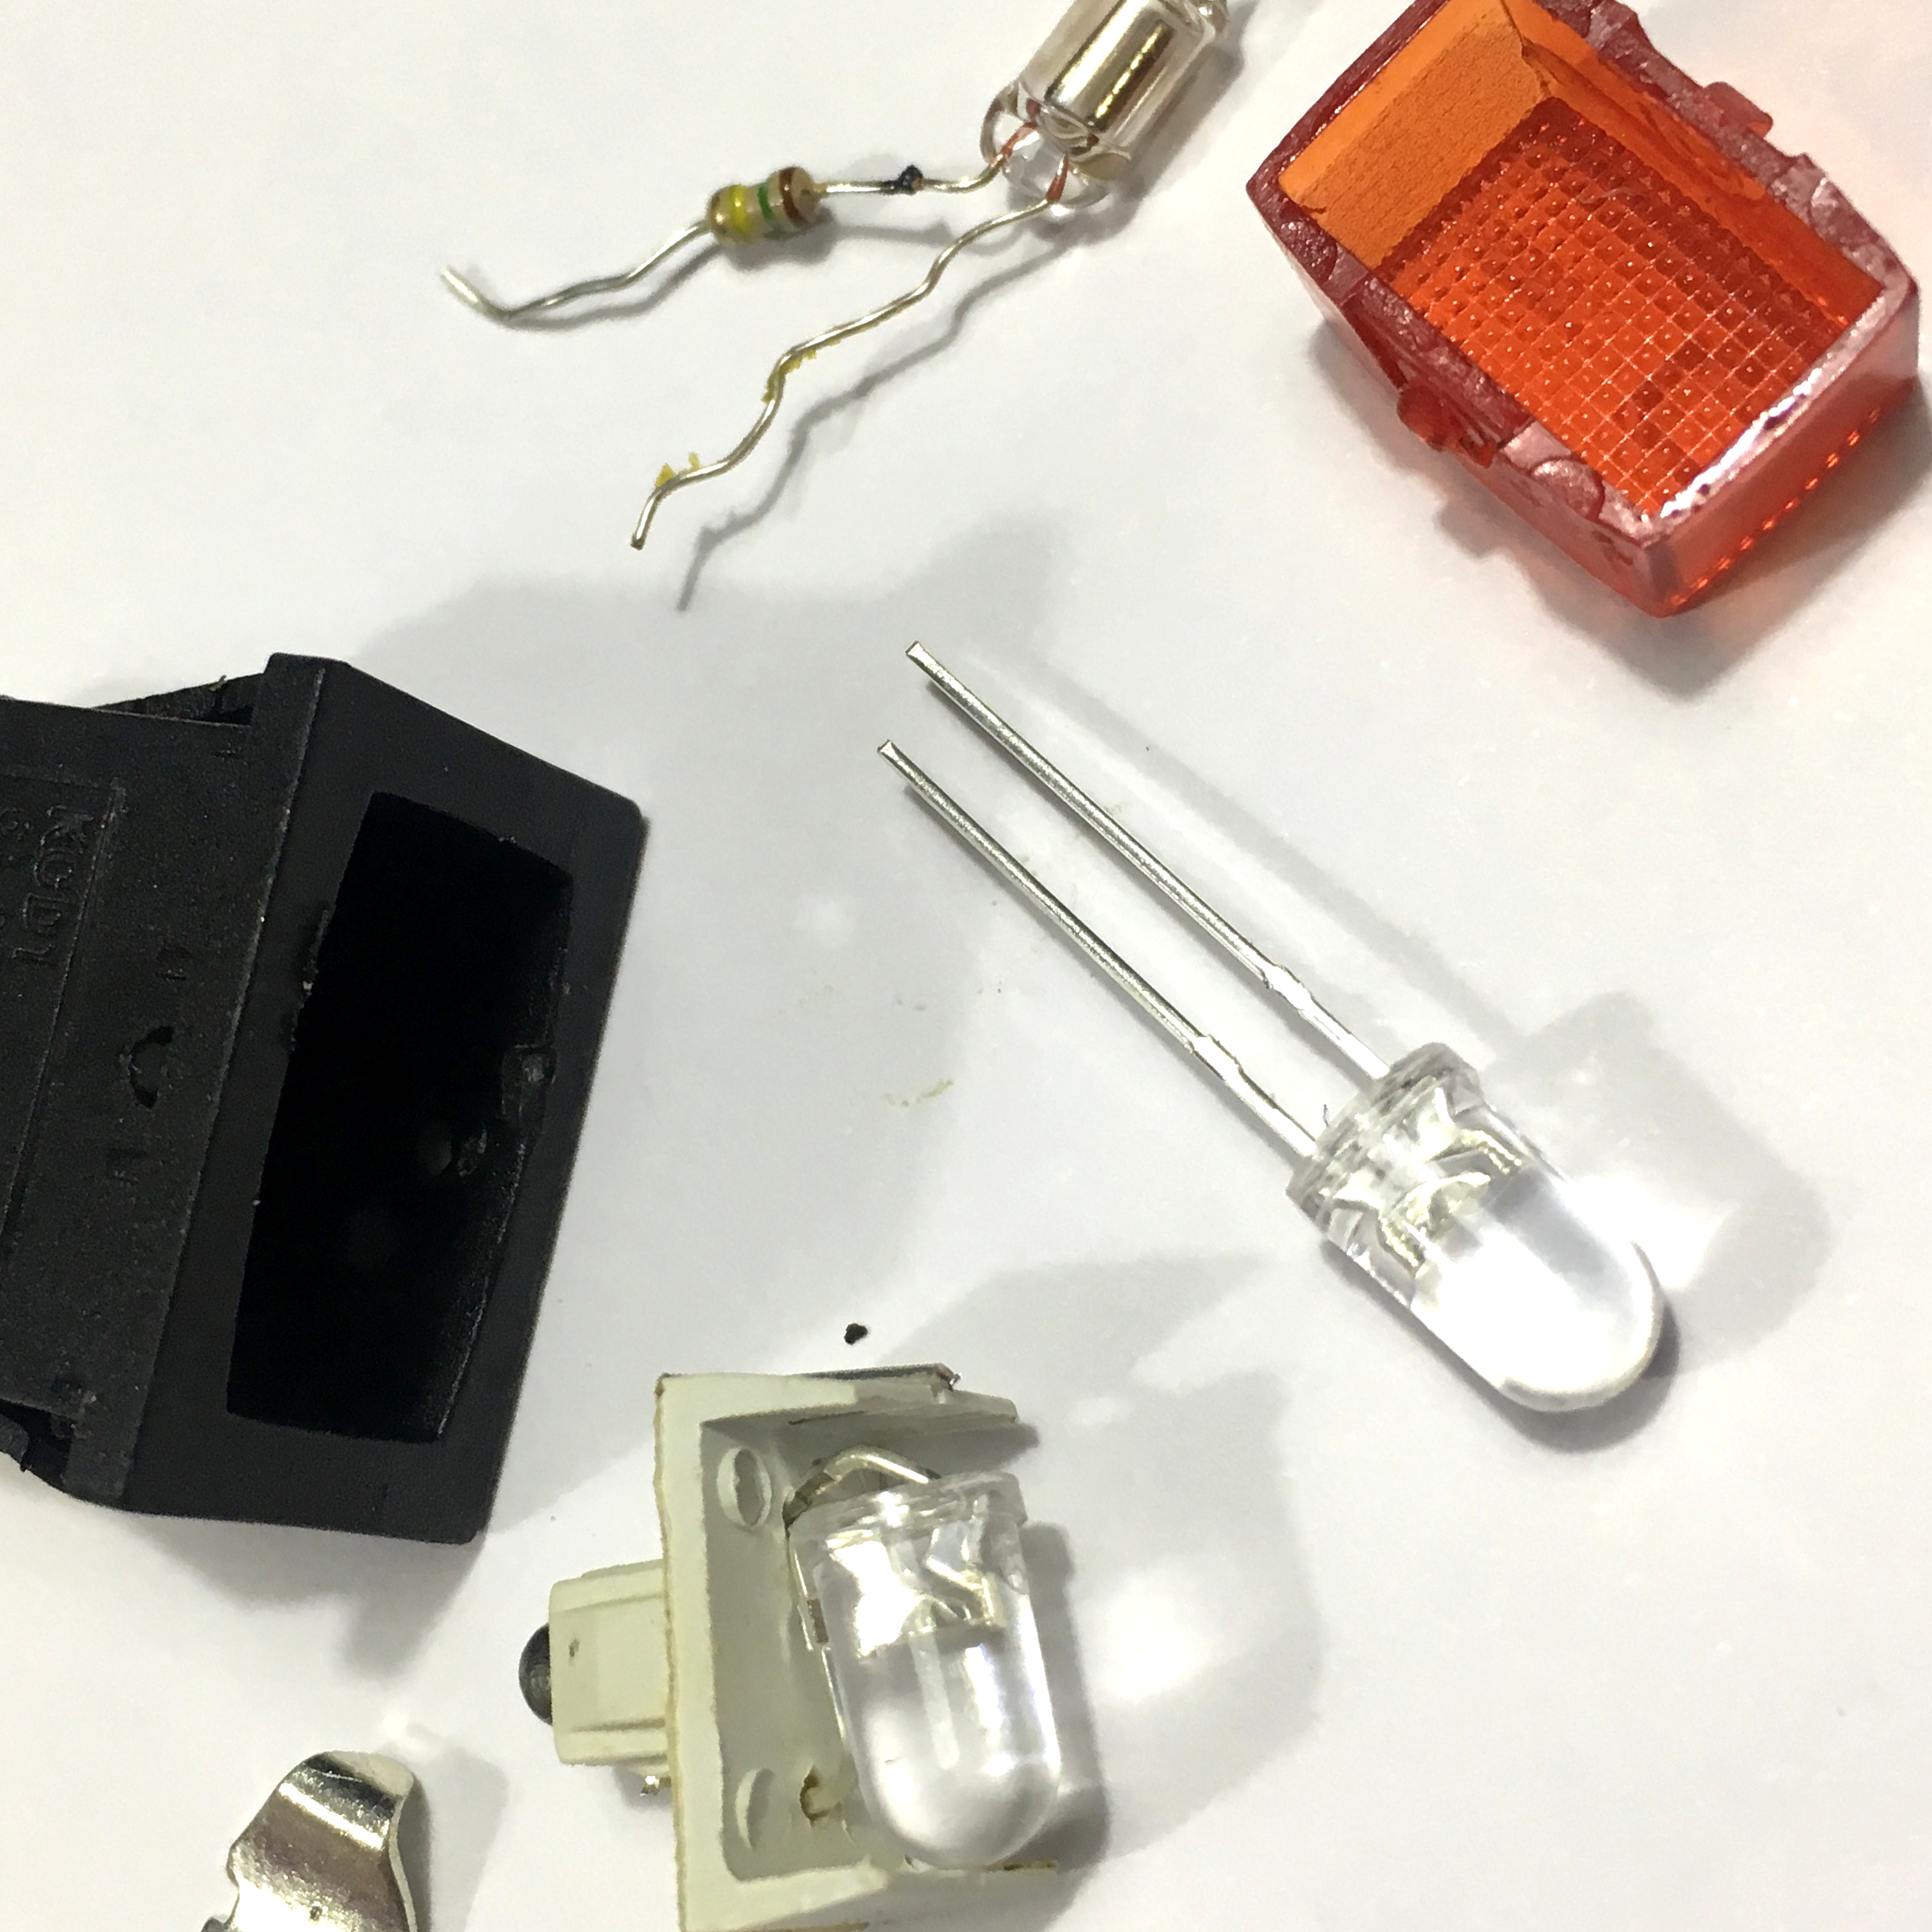
Adjusting the Switches
Two weeks ago, I wrote about the Activity Board I’m building for my son. Since I want this panel to use a 5 volt power supply, i needed to tweak some of the buttons I’ll be using.
Activity Board:
Enzo's Control Room
With all of my projects that include one or more buttons, I know one thing for sure. The buttons will be extensively tested by my 1,5 year old tinkerer Enzo. My Automatic curtains need to open and closed more than a few times a day, and my robot arm’s test buttons are being pressed repeatedly even while it isn’t powered on. I think the message is clear: he wants his own buttons!
Robotic Arm:
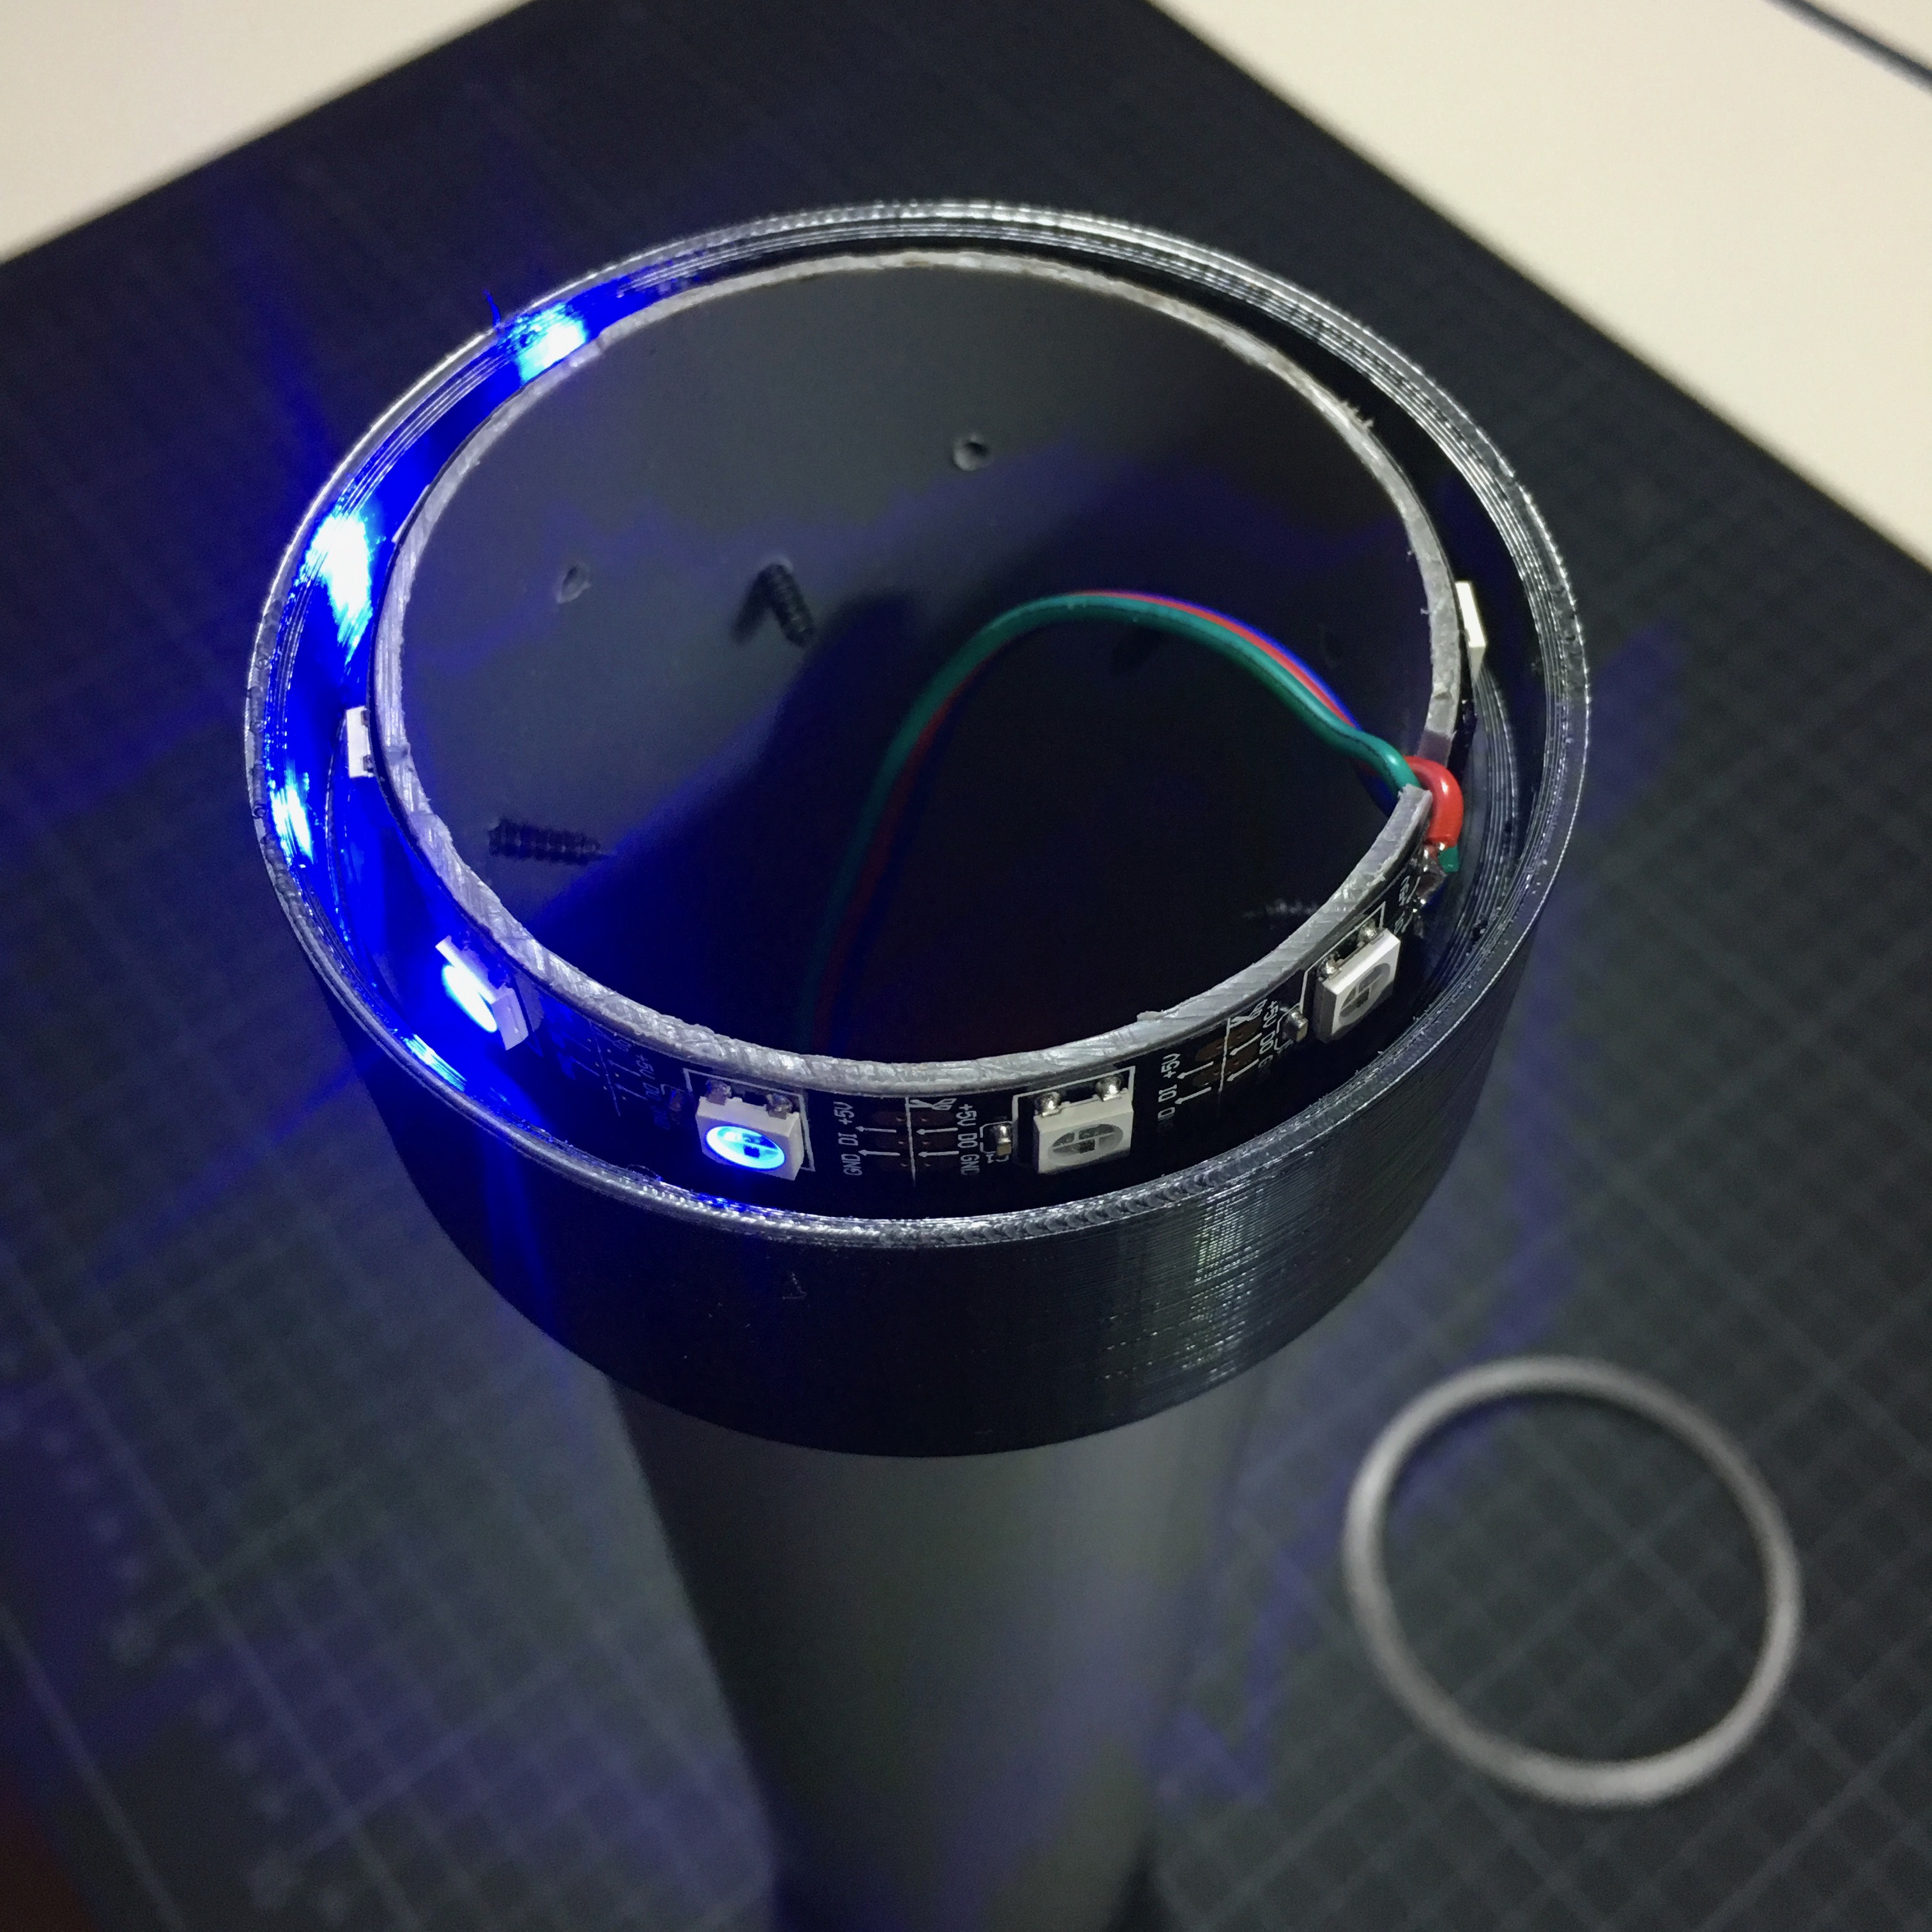
Illuminating the joint.
2 weeks ago I wrote about my new project: building my own DUM-E robot. And while I have a lot of idea’s for this project, I mainly spent my time waiting for the nessecery parts to arrive. So to ease the waiting, let’s work on making the passive side of the joint a little more sexy.
The NeoDisplay
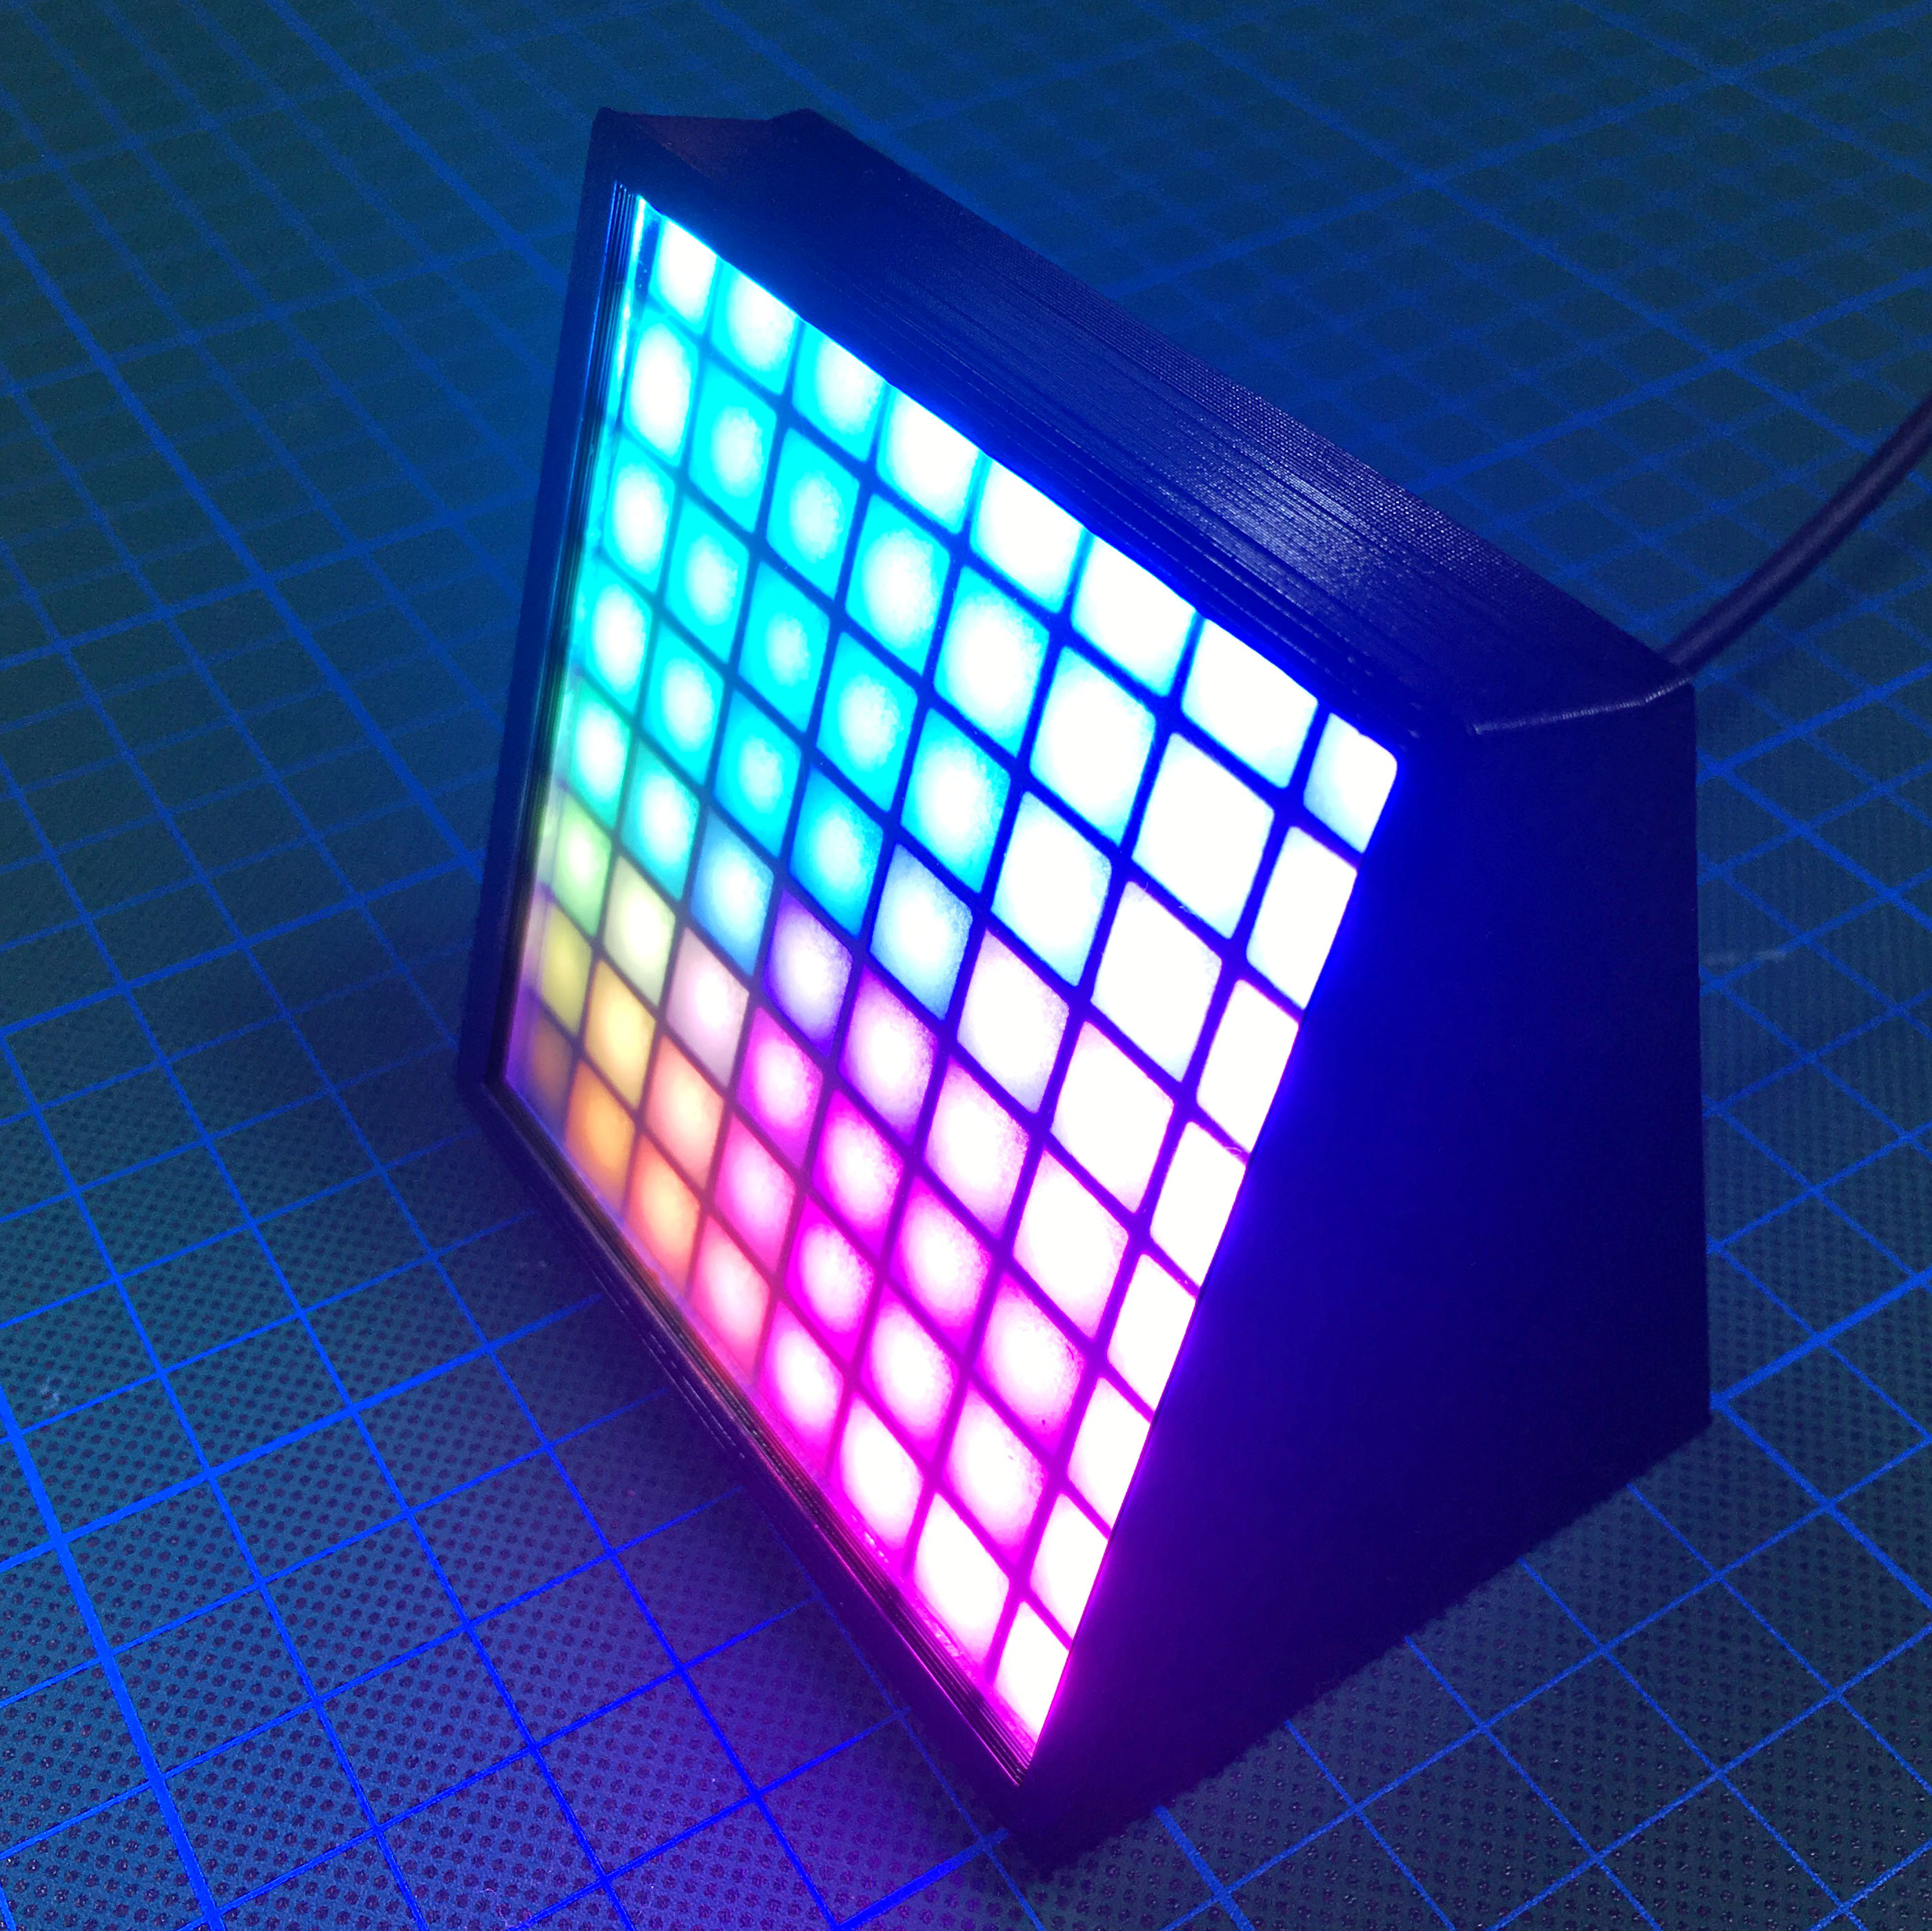
As most of the Arduino tinkering makers, I have some NeoPixels LEDs in my drawers. Especially the 8x8 NeoMatrix is a beautiful piece of illumination. But till now, I didn’t have any good use for it yet. Time to make it a bit more useful!

Power Suit:
LED there be light!
Last week, my Football Suit became a Power Suit. But a Power Suit is no Future Power Suit without light effects. A lot of light effects. Therefor it’s time to add some NeoPixel gems. 72 NeoPixels to be exact.
Repairing my NeoMatrix
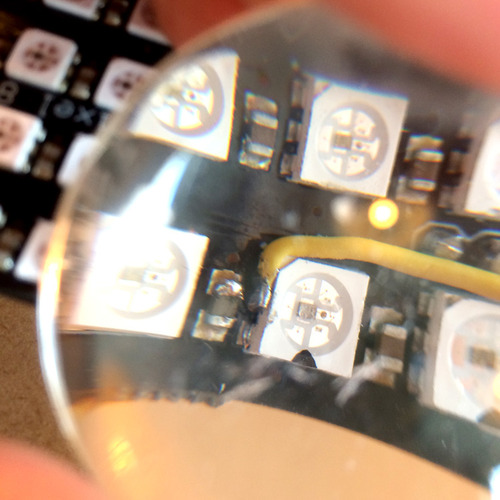
As told a few weeks ago I was quite successful in blowing up my Adafruit Neopixel NeoMatix. Not once, but twice. And although the bypass was a nice workaround for the time being, I wanted a more permanent fix for my beloved LEDs.
Quiz Time:
The Code Quiz
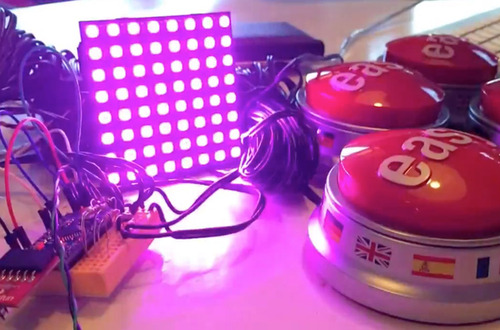
Last week, I showed you how I built my own Quiz Buzzers. And although most of the work was on the hardware side, the software part was just as important!This week I run you through the code. Make sure you pay attention, questions might be asked during the next Quiz!
My own stash of secret ingredients
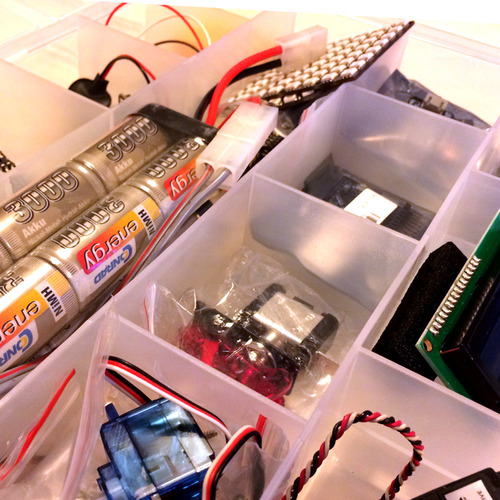
When I still lived at my parents, I knew the way to my father’s ‘secret’ electronic ingredients stash. It was right across the hall. Now, although I like the fact of having my own house, it’s somewhat inconvenient to drive 30 minutes before I can loot some of his stuff.