Now that the MusiCubes tray is assembled and the RFID-sensor and LEDs are working as expected, It’s time to add the last feature of the original concept: invisible capacitive touch sensors to control the volume of the music.
MusiCubes: Assembling The Tray
In my last blog post about the MusiCubes project I already showed that I experimented with a capacitive touch sensor behind 3mm MDF. And since that gave promising results, It’s time to incorporate the sensors into the MusiCubes tray.
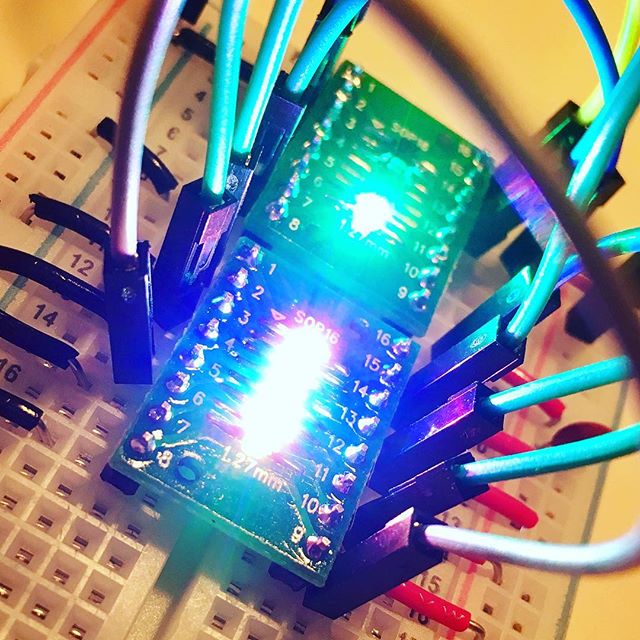
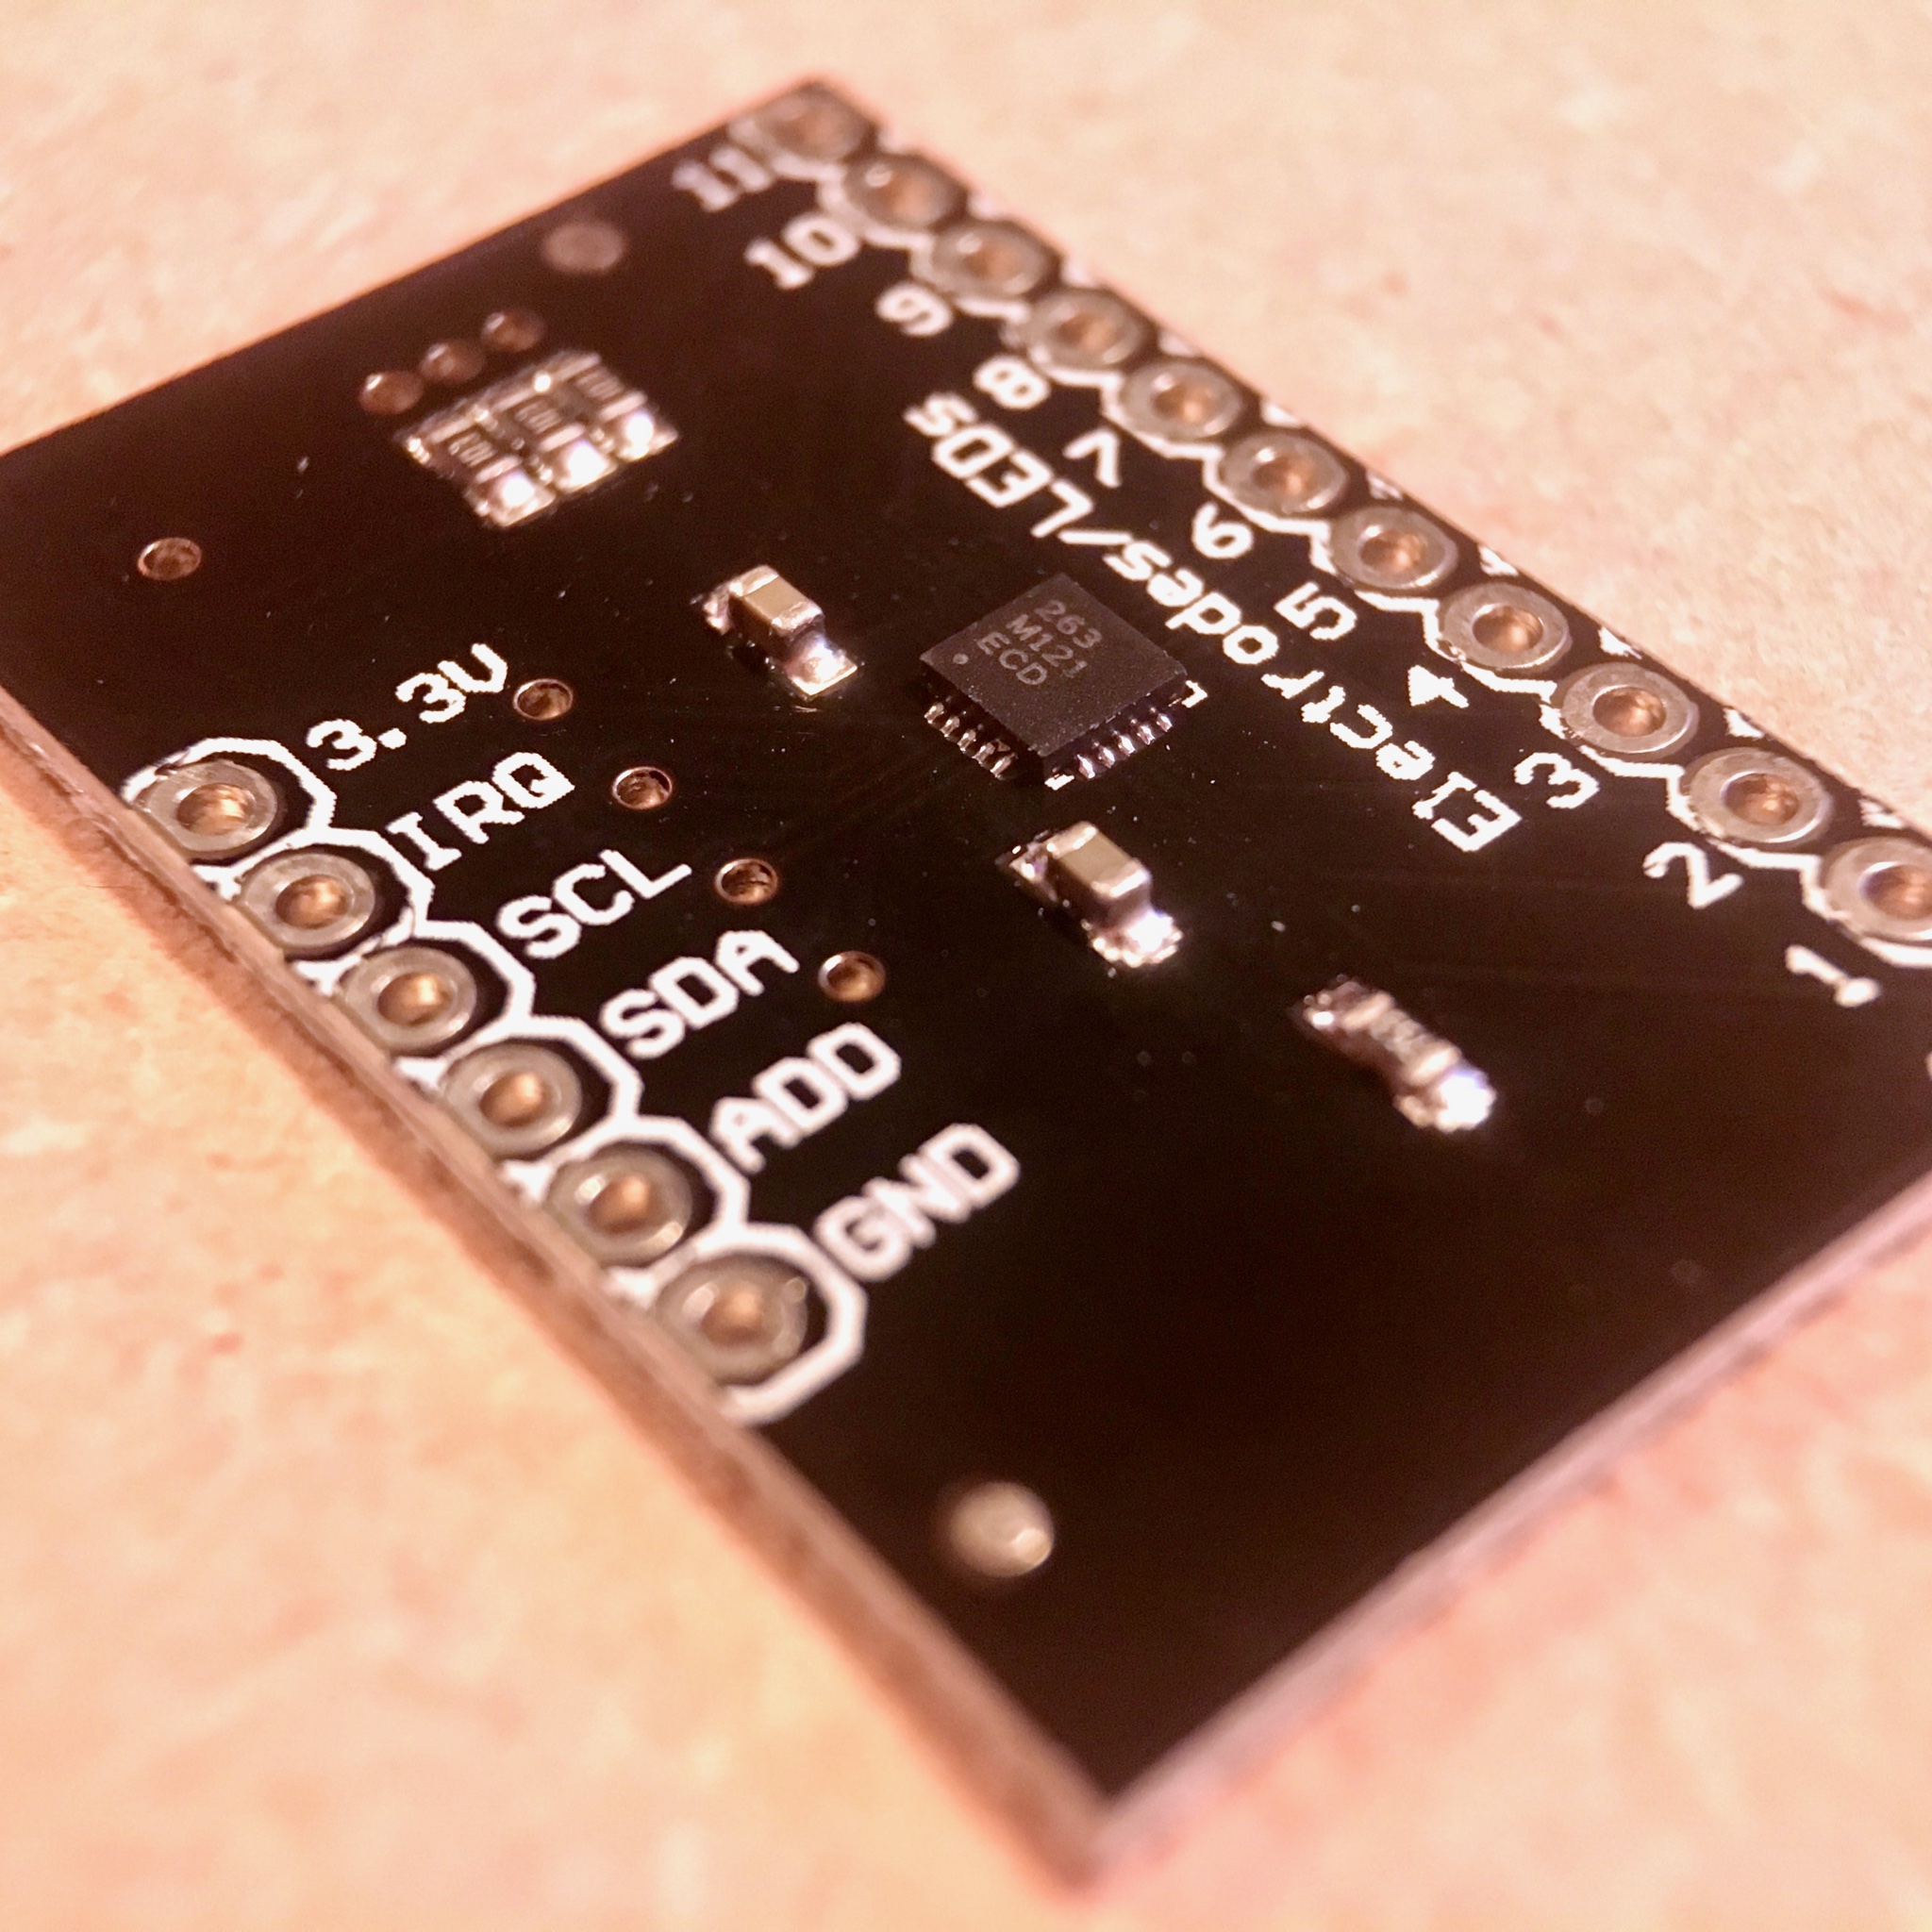
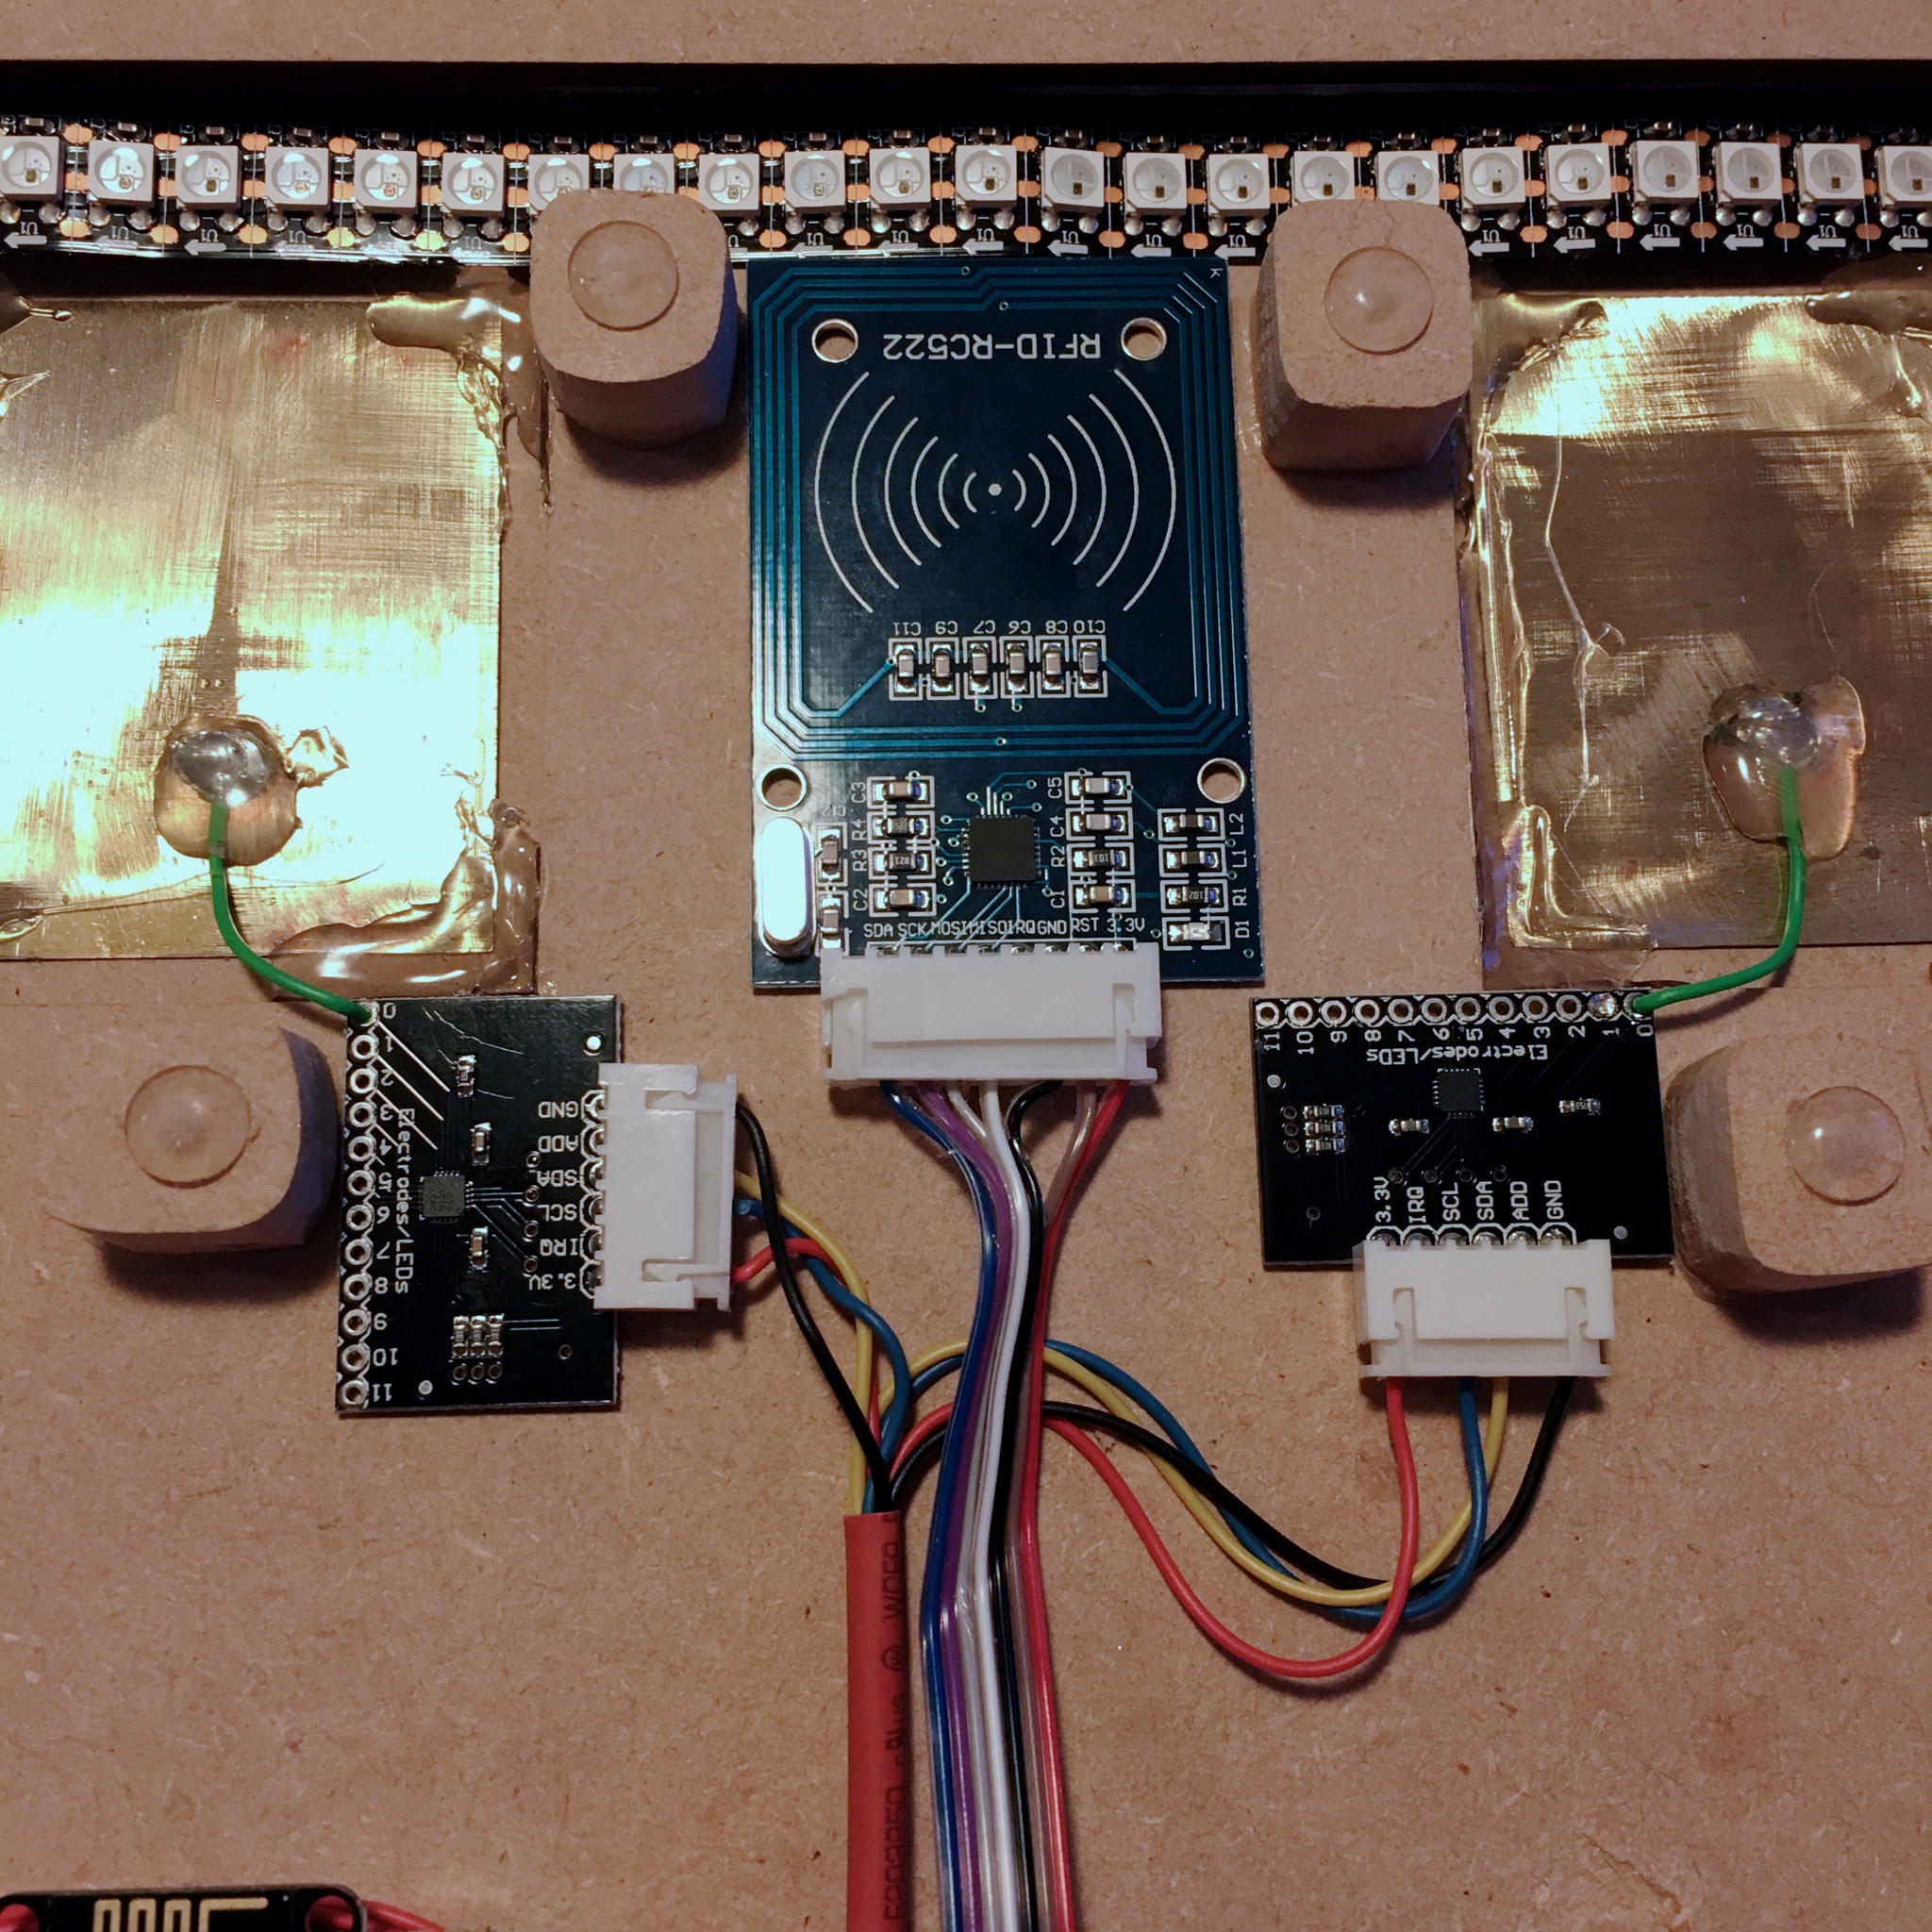
The sensor that I’ll be using is the MPR121. A multichannel proximity capacitive touch sensor. It’s a 3-in-1 module with the following features: Capacitance Sensing, Touch Sensing, and Proximity Sensing. Since it uses I2C it’s pretty easy to connect to the ESP8266. And the breakout board on which I ordered them makes connecting them a breeze.
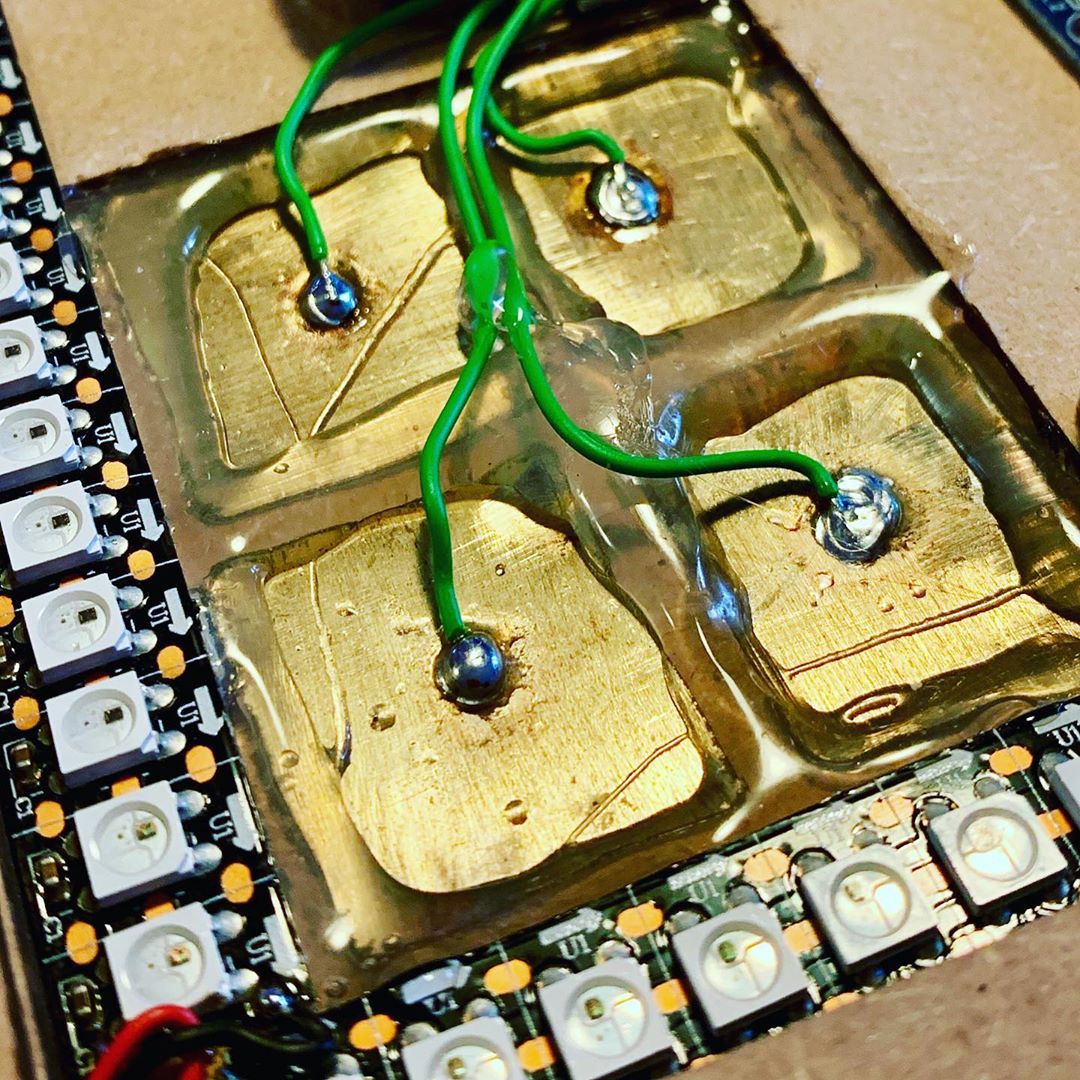
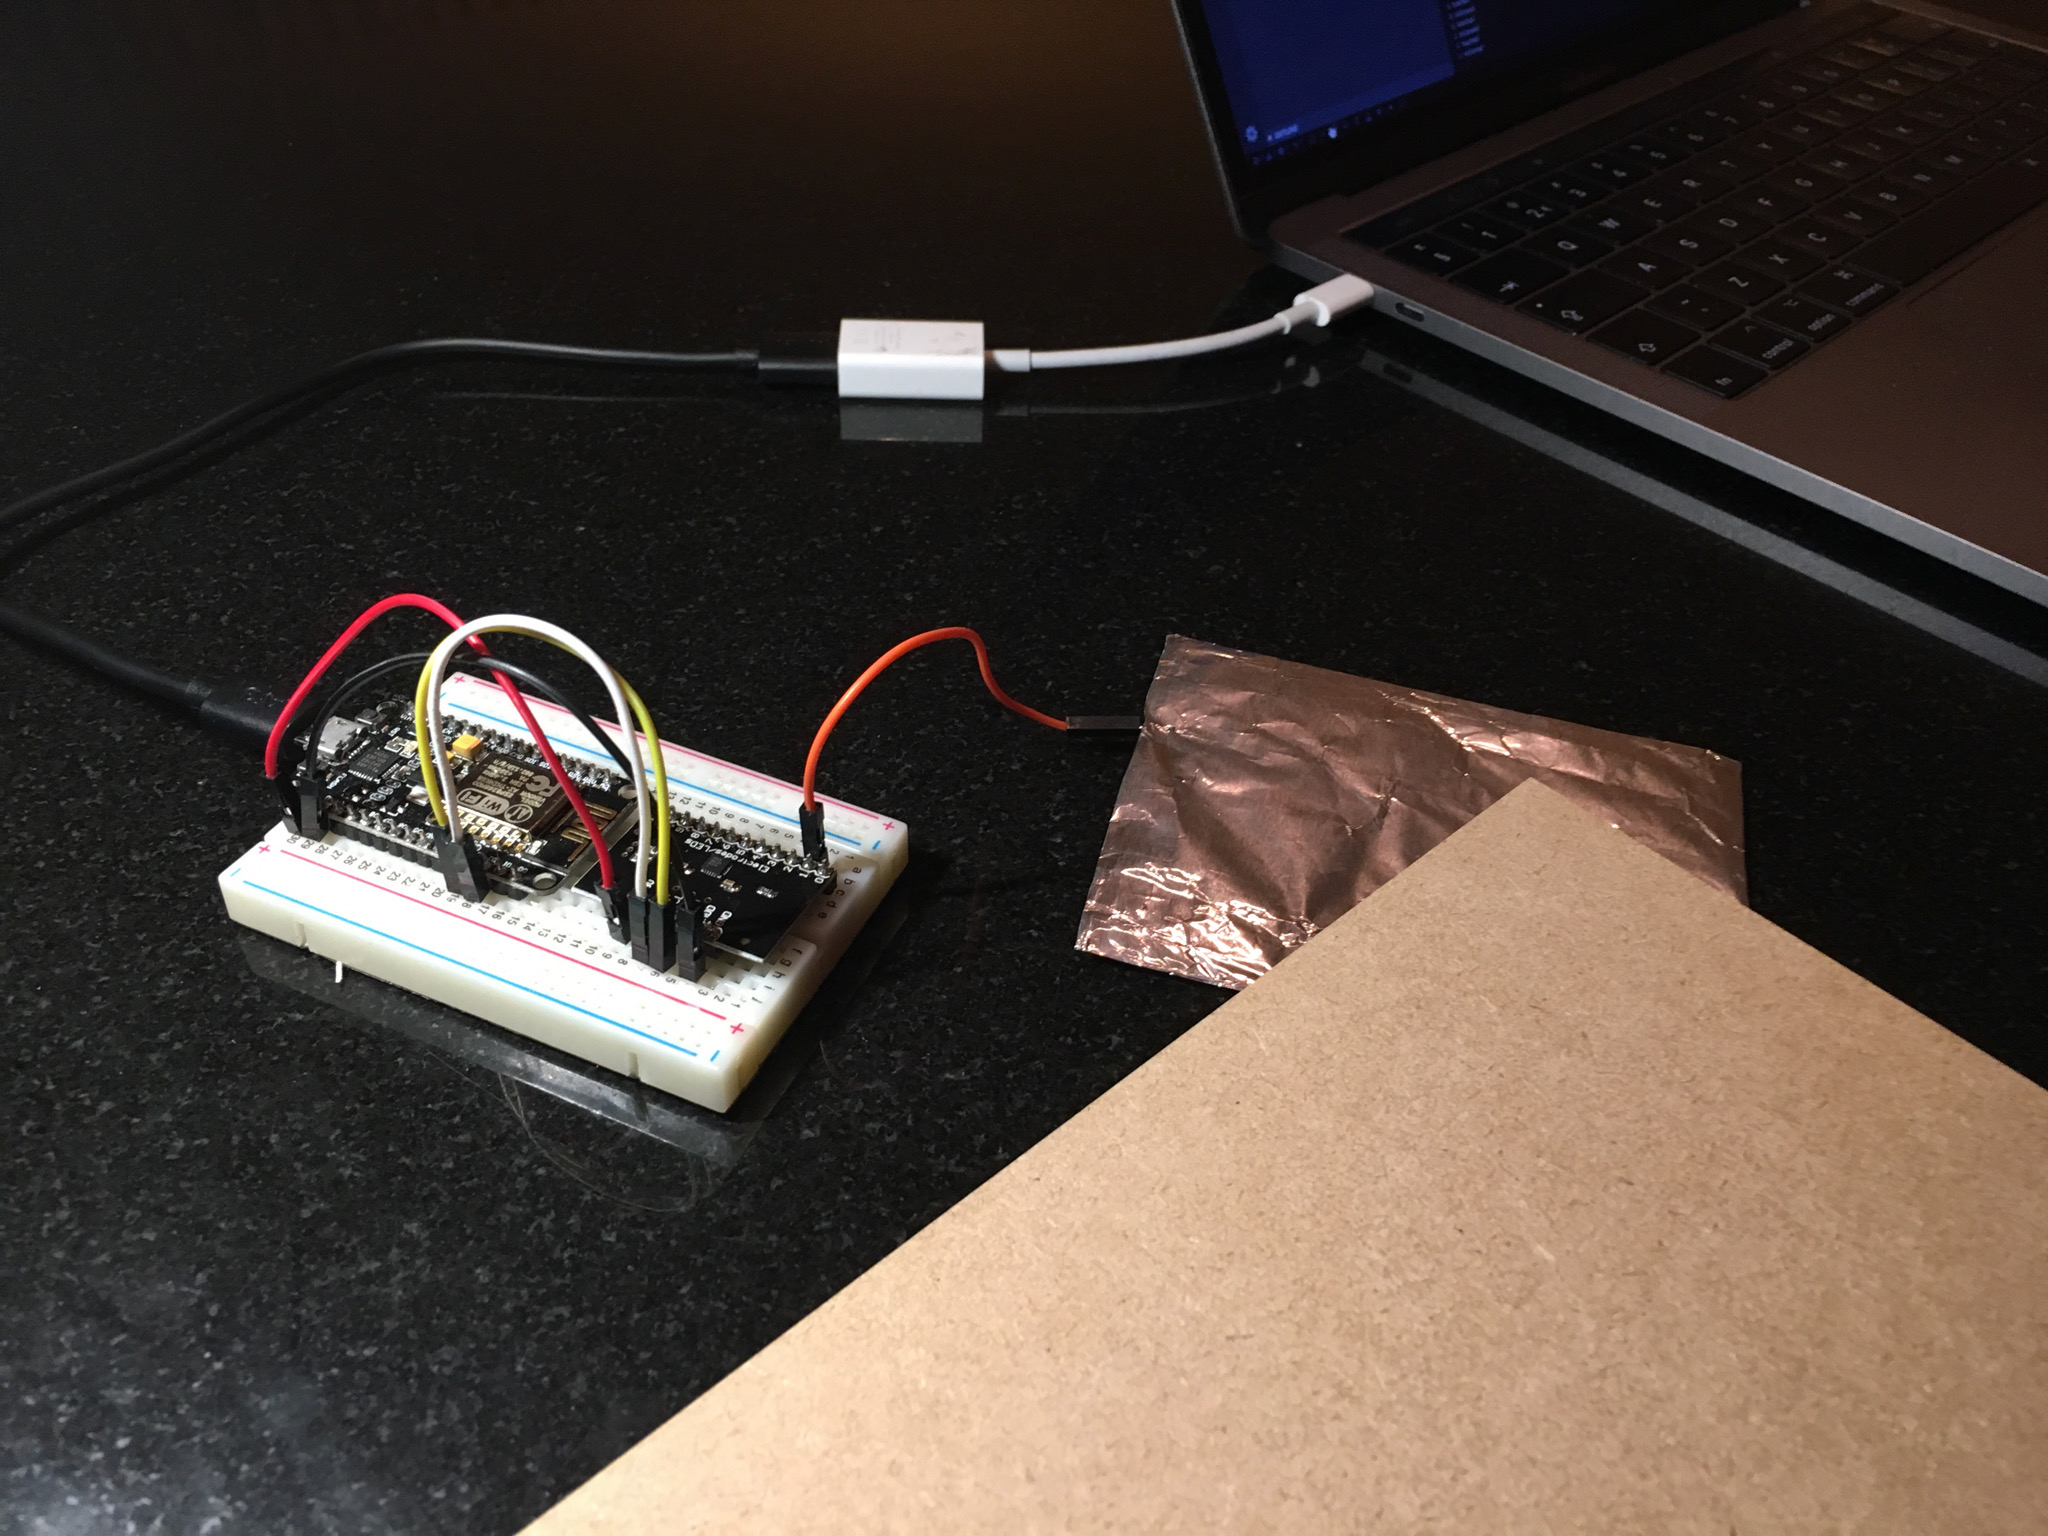
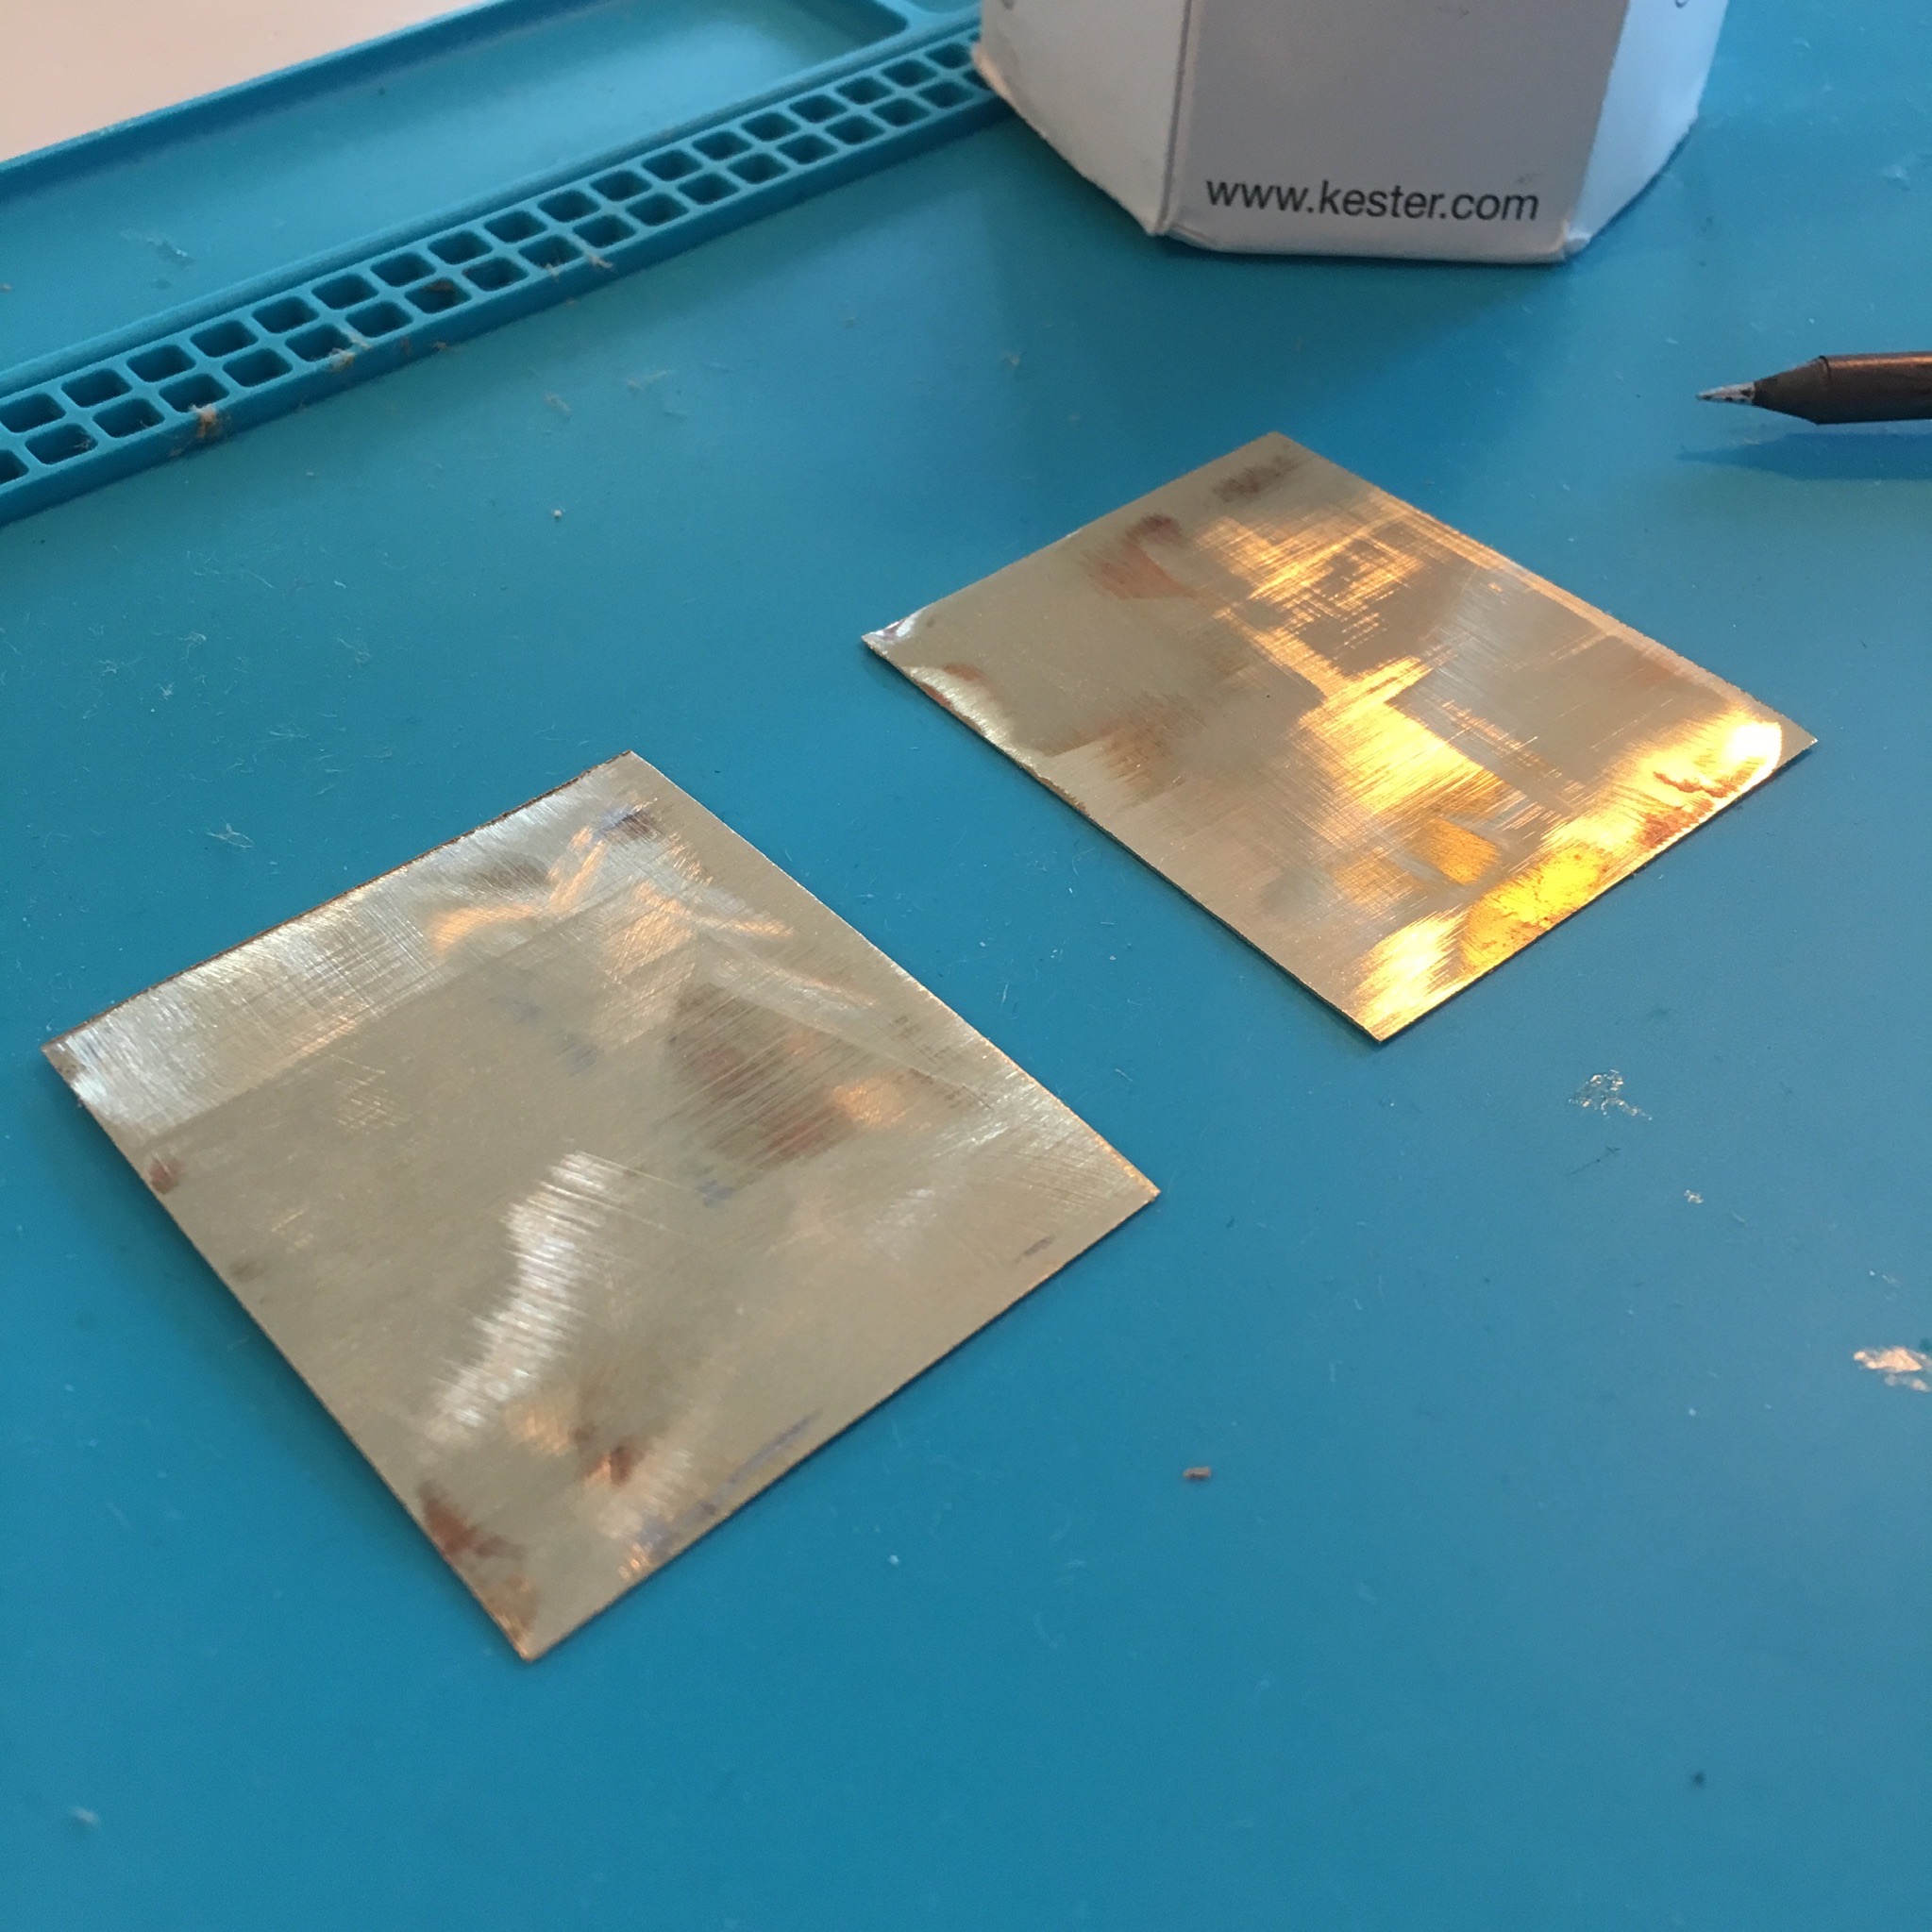
Because I want to make the two fairly large empty planes next to the play-bay touch sensitive, I need some sort of metal touch planes below the 3mm MDF to function as electrodes. I my case I just stole some pieces of brass my dad was using to built his NS 5500 model train. Not sure if he needs those pieces, but if that is the case, the model train will now need to be a cabriolet.
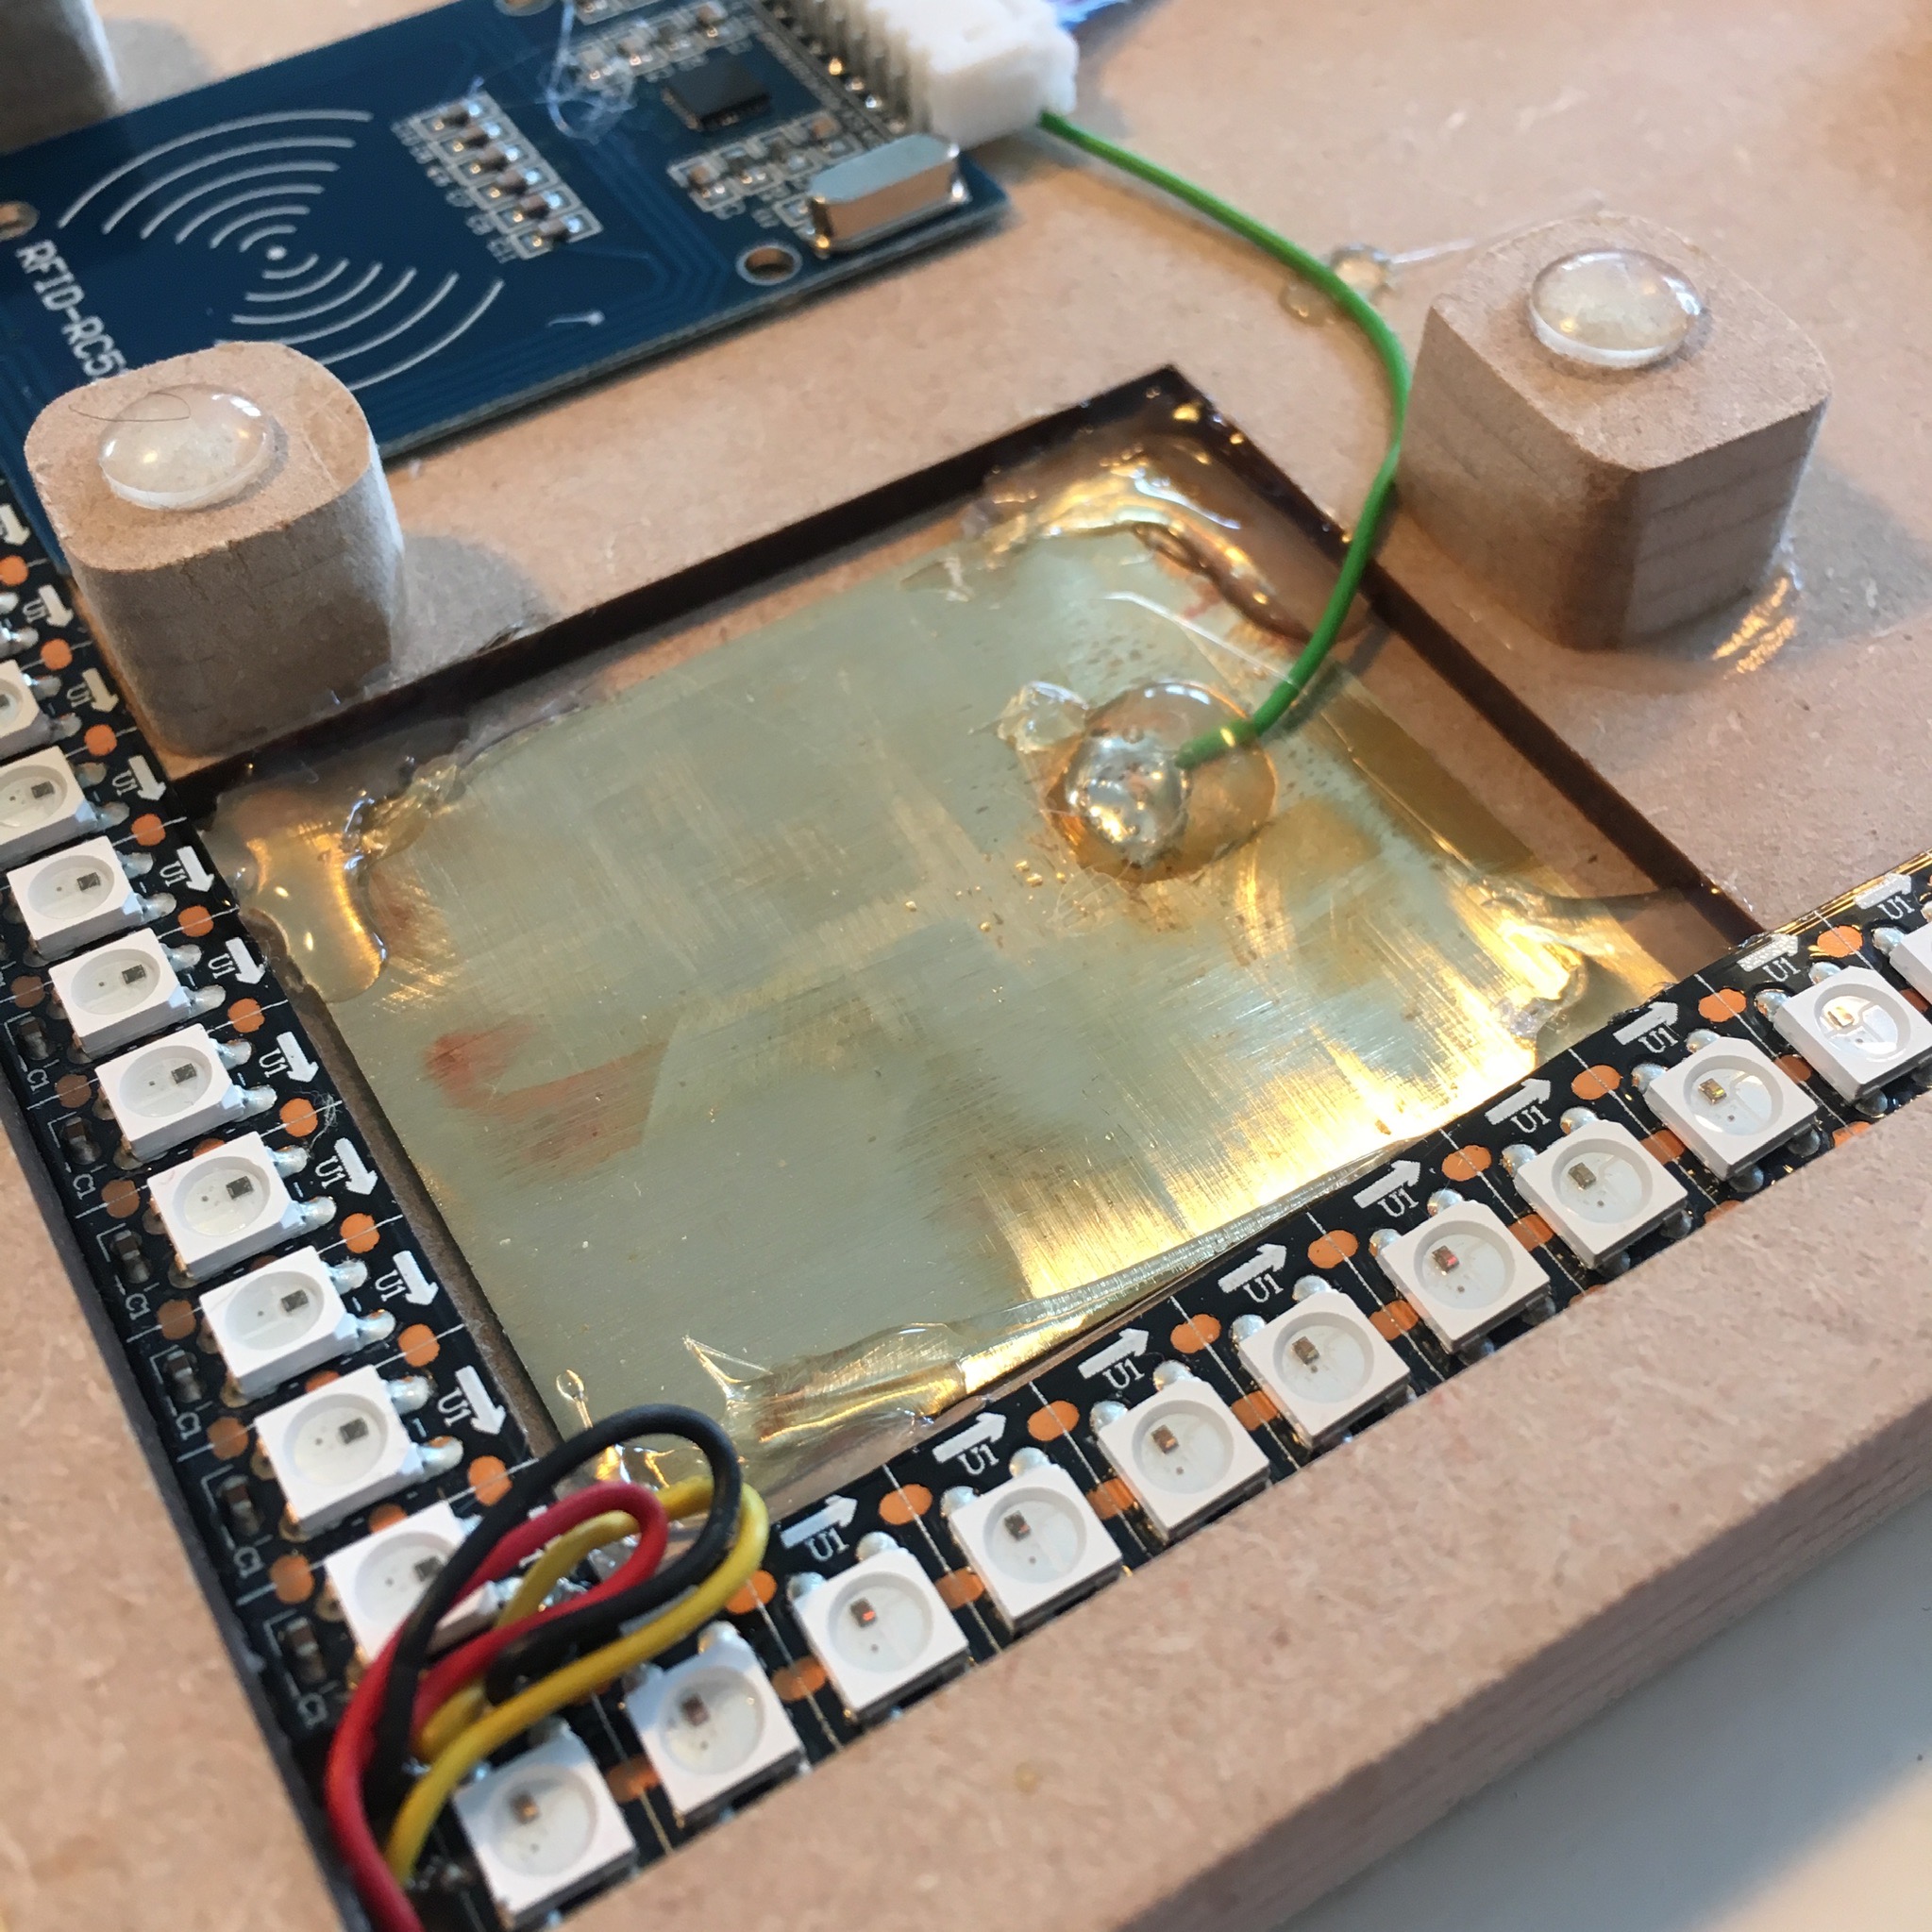
I glued the pieces of brass in place using an overdose of hot glue, and soldered a piece of wire to it.
The two plates where then connected to the MPR121 breakout board which is connected to the ESP8266 using a JST connector which allows me to easily disconnect or rewire it.
The first tests with the integrated touch sensor were very promising. But soon I noticed a lot of false positives on one of the two sensors. And since these sensors are controlling the volume of my Sonos system, false positives are very annoying. In this case the music was muted within a few minutes of idling.
It turns out that the long green wires to the brass plates pick up too much interference. Especially the wire that goes under the connection to the RFID reader. This interference generates most of the false positives.
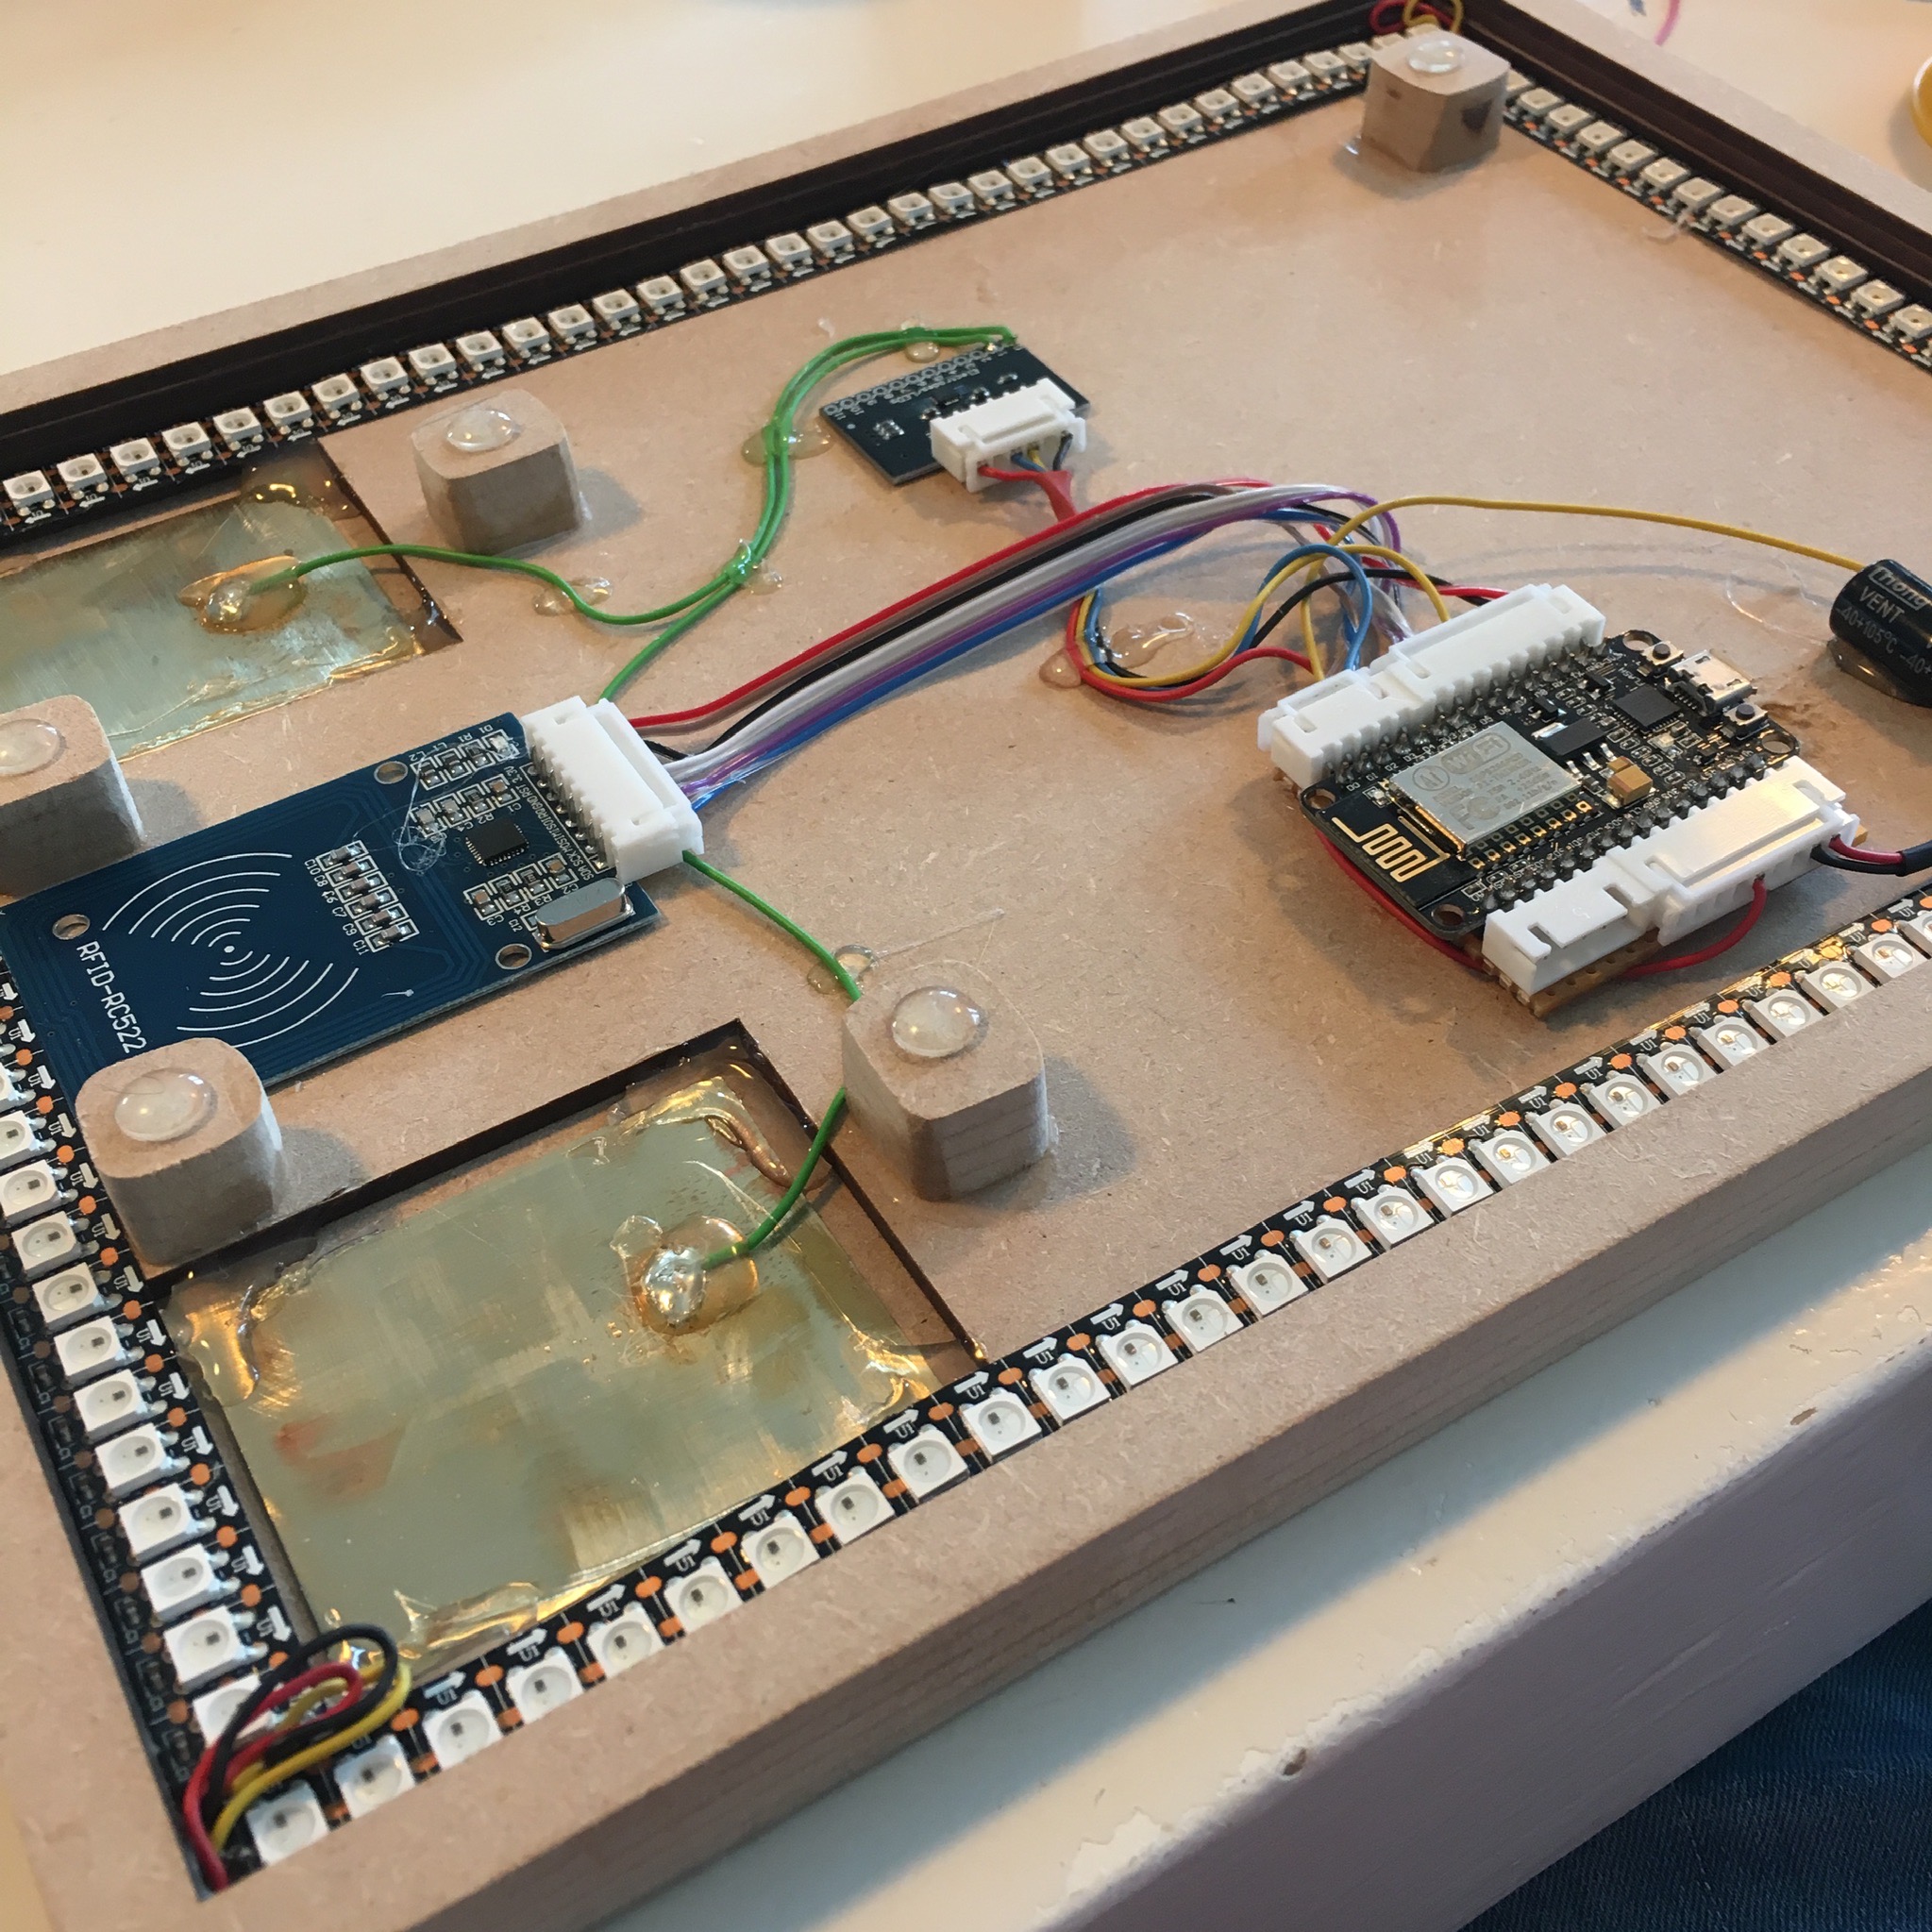
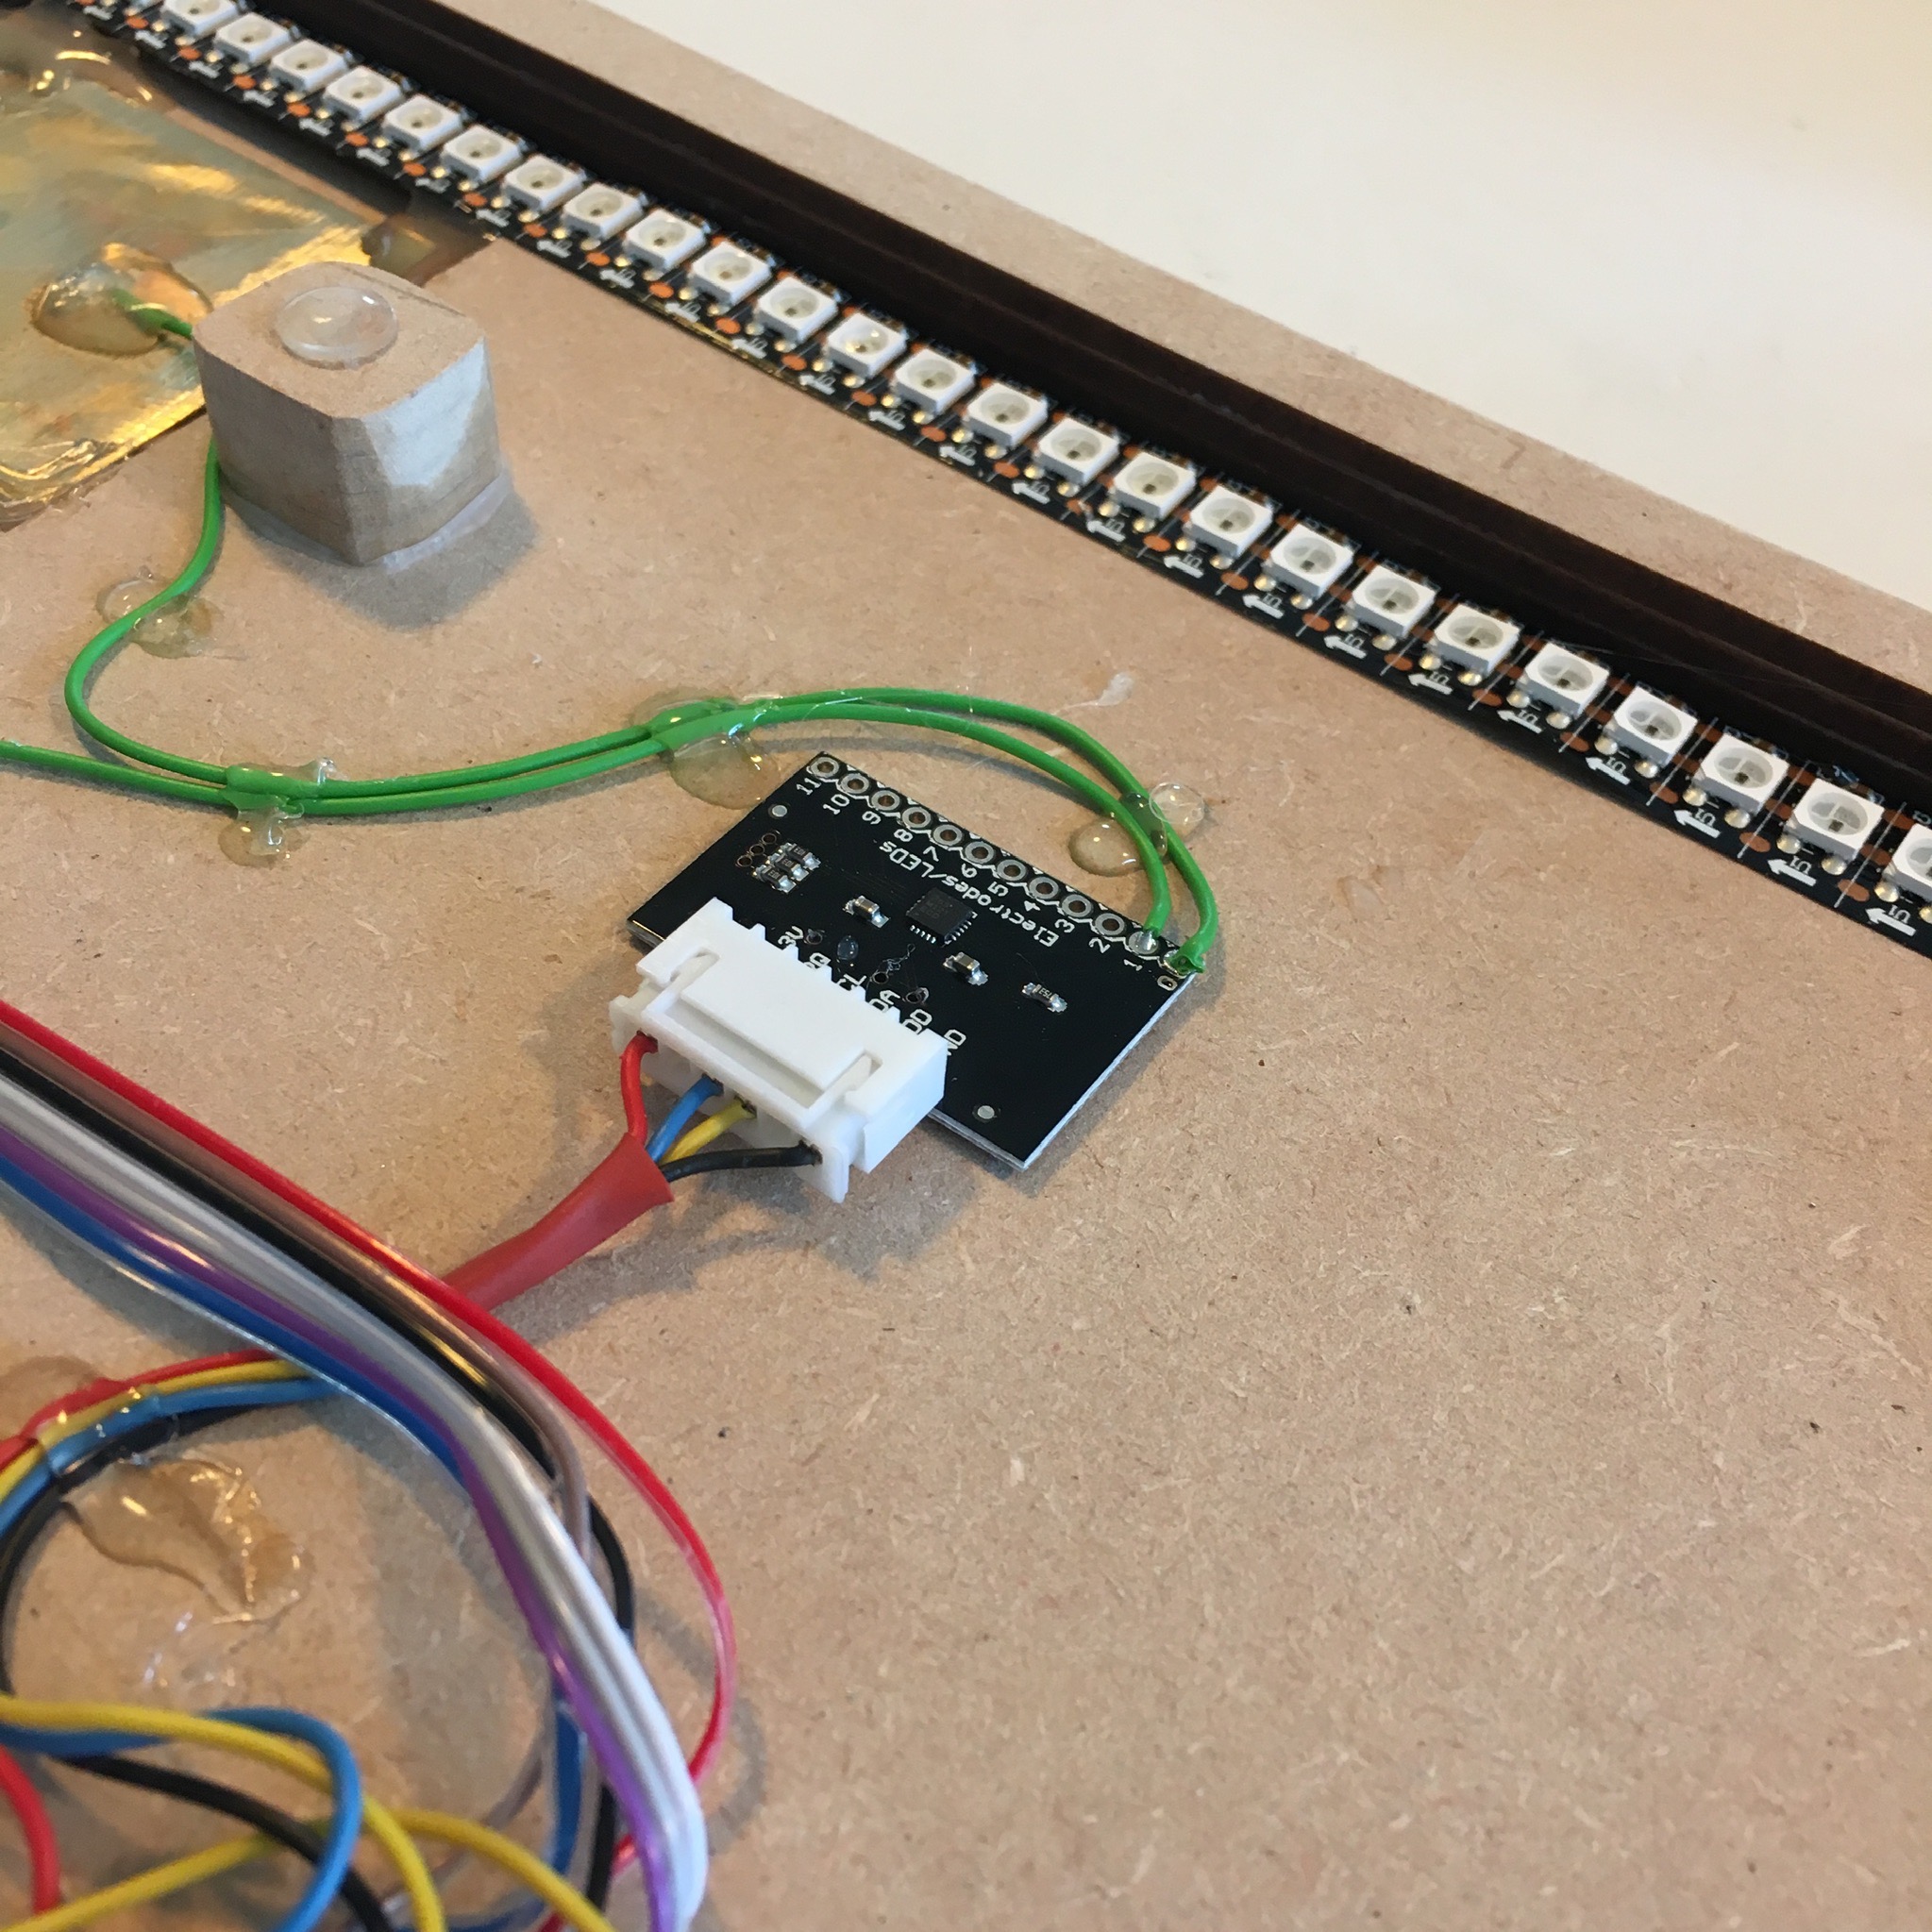
The MPR121 gives you a lot of room to tweak the sensitivity of the sensors, but of course it’s best to prevent as much interference as possible. And since the sensors are pretty cheap, connected via I2C and offer the option to change the I2C address, I opted for an extra MPR121 IC close to the brass plate. This eliminated a lot of false positives.
Unfortunately this didn’t solve all the issues. So I’ve been playing with all the possible registers the are described in the documentation of the MP121. And while I did notice some improvement, I didn’t manage to completely prevent all false positives. Because of this I added some code that checks the length of the registered touch. Anything shorter than 50ms is ignored. And since 99% of the false positives are around 17ms, this solves most of the issues. In addition to this, I added a few other countermeasures to prevent unwanted volume changes.
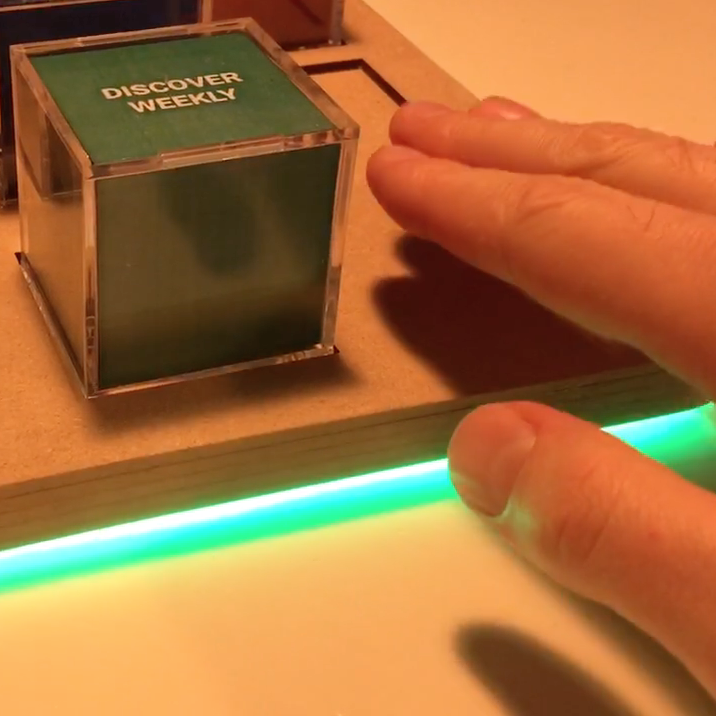
But let’s save the software discussion for next blog. For now, let’s enjoy this cool demo of me controlling the volume of my Sonos system using the two invisible capacitive touch sensors.
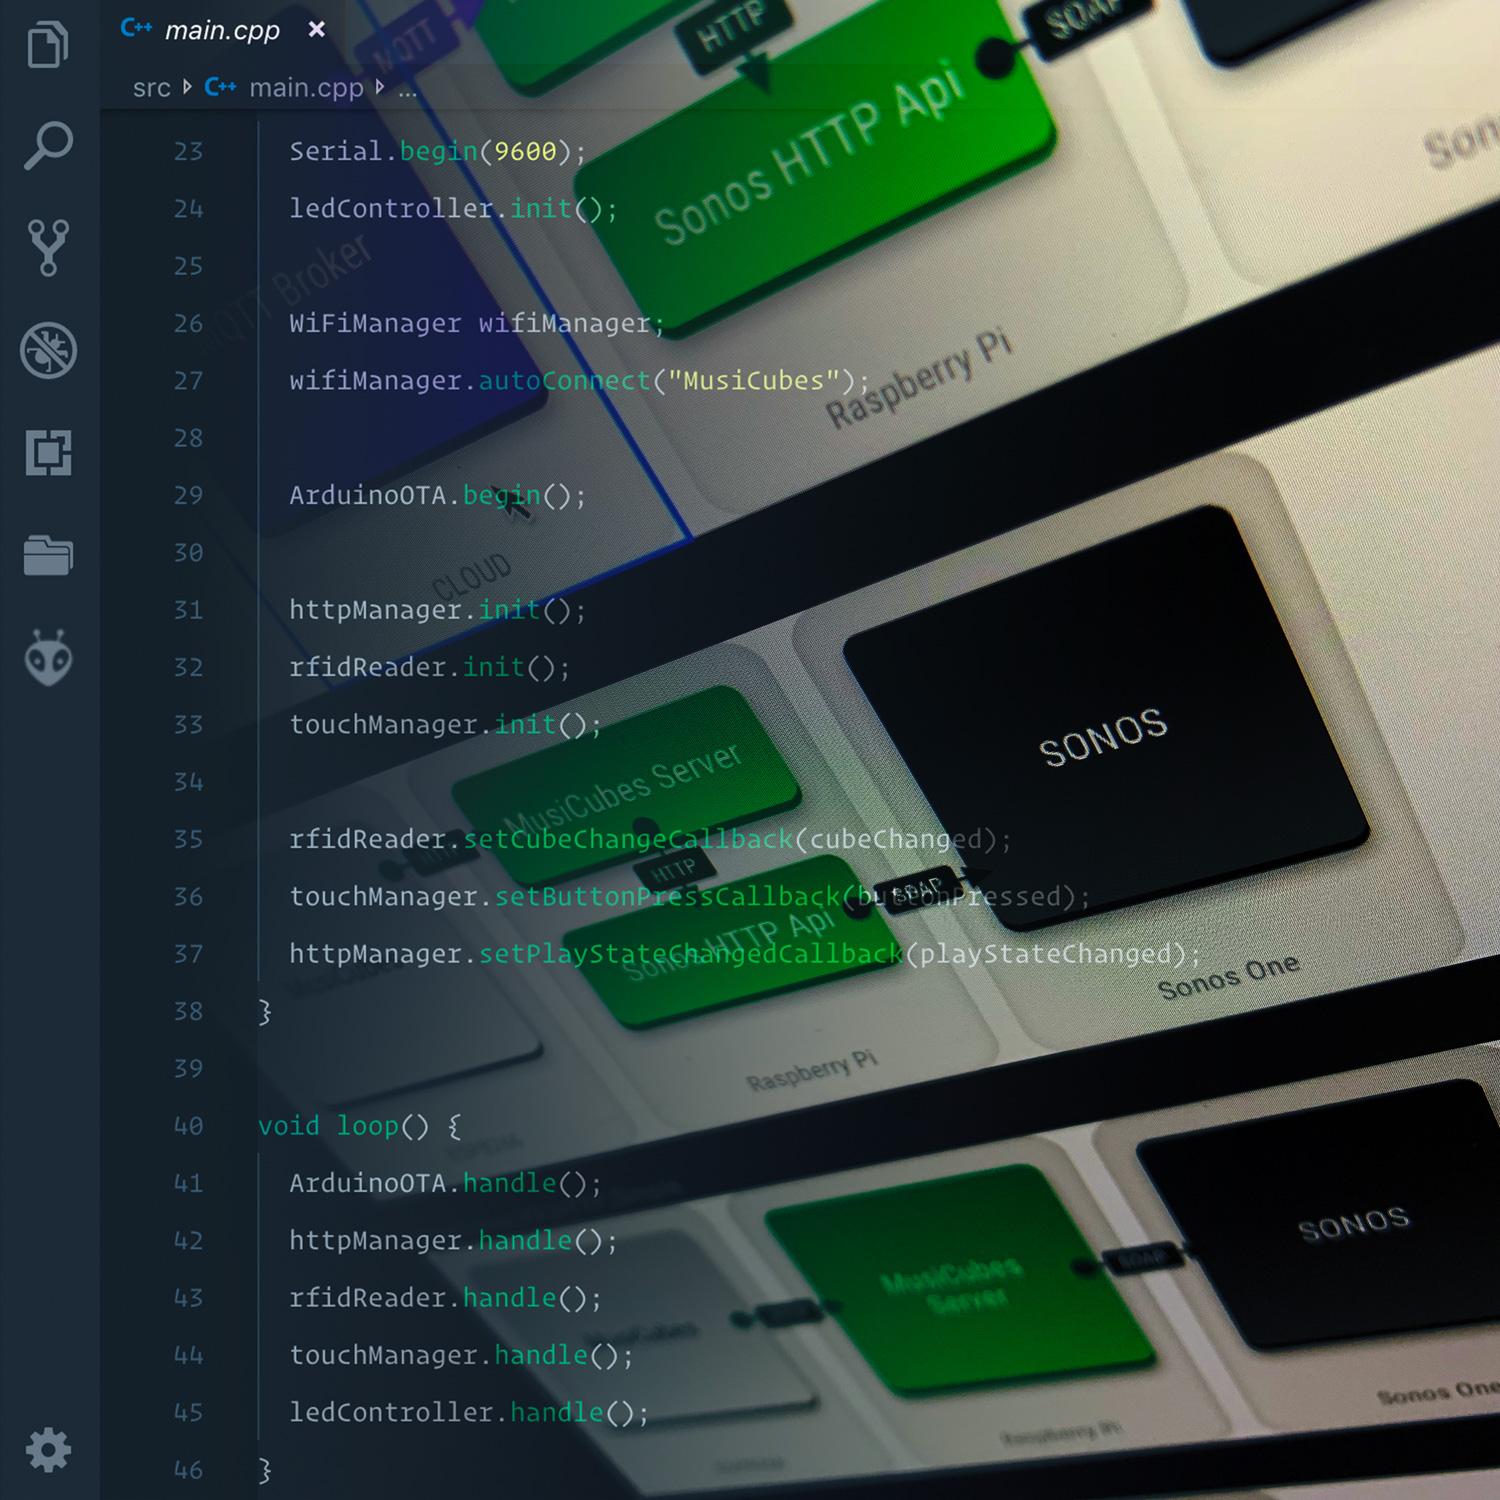
In the next blog we’ll dive in the code and the software architecture of the project.
MusiCubes: The Software