Two weeks ago I finished up the electronics of the MusiCubes controller. So now it’s time to discuss the software side of things. Buckle up, and get ready for the long ride!
MusiCubes: Touch Me!
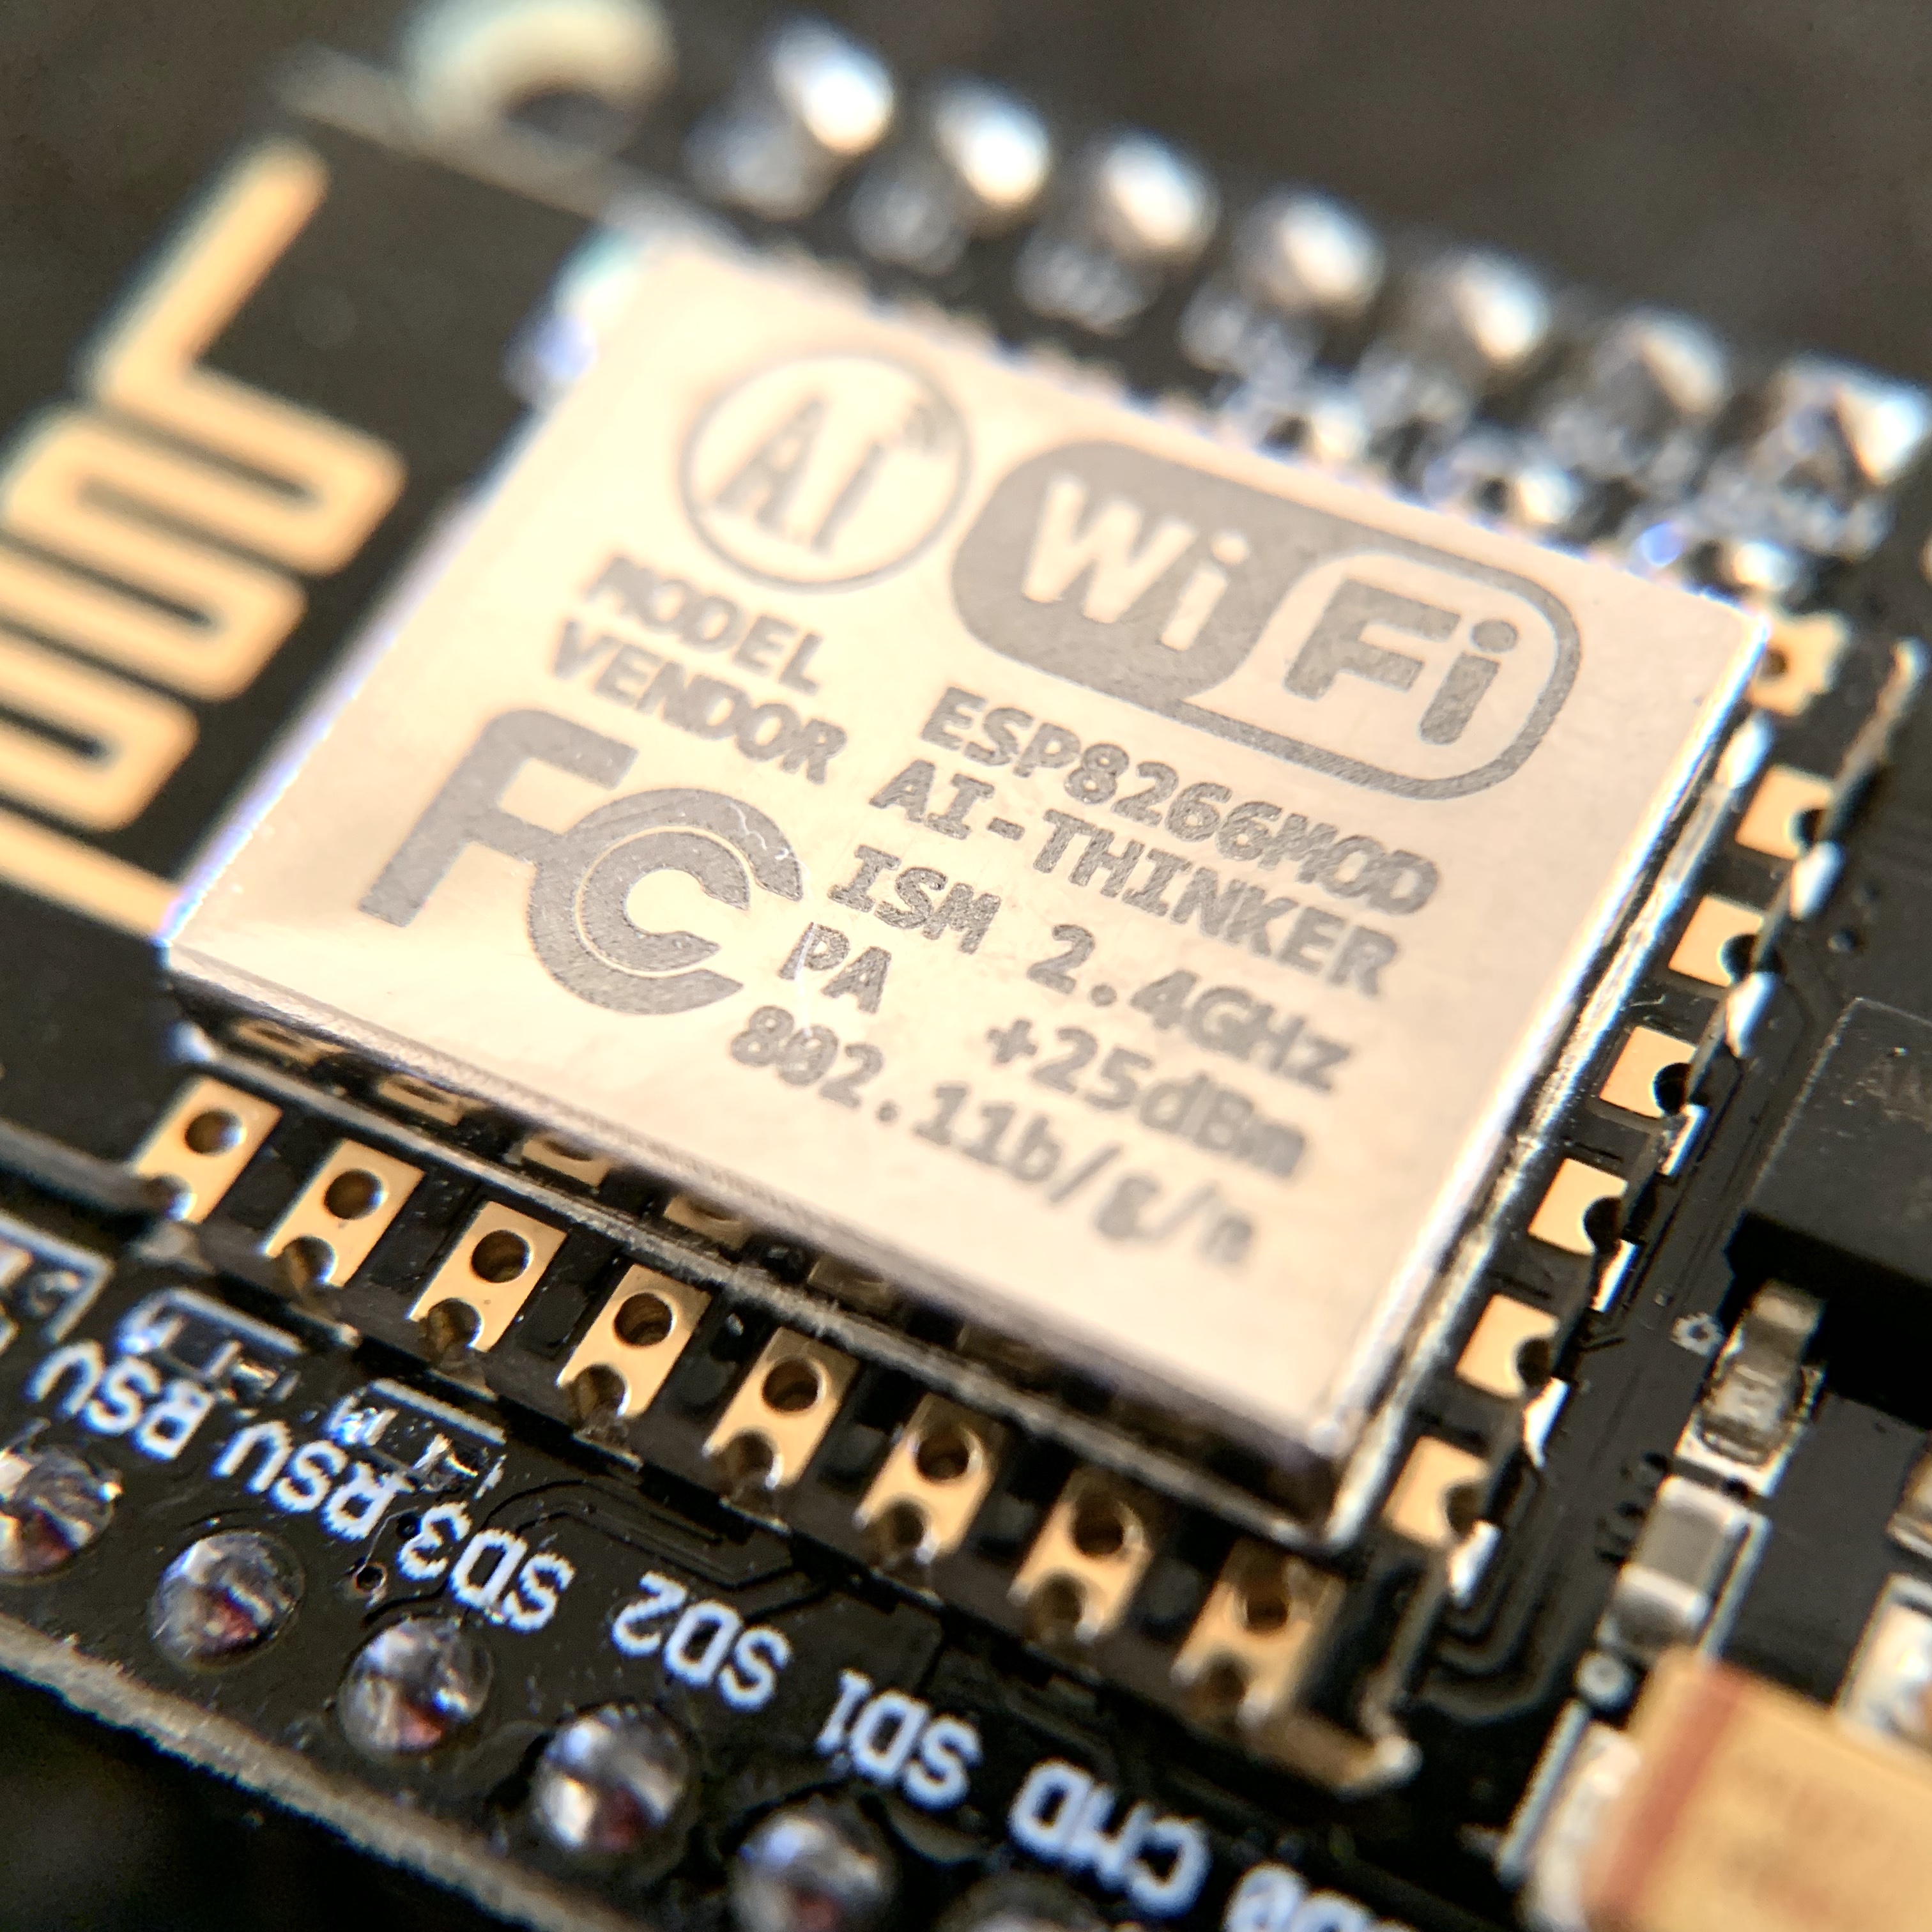
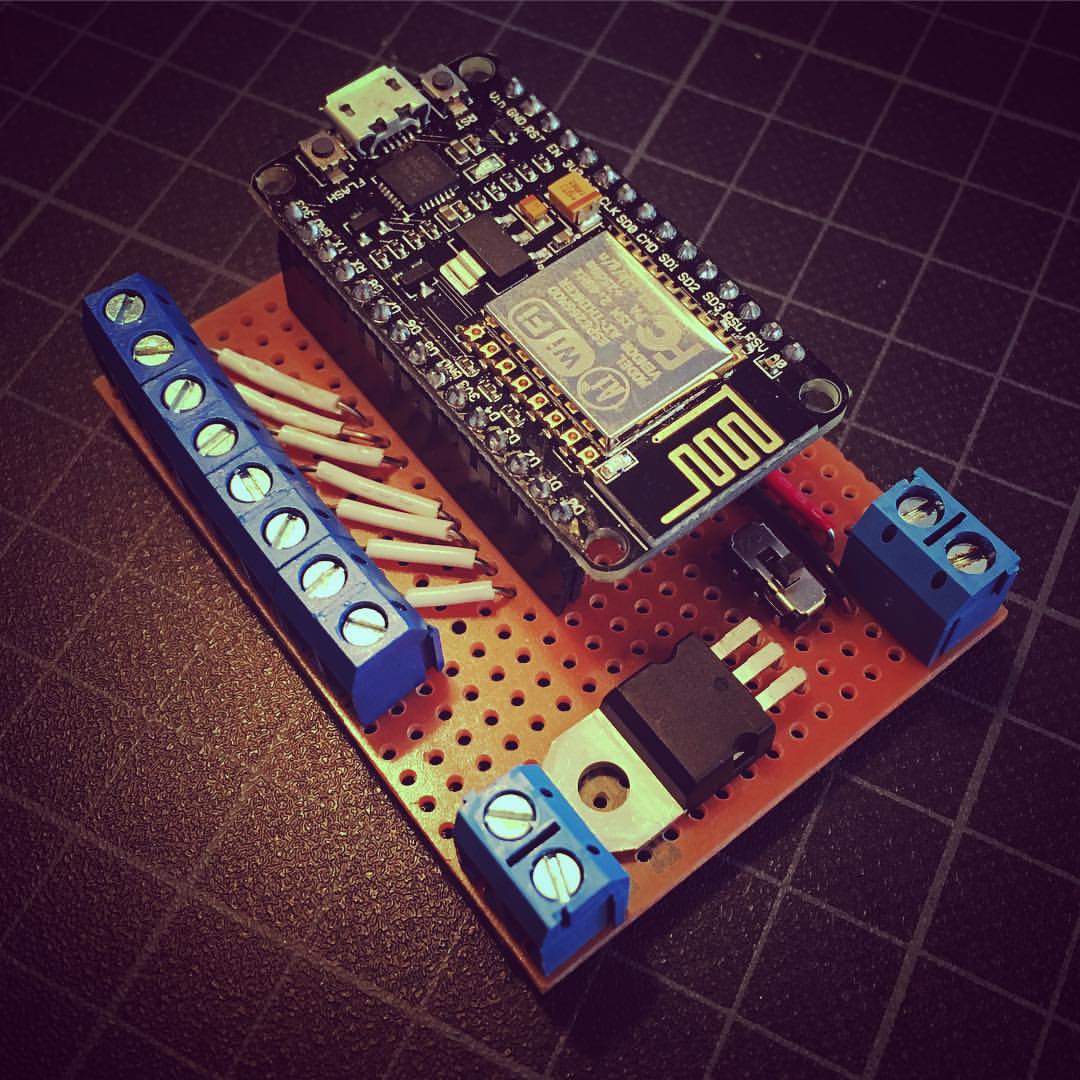
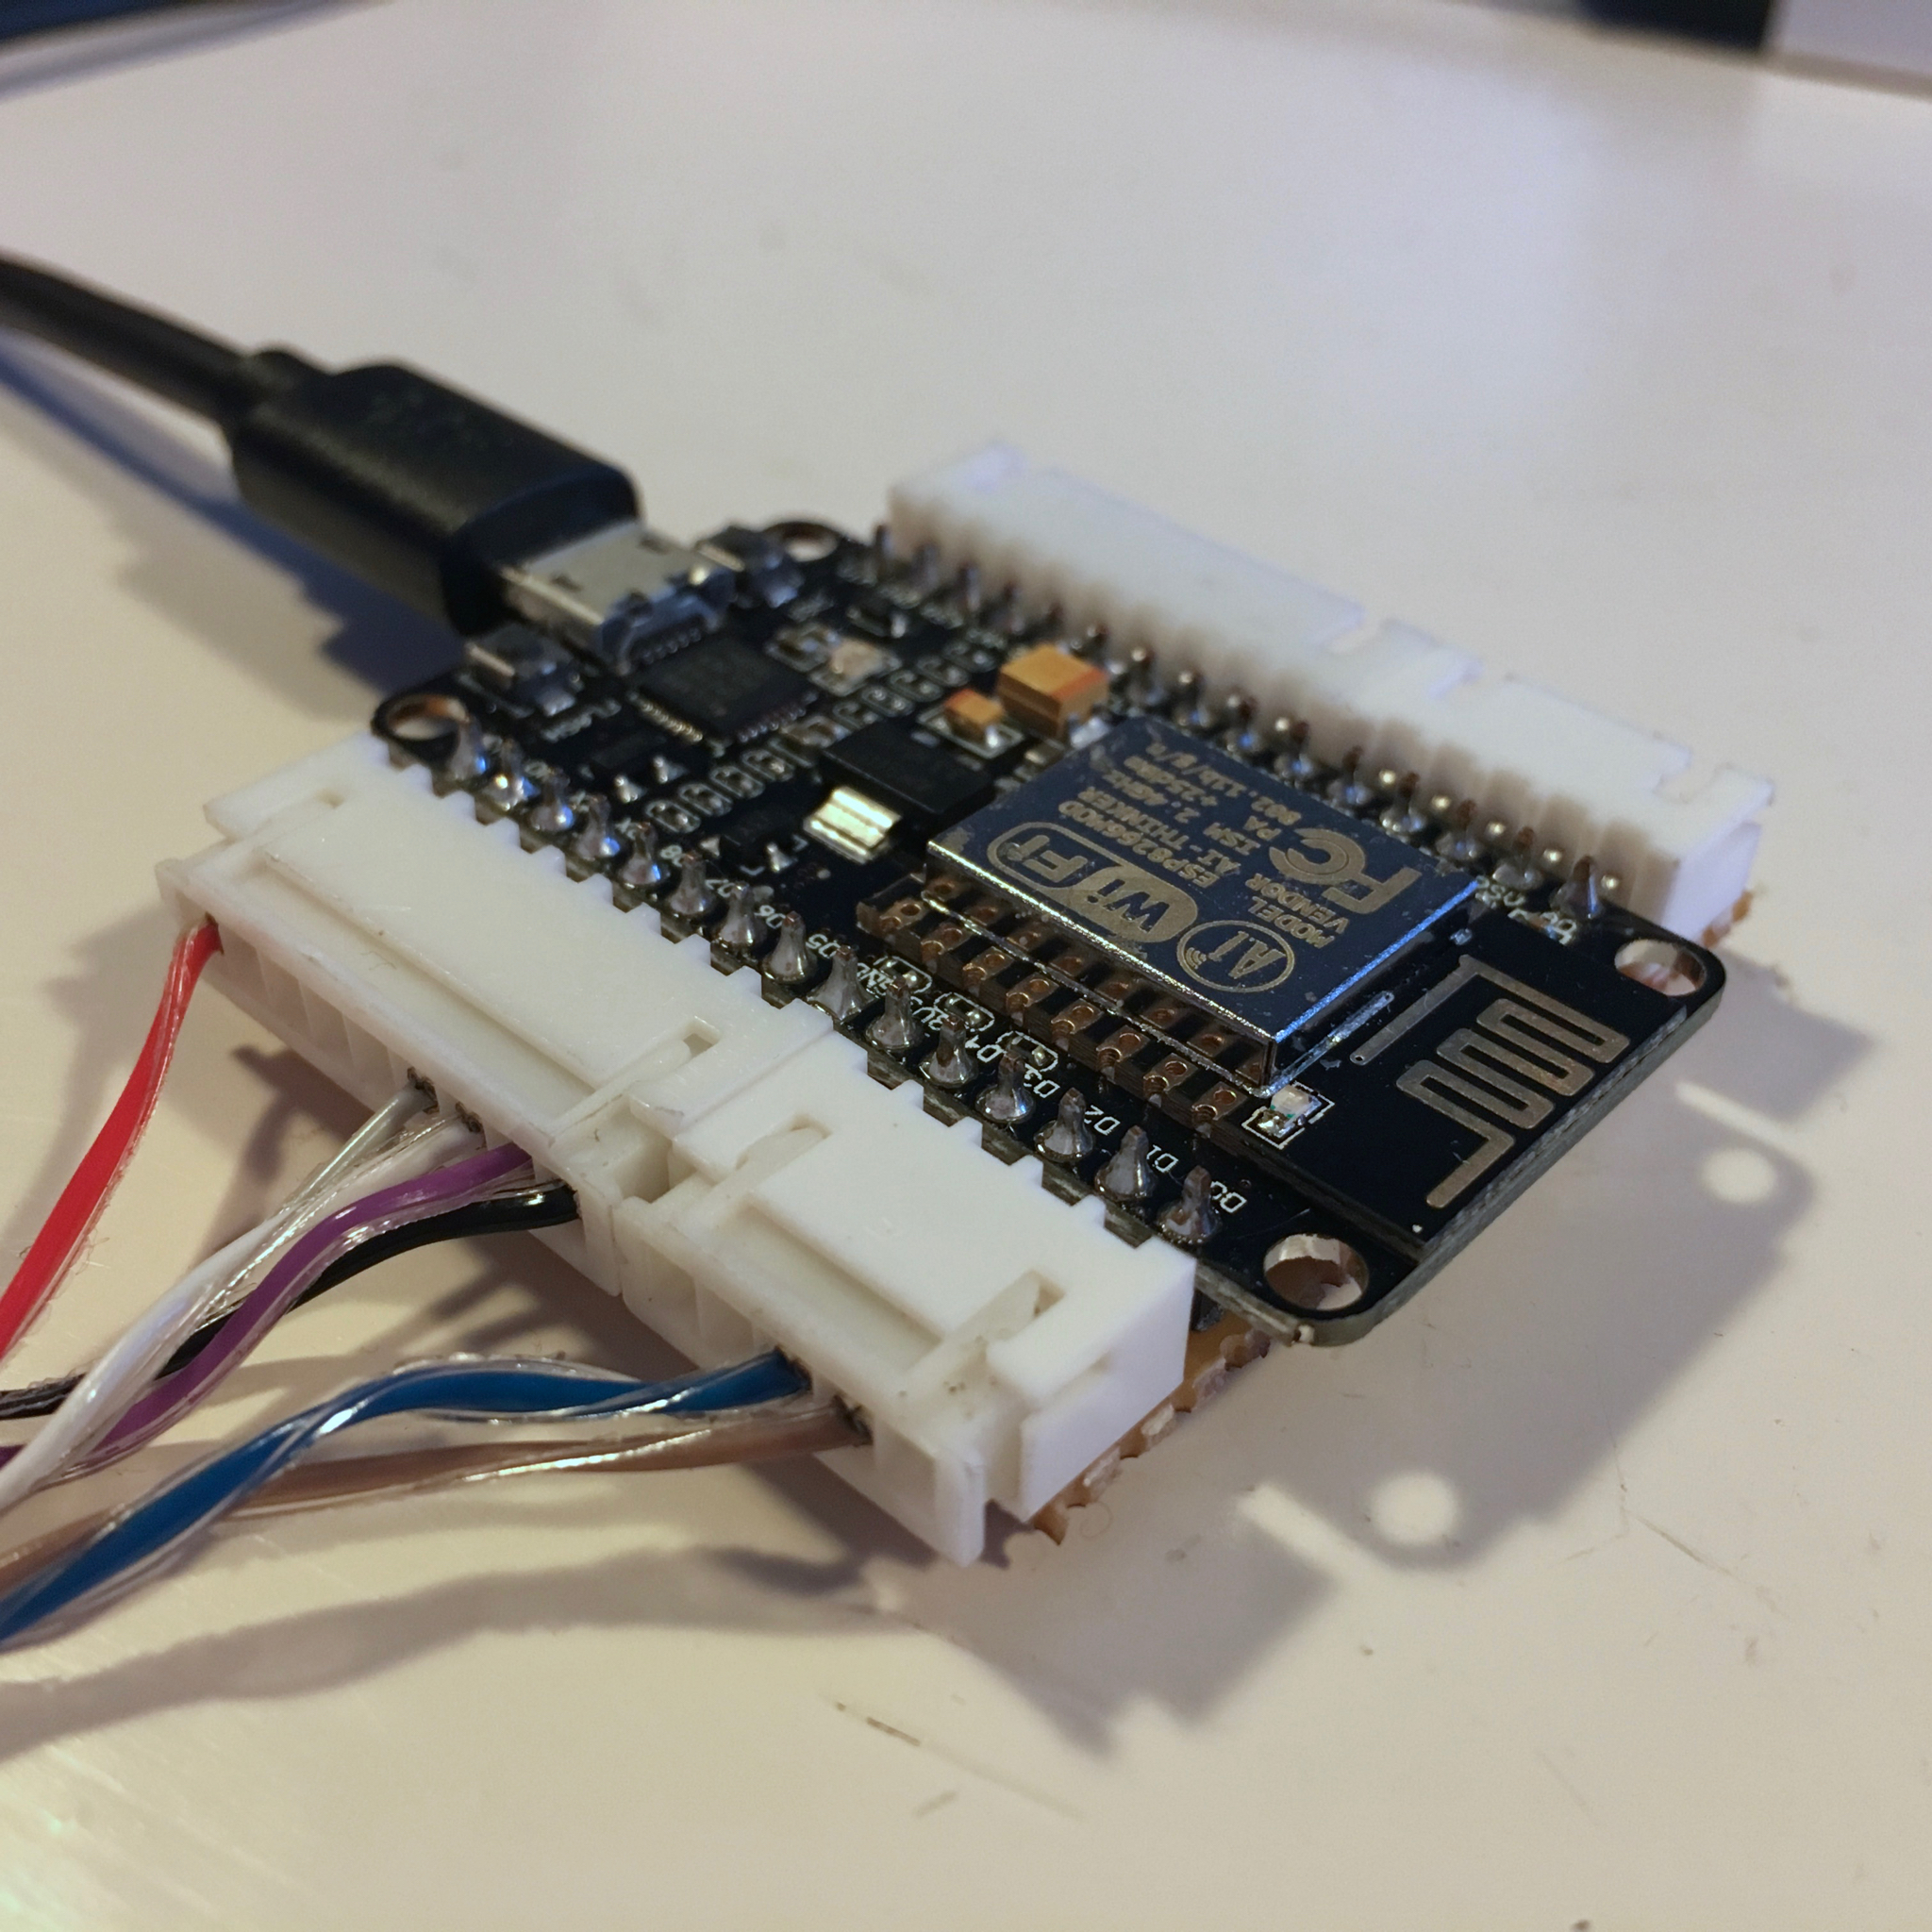
Before we start, a little heads up: this post won’t contain a whole lot of interesting photos of the project. As a matter of fact, the following photo is just here to satisfy the people who are here for the pictures. It has no significance whatsoever. It’s not even a nice picture. But it does show the ESP8266 which will run most of the code discussed in this post.
The Architecture & Infrastructure
Ok, let’s dive in. Heads first. The architecture & infrastructure of the system. Using the words architecture and infrastructure might be a bit extreme for something as simple as what we are building. But let’s pretend we are building something huge. Using big words from time to time makes you feel important, right?
The first iteration.
Initially I used MQTT to let the MusiCubes’ ESP8266 communicate with the world. I’m a big fan of MQTT because it’s simple and fast. The MusiCubes controller publishes the unique identifier (of one of the sides) of the active cube to a MQTT topic. And using a simple node.js script running on a Raspberry Pi I subscribe to this topic and handle the messages. From now on, let’s call this node.js script the MusiCubes Server.
The MusiCubes Server also contains a list of Cube UIDs. This list connects the UIDs to (Spotify) playlists:
const playlist = {
    '04:1e:3d:ba': 'favorite/538',
    '04:12:3d:ba': 'favorite/Koffee',
    '04:1a:3d:ba': 'favorite/Lekkere Nummertjes',
    '04:0e:3d:ba': 'spotify/now/spotify:user:defected.records:playlist:08M2kTqmlPNHygrNfrZJuQ',
    '04:16:3d:ba': 'favorite/Discover Weekly',
    '04:31:3c:ba': 'playlist/kinderliedjes',
    '04:25:3c:ba': 'favorite/BLUE MARLIN IBIZA RADIO',
    '04:22:3d:ba': 'favorite/Ibiza Global Radio',
    '04:29:3c:ba': 'spotify/now/spotify:user:21ifzjxggdajdpc4w6iqxslkq:playlist:4hfe8itOfwwijAHHOlI6pp',
    // ...
}
To control the Sonos One, I use the Node Sonos HTTP Api by Jishi. This application runs a small webserver which allows you to easily control your Sonos device.
To clarify the setup, lets make a little diagram which shows the full setup:
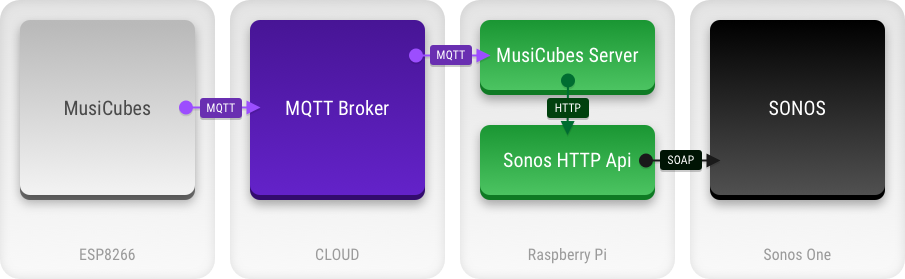
Now, this setup works fine, and allowed me to do a lot of debugging using additional MQTT topics to which I published debug data. But to be honest, for me it felt like a bit of overkill. Especially since my MQTT broker runs in the cloud. This means all the messages from the controller make a round trip via a server far far away, while the only thing I need, is a simple request to the MusiCubes Server.
Time to simplify the approach!
The second (and current) iteration.
Let’s remove the need for an MQTT broker. I’ve removed all MQTT dependencies, and converted all the communication to simple HTTP request. In stead of subscribing to a few MQTT topics, the MusiCubes Server now runs a simple HTTP webserver.
This gives us the following setup:

After changing the setup to the above architecture, I noticed the MusiCubes was a lot more stable and faster. This is mainly based on the fact that the initial approach was based on a MQTT Broker which was a bit wonky. But it showed that a chain is as weak as its weakest link.
The third iteration.
Of course there is even more room to simplify things. The node.js scripts running on my Raspberry Pi are communication over HTTP, which is a bit unnecessary since I can just implement the Node HTTP Api into my MusiCubes Server. This would result in the following setup:

But since the current setup (the second iteration) works fine. I think I’ll skip this step. Mainly because there is an even better approach. Which brings us to the next approach …
The fourth iteration.
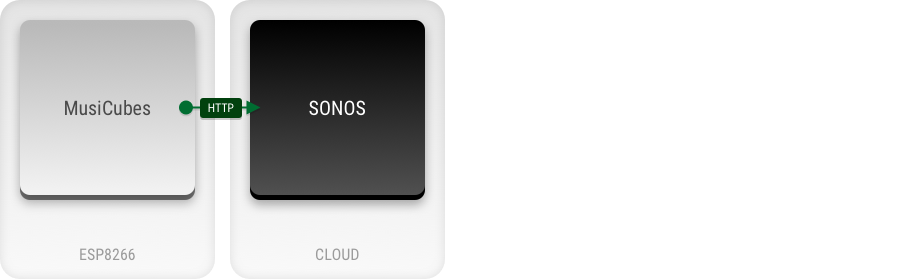
Sonos uses a pretty cumbersome SOAP API to control the Sonos devices. In the previous iterations, the Node Sonos HTTP API script did all this heavy lifting for us, but ideally we just want to connect to Sonos directly from the MusiCubes controller.
The good news is that Sonos announced a new API last year. The Sonos Control API. This API uses simple JSON HTTP request which is much easier to implement into the ESP8266 firmware. If this is implemented, we end up with the following beautiful simple setup:
Unfortunately there are a few drawbacks holding me back from doing this right now:
- We need to configure all the Cube UIDs in the ESP8266 firmware which makes it a bit cumbersome to add new cubes UIDs.
- The Sonos Control API uses the oAuth authentication flow. Since Sonos doesn’t allow us to generate long lived authorization tokens, we need to implement the authorization flow in our firmware.
- To use the oAuth authorization flow, the application needs to run on a https server. This is a bit tricky to do on the ESP8266. (Without the need of an external service.)
- It’s way more difficult to initiate playback based on Spotify URIs.
Of course, overcoming the above issues is a fun future project. But for now, let’s work with the second iteration, and see how this works …
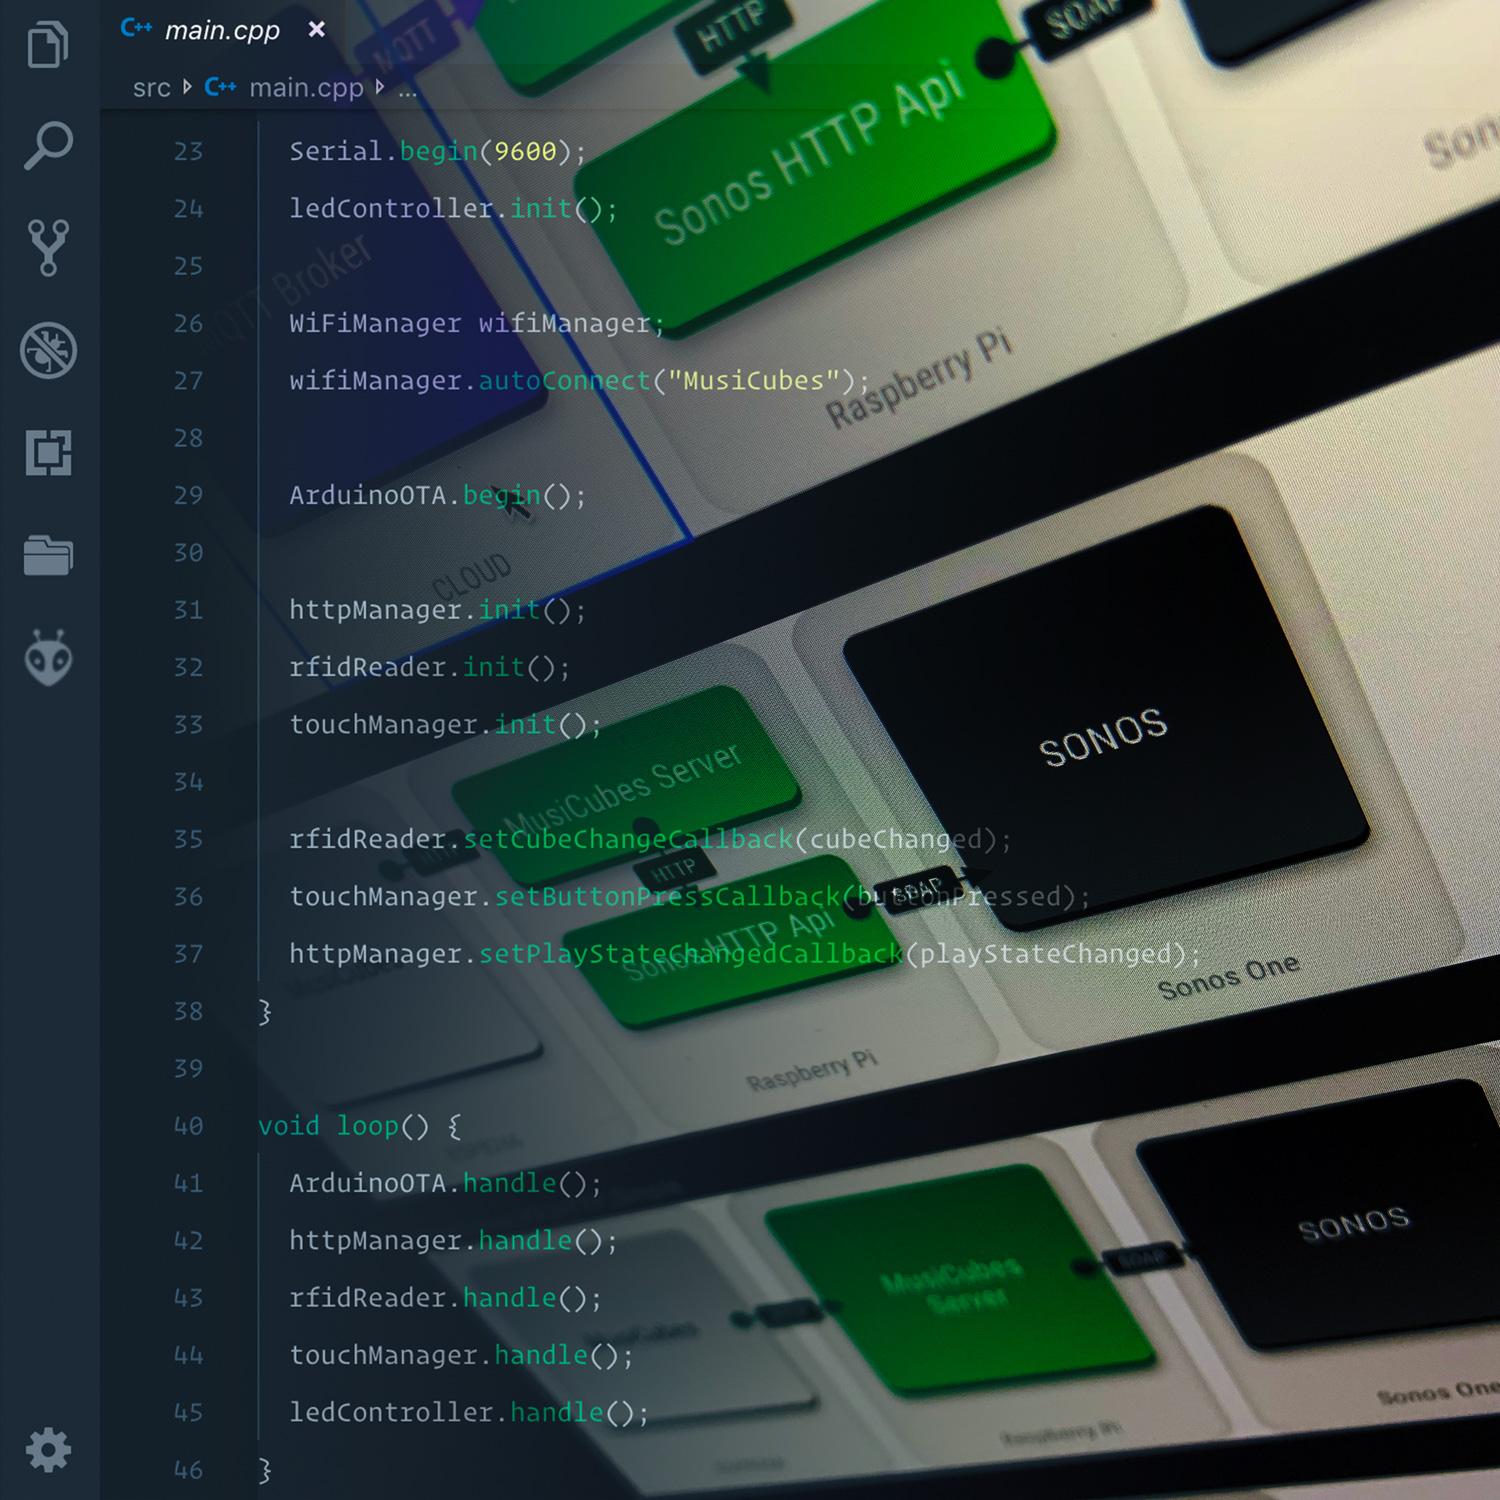
The Firmware
Most of the coding went into the firmware of the MusiCubes controller. It has to control the following elements:
- Setup a WiFi connection with my network.
- Read the RFID tags to see which cube is currently active.
- Check the Touch sensors to handle touch controls.
- Control the WS2812 RGB LEDs for visual feedback.
- Communicate interaction with the MusiCubes Server over http.
- Allow for Over The Air updates to make the development of the controller easier.
To do so, and keep thing simple, I chopped up the firmware in multiple classes:
WifiManager
For this, I used the awesome WifiManager by Tzapu. This allows you to establish a WiFi connection using a web captive portal. This means you don’t need to to hard code any WiFi credentials, which makes it a bit safer and easier to reconfigure if nessecery.
This class reads the MFRC522 RFID reader every 100 milliseconds. Whenever the RFID tag changes or whenever it’s removed this class will fire a callback configured in the main routine.
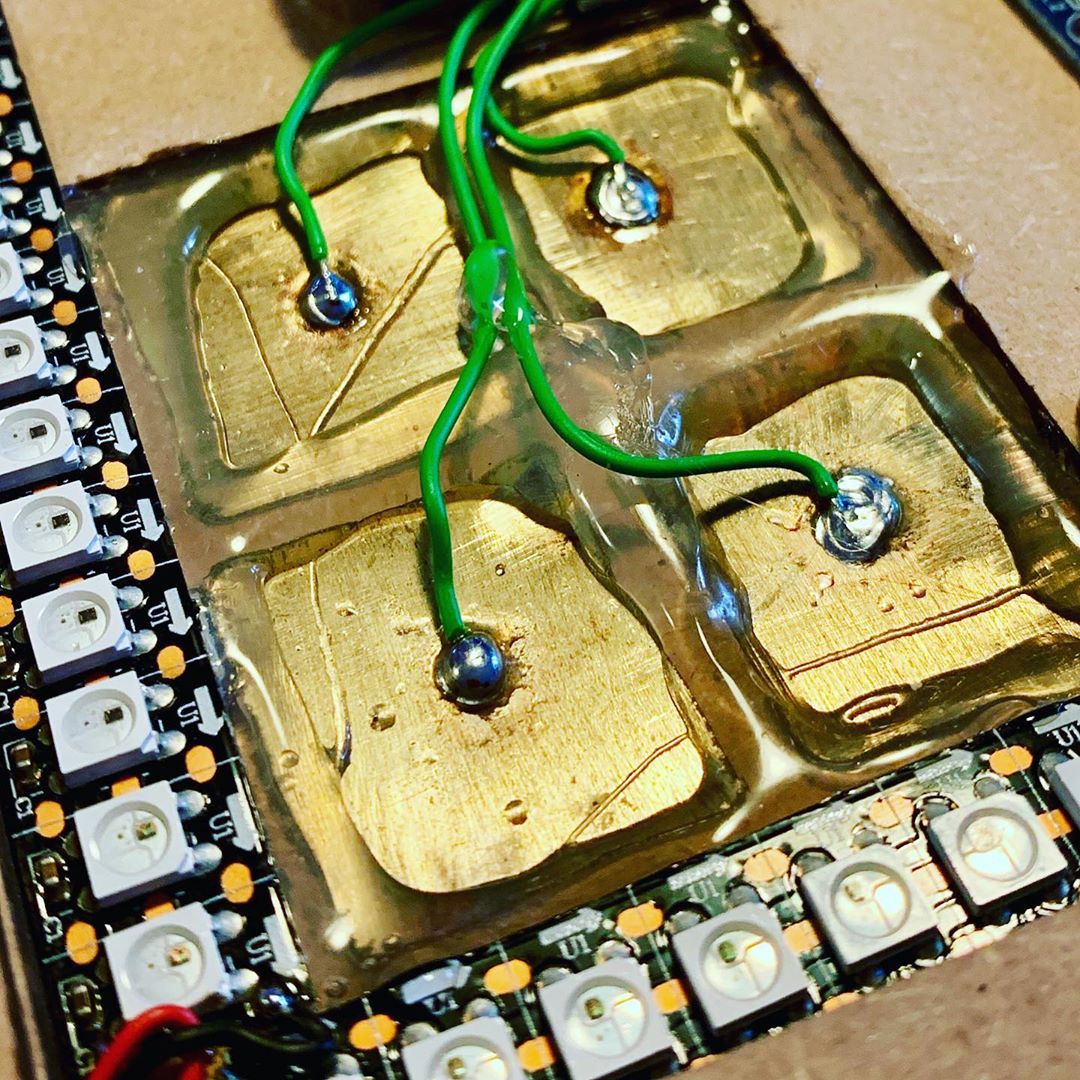
The TouchManager reads the state of the two capacitive touch sensors we integrated in the last blog post. The TouchManager also does some duration checking to prevent false positives and distinguish between short and long touches.
Whenever a touch is detected this class will fire a callback configured in the main routine.
The LedController allows us to control the lighting of the MusiCubes controller using the underlying FastLED library. The LED effect are currently pretty simple, but we can always extend this class for more fancy effects.
To simplify the communication with the MusiCubes server, I’ve packed the API into a HTTPManager class. This allows us to fire simple commands like: httpManager.changeVolume(Up);
ArduinoOTA
Using the default ArduinoOTA class, I’ve enabled Over the Air updates. By simply specifying the IP of the MusiCubes controller in the platform.ini file, Platform.io allows me to update the firmware of the controller over the air as if it was connected using USB.
Of course I need to implement some authentication in the OtA update feature. But for now I’d like to live on the edge. Lets say the S in IoT stands for Security.
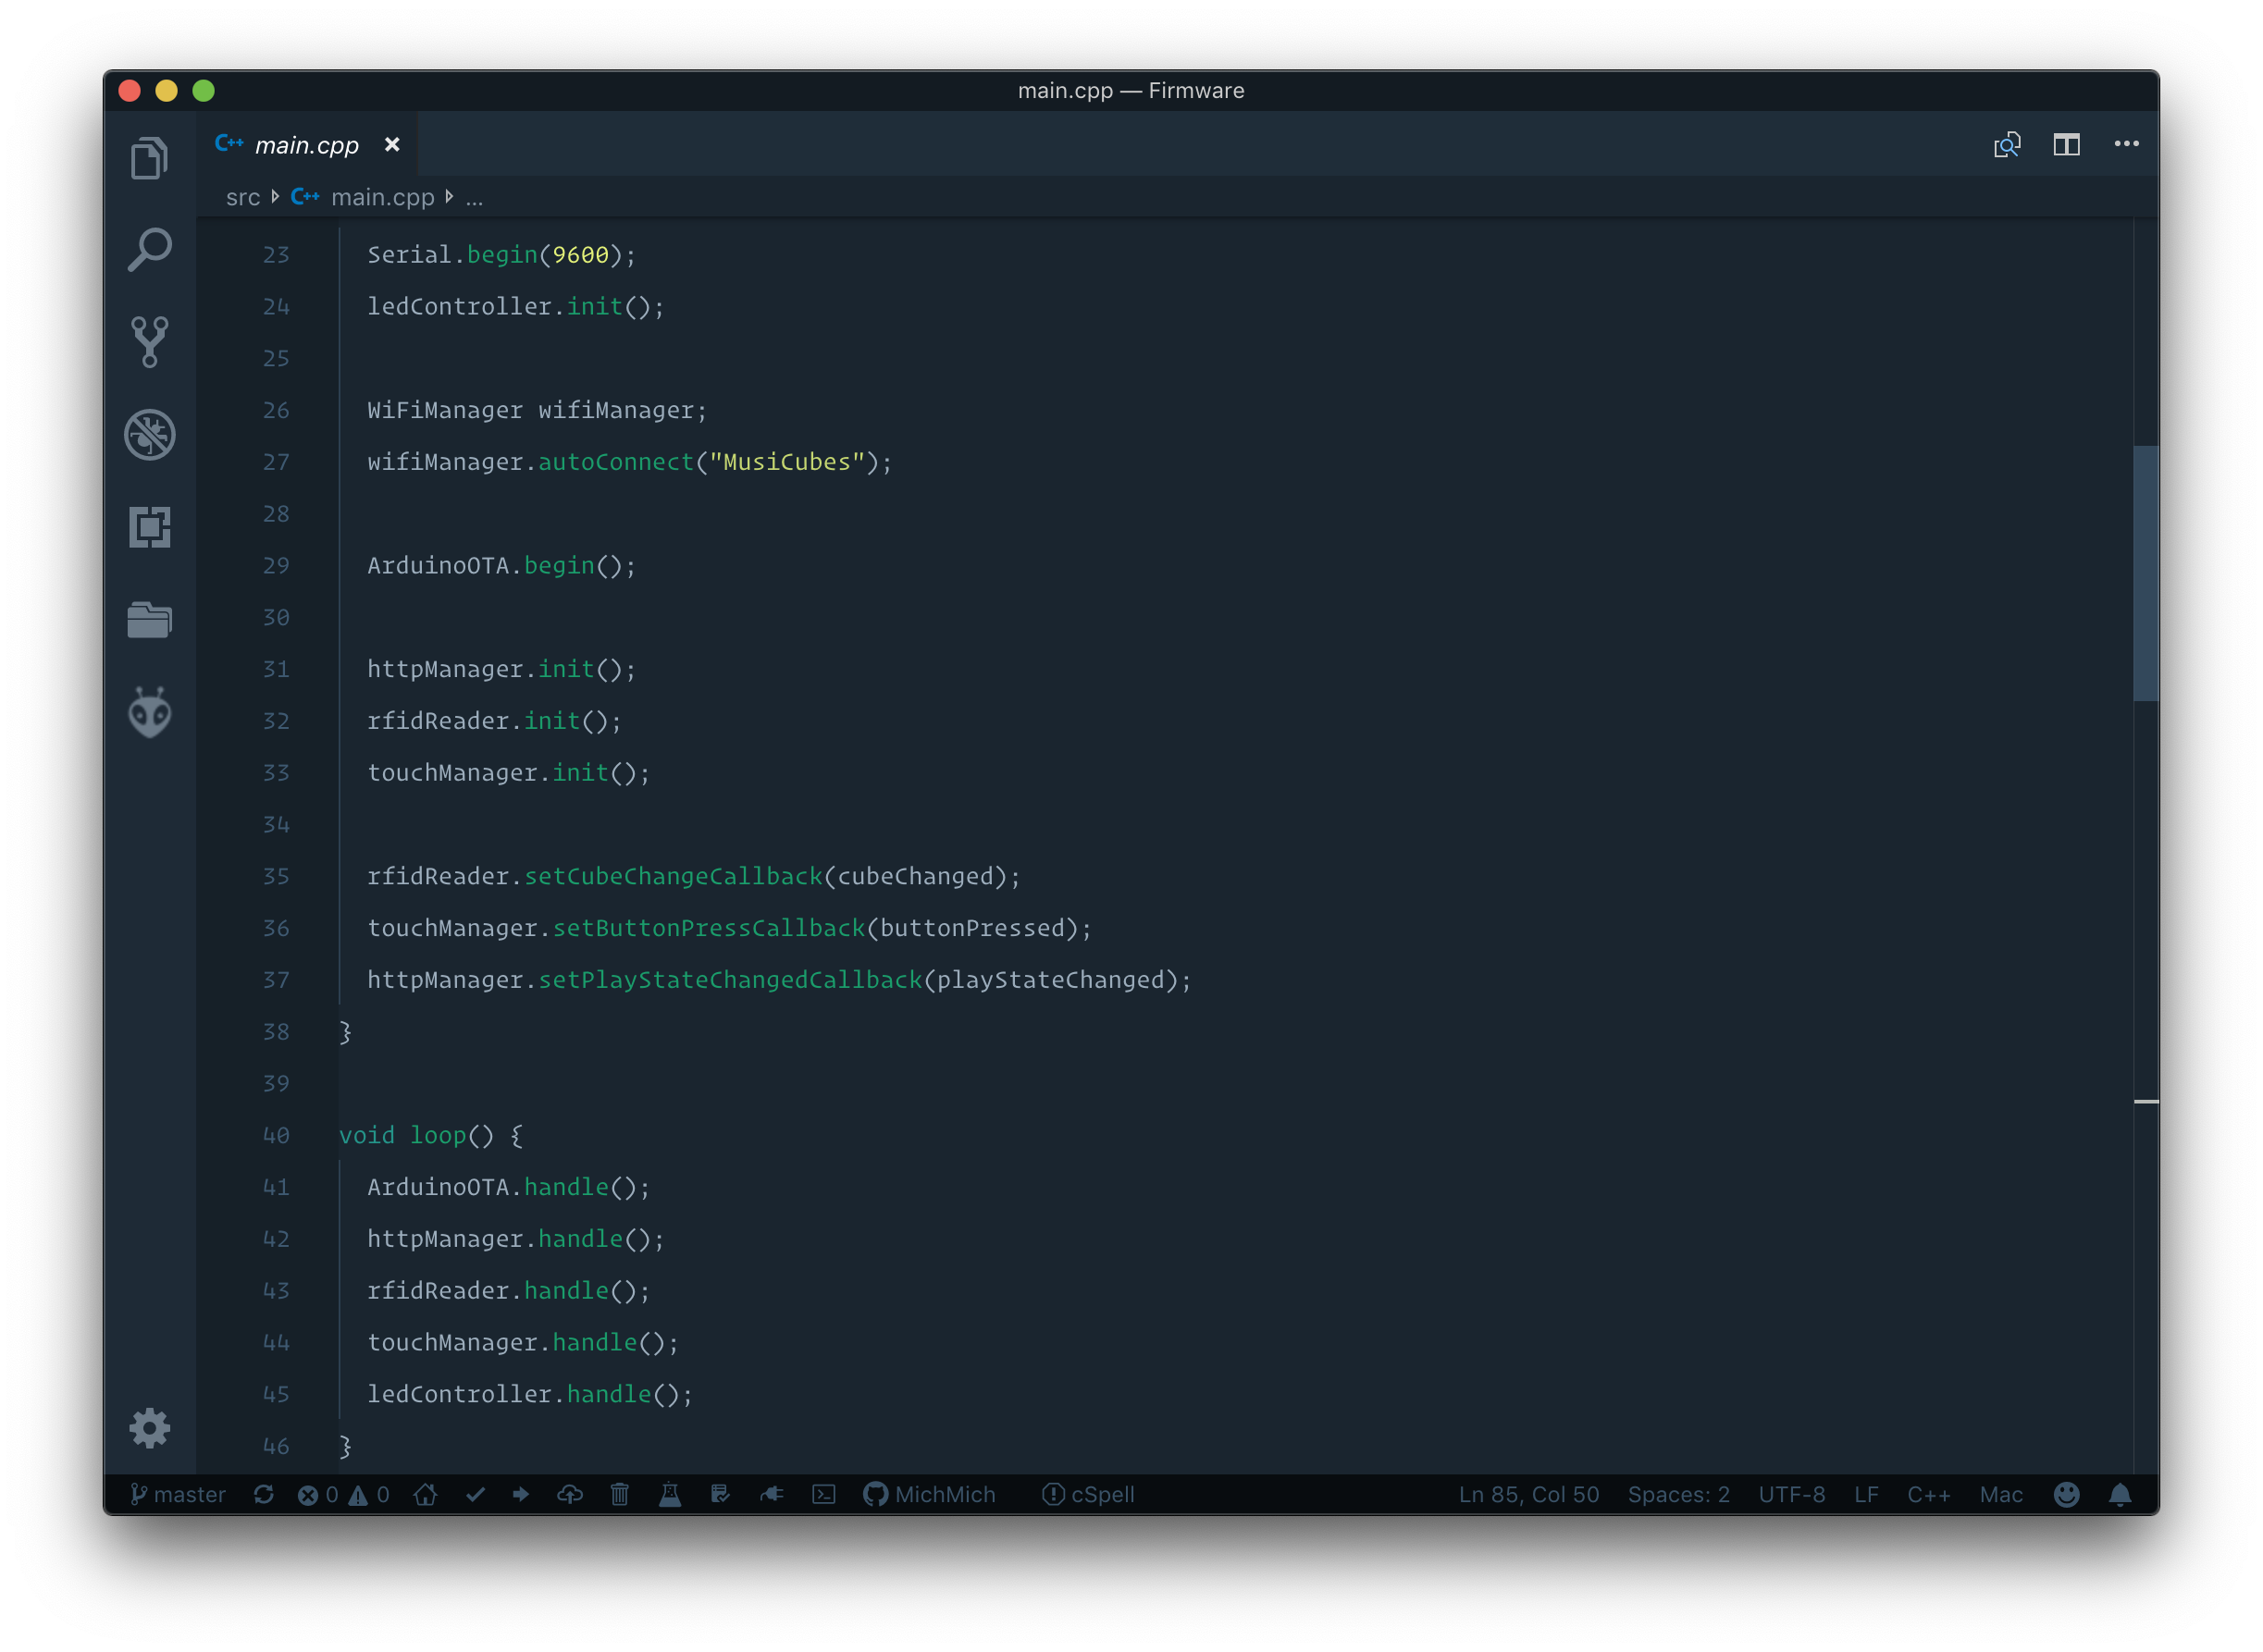
The main.cpp script ties everything together by setting the callbacks and calling the handle() method on all of the above classes during the loop() function.
The Server
The MusiCubes server is simple enough to keep everything (except the MusiCubes playlist) in one file. It doesn’t do much more than waiting for some some HTTP request and calling the Node HTTP Sonos API.
There is one piece of fancy code though, and that is to allow the server to cancel request to the Node HTTP Sonos API. If a request takes a bit longer to handle, and the user changes the cube before the request is finished, we want to cancel the request before we fire a new request.
The underlying HTTP library I use (Axios) does this by using a CancelToken. It feels a bit cumbersome, but works perfect.
And with that being said, I think I’ve covered most of the code. If you like to dive into the code, check out the full repository on GitHub: https://github.com/MichMich/MusiCubes
If you have any suggestions for improvements, make sure to leave a comment down below.
Next blog post I’ll work on the final touches to wrap up the project.

MusiCubes: The Finishing Touch