Starting a project isn’t difficult. Finishing is. Or as they say: the last 20% is always the hardest part. But no worries, today we’ll finish this project by working on the final details.
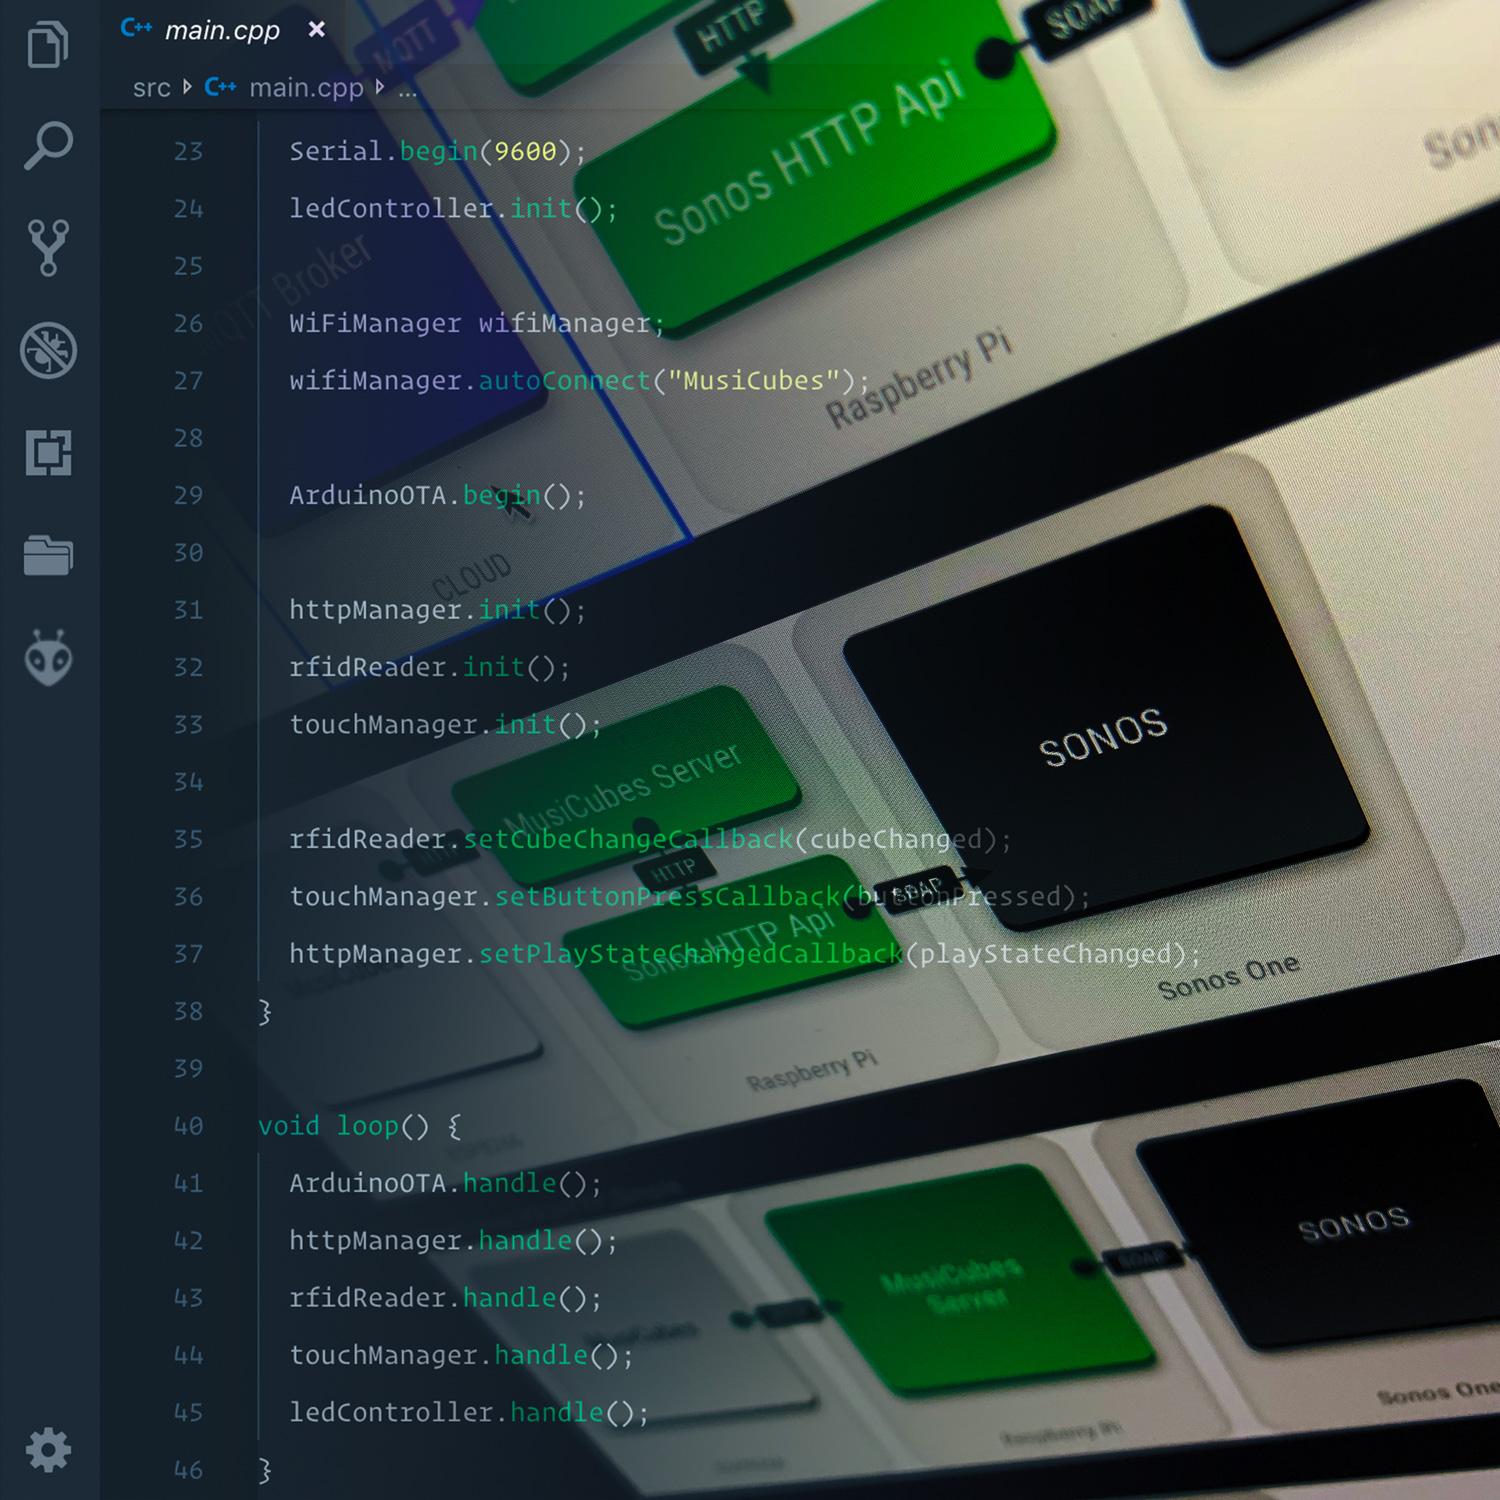
MusiCubes: The Software
First off, lets give the MusiCubes tray a spray of paint! This MDF isn’t too ugly, but a nice layer of white paint will blend it in to the rest of my furniture. Because it is MDF I sealed off the sides with some wood glue to prevent excessive absorption of the paint.
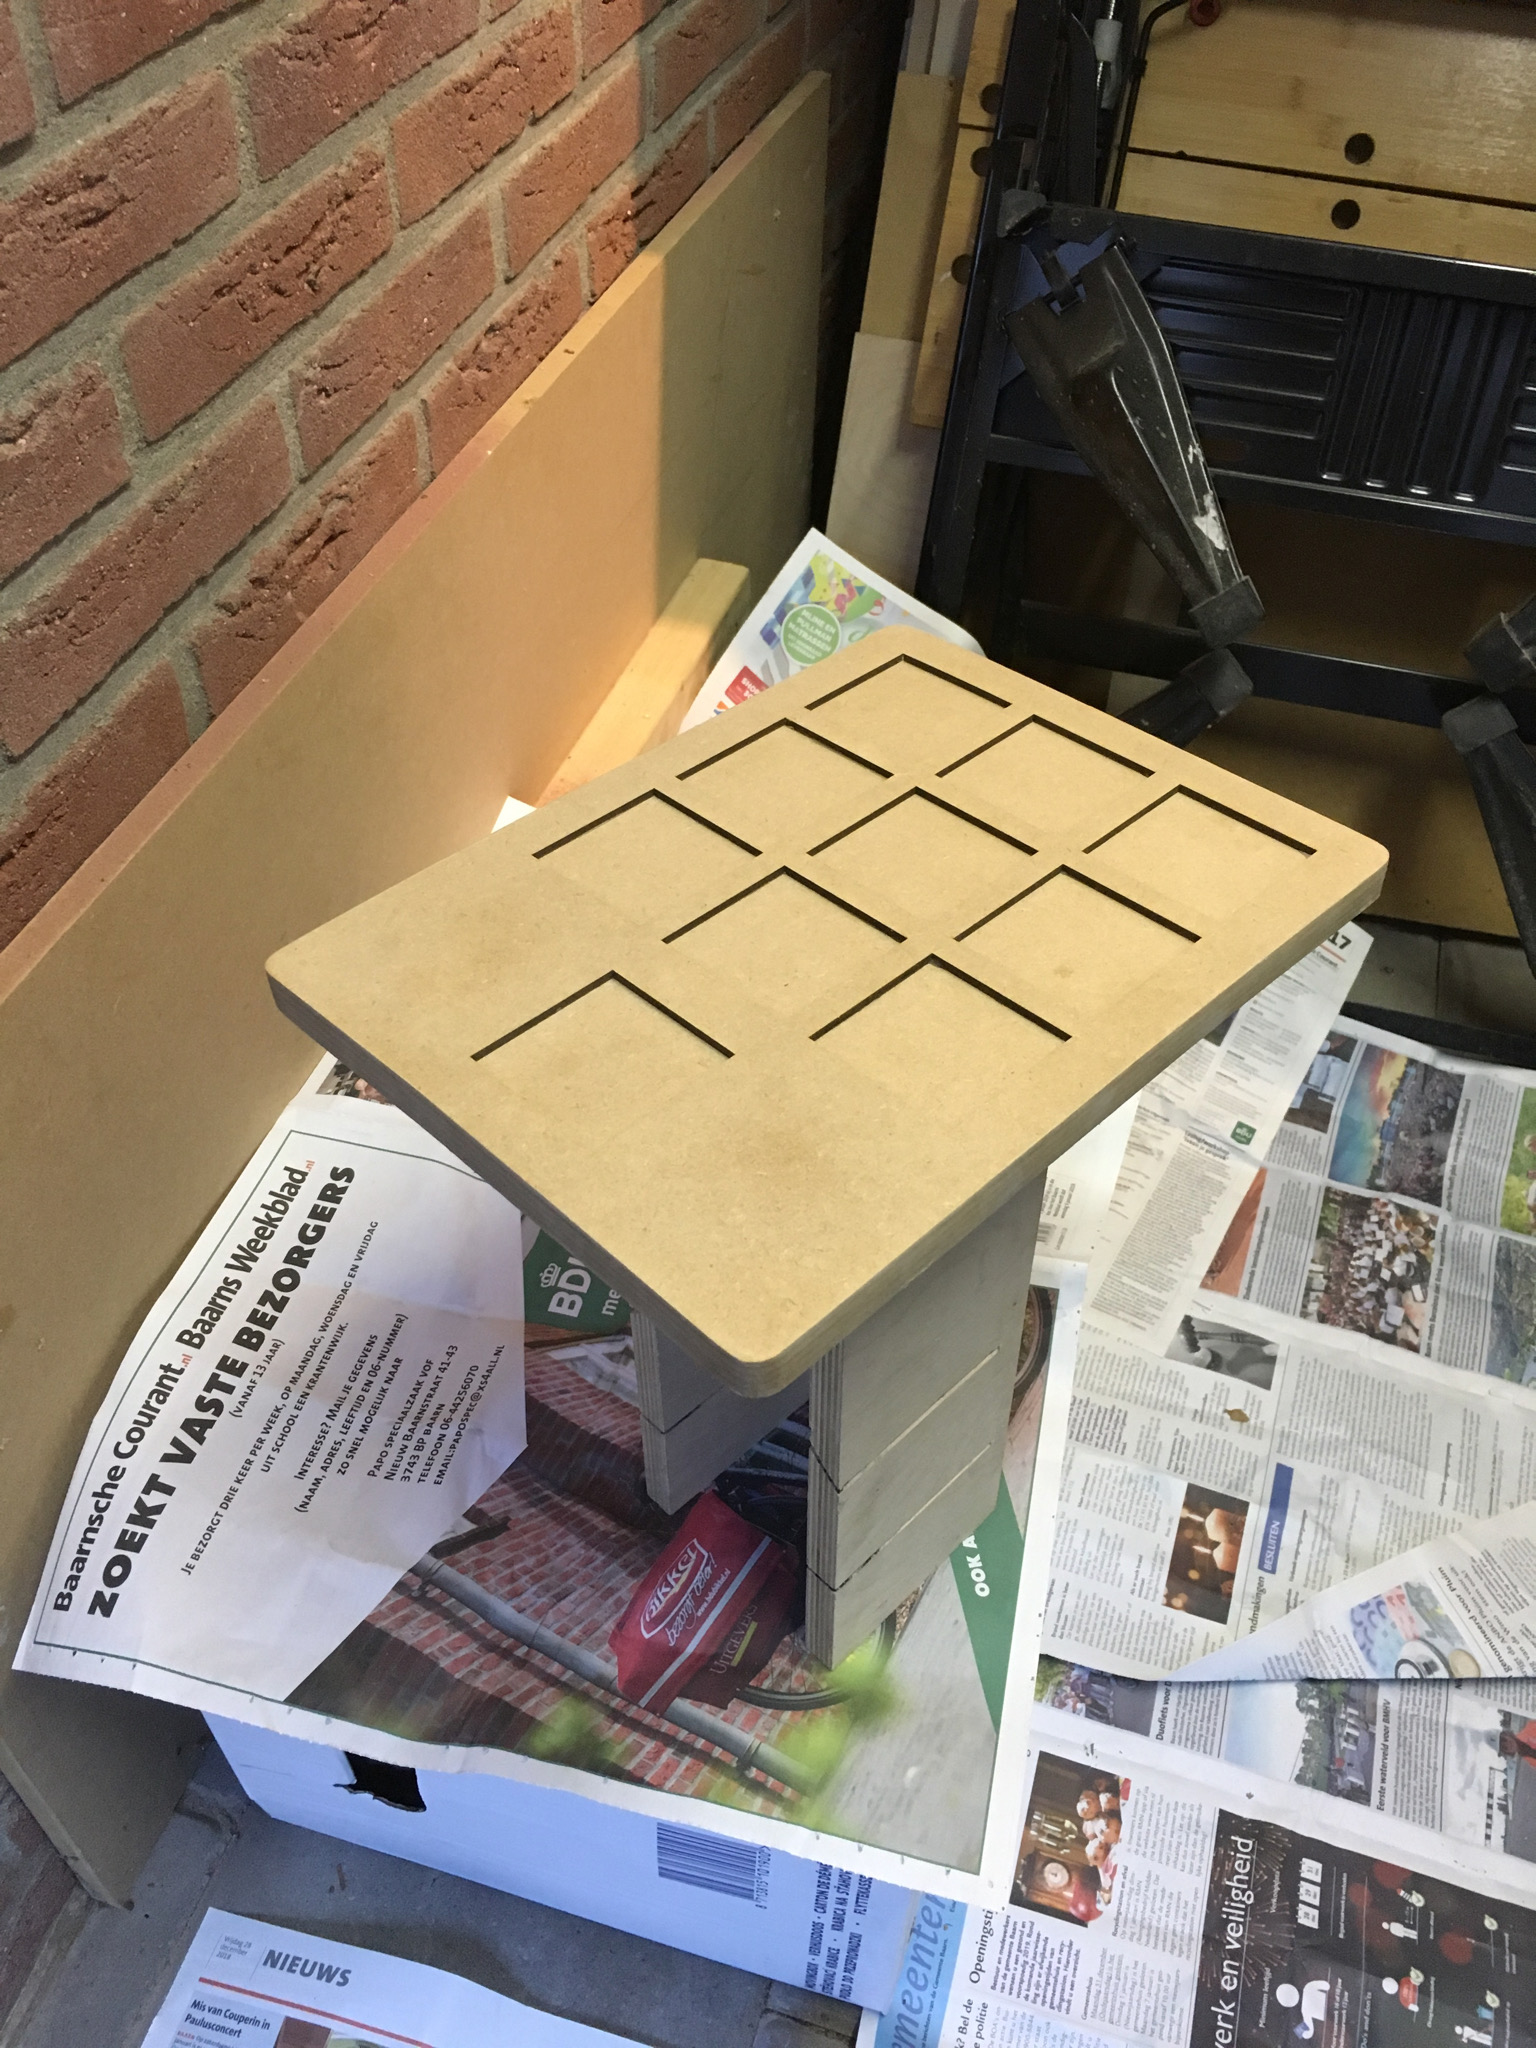
Next, I gave it a layer of primer …
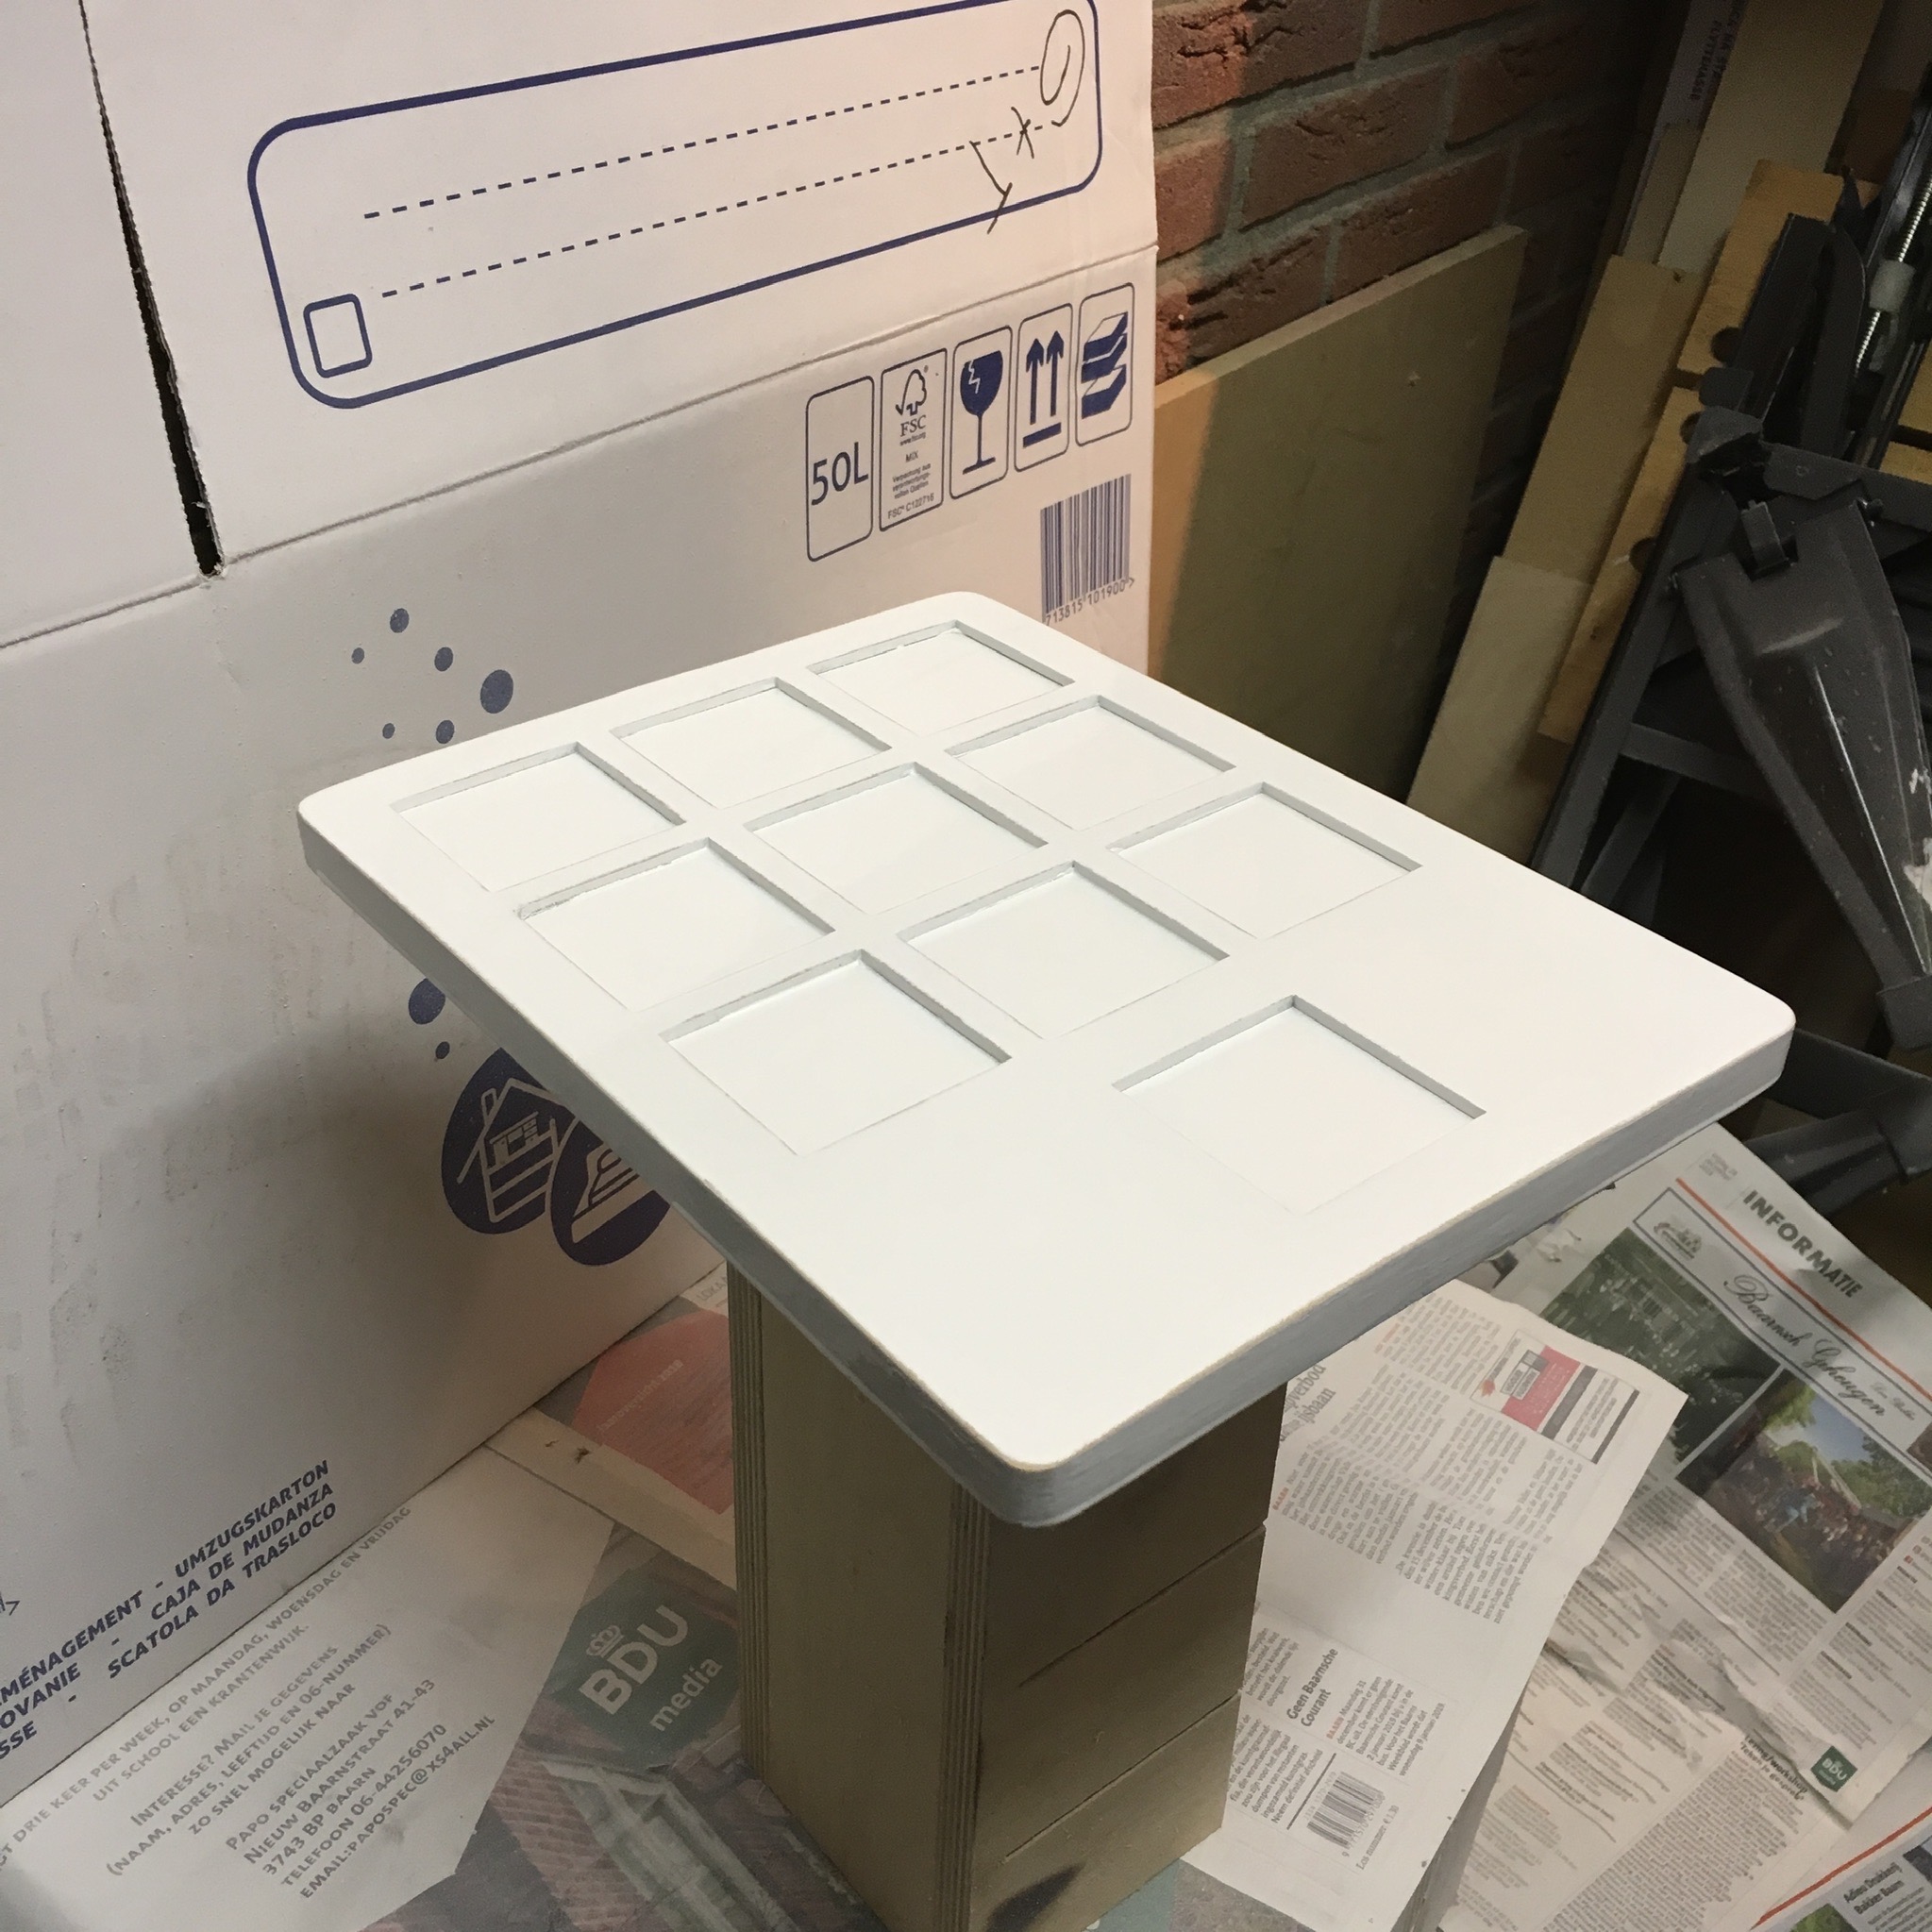
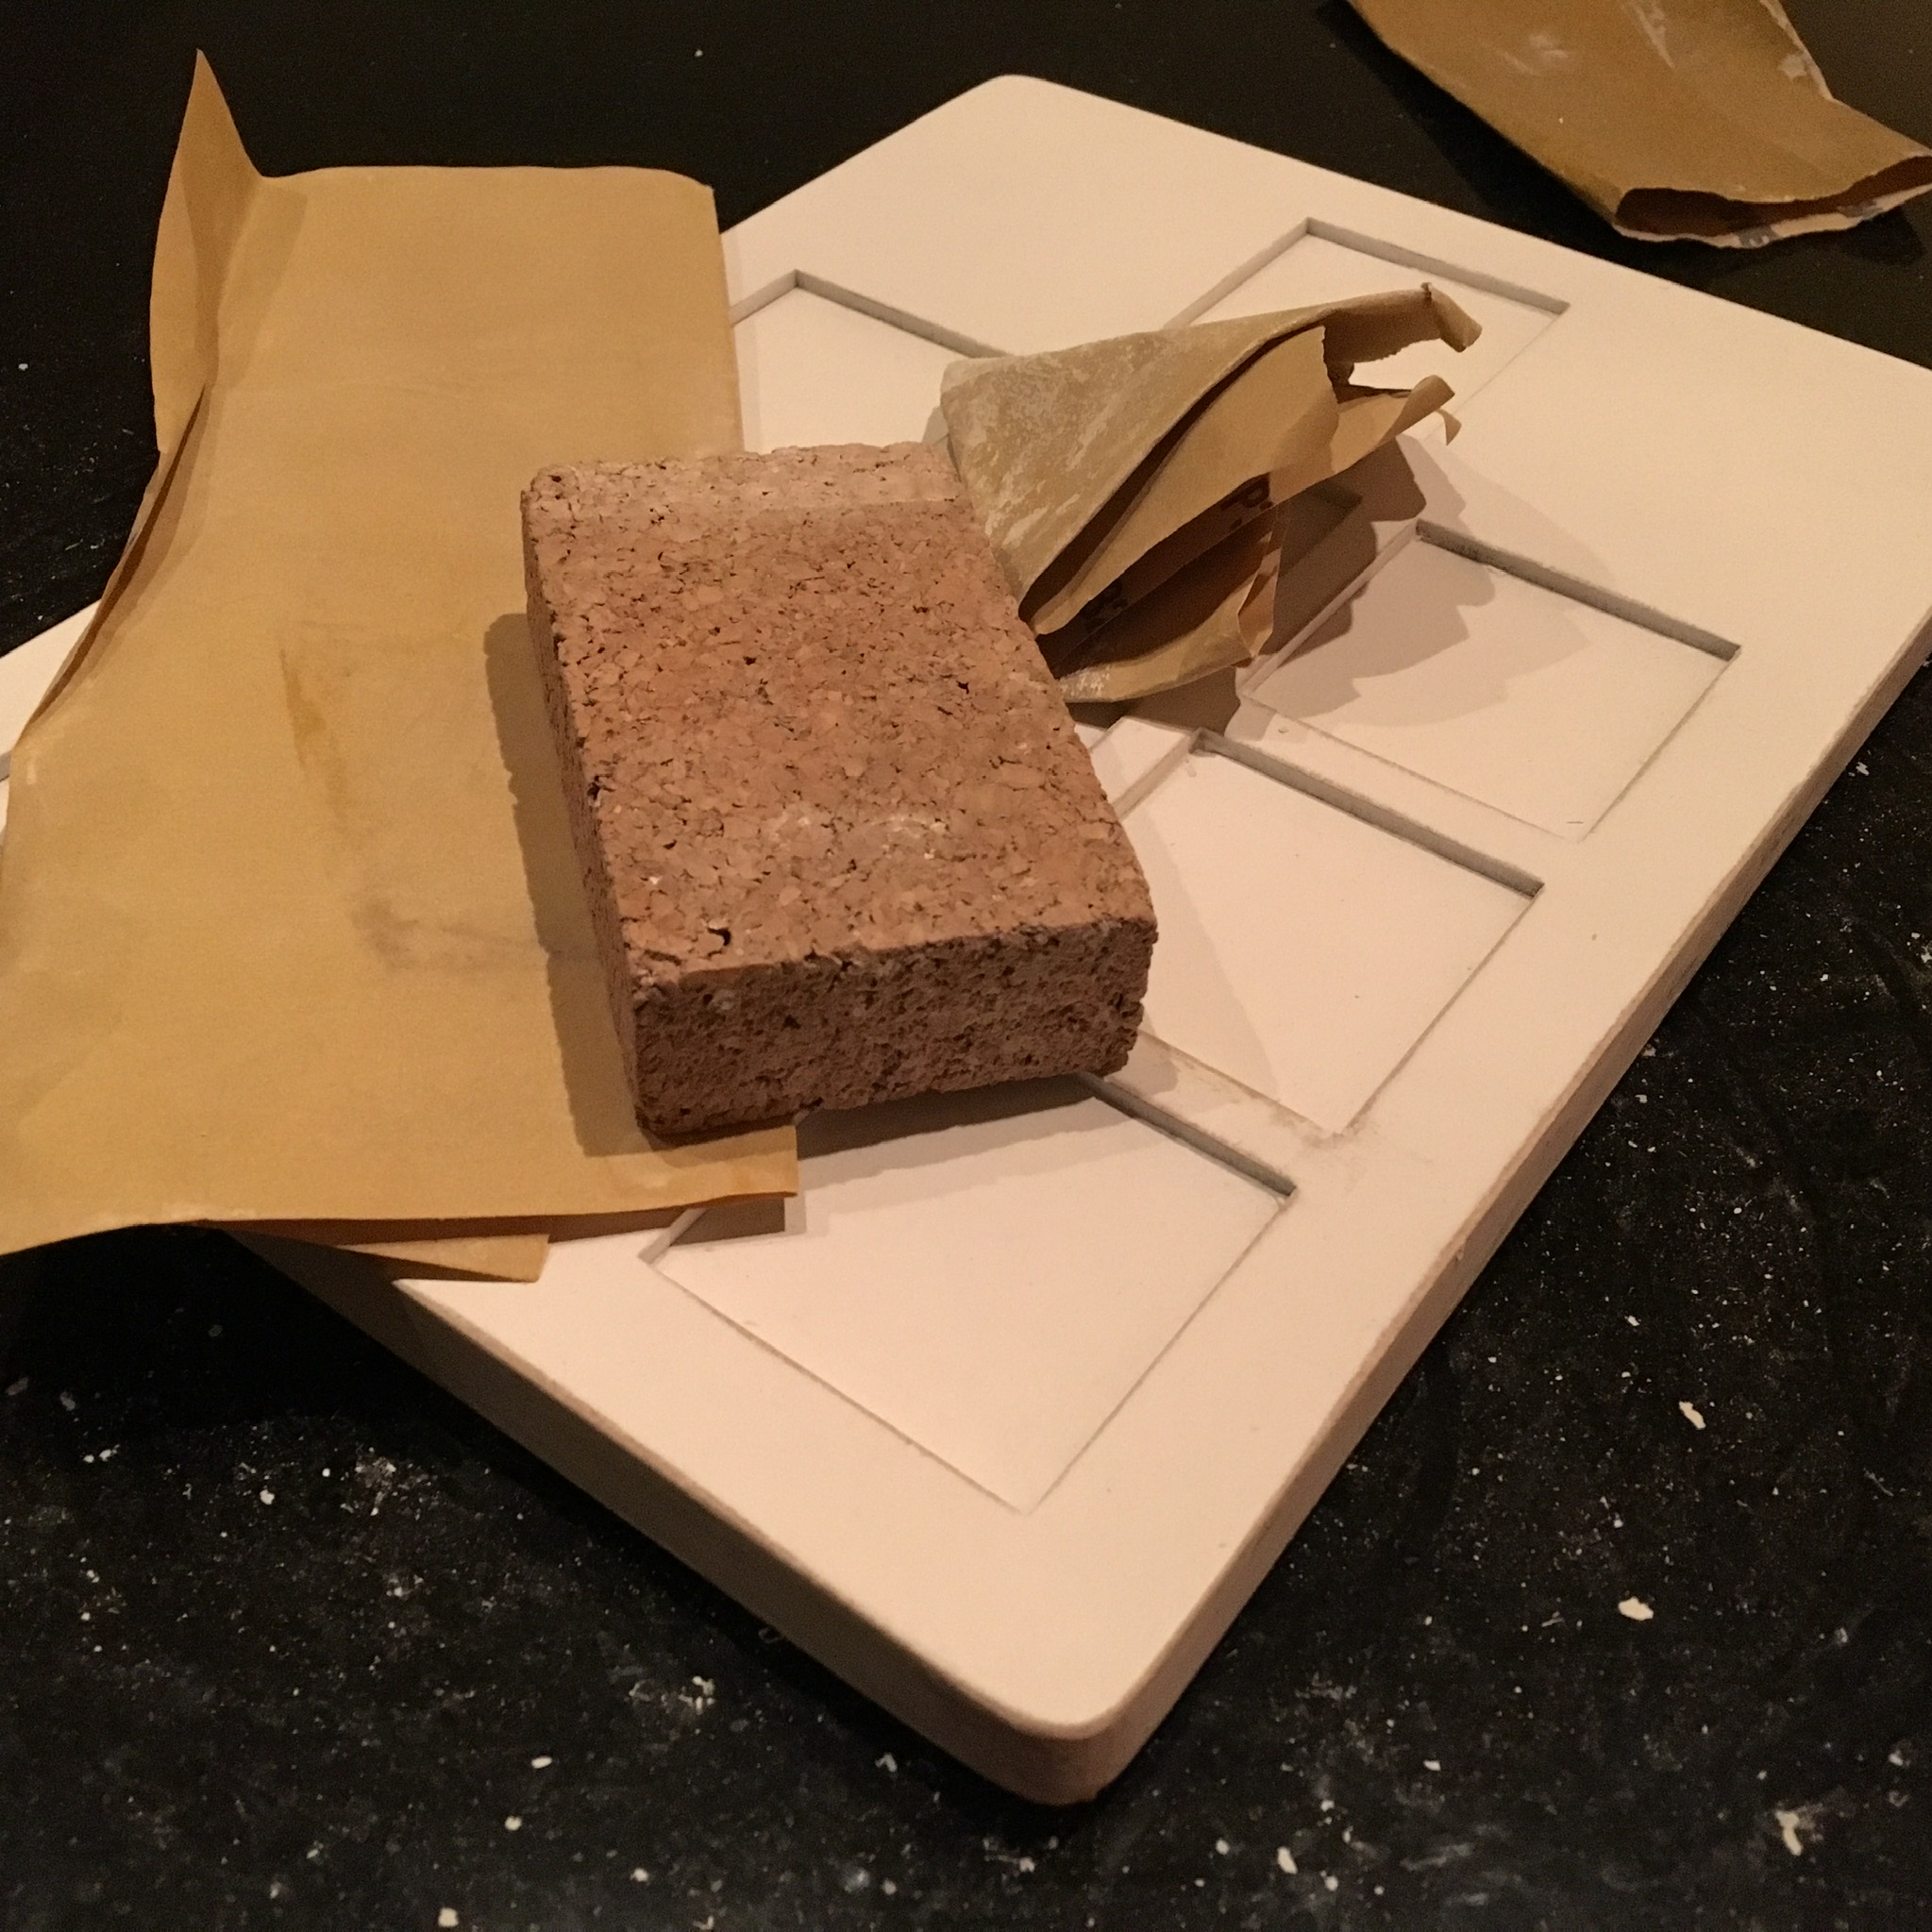
And before I put on the final layer of white spray paint, I gave it some light sanding. Of course I could pretend that after this whole paint process everything was perfect as I had it in mind, but unfortunately it took me a few days of sanding, painting and retrying to get the end result. Again: the last part of the project is never easy.
Now before I show you the end result, let’s work on the cubes!
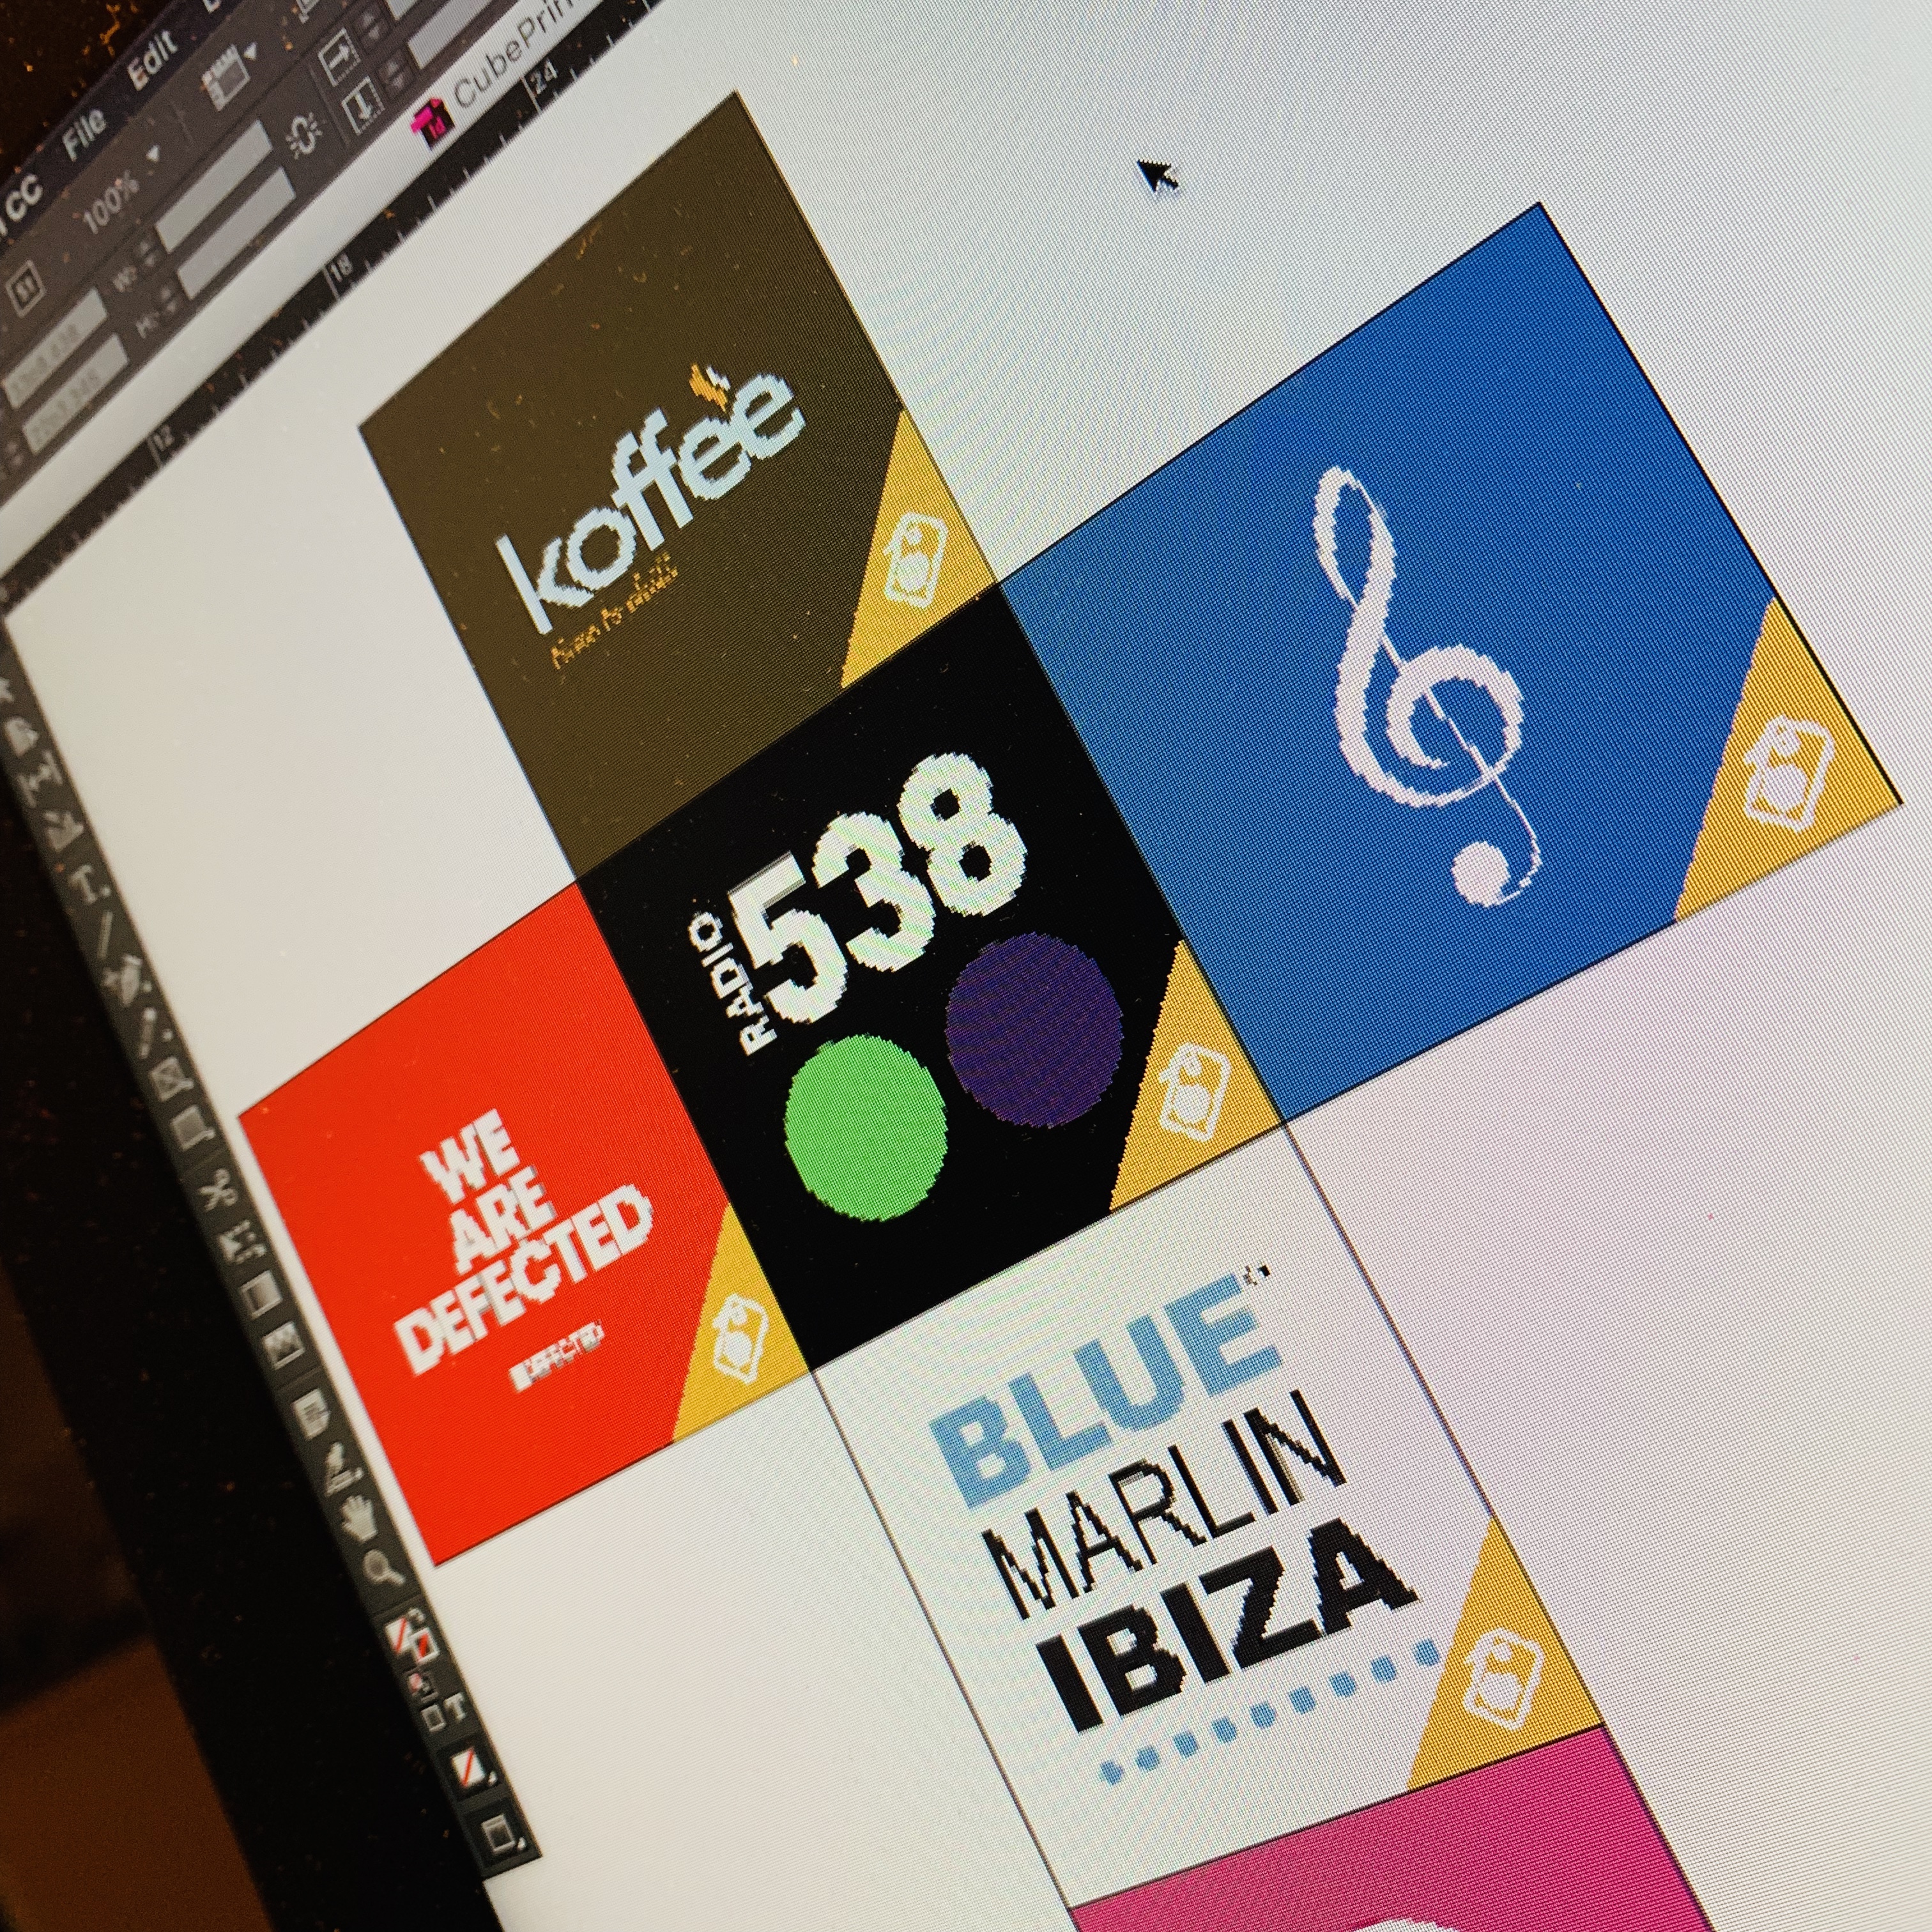
Using some design tools I designed the printouts that go into the 9 photo cubes. To make the MusiCubes more easy to use, I designed 9 cubes with each a different type of music:
- Radio Staions
- Male Artists
- Female Artists
- EDM
- Playlists
- Alternative Music
- Moods
- Special Occasions
- Kids Music
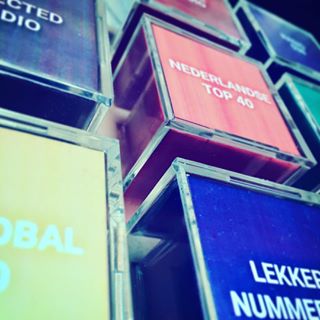
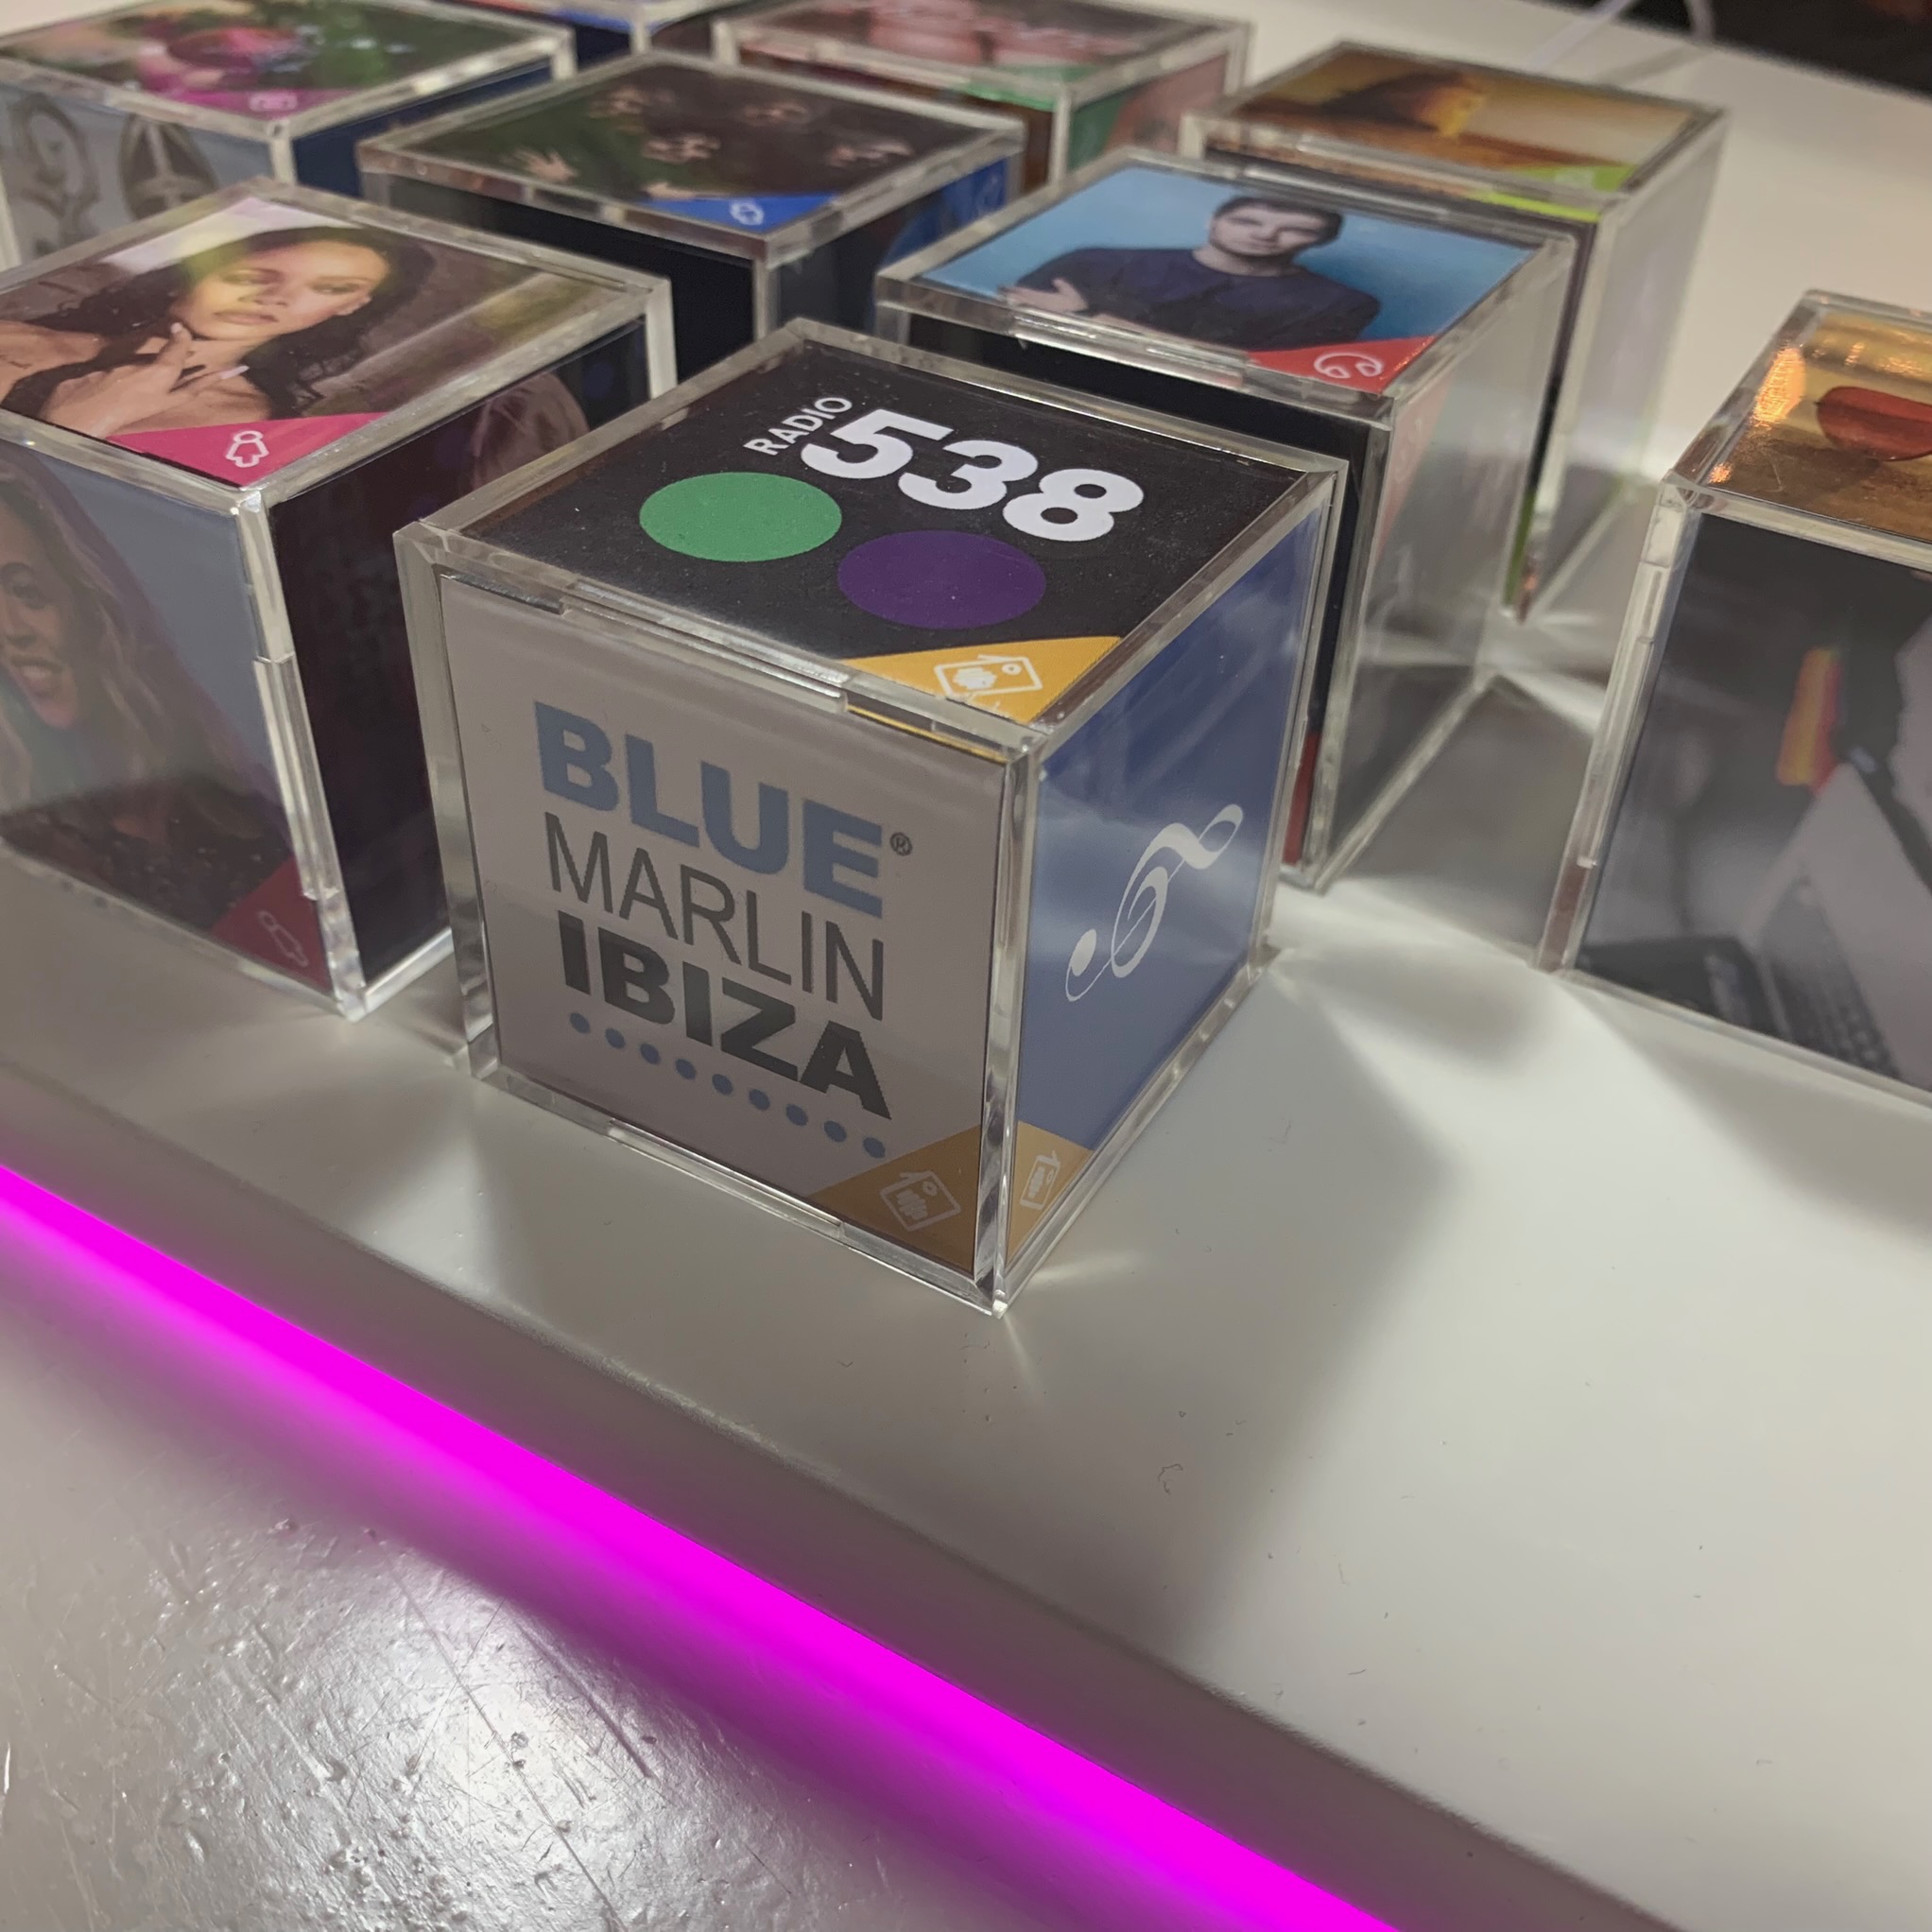
All cubes have their own icon and color coding using a colored triangle in the bottom right of a cubes face. Filling up these 9 cubes was the most tedious part of the project.
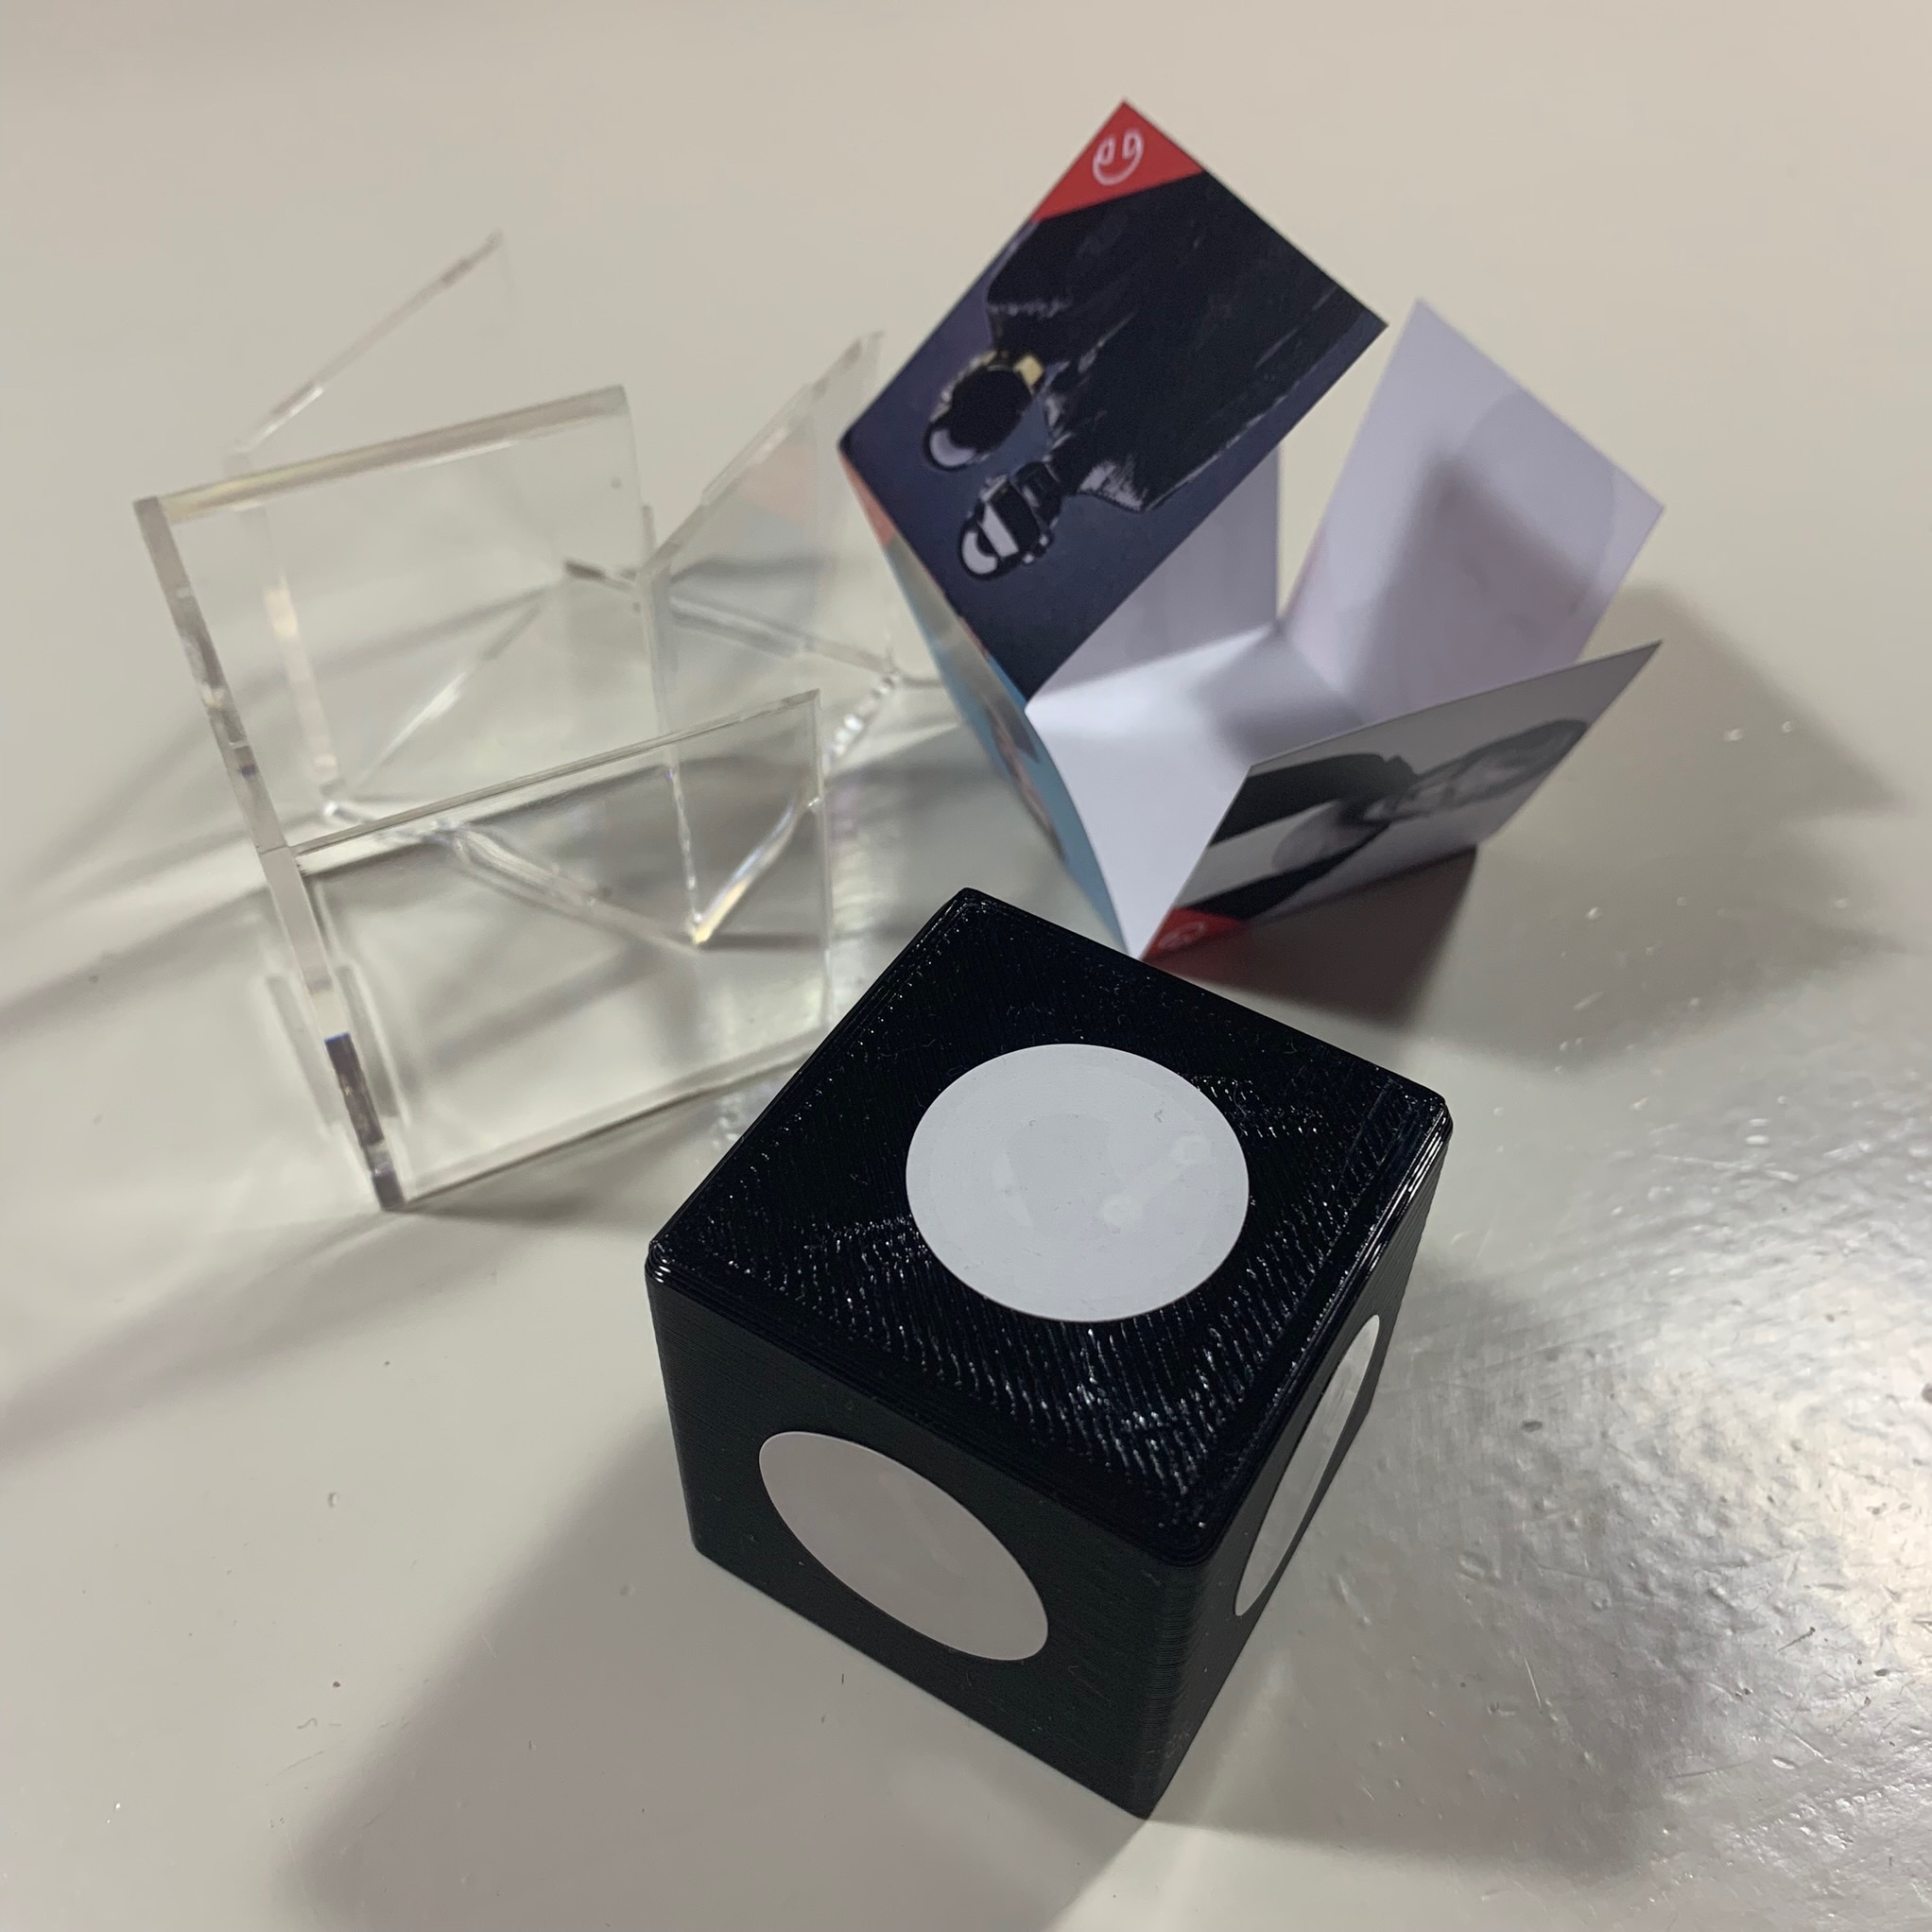
To make the cubes easy to update without the need for a new RFID tag, I printed 9 black cubes that go inside the photo cubes, wrapped in the printouts. The added benefit to these cubes is that they add some weight to the cube, giving them a more high quality feel.
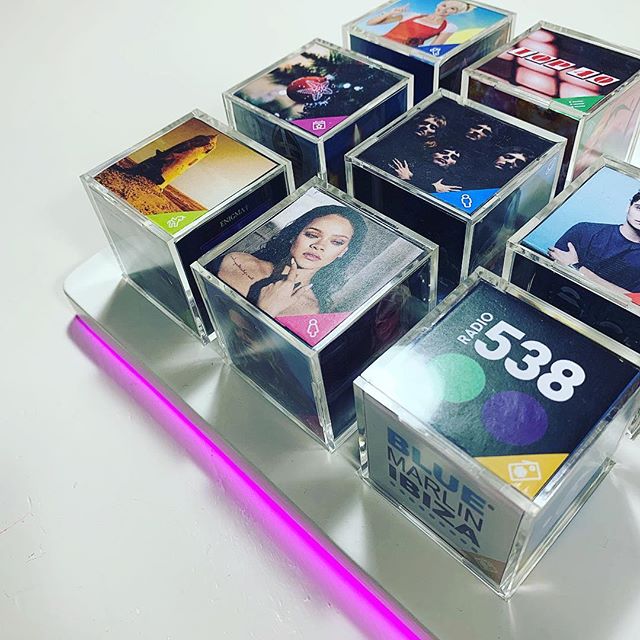
And there it is … the end result!
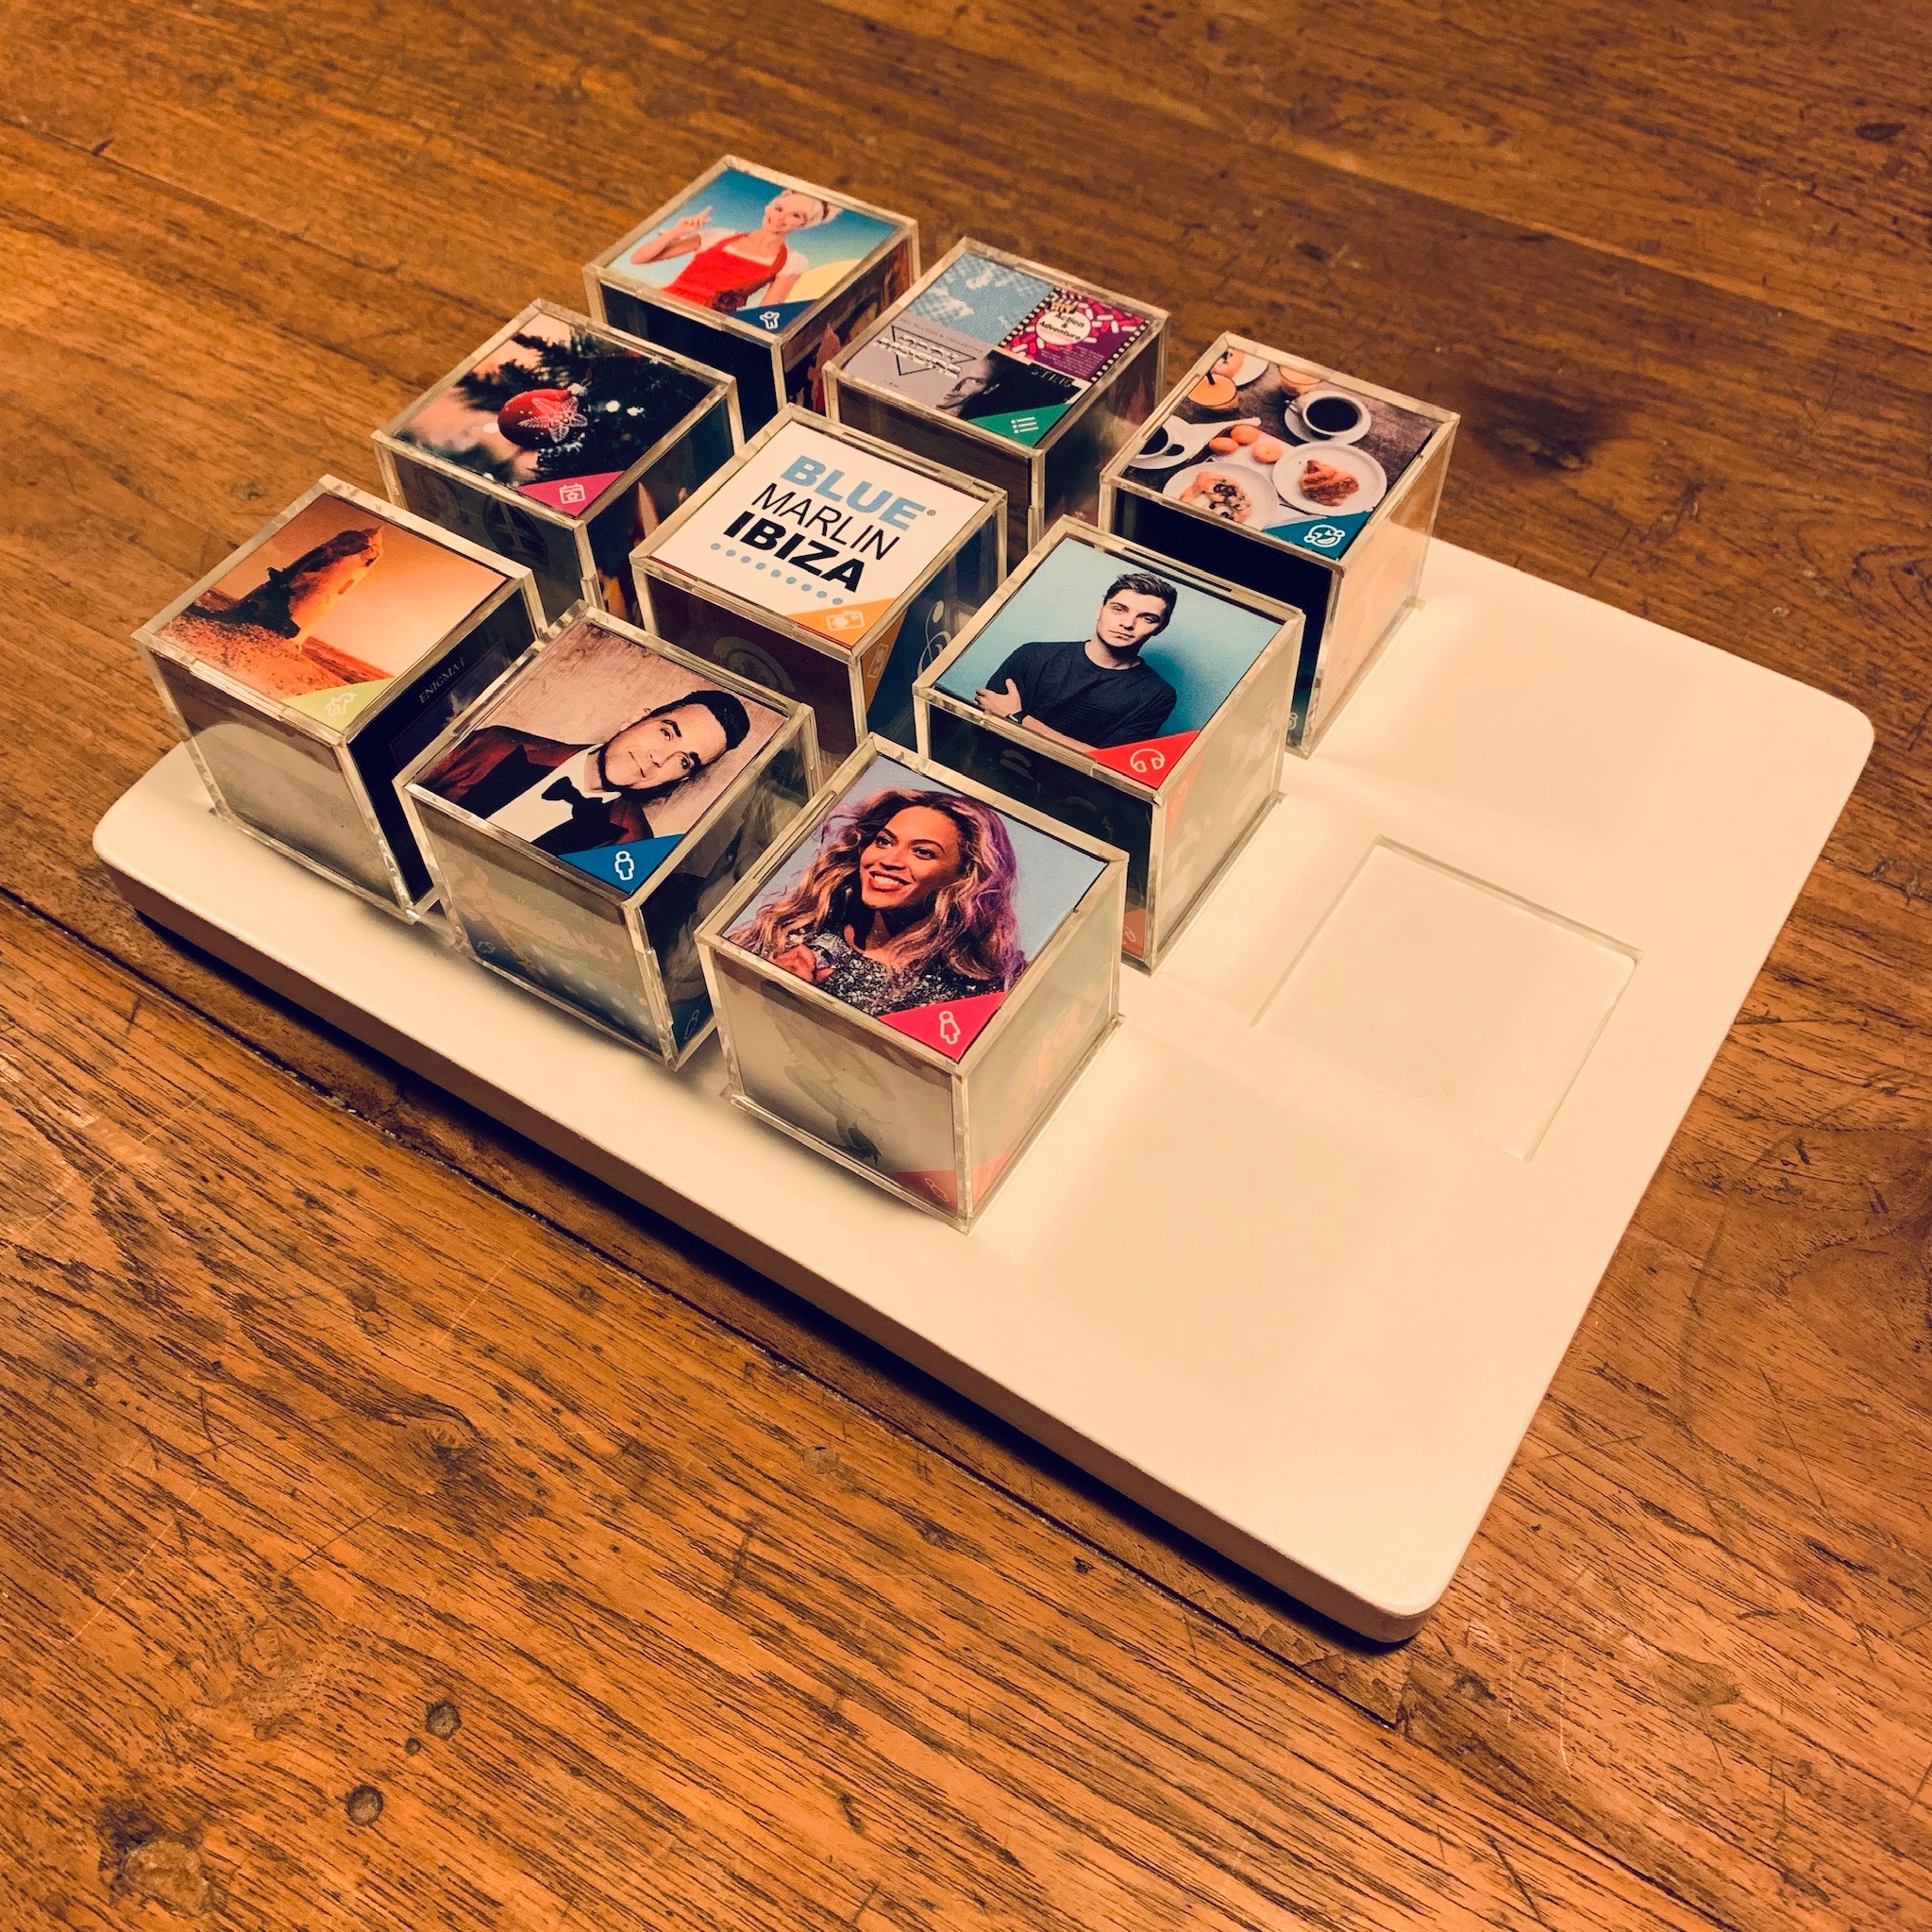
The end result after the paint job and the 9 printouts is beyond my wildest expectation! I really Love the vibrant colors of the cubes against the clean white surface of the MusiCubes tray.
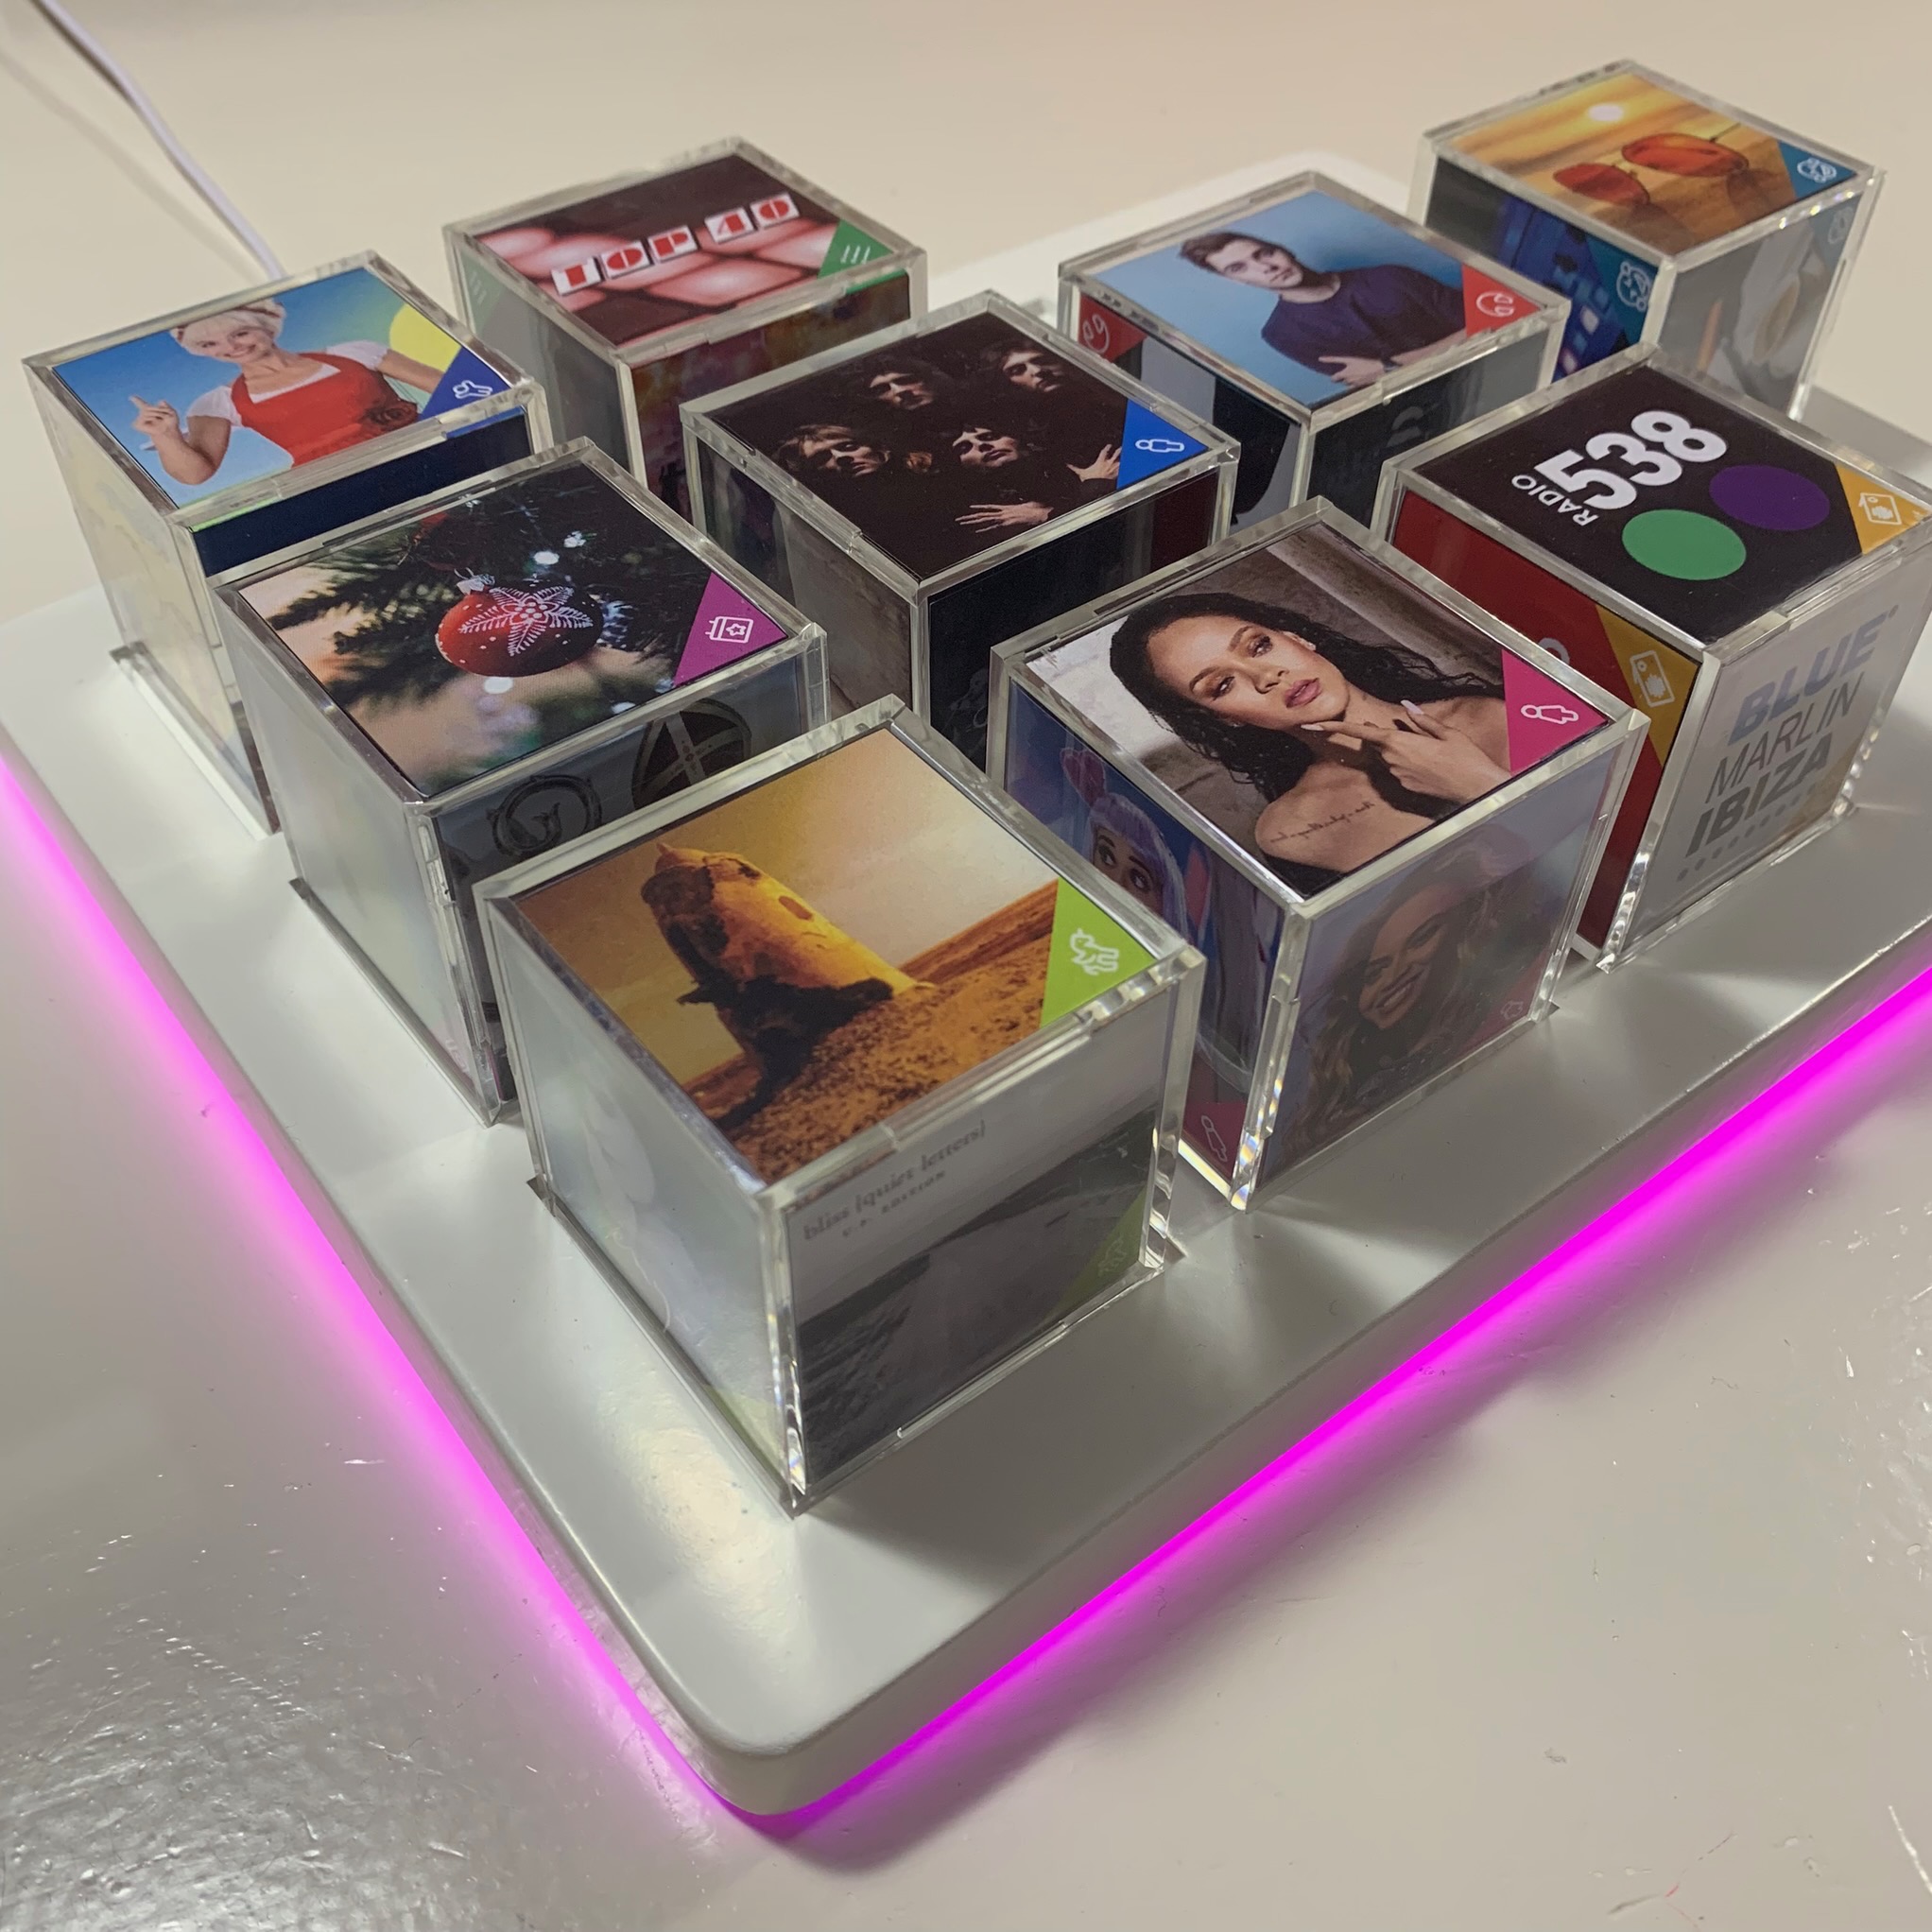
The pink LED glow whenever the music is playing makes it even cooler. But best of all …
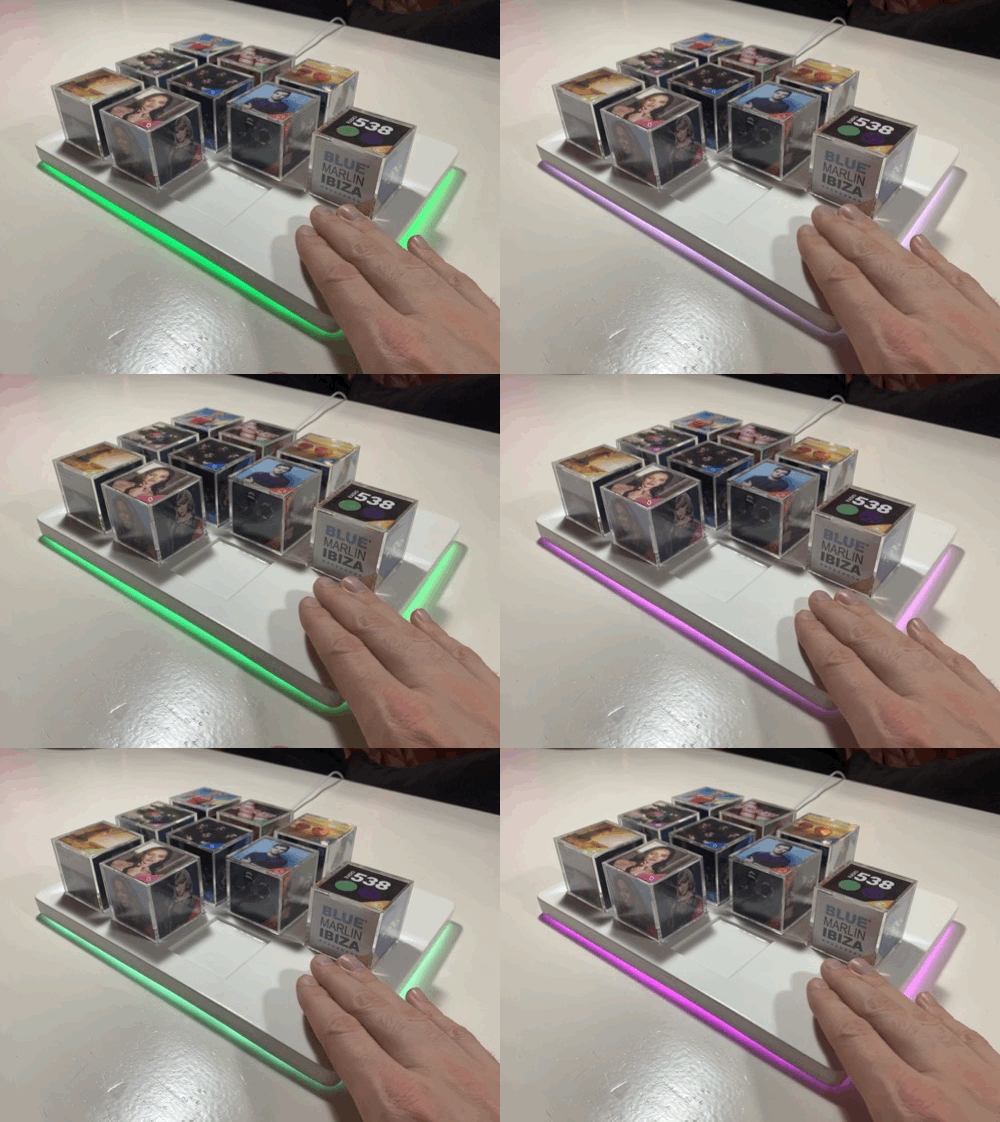
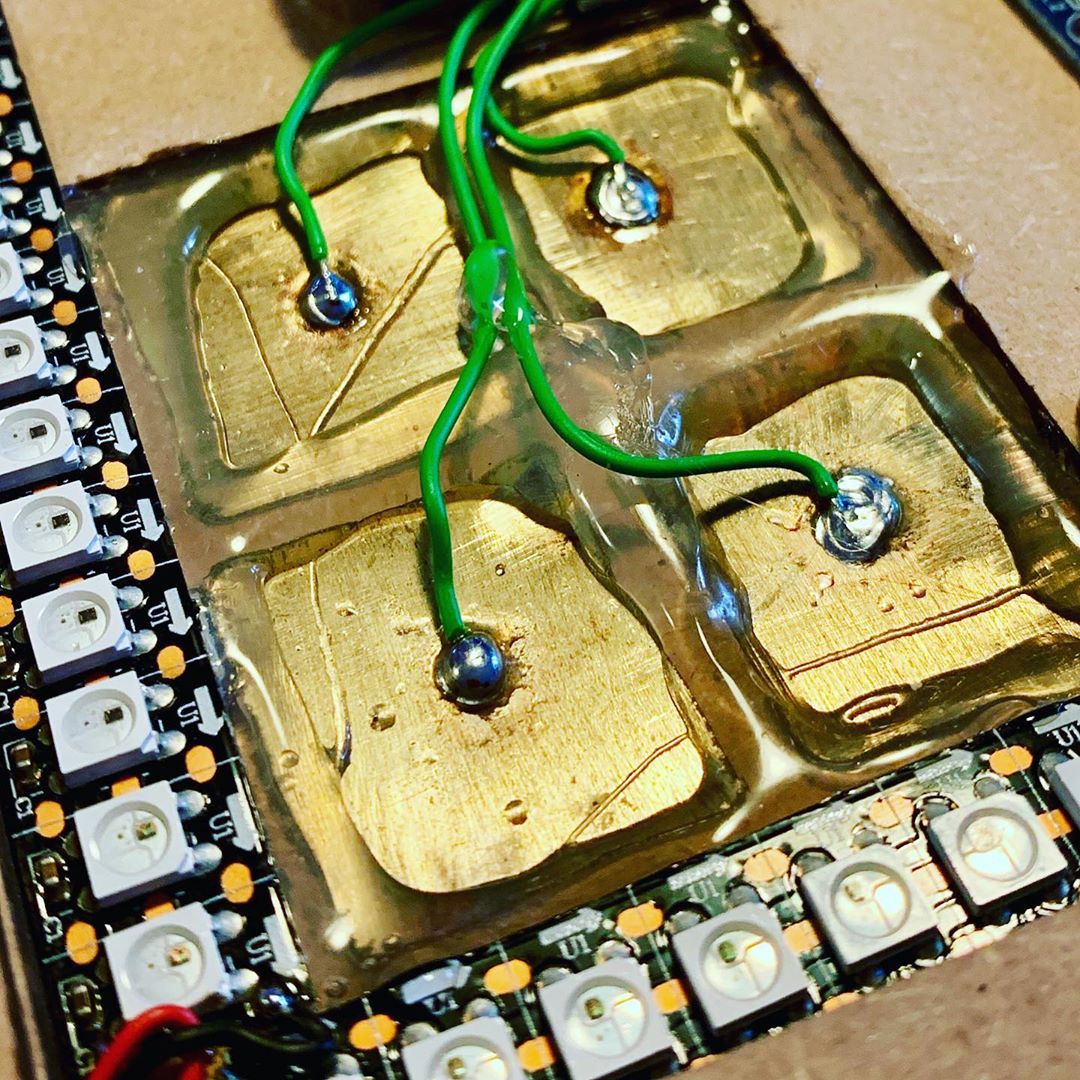
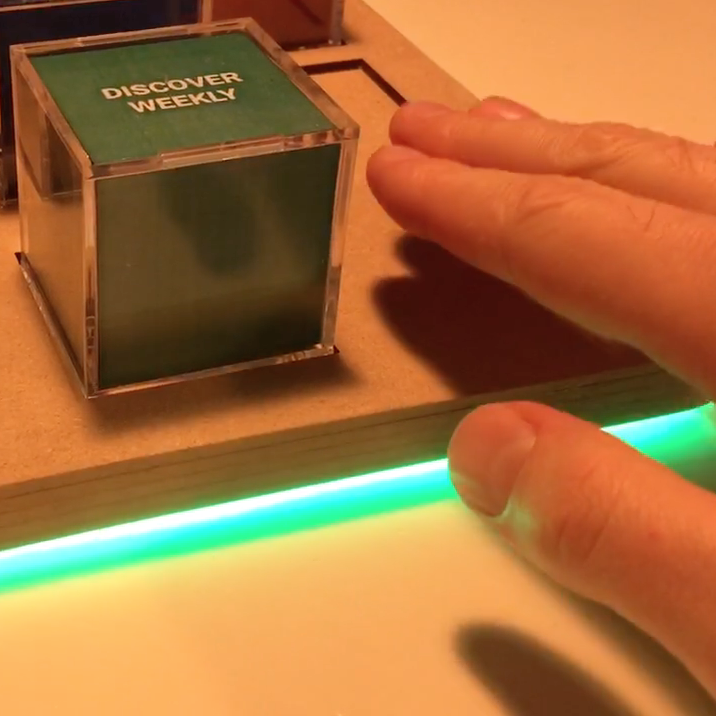
… are the magic touch surfaces that work surprisingly well!
And to give you a full impression on how well the end product works, check out the following video. Note that the laptop is only there to show you how quick the Sonos responds. (Watch the volume slider when I change the volume!)
Overall I think it really is a sexy looking project with a huge added benefit to my Sonos audio system. As a matter of fact, my 3 year old son can now start his own songs without my help. Although I’m not sure that’s something I should be happy with. The wheels of the bus go round and round, round and round, round and round!
What I’ve learned …
I really learned a lot from this project. I’m almost tempted to go for a new and improved version two. But for now let me state my learnings here. They might come handy if you decide to build one yourself.
- Gluing multiple layers of MDF together is not a rush job. Take your time. Glue layer for layer and let those layers dry between two heavy flat surfaces.
- Painting the tray isn’t fun. At all. If you want to make it more easy to finish the project, do this at the start while you are still motivated. The paint can dray while you work on the electronics or software.
- Experiment with multiple types and sizes of conductive surfaces for the capacitive touch sensors before you permanently glue them to your tray.
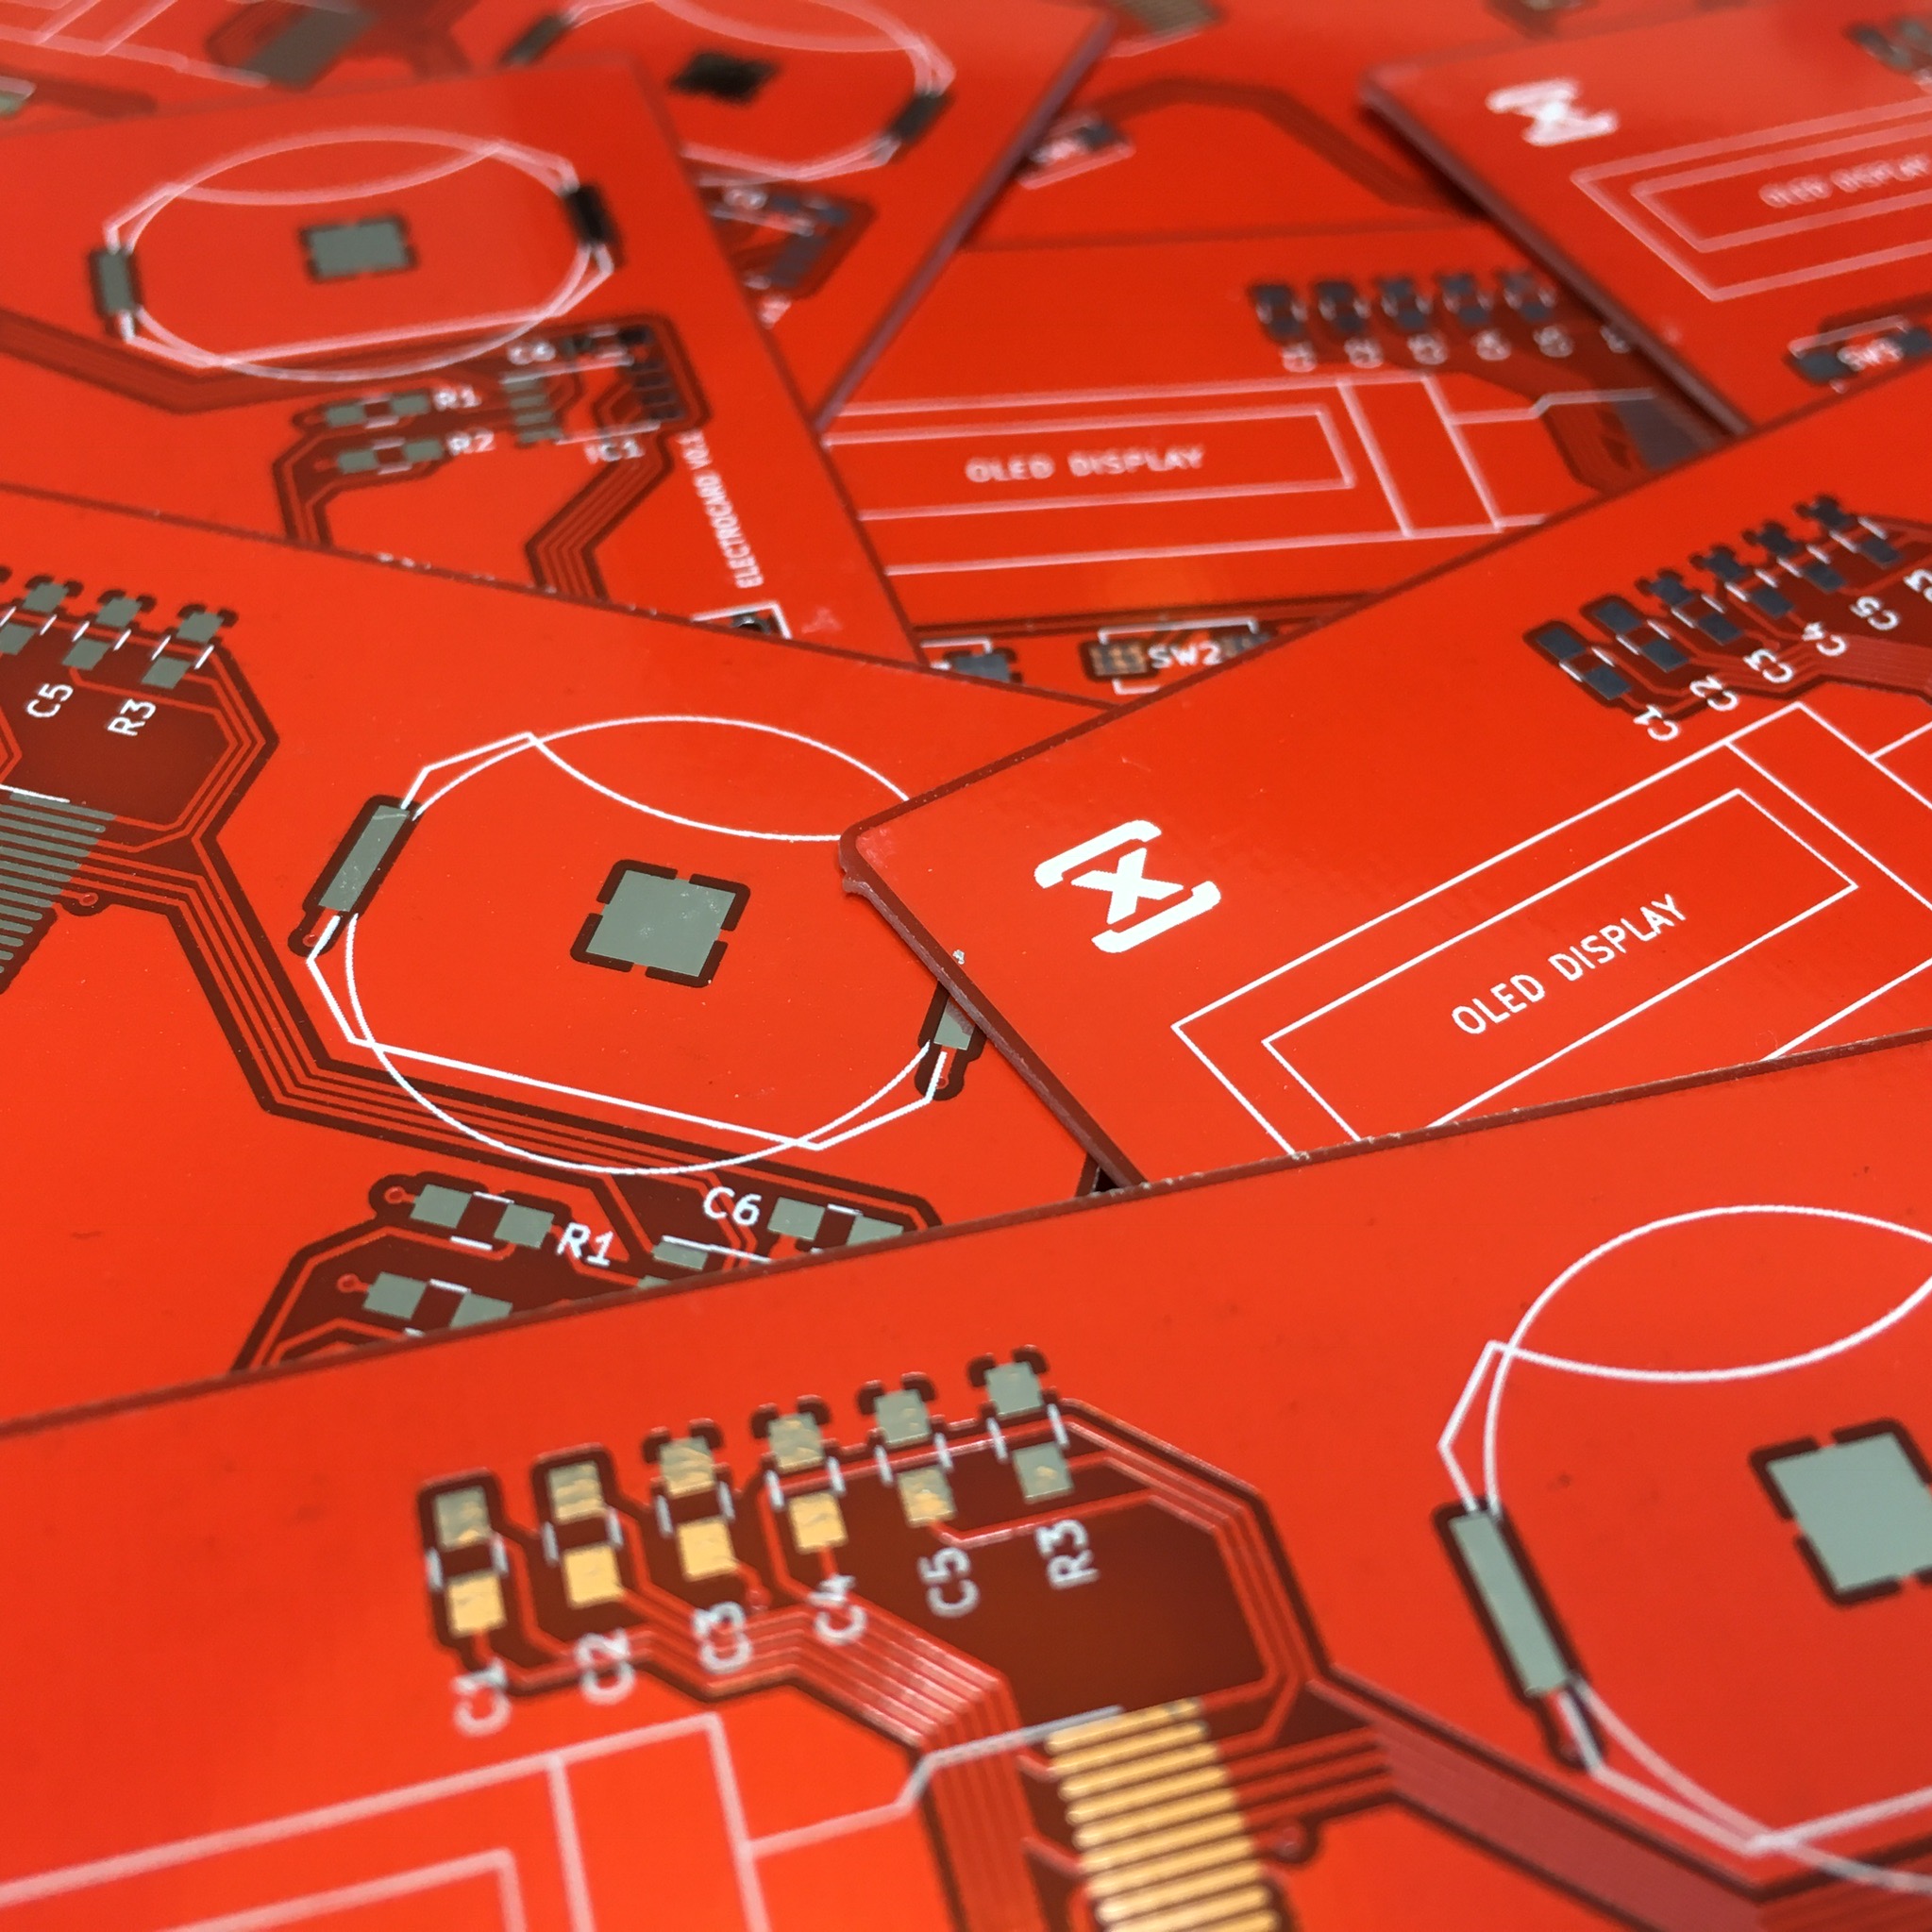
- If you have the time, the knowledge and the funds: design a complete PCB in stead of using wires and perfboard. It would make the assembly much easier and would probably improve the reliability.
- And last but not least: Think twice before you design a version with 9 cubes. Coming up with your 54 favorite artists, playlists or albums is much harder then you think. It also makes the MusiCubes tray pretty large.
And with that last one in mind: a version with just one cube would probably be just as effective: 5 of your favorite artists, playlists or albums and one stop-side. You can always swap it out for different cubes if you really need more artists, playlists or albums.
Who knows I might build one on the future. But for now, I’m going to focus on a complete different type of project. Keep an eye on my blog!
For now: Enjoy the music!
MusiCubes: Touch Me Four Times
