Installing last weeks LEDs was fun! But as mentioned earlier, they won’t work without any computer control. The same goes for the controllable wings. So the next thing on the to do list, is building the on board computer.
Power Suit: LED there be light!
The on board computer will be responsible for controlling all the electronic parts on the suit. To make all the required functionalities possible, the on board computer will contain the following parts:
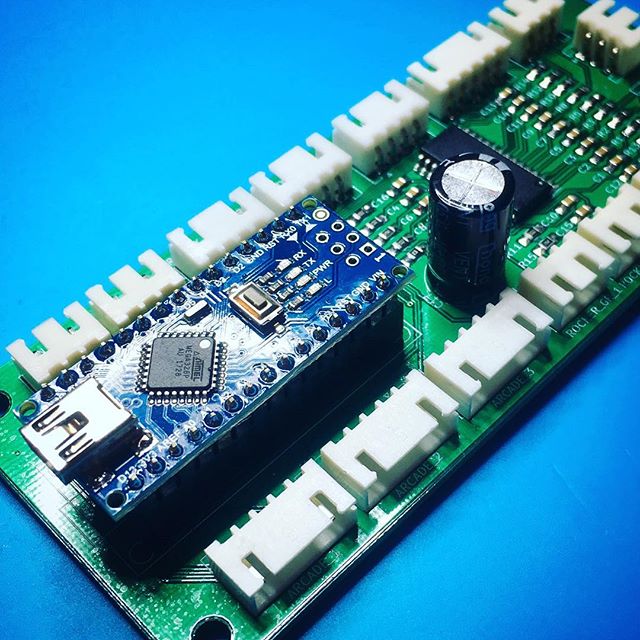
- Arduino Pro Mini clone - This is the real brain of the system. It will run all necessary code and control all connected peripherals. The Arduino gets a switch on power supply line, to make sure I can separate this power supply when I connect it to USB for programming.
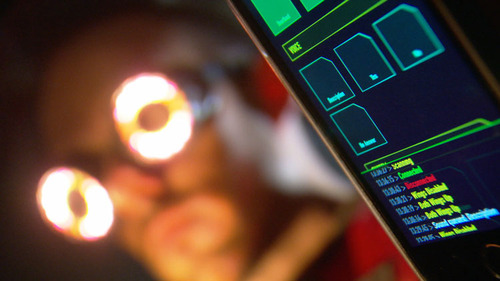
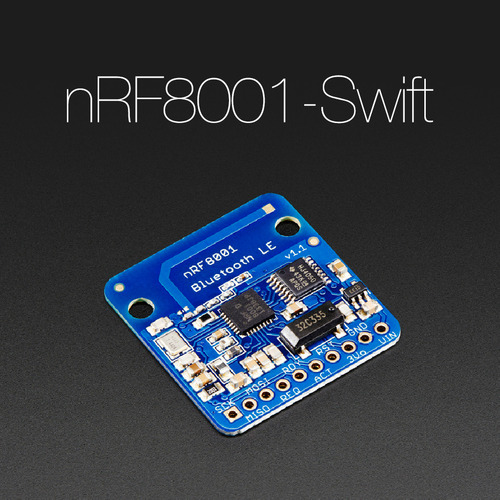
- nRF8001 BLE Shield - The Low Energy Bluetooth Shield is responsible for wireless communication with the Power Suit iPhone app.
- MSGEQ07 Spectrum Analyzer - The Spectrum Analyzer will transform the audio in usable data for the Arduino. This data will be used to generate sound activated light effects.
- Step-down Power Converter - This power converter will convert the 7V3 input power, to a usable and steady 5V. The Neopixels LEDs, the Arduino and the Bluetooth Shield will be powered by this high efficient power converter.
All exteral peripherals will be be connected to the on board computer board by 6 solid Molex SL connectors.
To the drawing board!
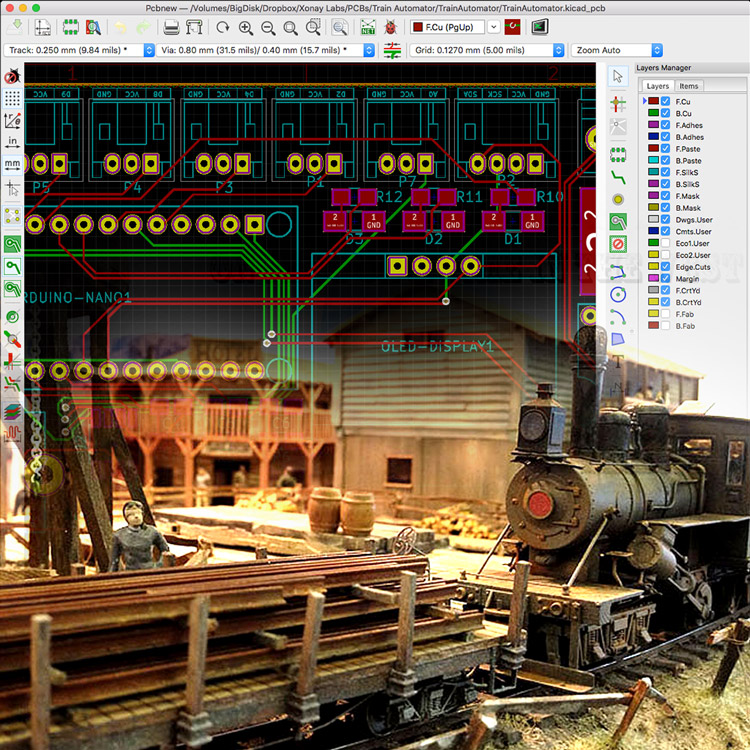
Before I start, it’s good to make an inventory of all the necessary connections. This overview will be my guide during the production of the of the on board computer. Creating the overview helped me to make sure I wasn’t forgetting anything, and to figure out if my Arduino had enough IO connections.

To make sure everything would fit within the space I had available on the back of the suit, I mounted all the important parts to the piece of Experimental PCB. Note that the Arduino, the MSGEQ07 and the Bluetooth Shield are all mounted using special sockets or female headers to ensure easy replacement. To keep things compact, the bluetooth shield will be layed over the power converter. Luckily the power converter won’t create any significant heat.

After all the main parts were fitted, I tried to cramp all the small parts in between. Adding the wiring takes some patience, but slowly, my on board computer started to take shape.

Testing 1, 2, 3 …
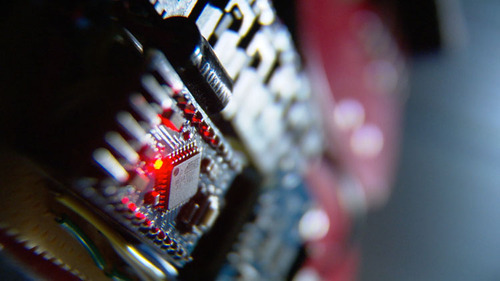
Because the MSGEQ07 requires some extra parts like resistors and capacitors i figured to give it a test drive using a small test sketch on the Arduino and a NeoPixel Matrix so see if it worked as expected.

After all connections were made, I took my Multi Meter and started measuring every connection on my overview, Twice! Although it’s very tempting to skip this step and jump right into full board testing, I really made sure the were no short circuits. I was determined to not destroy the Arduino, the MSGEQ07 and especially the Bluetooth Shield.

Luckily, my connection inventory was the perfect checklist for this task.

The end result
Eventually all tests came out positive, and thus the production of the on board computer was done. Not only does everything work as expected, but it looks pretty “future tech” as well! Exactly what I need for my Future Power Suit!

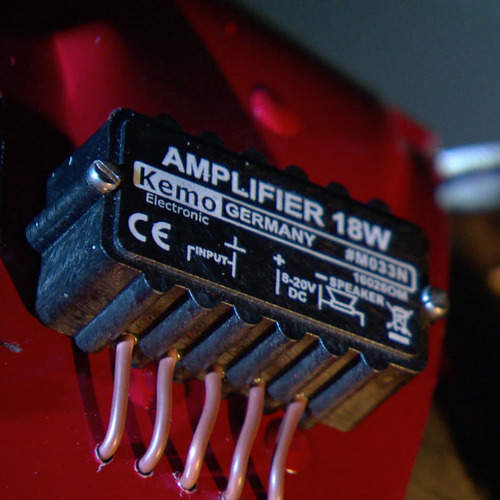
Of course, there are still some peripheral missing in this story. So next week, I’ll add the Amplifier to the suit, connect it to a bluetooth audio reciever and connect the nunchuck to the on board computer. Slowly, the suit takes it final shape!
Questions about the on board computer? Leave them in the comments down below, and I’ll try to explain …
Power Suit: The Missing Parts