Let’s start off with a warning. If you’re here for the pictures, you’ll be disappointed. This week we’ll dive into the Arduino code that will run on the on board computer of the Power Suit.
Power Suit: Red and Gold
Now, I would love to analyze all lines code for you, but since the project contains over 900 lines, this post would become a bit to long and boring.
So I’m going to summarize it, and afterward send you to my completely non understandable code.
The Code’s Responsibilities
The code on the Arduino will be responsible for a few tasks. For every taks, I’ve created a separate C++ class that will serve as a manager for the respective task.
- The LightManager will be responsible for controlling the 72 Neopixel LEDs.
- The WingManager will be responsible for controlling the two wing servo’s.
- The NunchuckManager will read out all Nunchuck in order to control the suit.
- The EqualizerManager will analyse the sound to use it as input for the light effects.
- The BluetoothManager makes sure the iPhone app will receive the triggers for the sound-effects.
To combine all managers, the overal Arduino sketch is responsible for the communication between all these managers.
Four of the managers need to process some tasks on every loop of the Arduino. These managers all have an update() method. The update method is called on every Arduino loop.
void loop() {

    // Update peripherals
    lightManager.update();
    nunchuckManager.update();
    equalizerManager.update();
    bluetoothManager.update();

    /* ... */
}
Additionally, the loop checks for user input from the nunchuck and spectrum analyzer, and fires the desired tasks.
- Change the light effects when the joystick changes without any button presses.
- Turn off the light when te joystick is pushed forward, and both buttons are pressed.
- Change the colors …
- … when the joystick changes and only button Z is pressed.
- … based on the spectrum analyzer input.
- Control the wings with the joystick when only the C button is pressed.
- Control the light effect speed depending on the spectrum analyzer input.

Wait! But don’t block it!
Some of the code, in example the light effects, need to run on a timed delay. In most cases this is easy by just usingdelay(10). But the problem of using delay, is that it blocks the loop. It waits. This means all other tasks are delayed as well.
Therefor the Power Suit code uses the elapsedMillis Library. This library counts the number of elapsed milliseconds since the last loop, and if this reaches the desired delay, it runs some code and resets the elapsed number of milliseconds.
To illustrate this, check out the update method of the LightManager:
void LightManager::update()
{
    if (_timeElapsed > _speed) {
        nextPixel(); // jump to the next animation frame
        _timeElapsed = 0;
    }
}
The next hurdle: limited memory
Of course, this non blocking delay wasn’t the only hurdle to take. During the development I ran into the maximum storage and memory of the ATmega328 processor. Luckily I managed to solve this by simplifying a lot of code, and using byte (0 to 255) in stead of int (-32,768 to 32,767) where possible.
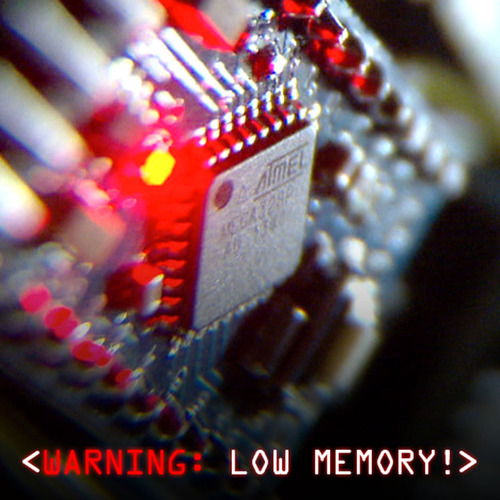
An other huge size saver was a bare GCC build. This leaves out all the extra Arduino goodies which take up a lot of memory. This can be easily done when you use the Sublime Text Editor for Arduino development via the menu:Arduino > Bare GCC Build (No Arduino code-munging). But be aware: this disables some of the Arduino shortcuts, leaving you with some other problems to solve.
Although the limited memory was a PITA, it really has taught me to keep things simple, and check my variable types. It is great way to improve your development skills.
Communication is key
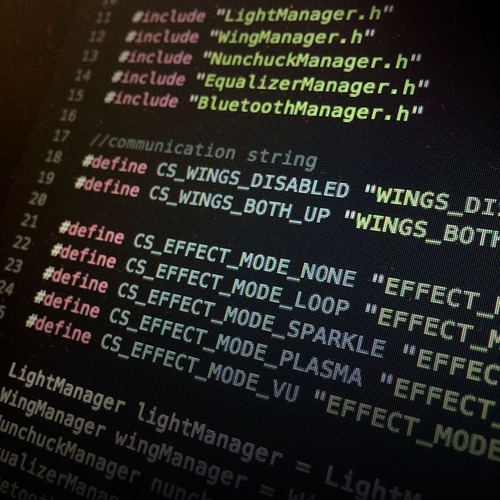
Besides executing all the desired tasks when receiving user input, the main sketch also makes sure to use Bluetooth to send a string on every event. This way, the iPhone App will know when and what sound effect to fire. I’ve pre-defined a number of strings to send to prevent typo’s:
// Communication strings:

#define CS_WINGS_DISABLED "WINGS_DISABLED"
#define CS_WINGS_BOTH_UP "WINGS_BOTH_UP"

#define CS_EFFECT_MODE_NONE "EFFECT_MODE_NONE"
#define CS_EFFECT_MODE_LOOP "EFFECT_MODE_LOOP"
#define CS_EFFECT_MODE_SPARKLE "EFFECT_MODE_SPARKLE"
#define CS_EFFECT_MODE_PLASMA "EFFECT_MODE_PLASMA"
#define CS_EFFECT_MODE_VU "EFFECT_MODE_VU"
Of course, sending these strings is only half of the story. So next week we’ll be diving into the iPhone App which handles these communication strings and sound effects. Make sure you don’t miss it!
Check out the full code!
Now you know how the Arduino Sketch is set up, to it’s time to check out the full code on the GitHub repository. If you have any questions, don’t hesitate to leave a comment down below.
Power Suit: Available on an iPhone near you.
