After I programmed the built in Arduino, the only thing left to do, is the development of the associated iPhone Application. This week I’ll be writing the app to control the sounds.
Power Suit: The Code Magic
Features
Besides a futuristic designed interface, the iPhone app has 5 features:
4 sound related:
- Playing looping background sounds.
- Playing speech sounds with a manual or random trigger.
- Playing sound effects with a manual or random trigger.
- Playing speech sounds based on bluetooth feedback by the Power Suit.
1 feedback related:
- Feedback about the current actions and connectivity in a console.
Since I love to experiment with Apple’s new programming language Swift, I figured this would be a great project to try it out. If Swift is the future, it fits the Future Power Suit. ;)
The interface
The interface consists of a scrollable collection view with multiple sections:
- Loops
- Voice ‘response’ sound effects (“Yes”, “No”, etc …)
- Random system voice effects (“System upgraded”, “Power increased”, etc …)
- General sound effects (Swooshes and beeps)
- Actions (Reconnect, Stop all sounds, Stop effects)
Every section contains multiple cell with each their own action. In most cases this action is triggering a sound effect. In some cases (for example with the loops) it toggles the sound. In this case the cell changes it’s color to represent the current state of the sound. Additionally, some of the sections have a toggle to enable and disable the randomized playback of the sounds.
Besides the collection view, there is an UITextView to function as a console. The editing and selection of the text is disabled. And console messages are added by prepending NSAttributedStrings.

The sound players
To play sound, I created a SoundPlayer class. For every type of sound I create one instance of this sound player:
var soundVoicePlayer = SoundPlayer()
var soundEffectPlayer = SoundPlayer()
var soundBackgroundLoopPlayer = SoundPlayer()
In case of the voice effects I don’t want to overlap the sounds. Before the next effect is played, the previous sound effect must be finished. This is done by the SoundPlayer’s .queueSound() method:
soundVoicePlayer.queueSound('speechclip.mp3')
For the background loops I use the .loopSound() method:
soundBackgroundLoopPlayer.loopSound('heartbeat.mp3')
And for all other sound, I just trigger a simple .playSound() method:
soundEffectPlayer.playSound('beep.mp3')
Additionally, the SoundPlayer instances have some extra methods to fire a random sound, clearing the sound queue or stopping all current playing sounds. Overall, this SoundPlayer is a convenient wrapper around the AVFoundation framework.
The bluetooth commands
Some of the sounds the App can play, are not triggered by user input, but are triggered by strings of text. These strings are send by the Bluetooth module on the onboard computer.
For example, if the App receives the string WINGS_ENABLED the sound effect voice_wings_enabled.wav is played. Additionally a yellow message is logged to the console screen.
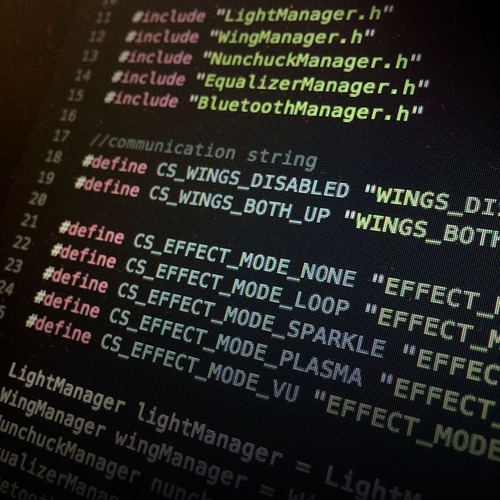
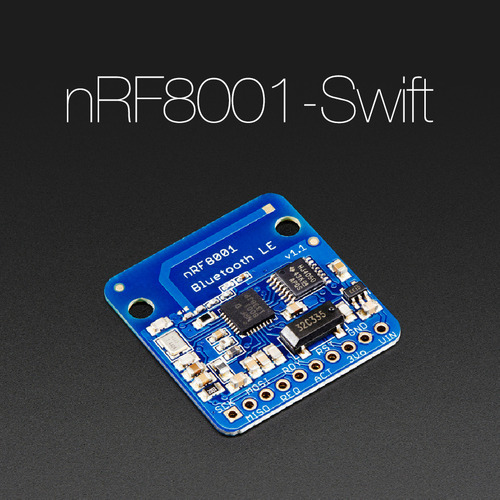
But before this can be done, it’s necessary to setup the Bluetooth connection to the nRF8001-Shield. Because of this, I developed my own nRF8001-Swift module. More about this, can be found in my blogpost about the NRFManager.
Eventually, the triggering of the sound by bluetooth commands is as simple as the following code:
func nrfReceivedData(nrfManager:NRFManager, data:NSData, string:String) {
    switch string {
        case "WINGS_ENABLED":
            self.soundVoicePlayer.queueSound("voice_wings_enabled.wav")
            feedbackTextView.addMessage("Wings Enabled", color: UIColor.yellowColor())

        /* ... all other cases ... */
    }
}
Creating the sound effects
Most of the sounds are sounds I’ve found on freesound.org or bought on AudioJungle. Especially Audiojungle turned out to be a great source of perfect audio effects for a reasonable price.
In some cases Adobe audition helped to give them some extra futuristic touch.
The voice effects are made by using my Mac’s text-to-speech function. After installing Ava’s voice via System Preferences > Dictation & Speech, the sounds can be easily generated via the terminal:
say "Wings up" -v ava -o wings.aiff
The -v ava argument selects the voice it uses. The -o wings.aiff part makes sure the voice effect is saved to disk as an AIFF file.
Afterwards Adobe Audition is used to add some reverb and additional sound effects tot the voiceover.
Check out the following sound examples:
Check out the code
Once again, the source code of this app is available via GitHub. But with some minor warnings:
- The code is poorly documented and commented. Feel free to look around, but don’t get offended by the sloppy code. ;)
- The code was written for XCode 6 Beta 5. It probably won’t run in the most recent version of XCode due to the changes in Swift.
Any suggestions for cool sound effects or voice messages? Leave a comment down below!
Power Suit: The End Result