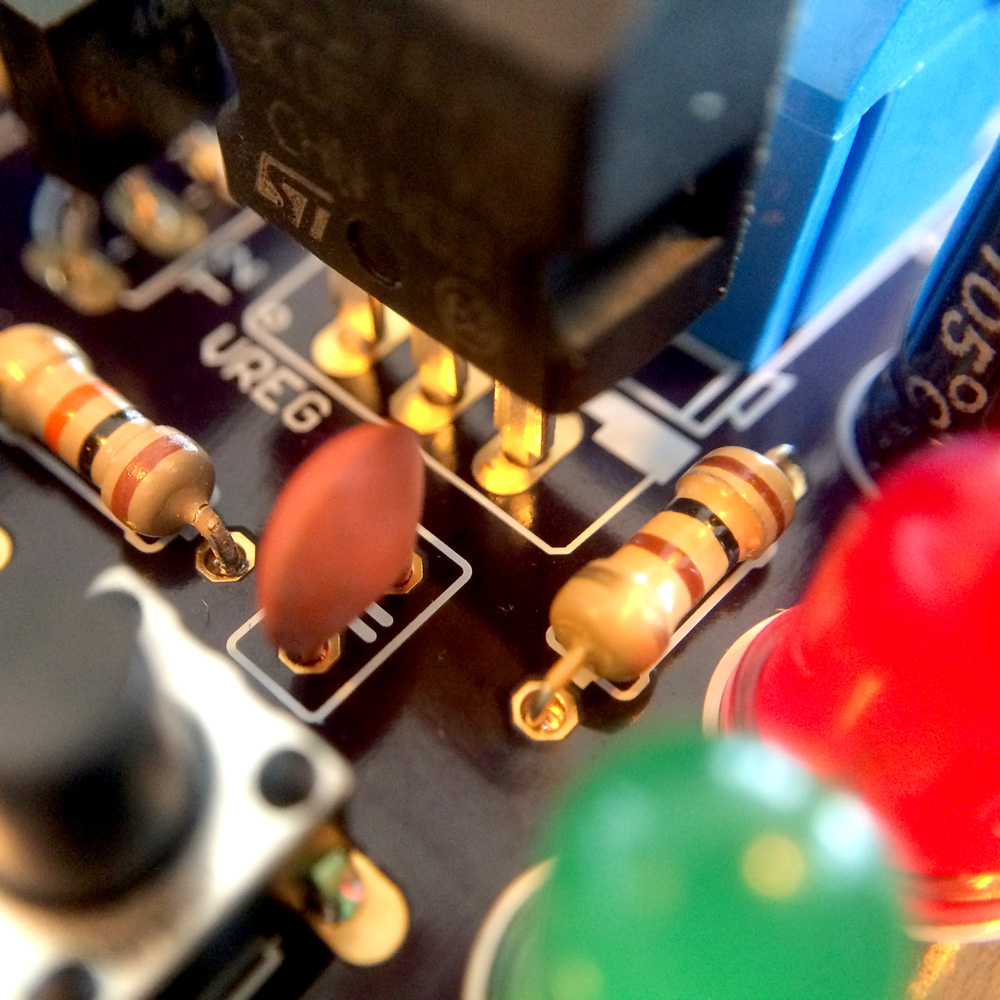
After test-driving most of the changes I’ve made to my dishwashers schematics, I took a leap of faith, and ordered my first PCBs. Of course I expected something better than my average protoboard, but I didn’t expect something as beautiful as the end product …
Annoying Dishwasher: Reconnect the Dishwasher
Now, there are many different online PCB services, but since I love stuff that just looks cool, I used OSHPark to create my PCB. OSHPark uses purple boards, which just makes it ten times more fancy …
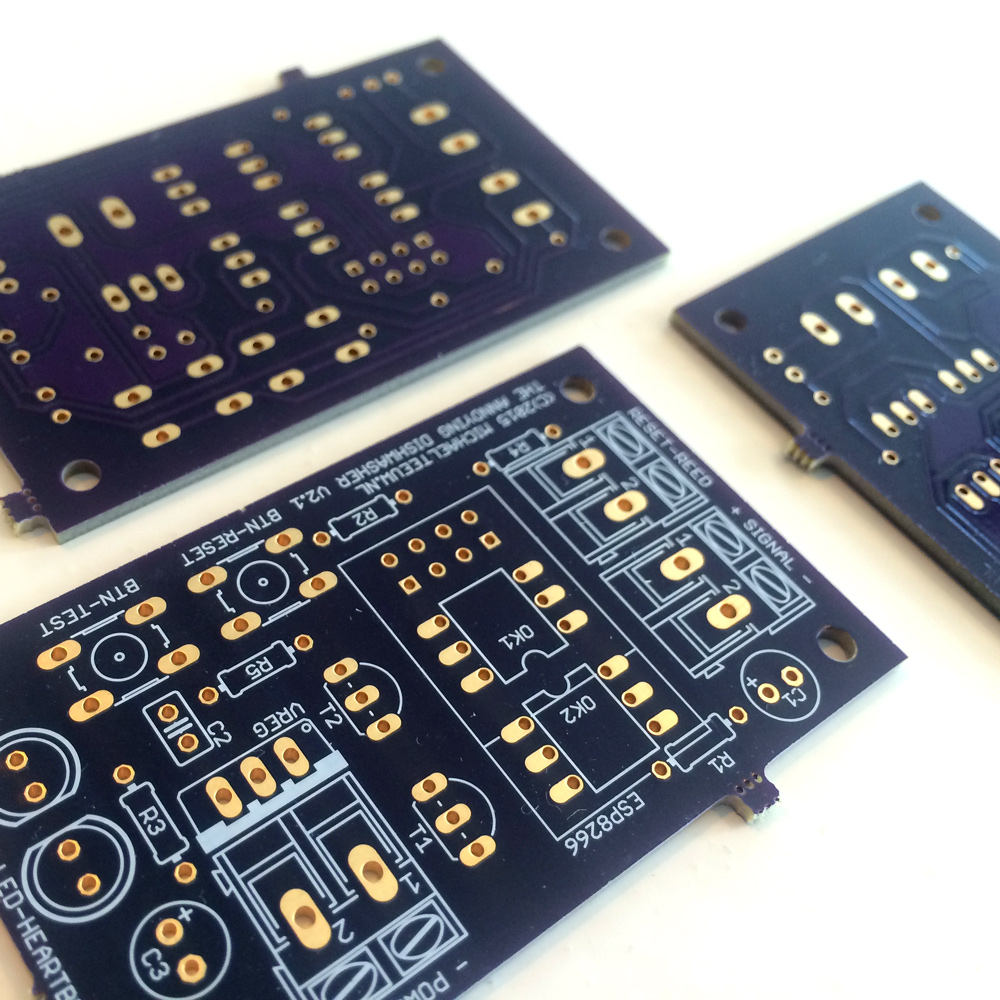
Now, as many of my readers will agree: soldering is the best part. If only they would have asked me to do this in kindergarten, in stead of filling up my coloring book, I’m sure I would have put way more effort in it …

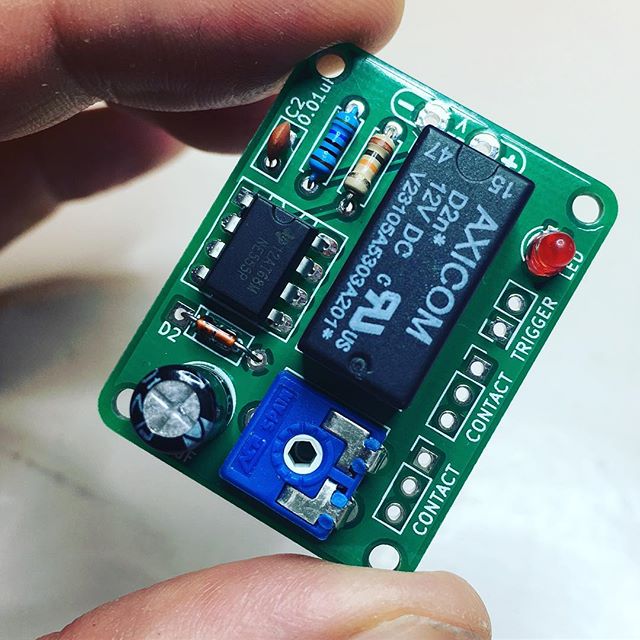
The end result looks pretty sophisticated. It’s a shame it ends up in my kitchen below my dishwasher …
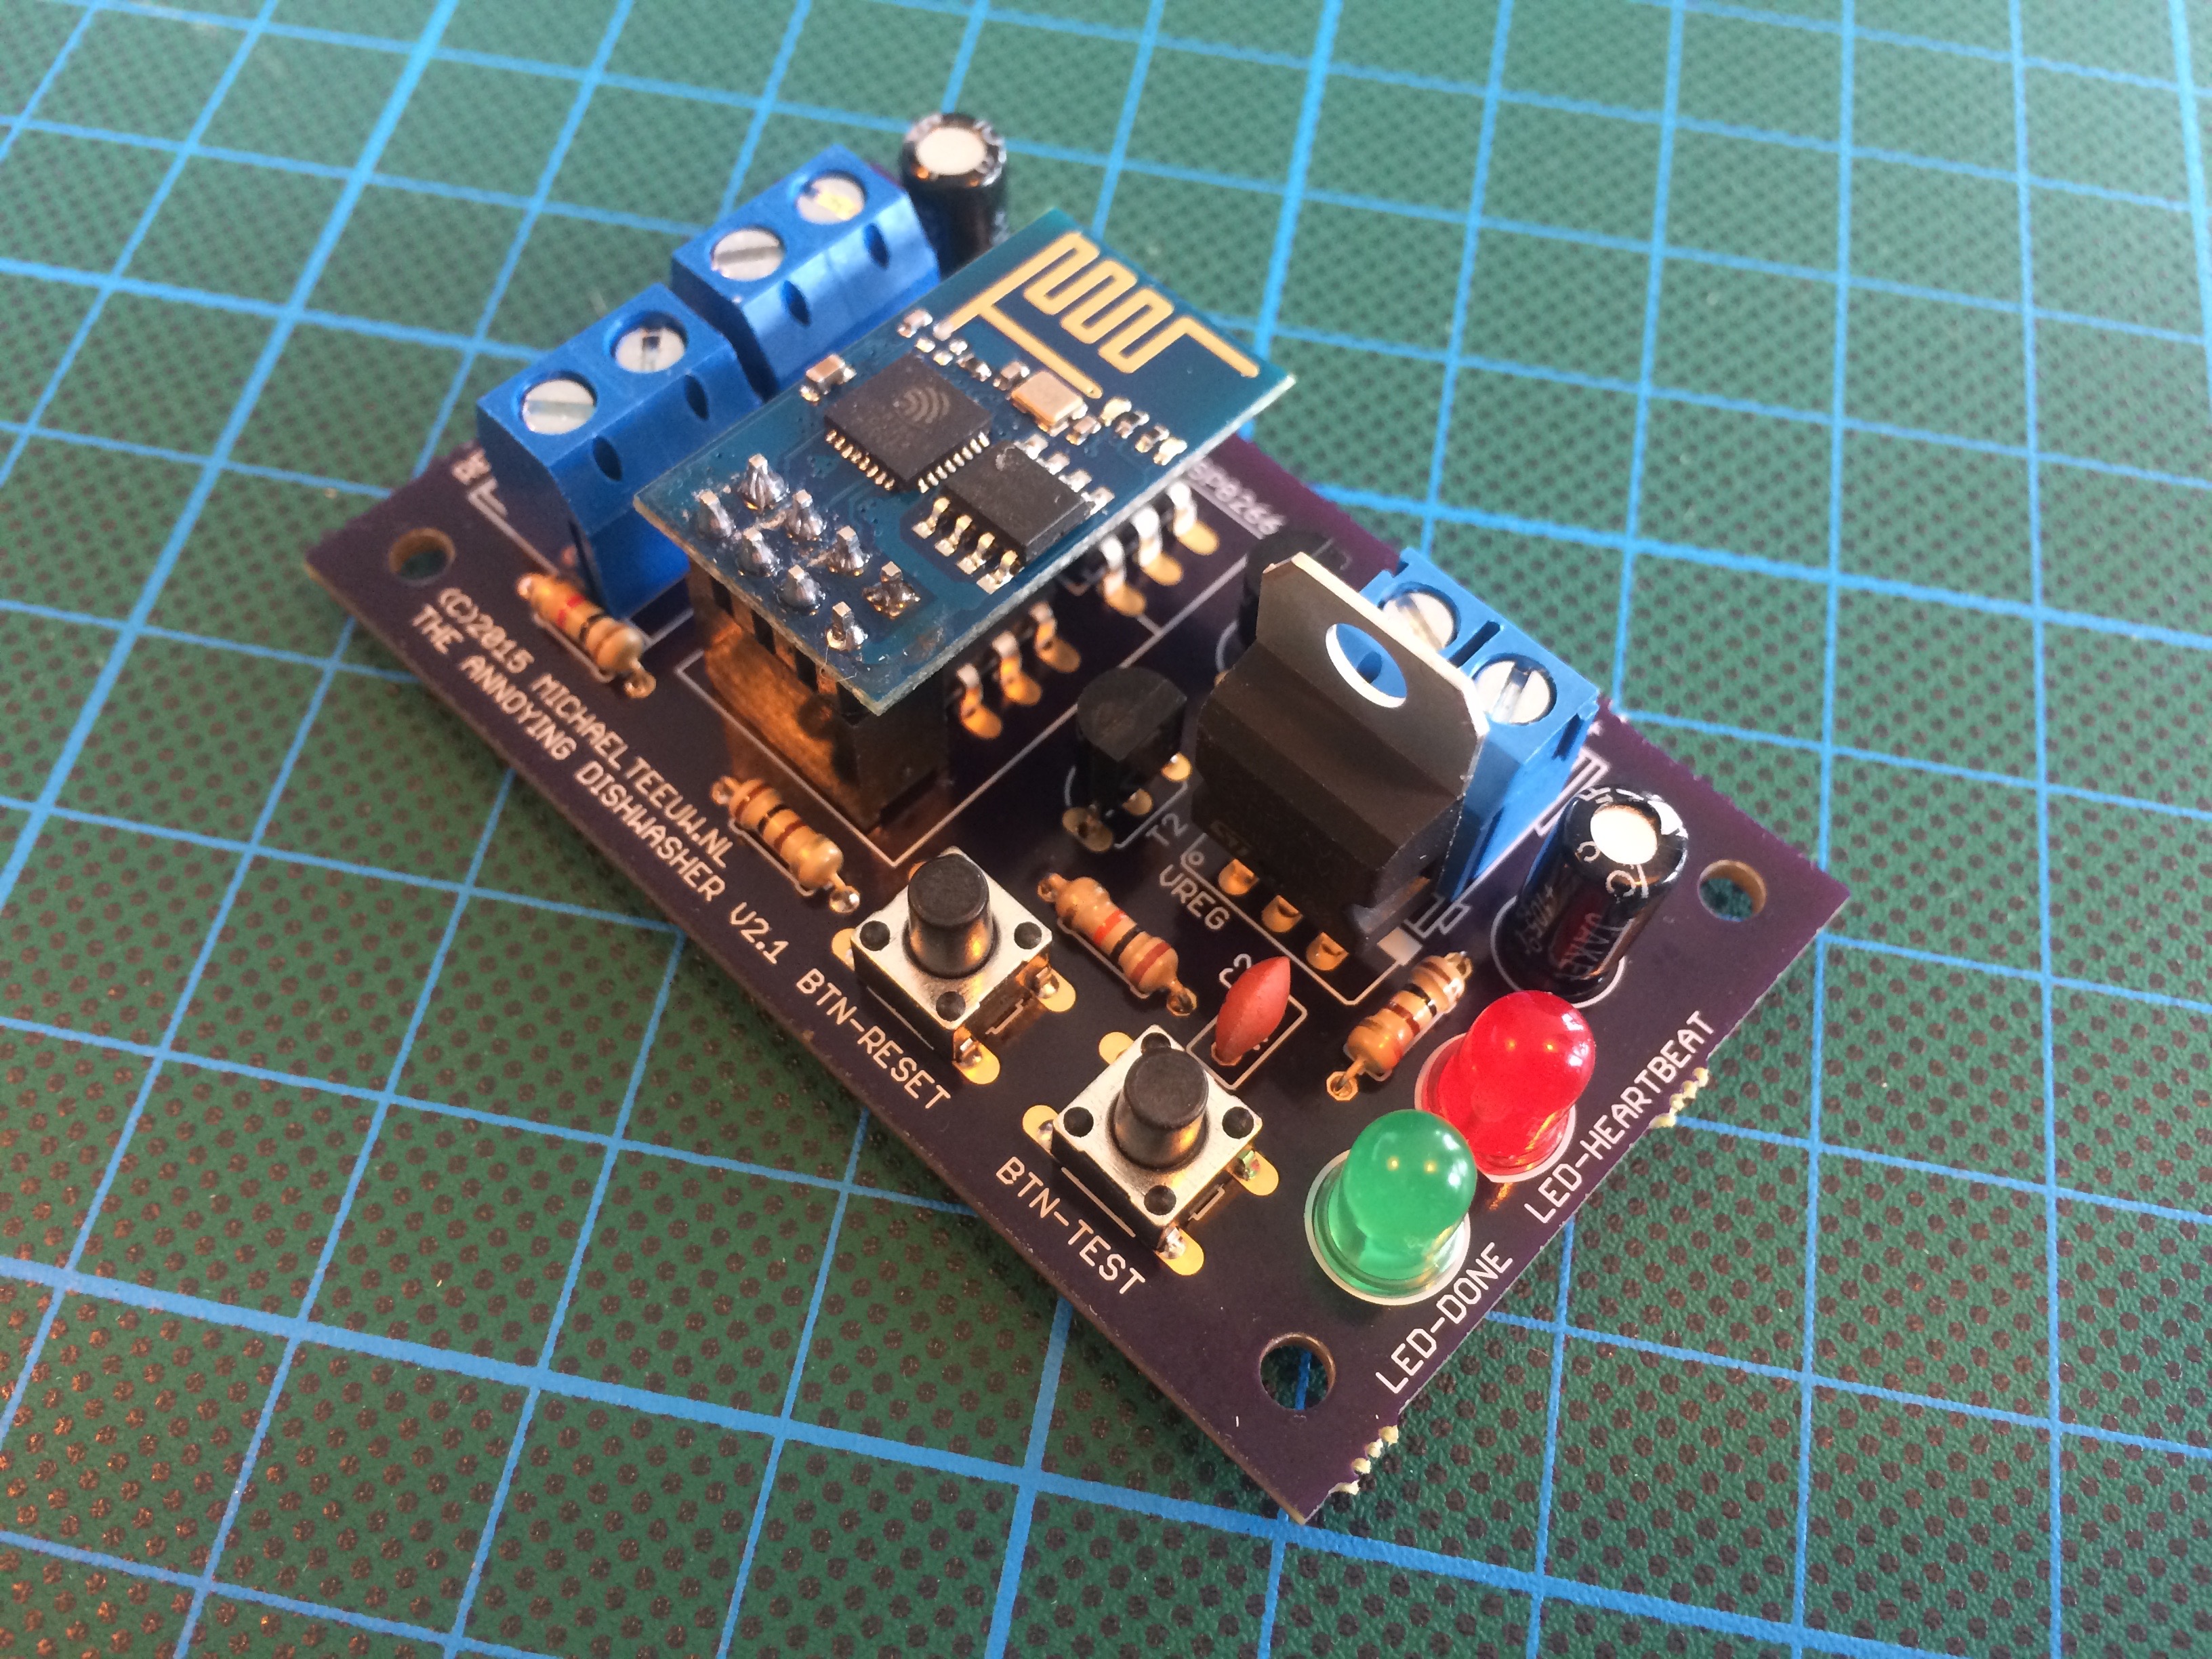
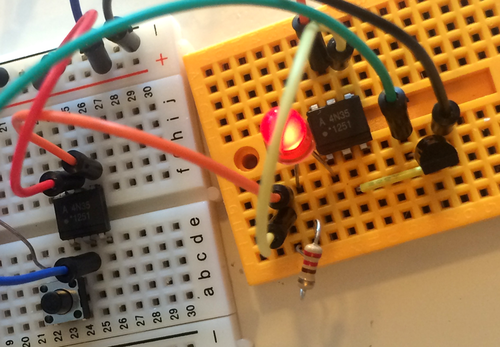
But as cool as it looks, I also want it to work … Unfortunately it didn’t. It turned out I had underestimated one major part of my schematics design change. Moving from a 5v to 3v3 logic resulted in a major issue which I had overlooked. In the original circuit, I’ve put a lot of parts in serial. This wasn’t going to work with 3v3 due to the voltage drop. The solution was simple: move from a serial to parallel setup. But this required me to make some adjustments to my PCB. If only I did some better testing …
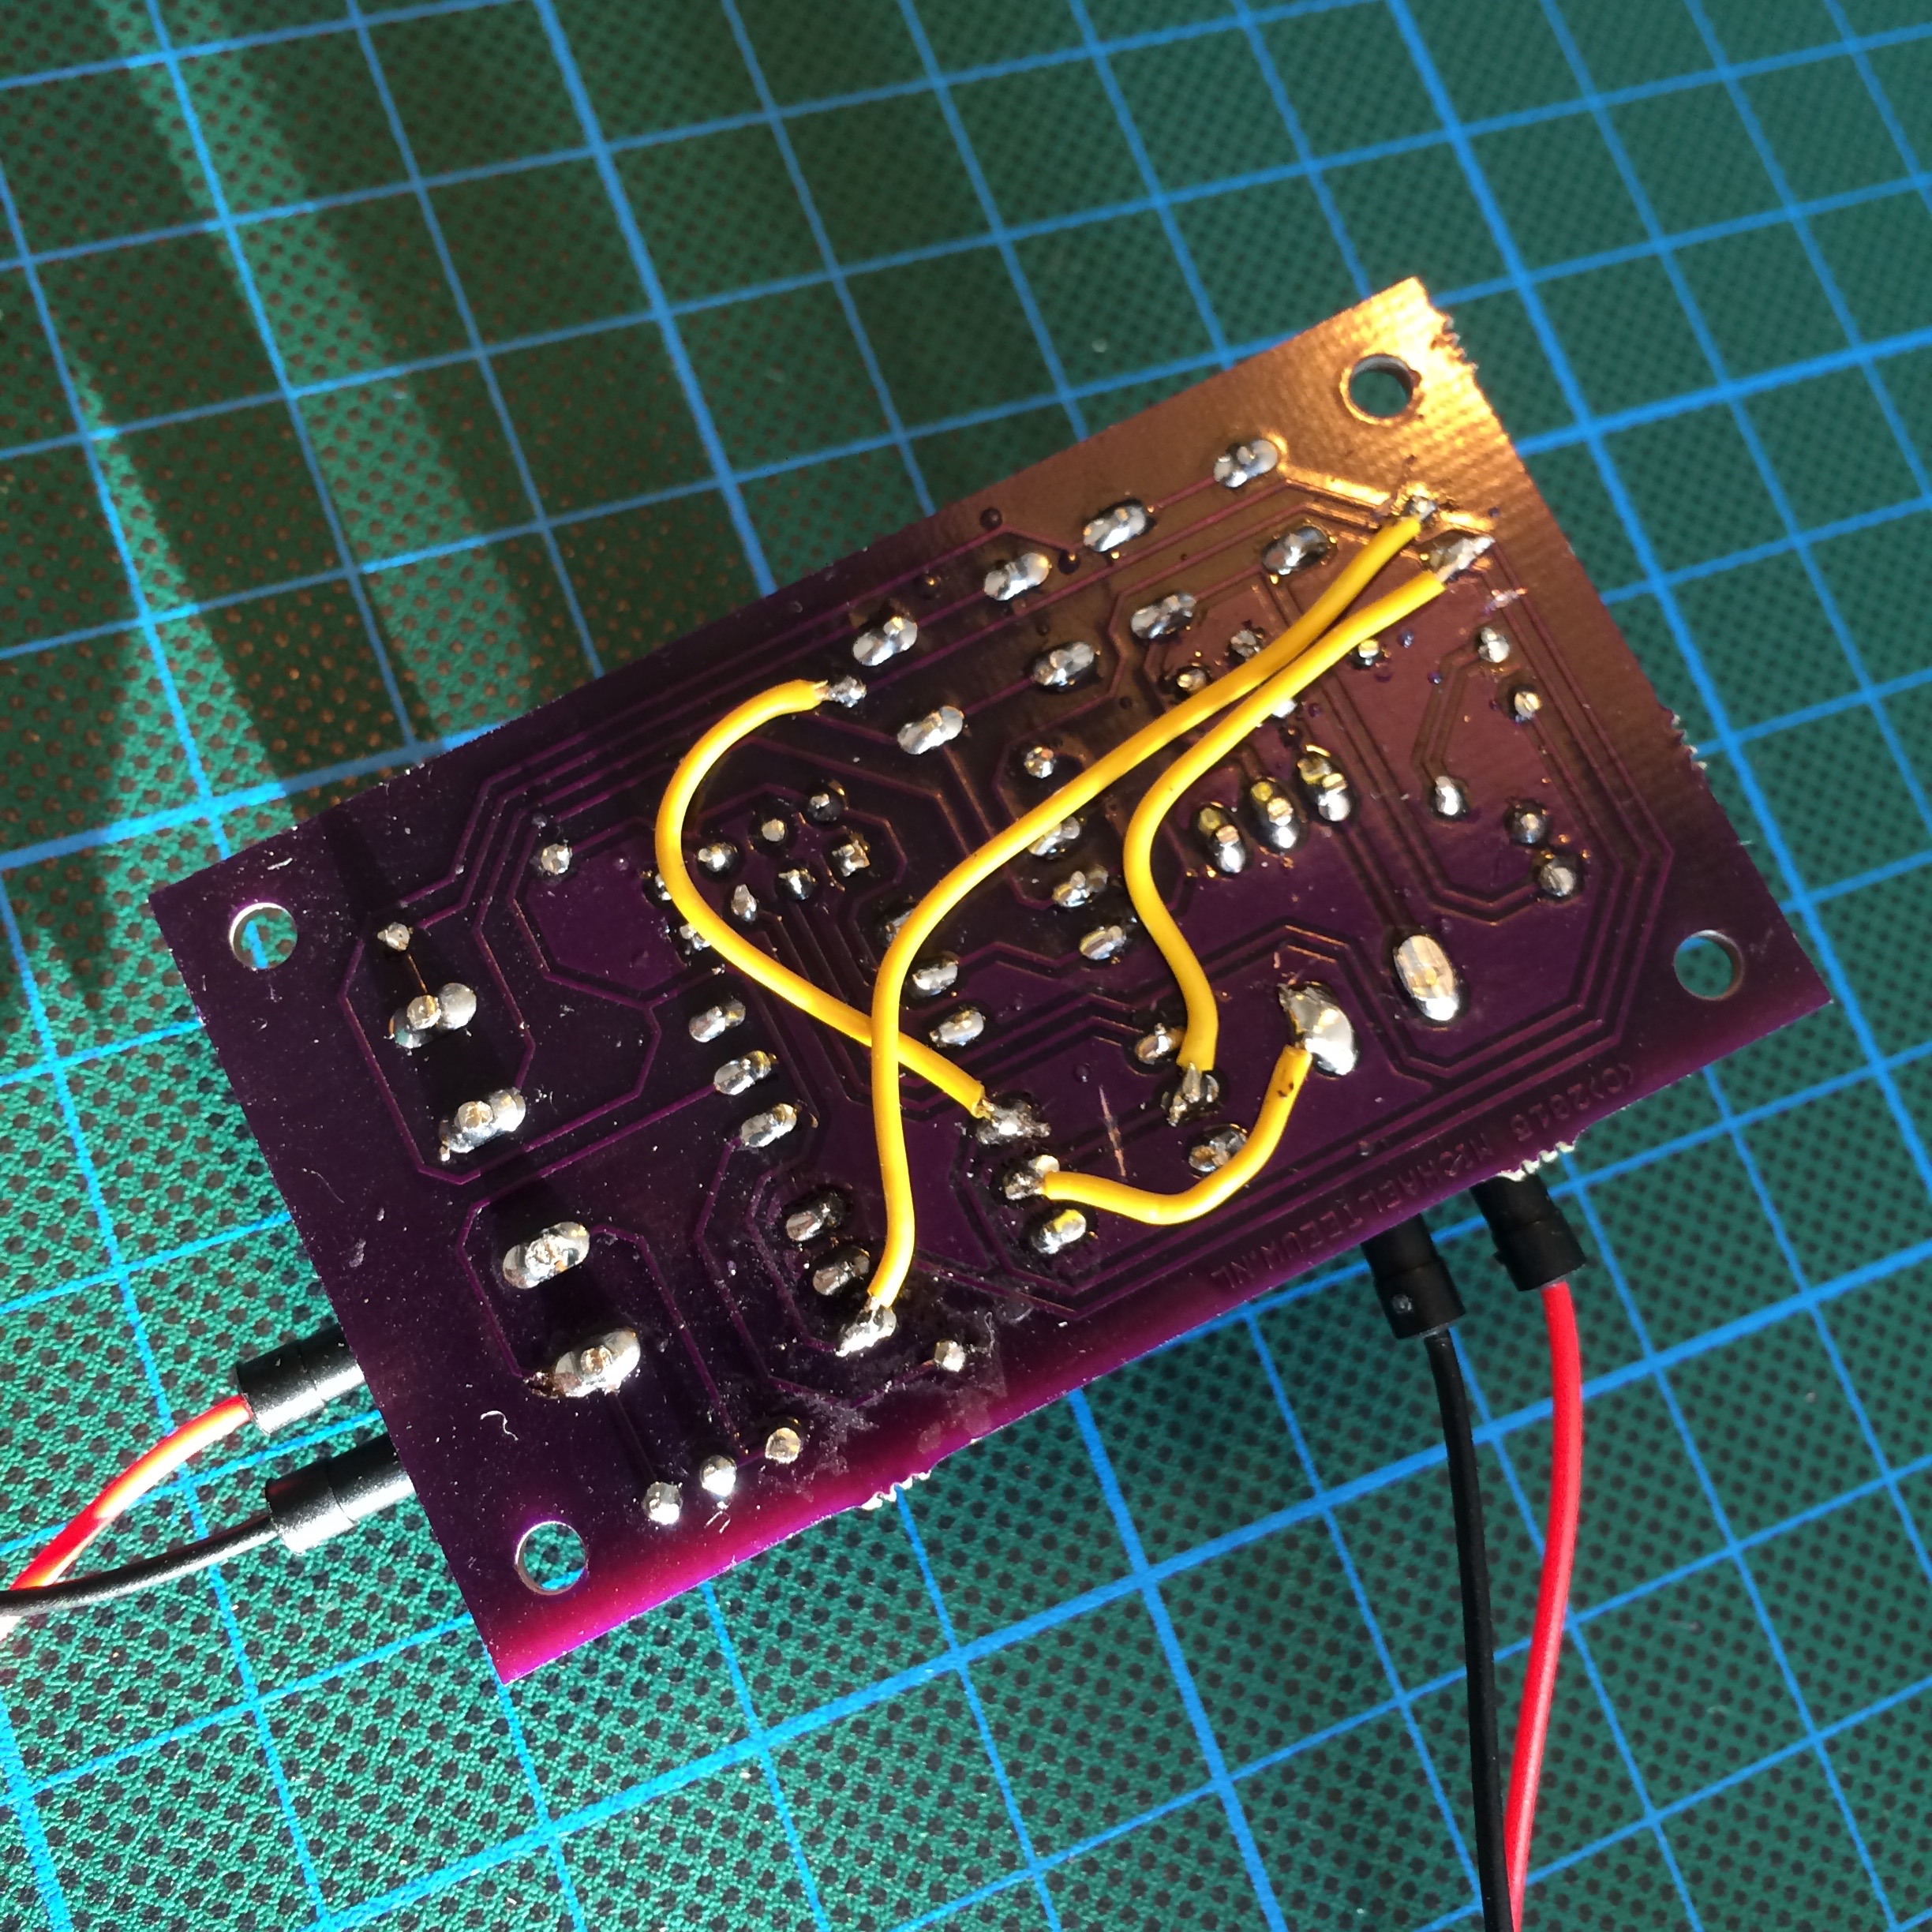
Luckily the modified wiring turned out to solve the problem. The PCB now works as intended, and can be placed below the dishwasher. To connect and mount the reed switch, I’ve used my 3D printer to print a mounting bracket. Hurray for 3D printing!
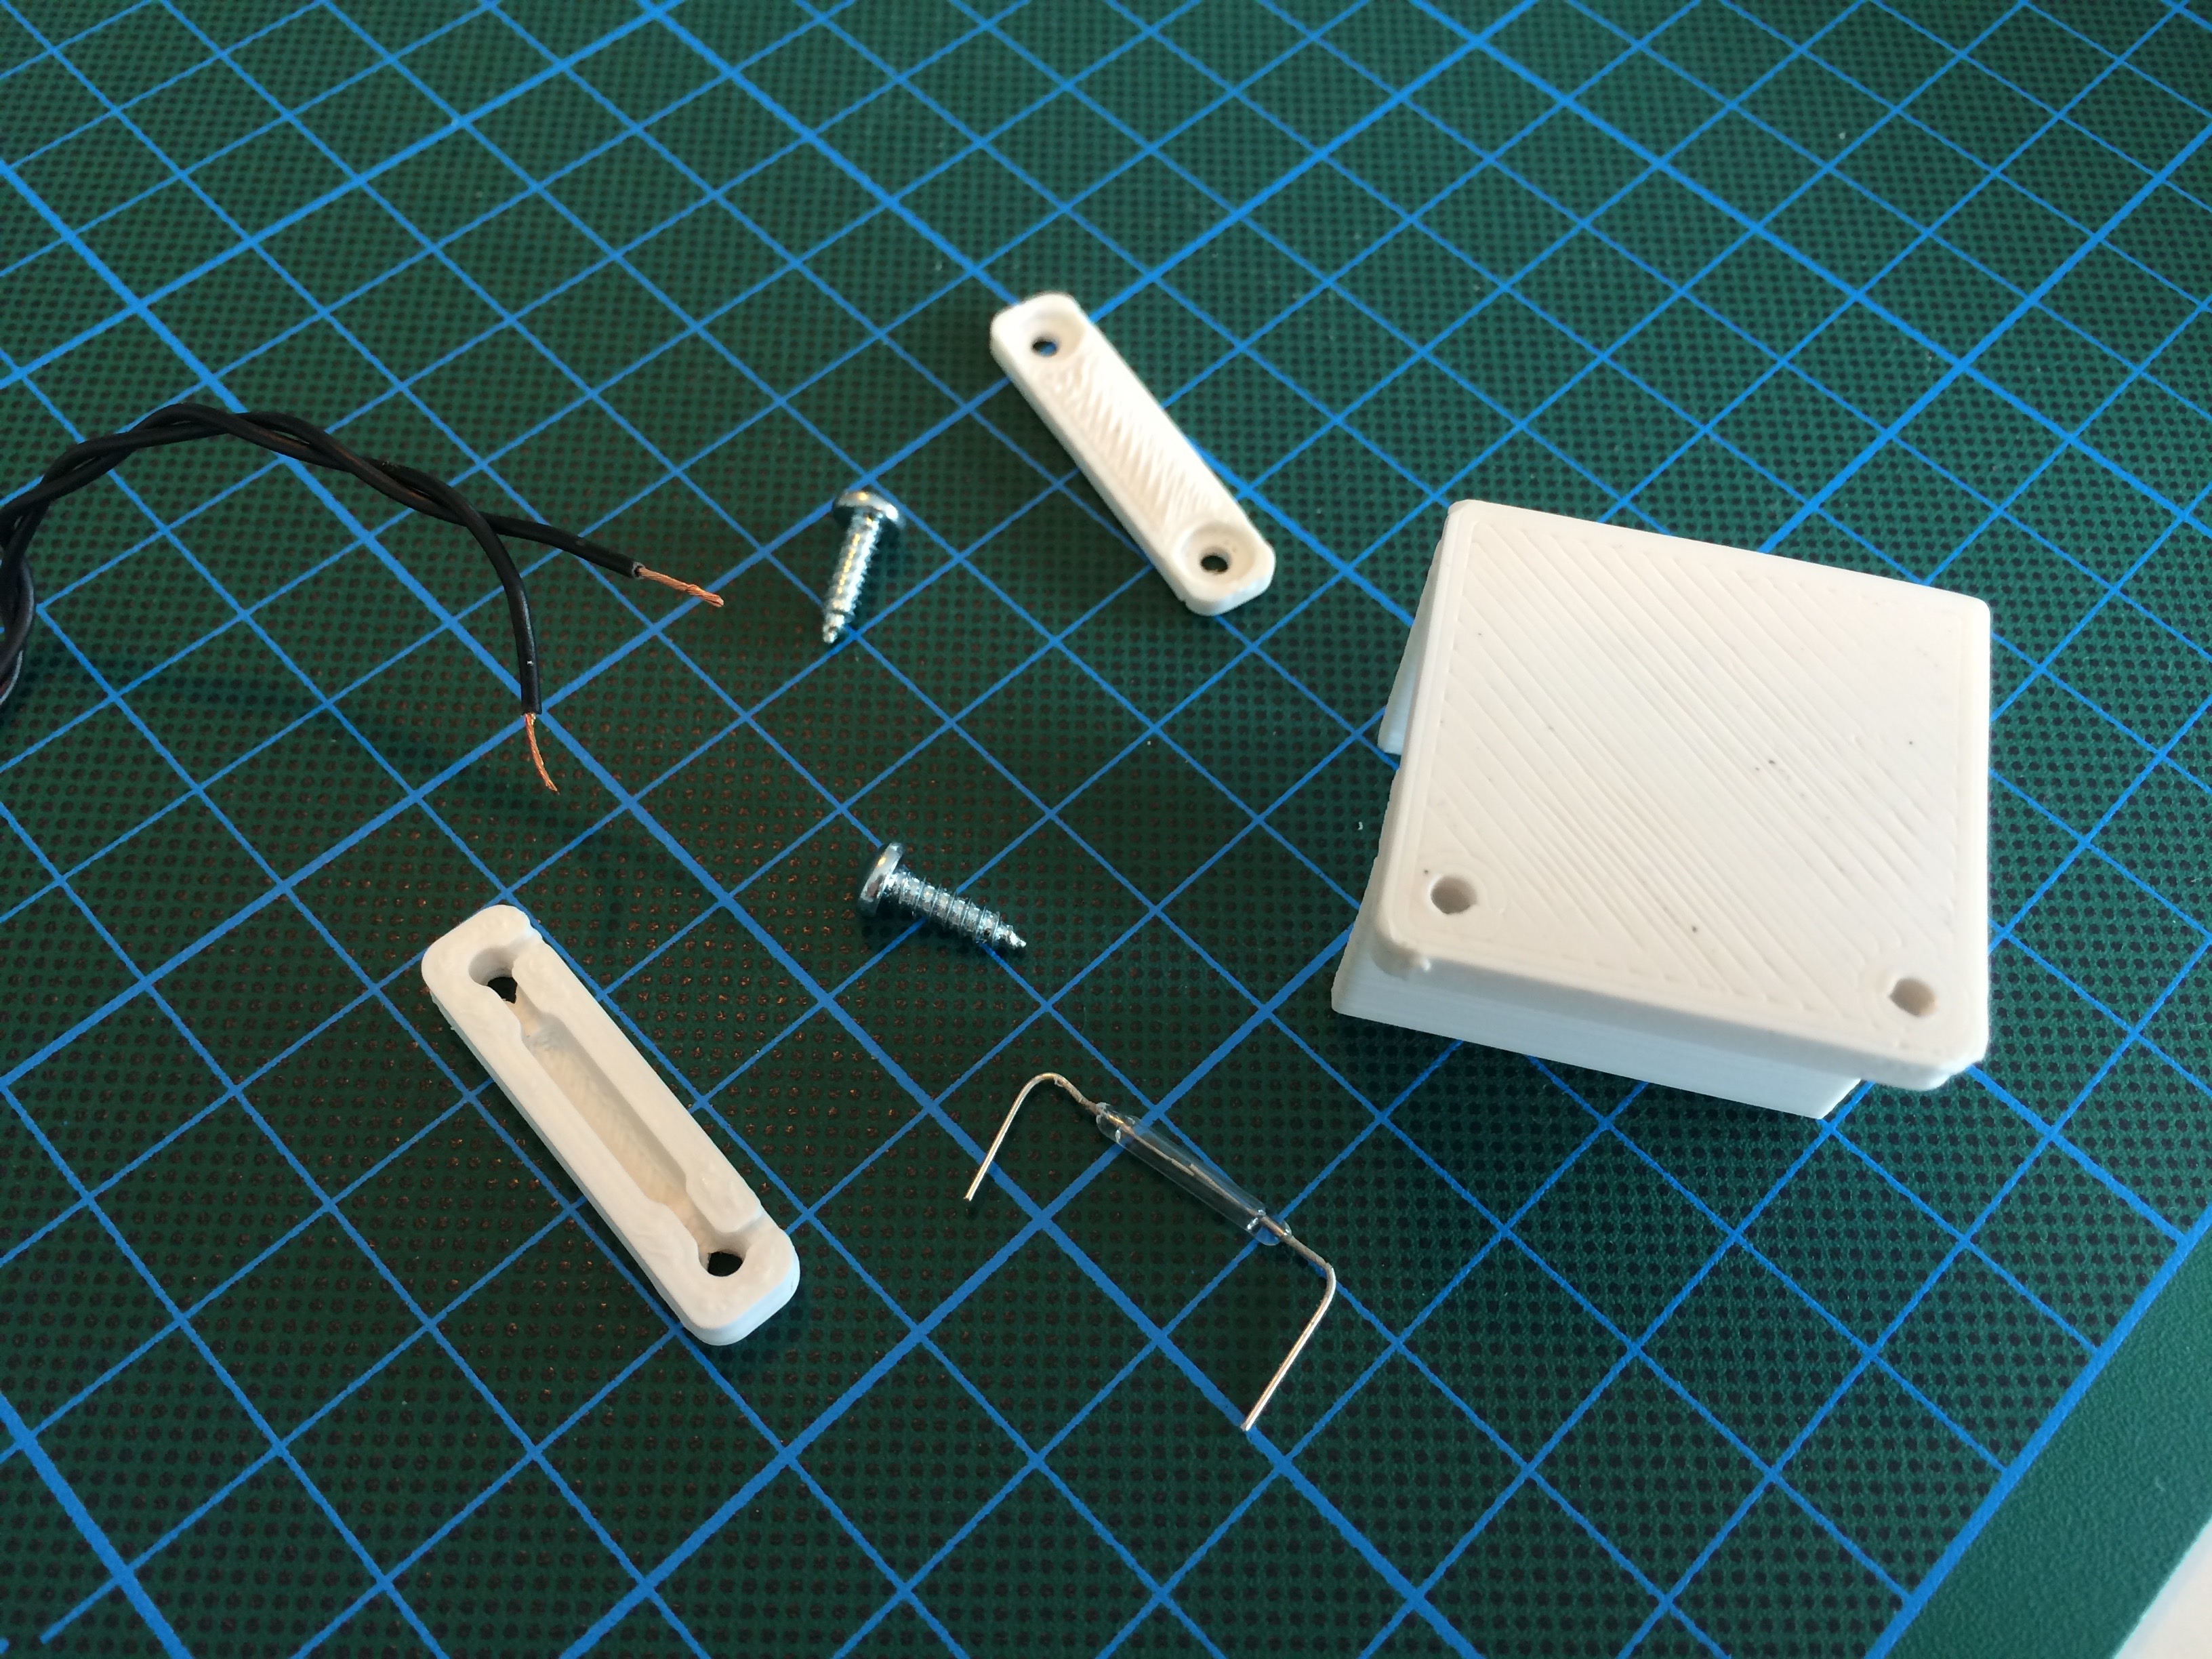
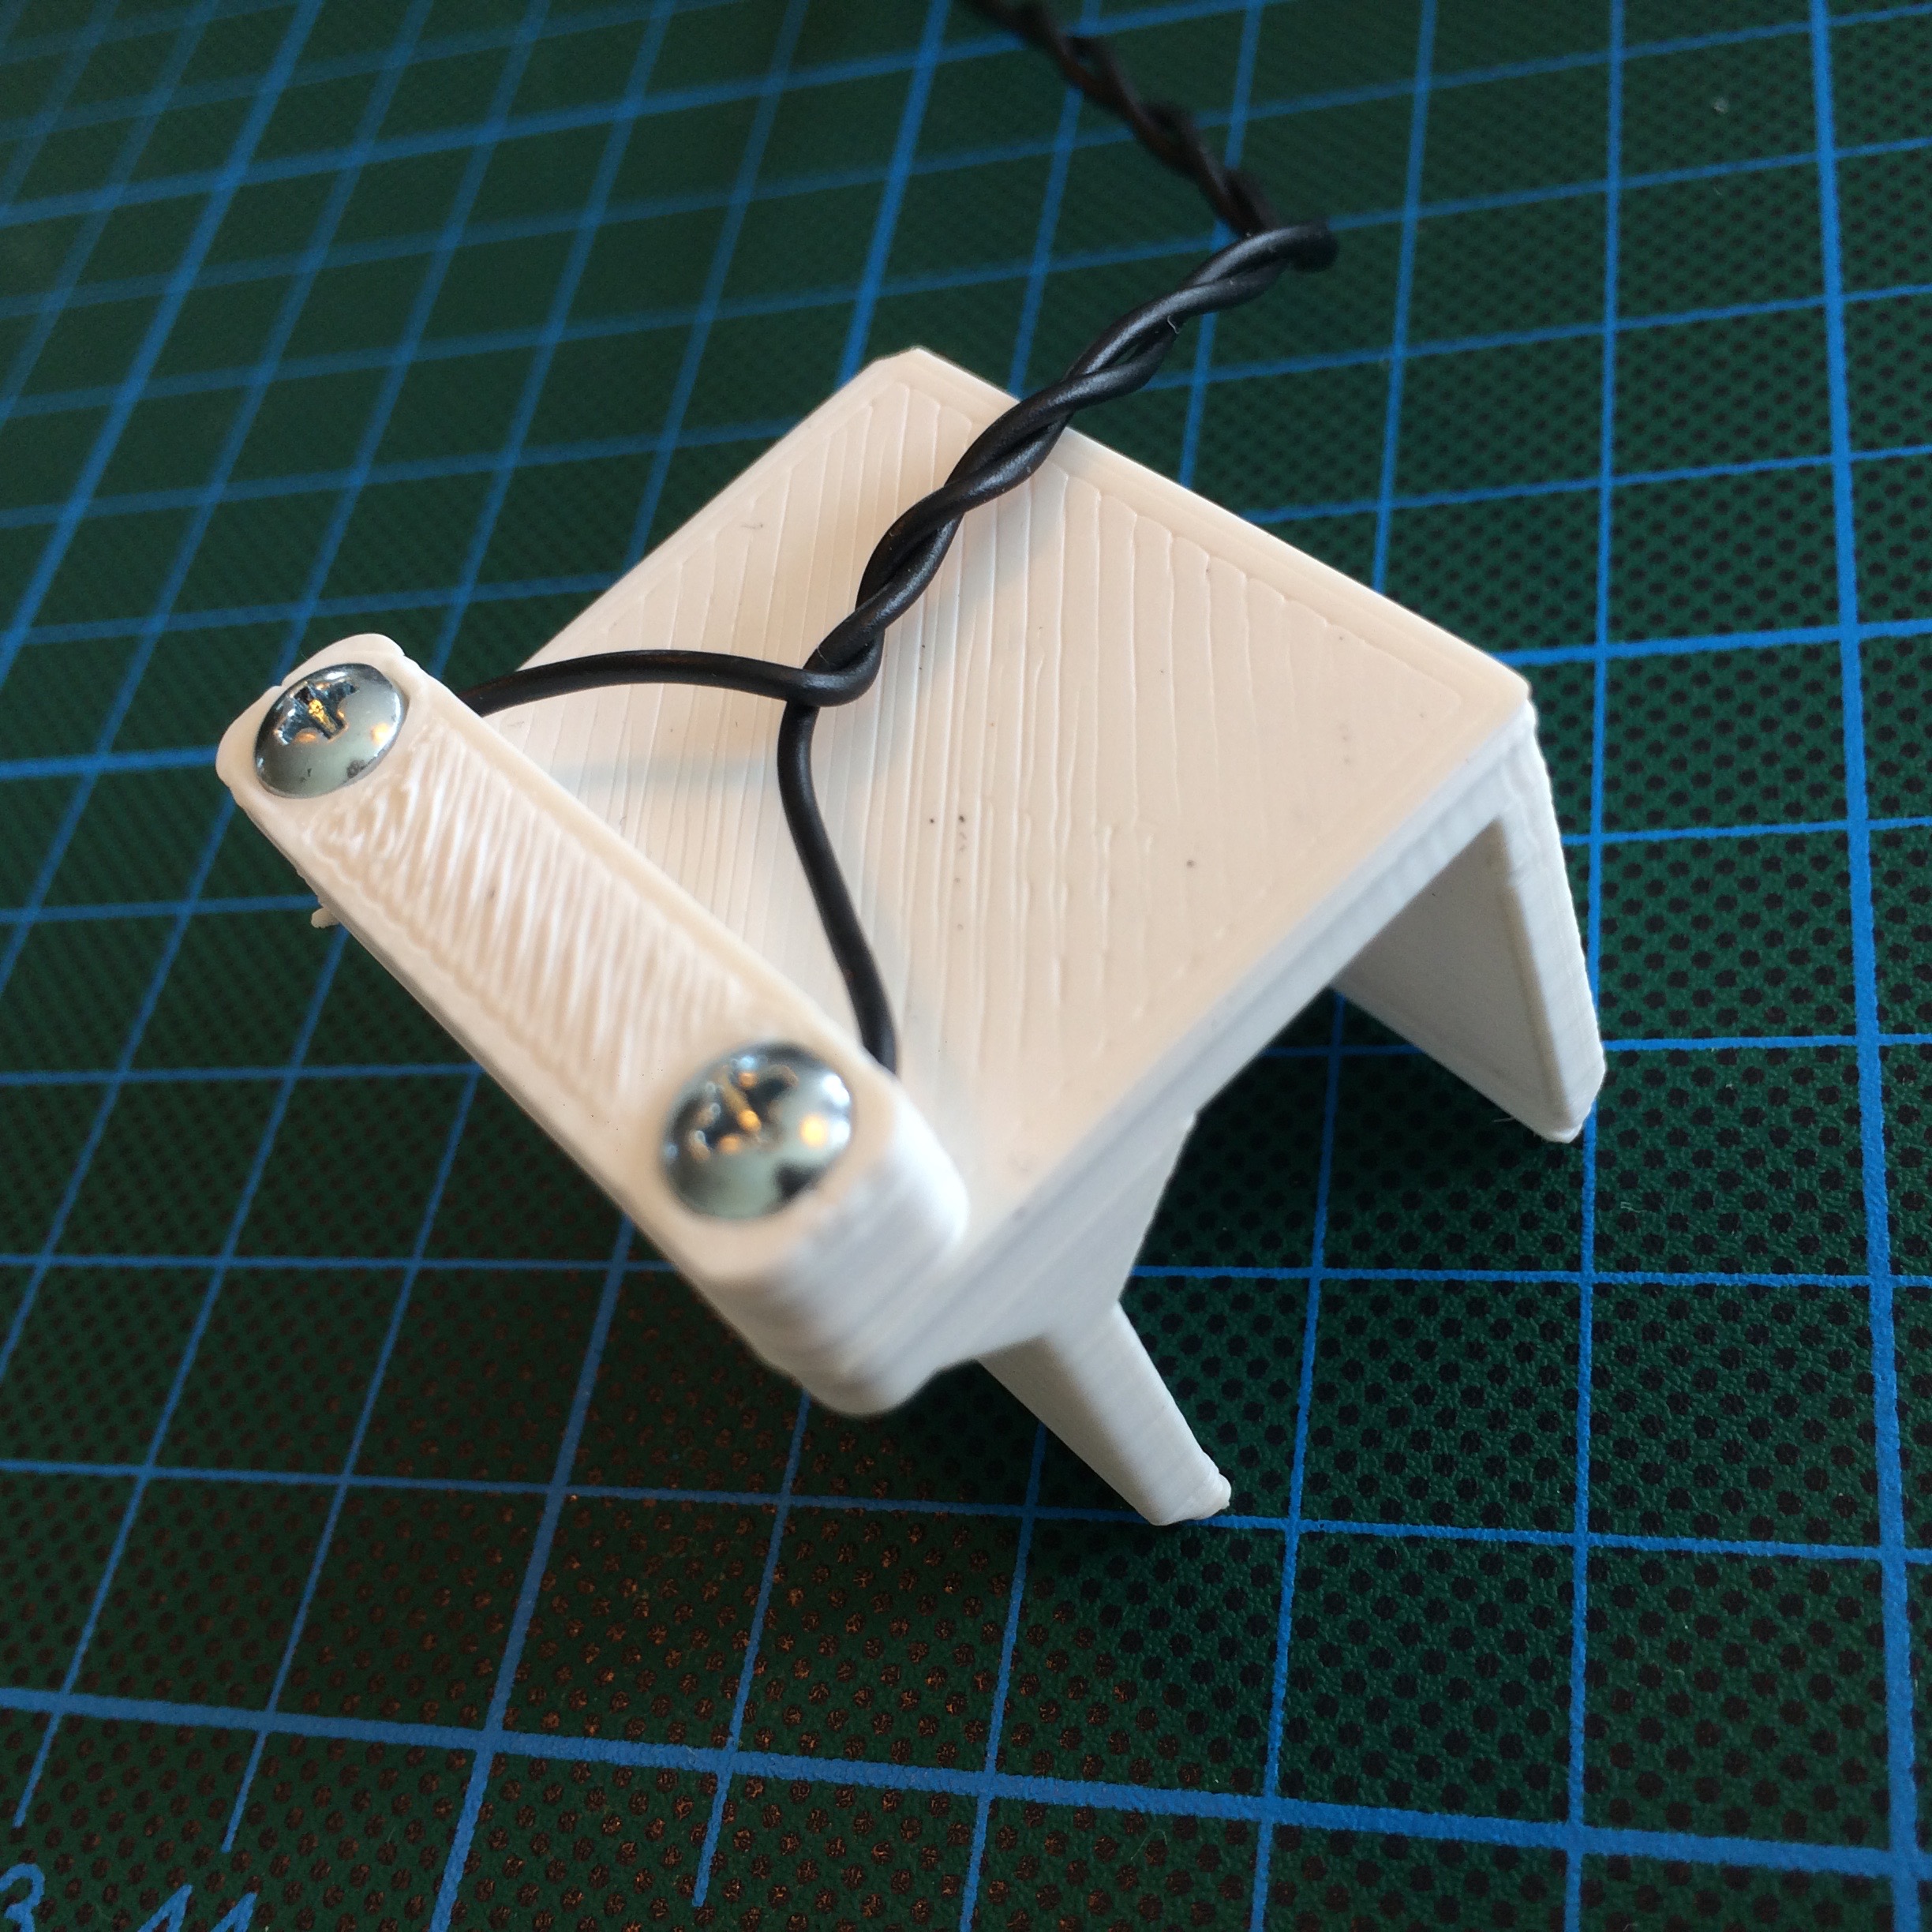
Additionally I printed a spacer to screw the PCB on the piece of wood below my dishwasher. And with all these components in place, and the right code on my ESP8266, My dishwasher is now Wifi equipped!
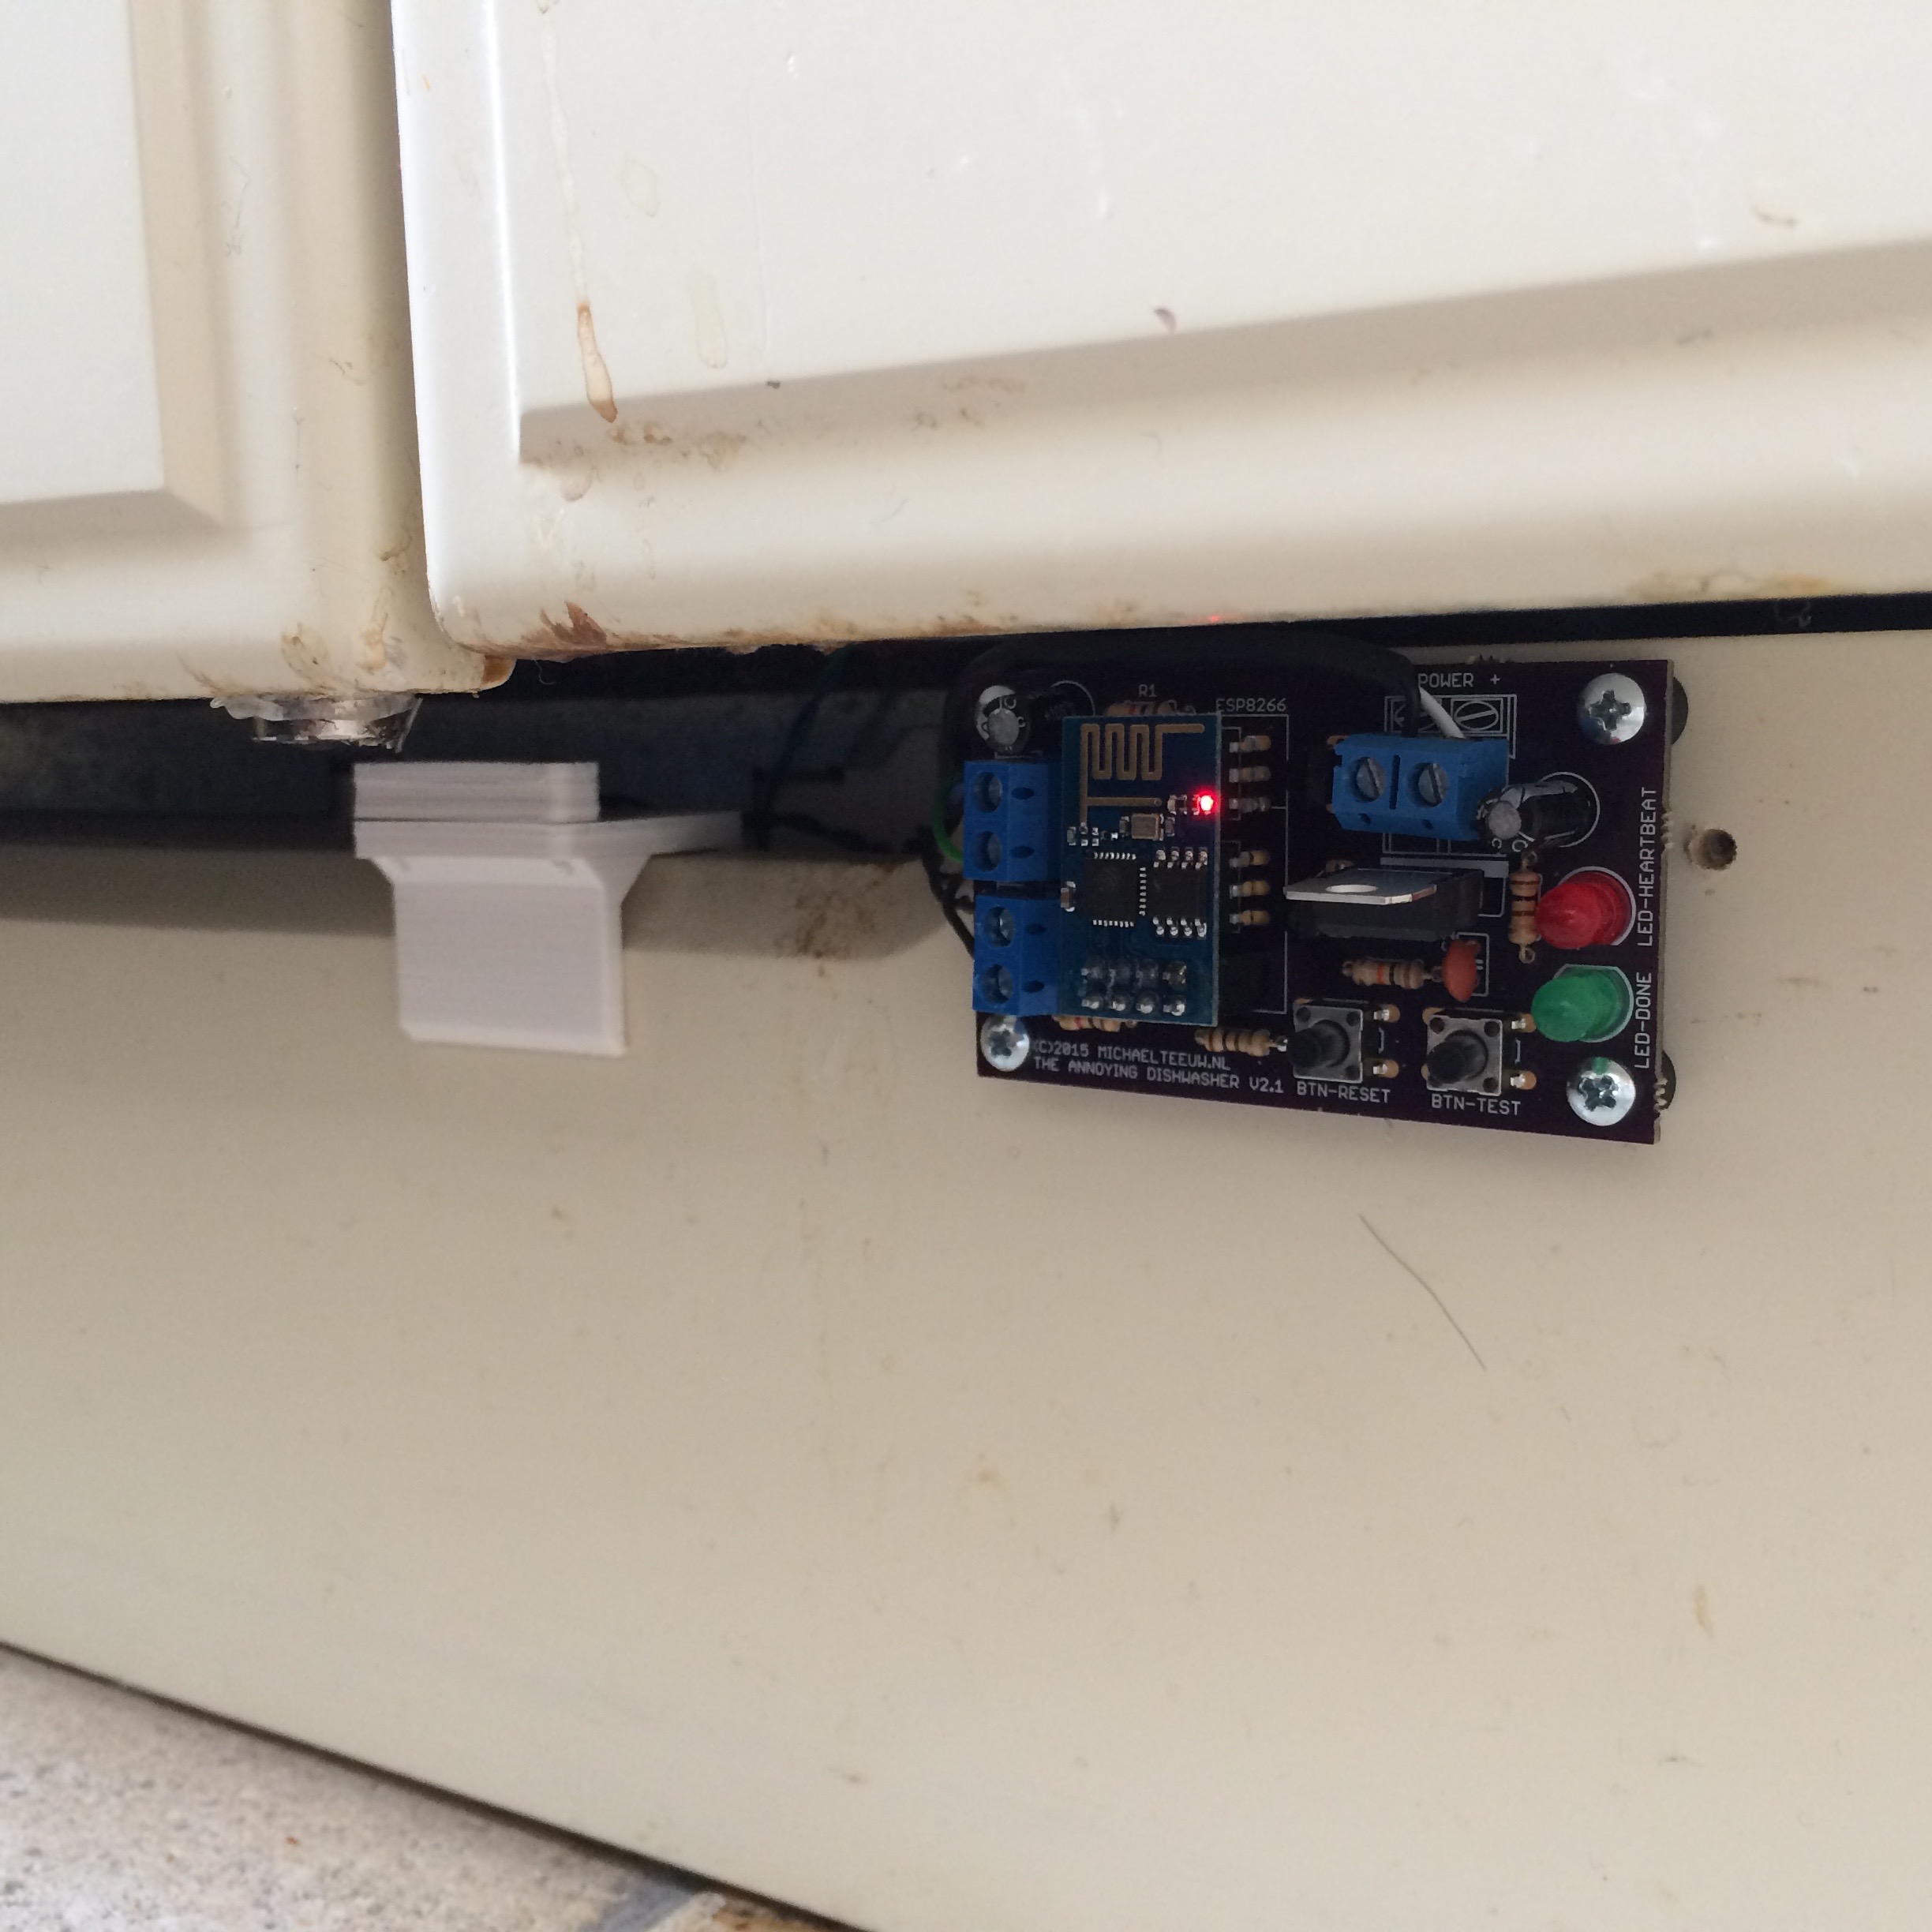
This leaves me with one important task: clean that horrible fitly underside of the dishwasher!
