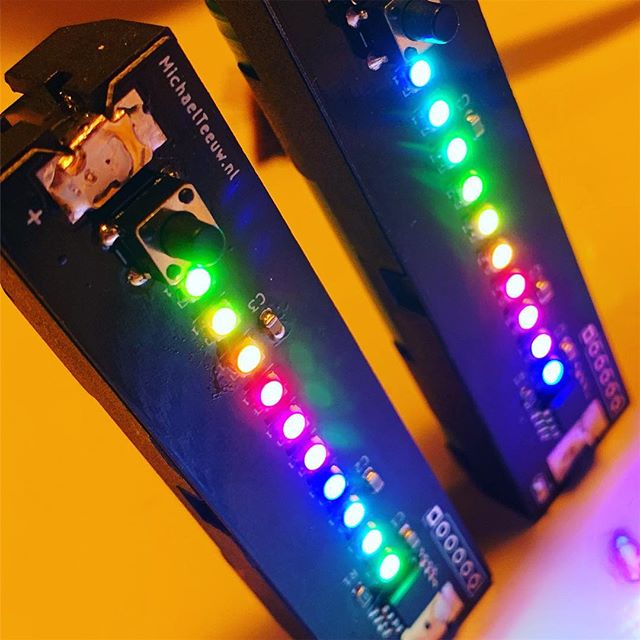
The Ridiculous Kitchen Timer™
I’m a huge coffee addict. As for many of us, coffee is the core ingredient for my projects. And since I like quality coffee we own a manually operated espresso machine. If the grind is perfect, and you use the ideal brewing time, the coffee will be able to fuel any project. But how to measure the perfect brewing time? The Ridiculous Kitchen Timer™ to the rescue!
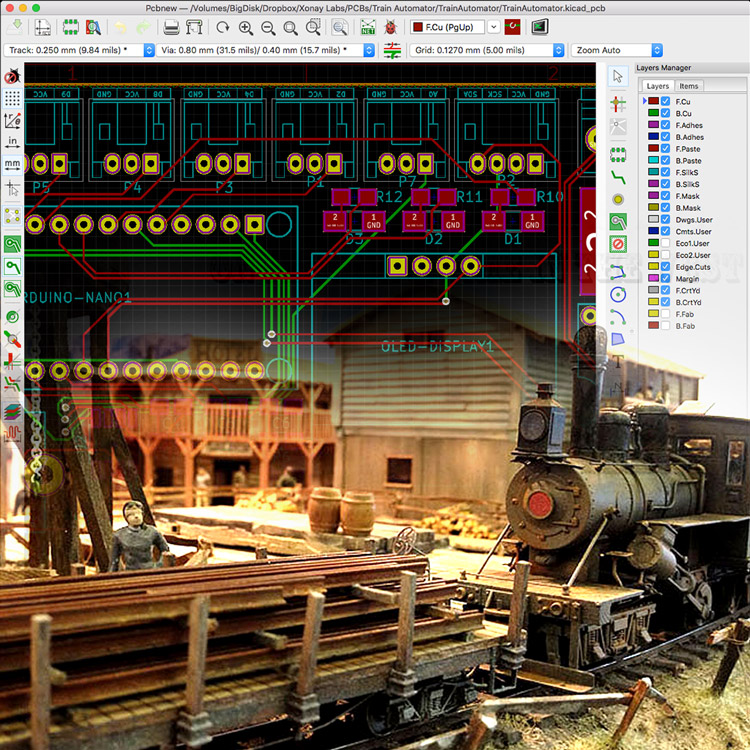
Train Automator:
Designing the PCB
Since the prototype turned out to be a success, it is time to work on a more professional solution: a custom PCB. Of course I don’t just slap an Arduino and a MAX485 IC on a board and call it a day. I use this opportunity to add some nifty features to the custom board. You know, just to impress my dad.
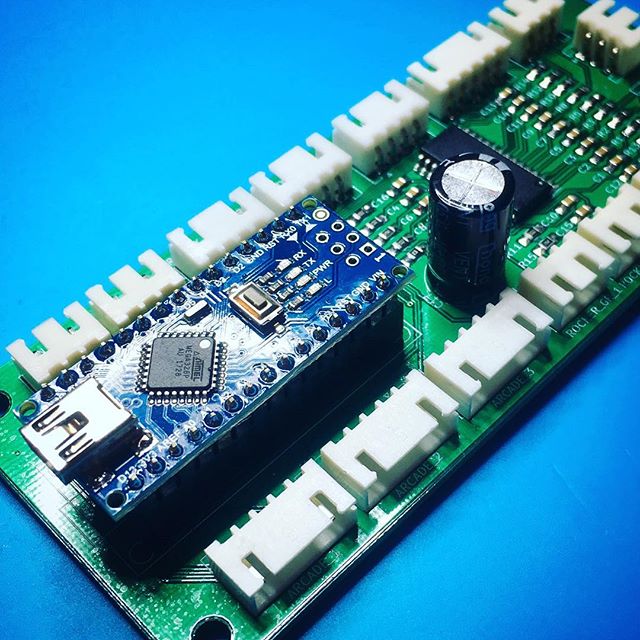
Activity Board:
Take control!
In my last activity board blog post I finished the final part of the control panel. It is time to start working on the electronics. Or to use a bit more exciting terminology: it is time to work on the activity board controller!
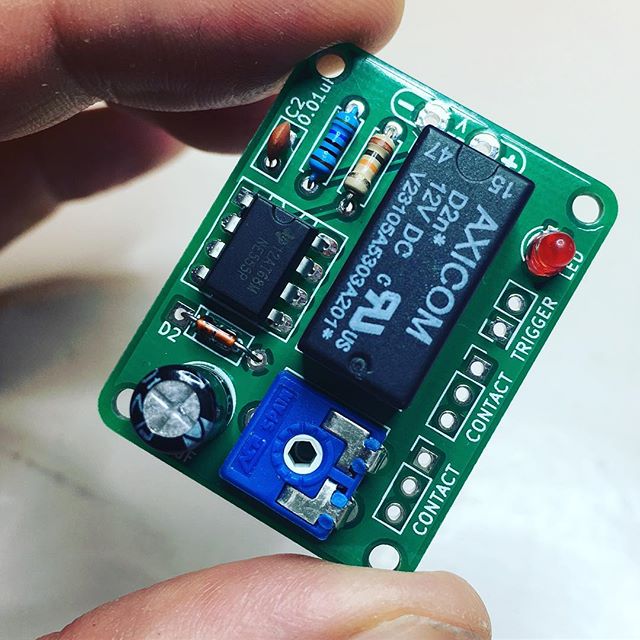
20 years of PCBs
As I’ve mentioned on my blog before, my dad is an avid model train hobbyist. This started way before I was born, so during my time as a kid living at my parents, I contributed to some of his projects. 20 years later, my contribution could use an update.
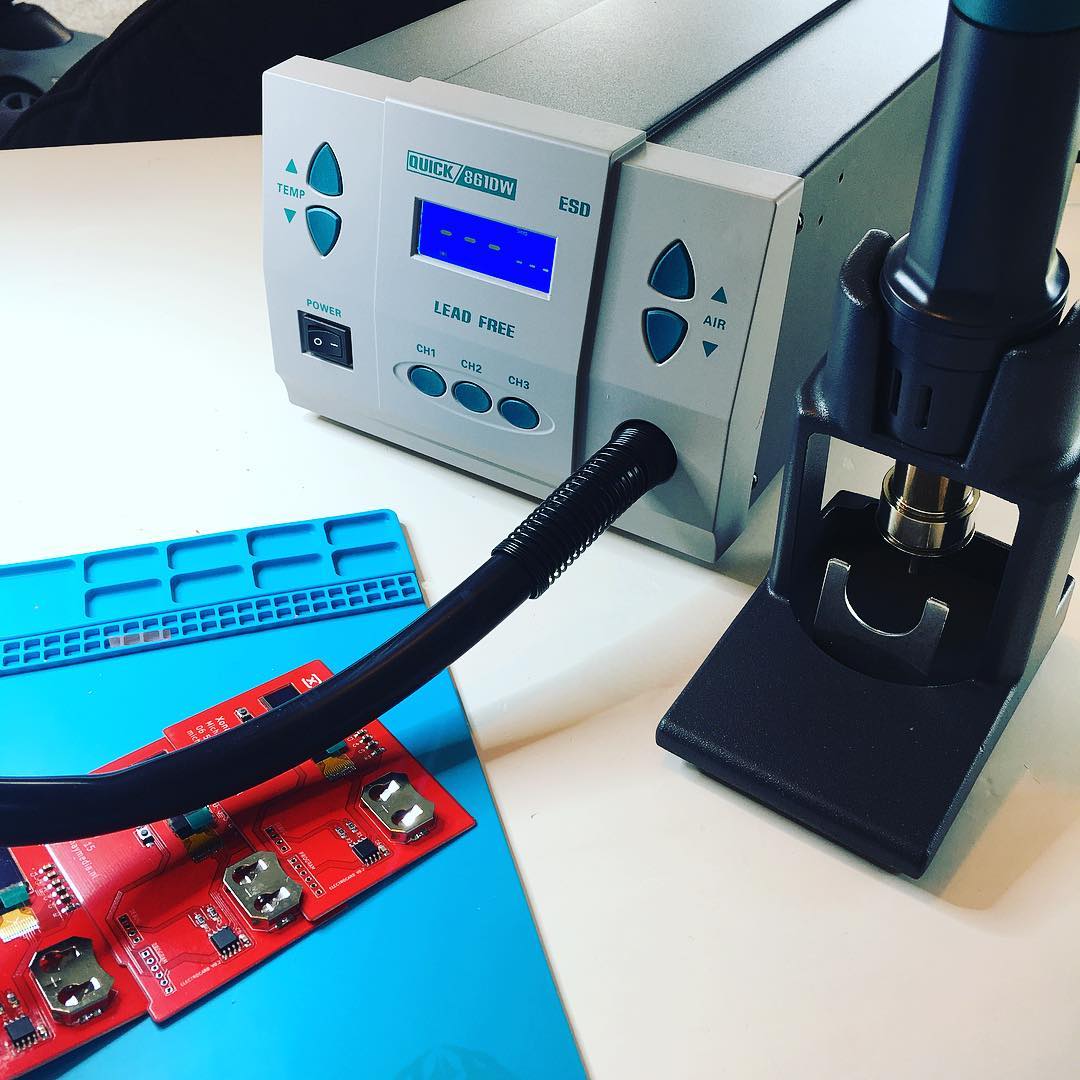
It's getting hot in here!
If you are a regular visitor of my blog, you might have noticed a slightly longer period of inactivity between my regular posts. In the past weeks I’ve exchanged my soldering iron for a nice juice on a sunny and warm beach. Regular visitors might also know that the mail man usually leaves me a nice package to come home to after my holiday. This time was no exception.
Electrocard:
Soldering
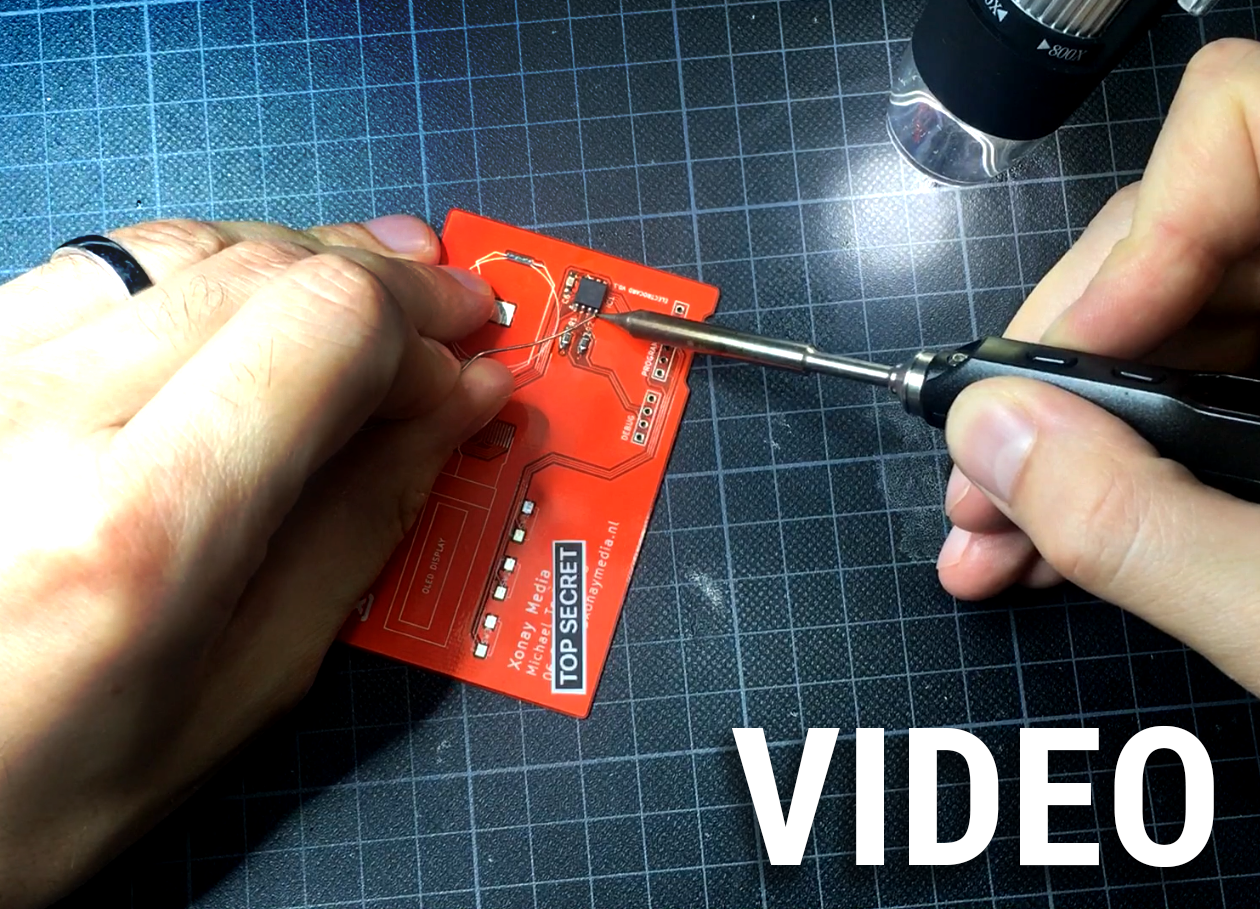
After my beautiful shiny new PCB business cards arrived, the fun could begin. Time to start soldering! And since a blog post about soldering isn’t the most exciting, I decided to make a video showing the full process.
Electrocard:
The Design
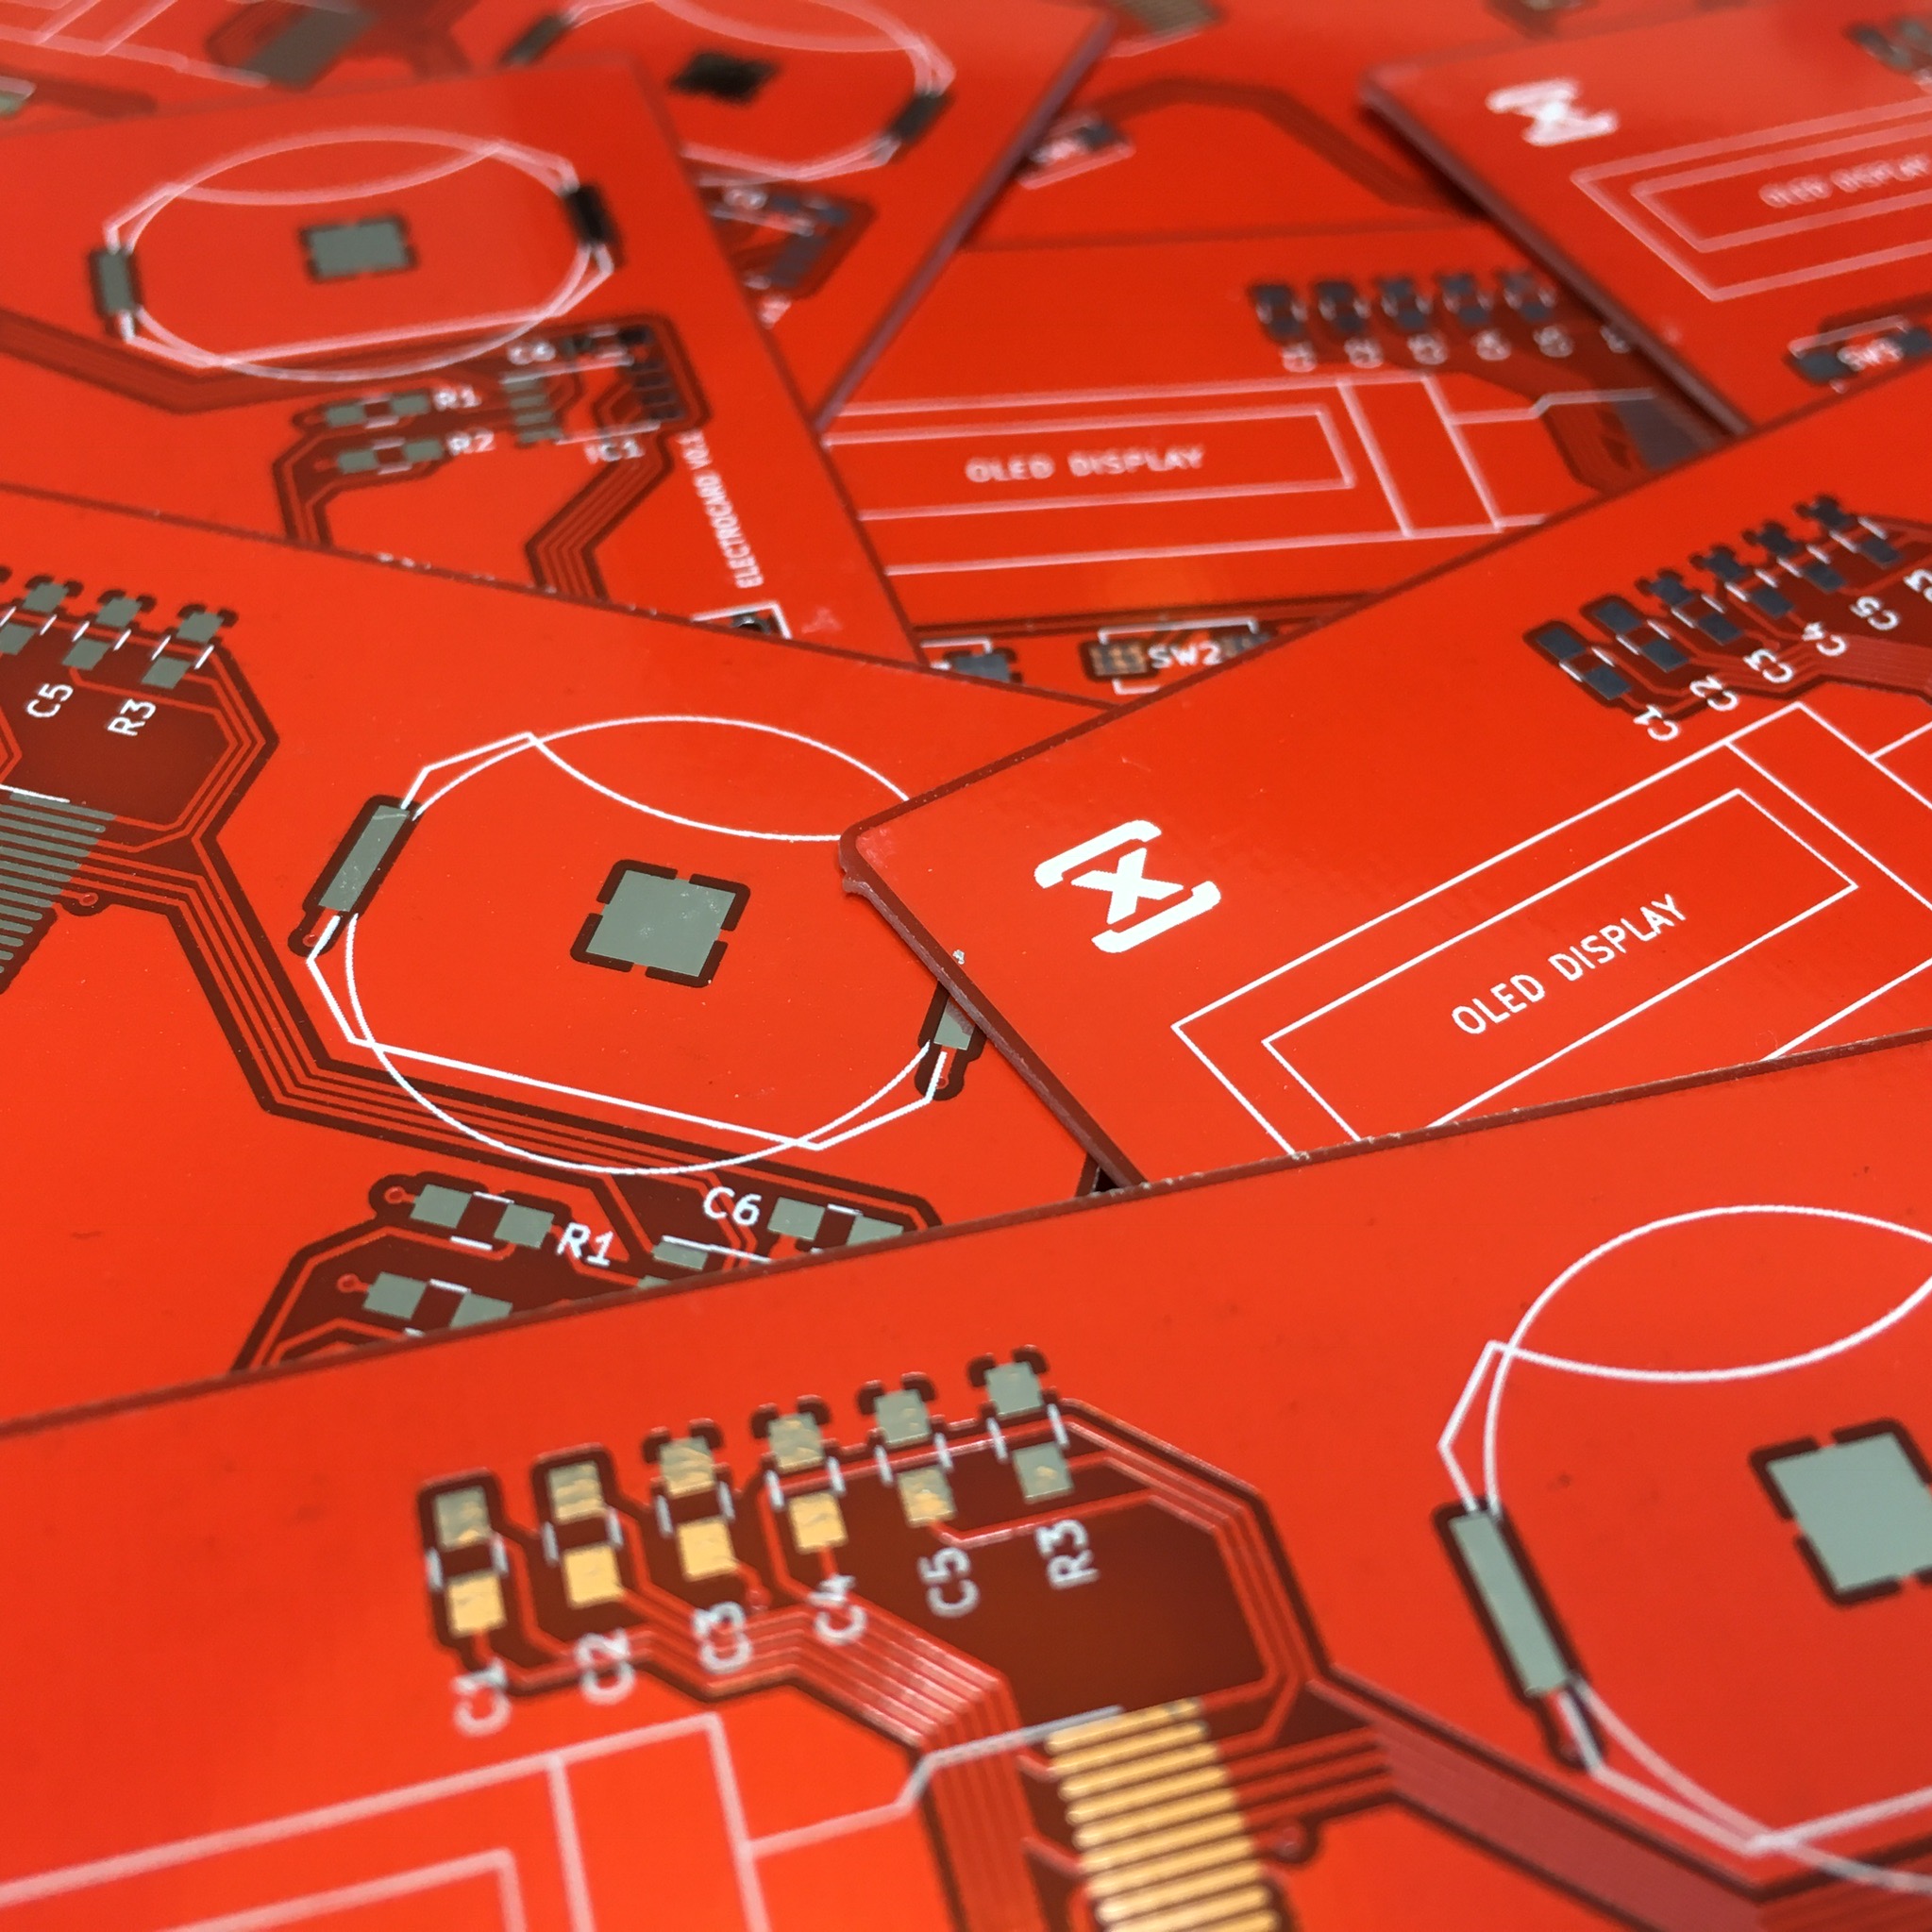
Ever since I have my own company I wanted to have a PCB business card. Of course I wouldn’t be the first, but it would definitely give a nice touch to my company’s identity. And since I wanted to give KiCad a good try anyway, why not go for it?
Automatic Curtains:
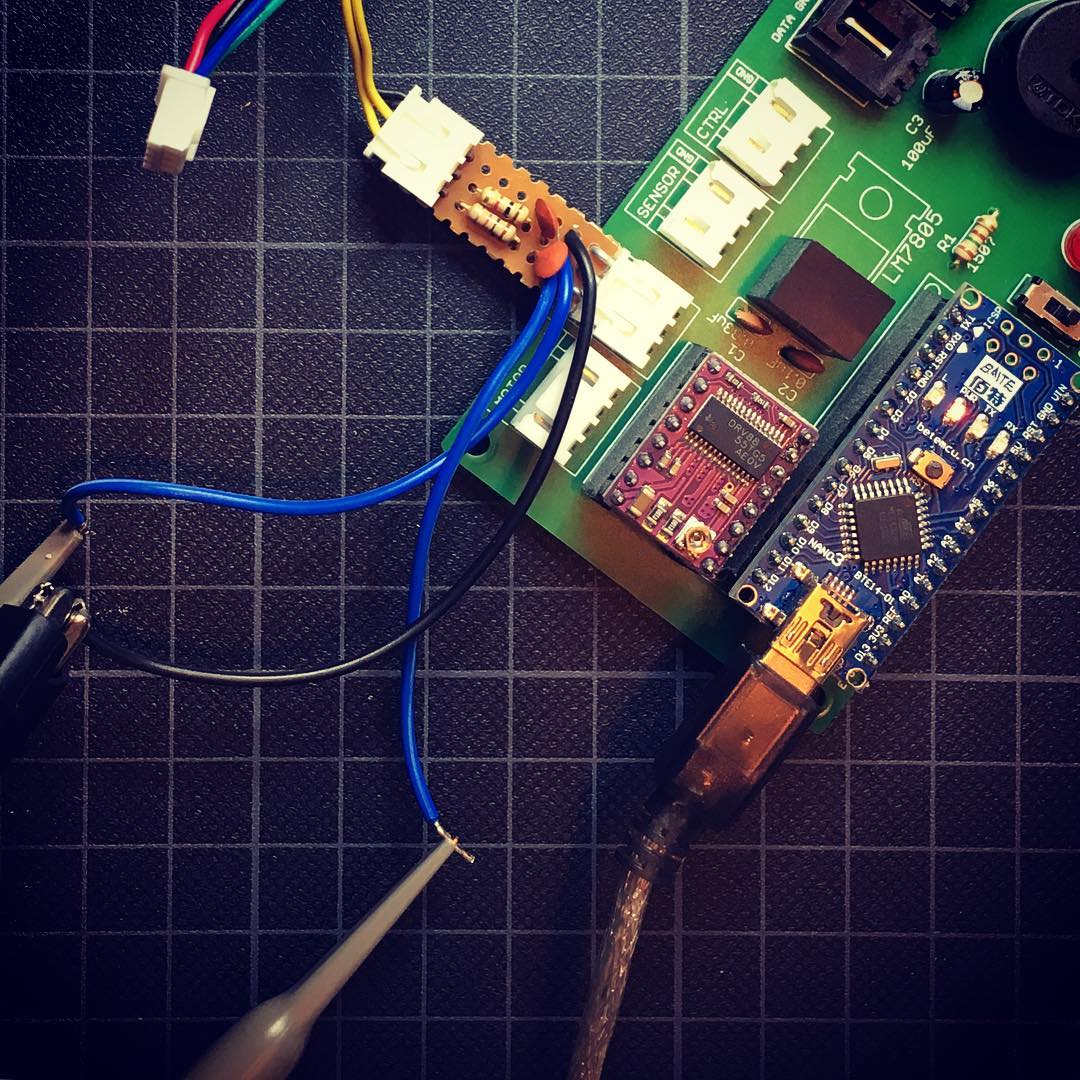
Debugging my curtains.
Ever since I’ve finished the first prototype of my Automatic Curtain project one and a half years ago, the curtains have been running without any issues. Unfortunately, that came to an abrupt end this weekend.
Automatic Curtains:
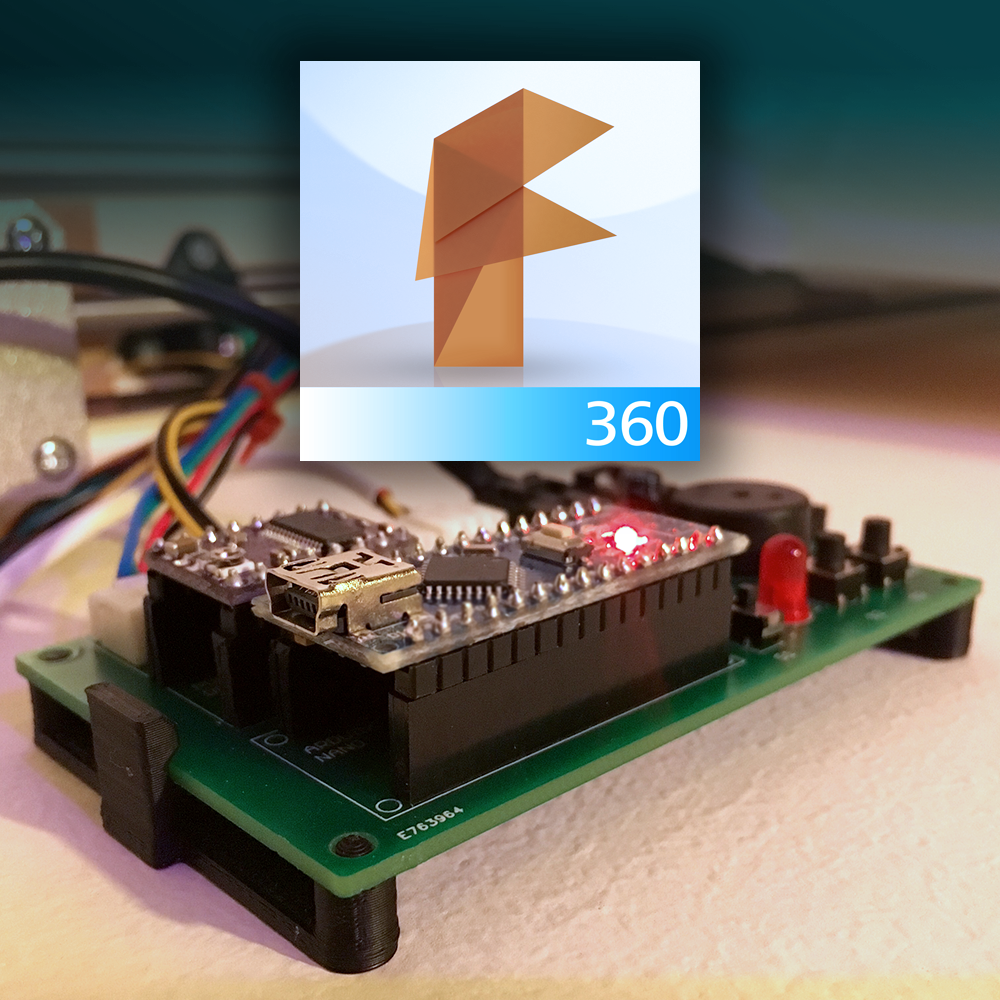
Designing a PCB Mount in Fusion 360 [Video]
With the Automatic Curtain Motor Controller ready, it’s time to mount it below the motor unit. Since I want it to be easily removable for maintenance, I used Autodesk Fusion 360 to quickly draw a 3D printable PCB mount.
Automatic Curtains:
Take control!
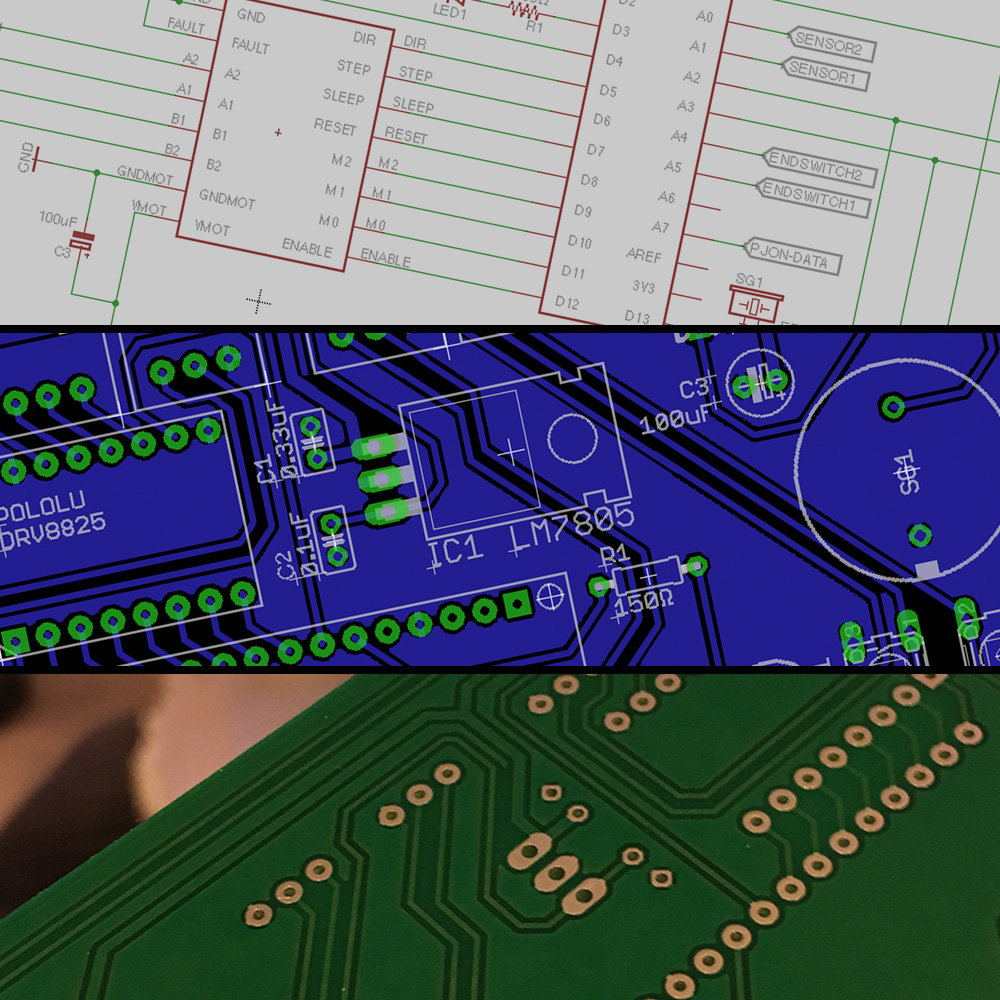
With the first final motor unit assembled, and the newly gathered knowledge about Eagle PCB it is time to work on the motor control unit.
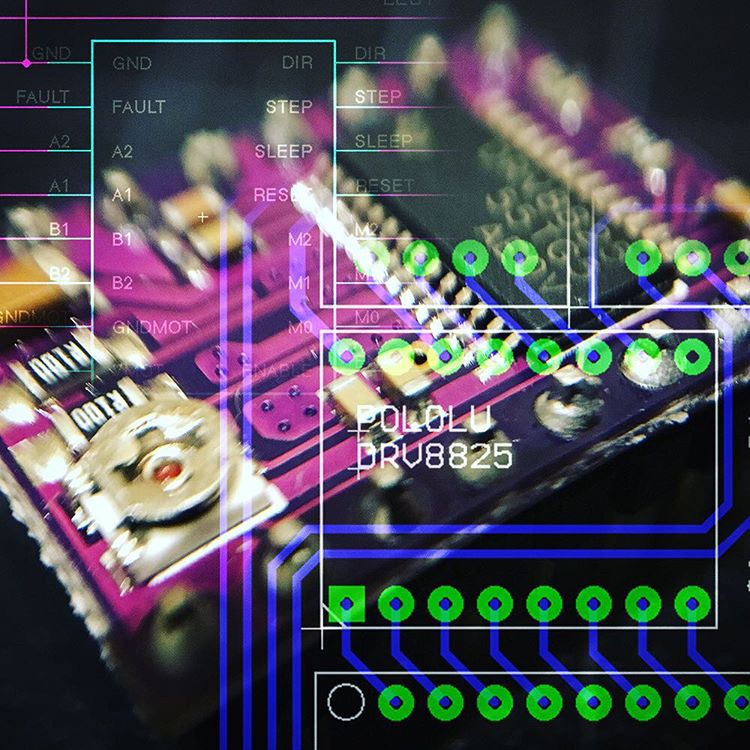
Creating custom parts in Eagle (Video!)
For my automatic curtain project I’m currently working on the design of the motor driver PCB in Eagle. The stepper motor driver I’ll be using is the Pololu DRV8825. Unfortunatly, this device is not available in the Eagle library, so I had to make this part myself.
Automatic Curtains:
Prototyping complete!
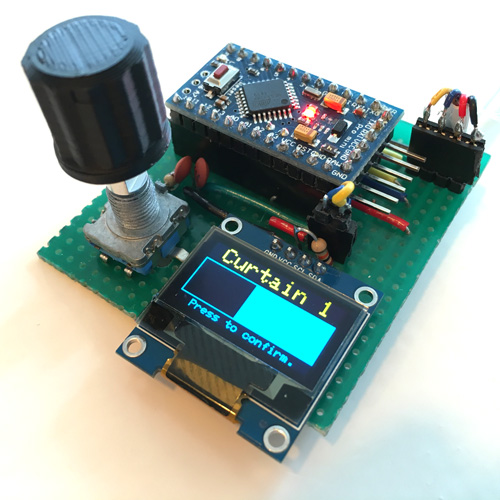
After playing around with the latest version of PJON, I finally found a good way for Arduino to Arduino communication. And with some test-code up and running, it was time to implement it in my automatic curtain driver.
Annoying Dishwasher:
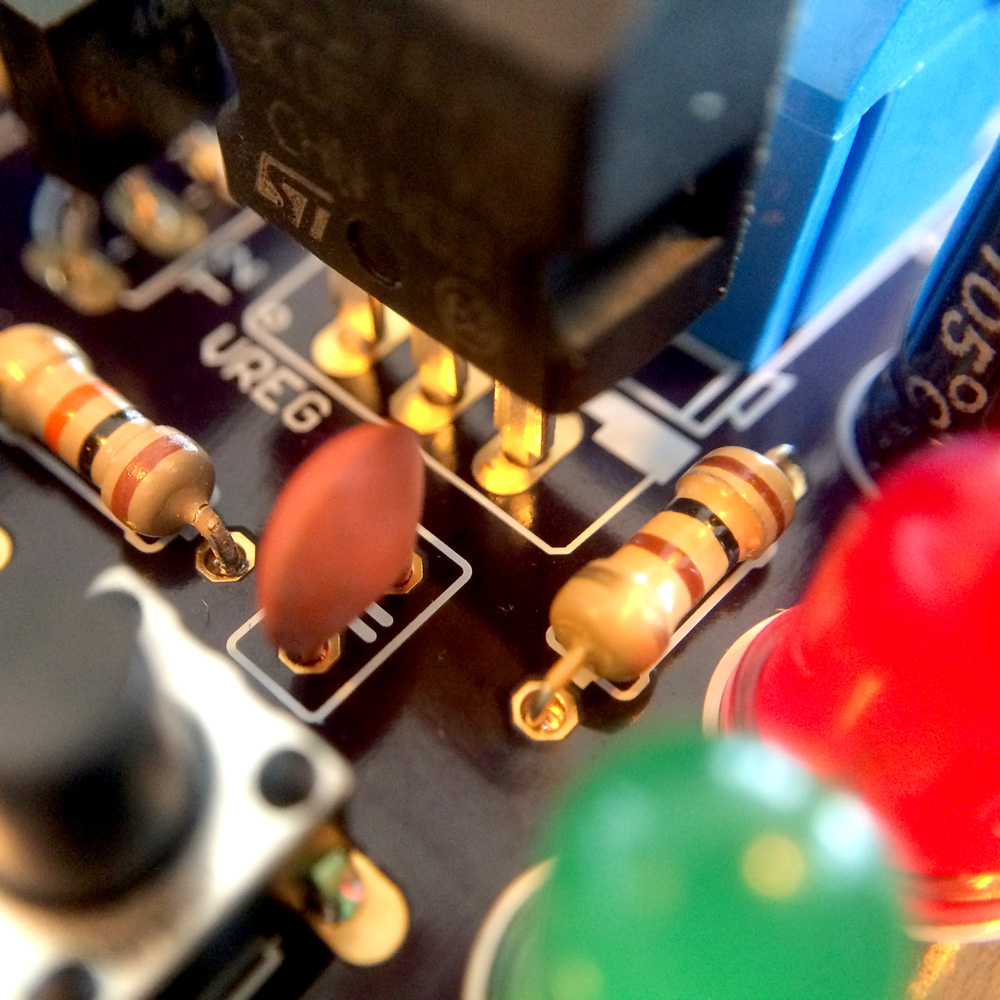
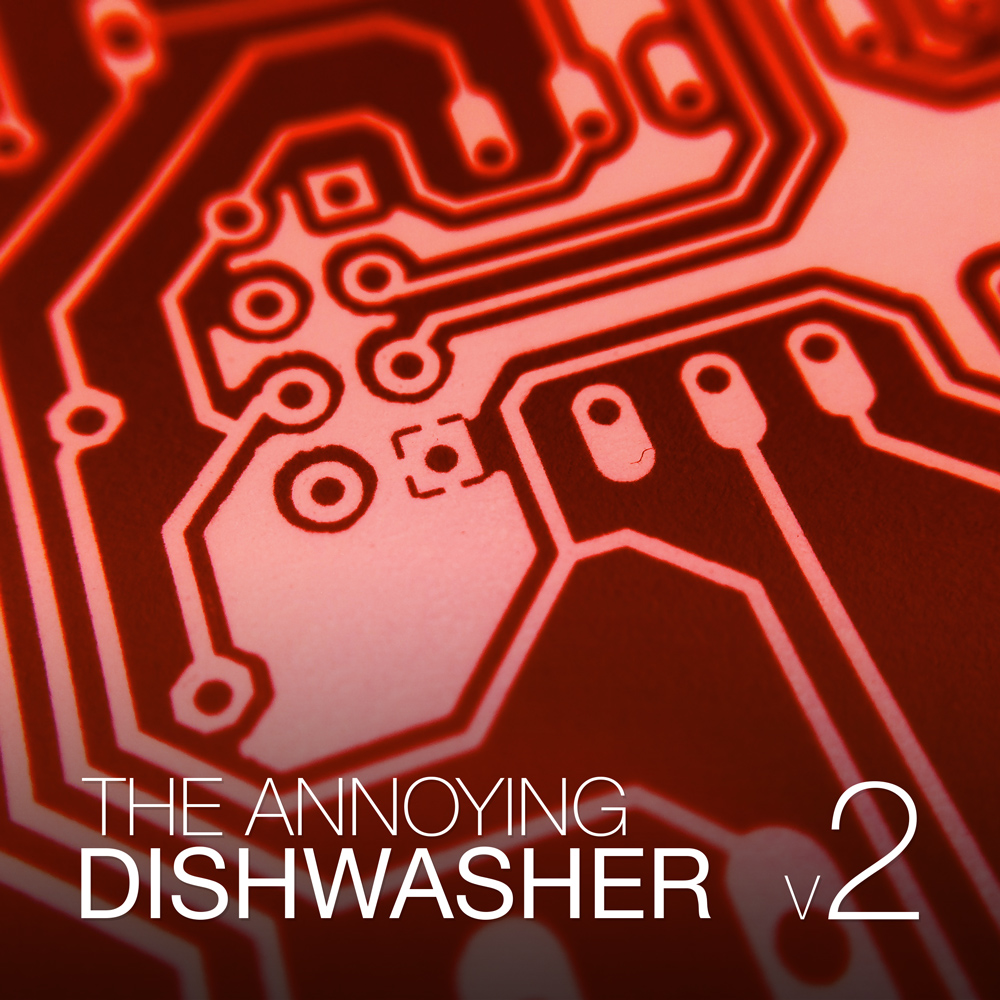
The Annoying Dishwasher v2 - My first professional PCB
After test-driving most of the changes I’ve made to my dishwashers schematics, I took a leap of faith, and ordered my first PCBs. Of course I expected something better than my average protoboard, but I didn’t expect something as beautiful as the end product …
Annoying Dishwasher:
Reconnect the Dishwasher
Exactly one year ago, I started my Annoying Dishwasher™ Project. With this project, my main goal was to silence the annoying beast for once and for all. Today, one year later, I continue this project to make some improvements by applying the knowledge I gathered in the past year.
Meduino: my first medical application.
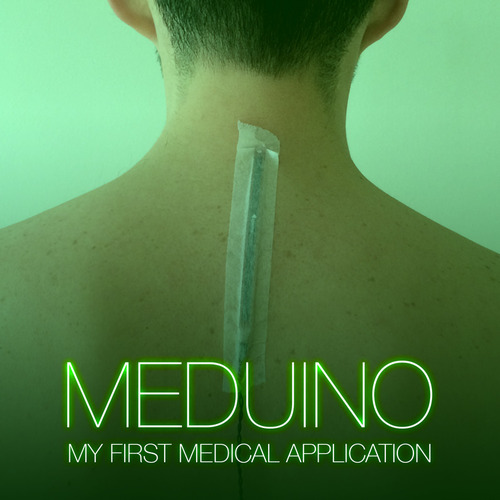
According to Philips, healthcare engineering is where the big money is. So hey, why not built a medial application myself? Ever since I was a child, my posture isn’t the way I would like it to be. I tend to stand like a 90 year old crooked guy. Let’s built something to change that!
Annoying Dishwasher:
The Annoying Dishwasher - Optocoupler's Revenge
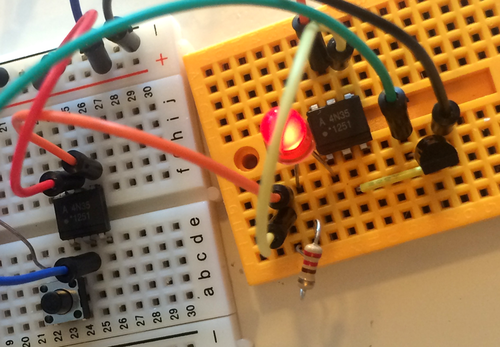
Do you know the joke about the relay on the ready LED? Well, it didn’t work. As told in previous ‘Annoying Dishwasher’ adventure, it turned out the ready led only turned on as soon as the dishwasher was opened. So the only way I could connect a ‘ready sensor’ to the dishwasher, is by using the original buzzer connections.