Last week, I showed you how I built my own Quiz Buzzers. And although most of the work was on the hardware side, the software part was just as important!
Quiz Time: Quiz Time!
This week I run you through the code. Make sure you pay attention, questions might be asked during the next Quiz!
Preparing the Sketch
Before I start the setup and loops, I need to define some helper variables. It looks like a whole lot, but the rest of the code will show what it’s used for.
// Include the nessecery libs.
#include <Adafruit_NeoPixel.h>
#include <elapsedMillis.h>

// Set Constants
#define NUMBER_OF_BUTTONS 4
#define LEDPIN 13
#define NUMLEDS 64
#define RESET_BUTTON 11

// Define global variables
elapsedMillis timeElapsed;

Adafruit_NeoPixel strip = Adafruit_NeoPixel(NUMLEDS, LEDPIN, NEO_GRB + NEO_KHZ800);

int winner = 0;
int interval = 0;
int buttonPins[NUMBER_OF_BUTTONS] = {12,9,4,3};
uint32_t playerColors[NUMBER_OF_BUTTONS] = {strip.Color(255,0,0),strip.Color(0,255,0),strip.Color(0,0,255),strip.Color(255,0,255)};

bool buttonStates[NUMBER_OF_BUTTONS] = {LOW, LOW, LOW, LOW};
bool lastResetButtonState = LOW;
bool isReadyForAnswer = true;
Set me up, shorty!
Next, lets initialize the Arduino and get ready for some serious Quiz Time!
// Set Lights and Buttons
void setup() {
    strip.begin();
    strip.setBrightness(255);
    strip.show();

    for (int i = 0; i < NUMBER_OF_BUTTONS; i++) {
        pinMode(buttonPins[i], INPUT);
    }
}
Houston, We’re ready for take off!
How about starting the runloop? The runloop checks all the buttons every time it runs. Since we need high responsiveness, we can’t use delay() for the visual effects. Therefor I use timeElapsed.

// Runloop
void loop() {
    // Check reset buttons
    bool currentResetButtonState = digitalRead(RESET_BUTTON);
    if (currentResetButtonState != lastResetButtonState) {
        lastResetButtonState = currentResetButtonState;

        // Reset on release
        if (currentResetButtonState!=LOW) {
            isReadyForAnswer = true;
        }
    }

    // Check player buttons!
    // Loop thru all buttons in the buttonPins array.
    for (int i = 0; i < NUMBER_OF_BUTTONS; i++) {
        bool currentButtonState = digitalRead(buttonPins[i]);
        if (currentButtonState != buttonStates[i]) {
            buttonStates[i] = currentButtonState;
            if (isReadyForAnswer) {
                winner = i;
                isReadyForAnswer = false;
            }
        }
    }

    // Set light interval depending on state
    interval = (isReadyForAnswer) ? 10 : 100;

    // If the interval time is elapsed since last drawn
    // frame, run the next frame drawing function.
    if (timeElapsed > interval)
    {
            if (isReadyForAnswer) {
                readyForAnswer();
            } else {
                solidColor(playerColors[winner]);
            }

        // reset the counter to 0 so the counting starts over...
        timeElapsed = 0;
    }
}
Draw me like one of your french girls!
Ok, Cool! But how about those two frame drawing functions?

Here you go, drawing the Nice fancy sparkle effect …
// Sprakle effect
void readyForAnswer() {
    for (int i = 0 ; i < NUMLEDS ; i++)  strip.setPixelColor(i, 0, 0, 0);

    int pixel = random(0,NUMLEDS);
    strip.setPixelColor(pixel, 255,255,255);

    strip.show();
}
And the (extremely bright!) color blink:
// Solid color blink
bool solidActive = false;
void solidColor(uint32_t color)
{
    for (int i = 0 ; i < NUMLEDS*2 ; i++)  {
        if (!solidActive) {
            strip.setPixelColor(i, color);
        } else {
            strip.setPixelColor(i, 0,0,0);
        }
    }
    strip.show();
    solidActive = !solidActive;
}
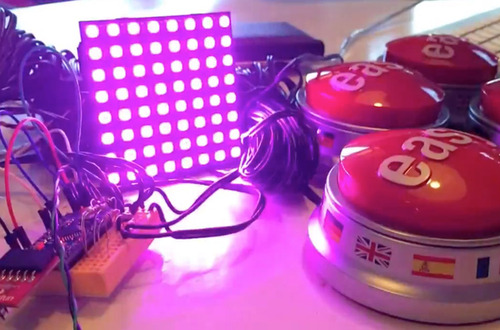
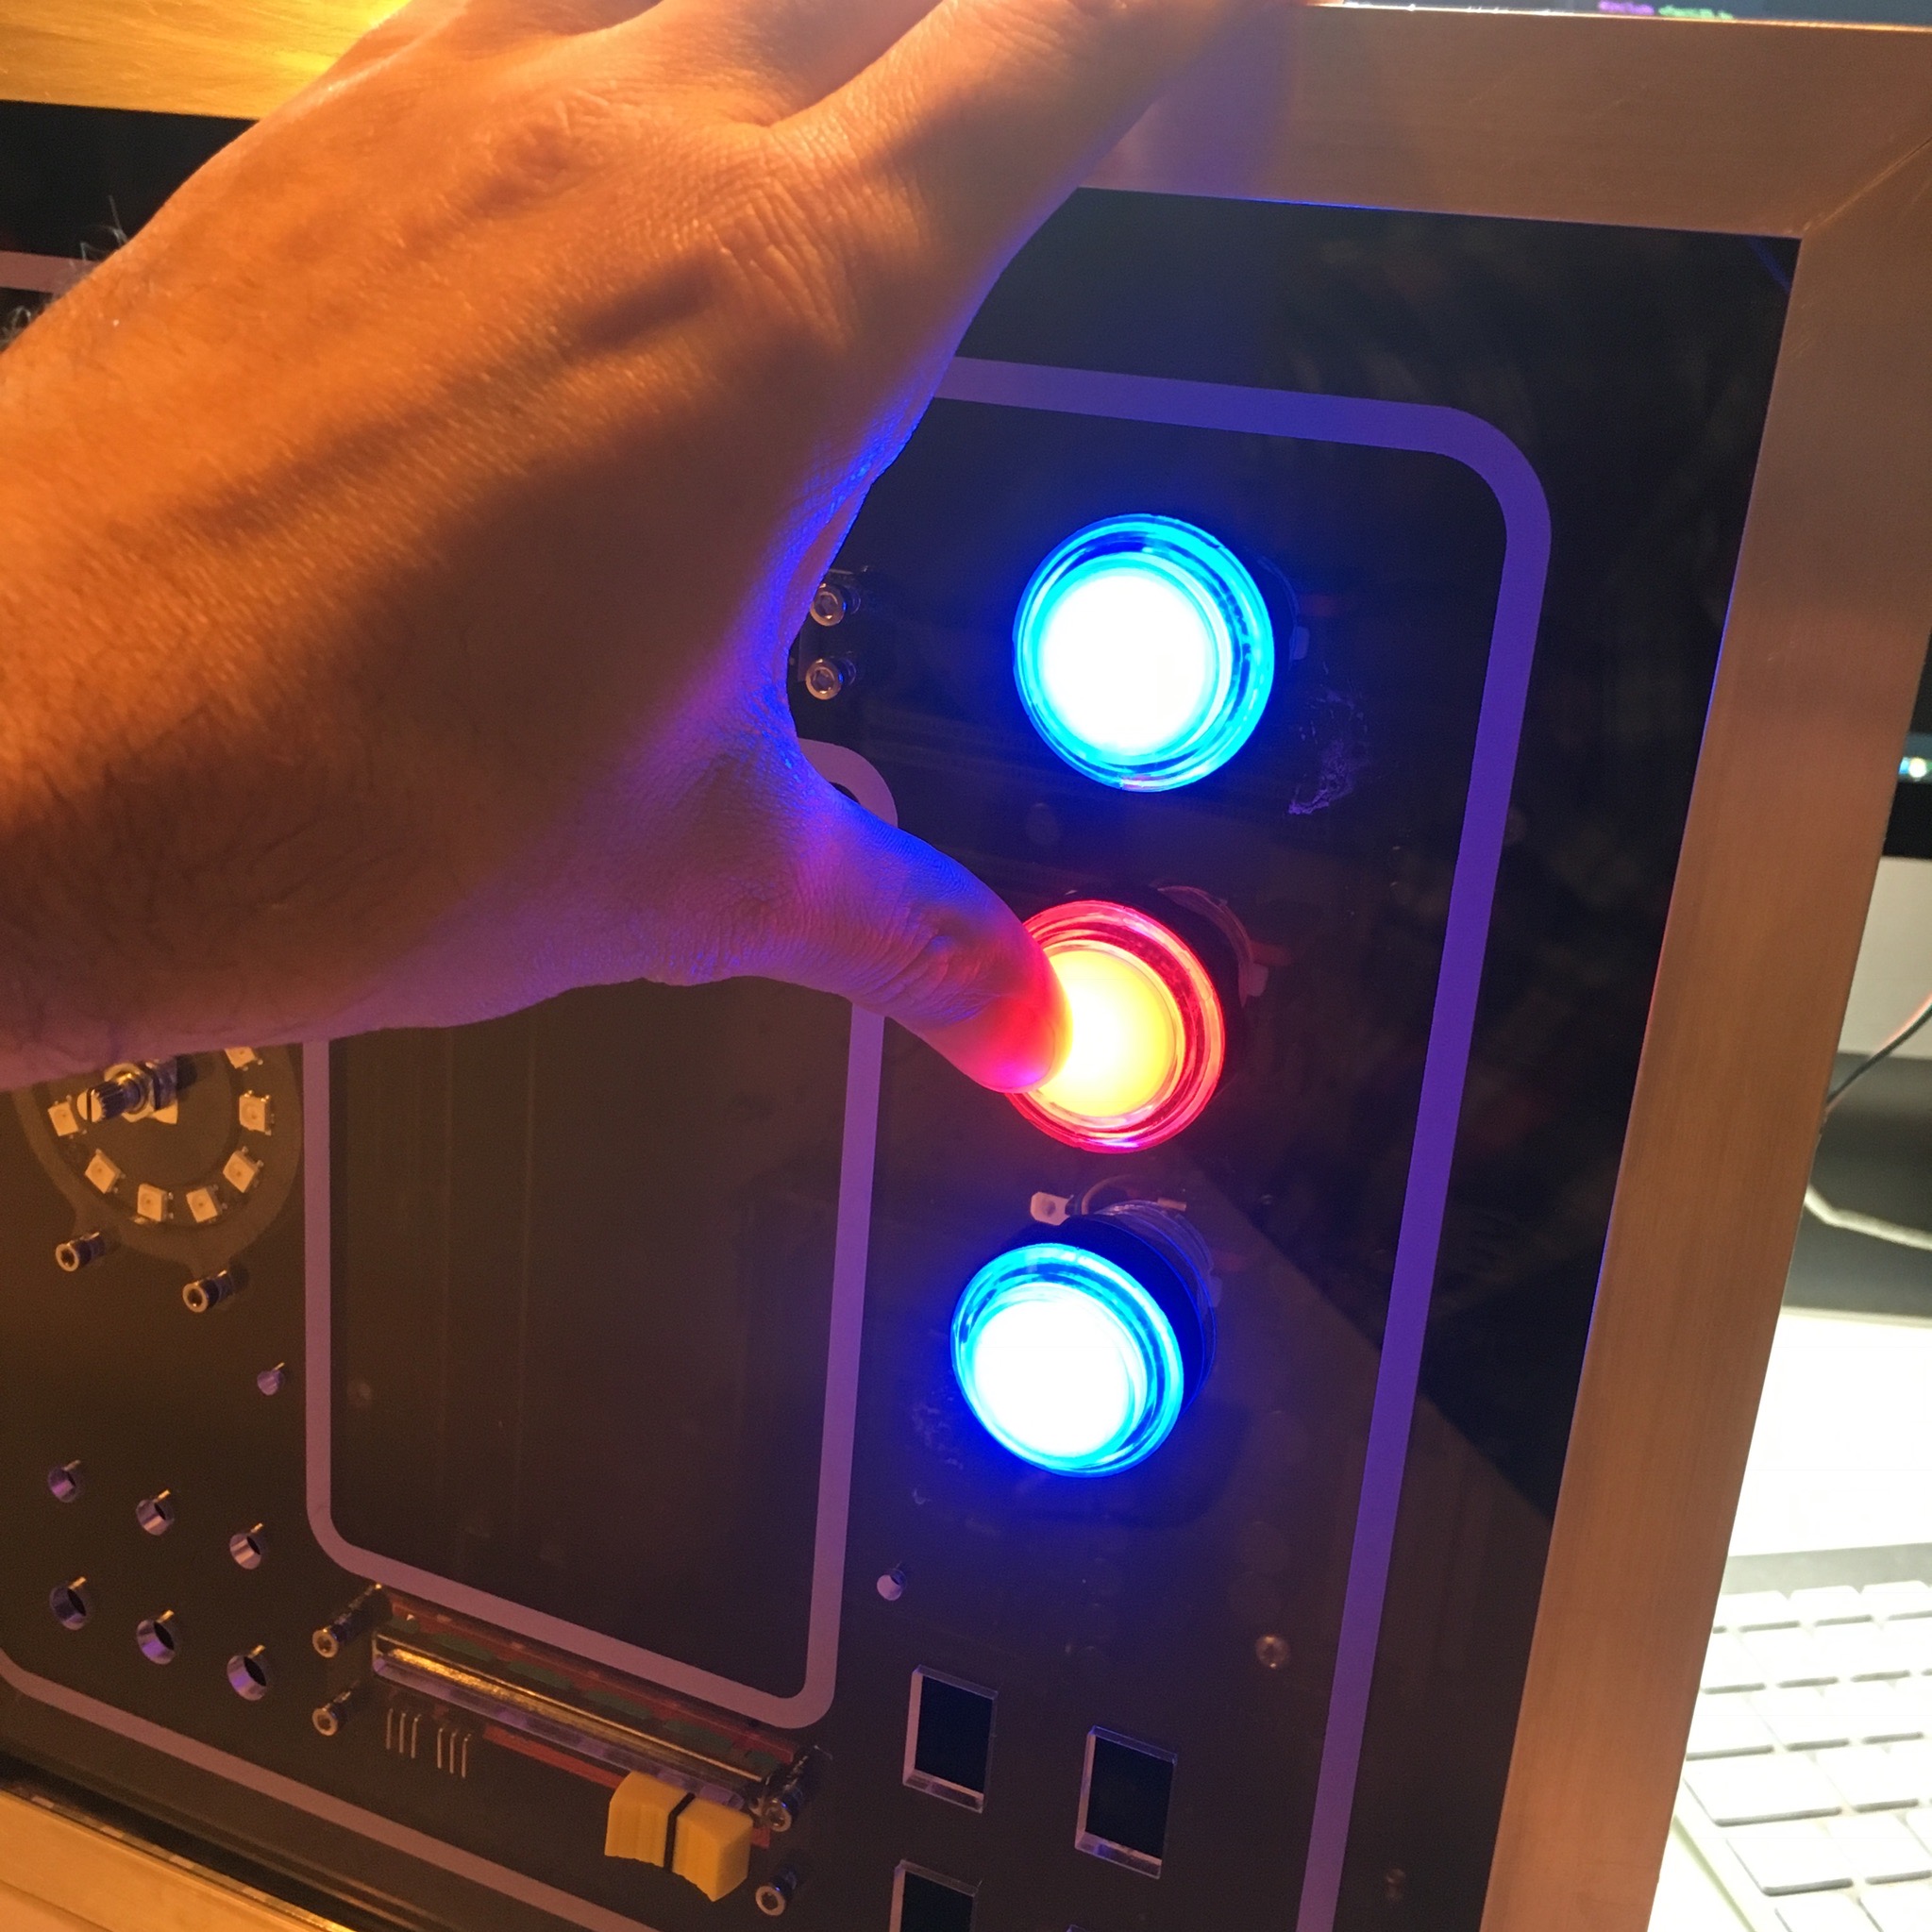
That’s all there is! The end result? Here you go!
Quiz Time: Quiz Time. Again!
