This week we celebrated the first birthday of my youngest son, Luca. So it is time for him to blow out his first candle. Of course you can’t trust a one-year-old to not set the house on fire when handling a candle, so we need to solve this with some electronics.
Obviously the only solution to this problem is building a sound responsive fake candle which Luca can blow out. We only need to throw together a MEMS microphone, an amplifier, a microcontroller and some fire-colored LEDs. Easy. Right?
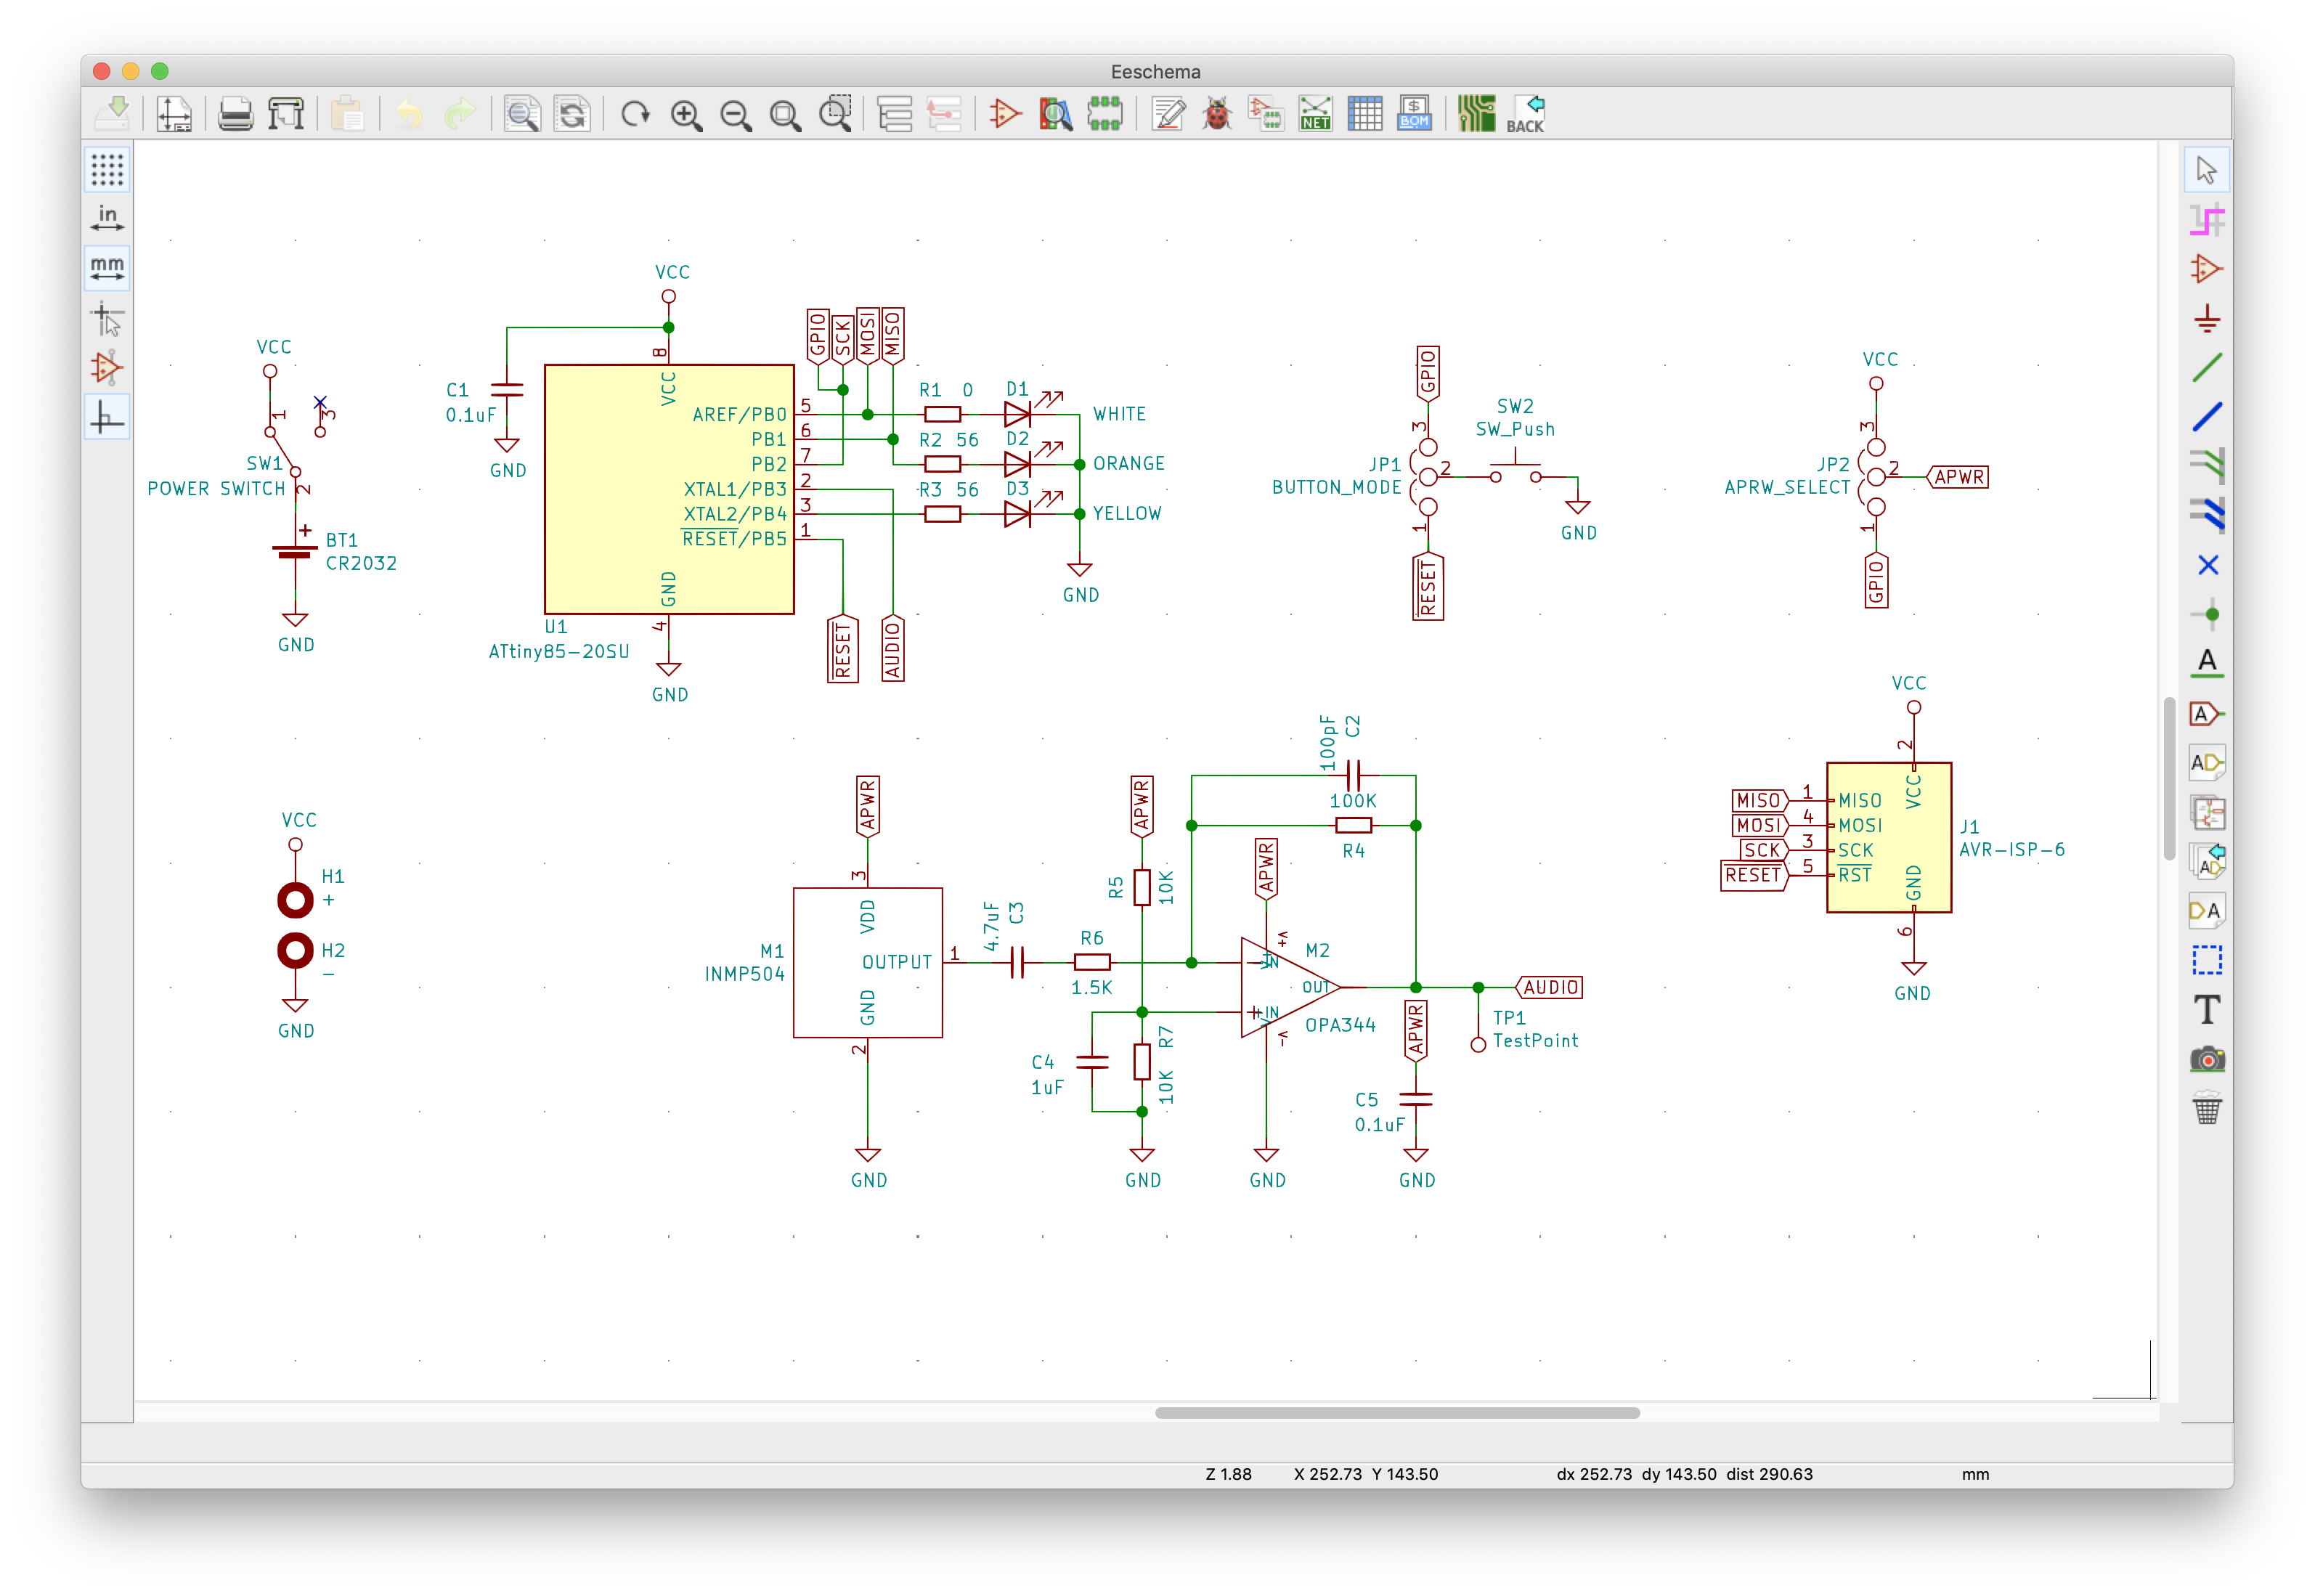
The schematics are mostly based on Sprakfun’s MEMS Microphone Breakout. I swapped out the ADMP401 microphone for the INMP504, since the ADMP401 is no longer available. The charasterictrics of the INMP504 are the same so I didn’t need to adjust the schematics for this change.
The audio signal which is amplified by the OPA344 opamp goes into the ADC of the AtTiny85 microcontroller, allowing me to measure the volume of the sound. Blowing into the microphone generates a loud noise which will trigger the power-off function of the microcontroller and the LEDs.
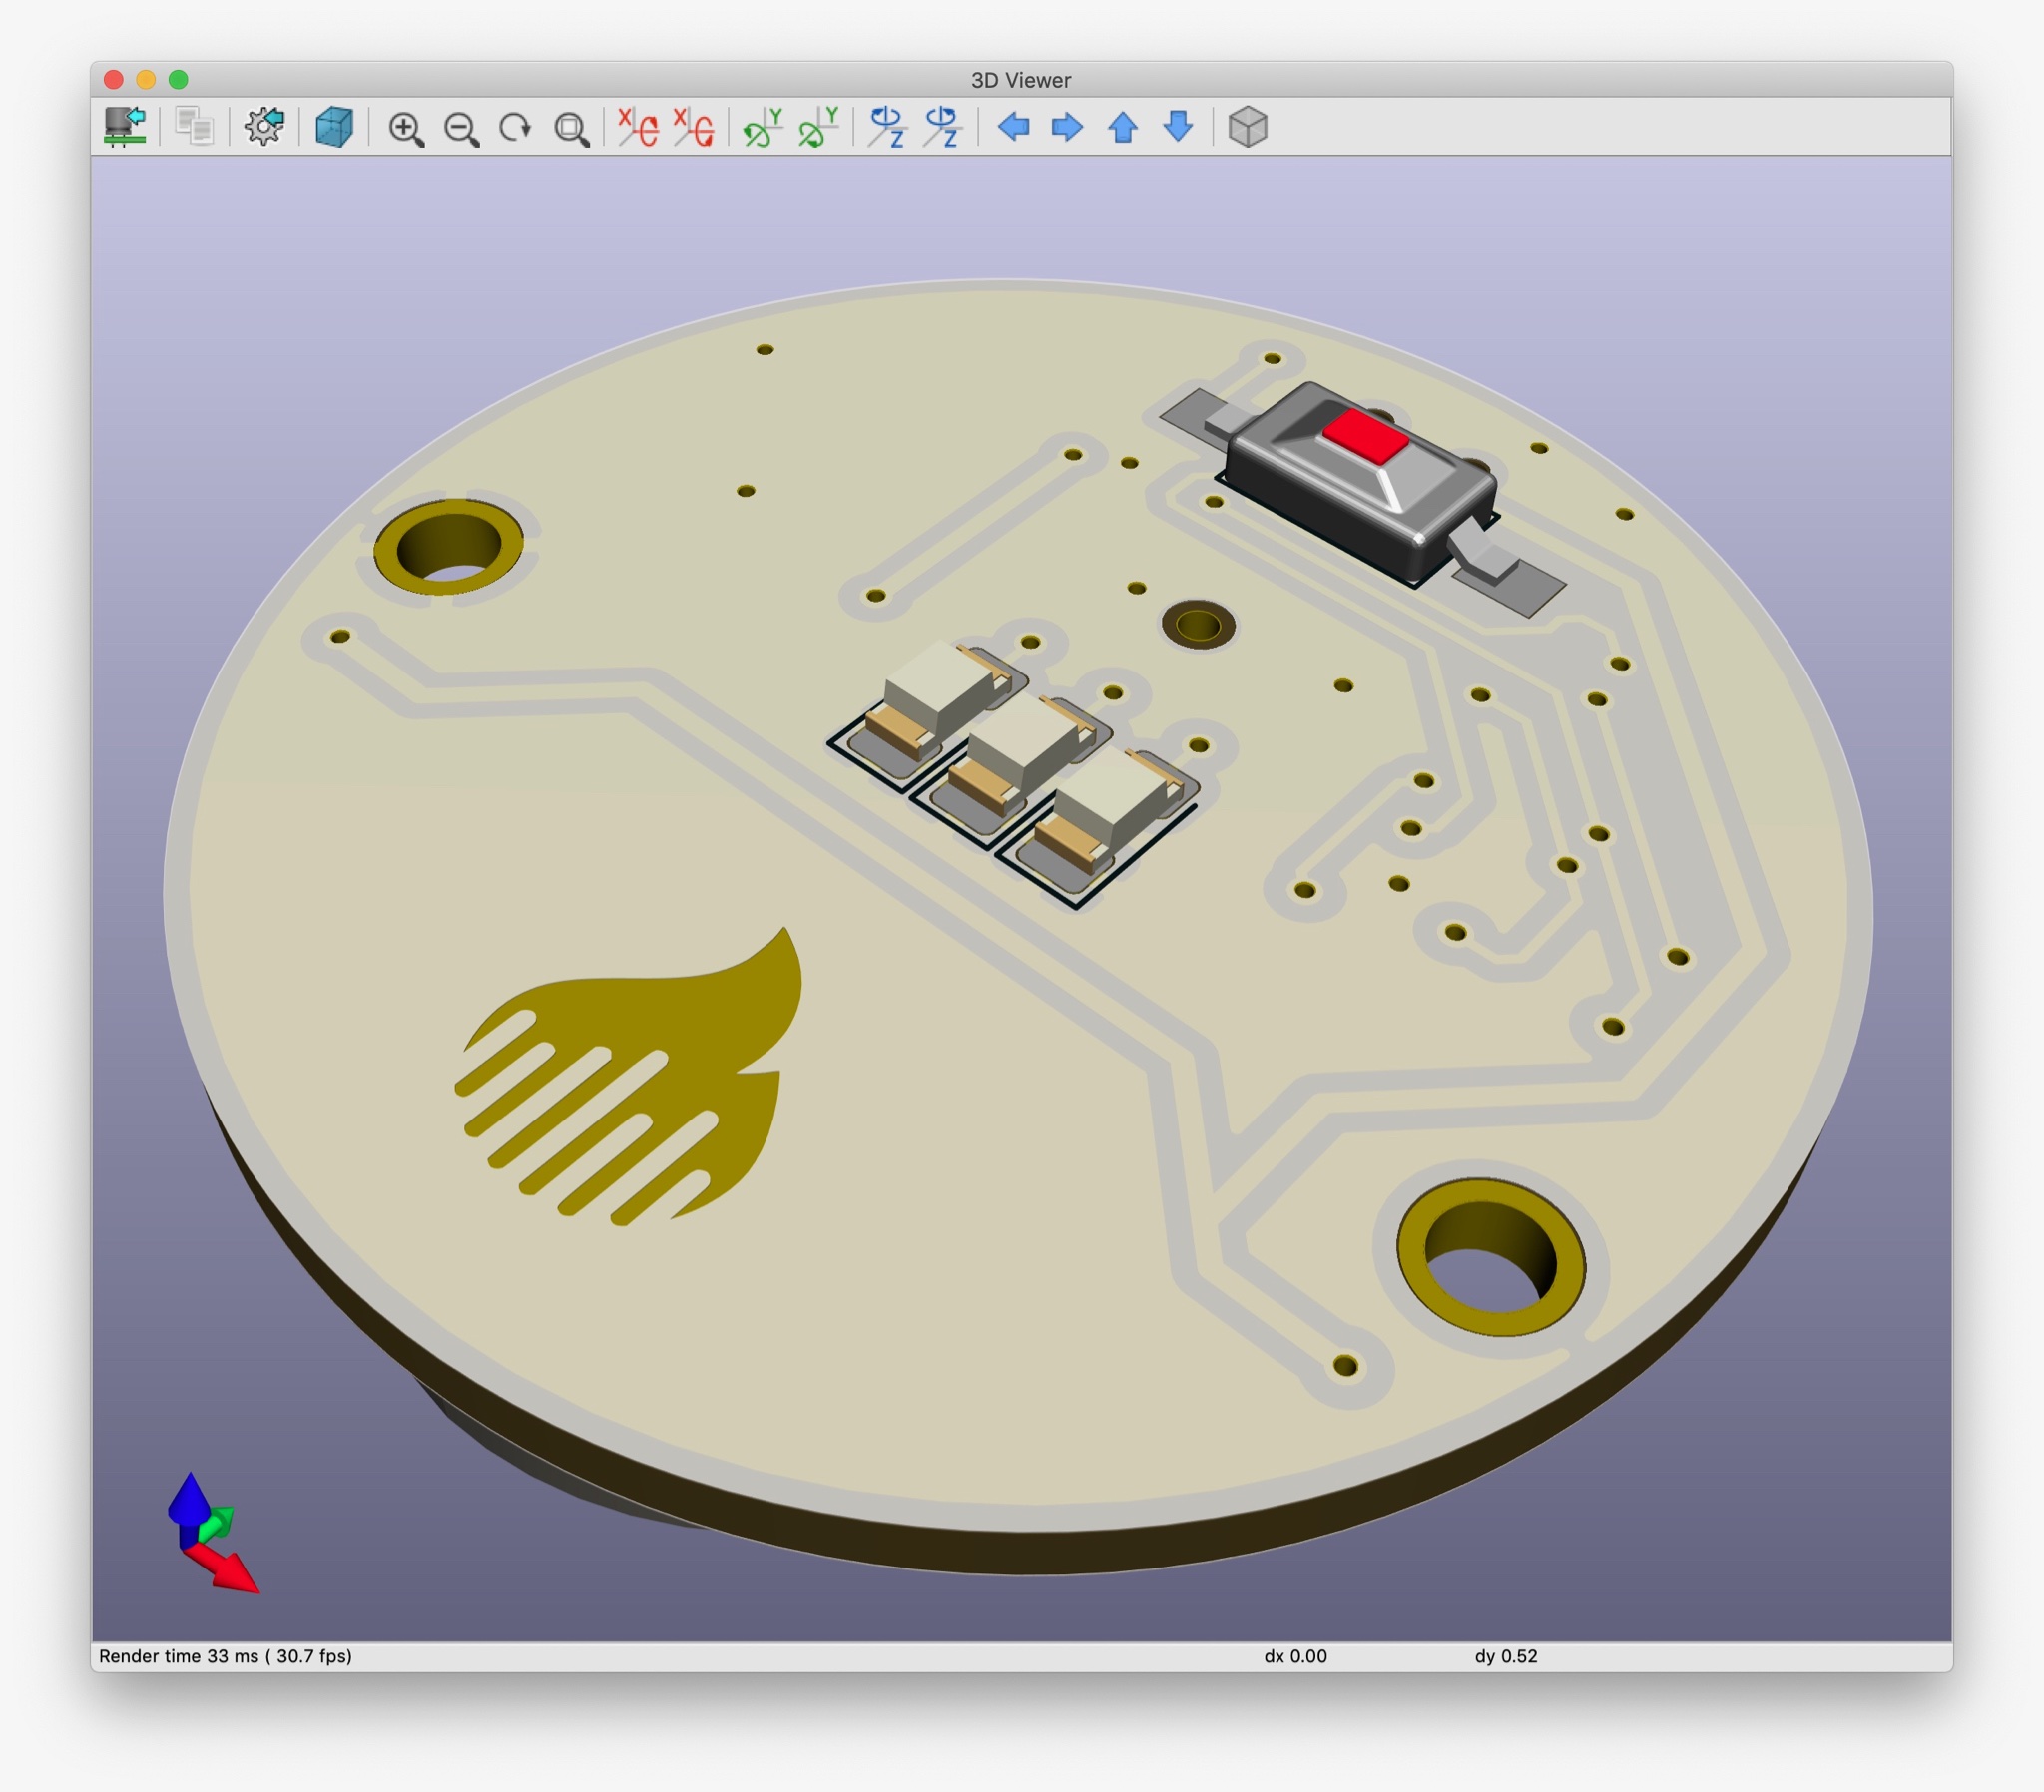
With the help of KiCad 5.1 (Which, by the way, is an awesome update) I designed a PCB the size of a standard 40mm tea light. The small hole next to the LED’s is the sound port for the MEMS microphone which is placed on the other side of the PCB.
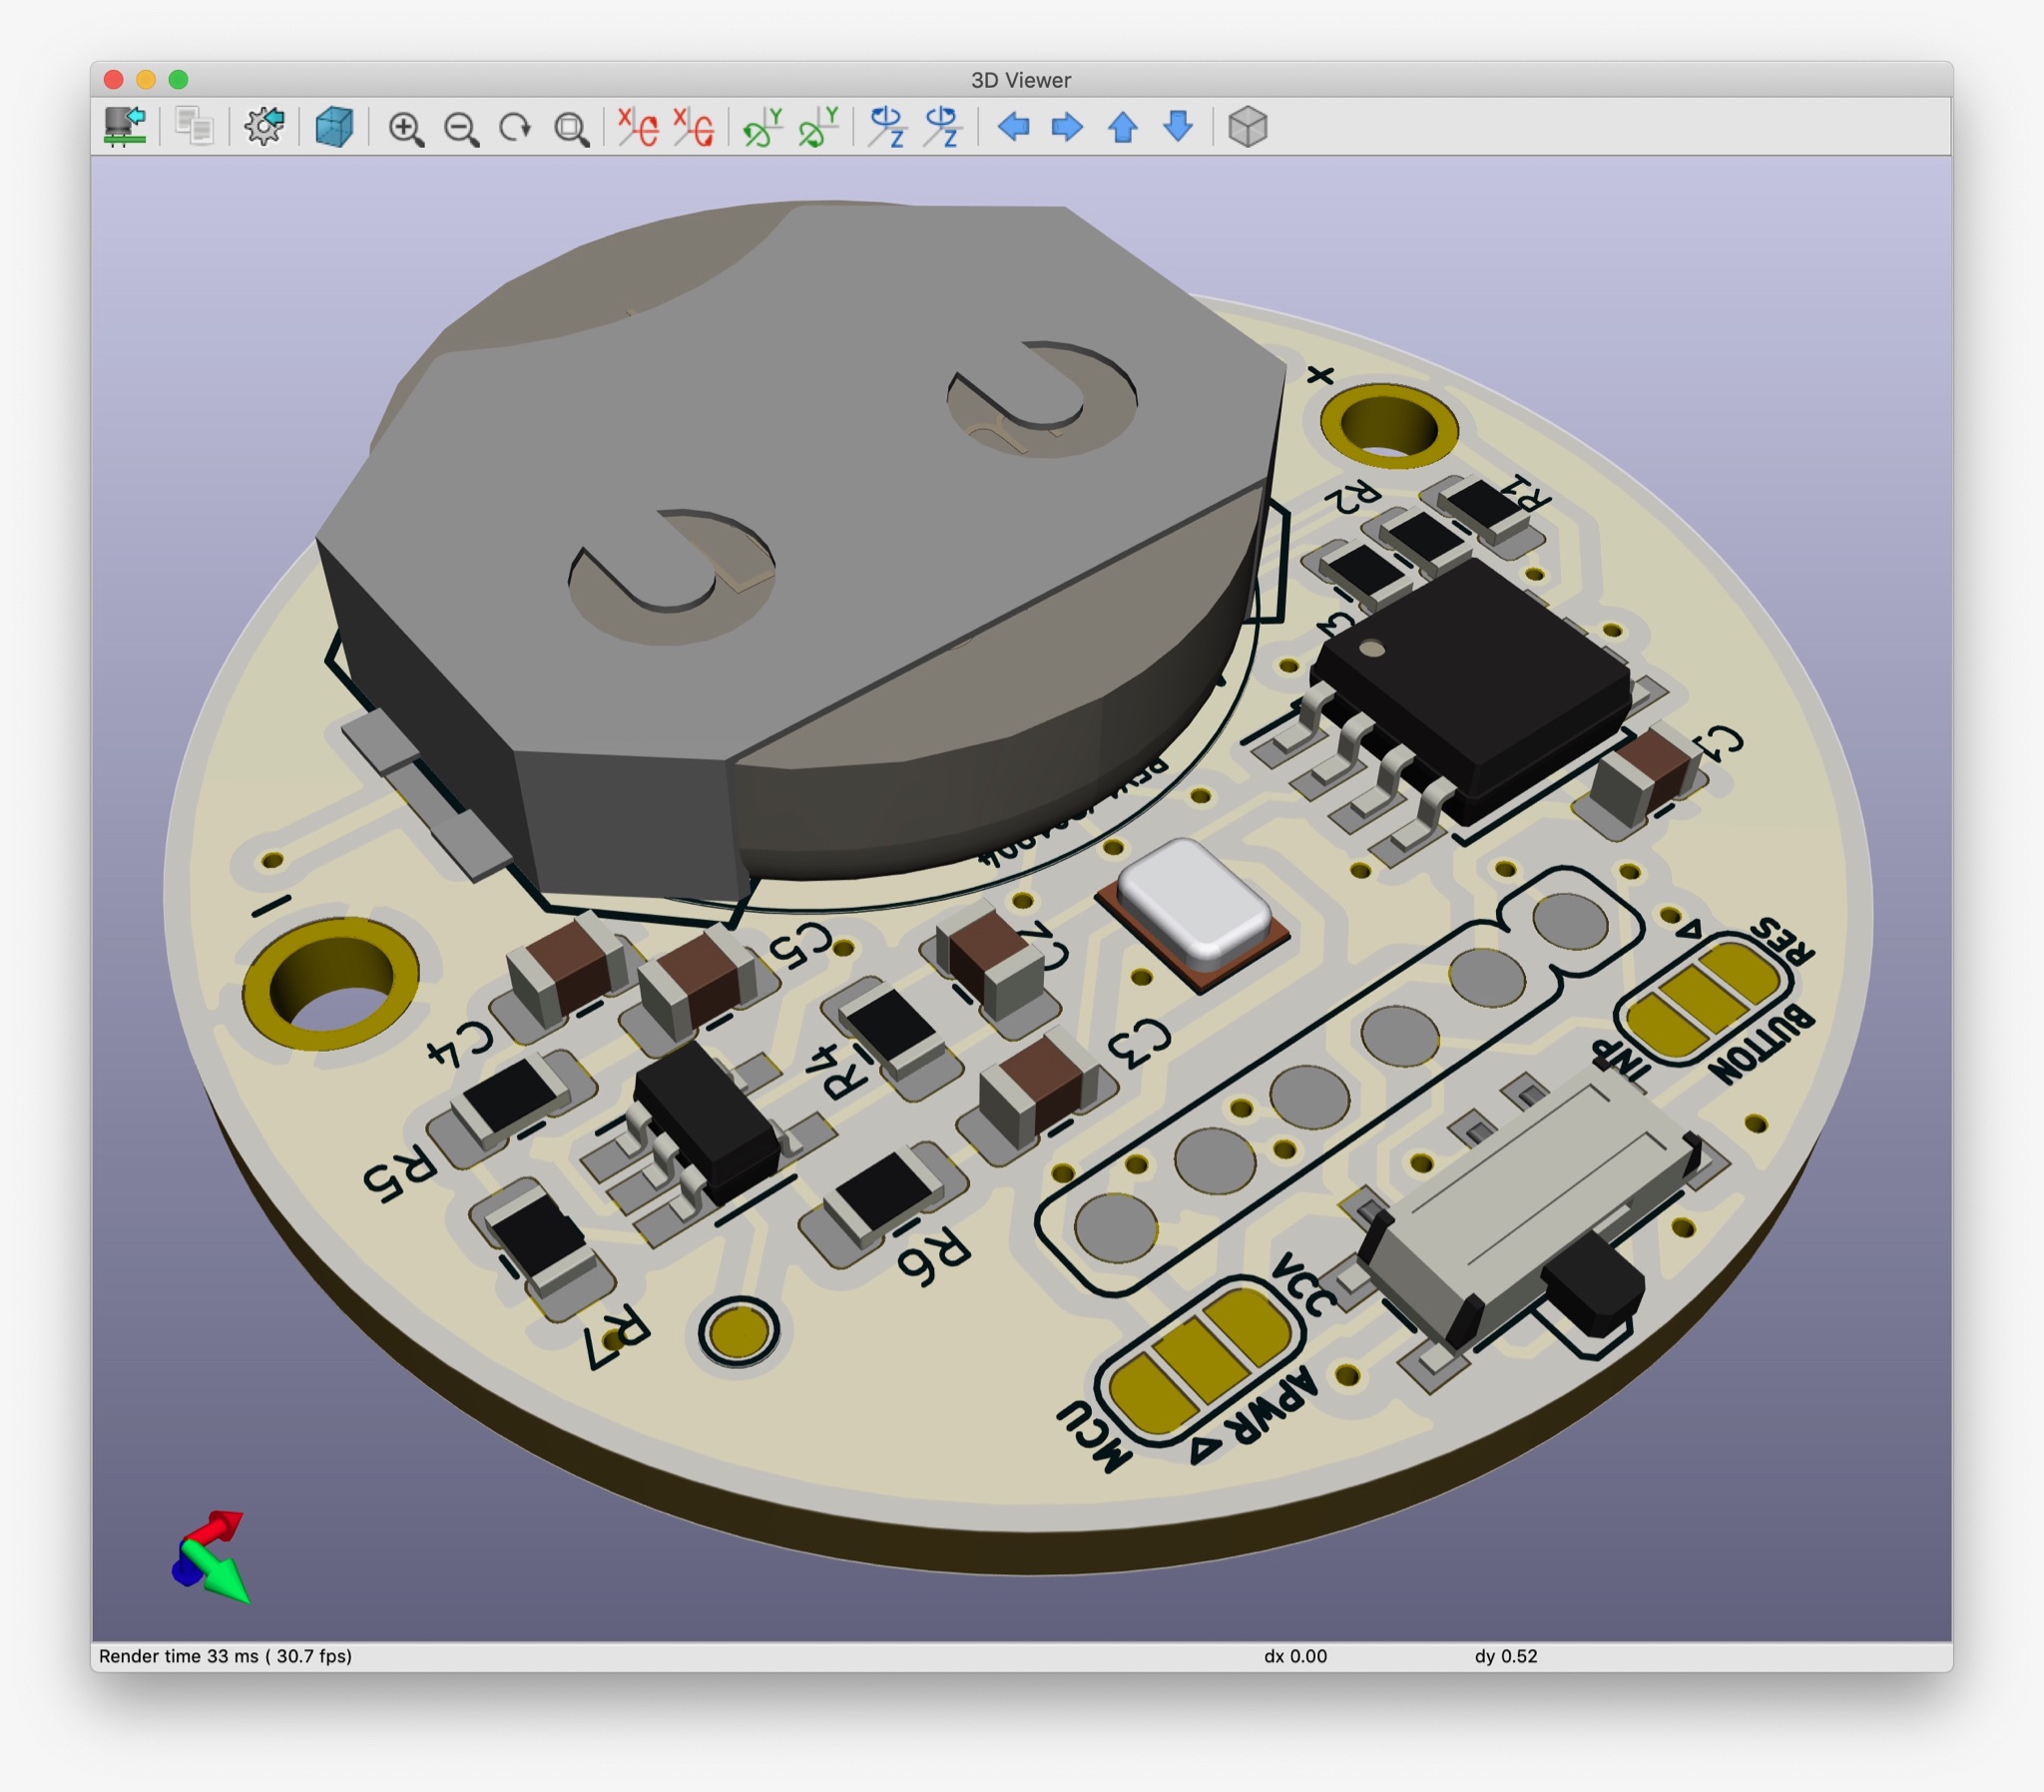
The back side houses most of the parts together with a CR2032 battery holder.
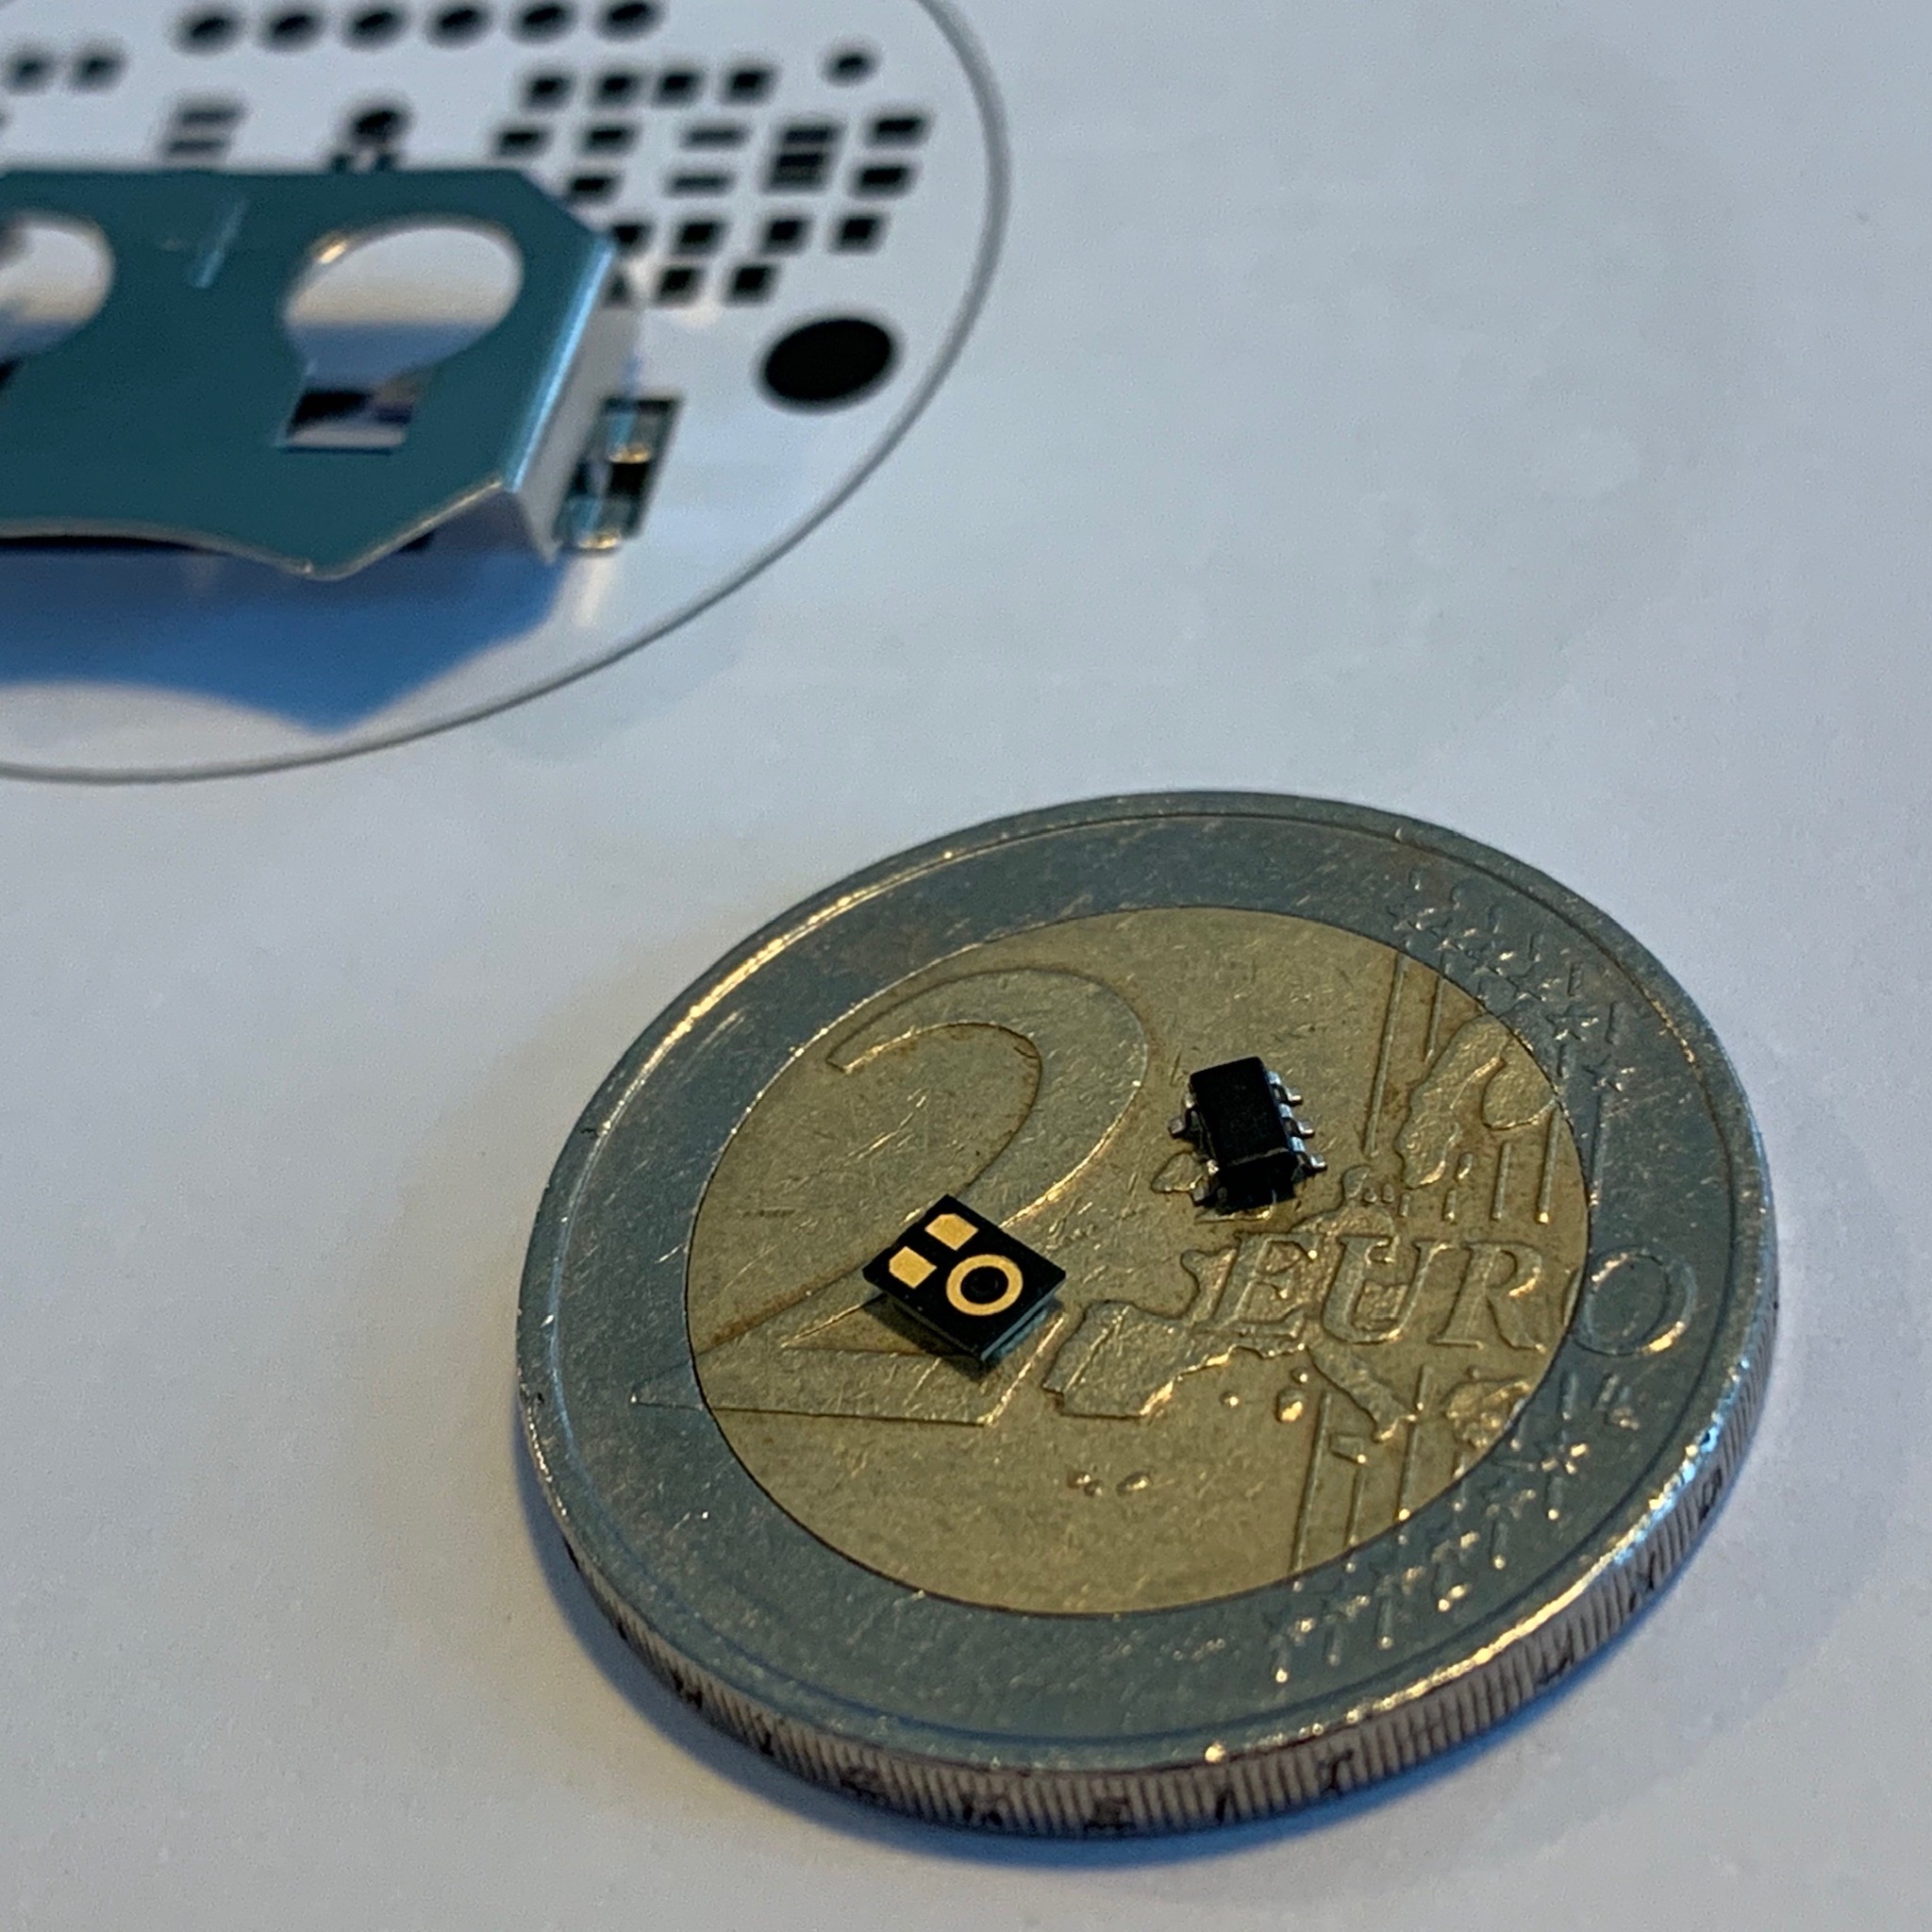
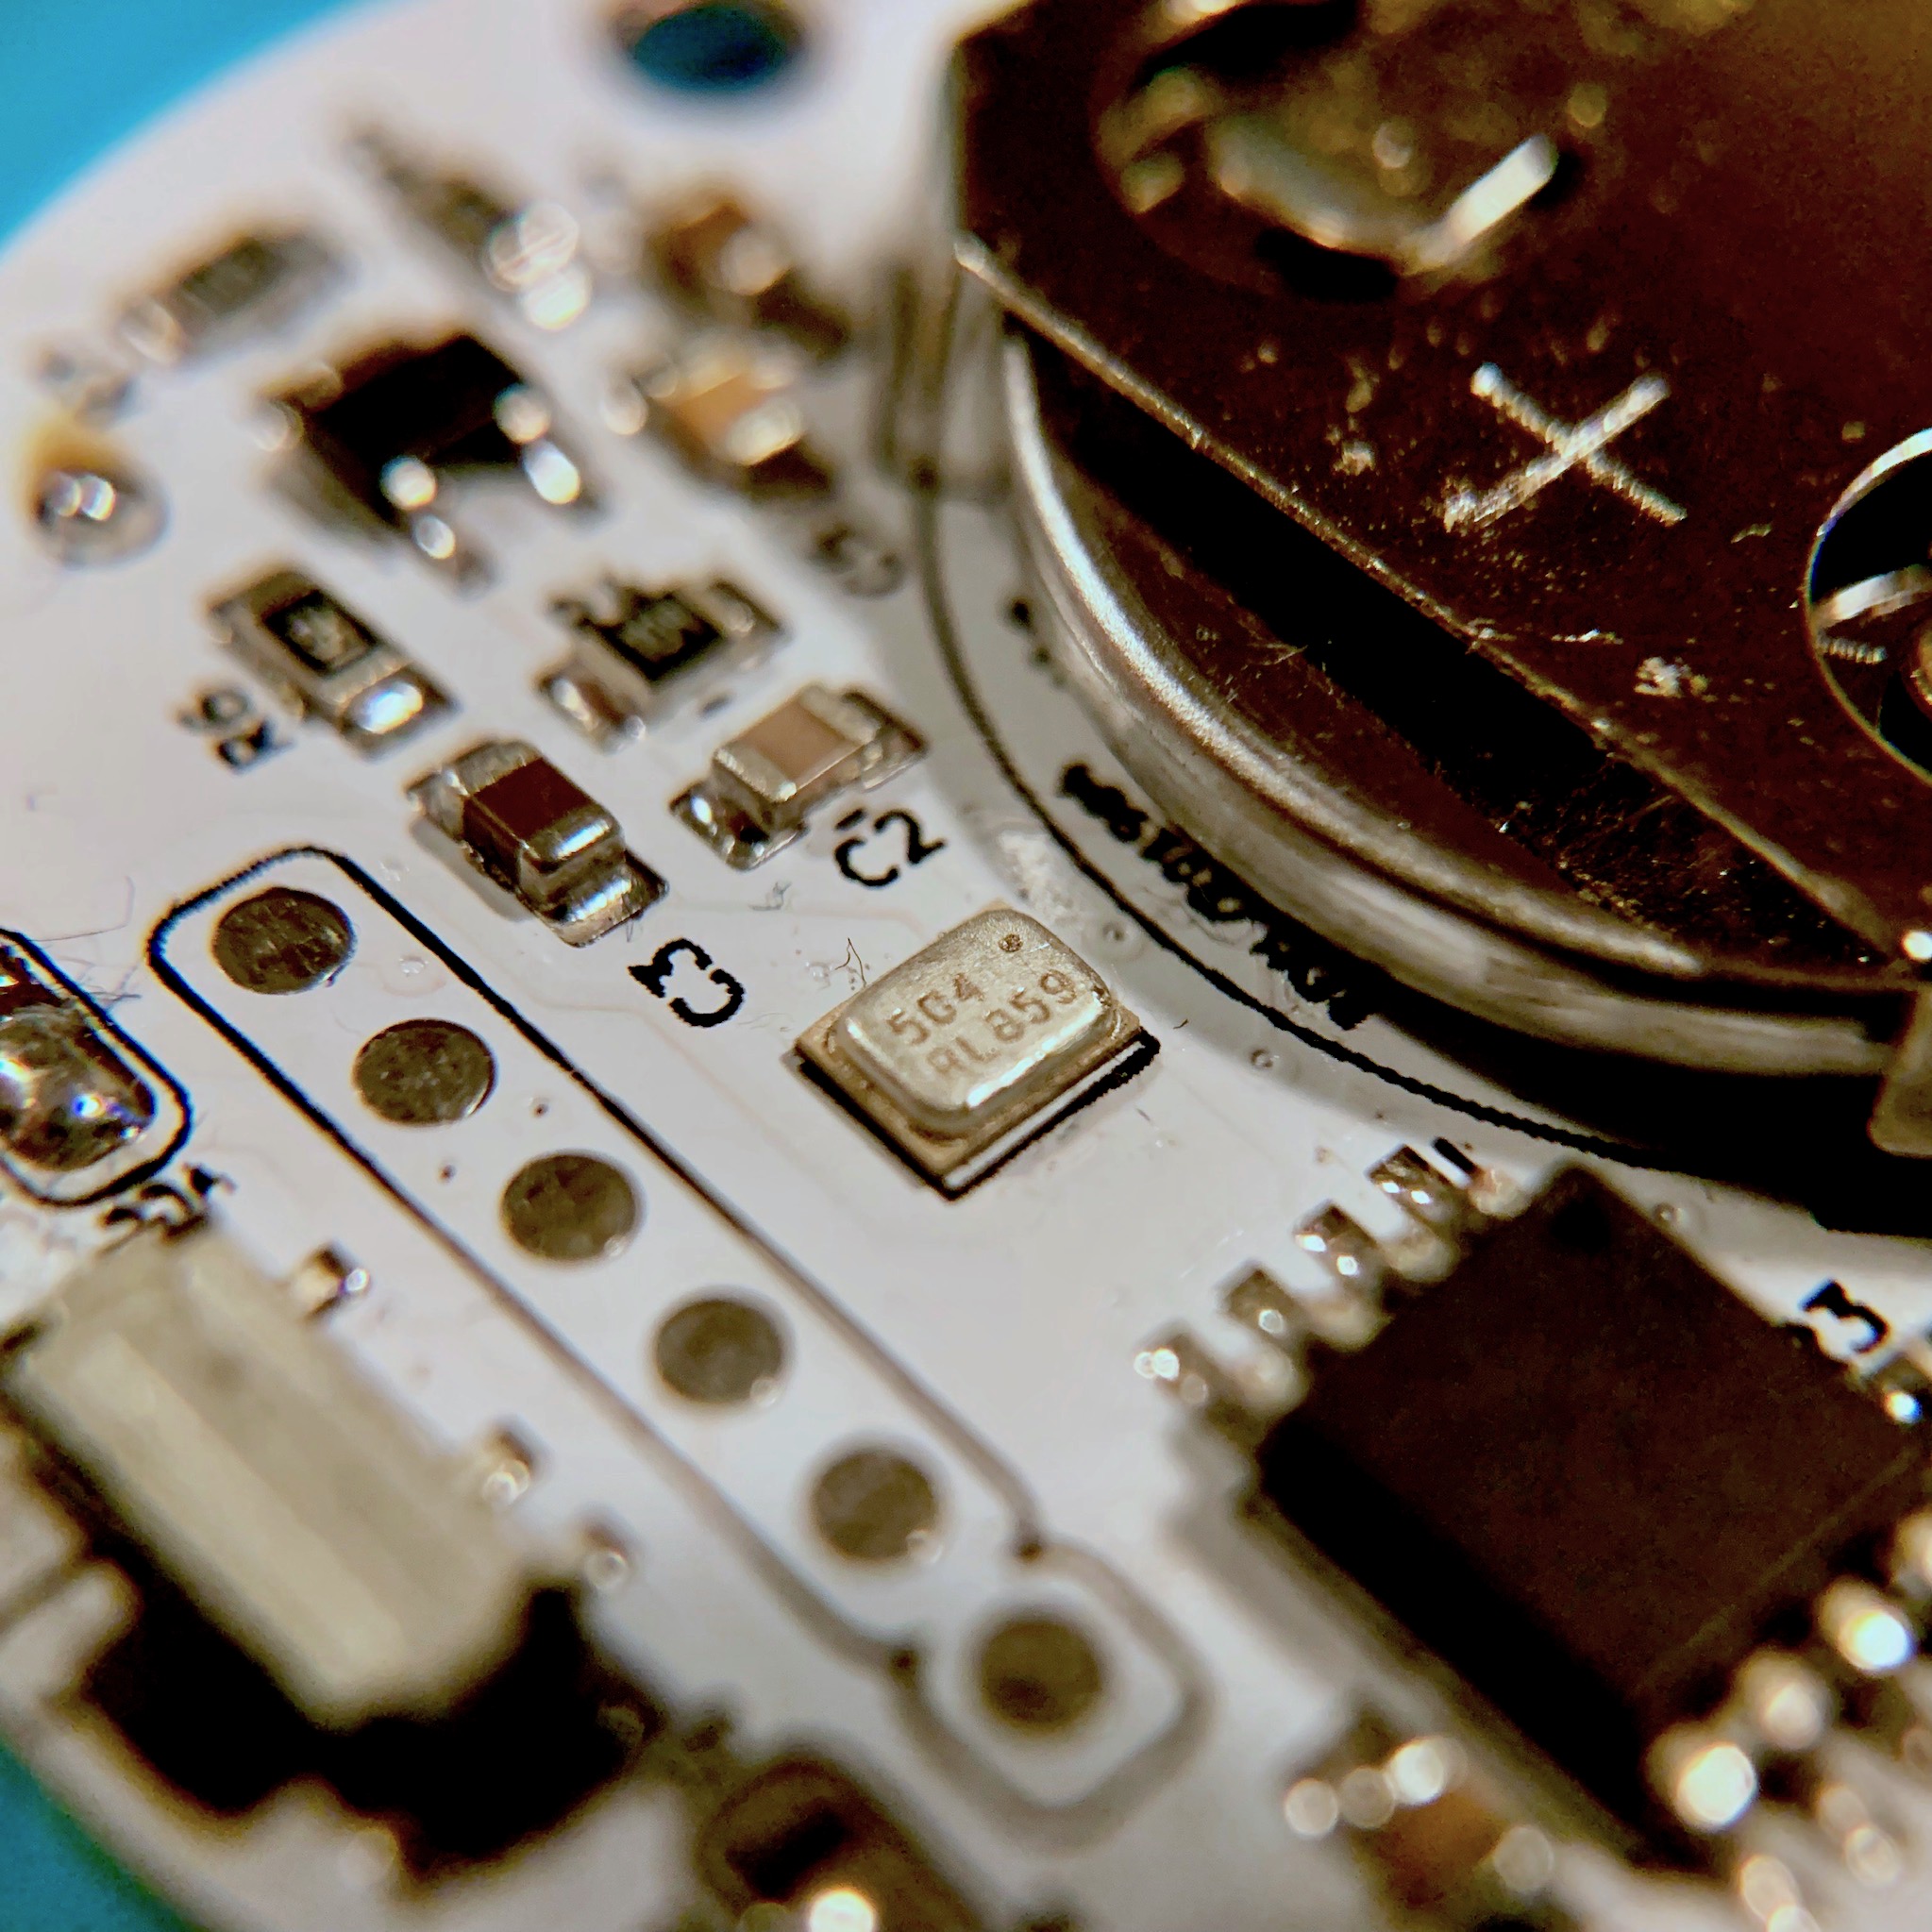
After the tiny INMP504 MEMS microphone arrived I was somewhat intimidated by its small size. A great part to test my SMD soldering skills. Next to the INMP504 is the SOT23 OPA344 opamp which isn’t a whole lot bigger. This is going to be fun!
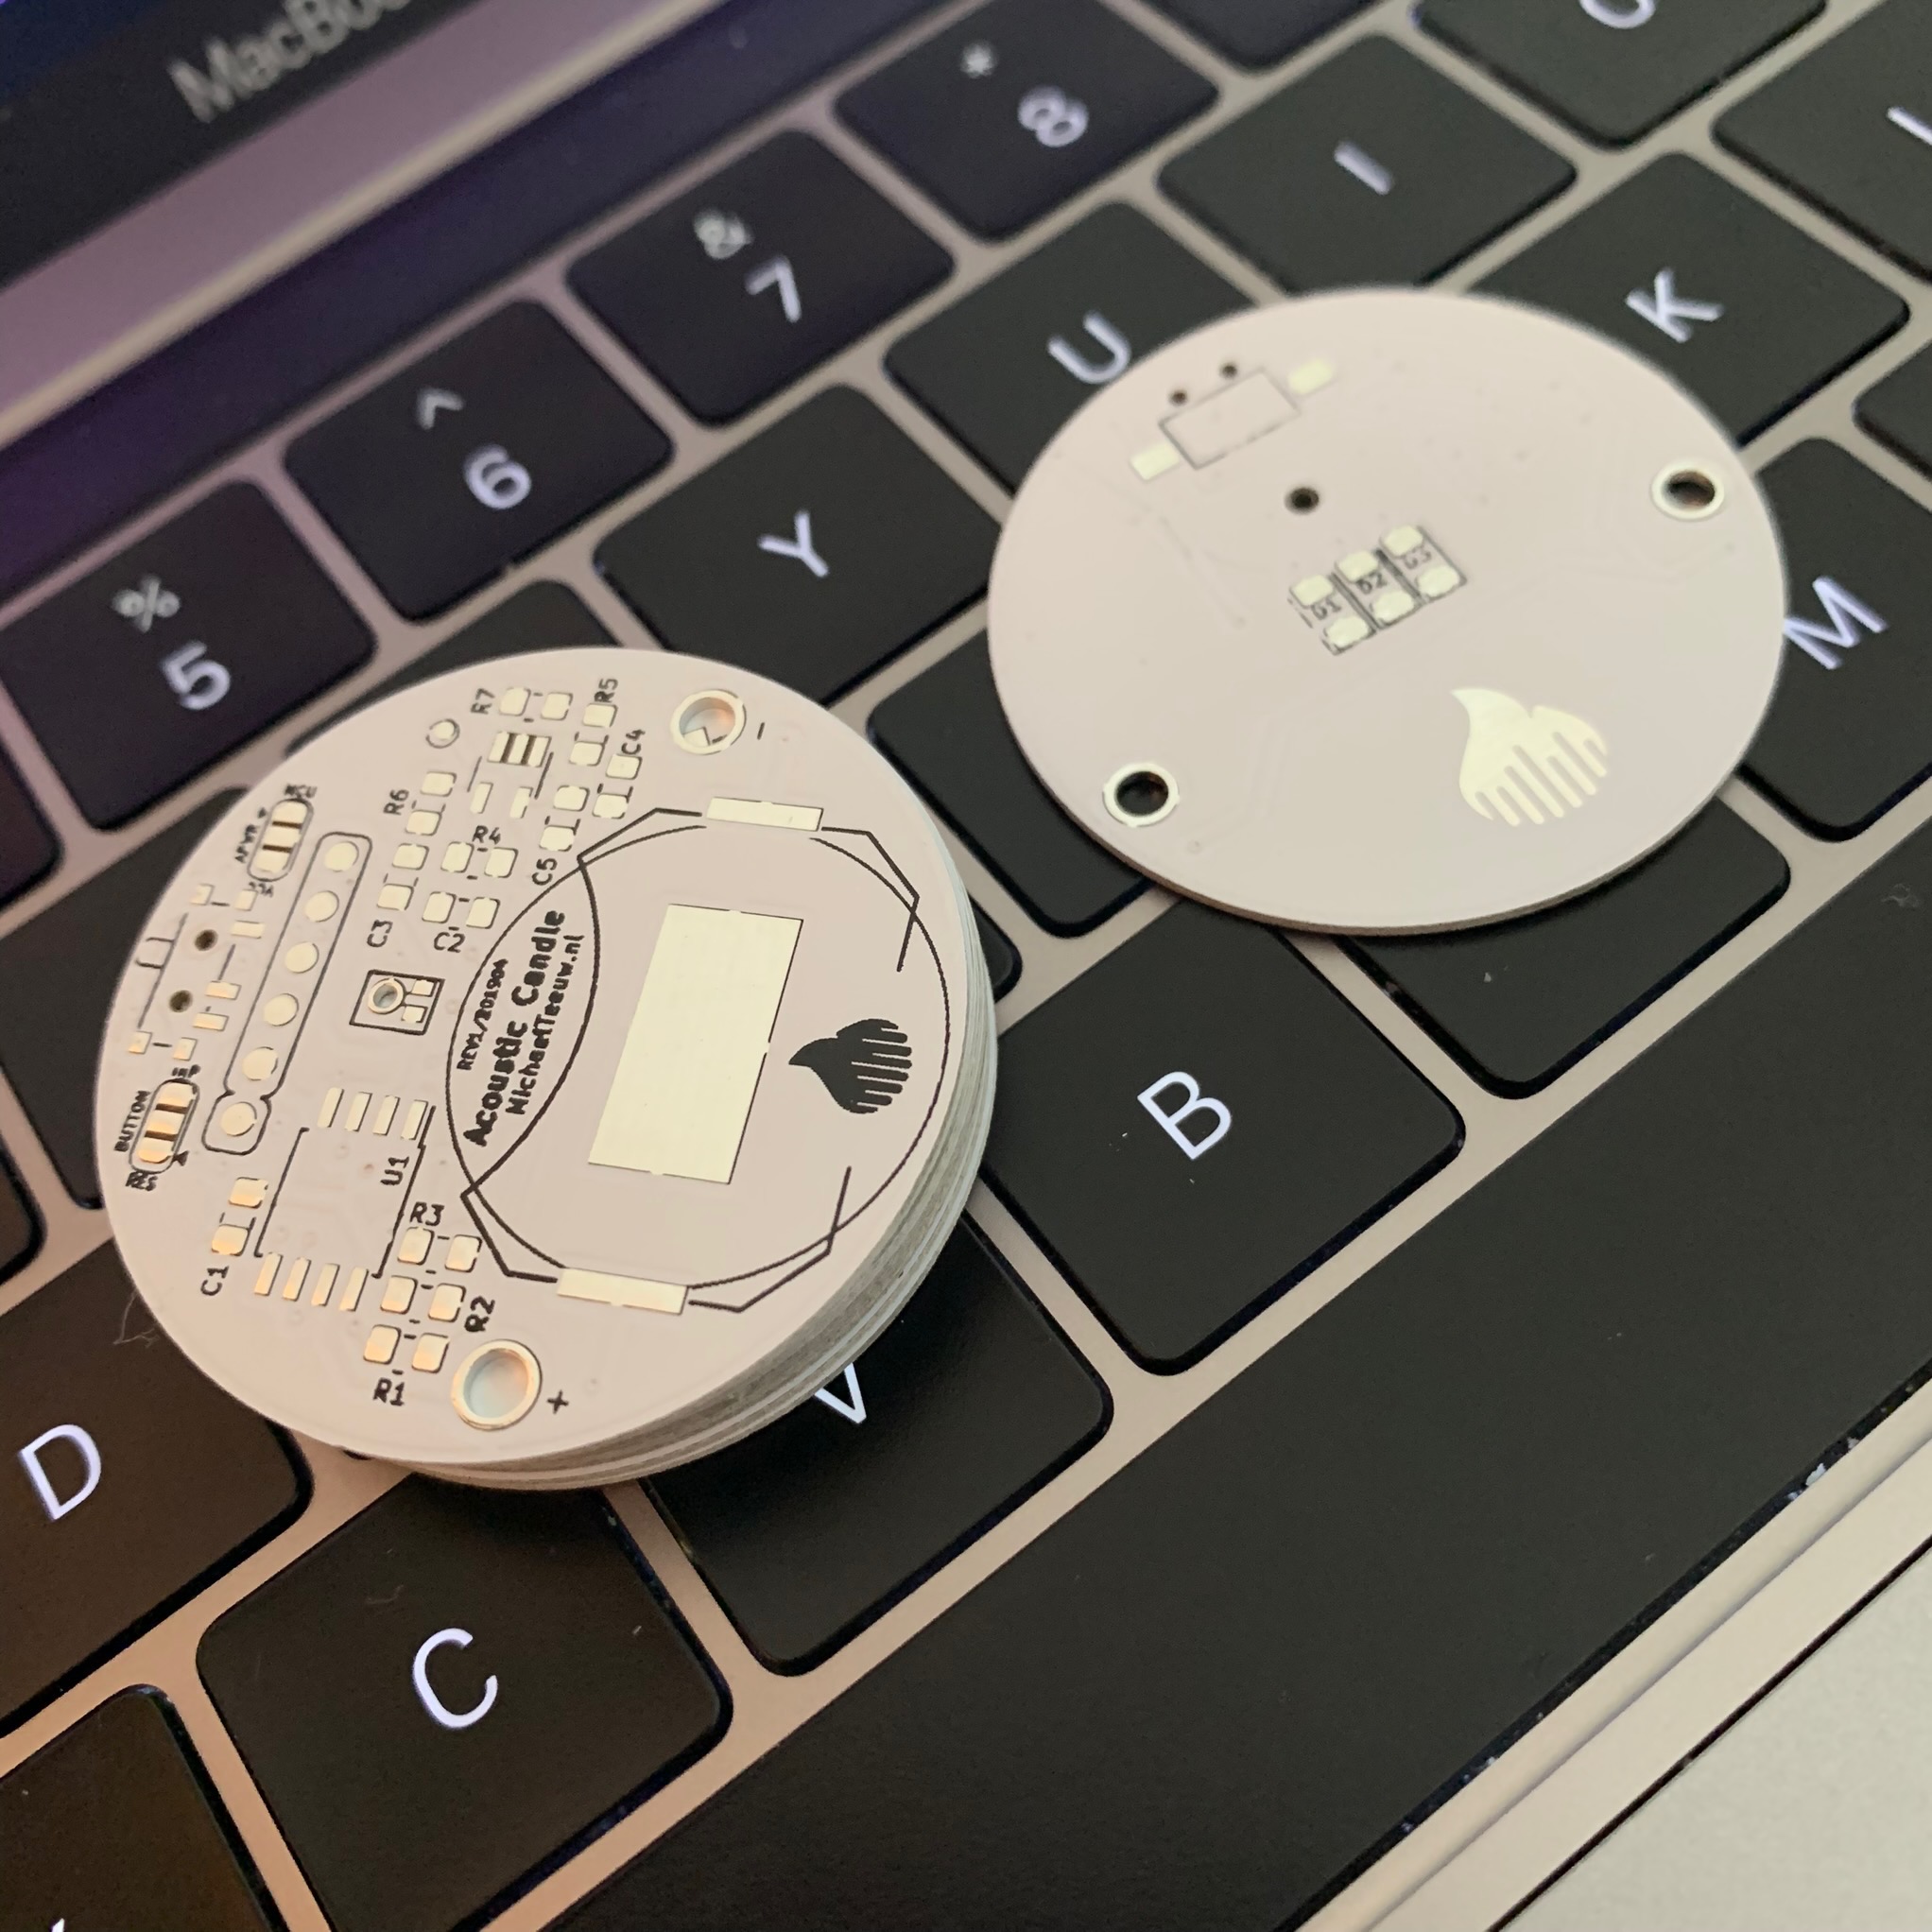
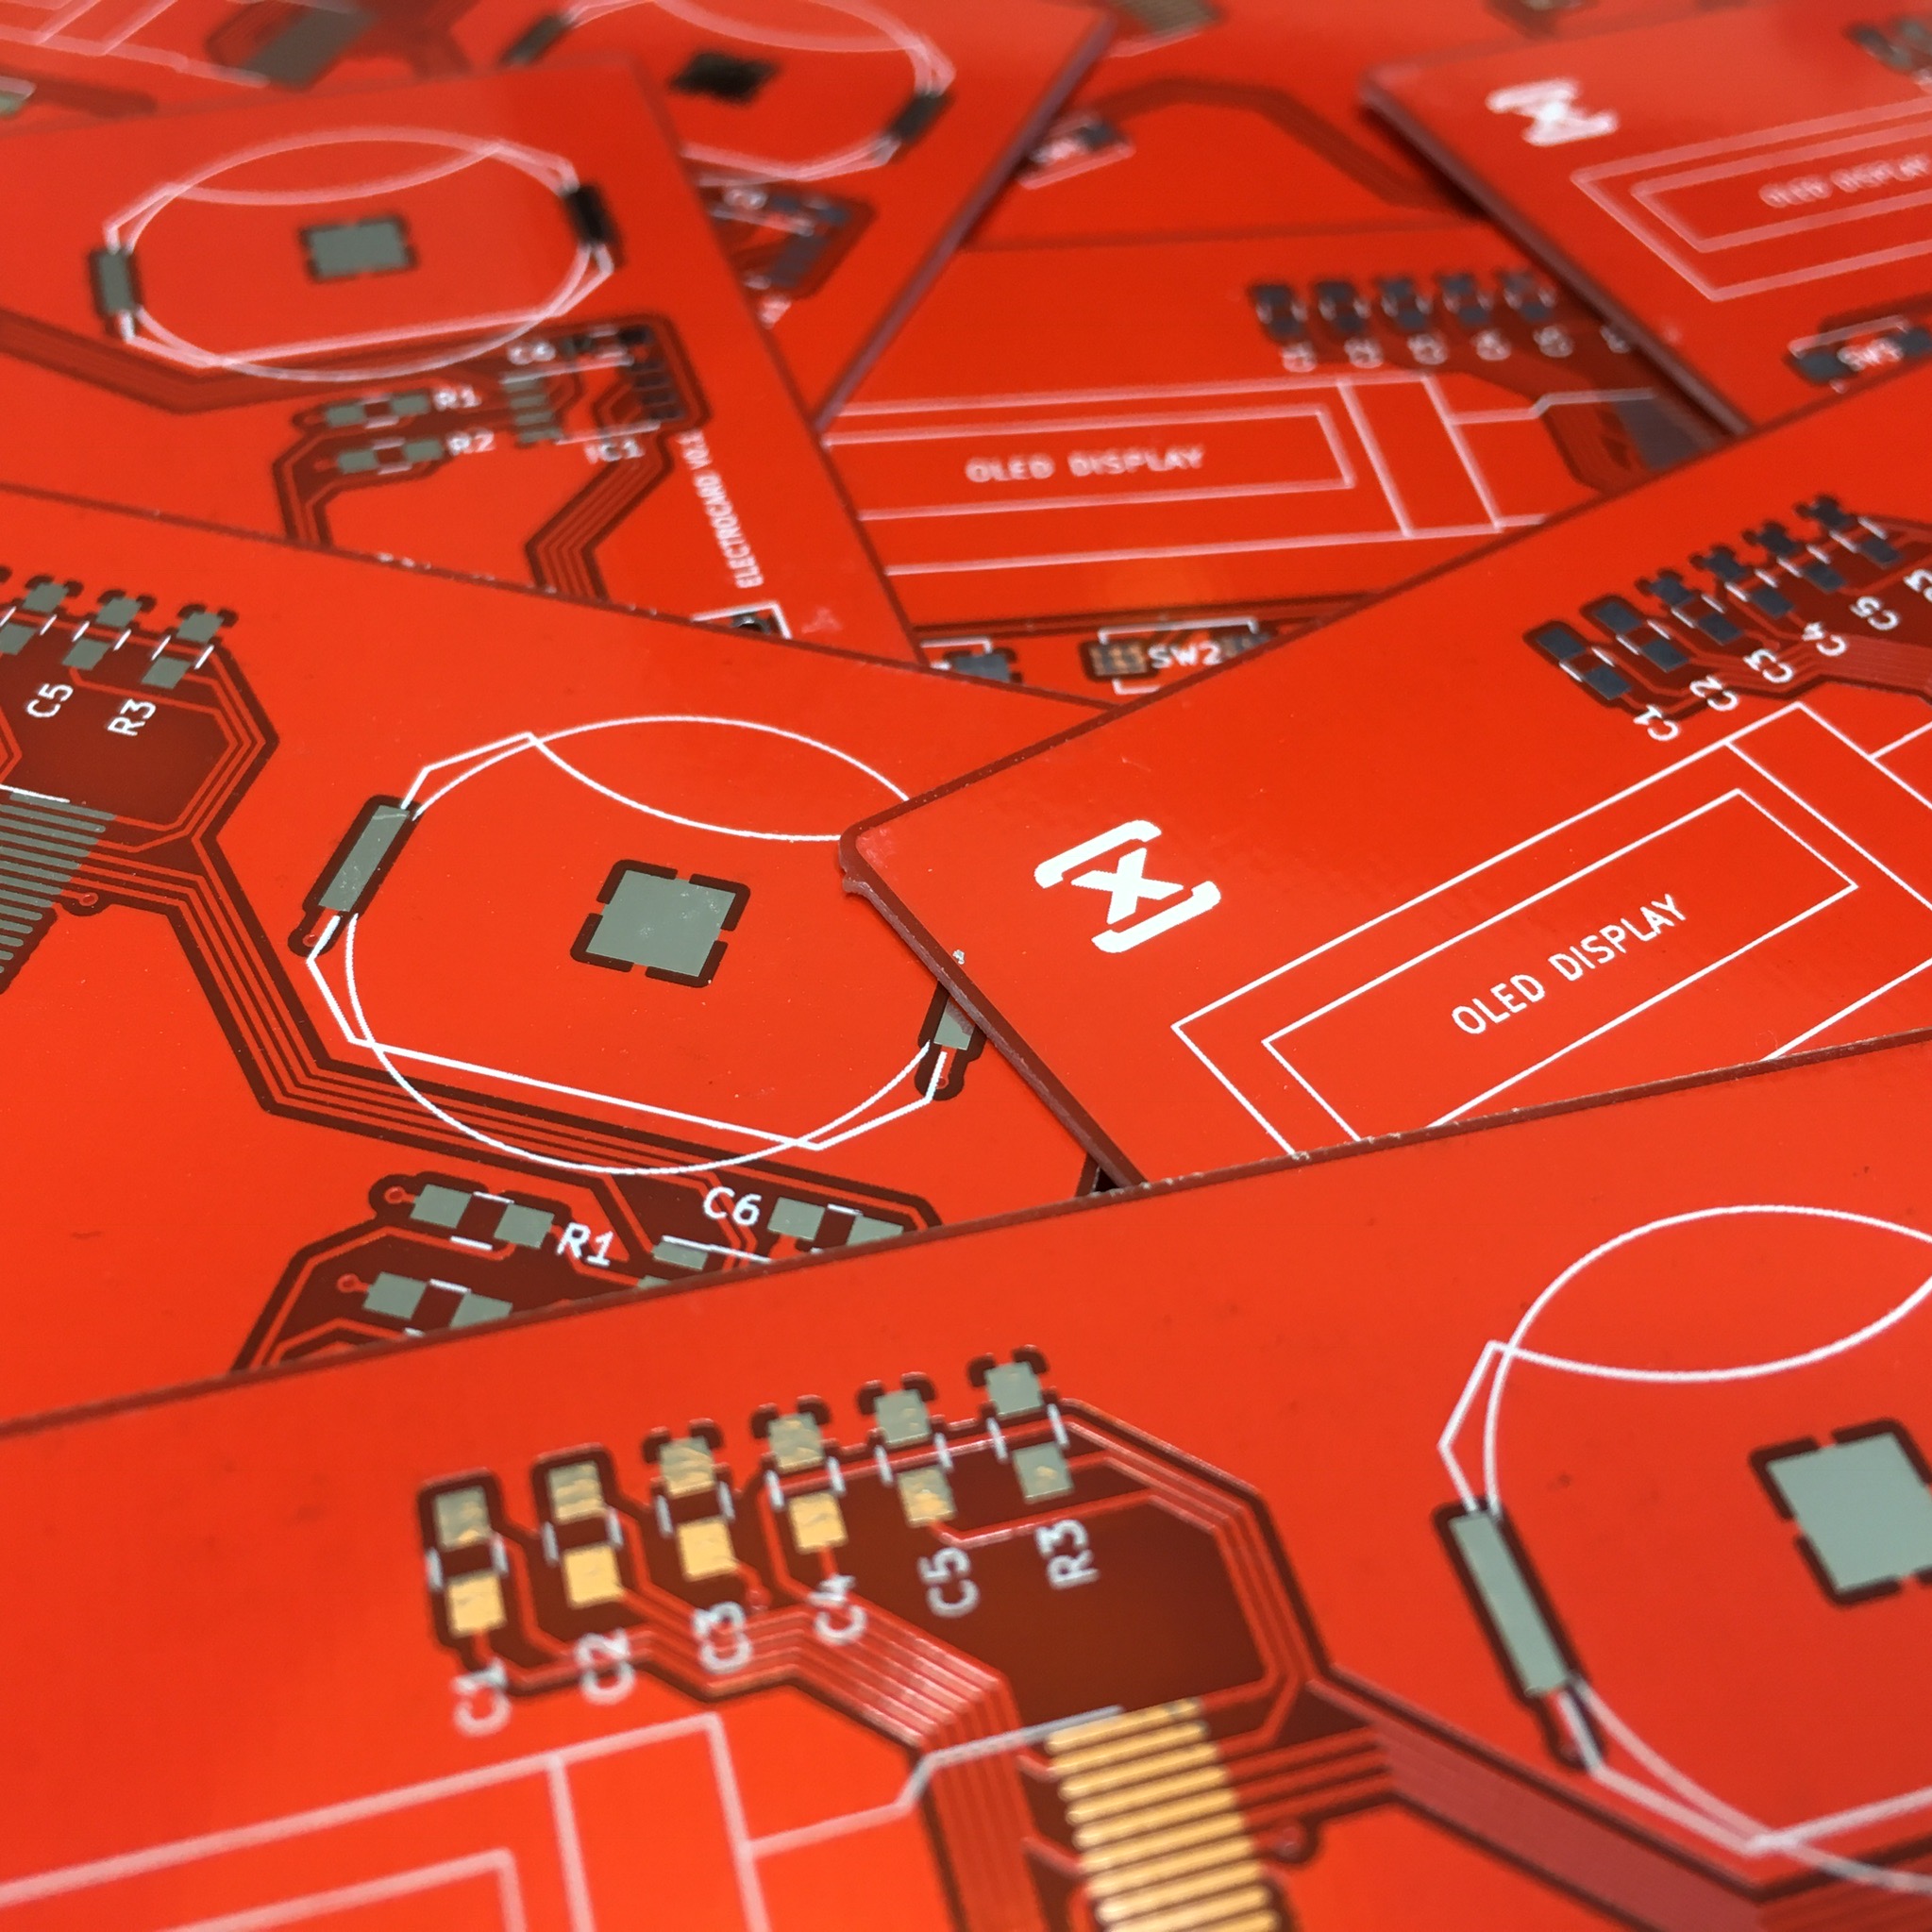
After I finalized the design and check all (BUT ONE!) of the footprints, I ordered the PCB’s at PCBWay. The quality is pretty good, although the silk screen is a bit offset. Not a big deal, but not perfect either.
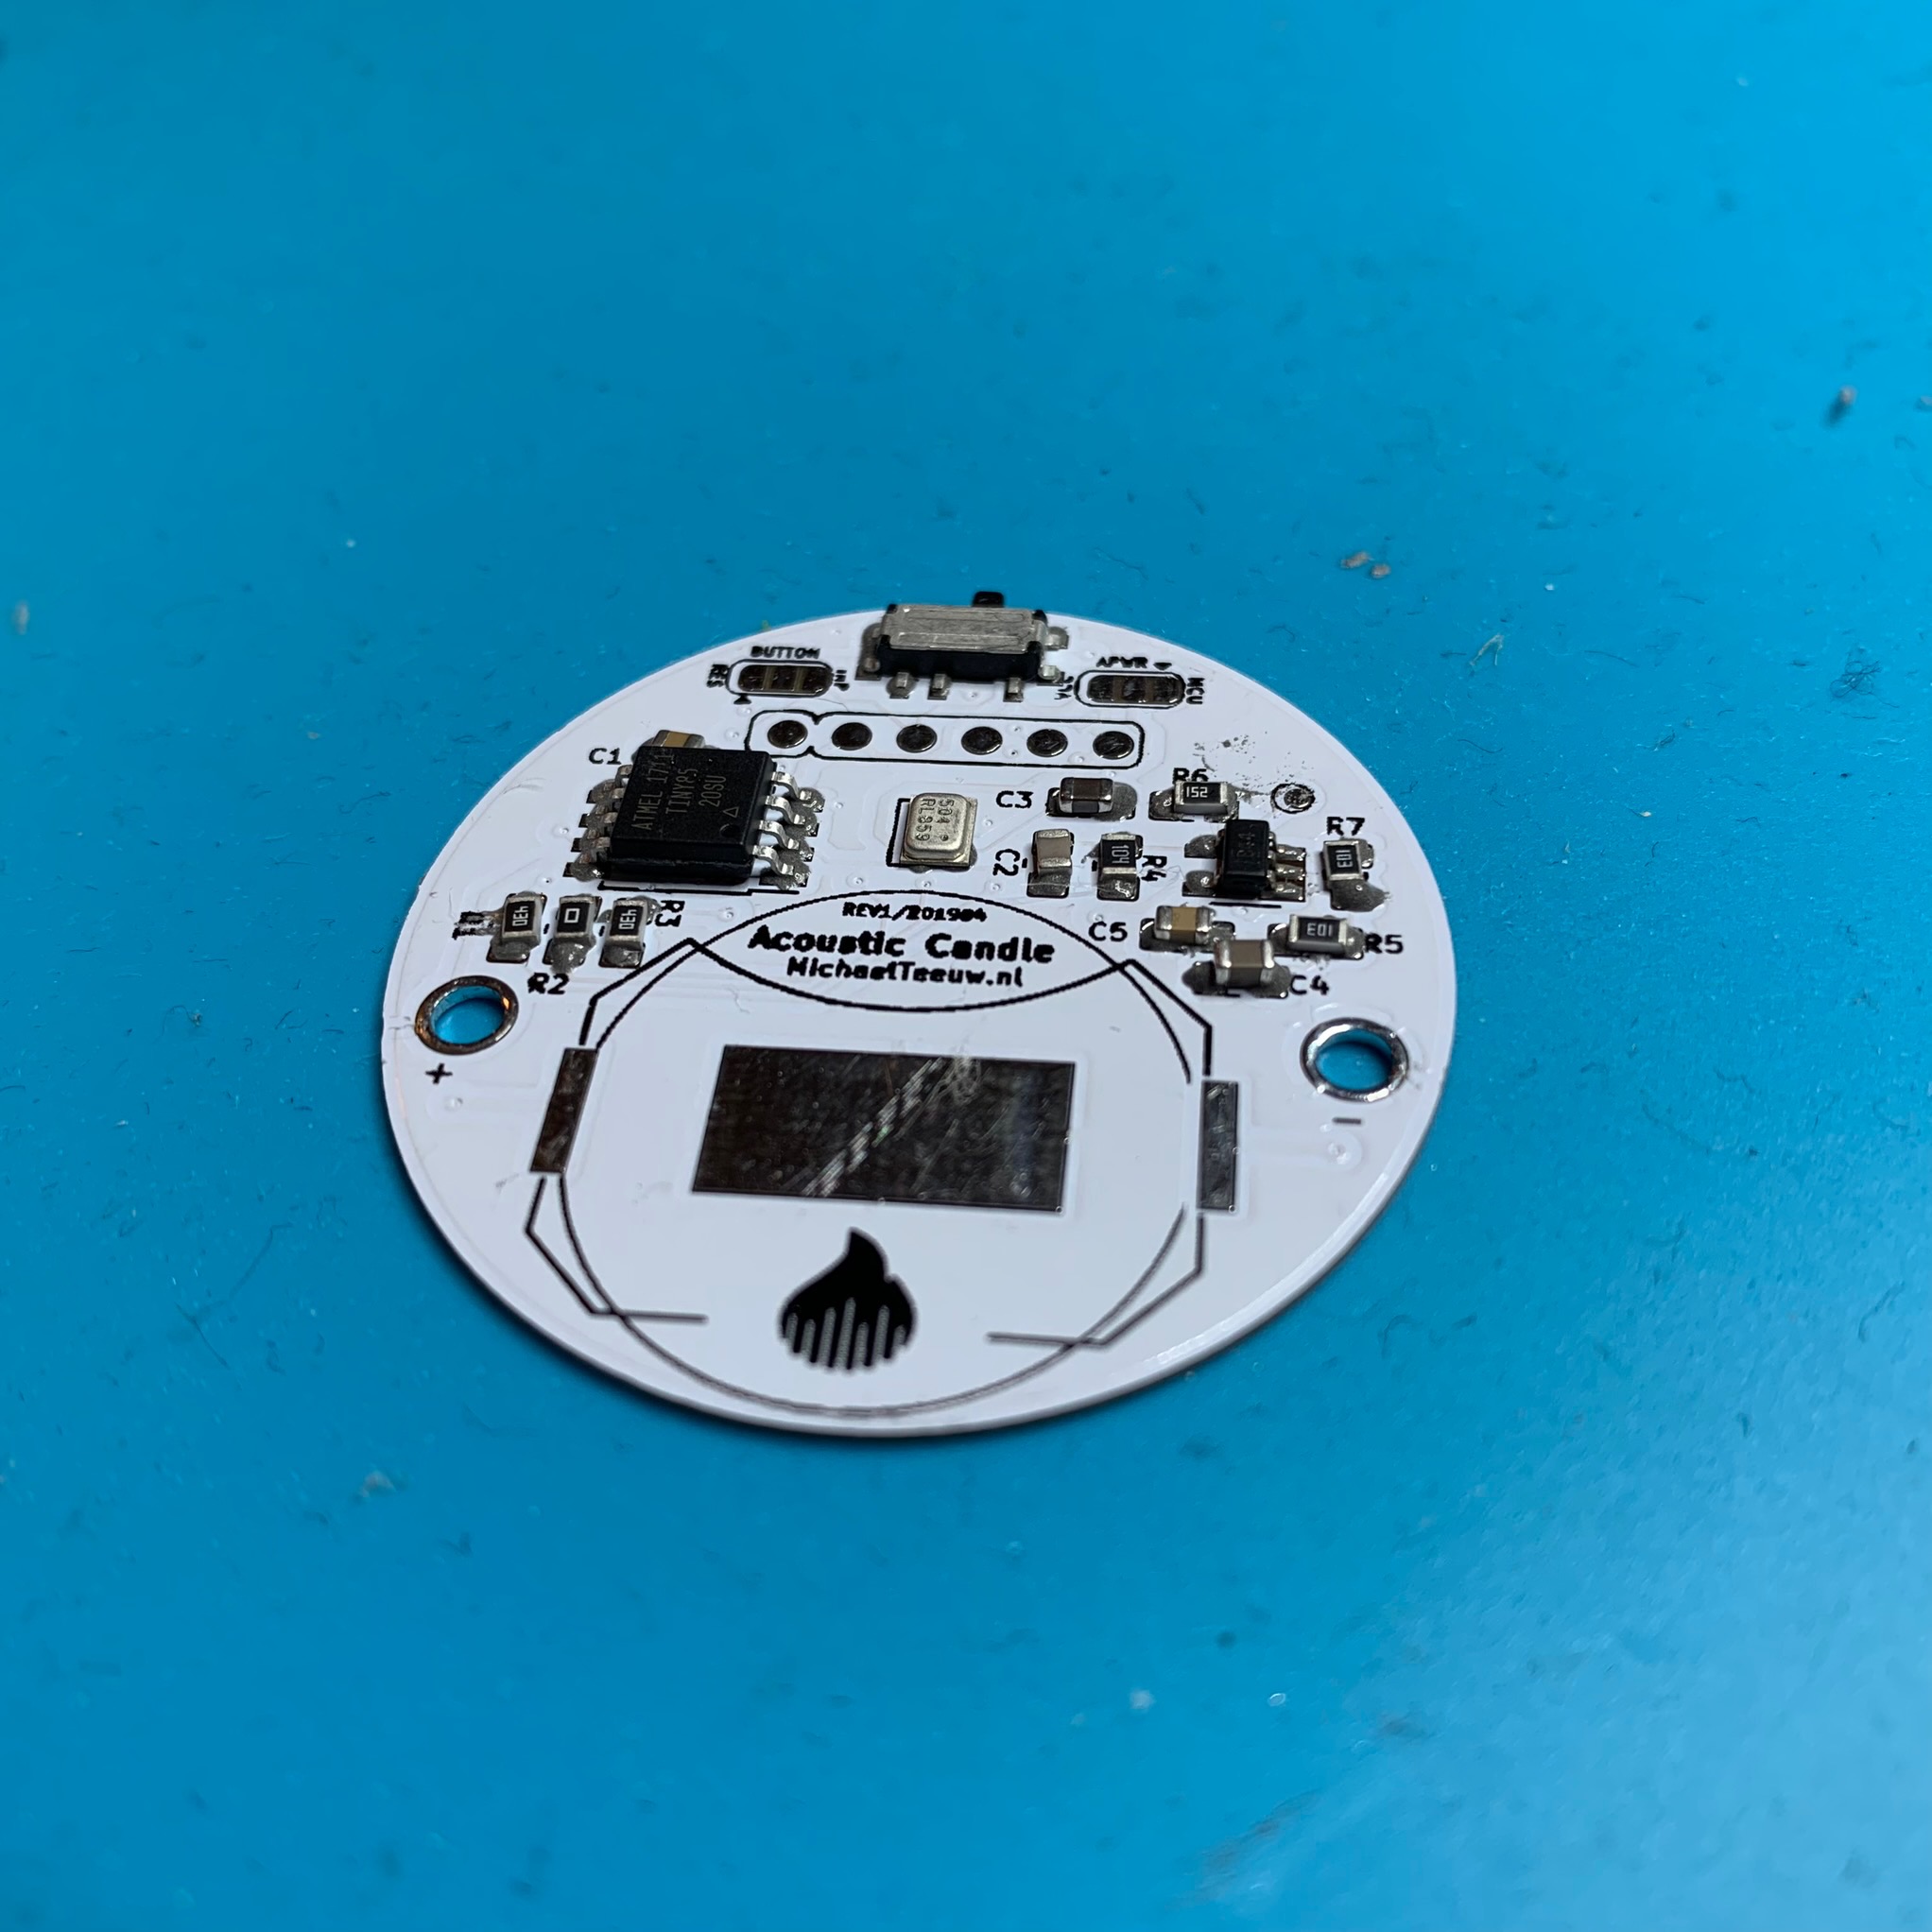
After I painstakingly applied some solder paste by hand and placed all the tiny parts, the board was ready to dance on my hot plate.
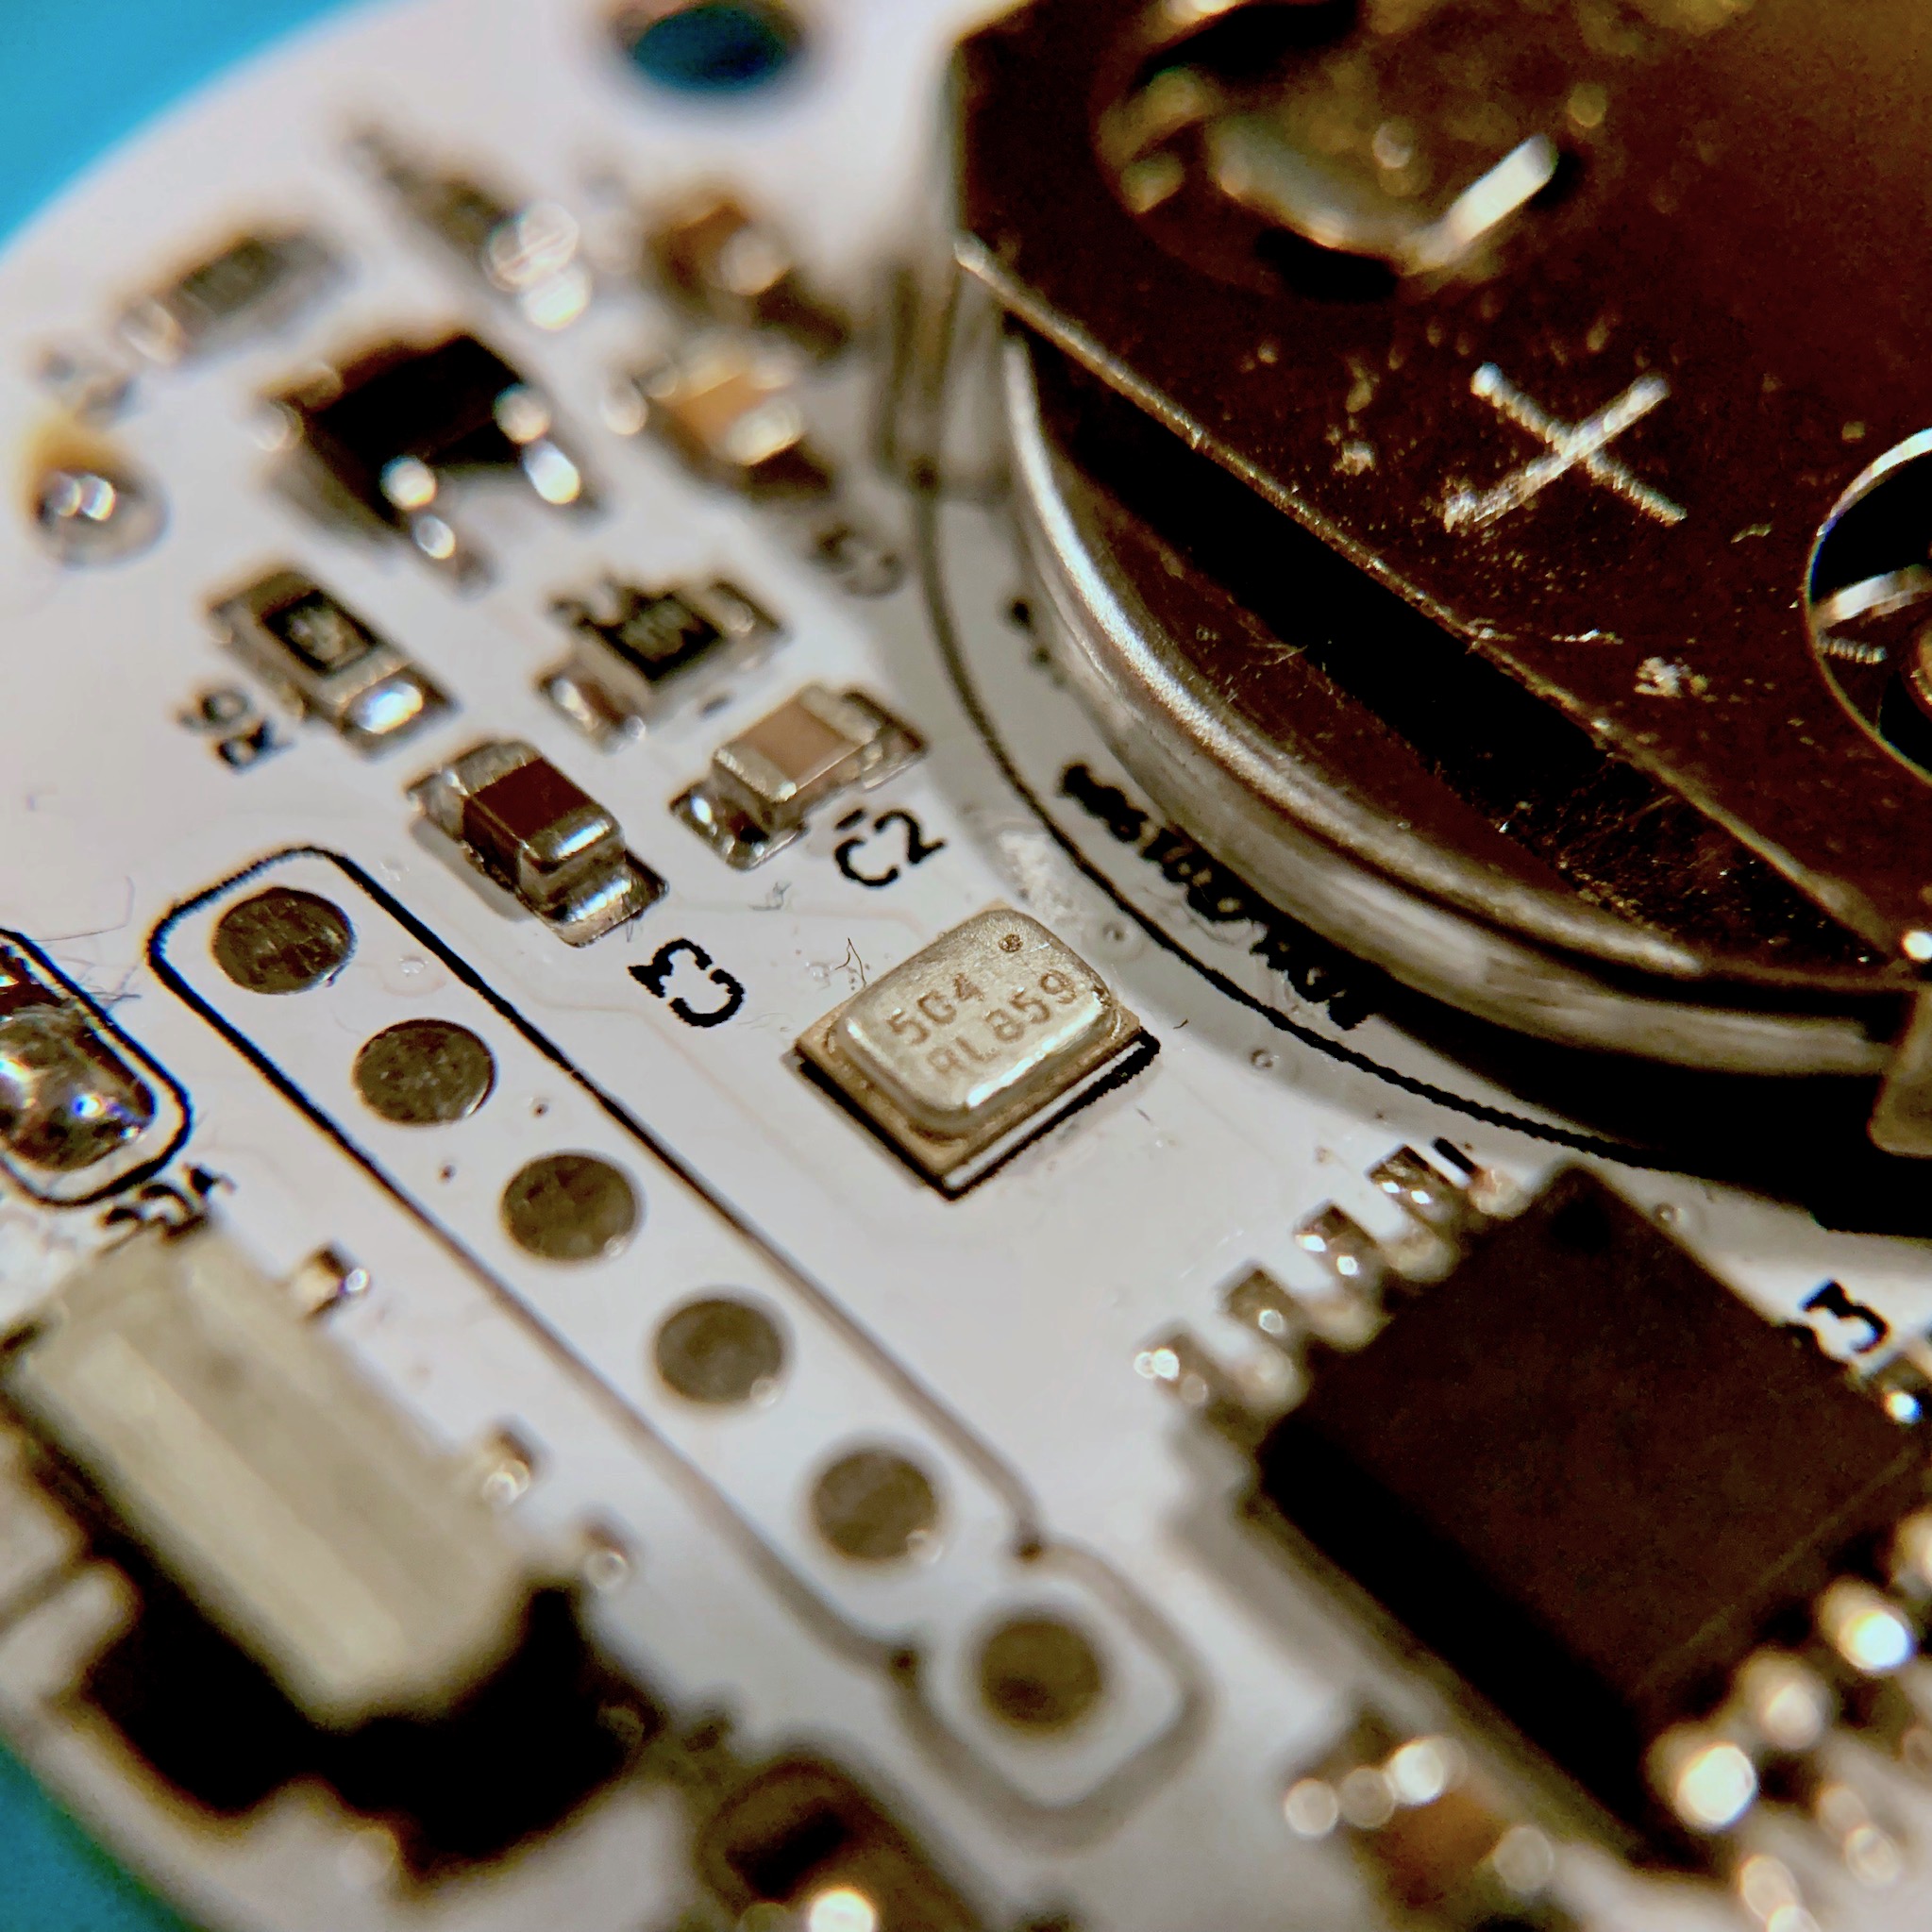
The result (after a bit of touchup using my hot air soldering iron) looked pretty decent.
See that little botch wire at the button? Yeah, that button was the only footprint I didn’t check … sigh
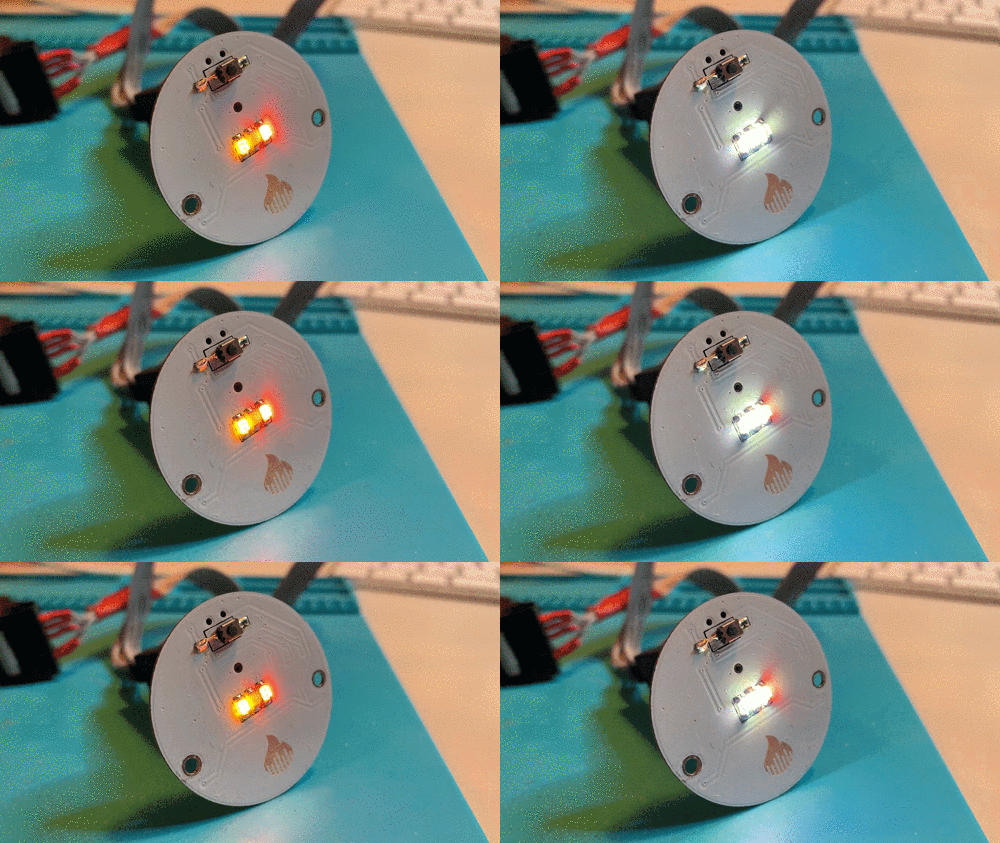
Using some test code I checked if the LED’s worked. By default running PWM on the ATTiny85 is only available on two PWM ports at the same time when you use the Arduino framework. But with the help of some sample code found on Technoblogy.com I quickly got all three LEDs up and running.
And now for the fun part! By reading the analog port and defining a volume-threshold on which the the LEDs should turn off, I’m able to “blow out the candle”. I wasn’t sure if this would work. Especially since I wasn’t able to check the soldered connections of the tiny MEMS microphone. But lo and behold … IT WORKED!

Initially I only turned off the LED’s. But since the button on the top is bound to the reset port of the ATTiny85, I could put the microcontroller to sleep as well. Better yet, as you might have seen on the PCB, I’ve added some jumper pads. this allows me to change the power input of the microphone and opamp from VCC to the spare pin of the microcontroller. This allows me to cut off the power to the microphone and amplifier whenever the candle goes in power off mode.
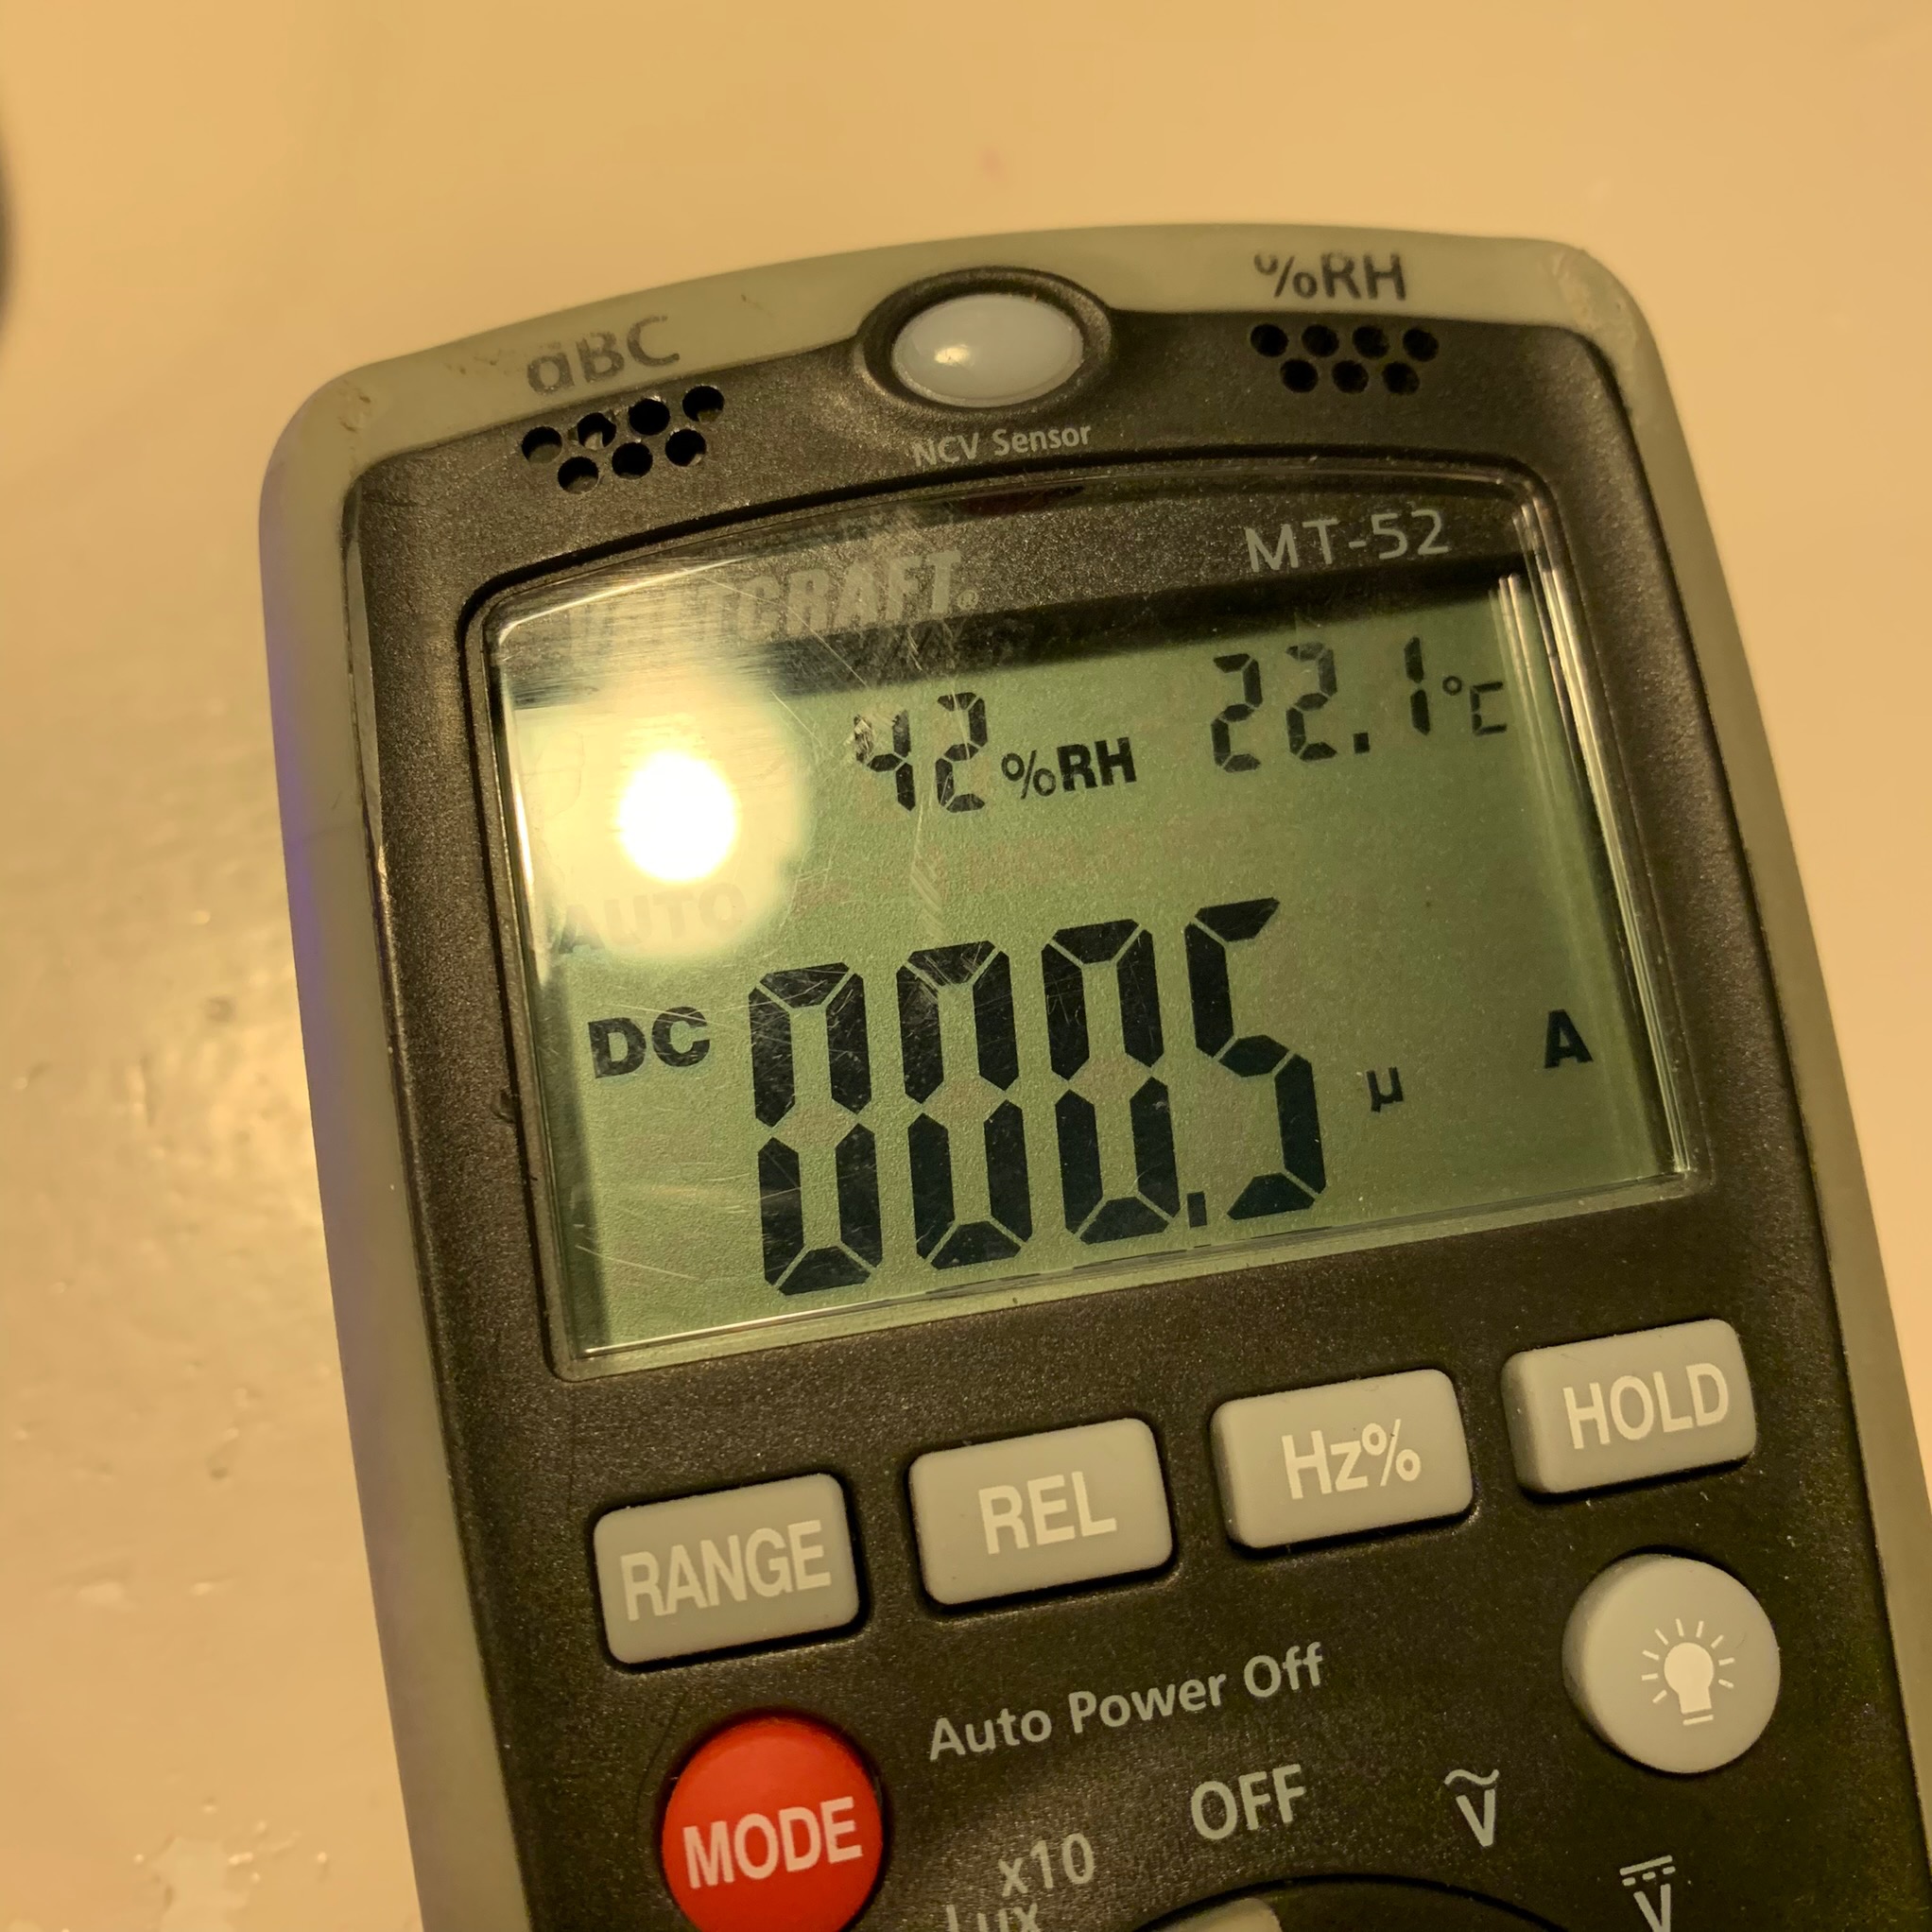
The result! 0,5uA after I blow out the candle. This way Luca can easily reuse this candle and battery until his 30th birthday. Right?!
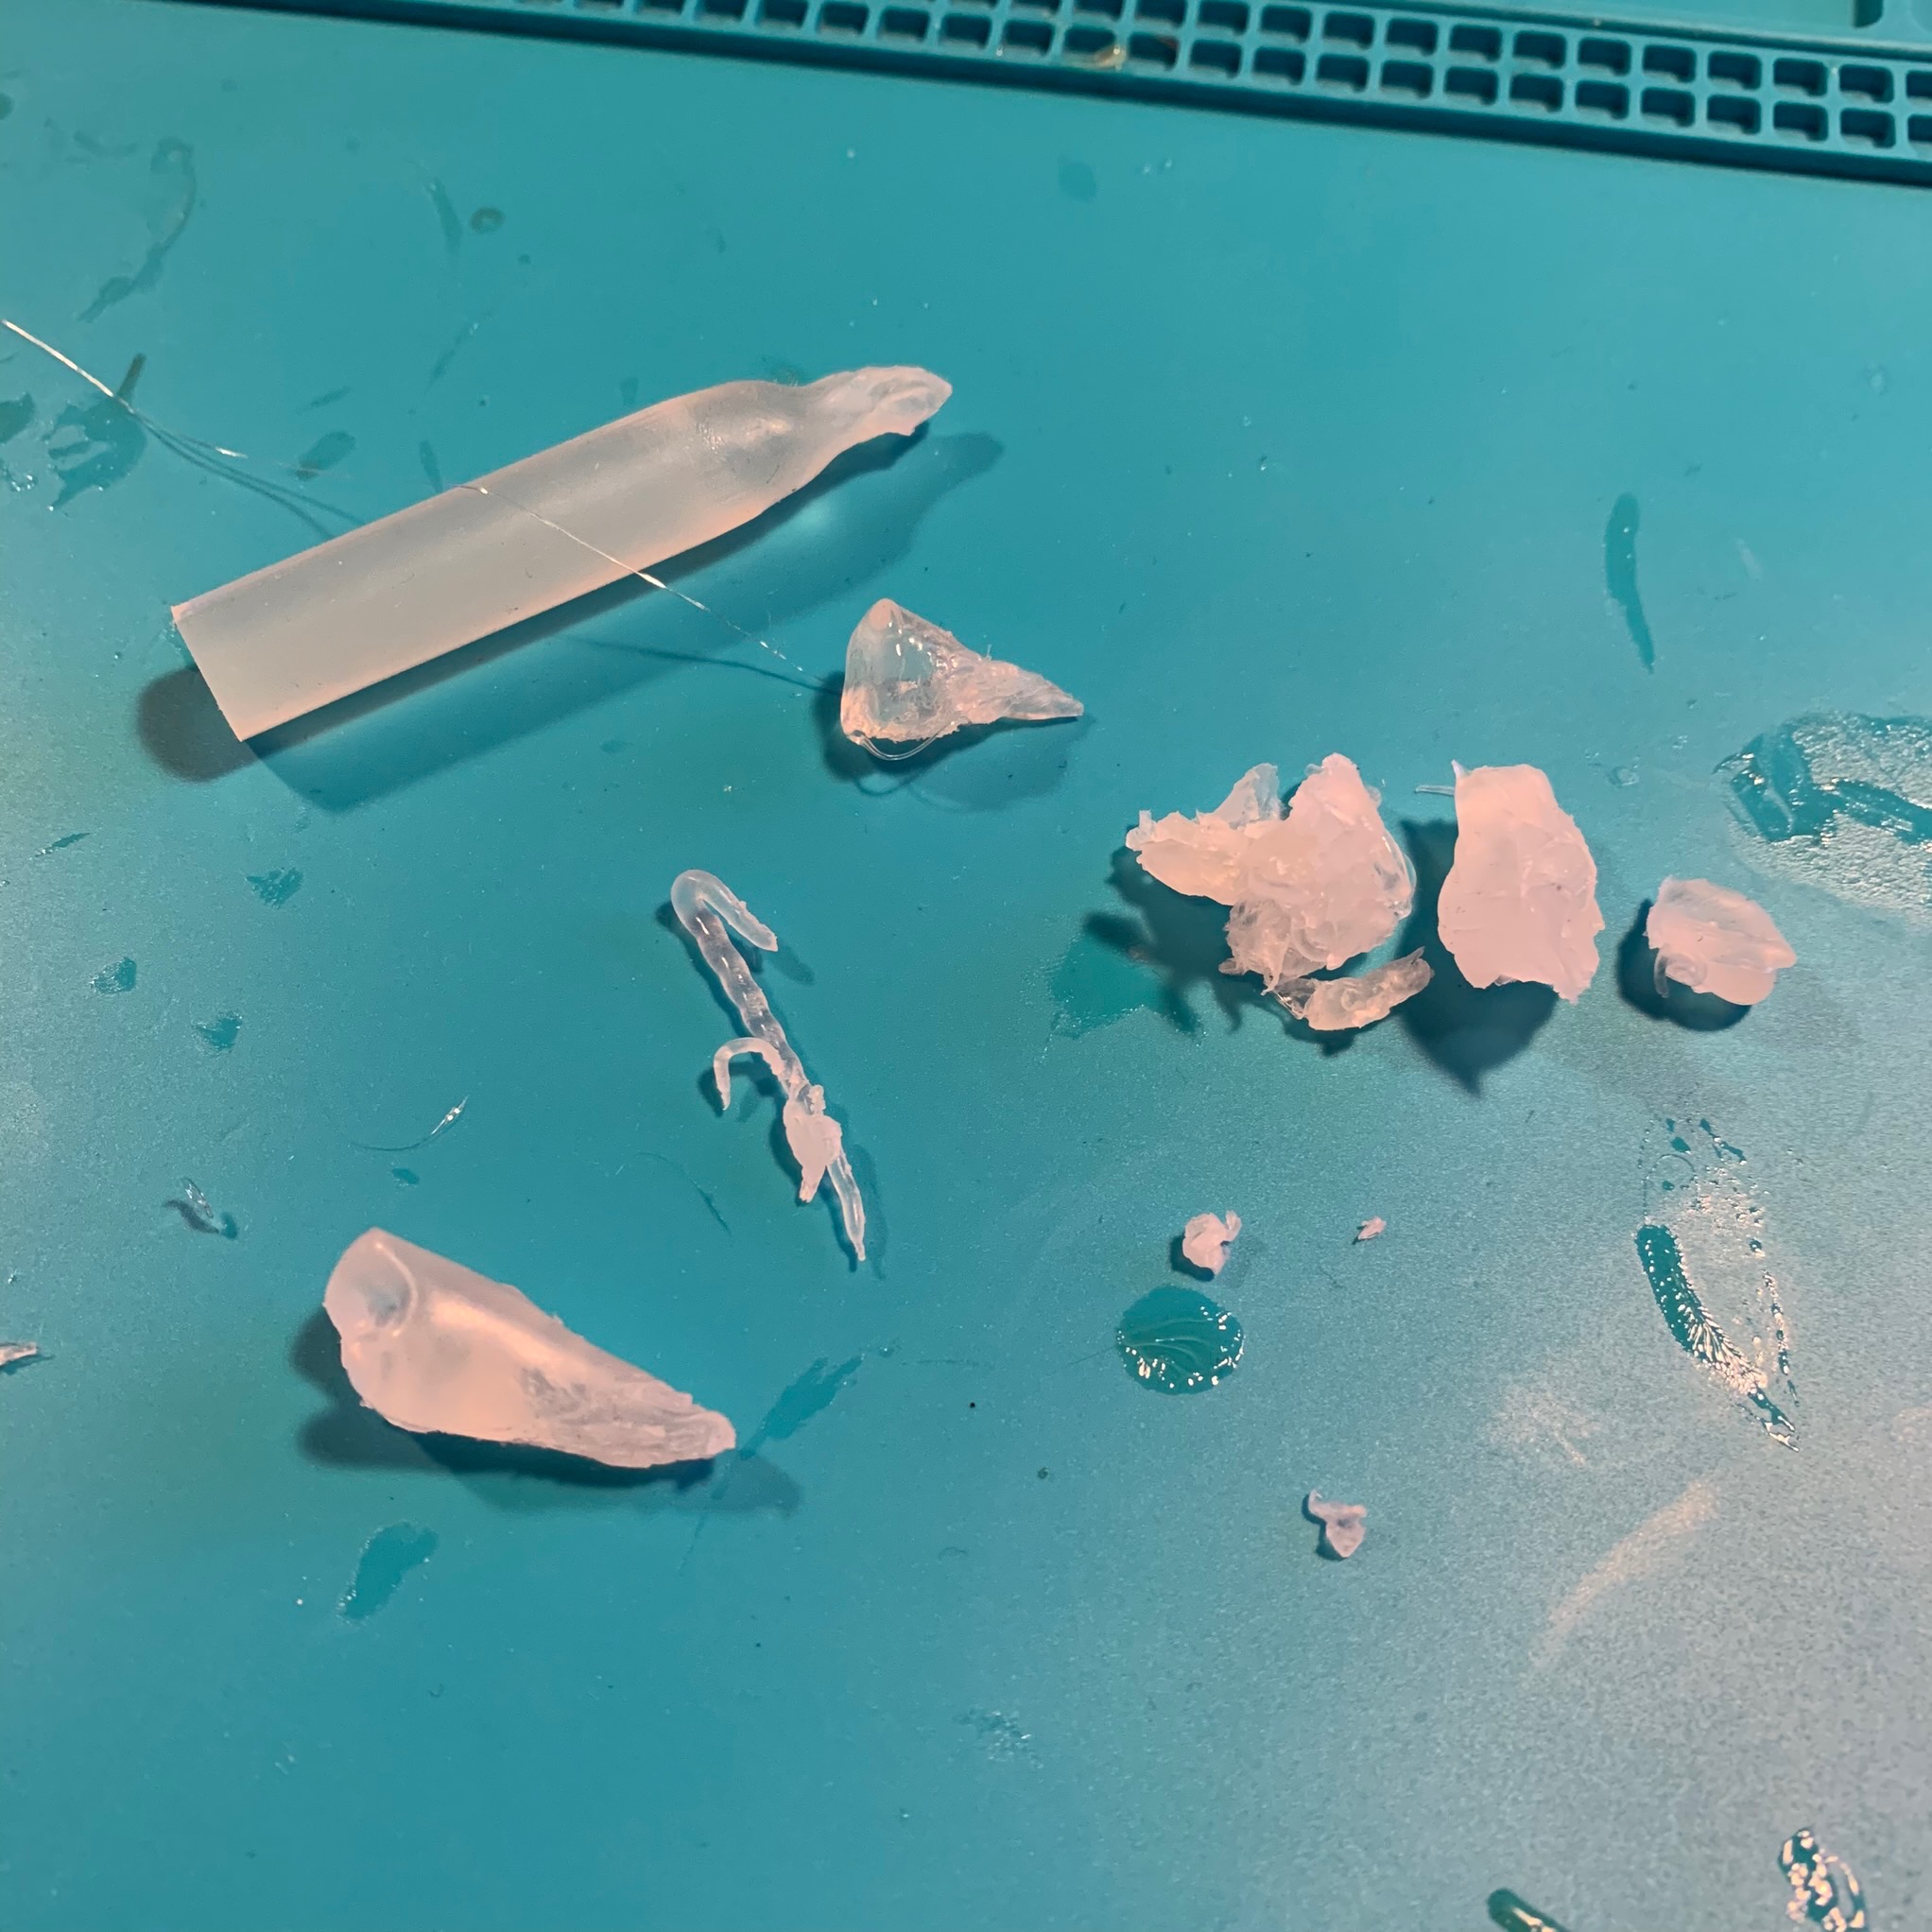
Of course, my 1 year old son will not be fooled by three little SMD LEDs, so I need to work on the packaging a bit. Some hot glue and a few blisters on my fingers is all I need to make a few convincing flames.
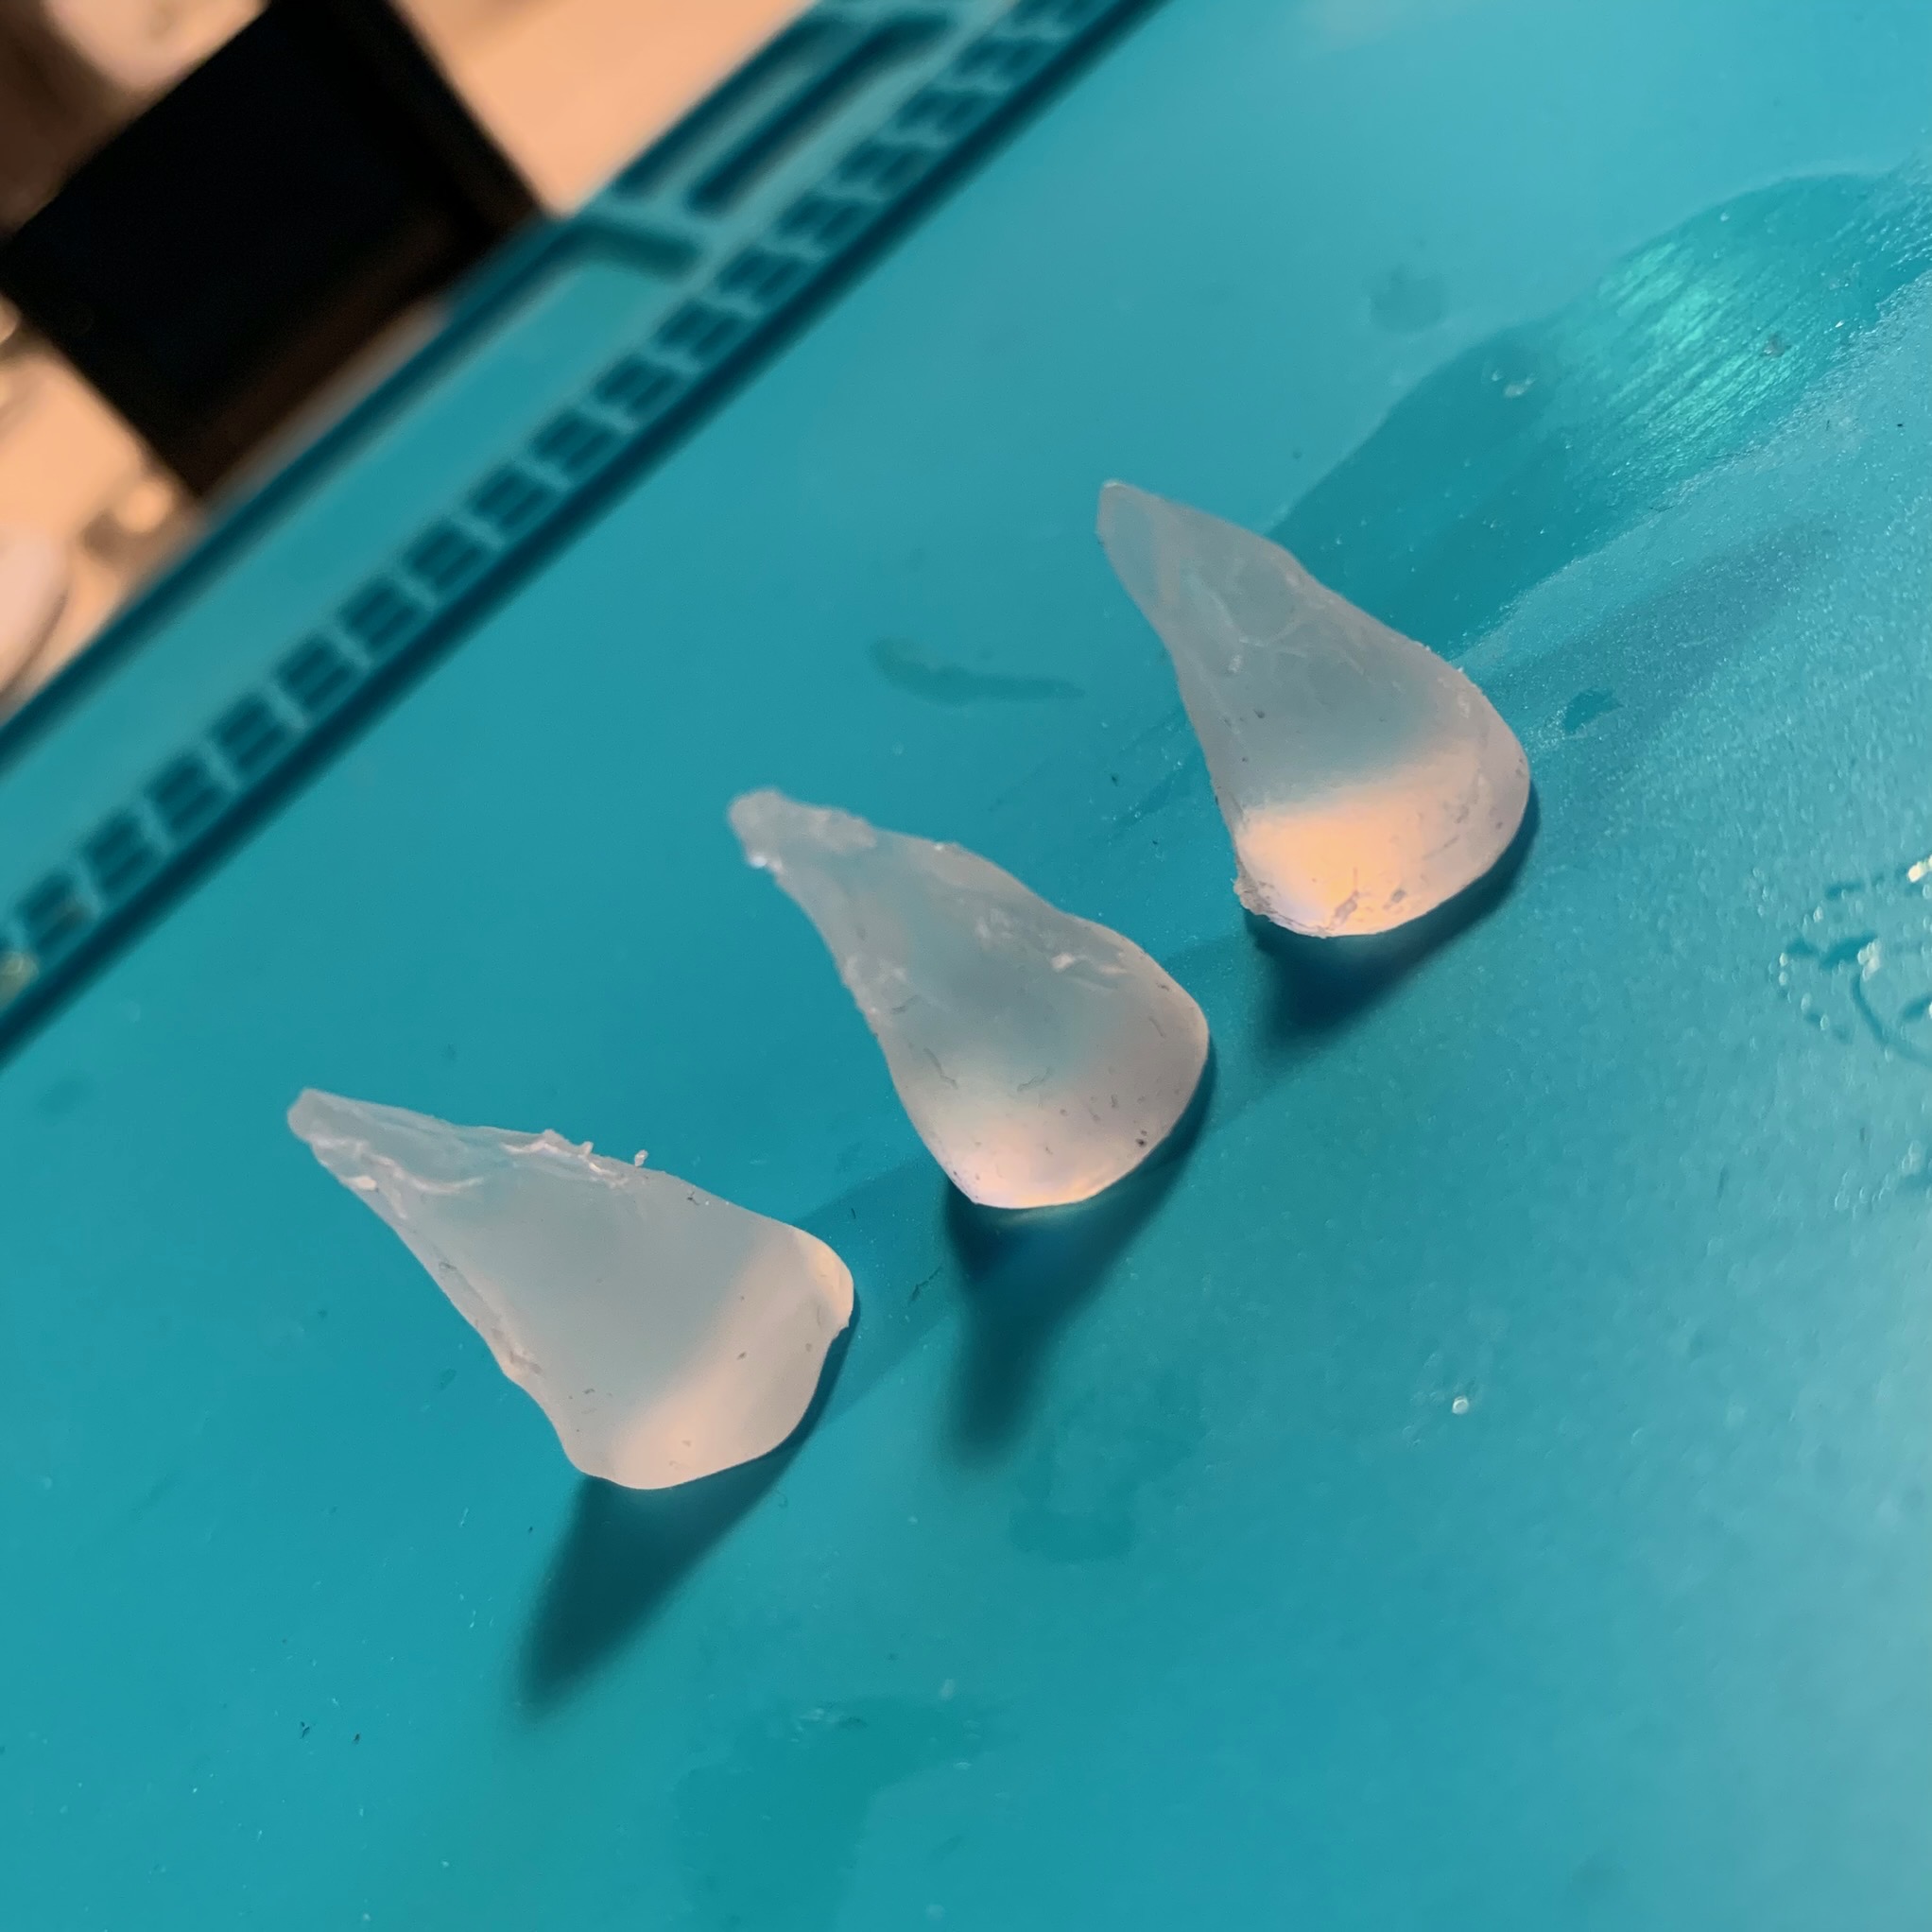
The best part of using hot glue for this, is that I only need a little bit of heat to fix it to the PCB.
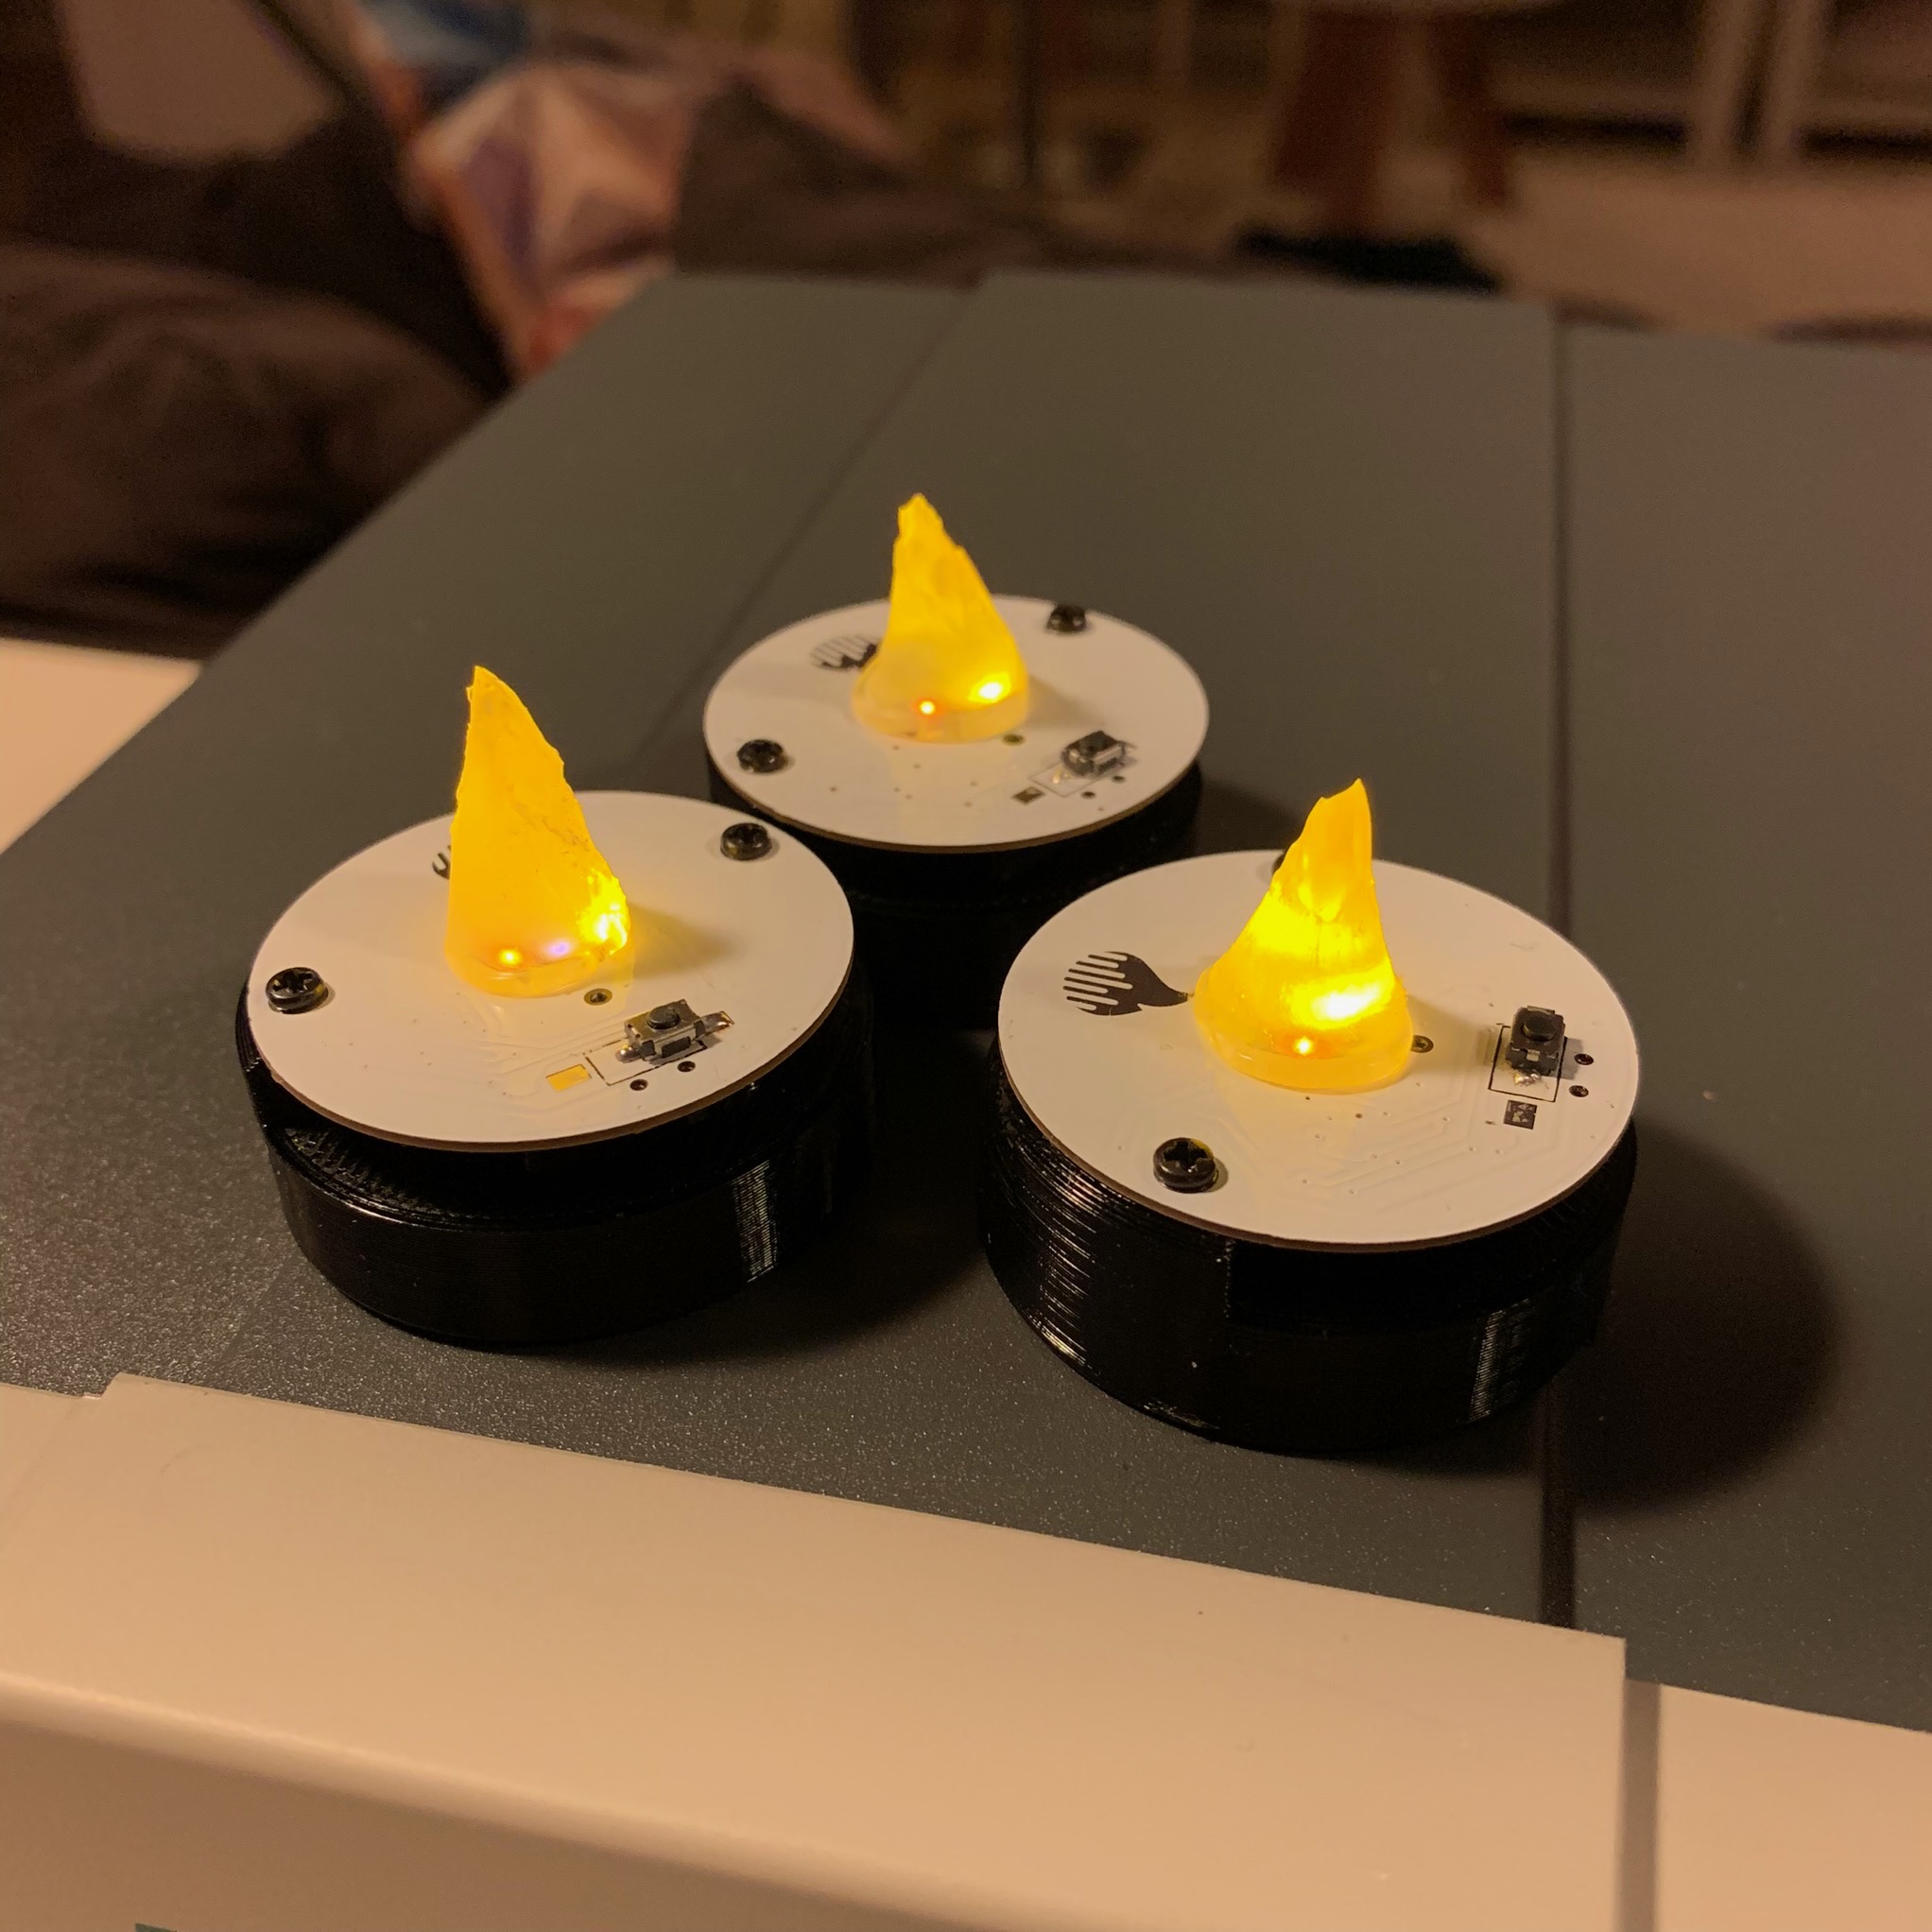
With the help of my 3D-printer I made a few holders to finish it off. I think I made some damn convincing candles!
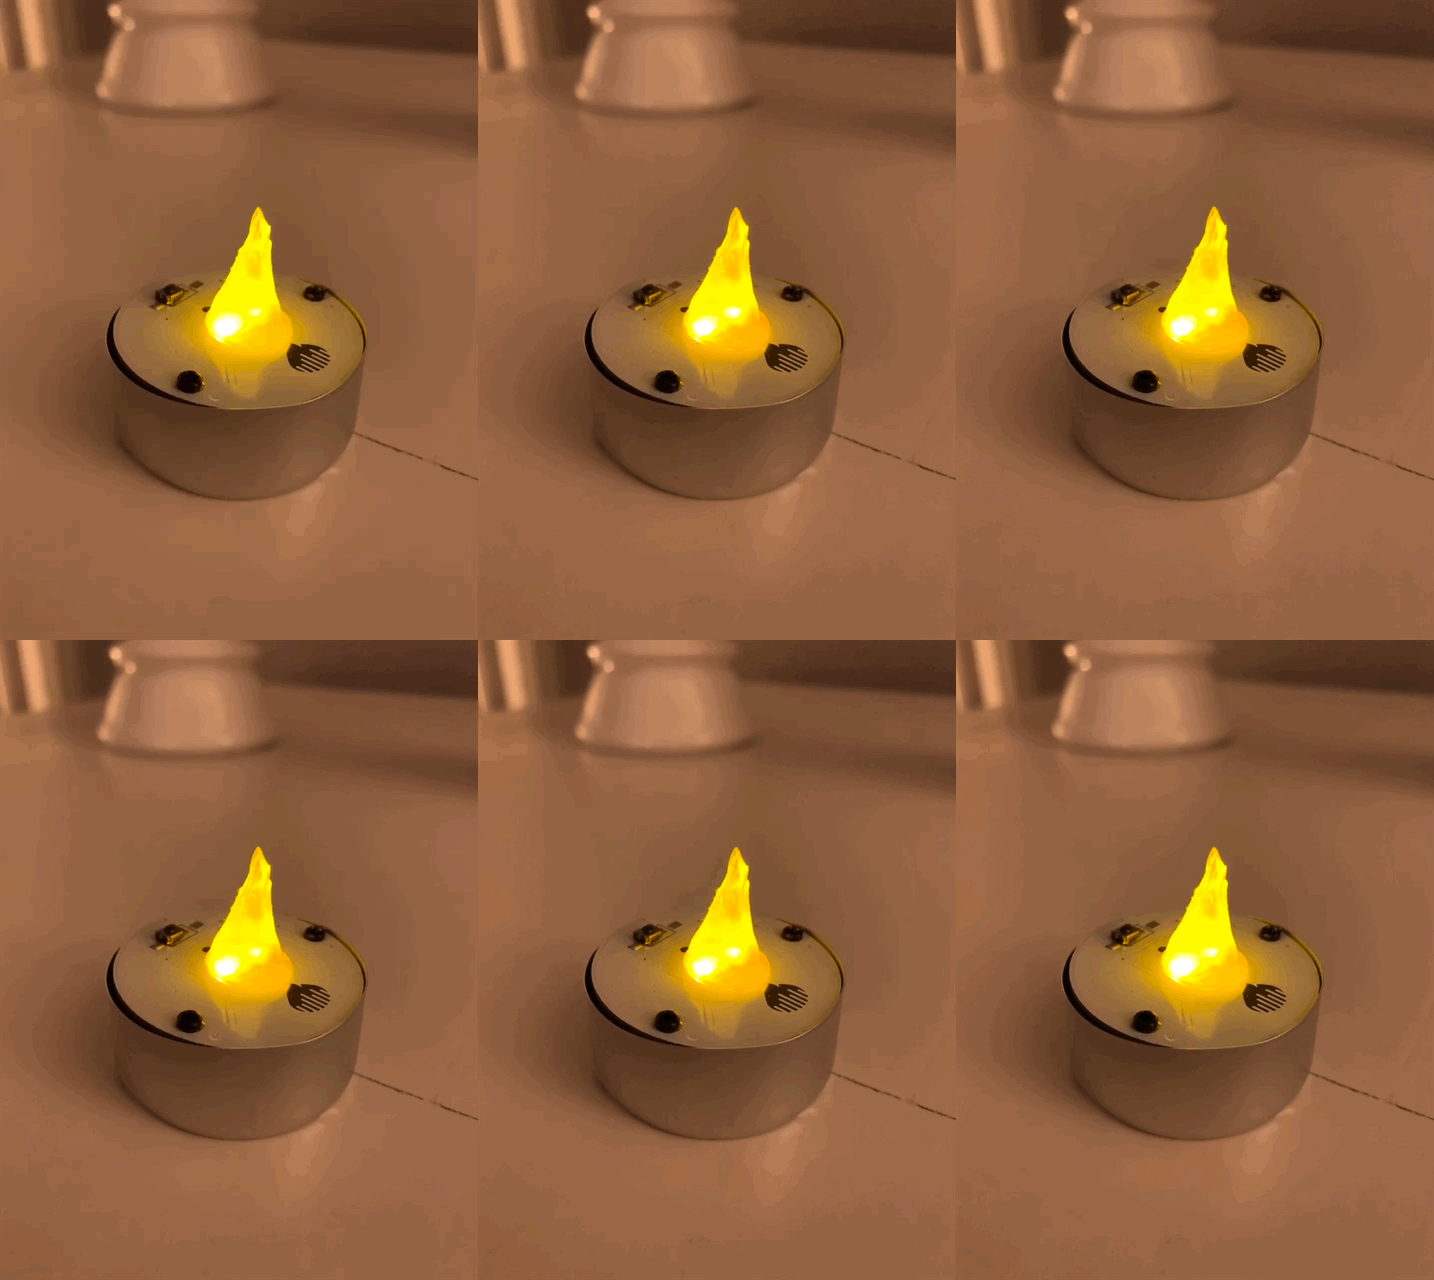
So, with all this hard work done, it was time to celebrate Luca’s first birthday … Time to show my awesome parenting skills to my wife, and make this a fire-safe party!
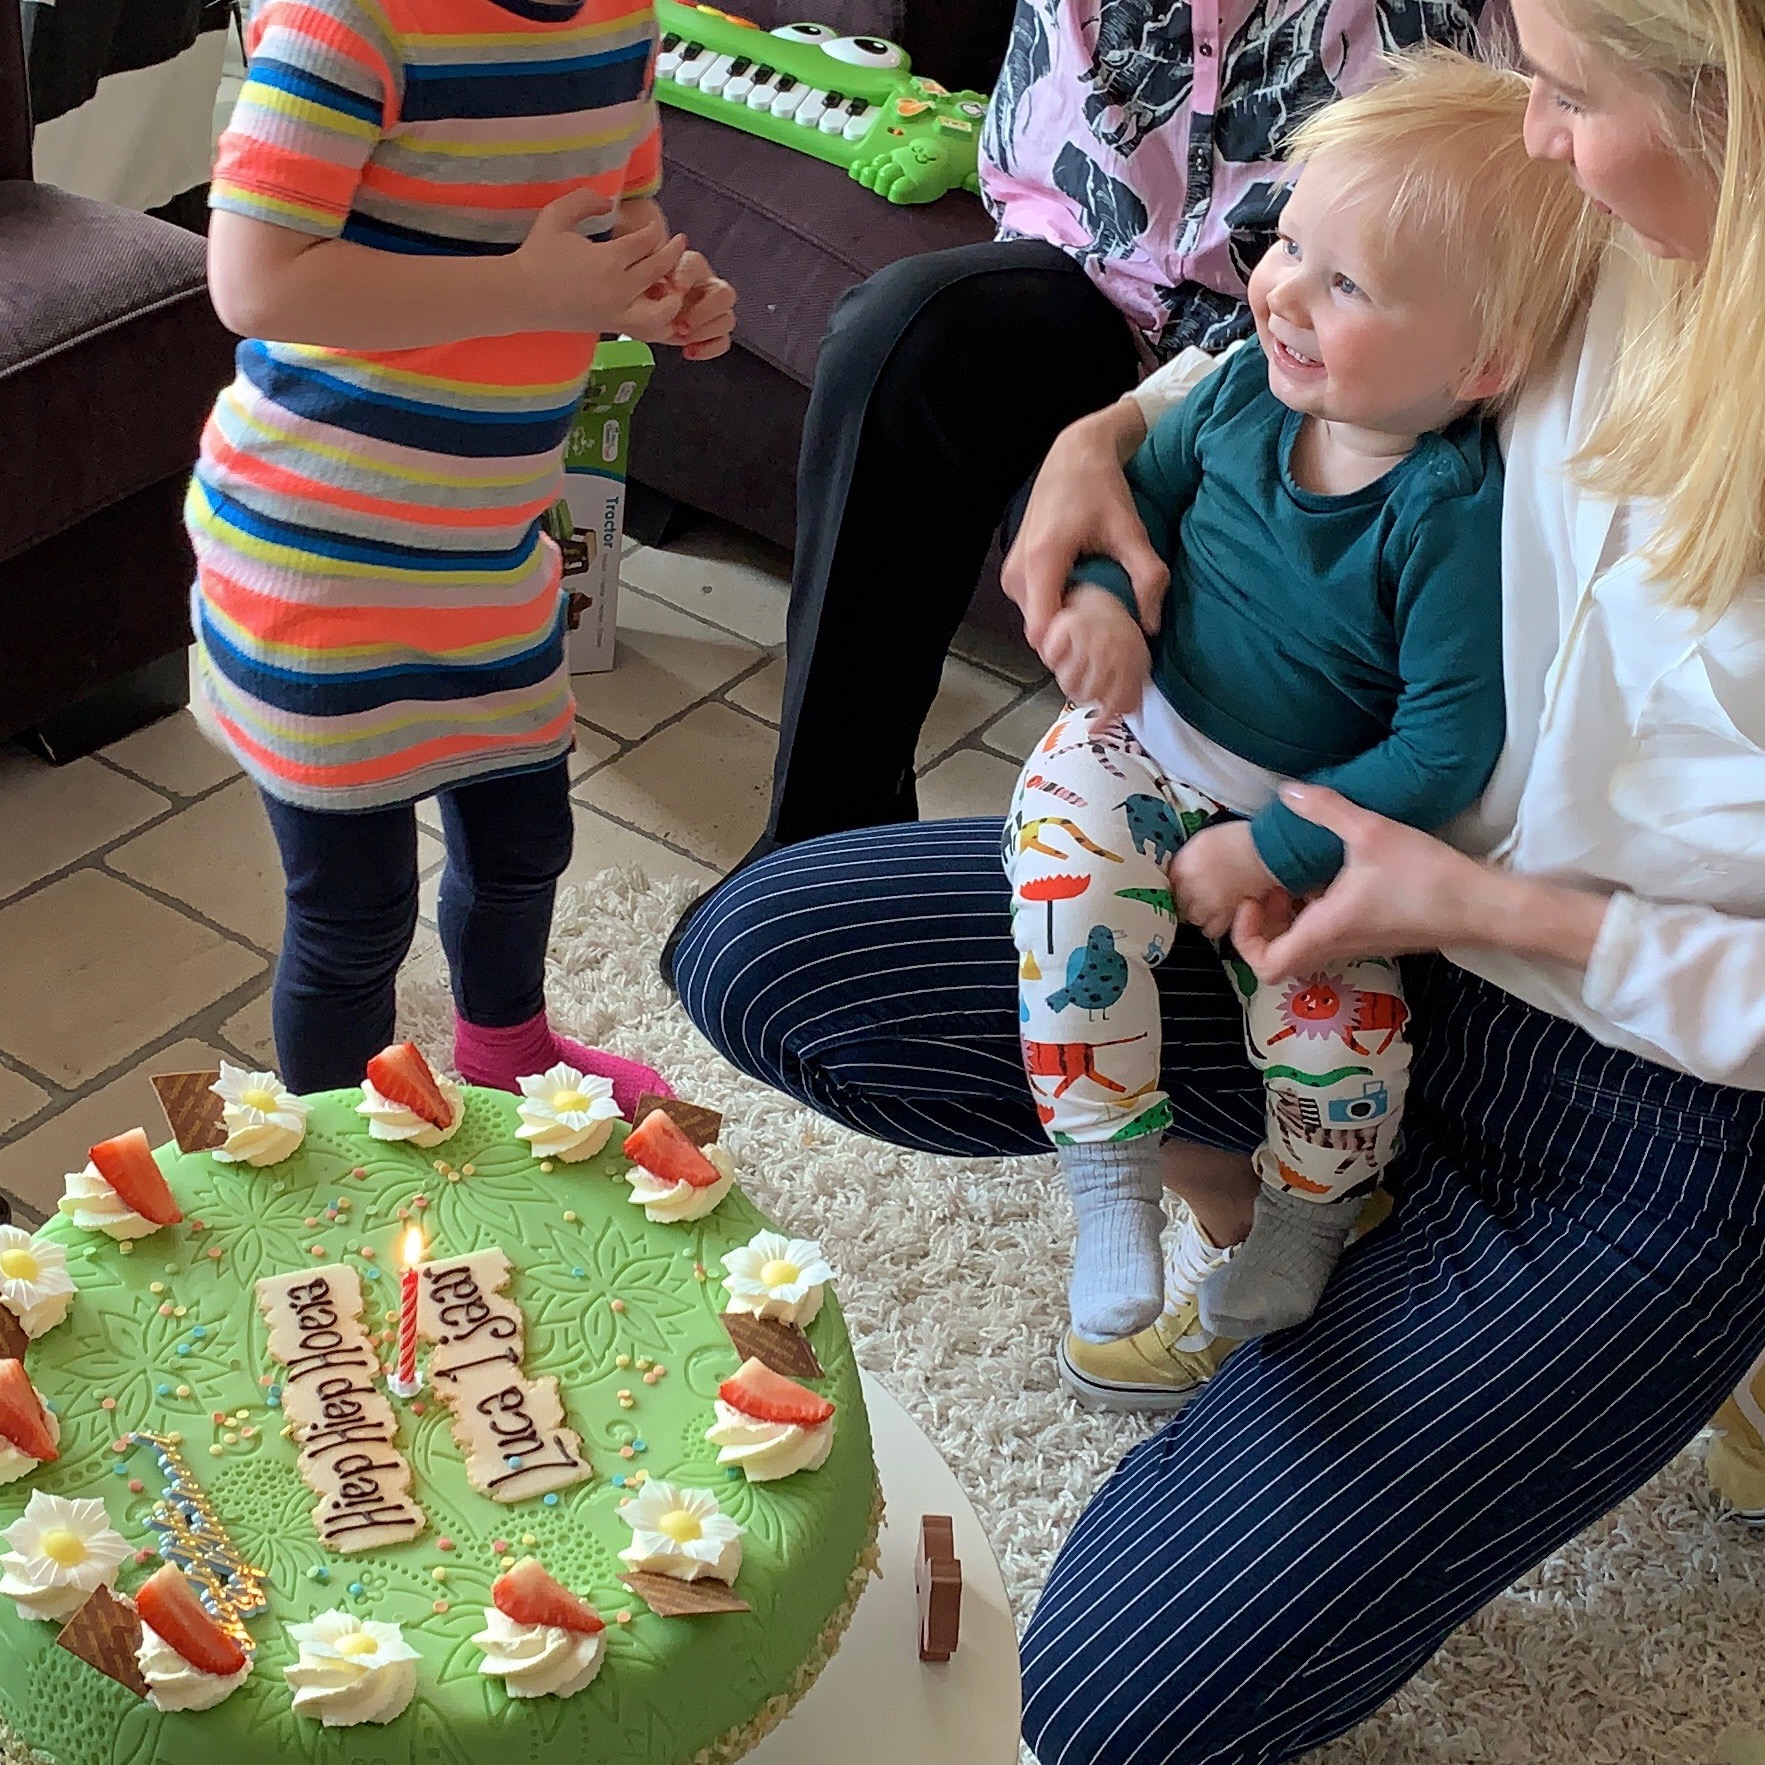
“Are you out of your mind? Real man play with real fire!” was her response. She didn’t say those exact words. But her rolling eyes and loud sigh made it absolutely clear.
So there you have it. A big birthday cake with one 5 cent candle. A candle with real fire.
Oh well … What matters is that Luca had a great birthday party!

Congratulations little fellow! Hopefully one day we will burn our fingers together. Not with the help of a candle. But with the help of your own soldering iron.
