If you are a regular visitor of my blog, you might know that (with a few exceptions) I’ve been posting a new blog posts every two weeks. Unfortunately I skipped this regular update last week, because I’ve been a little bit sick. Nothing major, but I didn’t want to contaminate my boxes of SMD components with germs. So after a few days of sleep it’s time to get back to business and start with something small. Literally.
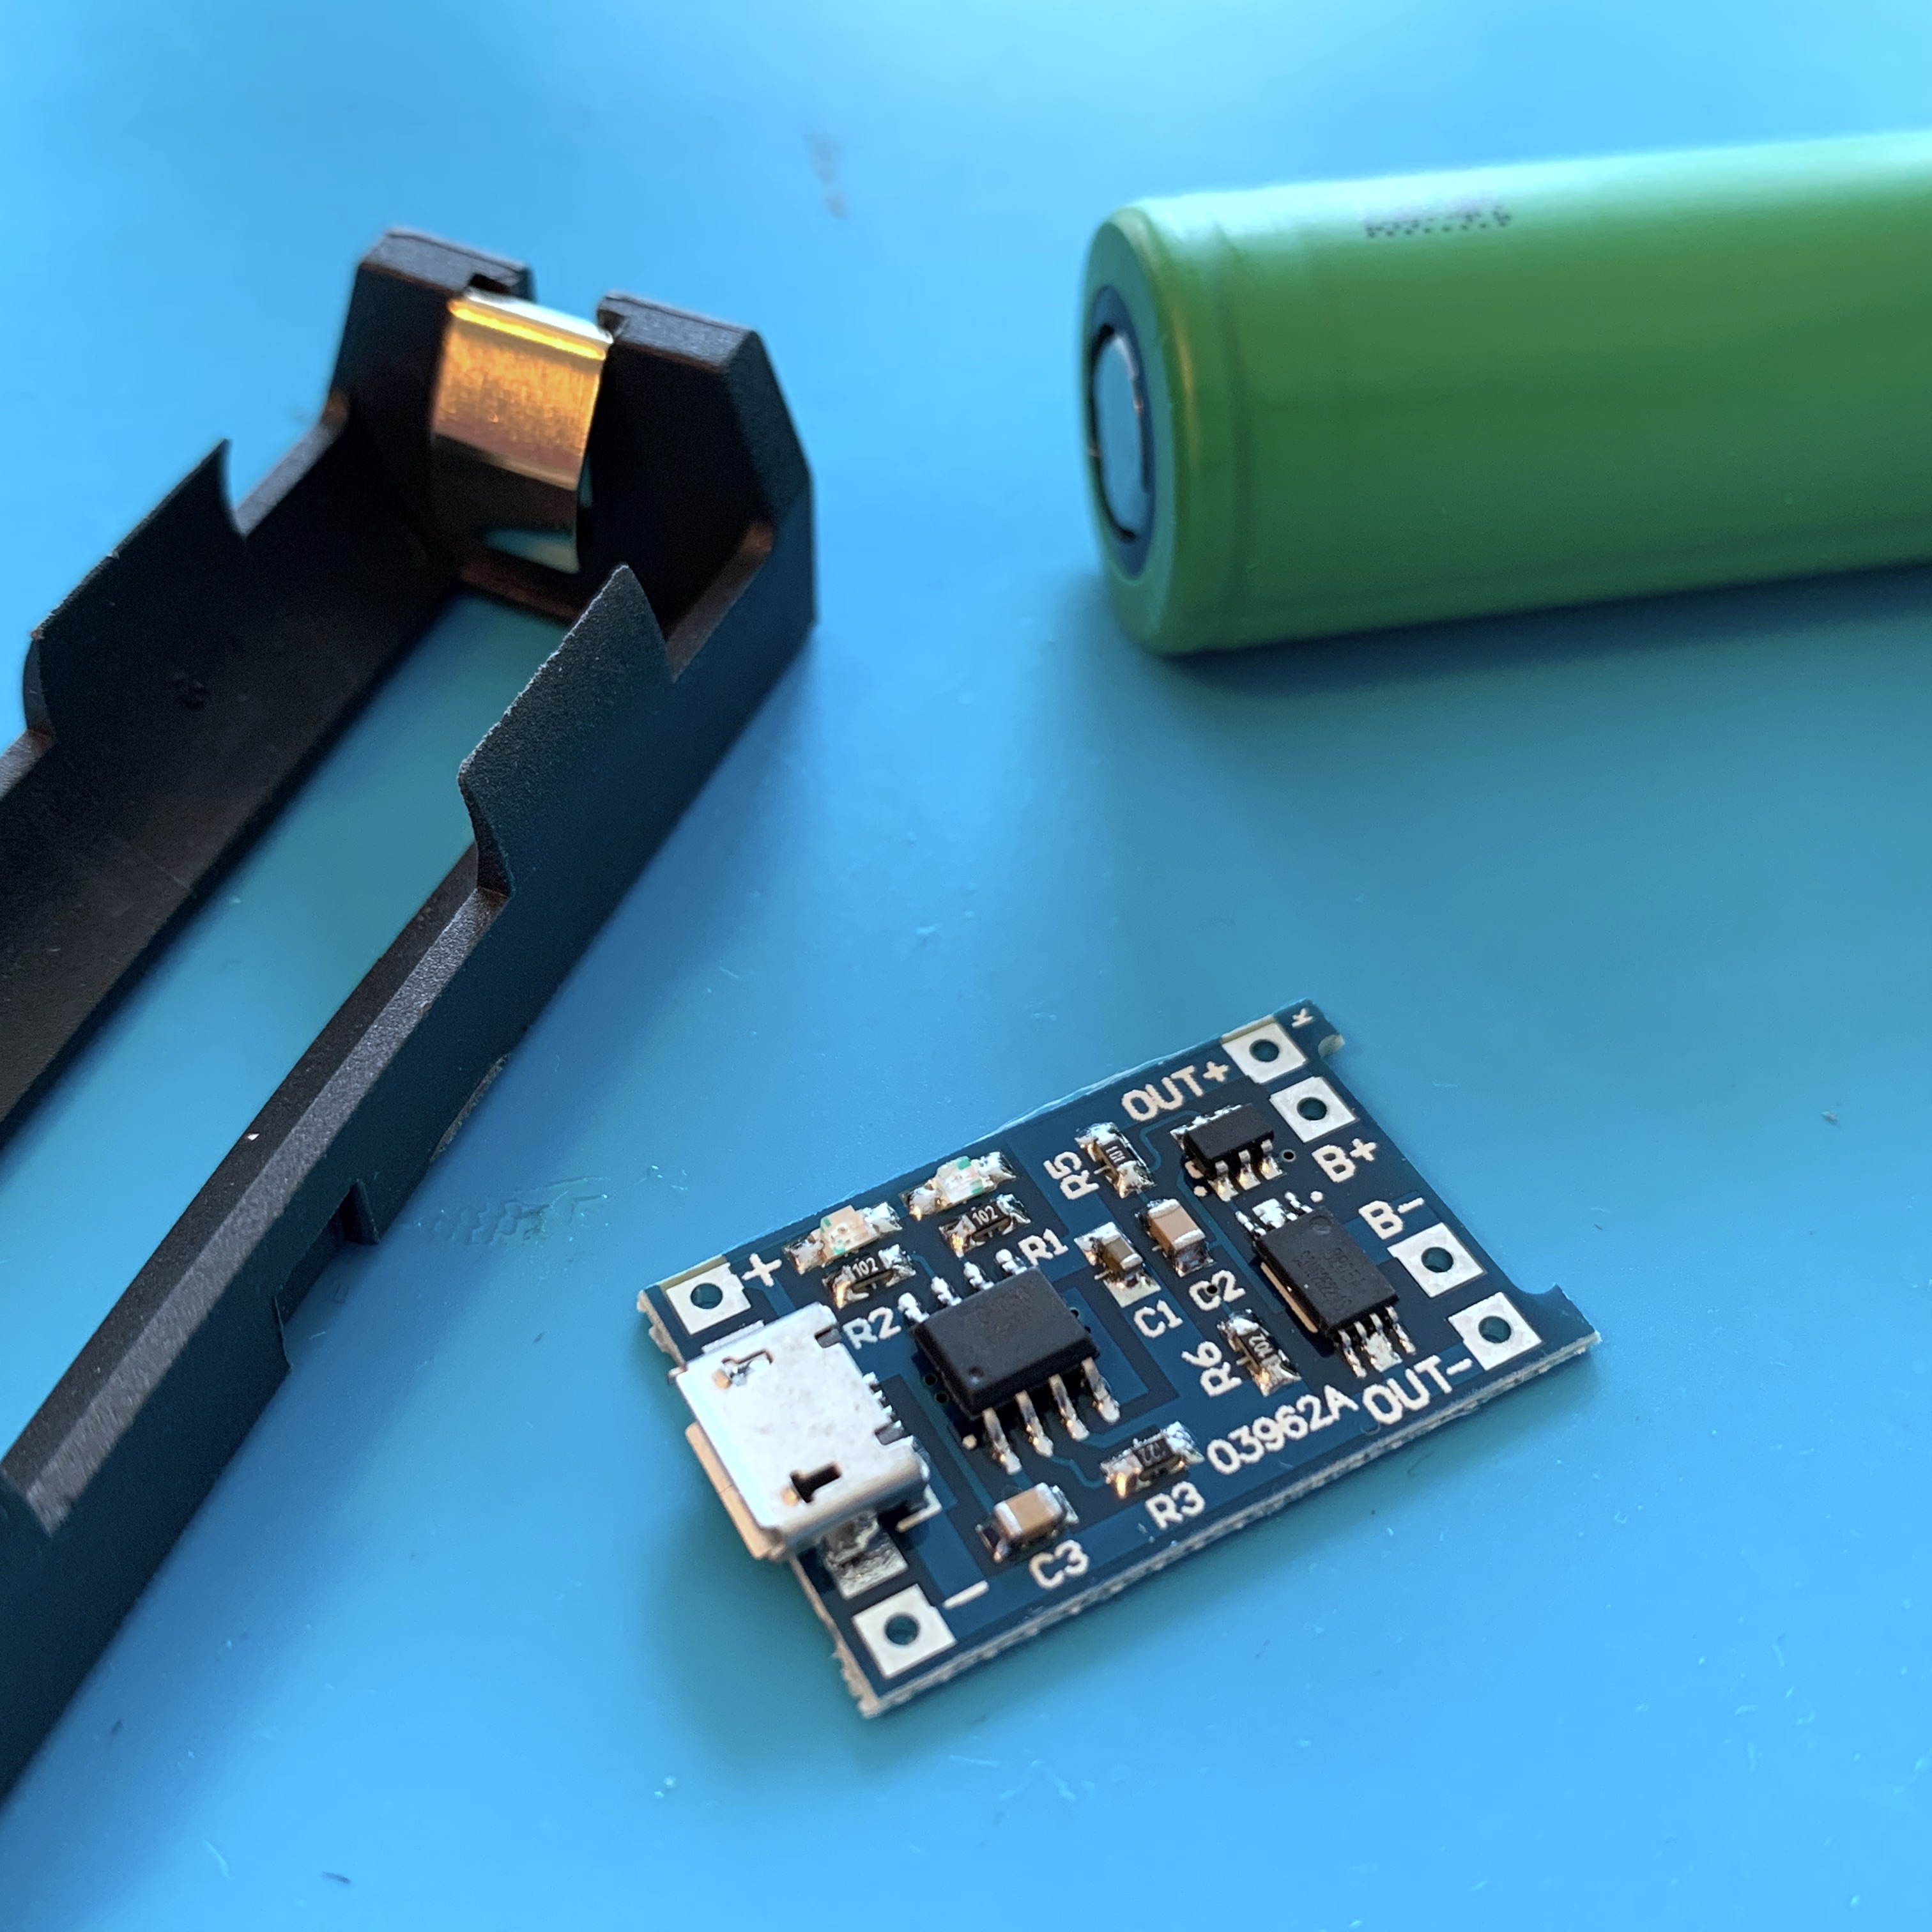
Due to my mandatory rest, I haven’t had the time to work on something interesting to blog about. Of course this happens every once in a while, and so my usual solution is to just go through my recent Ali Express deliveries, to see if there is something I can either get up and running, or kill with some magic smoke.
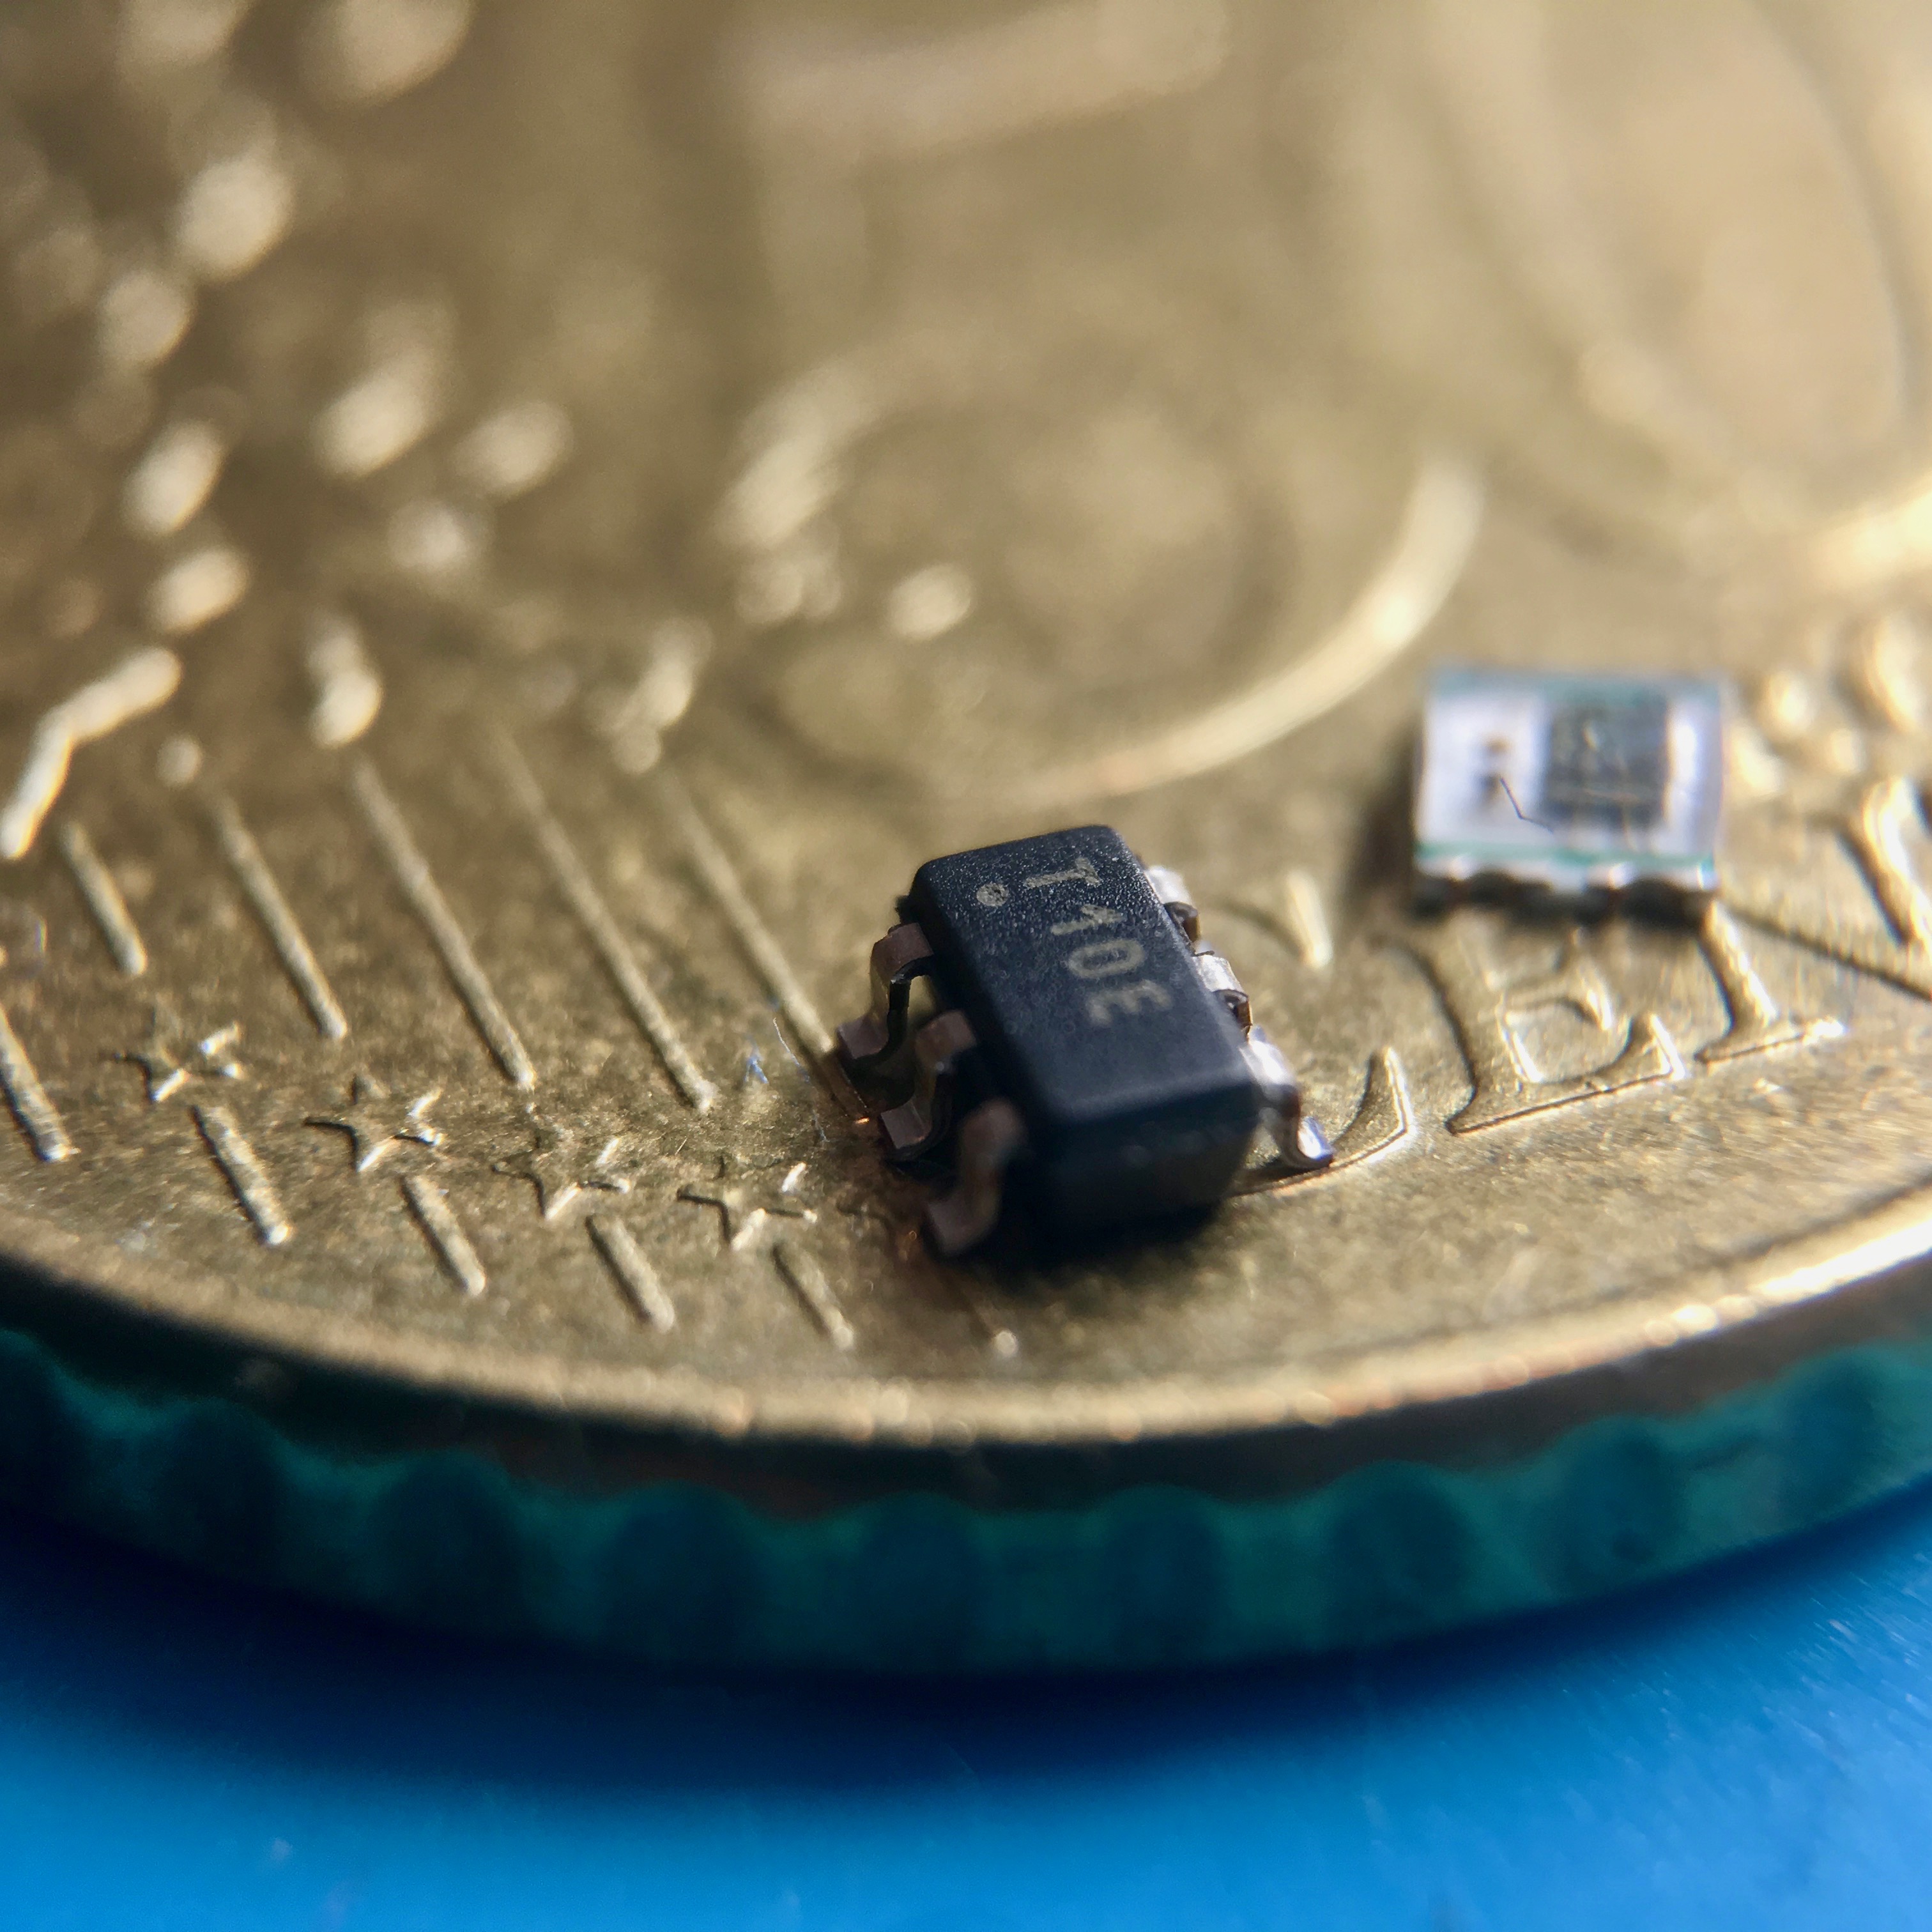
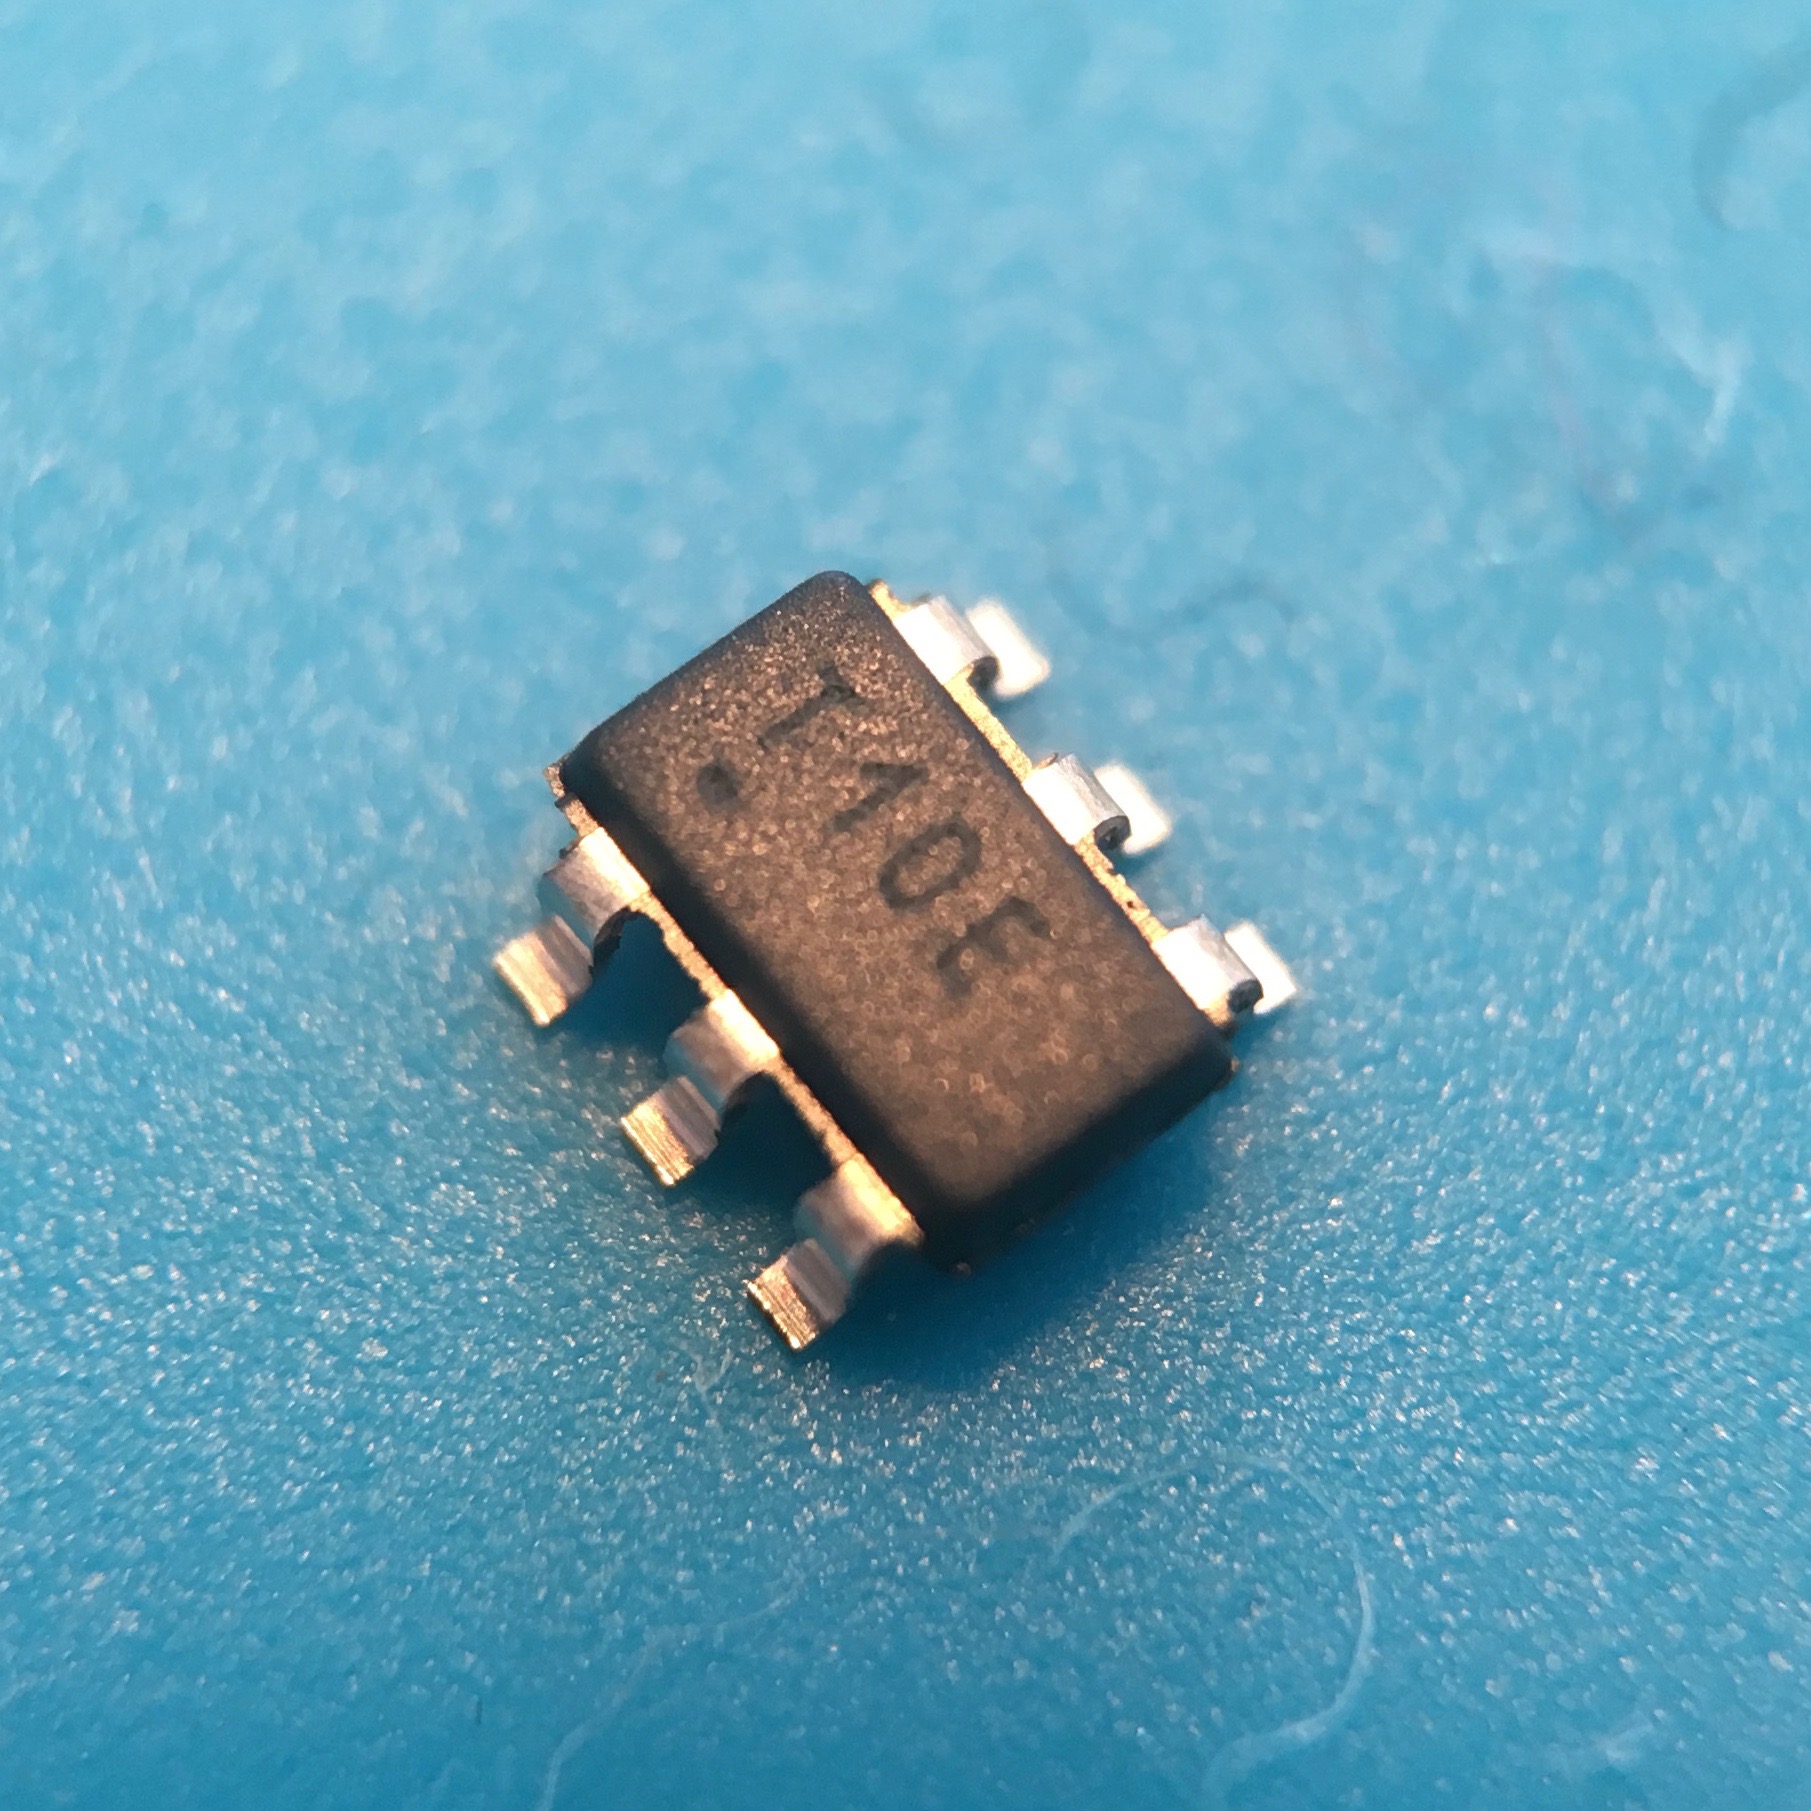
Soon I found a suitable candidate: the ATTiny10. This tiny guy contains a 12Mhz 8-bit micro controller with 1024 bytes of flash memory and 32 bytes of ram. Of course a micro controller is a bit boring without any in- or output, so i wanted to combine it with an other recent delivery: A WS2812B addressable RGB led in a 2020 package. Together with some 0.2mm enameled wire this can be a pretty fascinating micro-project.

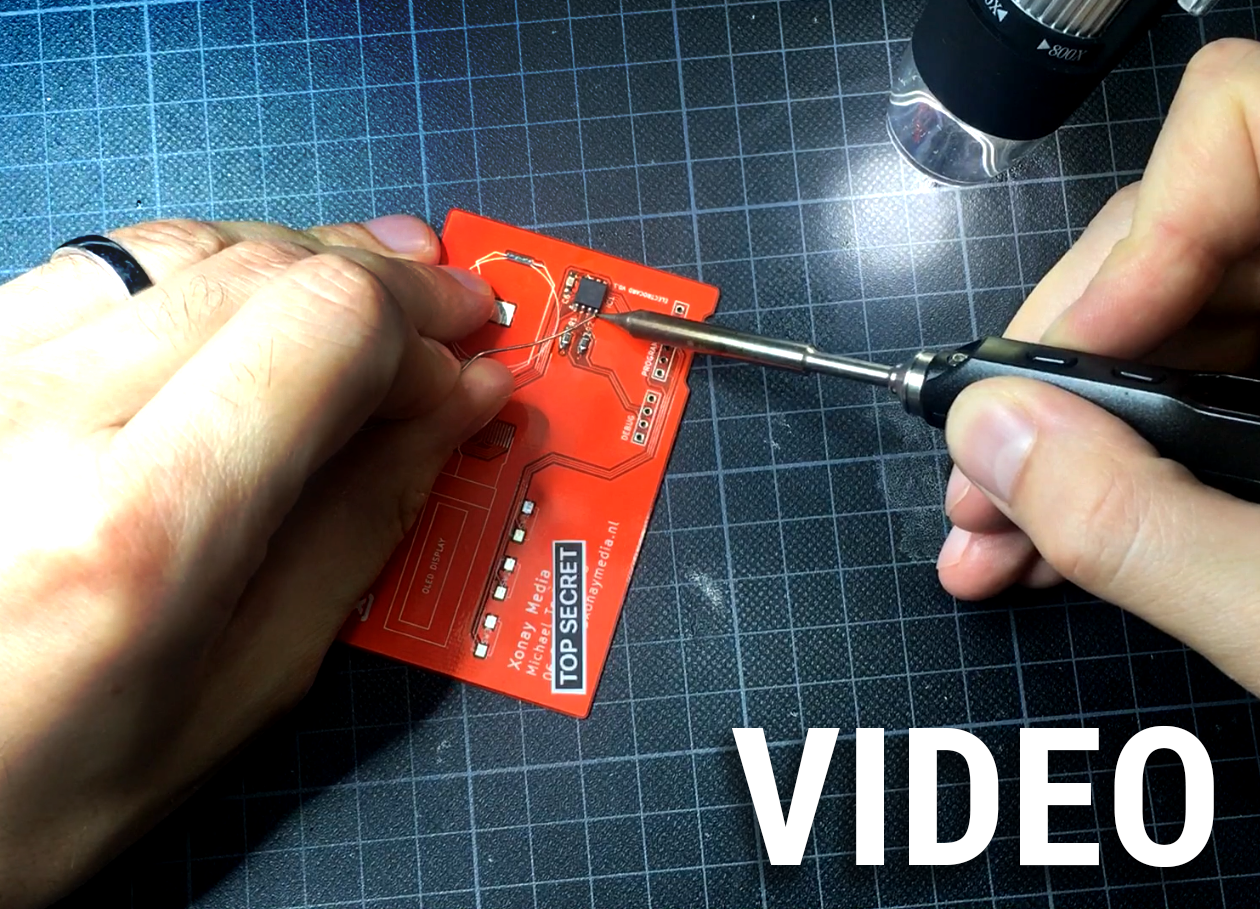
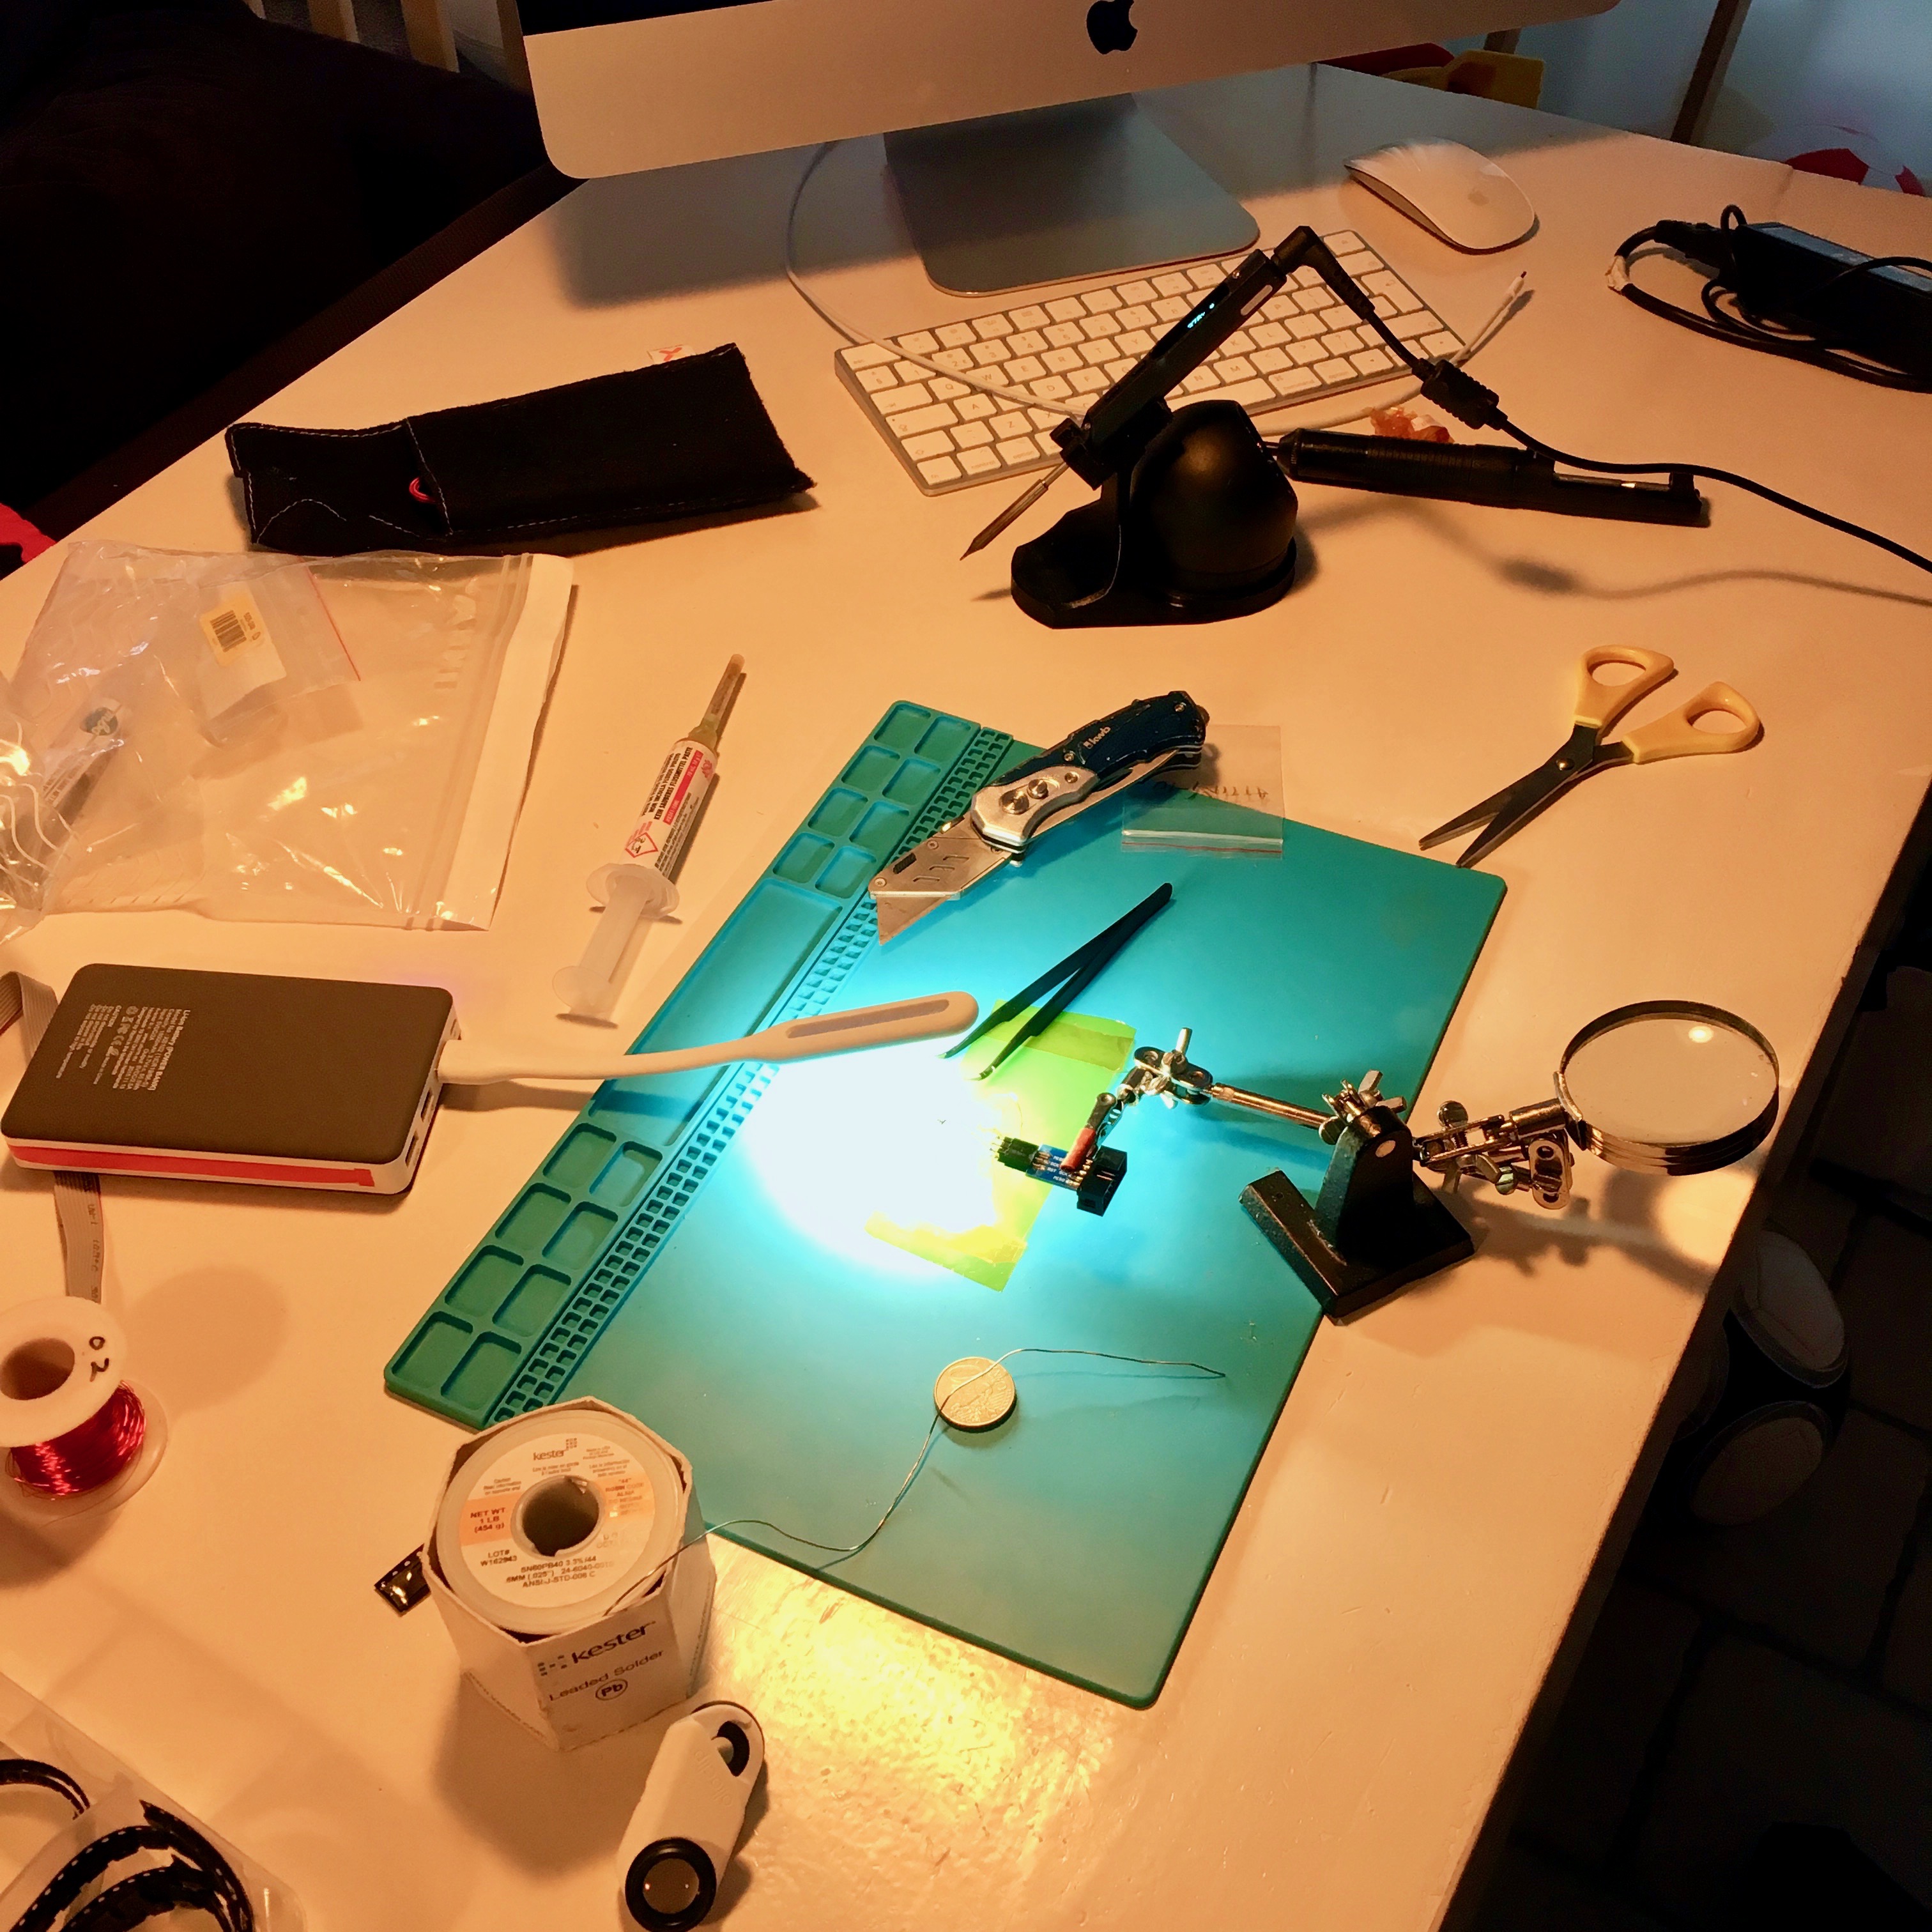
To make the soldering a bit doable, I put some kapton-tape on my workbench, sticky side up. This allows me to keep both component in place while I try to reach the limit of my soldering skills.

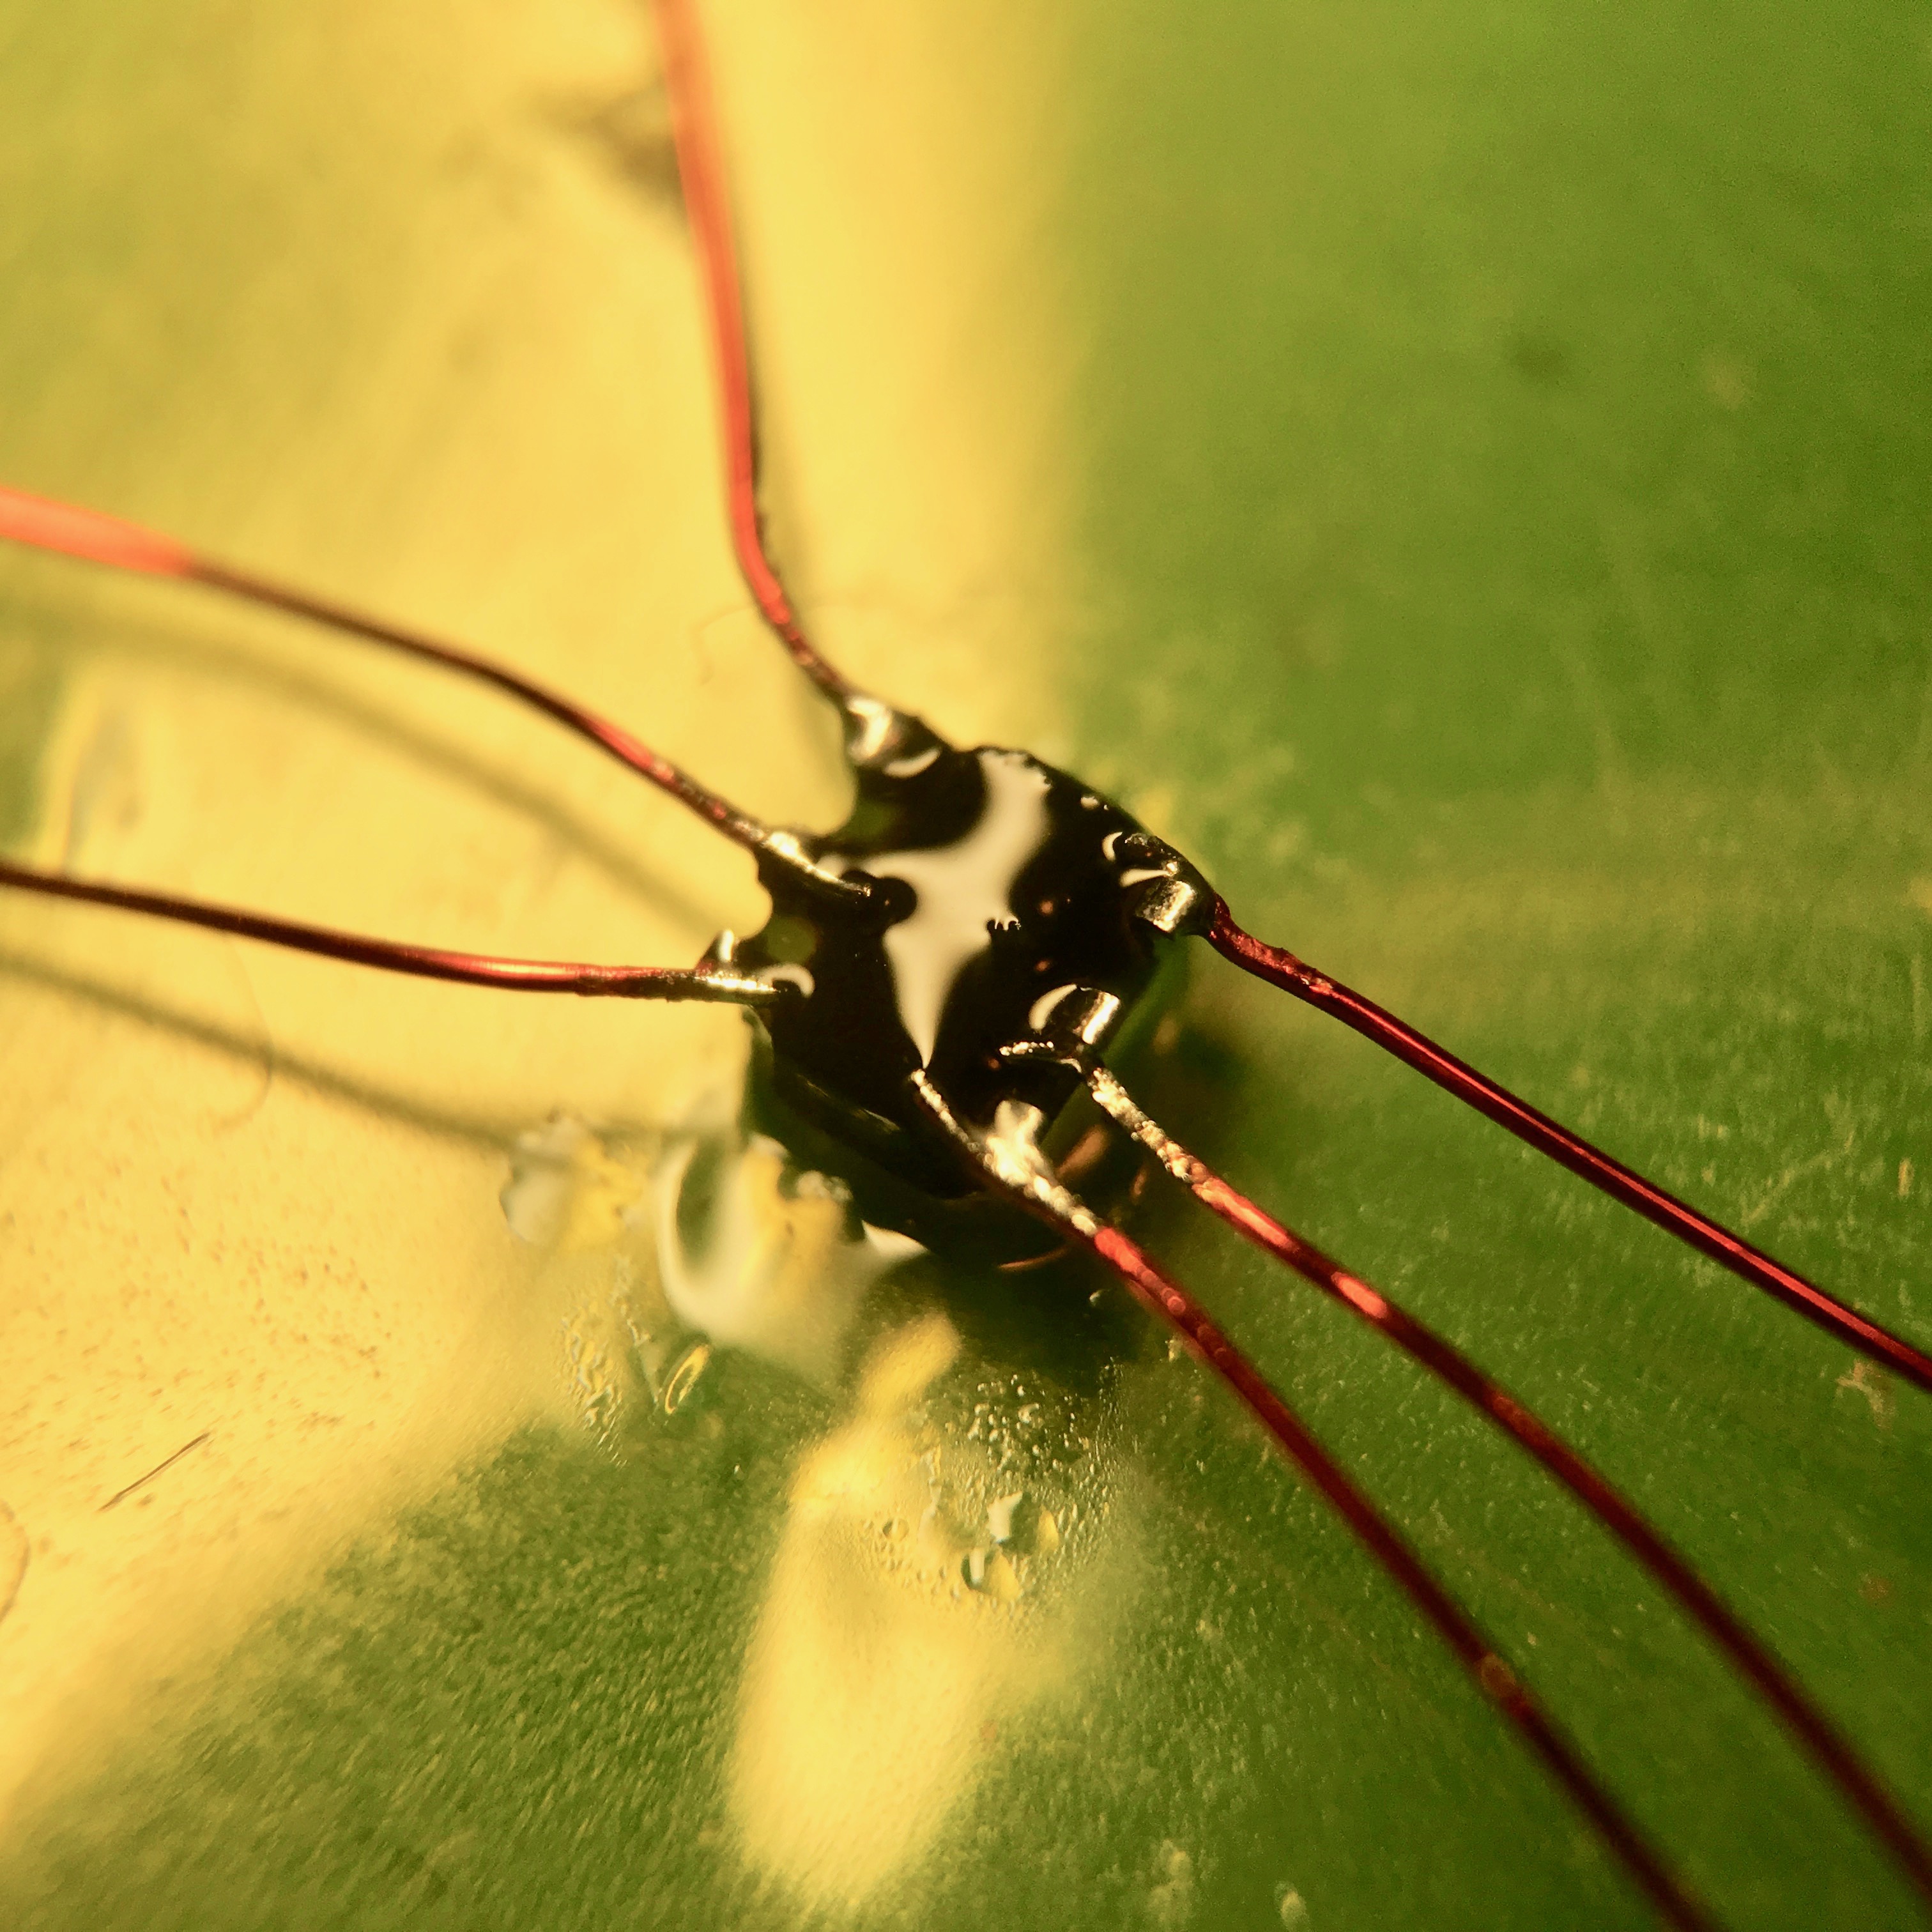
First, let’s connect some wires to the ATTiny10. With a macro lens in front of my iPhone’s camera, it looks like it’s huge. Unfortunately it’s still roughly the size of my soldering iron’s tip.

Let’s start the surgery. Please be quiet, and don’t breath to much or else we need to start all over again.
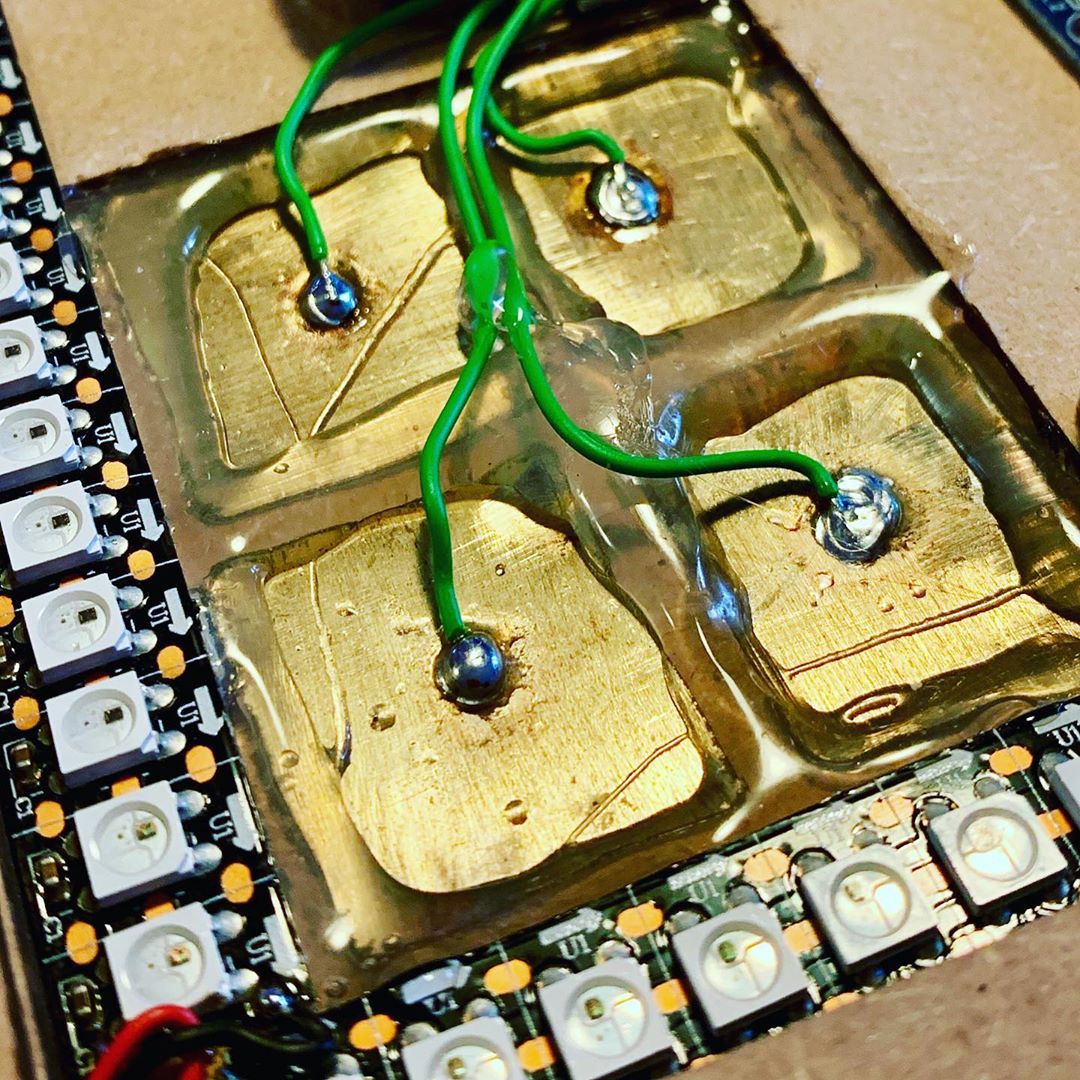
After a few burned fingers, too much soldering flux and to my own surprise I managed to connect wires to all six pins.
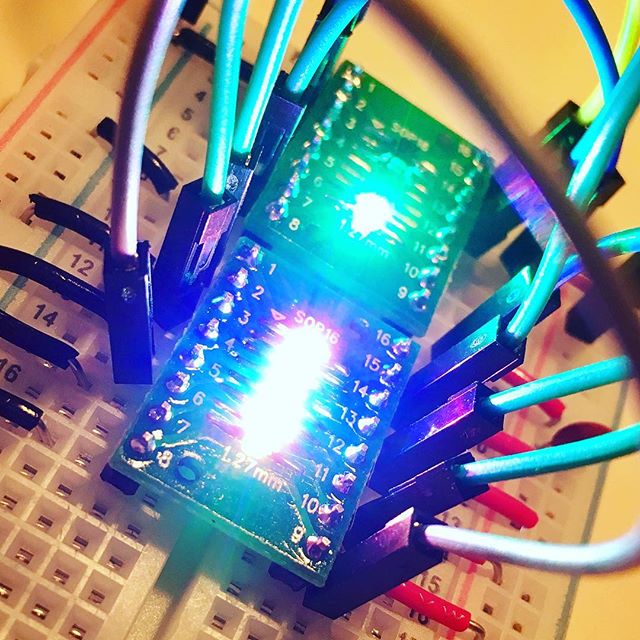
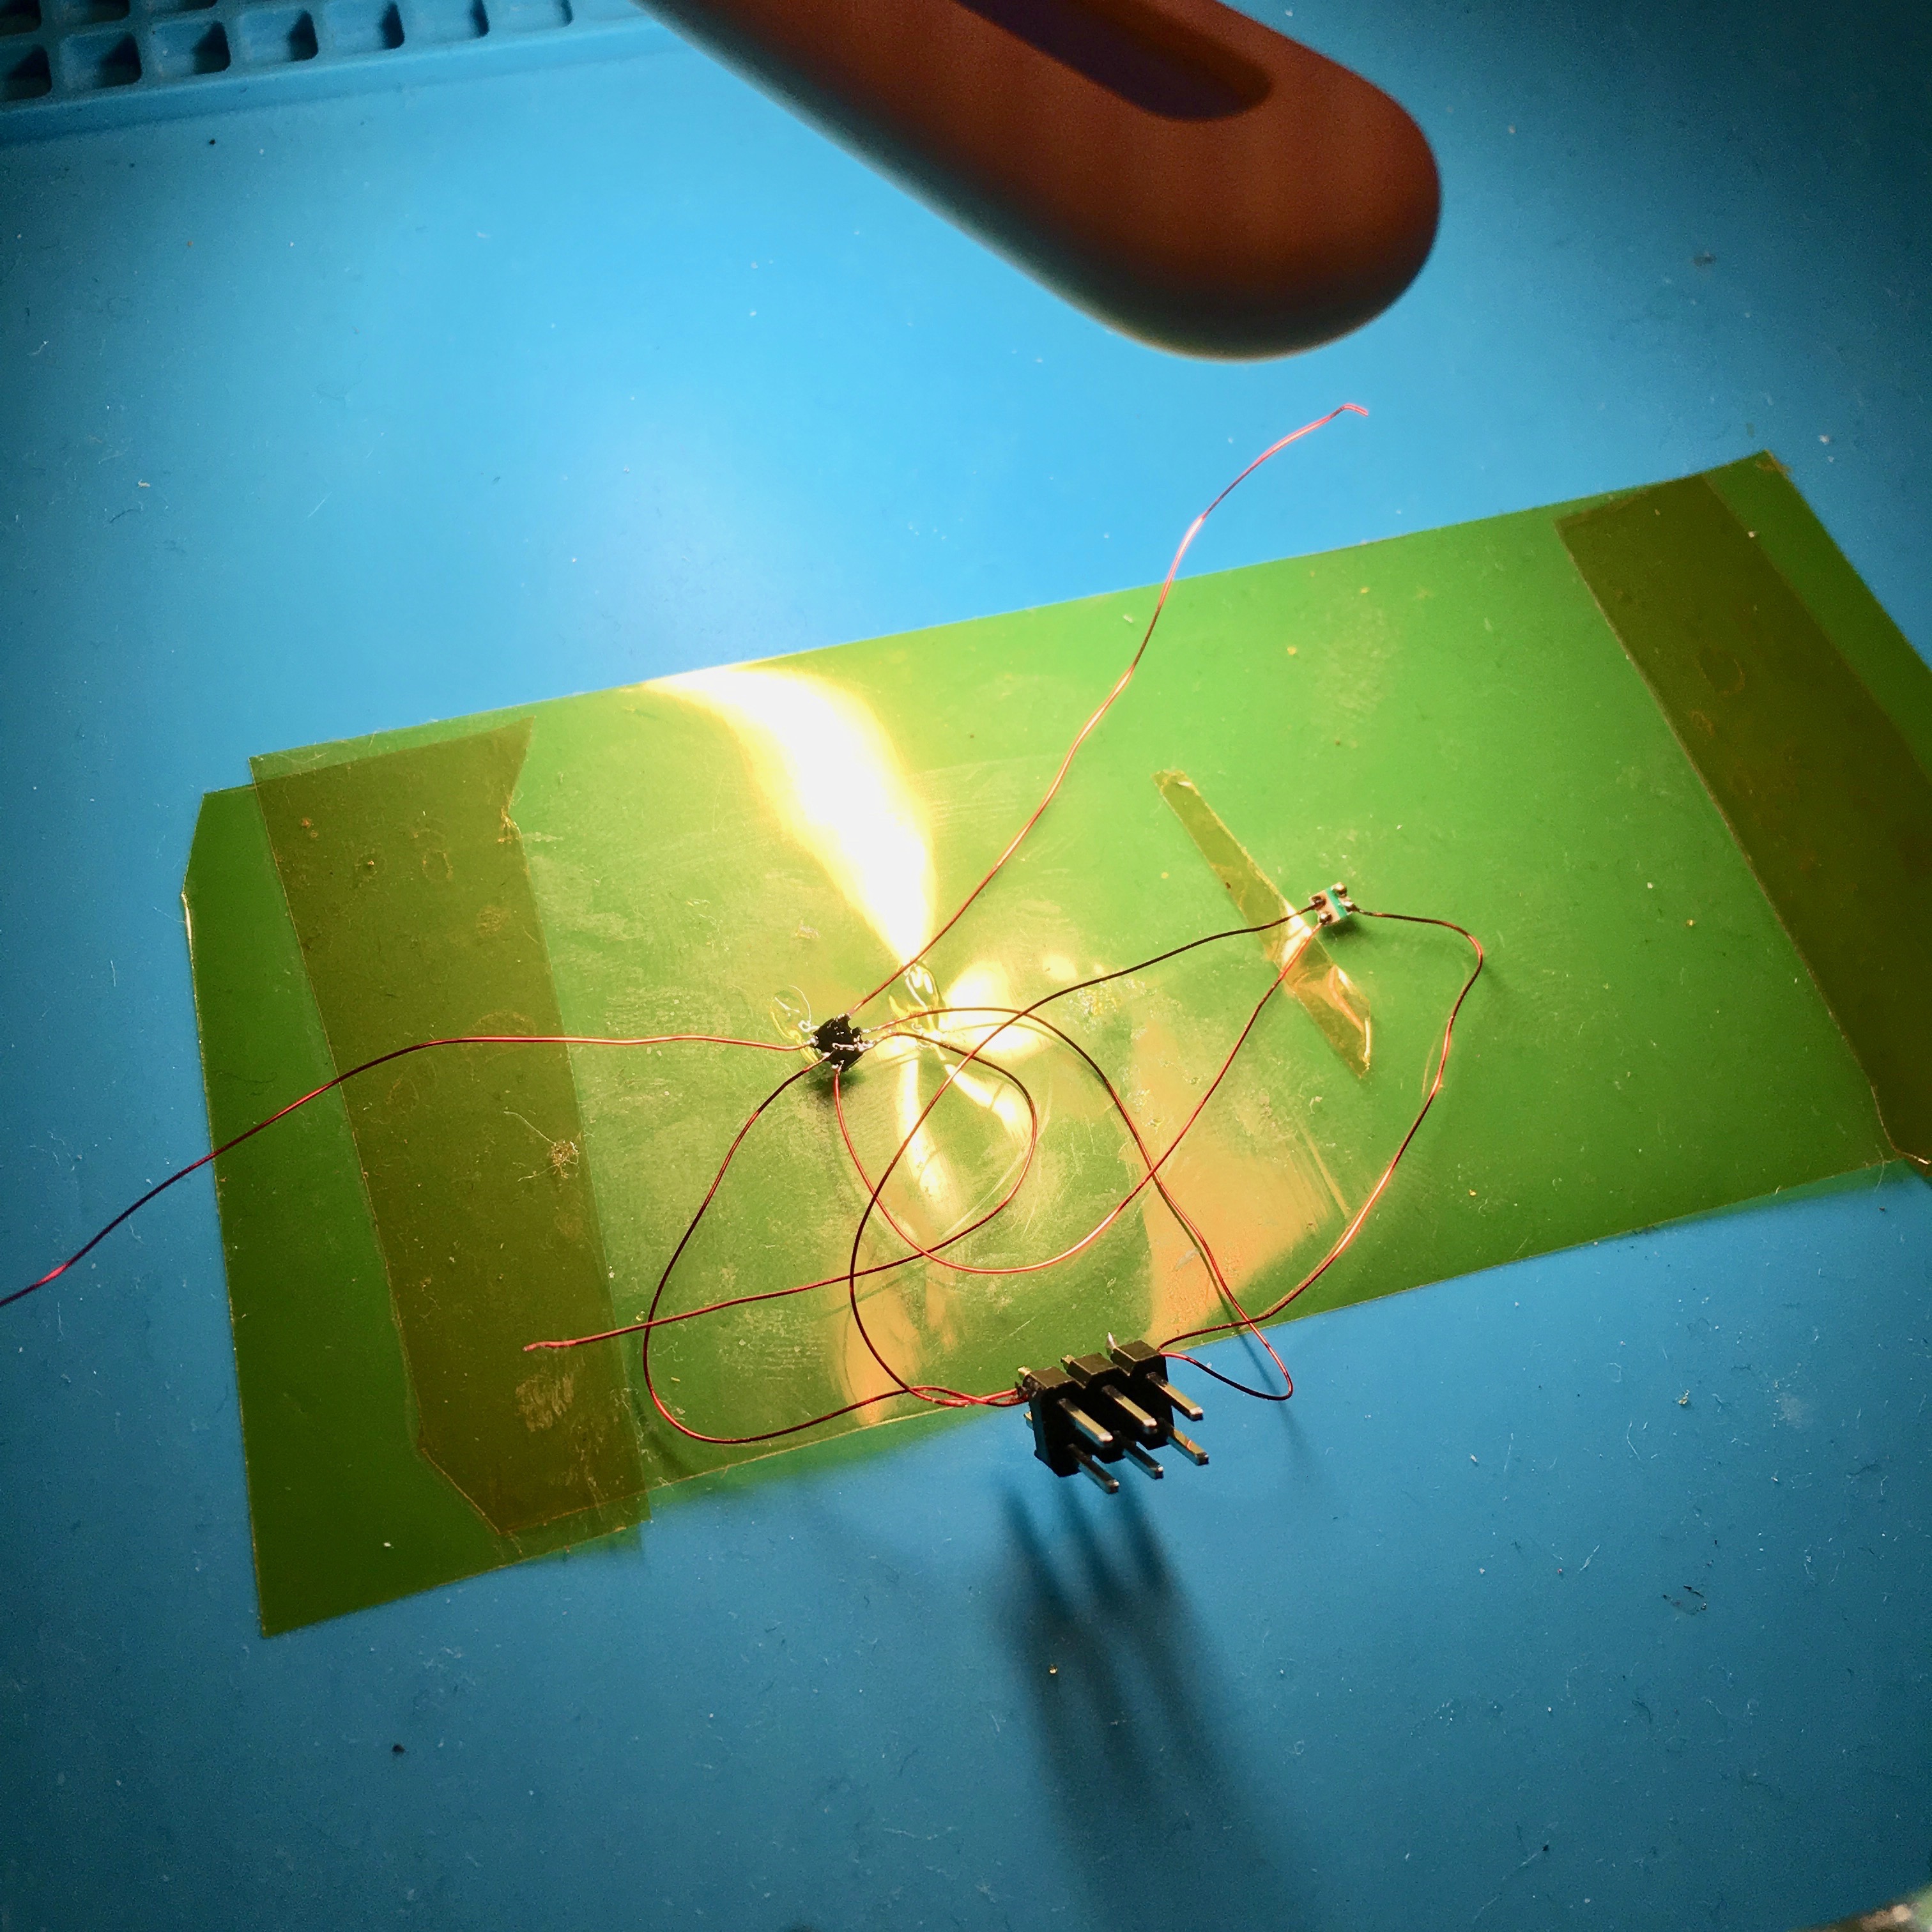
And a few minutes later, I managed to solder the WS2812 as well. Just a few more soldering joints and the programming header will be connected as well. This should allow me to program the ATTiny10 using the USBasp programmer.
And here it is! The end result! An illuminated led! Great isn’t it?! OK! See you next time!
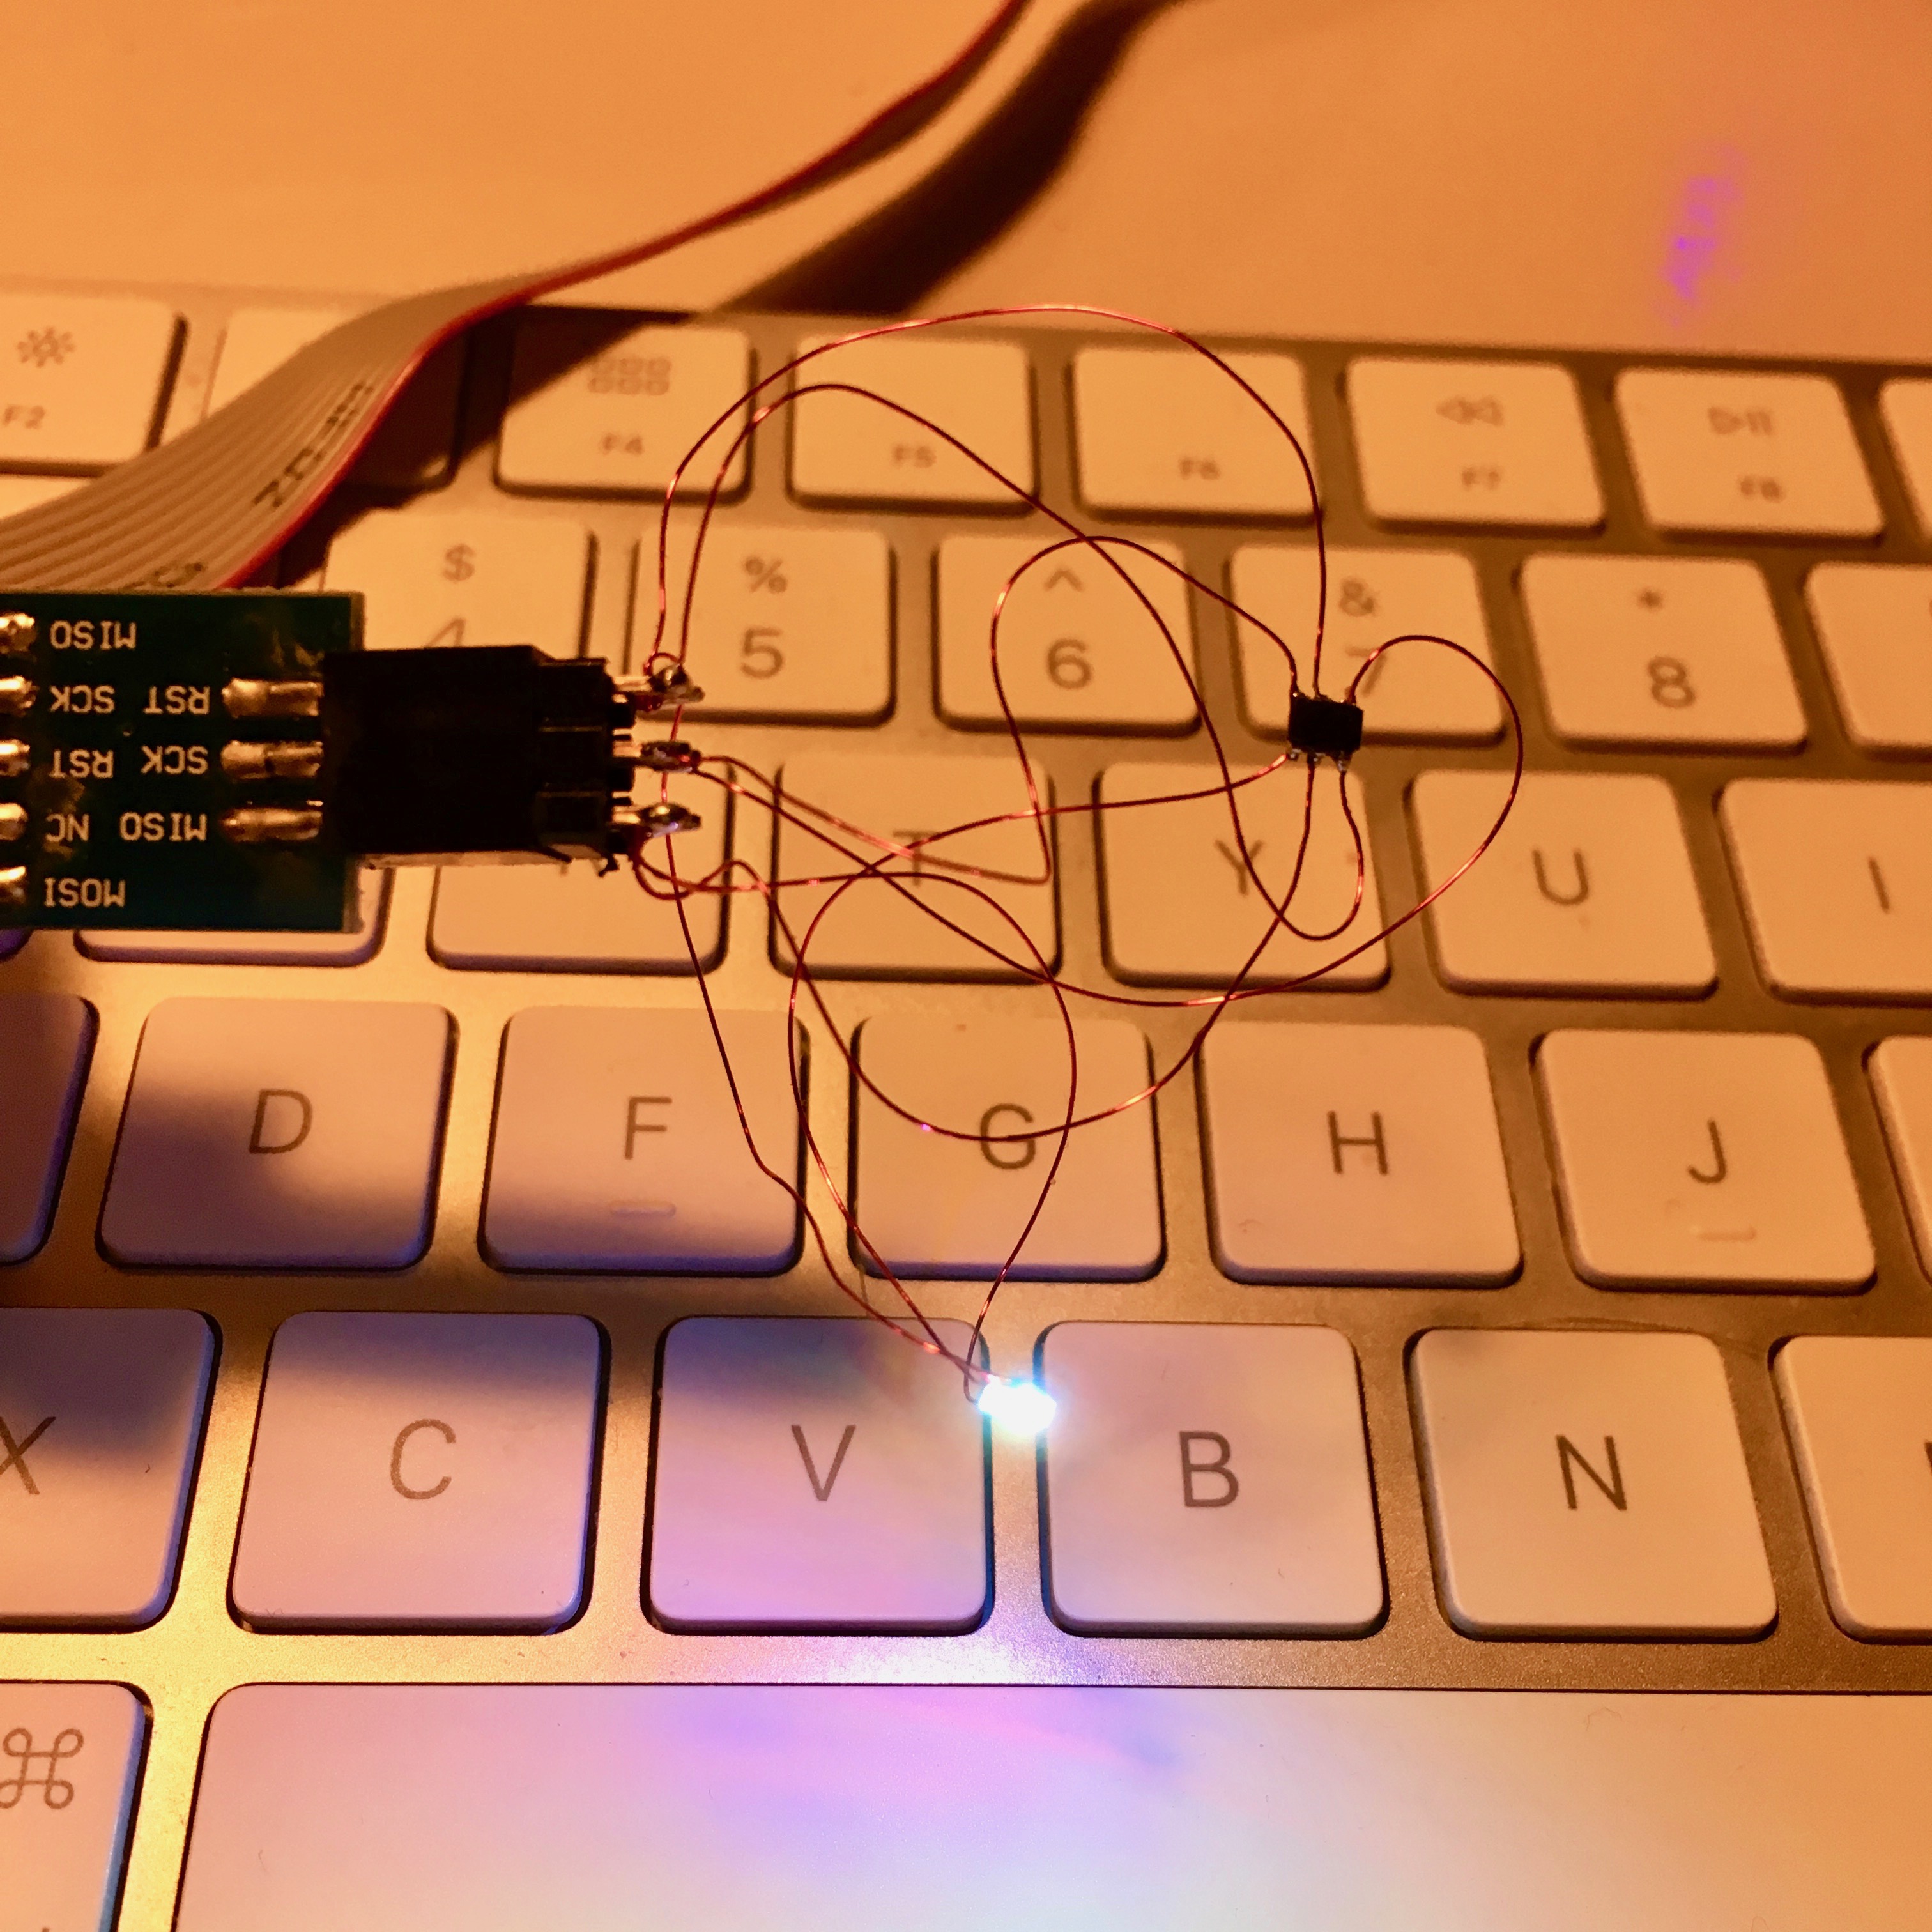
Ok, ok. I’m going to be honest here. The reason the LED is illuminated is just because I managed to add some “noise” data on the data line when I touched the micro controller while it was powered on. So nothing more than a lucky shot.
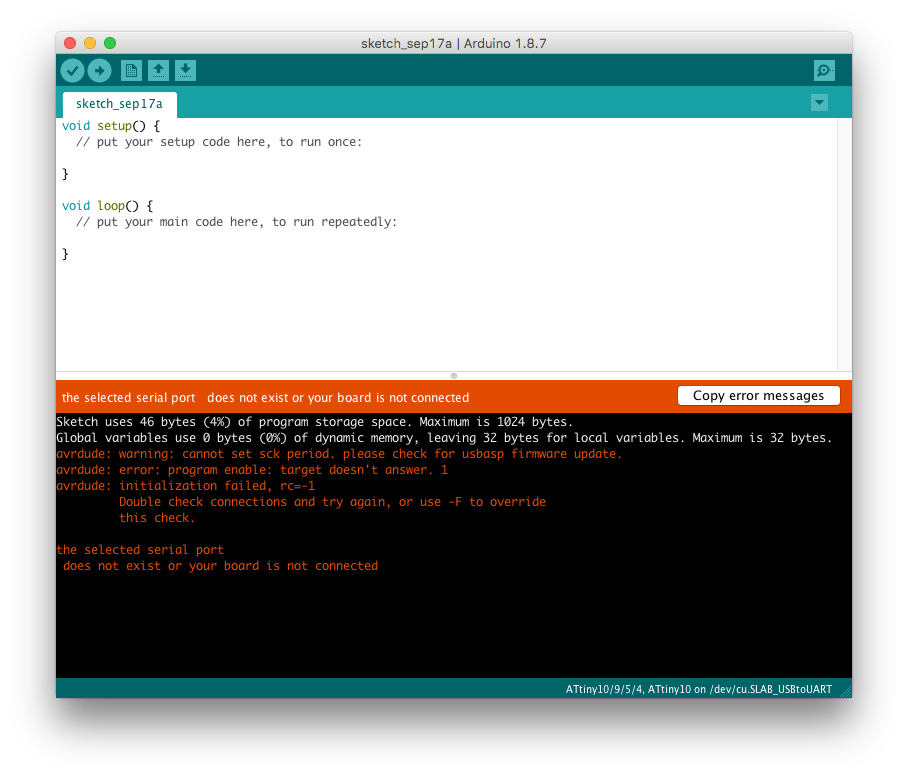
Of course I still need to program the ATTiny. But here’s the catch: It turns out the ATTiny isn’t supported by PlatformIO. So I had to revert back to the dreadful Arduino IDE.

David Johnson-Davies wrote a nice post on how to program the ATTiny10 and even supplied the necessary files needed to do so using the Arduino IDE. But as you can see, in the screenshot above, I ran into an error.
Now, to be honest I don’t know what causes this issue. It might be one of the following:
- The USBasp I’m using is damaged or doesn’t support the necessary TPI protocol. (Unlikely)
- The ATTiny isn’t connected correctly, maybe do to a bad soldering connection. (Still a bit unlikely)
- I overheated and damaged the ATTiny when I soldered the connections. (Sounds a bit more likely)
- I’m doing something wrong with the software. (Sounds likely)
- I’m still not fully recovered and missing something completely obvious. (99% sure this is it)
Of course I could have spent a week trying to solve this. But that would mean yet an other quiet week on my blog. So, instead I just end this write-up with a big anti-climax.
If I’m able to solve this issue in the coming two weeks, I’ll report back in my next blog. If you have any suggestions or pointers to a solution, leave them in the comments down below.
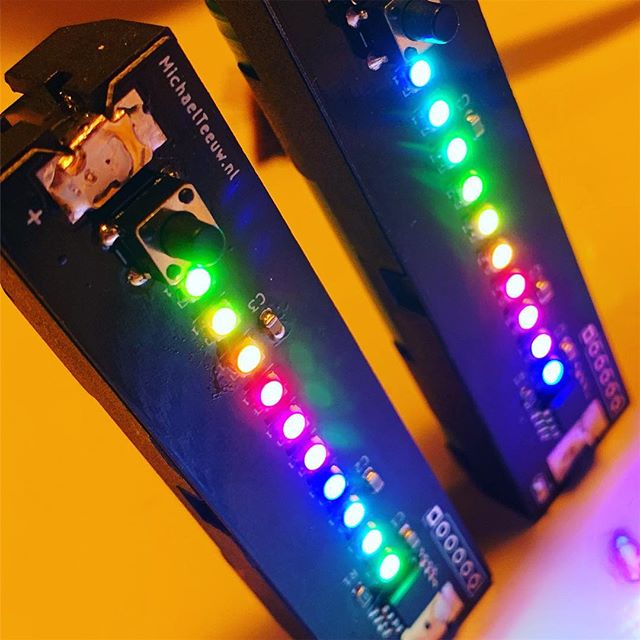
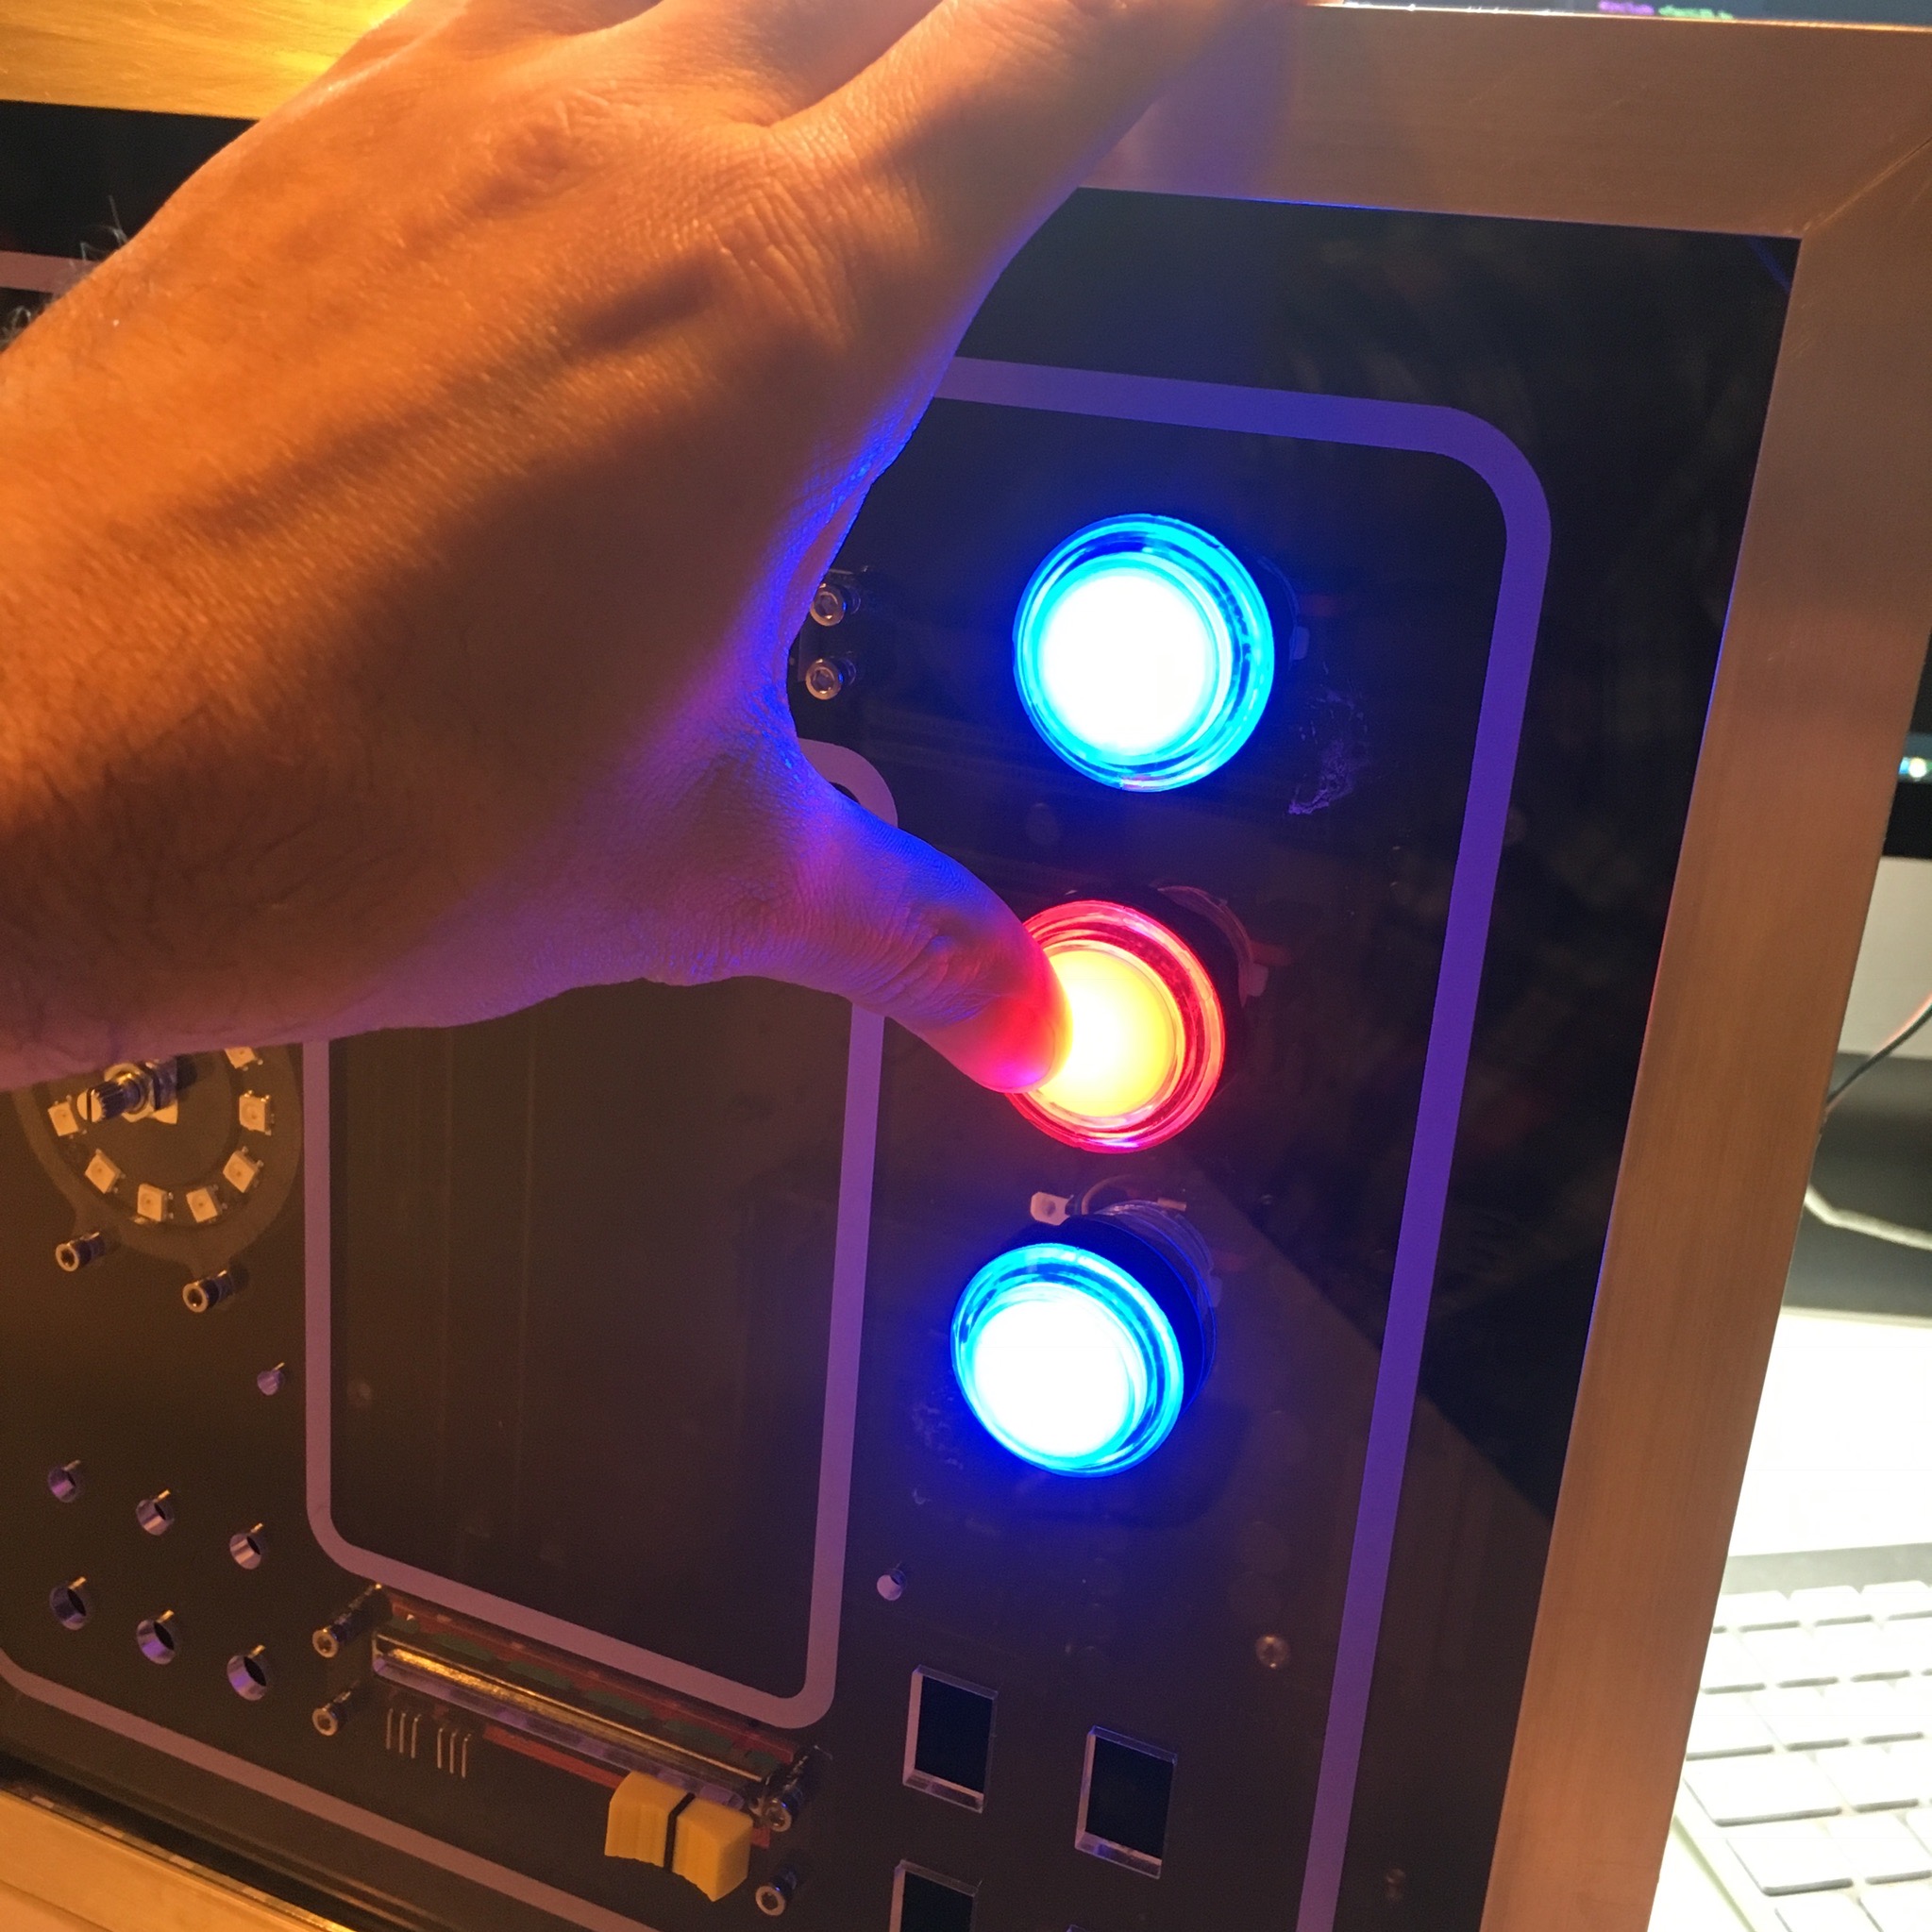
PS. Still looking for something awesome? Make sure to check this.