After I finally decided how to do the mechanical part of my Automatic Curtain project and finished some minor details like the end switches, it is time for the electronics.
Automatic Curtains: One Year of Prototyping
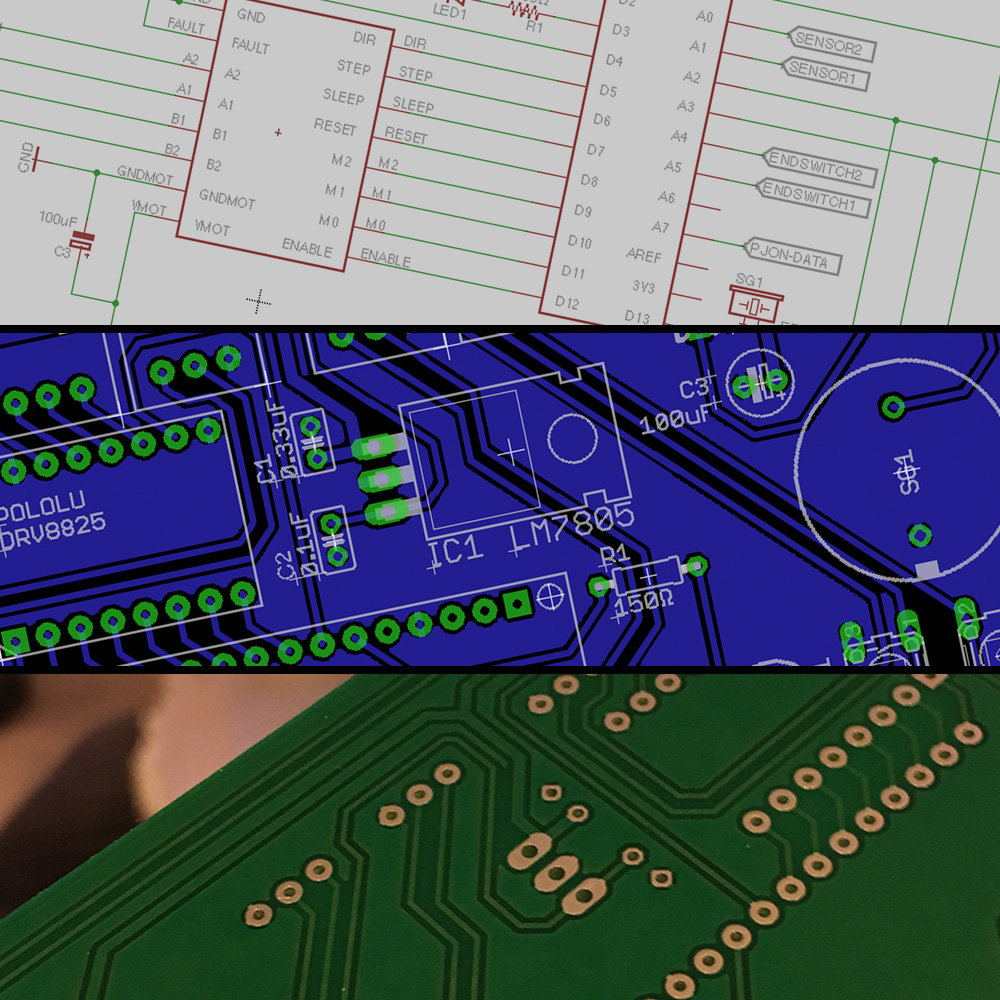
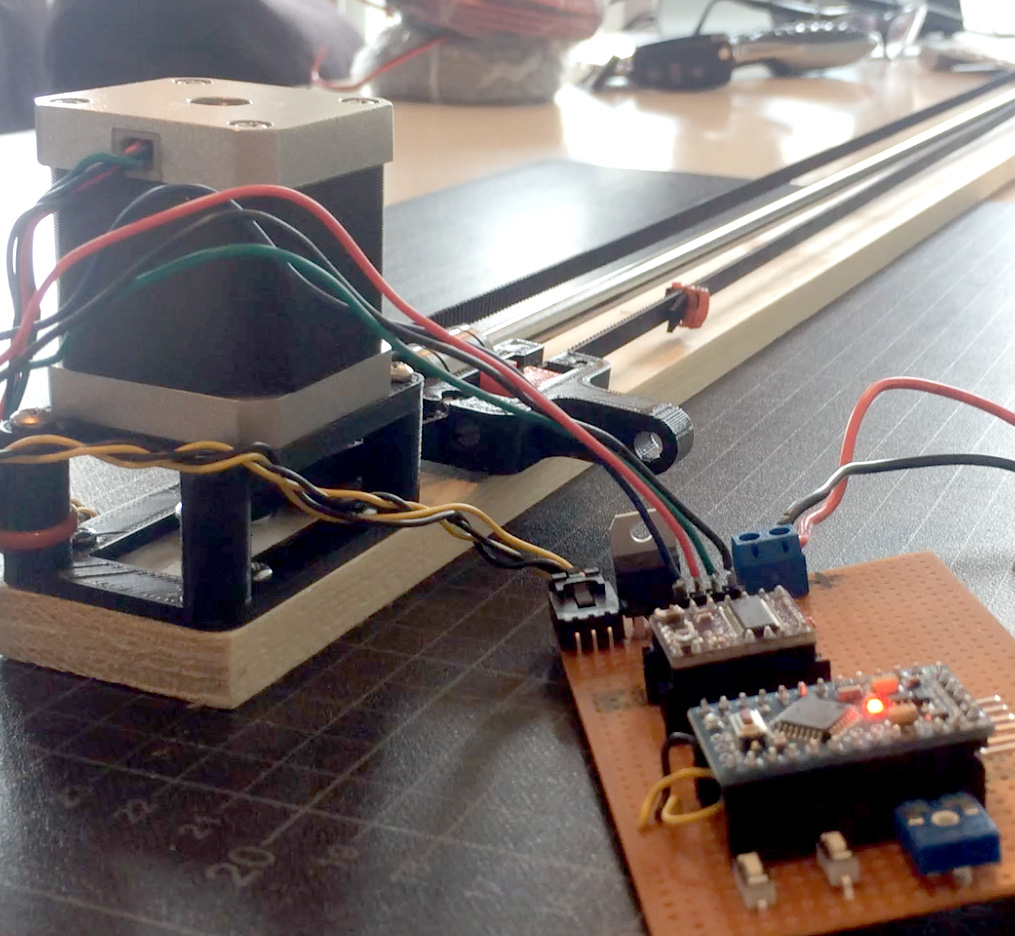
The stepper motor (a NEMA 17) will be driven by a Pololu DRV8825 Stepper Driver. This stepper motor driver lets you control one bipolar stepper motor at up to 2.2A output current per coil and has six different step resolutions: full-step, half-step, ¼-step, 1/8-step, 1/16-step, and 1/32-step.

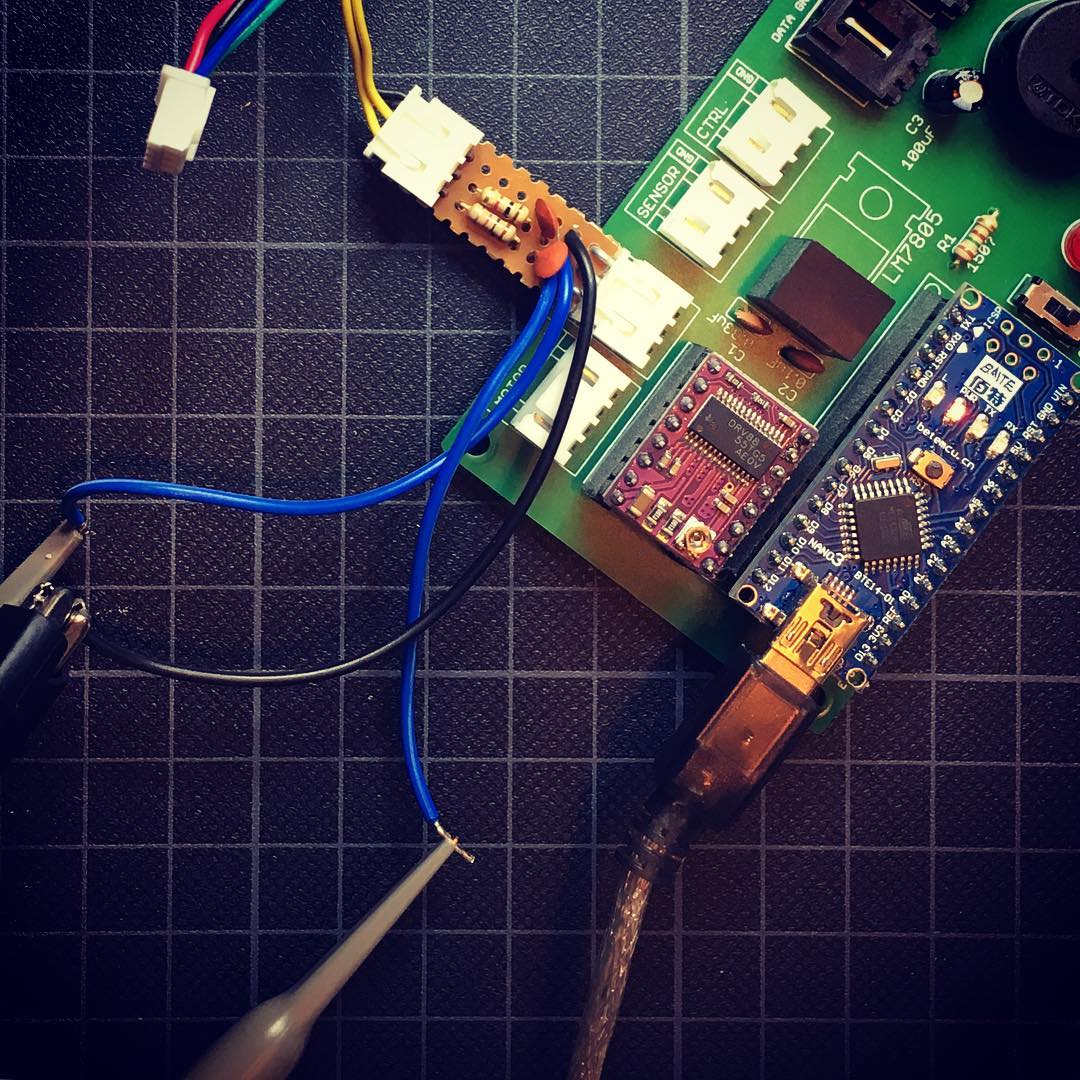
Because I need to mount the electronics behind my curtain, even during the testing phase. I decided to use some perf bord for testing. I didn’t really went for the economical route, I just put everything it needed on one big board. This gave me some room to make changes if necessary.
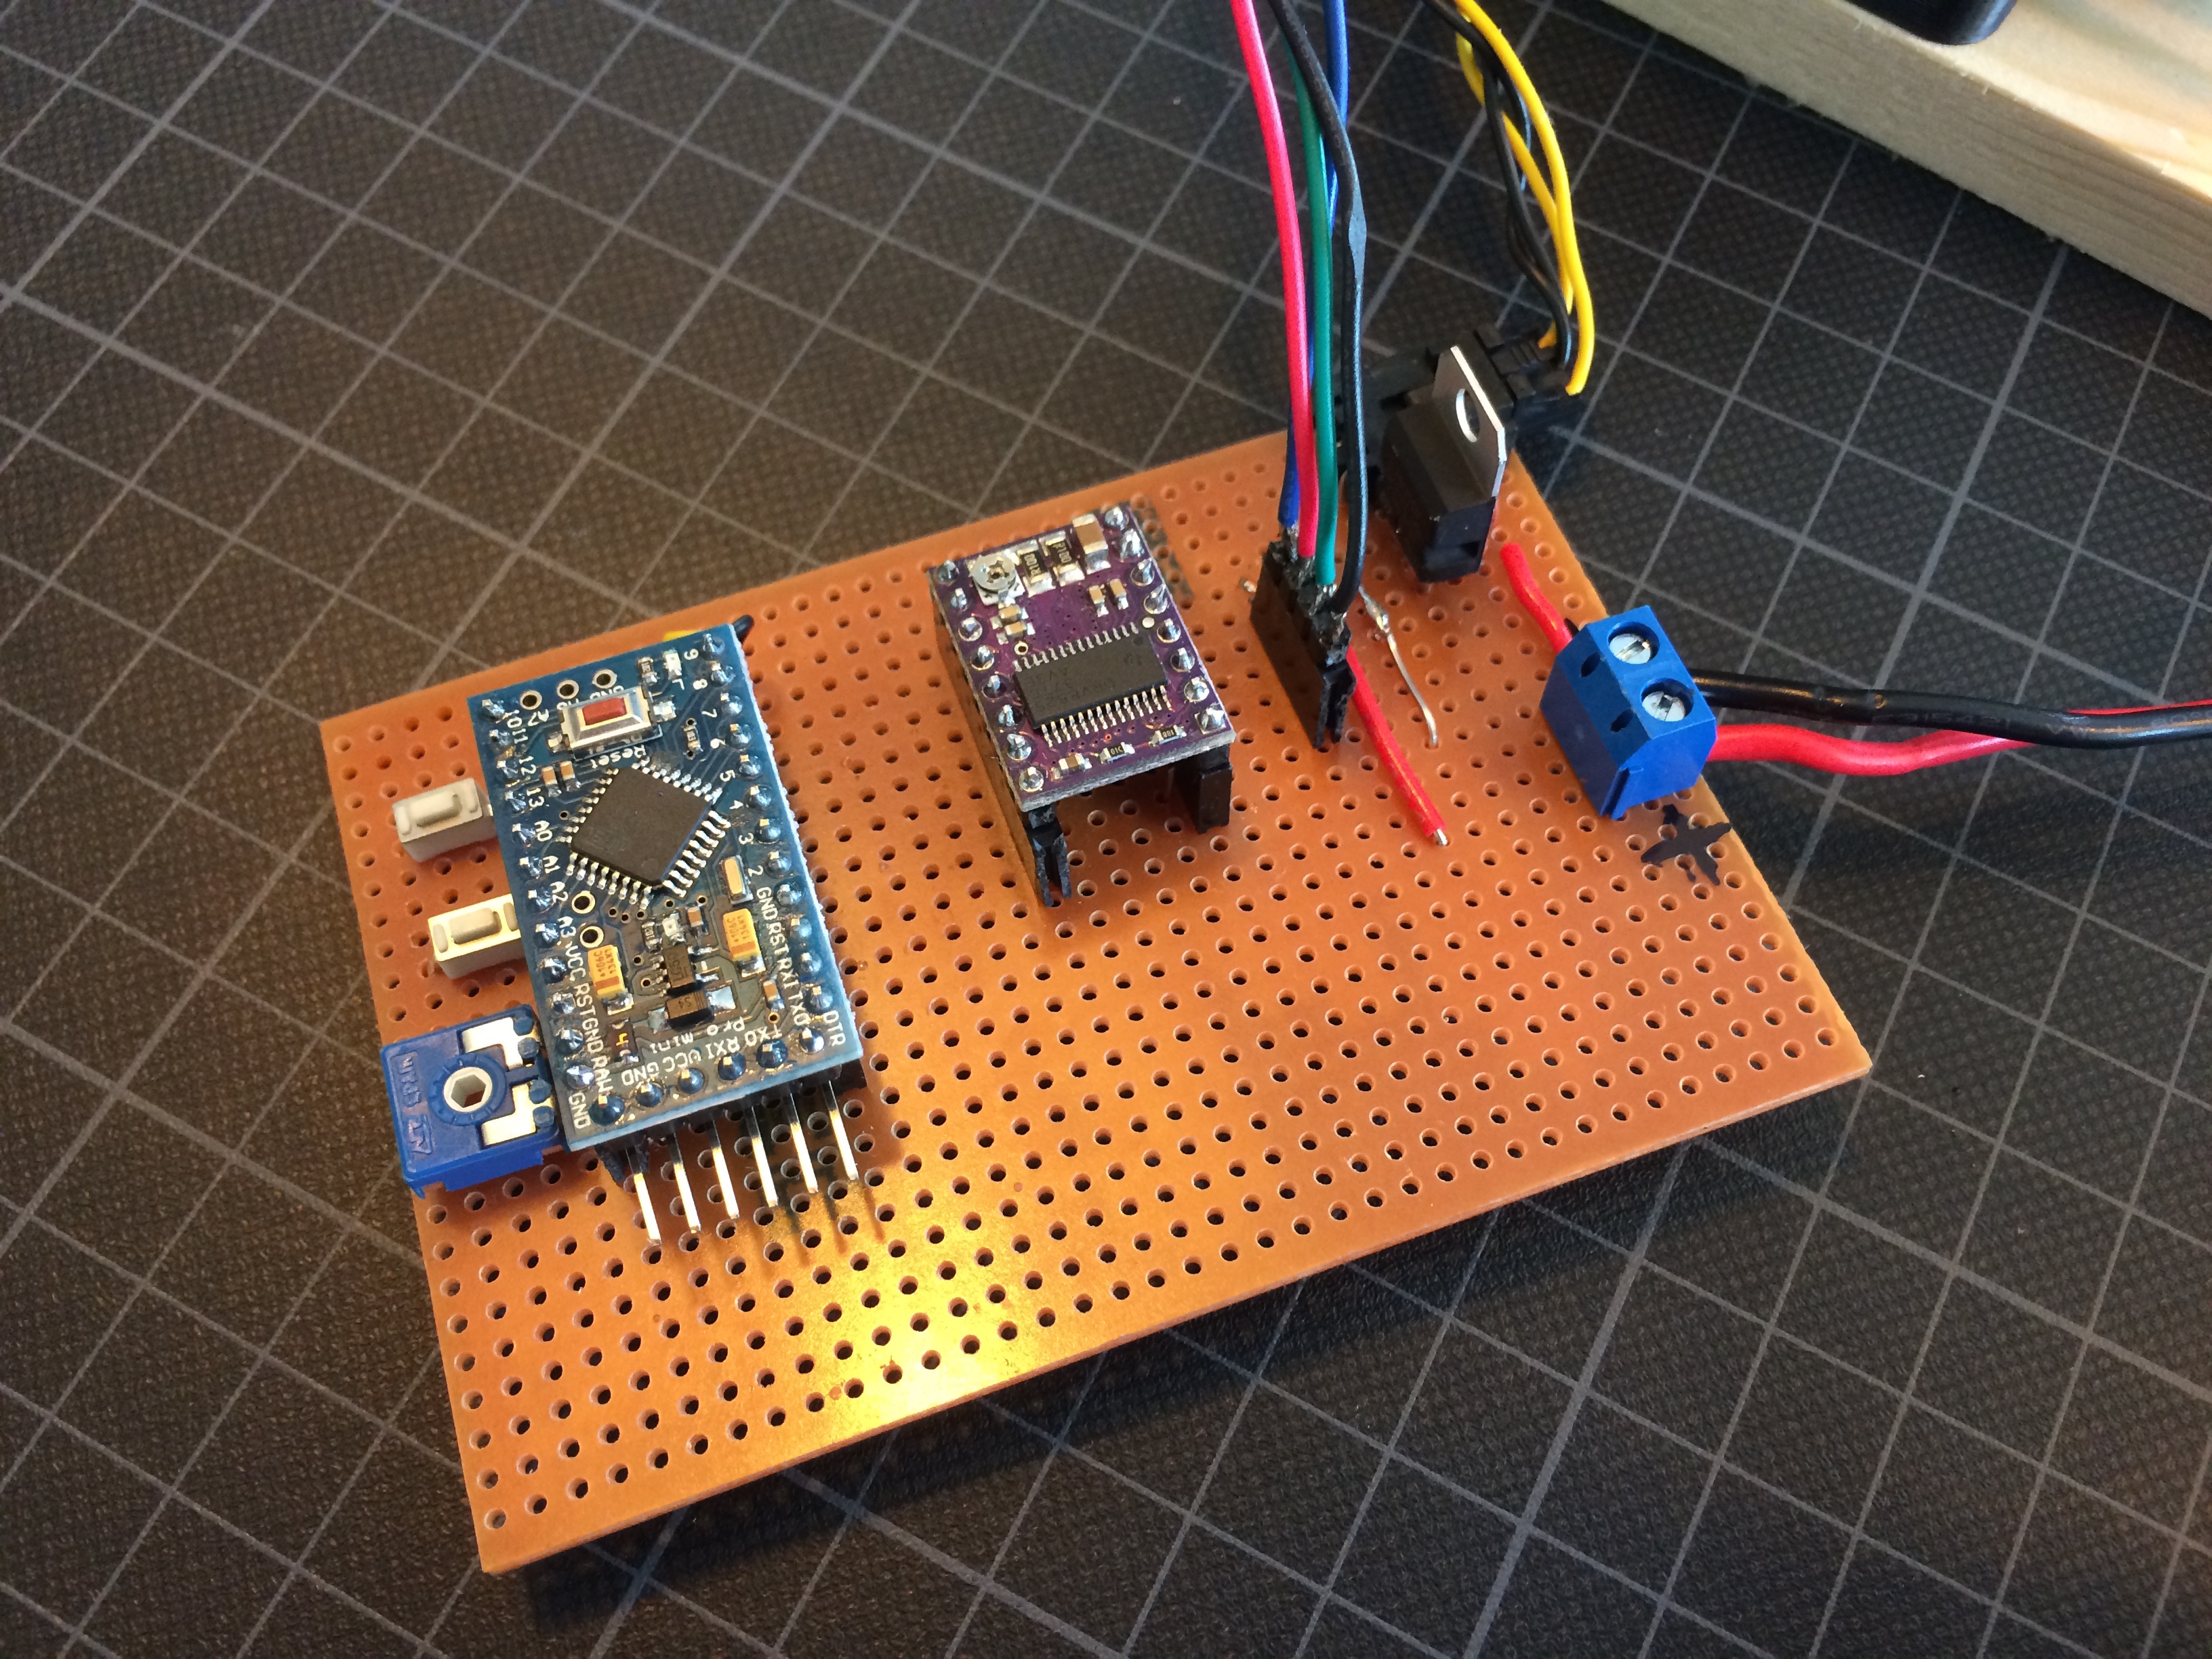
Since I’ll be using 12V for the motors, and want to use this same power source for my Arduino Pro Mini. I added a LM7805 voltage regulator. This was necessary since the Arduino’s On Board regulator wasn’t exactly happy with the voltage spikes generated by the stepper motor. (Which resulted in some smoke and a fried Arduino.)
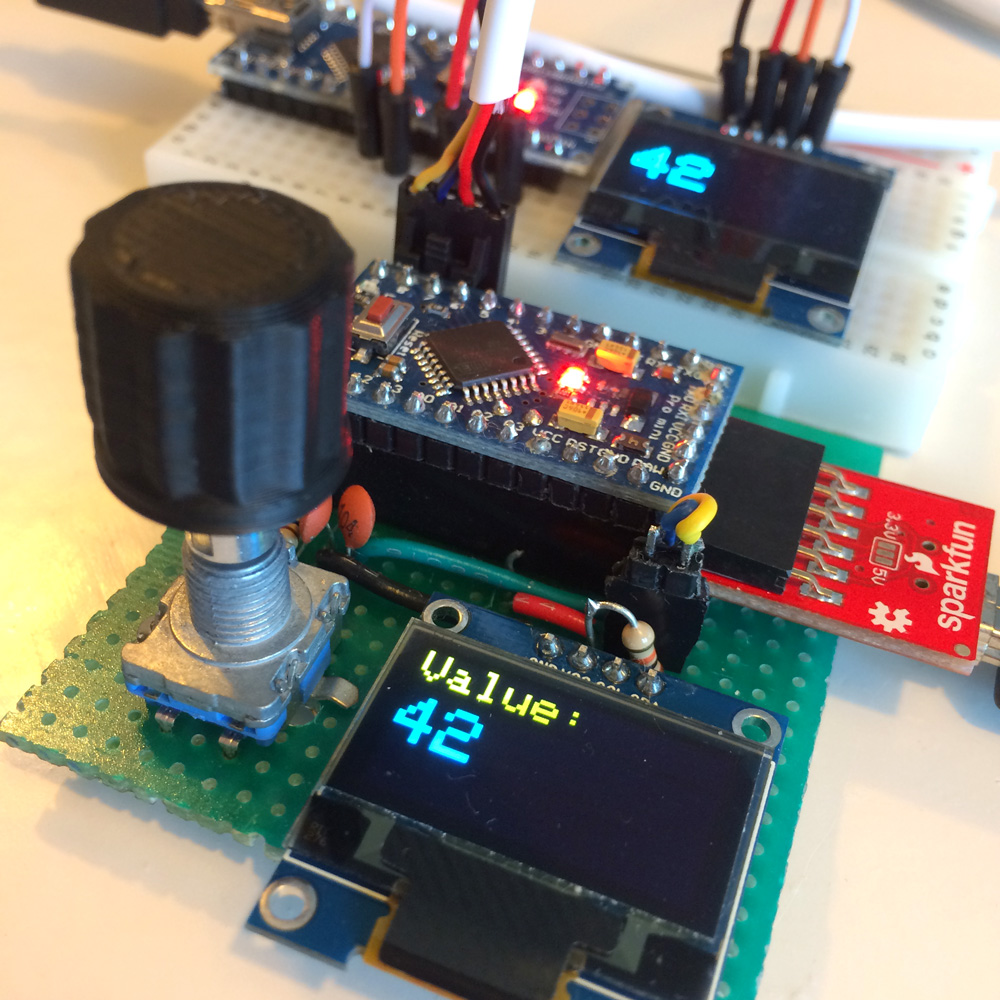
After adding all the necessary electronics (and a pot meter I ended up not using …) and writing an Arduino sketch, it was time to give it a spin.
For testing purposes I use a simple control mechanism including two buttons: one button for each direction. A short press results in fully opening or closing the curtains. A long press allows me to partially open or close the curtains.
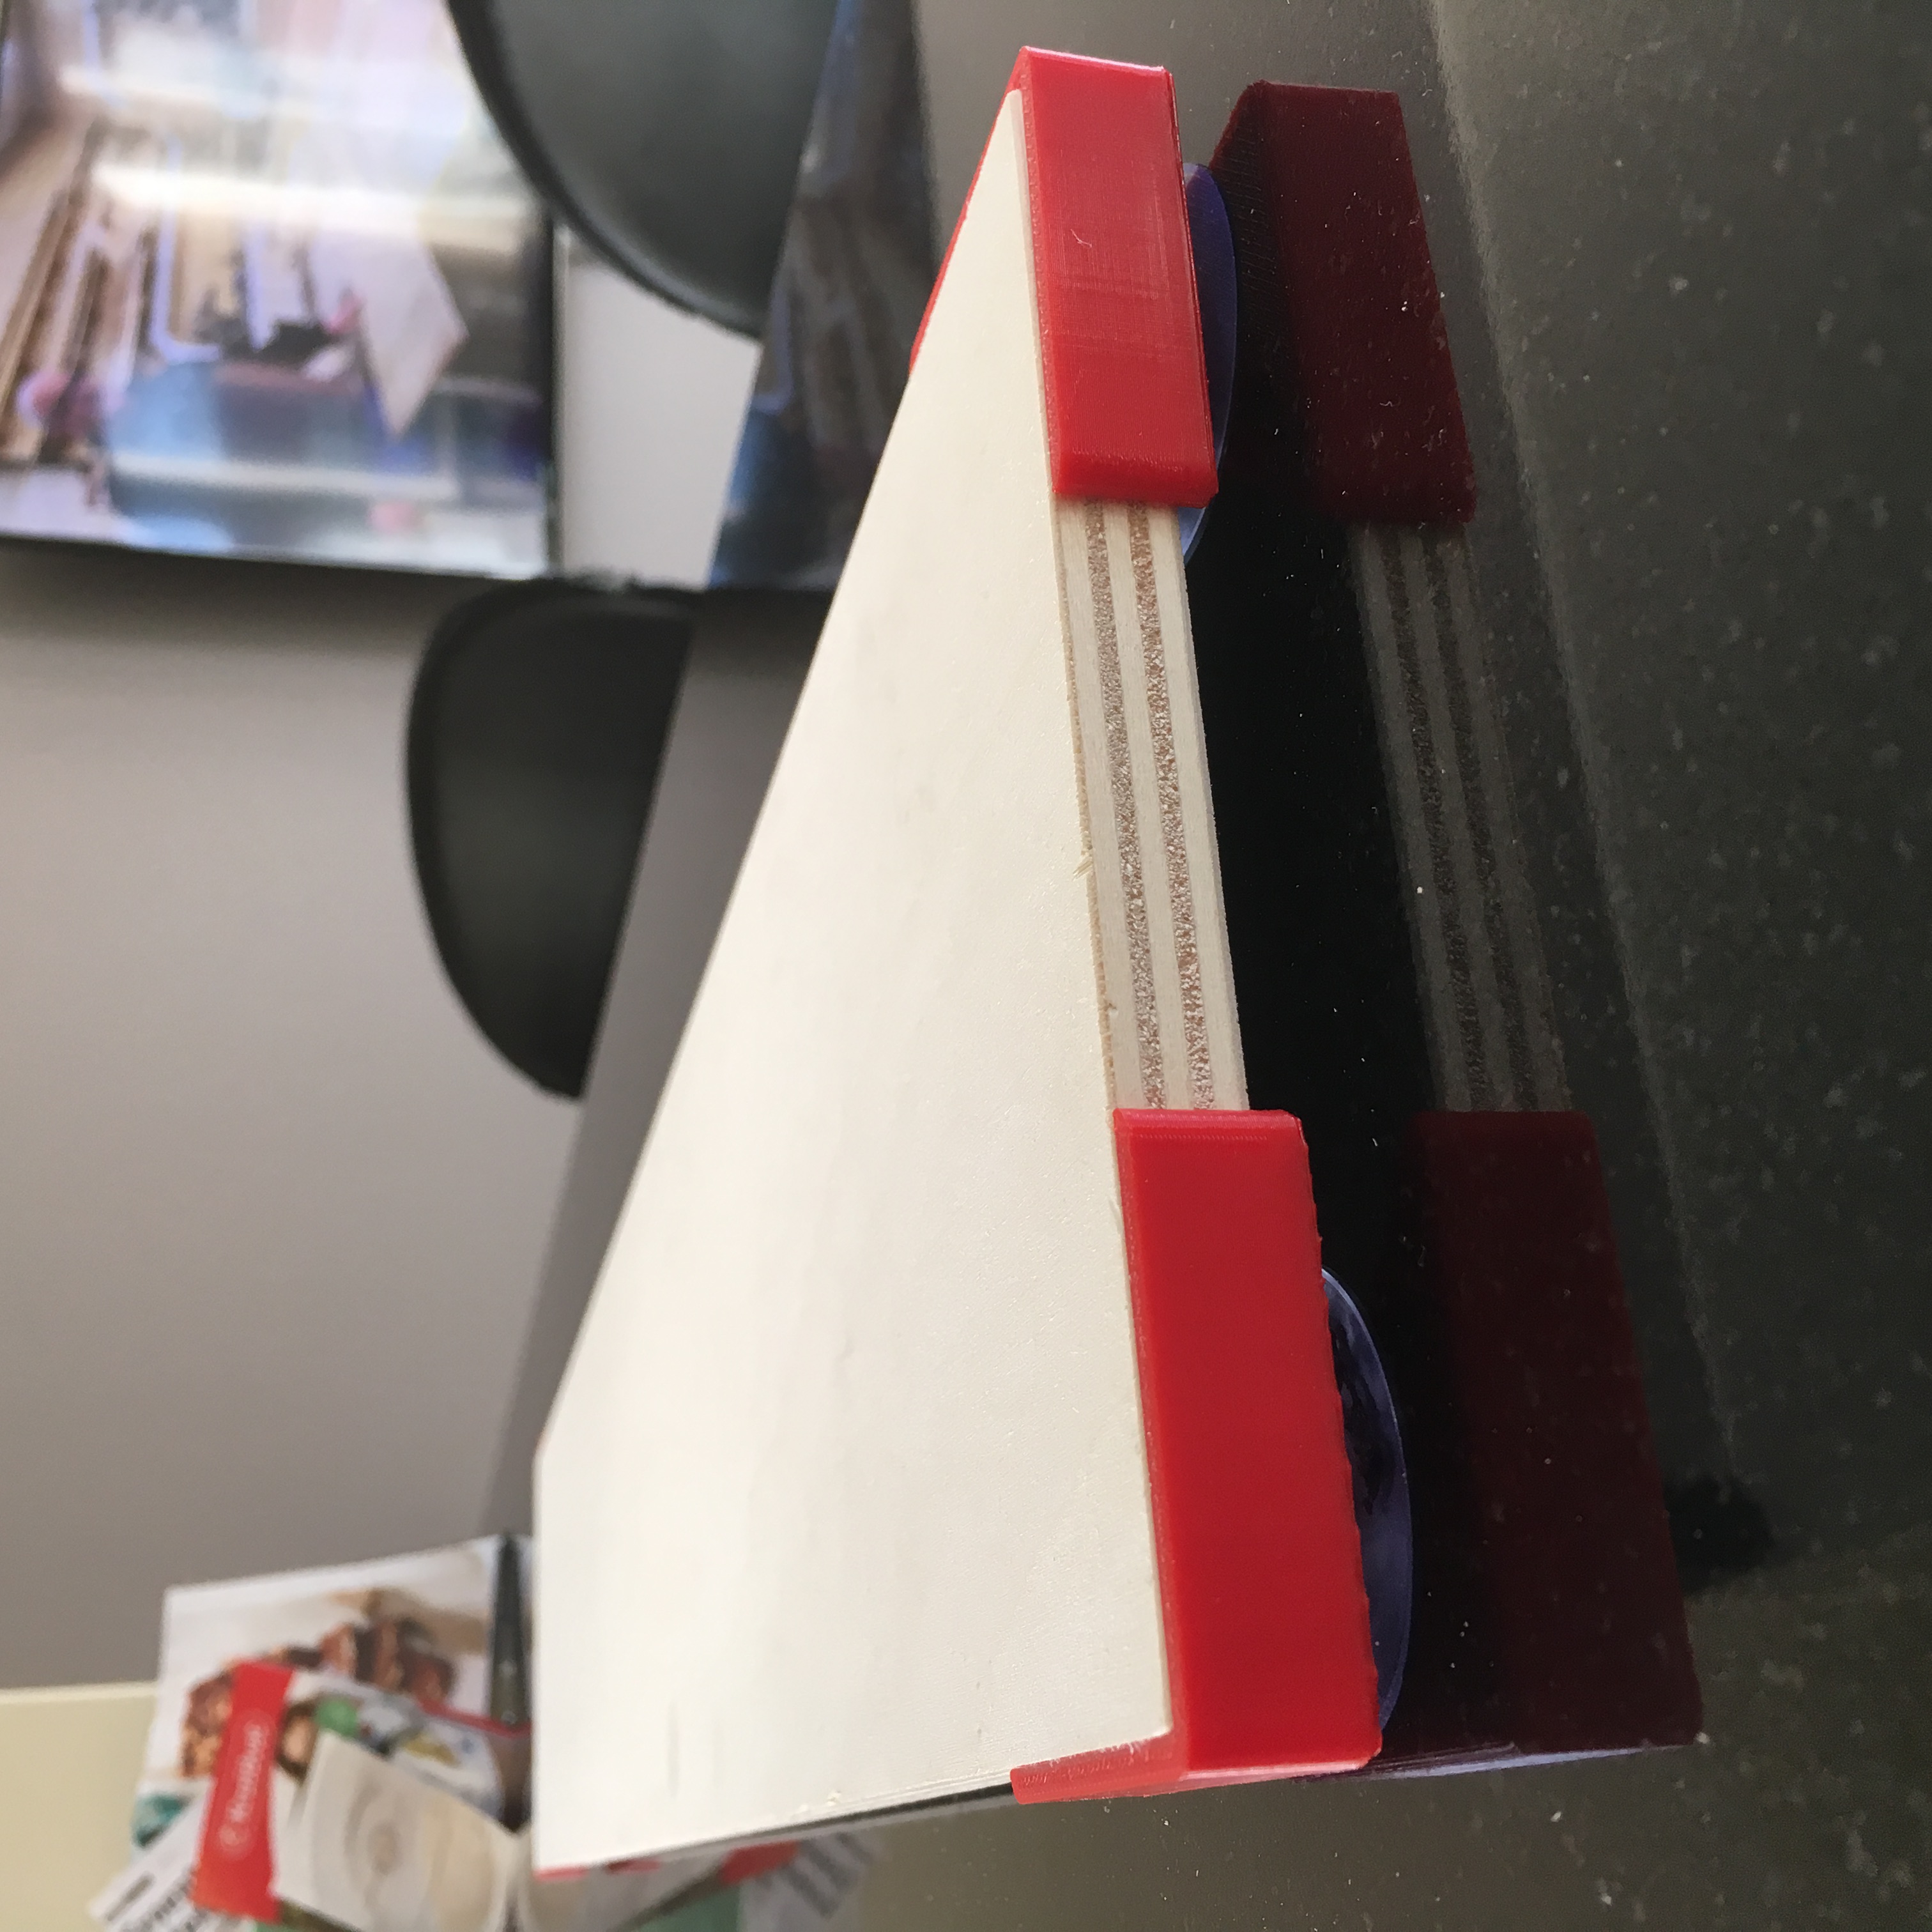
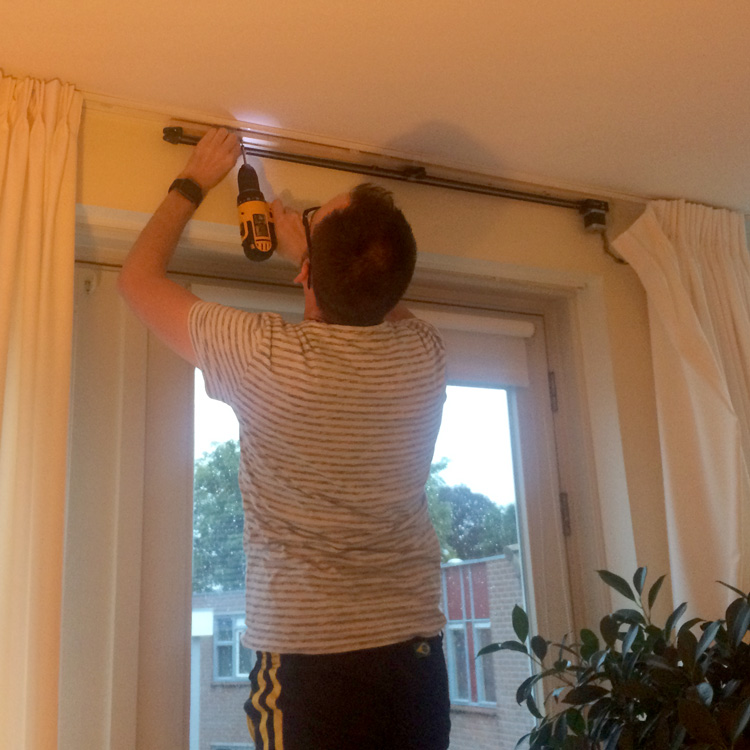
And with everything working as desired, is is time for the real test! Two screws are enough to mount it behind my curtain rail. And after trowing in some tie rips to fix the belt tensioner to the the curtain and extending the two button to a break out board, we’re ready to go!
Honestly, I didn’t expect it to work this good. It really exceeded my expectations!
The next few days I’ll be using the temporary buttons to continue testing. If everything keeps working well, it is time for the next steps:
- Build 4 extended versions. (The current one is a few centimeters to short)
- Create a casing around the mechanics. (Make them invisible.)
- Design and create a cool looking control panel which is connected to the four driver boards.
- Connect the control panel to the internet.
- Build an iPhone app.
- Sell my house and curtains and become the next Elon Musk.
Have some suggestions for improvements? Leave a comment down below! Also, check out my Instagram to stay up to date about my projects!
Automatic Curtains: Masters, Slaves and Failures