Automatic Curtains:
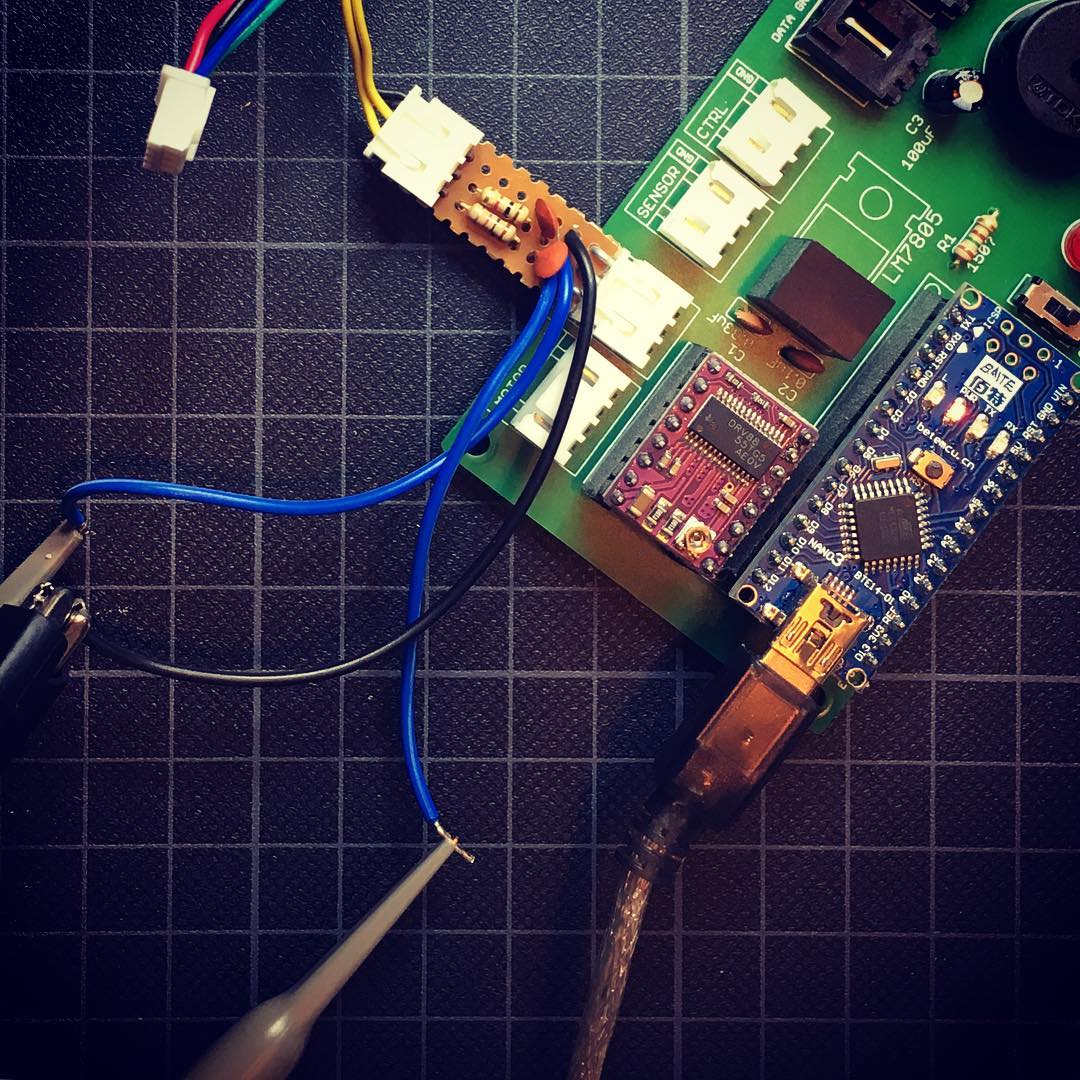
Debugging my curtains.
Ever since I’ve finished the first prototype of my Automatic Curtain project one and a half years ago, the curtains have been running without any issues. Unfortunately, that came to an abrupt end this weekend.
Automatic Curtains:
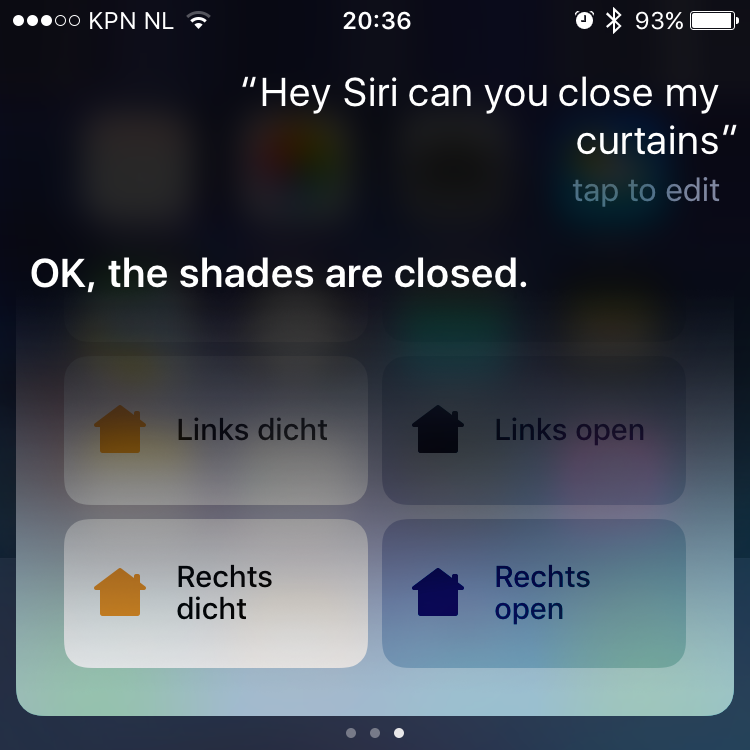
HomeKit Curtains
4 months ago I finished the last hardware part of my automatic curtains. And as mentioned in that post, the final step in finishing up this project, is developing an iPhone app. But let’s face it: using an App to control the curtains is simply too cumbersome. There must be a better way …
Automatic Curtains:
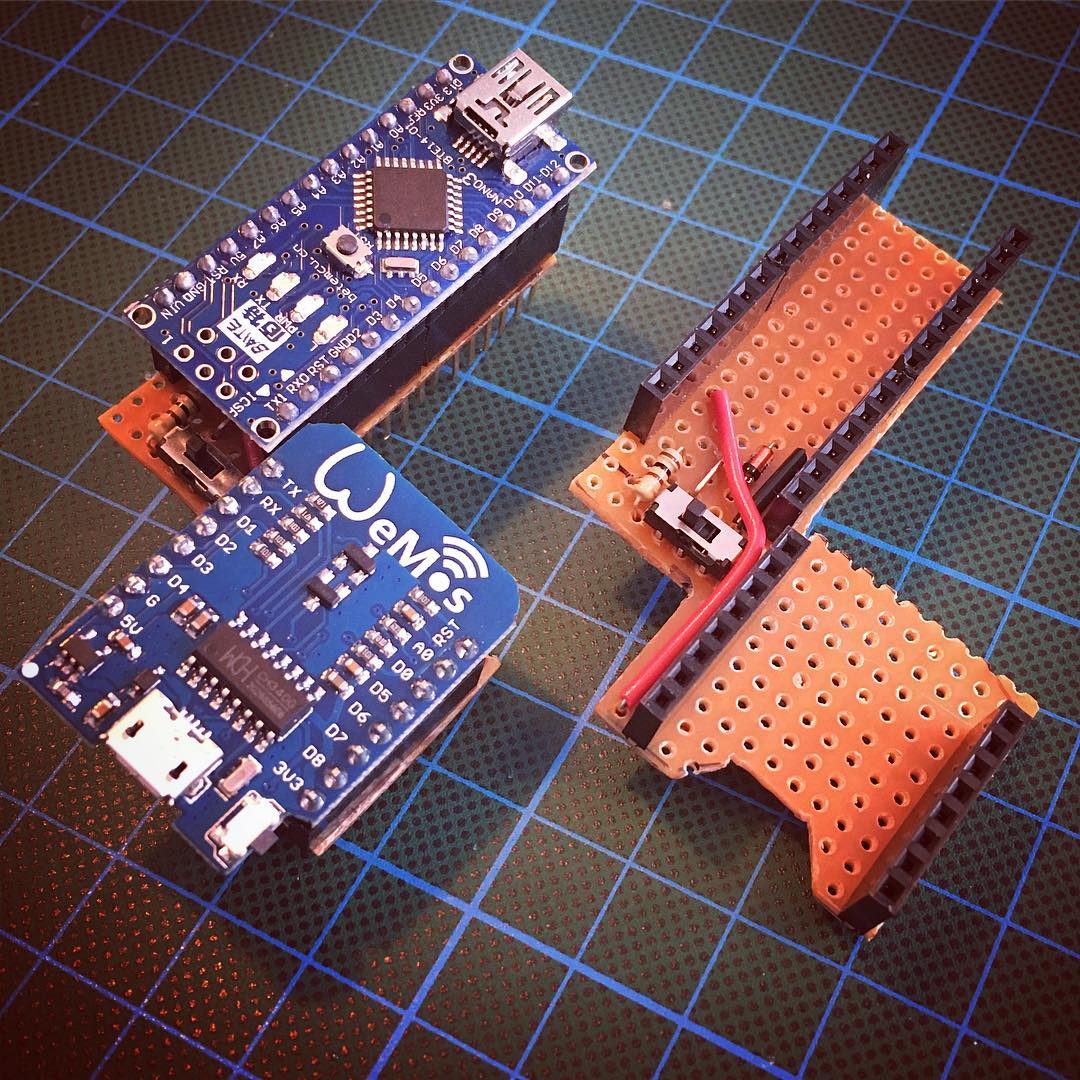
Shields Up!
With the help of my testing rig, I was finally able to work on the wireless connectivity of my Automatic Curtains.The electronics already had a communication line in place, so this should just be a walk in the park. Right?
Automatic Curtains:
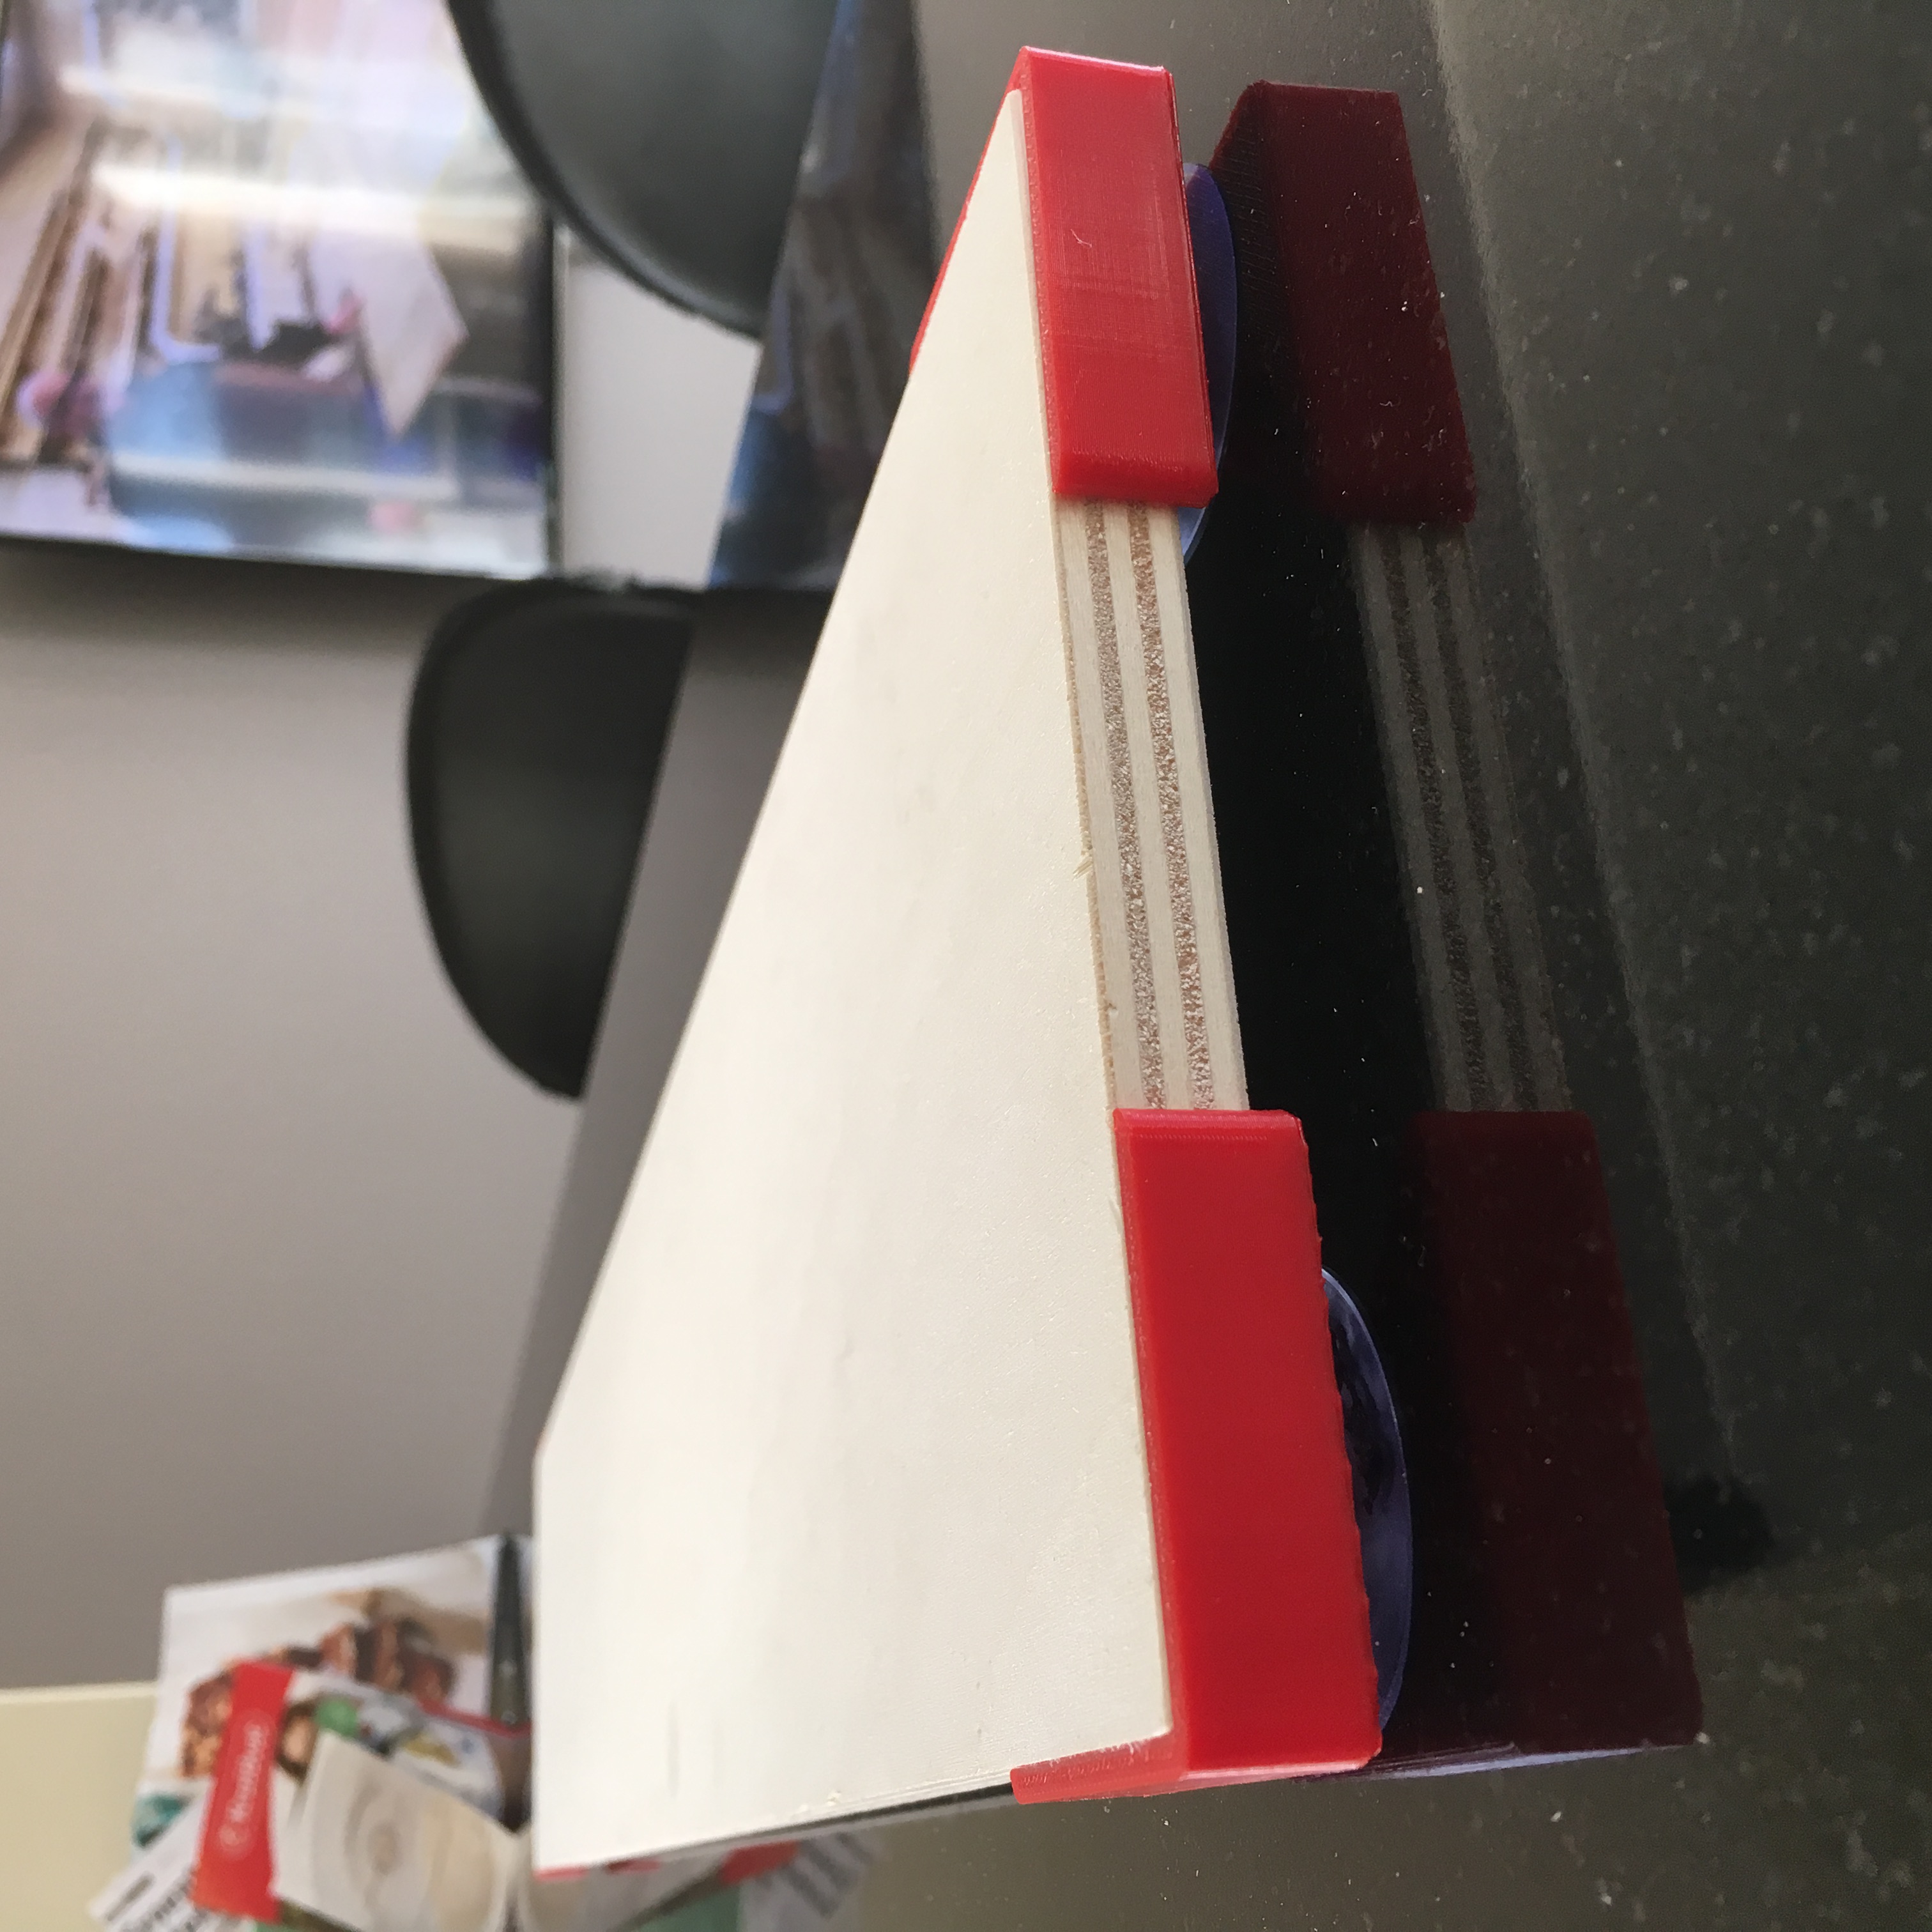
Preparing for Development
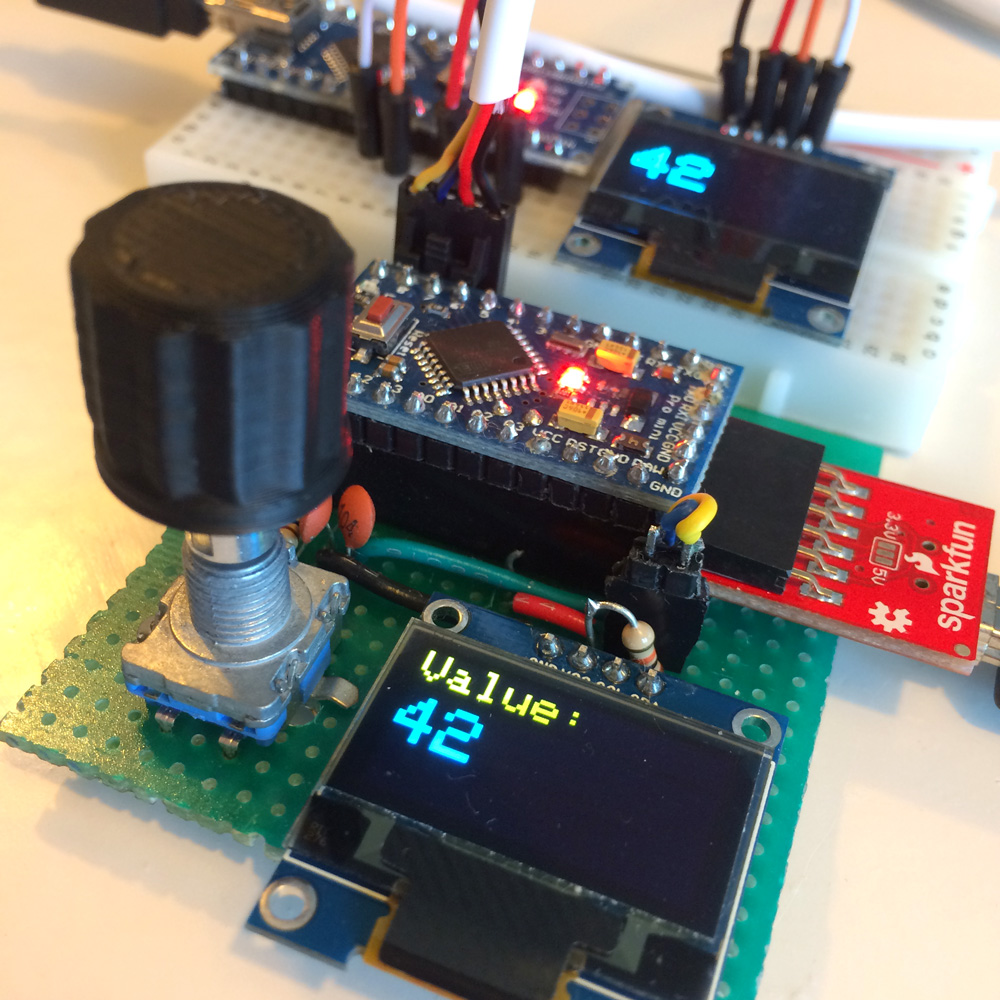
With the fully operating hardware, it is finally time to start working on the real firmware for my automatic curtain motor controllers. The current firmware is quickly thrown together and contains a few annoying bugs which need to be solved. To make the development process a bit easier, I made a small development unit, allowing me to test and debug my software without the need of closing and opening my real curtains.
Automatic Curtains:
The most permanent temporary solution.
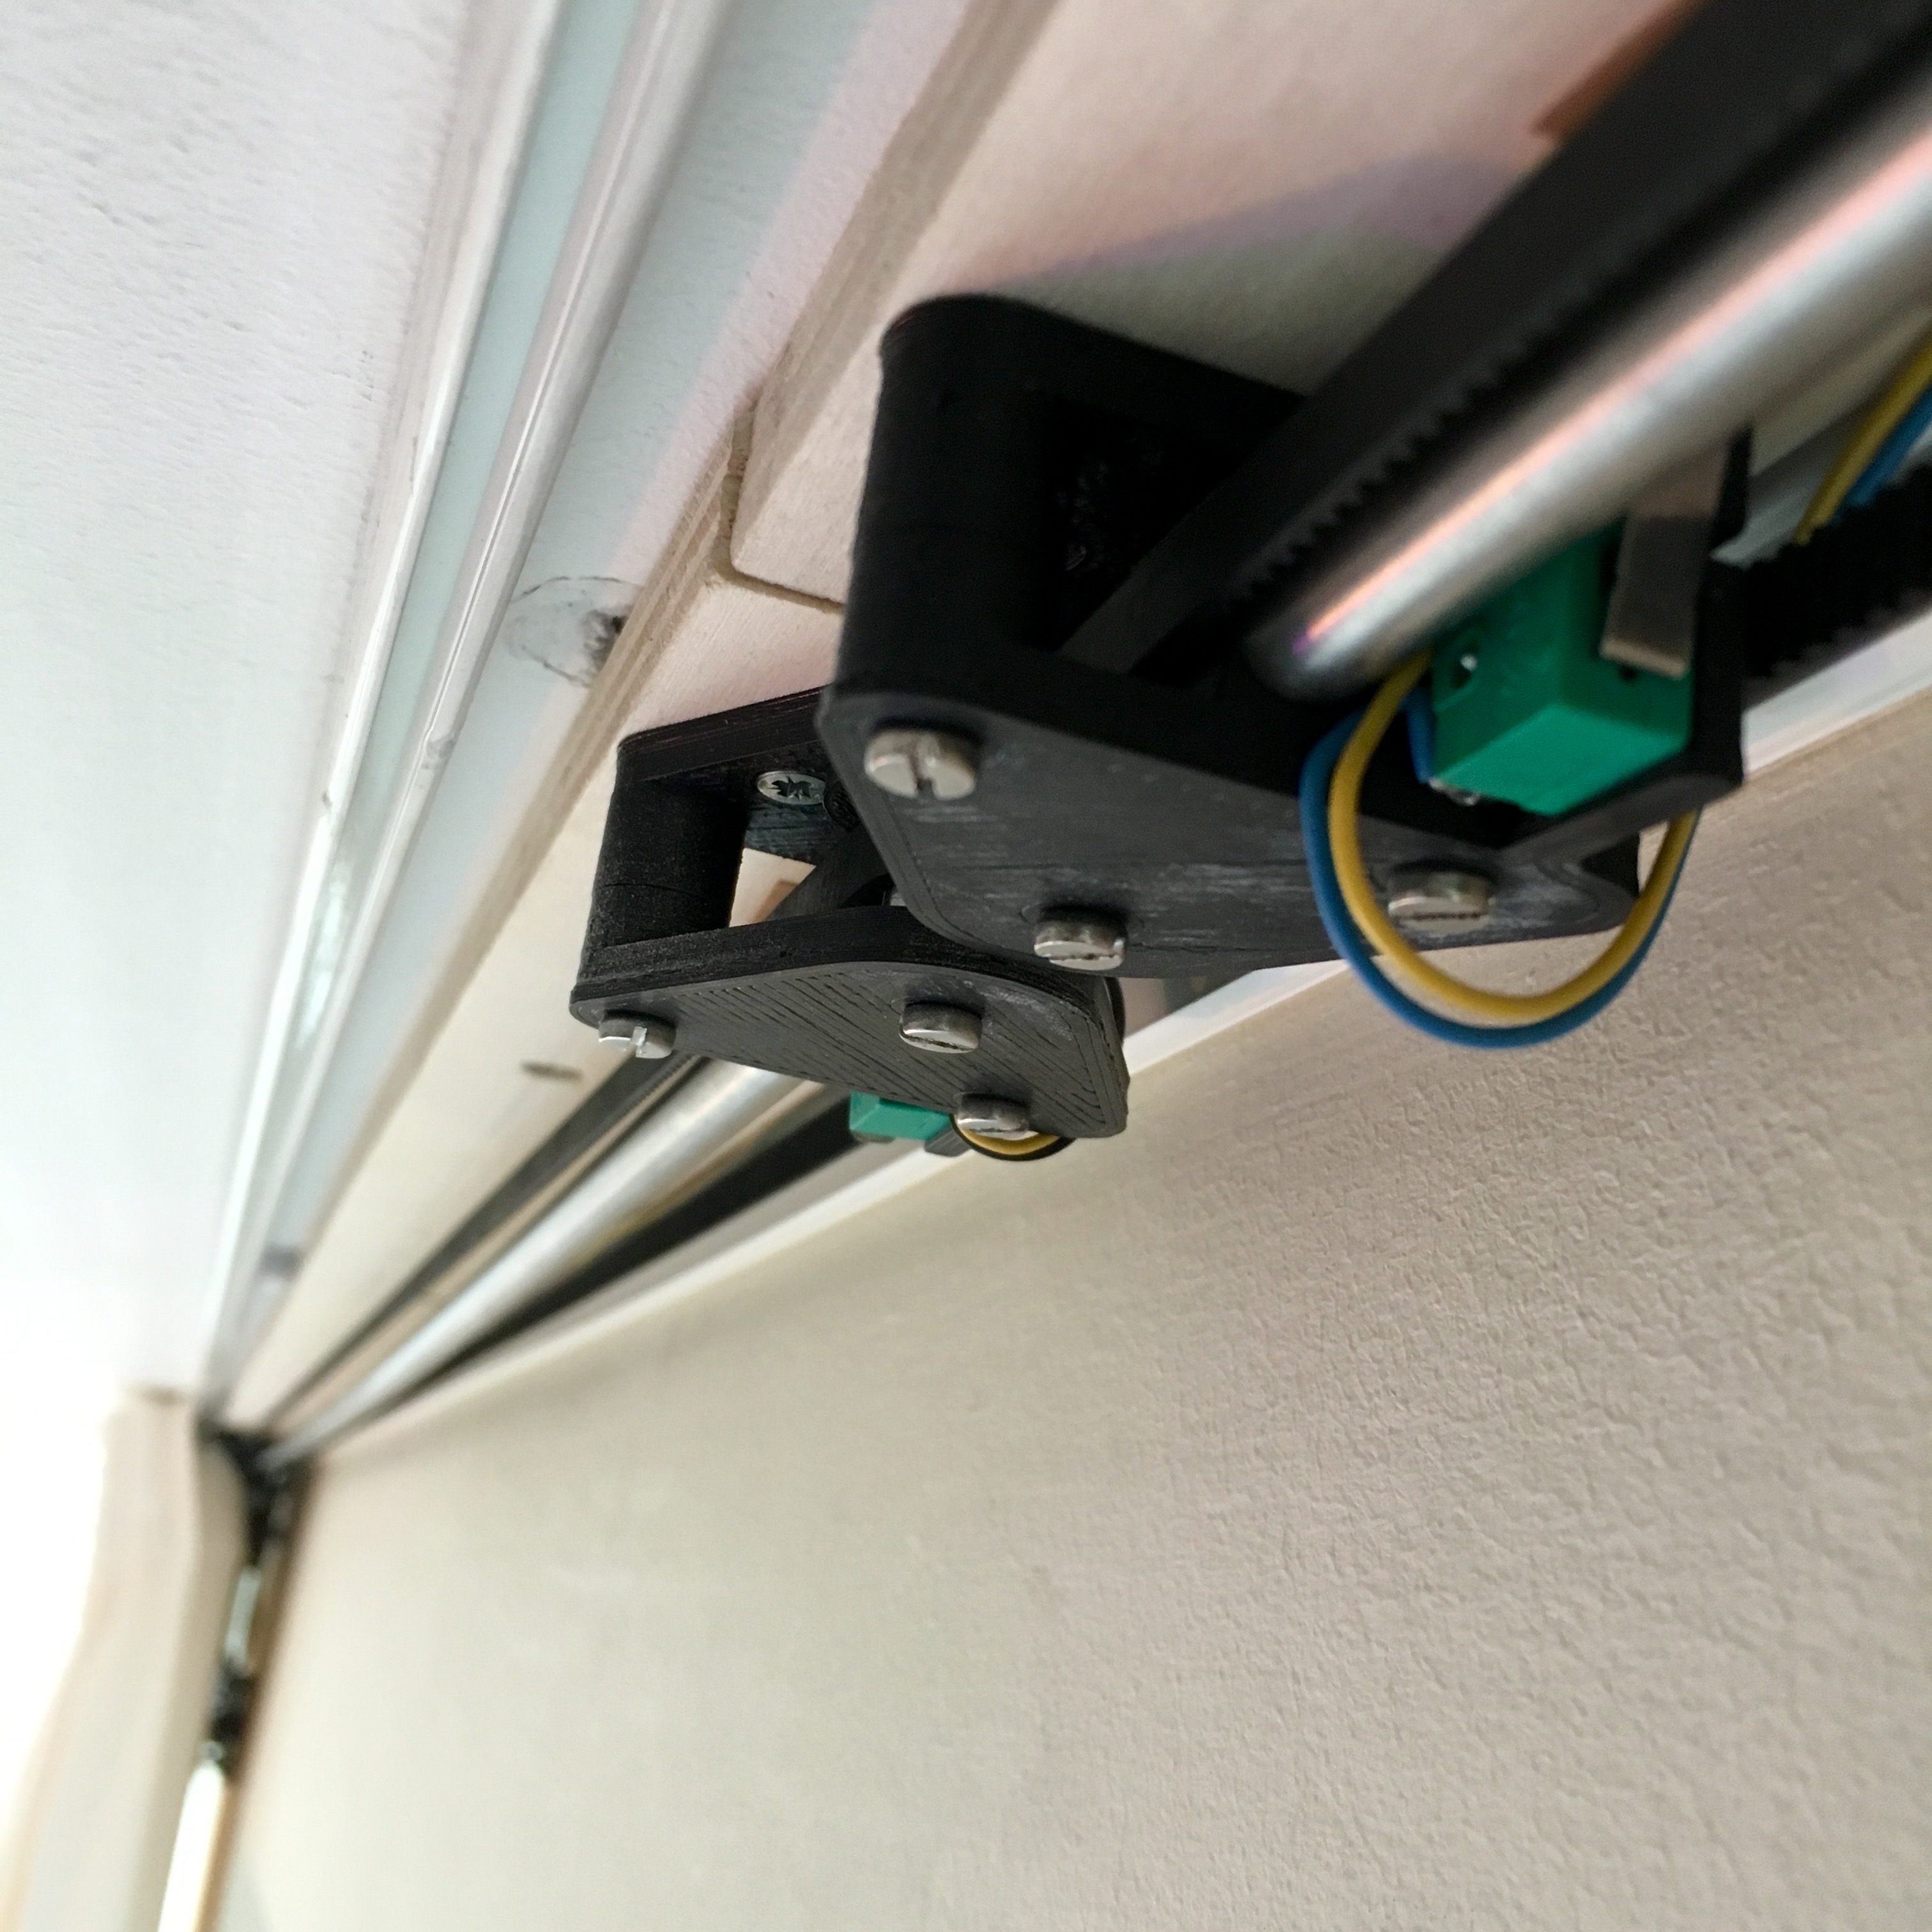
With the final Motor Unit moutend, and the cables routed to a central location, it is time to install a simple control unit. Unfortunately, the sophisticated button pad I created a while ago, wasn’t functioning as well as I hoped. So while I fix these issues, I need to mount a temporary control unit.
Automatic Curtains:
The state of the Curtains.
When I started my automatic curtain project more than a year ago, I didn’t expect it to be so much work. But with the last of the four motor units ready to be installed, the project starts to get shape.
Automatic Curtains:
Push the button!
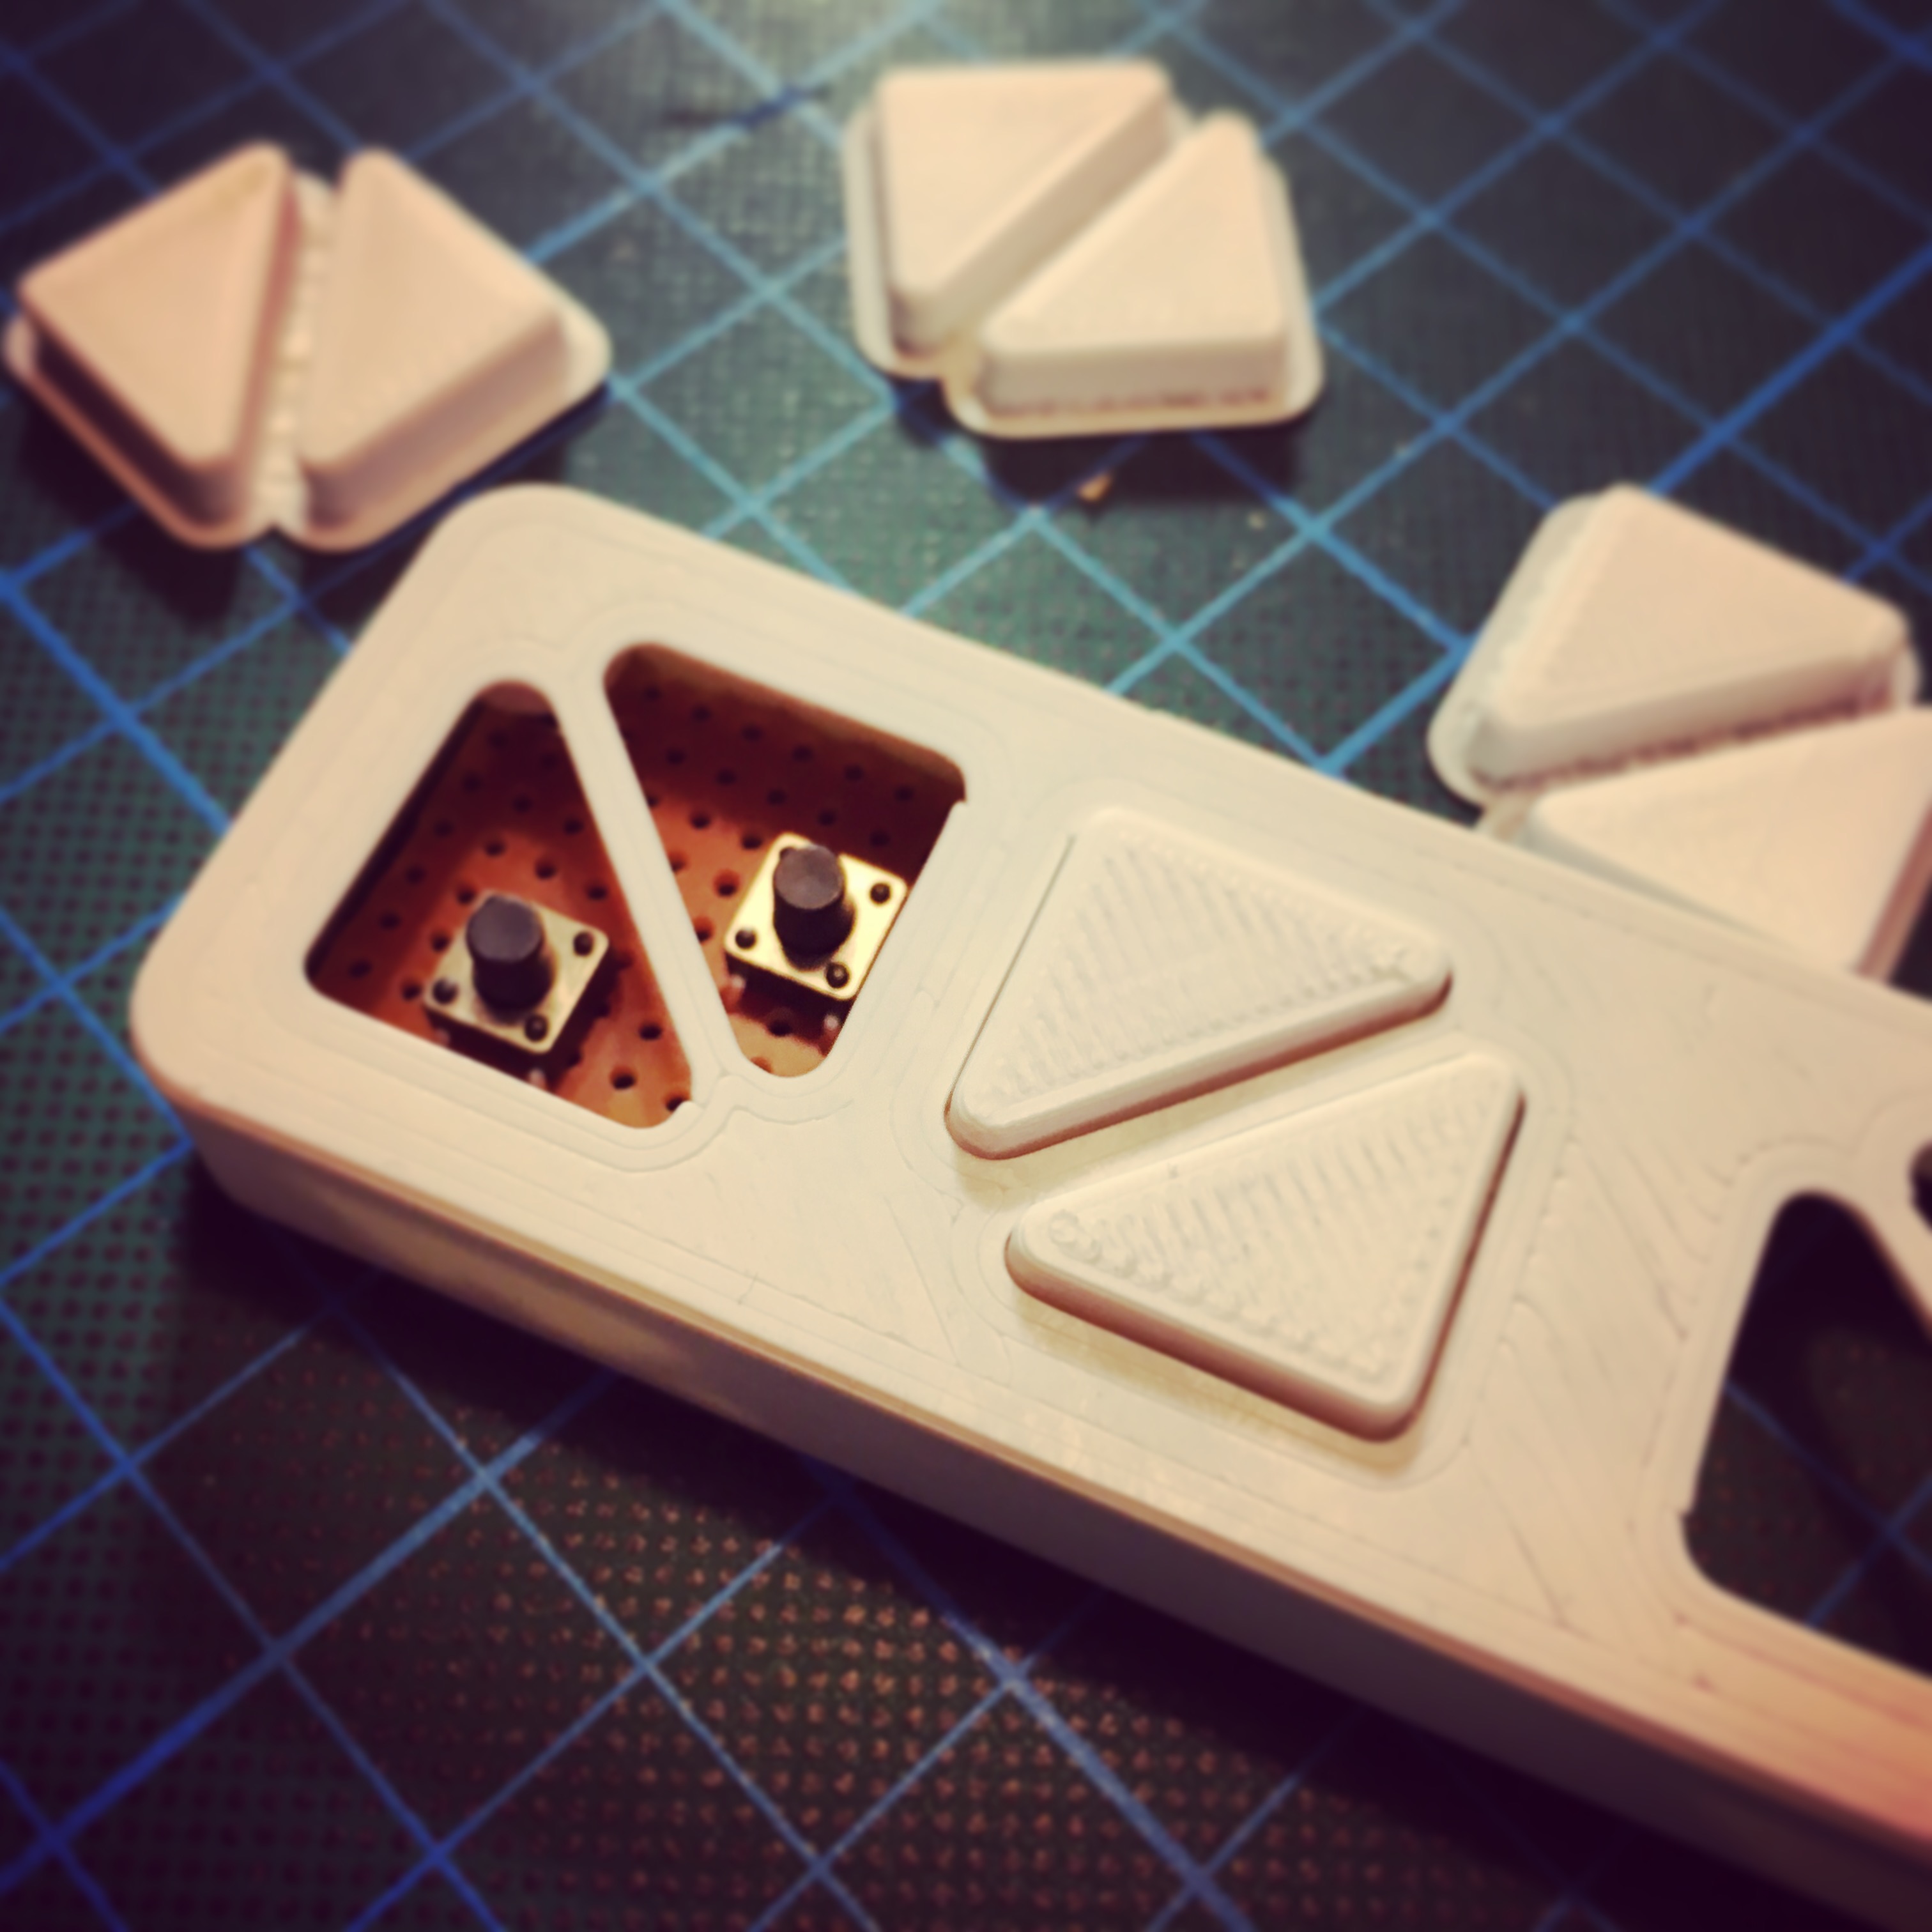
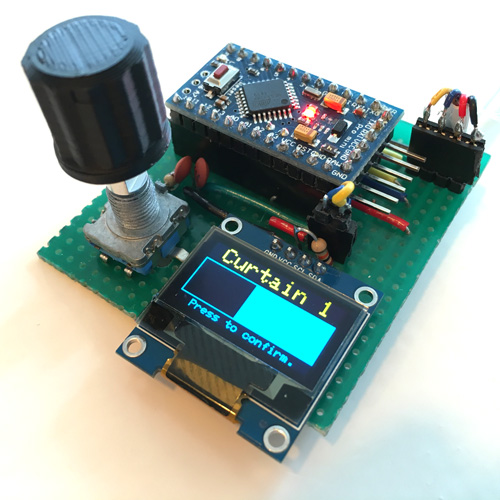
With most of the automatic curtain motor units done, it is time to start worrying about the controls. With projects like these, you always have to work on the WAF-score. The Wife Acceptance Factor. So a simple control pad is a must.
Automatic Curtains:
Designing a PCB Mount in Fusion 360 [Video]
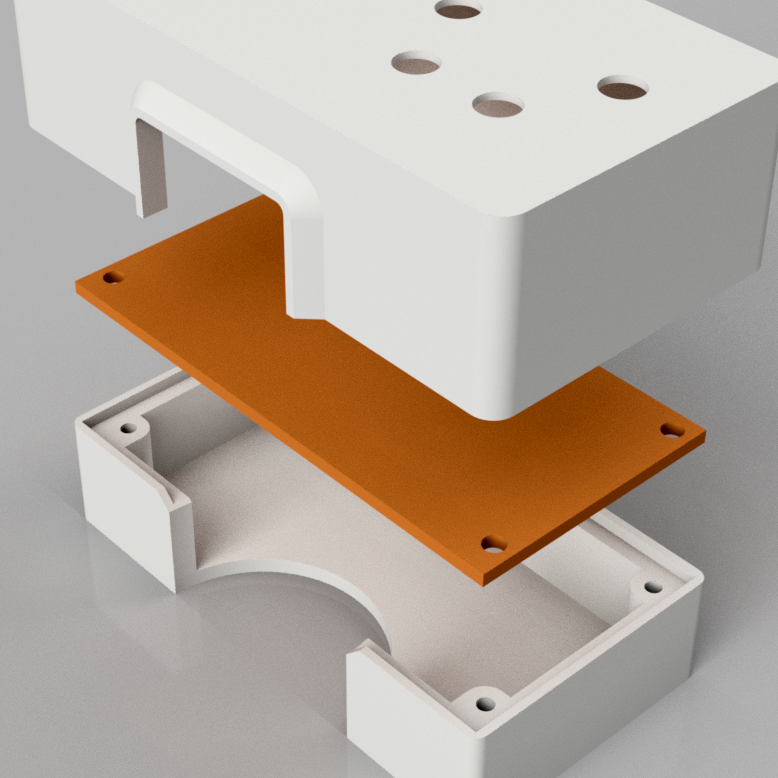
With the Automatic Curtain Motor Controller ready, it’s time to mount it below the motor unit. Since I want it to be easily removable for maintenance, I used Autodesk Fusion 360 to quickly draw a 3D printable PCB mount.
Automatic Curtains:
Take control!
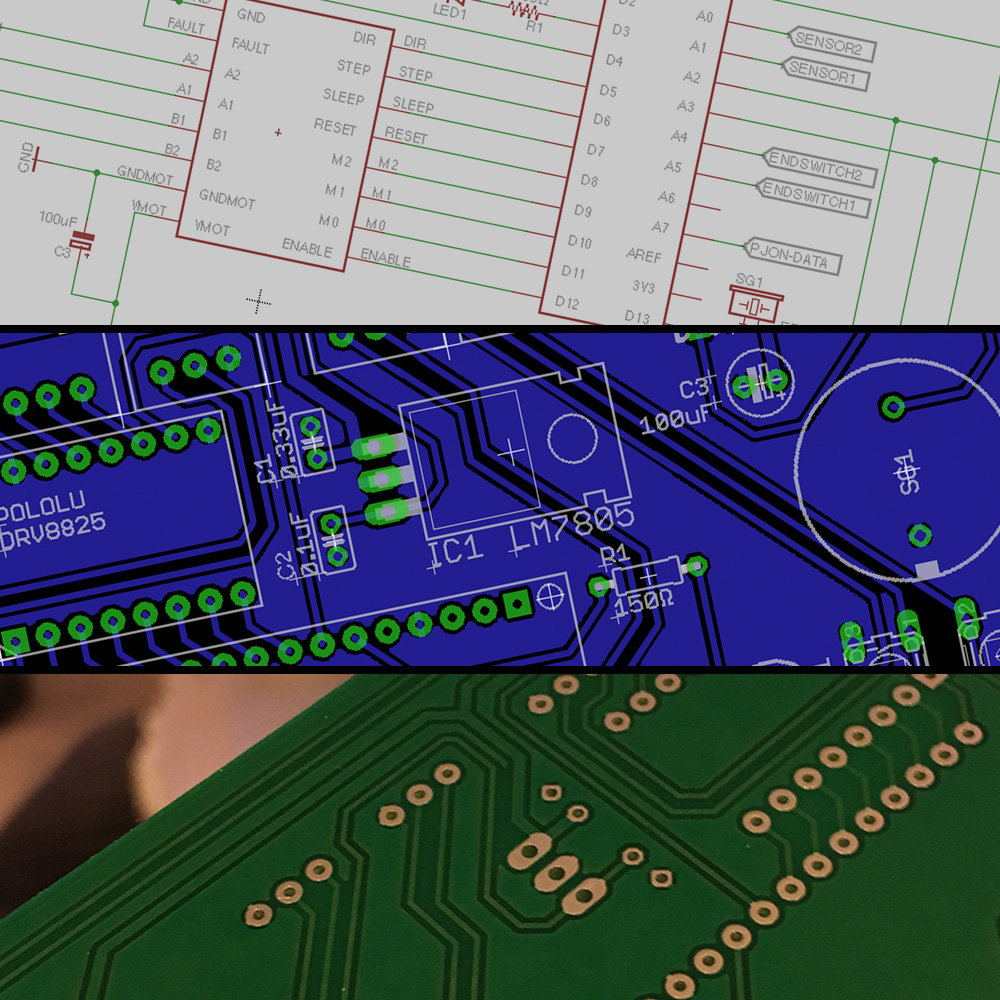
With the first final motor unit assembled, and the newly gathered knowledge about Eagle PCB it is time to work on the motor control unit.
Automatic Curtains:
Assembling the motor units.
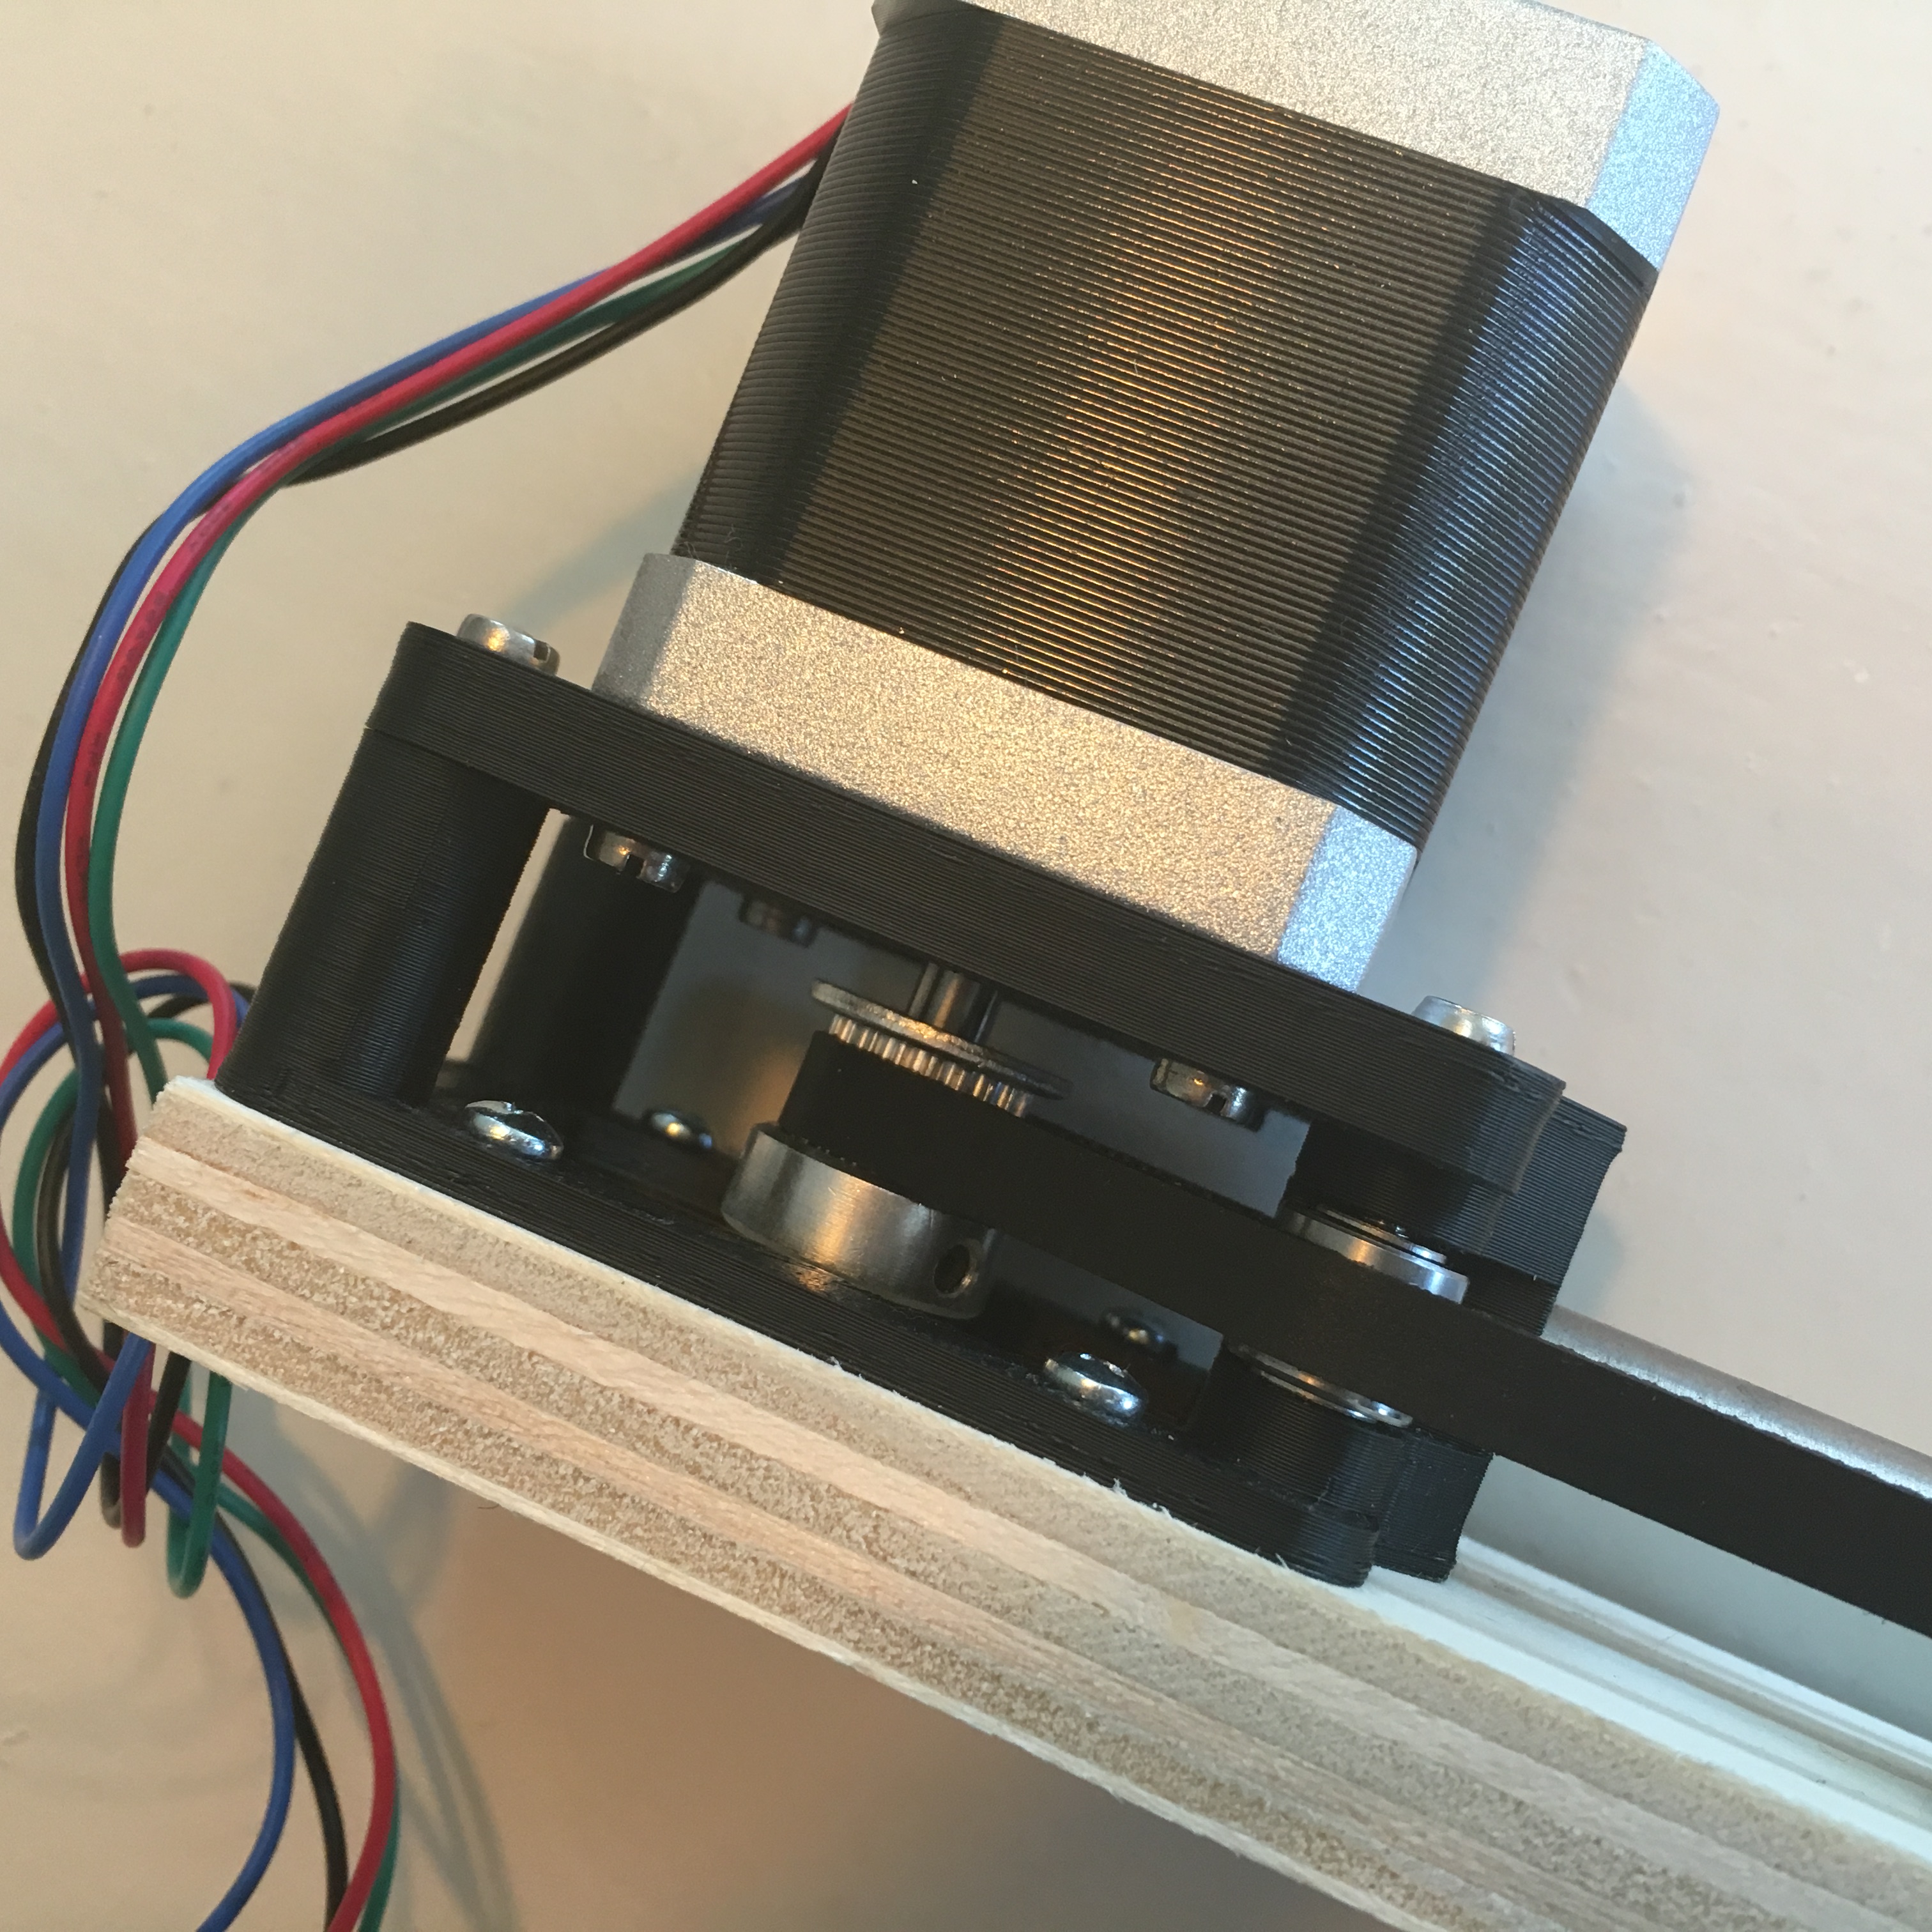
Now that the prototype is finally complete, it is time to start assembling the 4 final motor units: a combination of wood working, 3D printing and some minor cussing. Because I expect some small adjustments along the way, I’ll make the units piece by piece.
Automatic Curtains:
Prototyping complete!
After playing around with the latest version of PJON, I finally found a good way for Arduino to Arduino communication. And with some test-code up and running, it was time to implement it in my automatic curtain driver.
Automatic Curtains:
PJON, my Son!
Since my son Enzo was born, I haven’t really had the time to work on my projects. The upside of this is the fact the the world keeps evolving while my project’s are on hold. One of the best improvements in the last few weeks, is the release of the new PJON library.
Automatic Curtains:
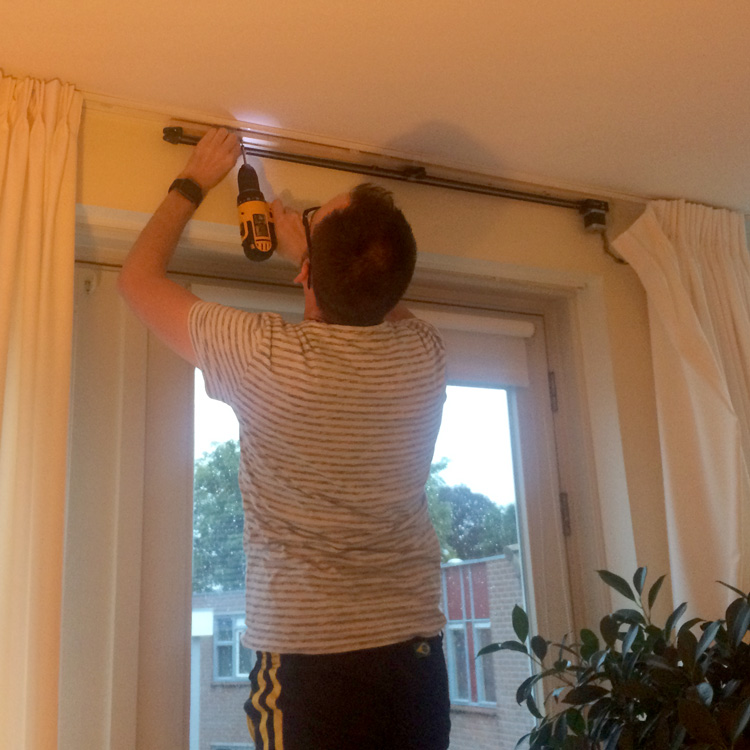
Project update #31415
Without a doubt my automatic curtain project is the project I underestimated most. While most of the mechanical challenges are solved, the electronics part also has it’s hurdles. Time to give you an update …
Automatic Curtains:
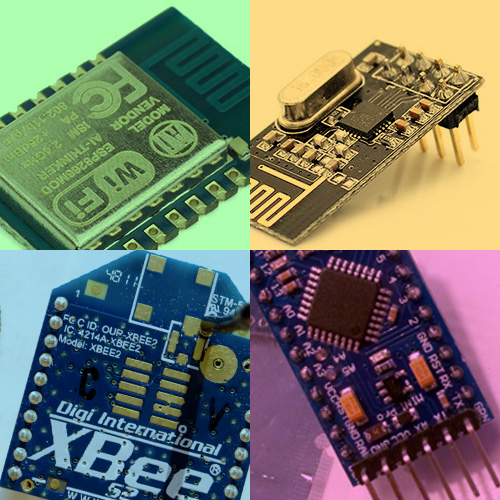
It’s all about communication
So, last week I worked on connecting my automatic curtain system motor unit to the control panel. Unfortunately, this wasn’t as easy as I had hoped. So after banging my head into the wall for a week, it is time do take a step back.
Automatic Curtains:
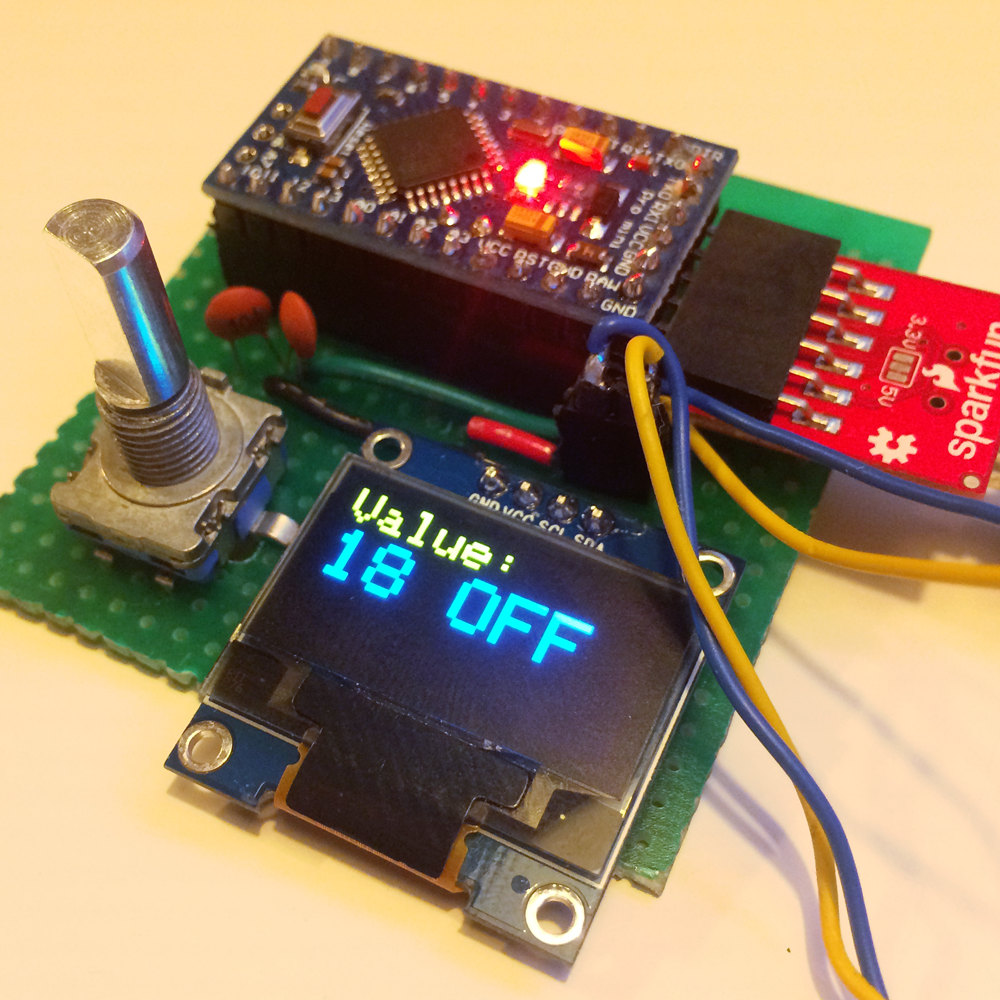
Masters, Slaves and Failures
After I finally finished the first test motor unit I ordered all the necessary parts on eBay to built the 4 final units. Since most of the parts will take a while to arrive, I decided to work on the control unit testcase. Since eBay isn’t world’s fasted way to acquire parts, I have a lot of time to work on this … So let’s get going!
Automatic Curtains:
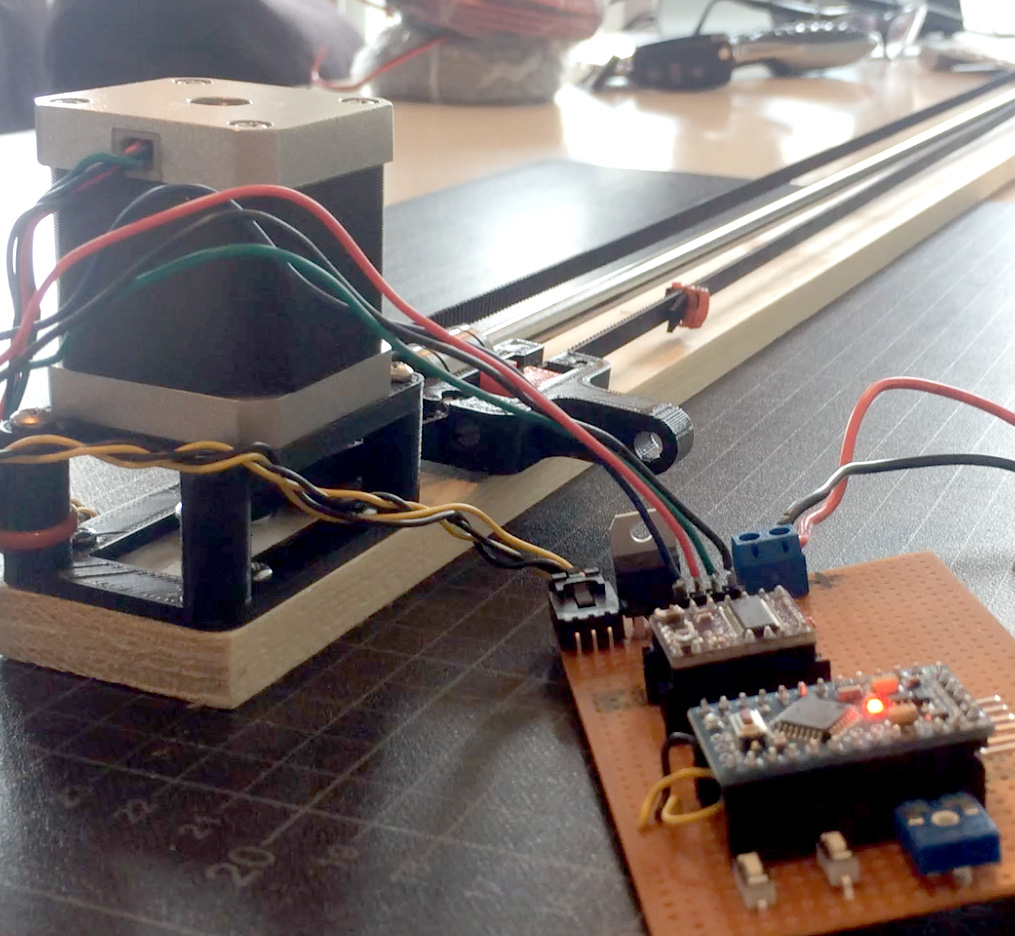
Automatic Curtain Beta Testing
After I finally decided how to do the mechanical part of my Automatic Curtain project and finished some minor details like the end switches, it is time for the electronics.