The Magic Mirror started began to take shape. I ordered a mirror, found the right monitor and finished the sleek white casing. It was time to start the installation of the hardware.
MagicMirror: The Casing
So far I had the following parts:
- The Monitor
- A Raspberry Pi
- A HDMI Cable (to connect the Raspberry to the Monitor)
- A USB to micro USB cable (to power the Raspberry Pi)
- A power cable to power the monitor
But then I figured a had a small setback. During the search for the right monitor I completely forgot the check if the monitor had a powered USB port to power the Raspberry Pi. I assumed that modern monitors were equipped with USB by default. But I was wrong. No USB.
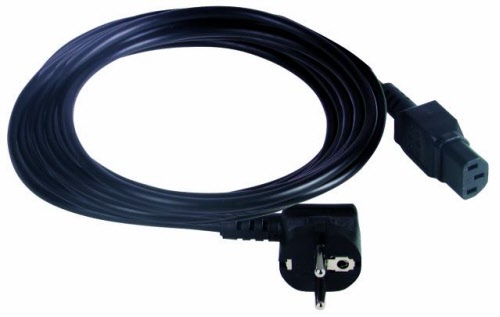
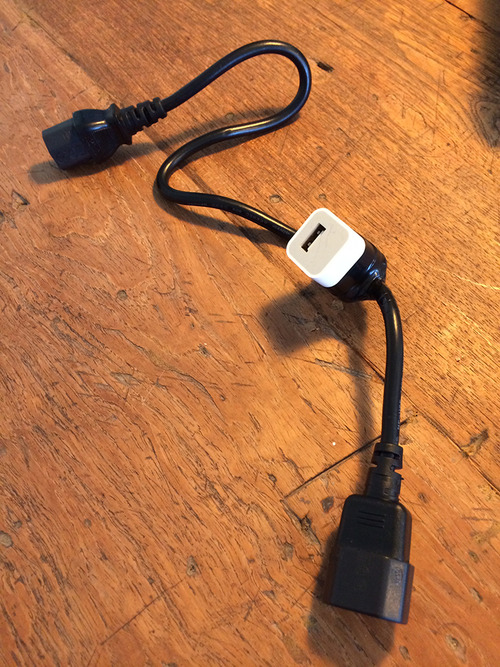
It wasn’t unsolvable, but I did want to power the Magic Mirror with only one cable. So I needed to split the power between the monitor and a separate 240V USB power adaptor. Additionally, I wanted to connect the Magic Mirror using a regular C13 power cable.
So it came down to constructing my own Male/Female power cable with USB adapter in between. After some digging in my unused cable drawers I found a cheap old USB adaptor suitable for this job.
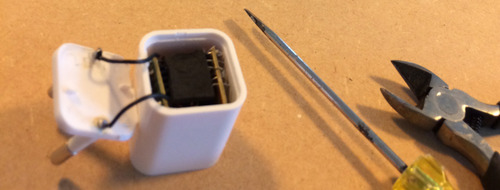
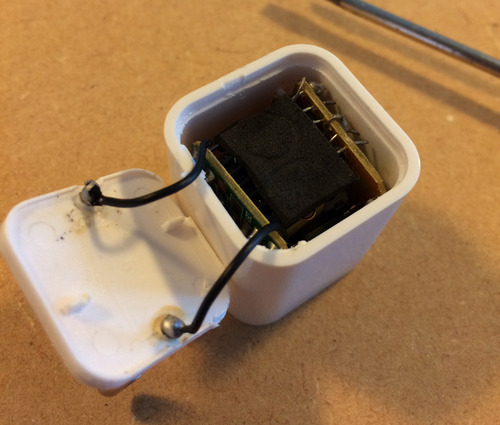
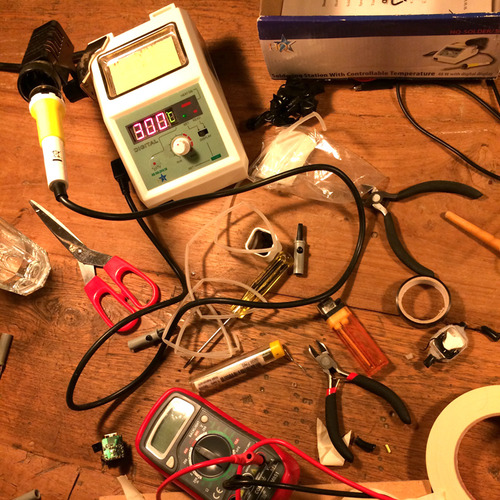
Opening the adapter was more easy than expected and with a little bit of soldering work, some glue and isolation tape, i managed to fabricate a professional looking adapter cable.
To make sure the cable was functioning properly, I did some dry-runs. I simply connected all elements, plugged in the power cable and turned on the monitor. The Rapsberry Booted without any issues and the USB adapter didn’t create any significant heat. Perfect!
Until, 10 minutes later, second setback striked: power outtage. The fuse of the living room was blown, and it wasn’t very difficult to guess what caused it. I unplugged the self produced adapter cable, switched on the fuse and went for a test: reconnect the power cable. This time without any peripheral connected.
With a loud bang, a nice flash and some unhealthy smelling smoke, the USB power adaptor decided that it was time to quit it’s job. For good. Making my self produced power cable totally useless. Back to the drawing board.
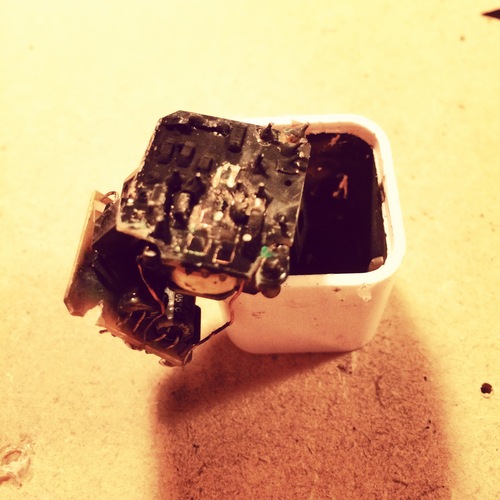
I wasn’t able to figure out what went wrong, but the fact that it was a one dollar Chinese Apple imitation probably didn’t do any good. Maybe I’ve damaged the inside during the soldering, or maybe the Raspberry just draw too much power.
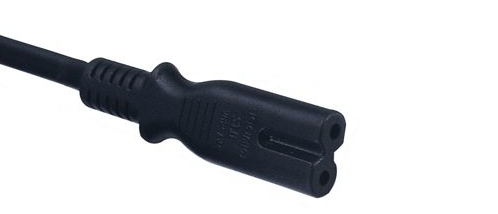
Eventually I ended up splitting the Male/Female cable power cable to a IEC320-C7 cable, allowing me to plug it into an official Apple iPad charger after removing the charger’s duck head. The second dry run went perfect: I I didn’t fry any components, didn’t burn down my house and I didn’t electrocute myself. A small miracle.
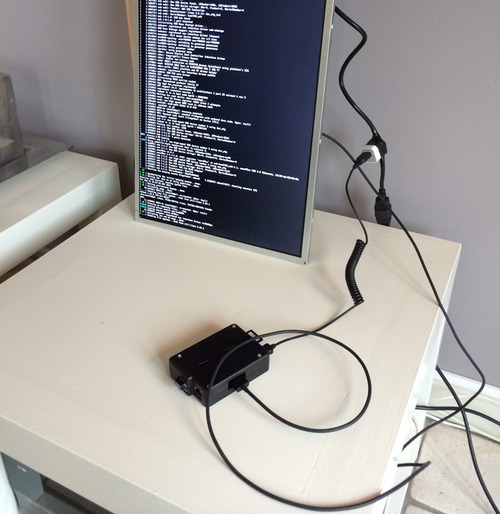
Time to put everything into place. No bad luck this time: everything fitted just perfectly fine.
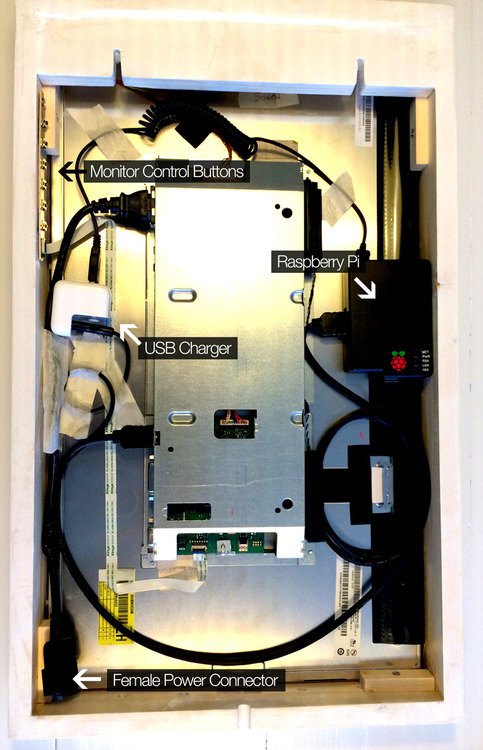
Another milestone was reached. This concluded all the physical stuff (besides the two screws that went into the wall …). Time to start the geek part: installing the raspberry.
MagicMirror: Installing the Raspberry Pi