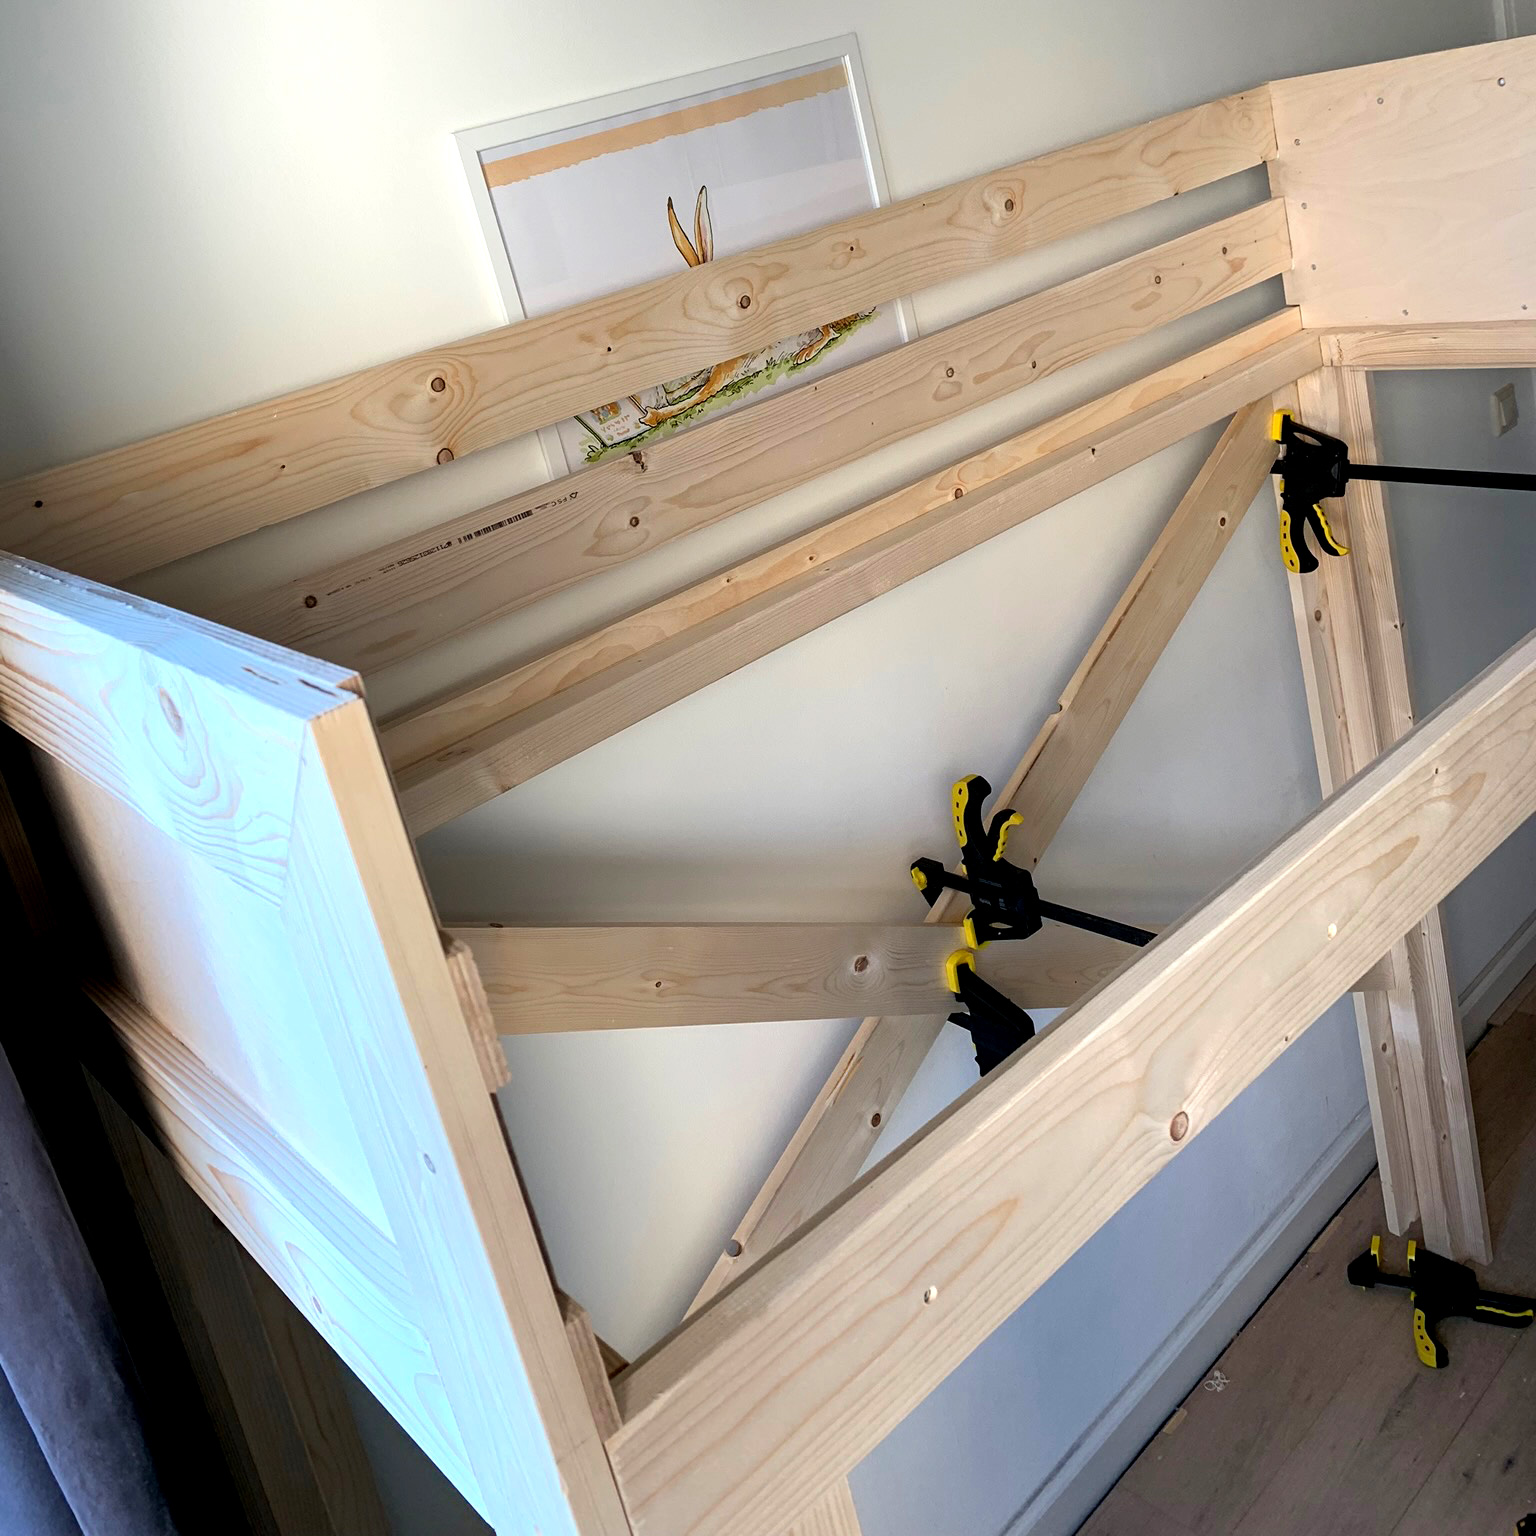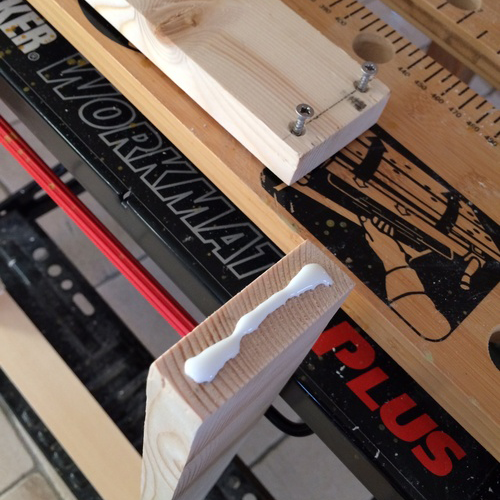
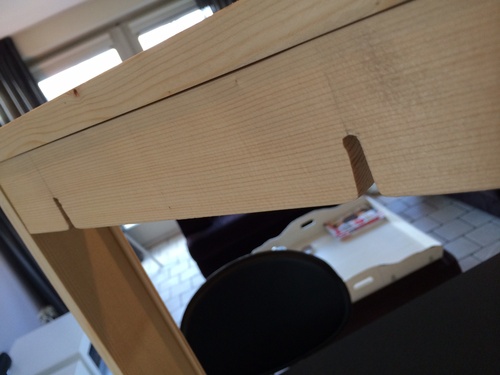
After measuring the dimensions needed for the new casing, DIY happiness could start. Using pine wood I create a strong and steady frame. For the bezel holding the mirror and monitor in place I used wooden floor plinths. Reason for this is that they were the exact perfect size (30mm width), and have a rounded bezel.
MagicMirror: The Monitor
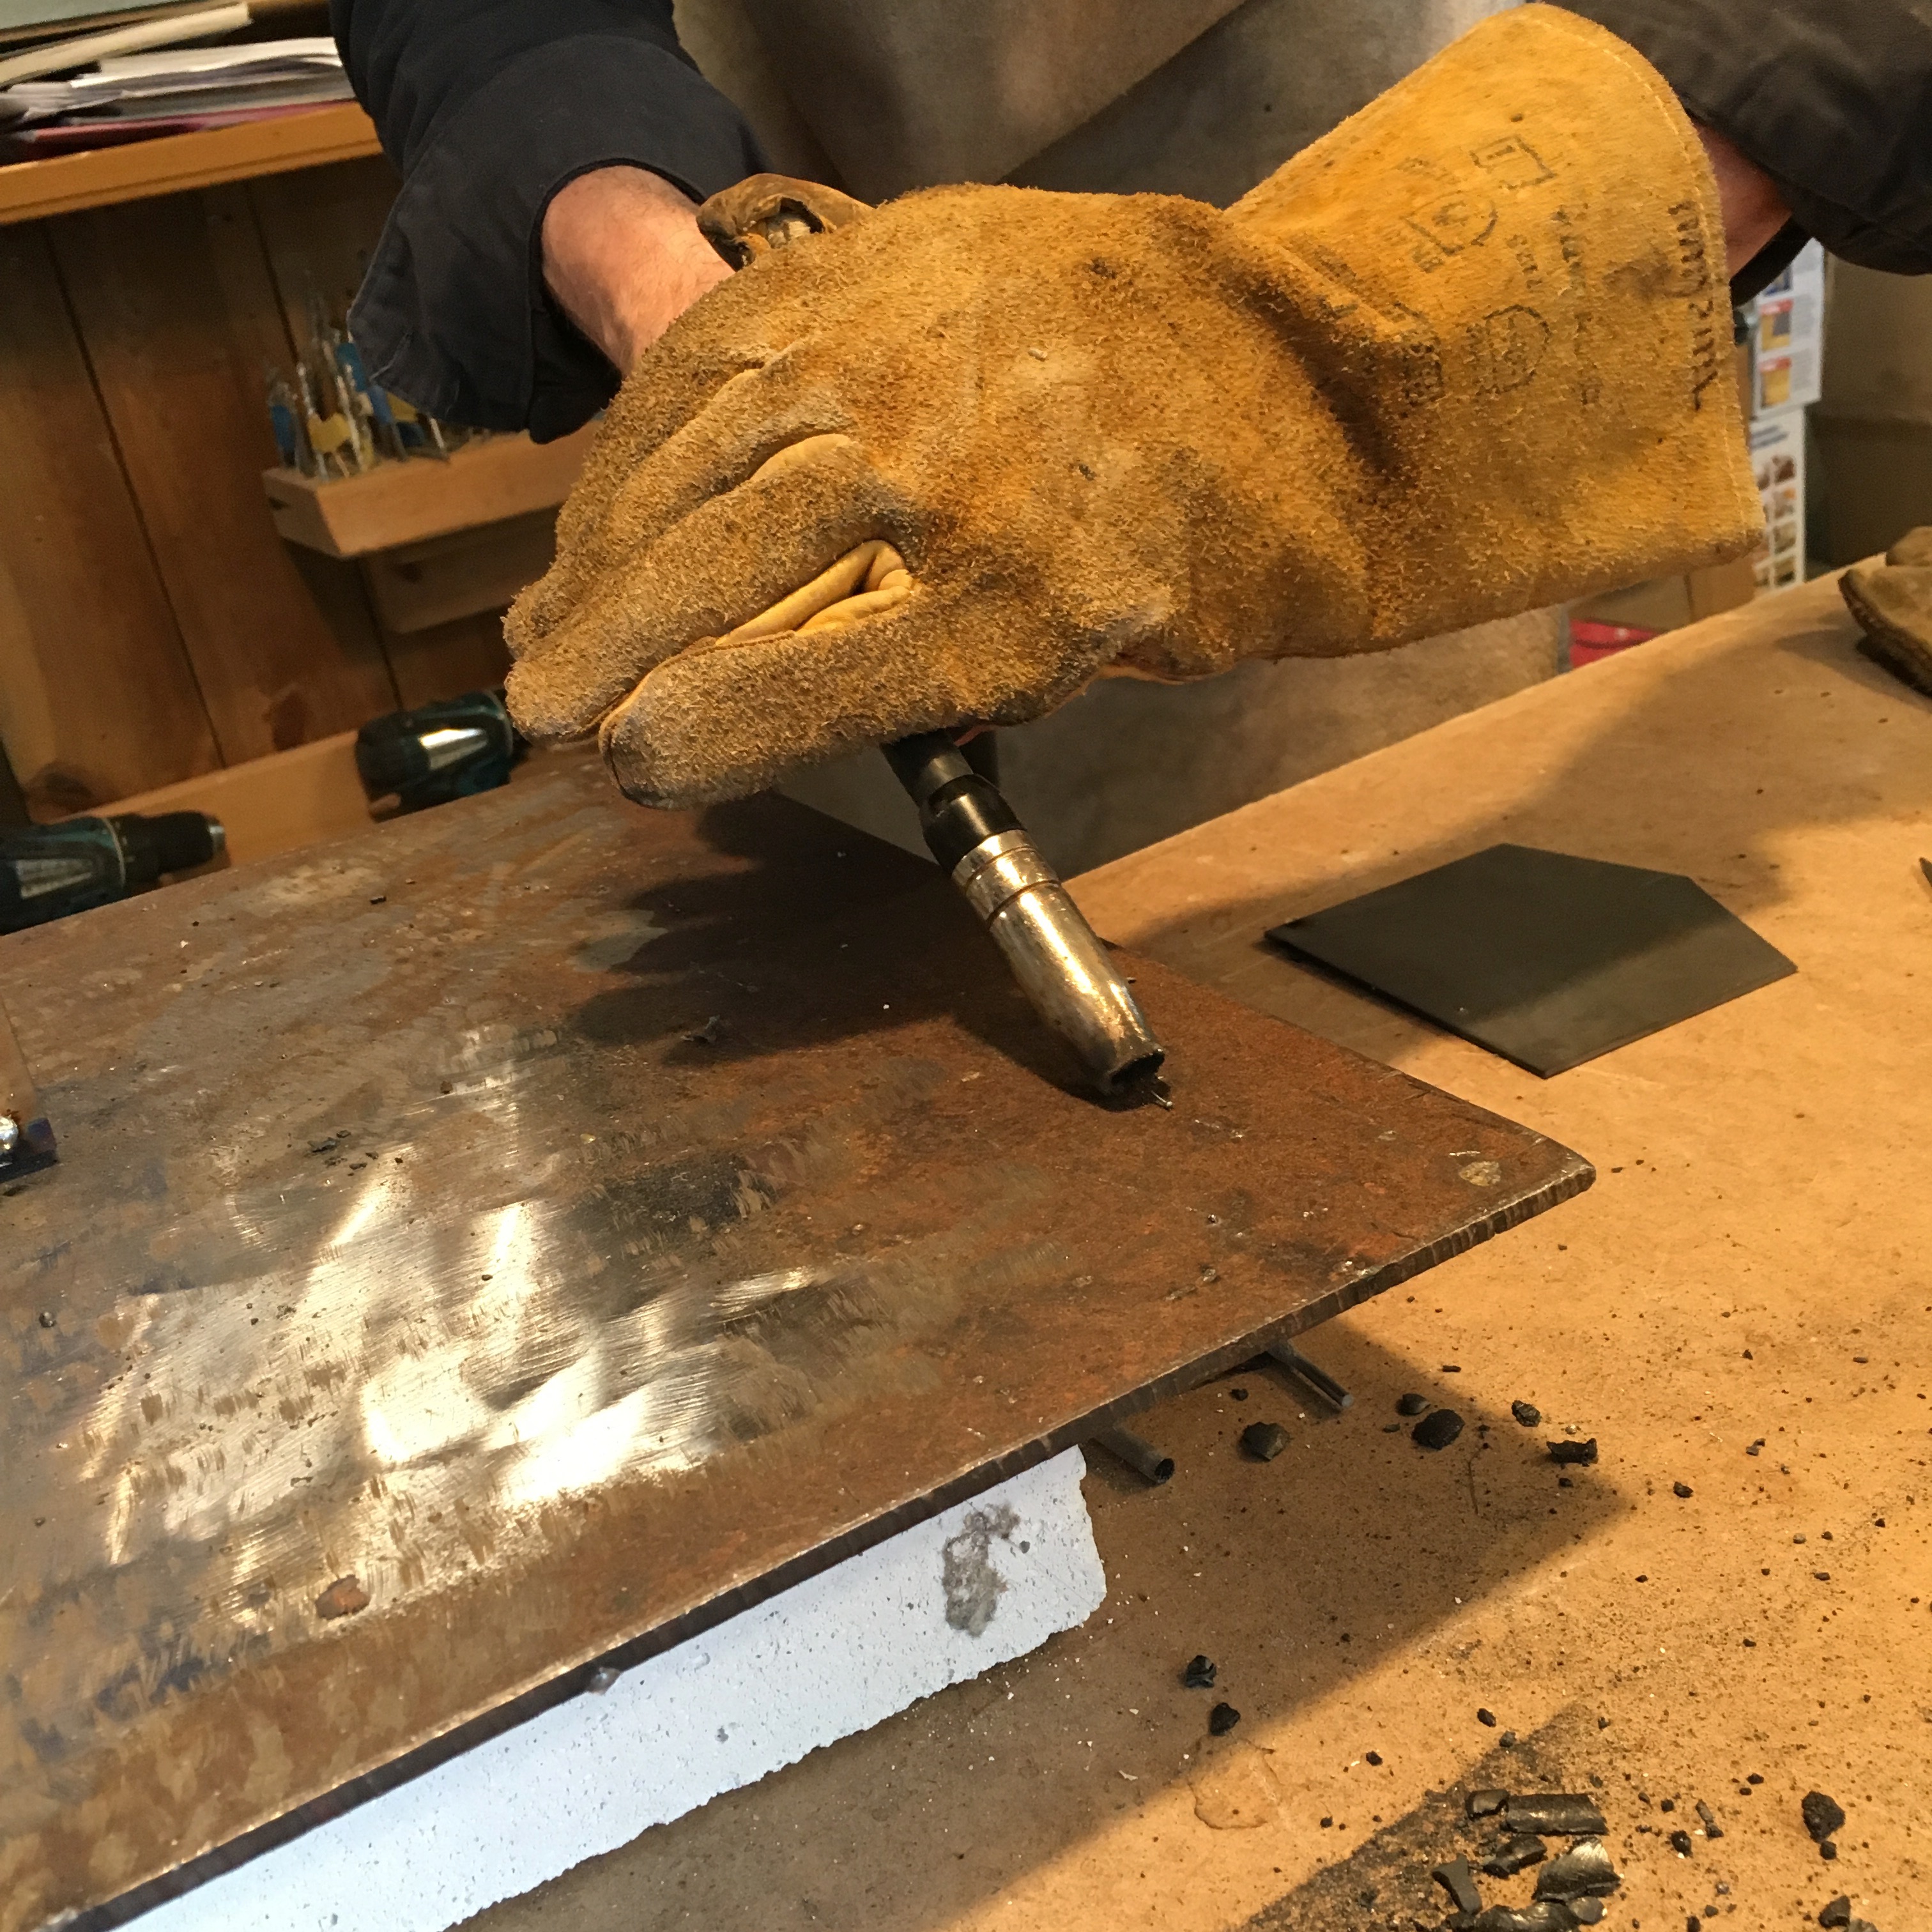
Since the monitor would probably generate some heat, air ventilation holes were necessary. Also a nice and firm mounting point was added on the back of the casing.
A small spoiler: the end product weights 6.5Kg. The fact that I created a double mounting point was probably a spot on ‘guestimation’.

Additionally, the bottom of the casing I created a small slit to act as a cable tray for the power cable.
Of course, it needed some color, so after applying (way to much, something I really regreted during the sanding …) putty, some ground paint and a nice shiny toplayer (2x), the new casing was done.


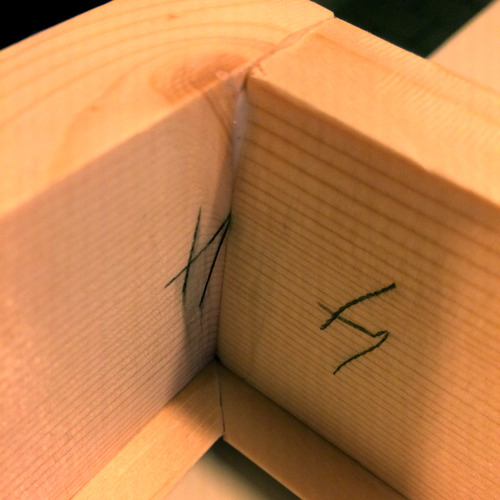
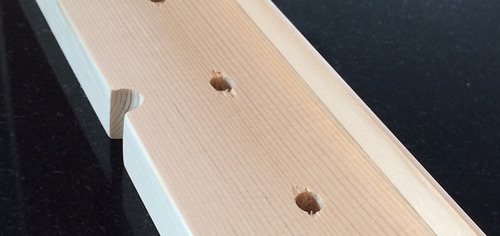
There was one piece of carpentry I needed to do: to mount the monitor and mirror I created 4 mounting blocks. ready to screw on the inside of the frame.

This concluded my carpentry job. Time for the next chapter of project 'Magic Mirror’. The installation of hardware.
MagicMirror: Install The Hardware