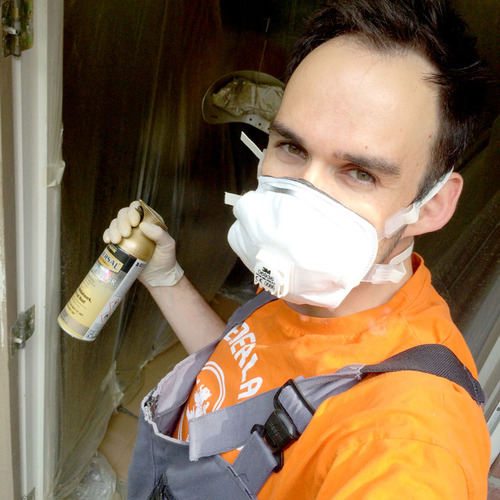
After wrapping up the last pieces of electronics in last week’s post, it’s time for the next phase of the Power Suit project. Although the Suit slowly became a futuristic Power Suit, it still needs some styling. As you might have guessed from the scary photo above, it’s time for a layer of paint.
Power Suit: The Missing Parts
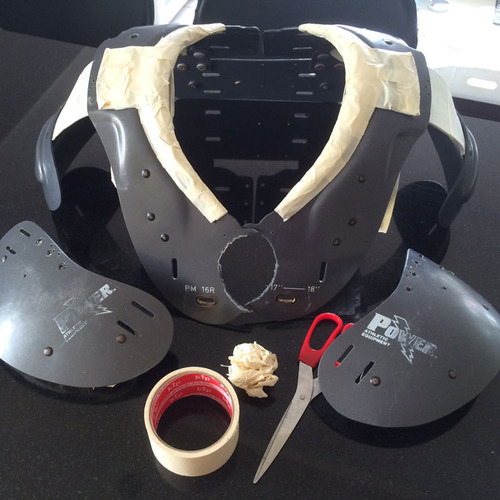
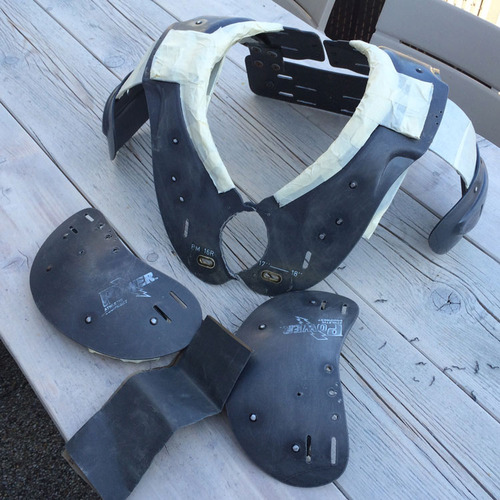
Masking and sanding
After taking apart all pieces like the wings and the speaker, I used some masking tape to prevent the lining to become painted as well. While applying the masking tape, I had some time to think of the right color combination. Honestly, this decision was extremely easy, since the Power Suit is inspired by Iron Man.
The tape is applied: it’s time for some sanding. This helps the paint to affix securely to the plastic suit. Sanding is, just like with the Magic Mirror, the most boring part of the project. Luckily, I’m not building a complete army.
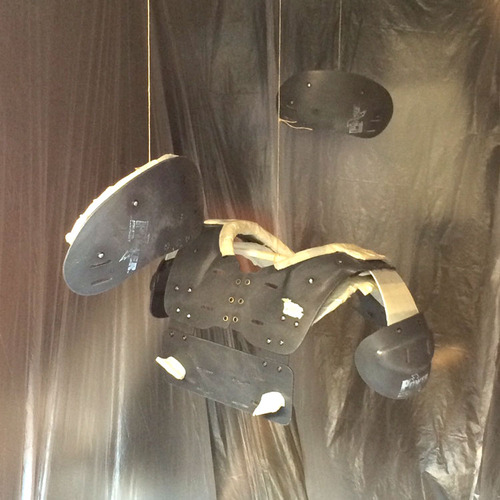
My own spray paint cabin
After the sanding, I created my own painting cabin in my barn with the help of some cover film. I use some strings to hang the pieces to the ceiling, and start with the easy part of the paint job: the primer. I used a transparent primer so the picture below won’t show any surprises.
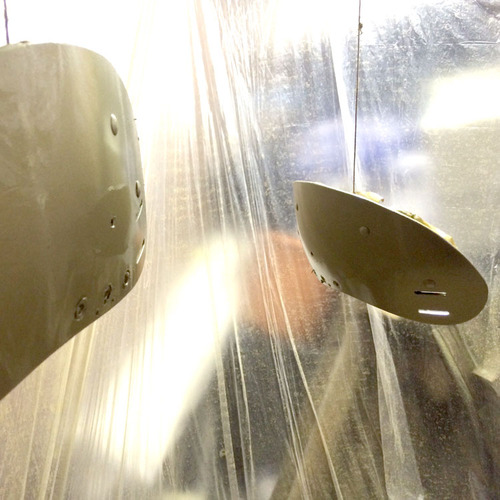
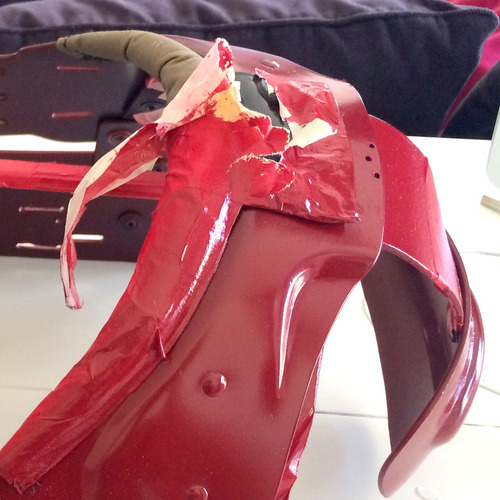
Next on the list, are the wings, which I paint gold to match the accents of the Iron Man suit. Two layers of paint turned out to be enough for the desired effect.
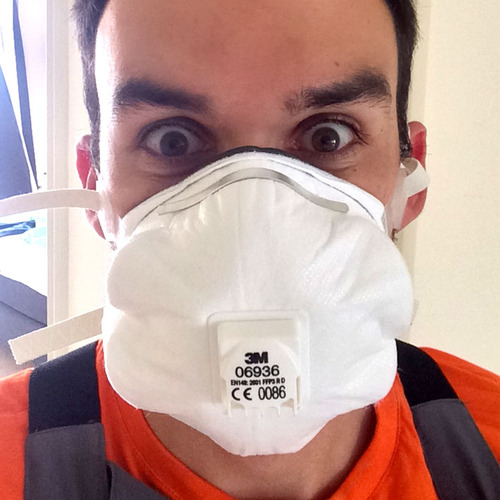
After finishing up the first part of the paint job, I gave the wings some time to dry and cure. This gave me some time to take an paint-job-selfie.
On to the most exciting part: the main part of the suit. Two cans of red paint were needed to give the suit the kick ass color I wanted. The result turned out better than expected. Again, I gave the suit some days to dry and cure.

Eventually it is time to take of the masking tape. Tensive but satisfying. I managed to take off all the tape without damaging the the paint. Great tip for the future: remove the tape outside of your house: a lot of paint flakes will come off the tape.
Reassemble the Suit
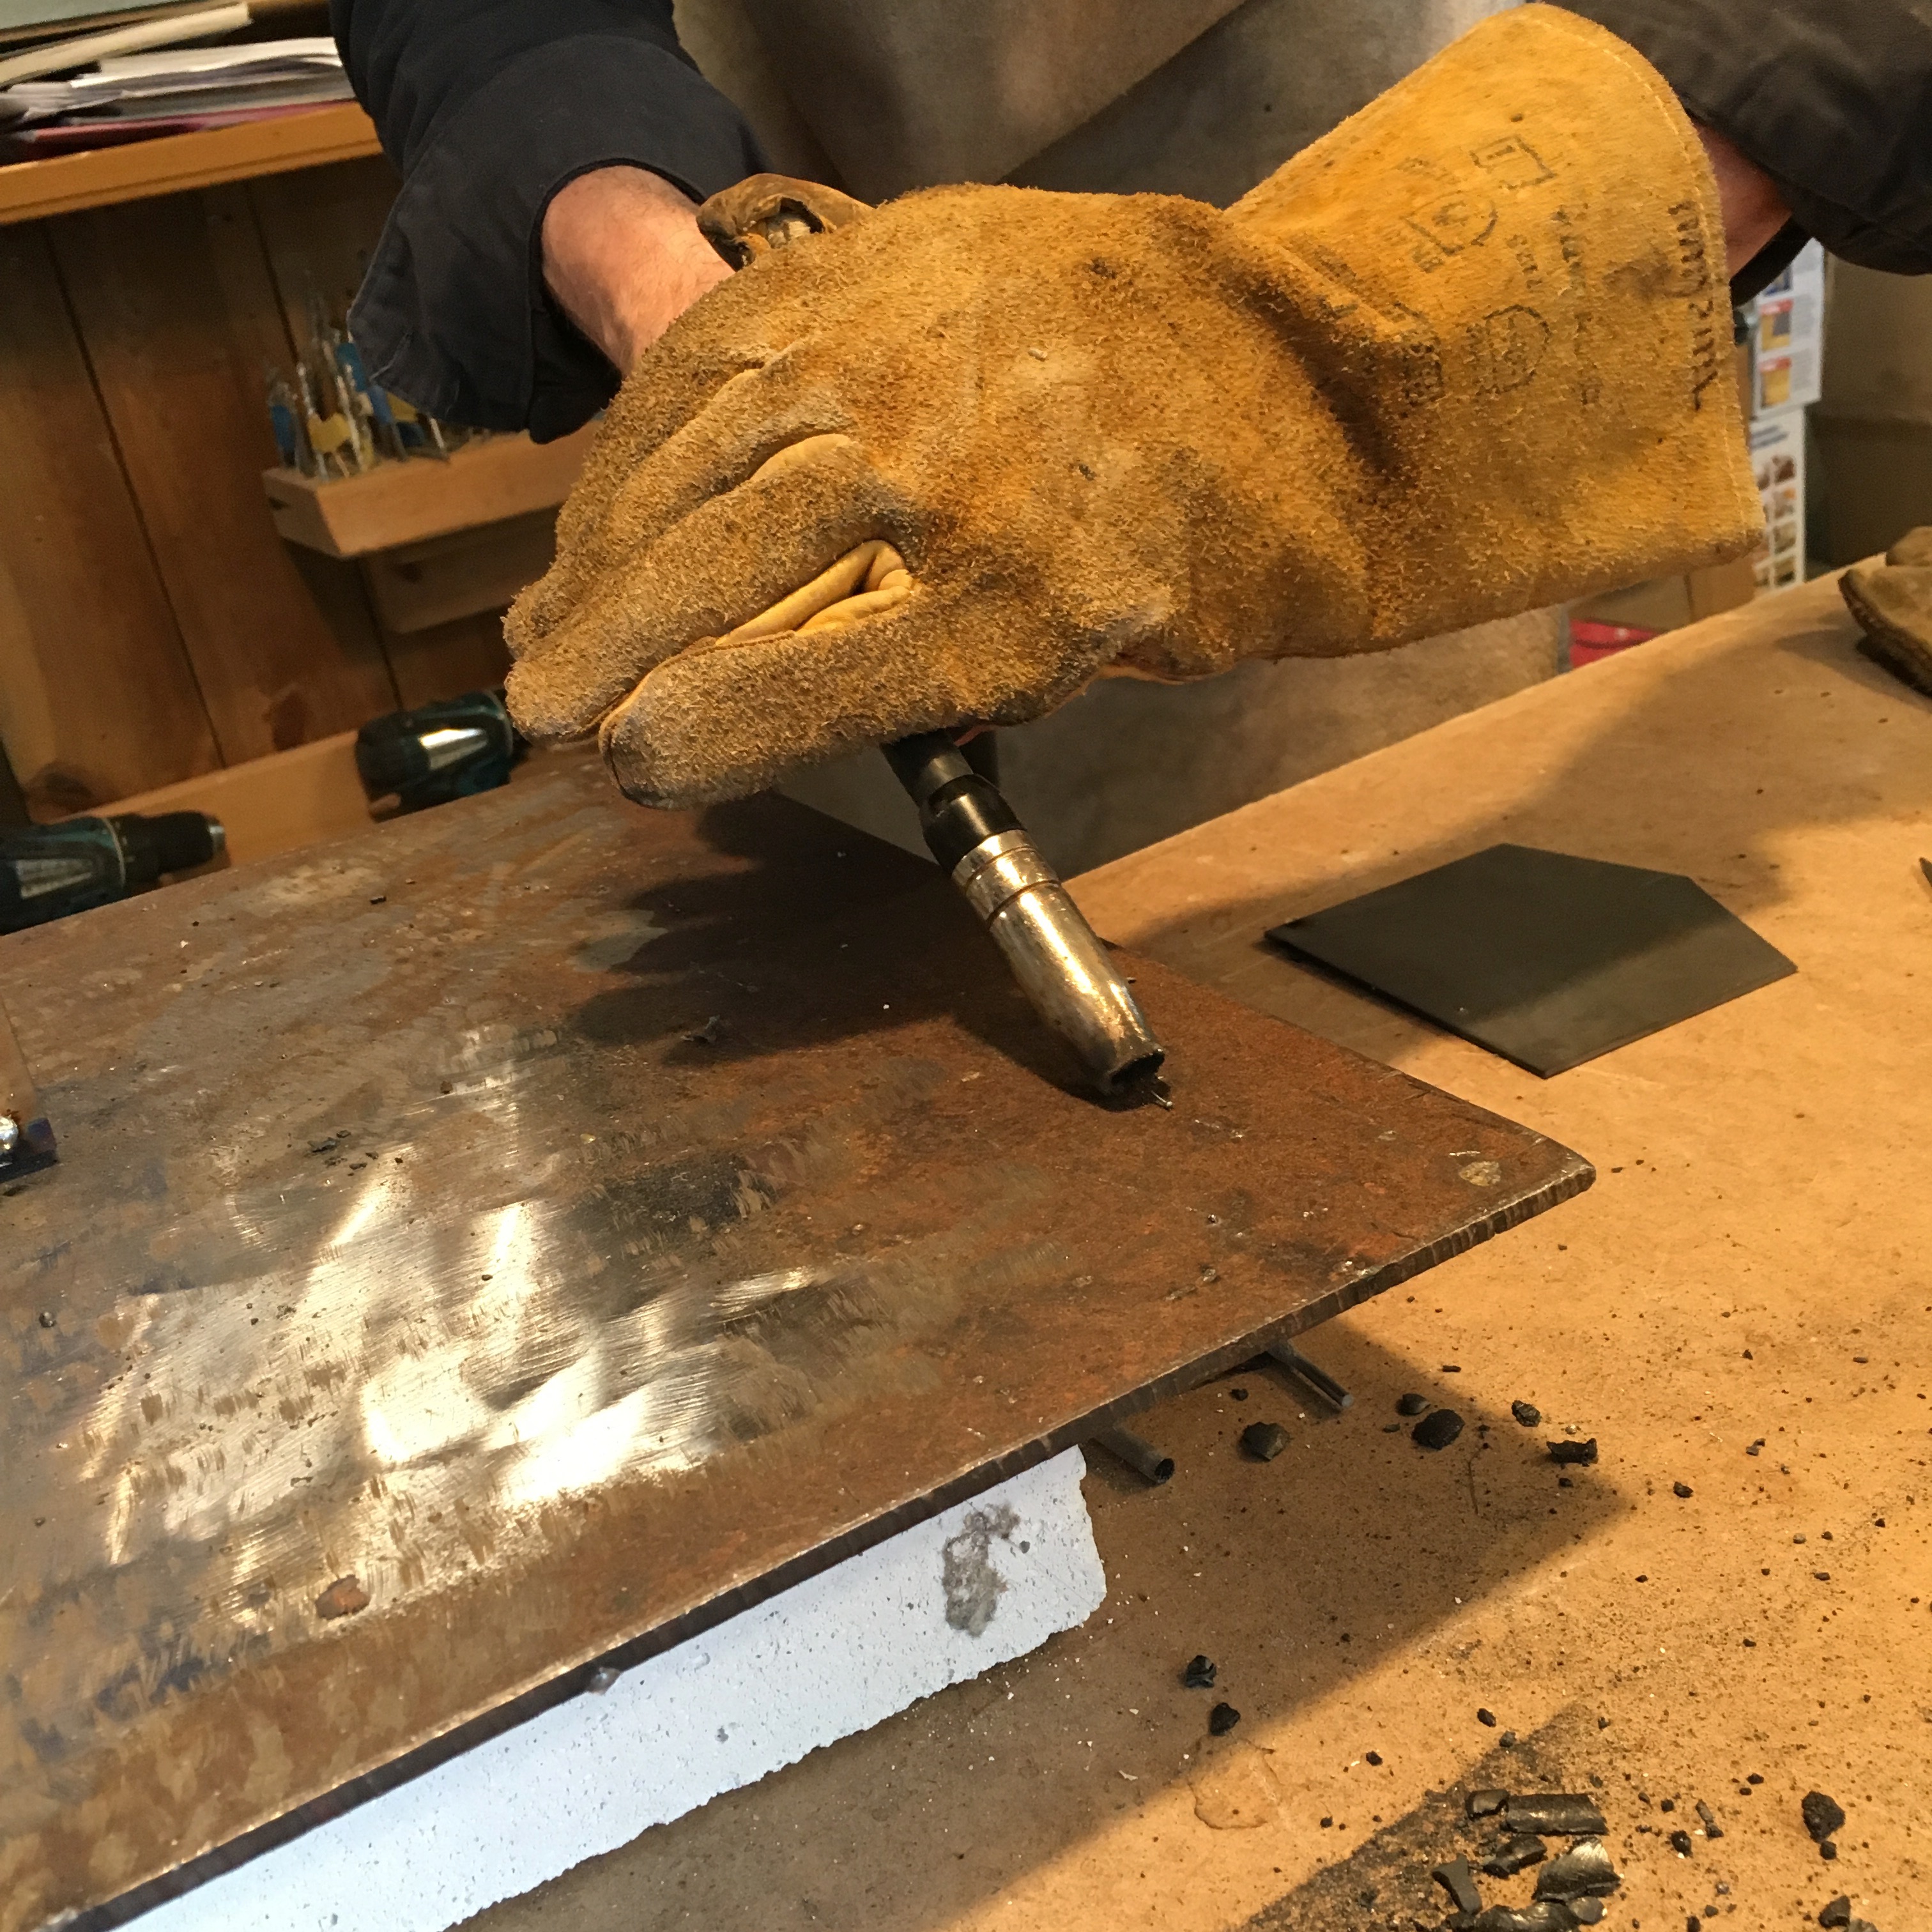
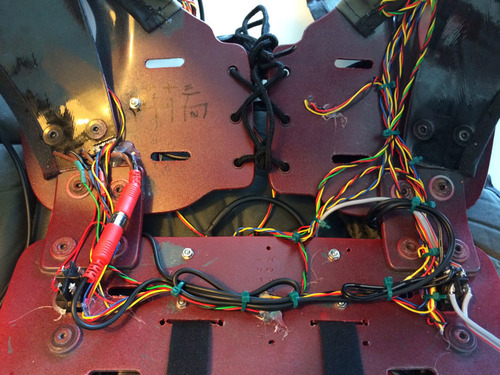
Next, I needed to reassemble everything. This included all the wiring. The wires are all on the inside of the suit, between the plastic and the lining. I used a lot of tie-wraps and my glue gun to fixate the wires. The photo below will show the enormous amount of wires on the inside of the suit.
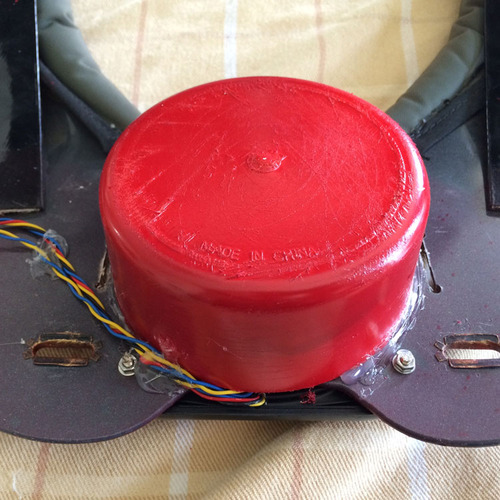
In addition to the suit, I also painted a small plastic round container which I mount over the backside of the speaker. This container will protect the speaker, but more important, it will function as a resonance box and amplify the sound.
The end result of the paint job was above my expectations. The lining of the suit matches perfectly with the new colors.
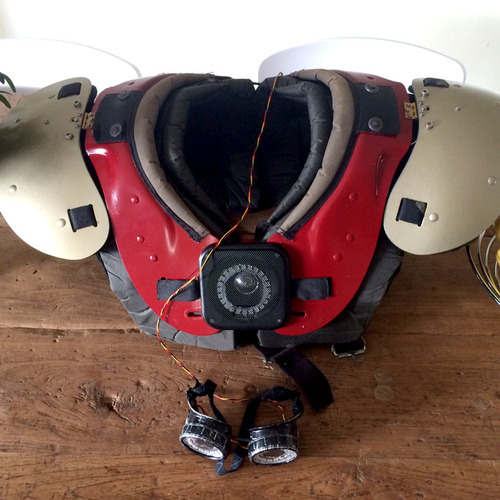
Note that after taking this picture, I’ve also replaced the small wire to the glasses with a more sturdy looking cable.
With this paint job, I finished the hardware part of the suit. Next up is the software part. Starting with programming the Arduino. Make sure you won’t miss it next week!
Like the paint job? Or did you prefer an other color combination? Leave a comment down below!
Power Suit: The Code Magic