
Quiet for now & plans for the future
If you are a regular reader of my blog, you know I’ve been posting new updates approximately every two weeks for the past few years. So the fact that my last post was over 6 weeks ago deserves a bit of an explanation.
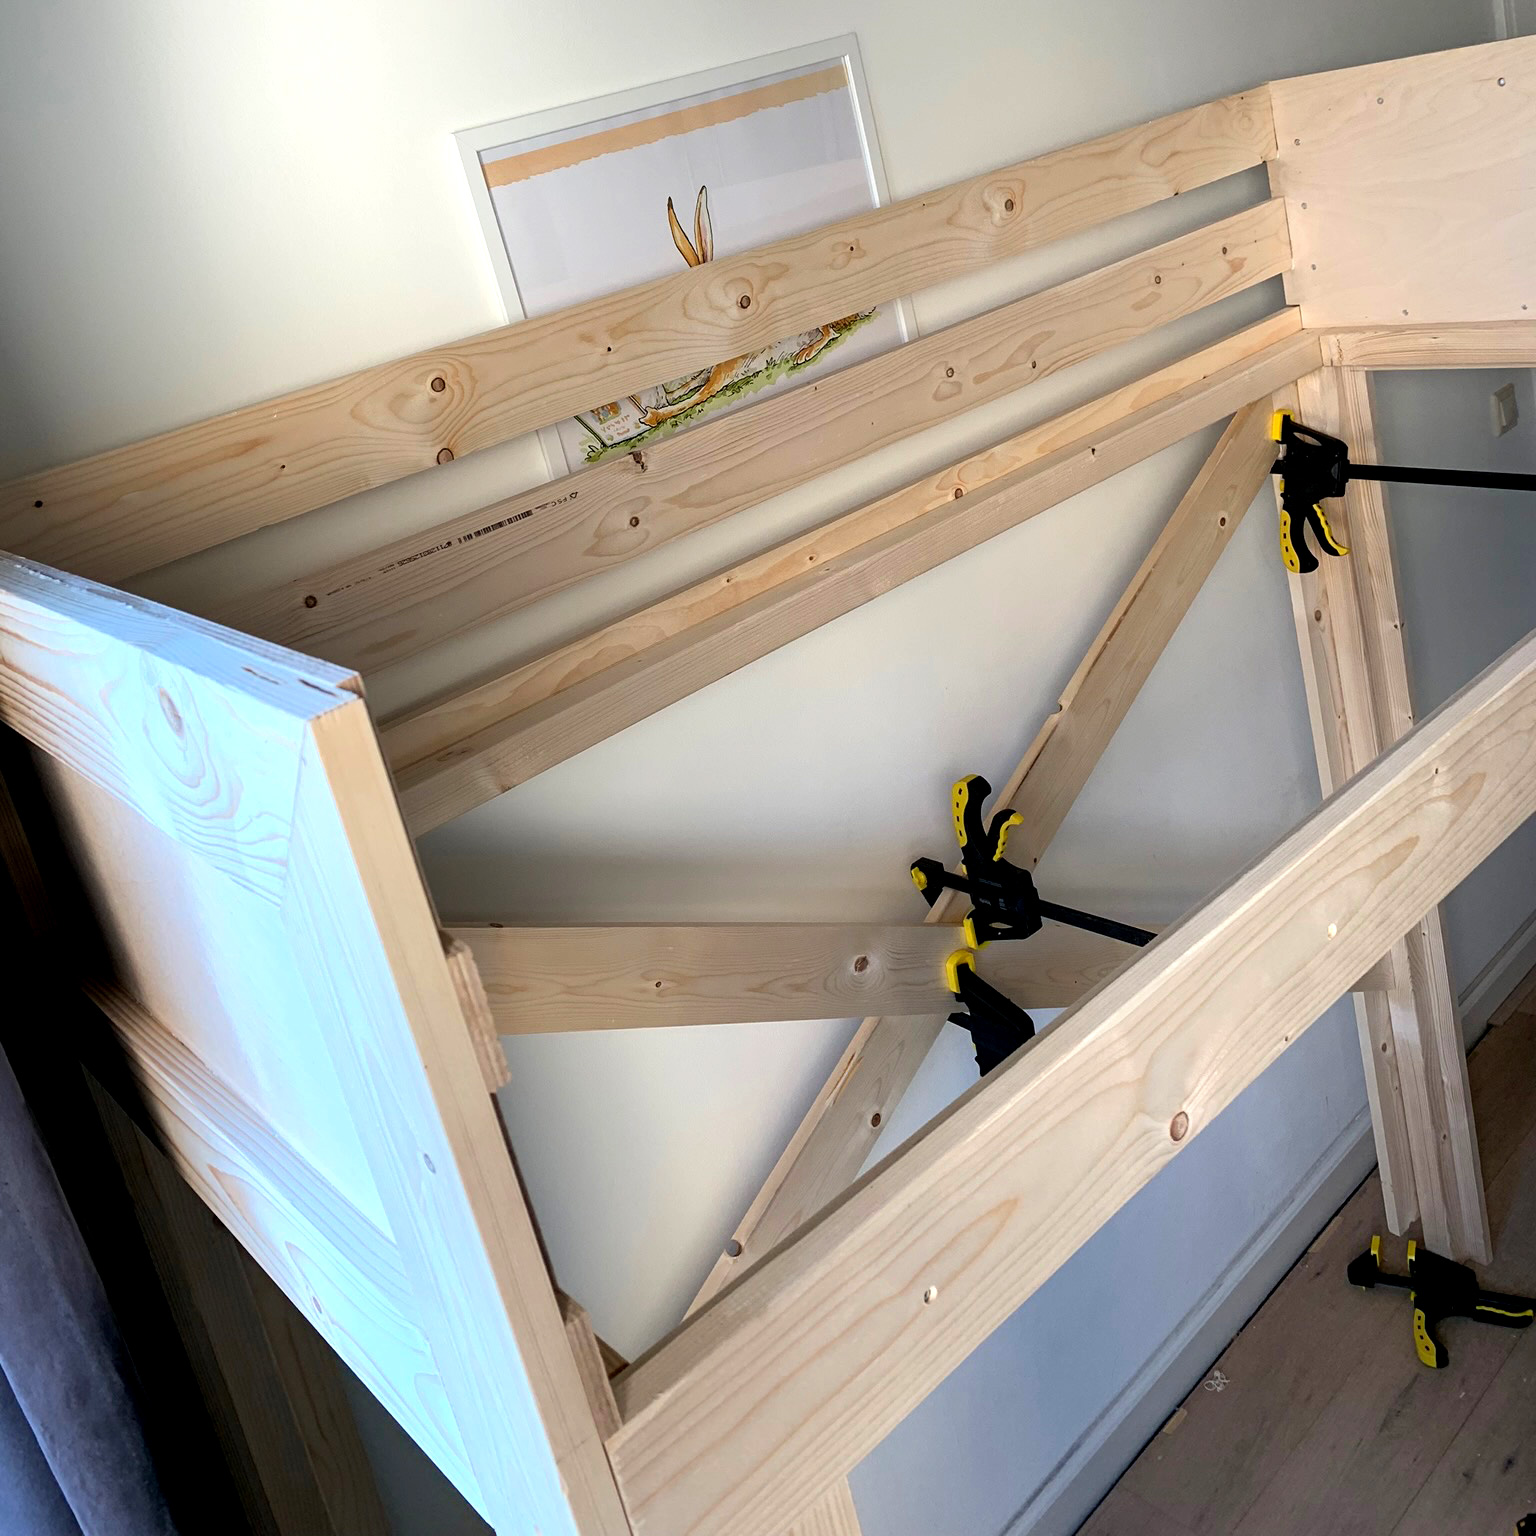
A Place To Sleep
It’s been 10 months since my second son was born. And Since then, he has been sleeping in a crib in our master bed room. And as much as I love him, It was time for him to move out. Out of our bed room at least … Time to built him a place to sleep.
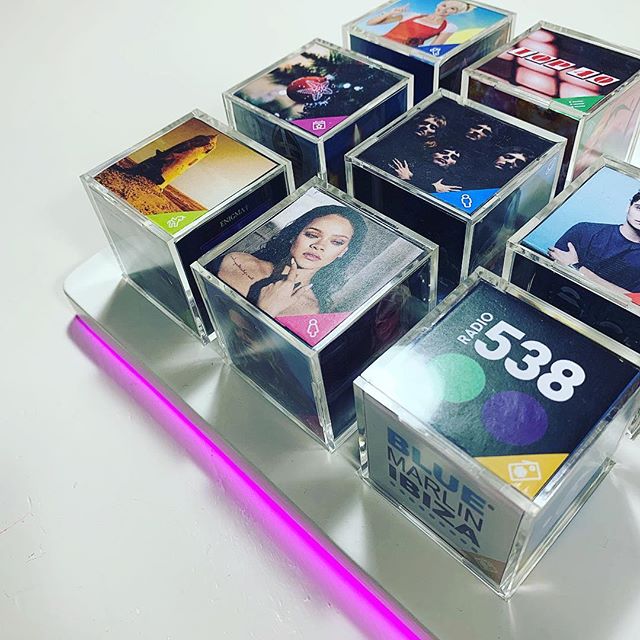
MusiCubes:
The Finishing Touch
Starting a project isn’t difficult. Finishing is. Or as they say: the last 20% is always the hardest part. But no worries, today we’ll finish this project by working on the final details.
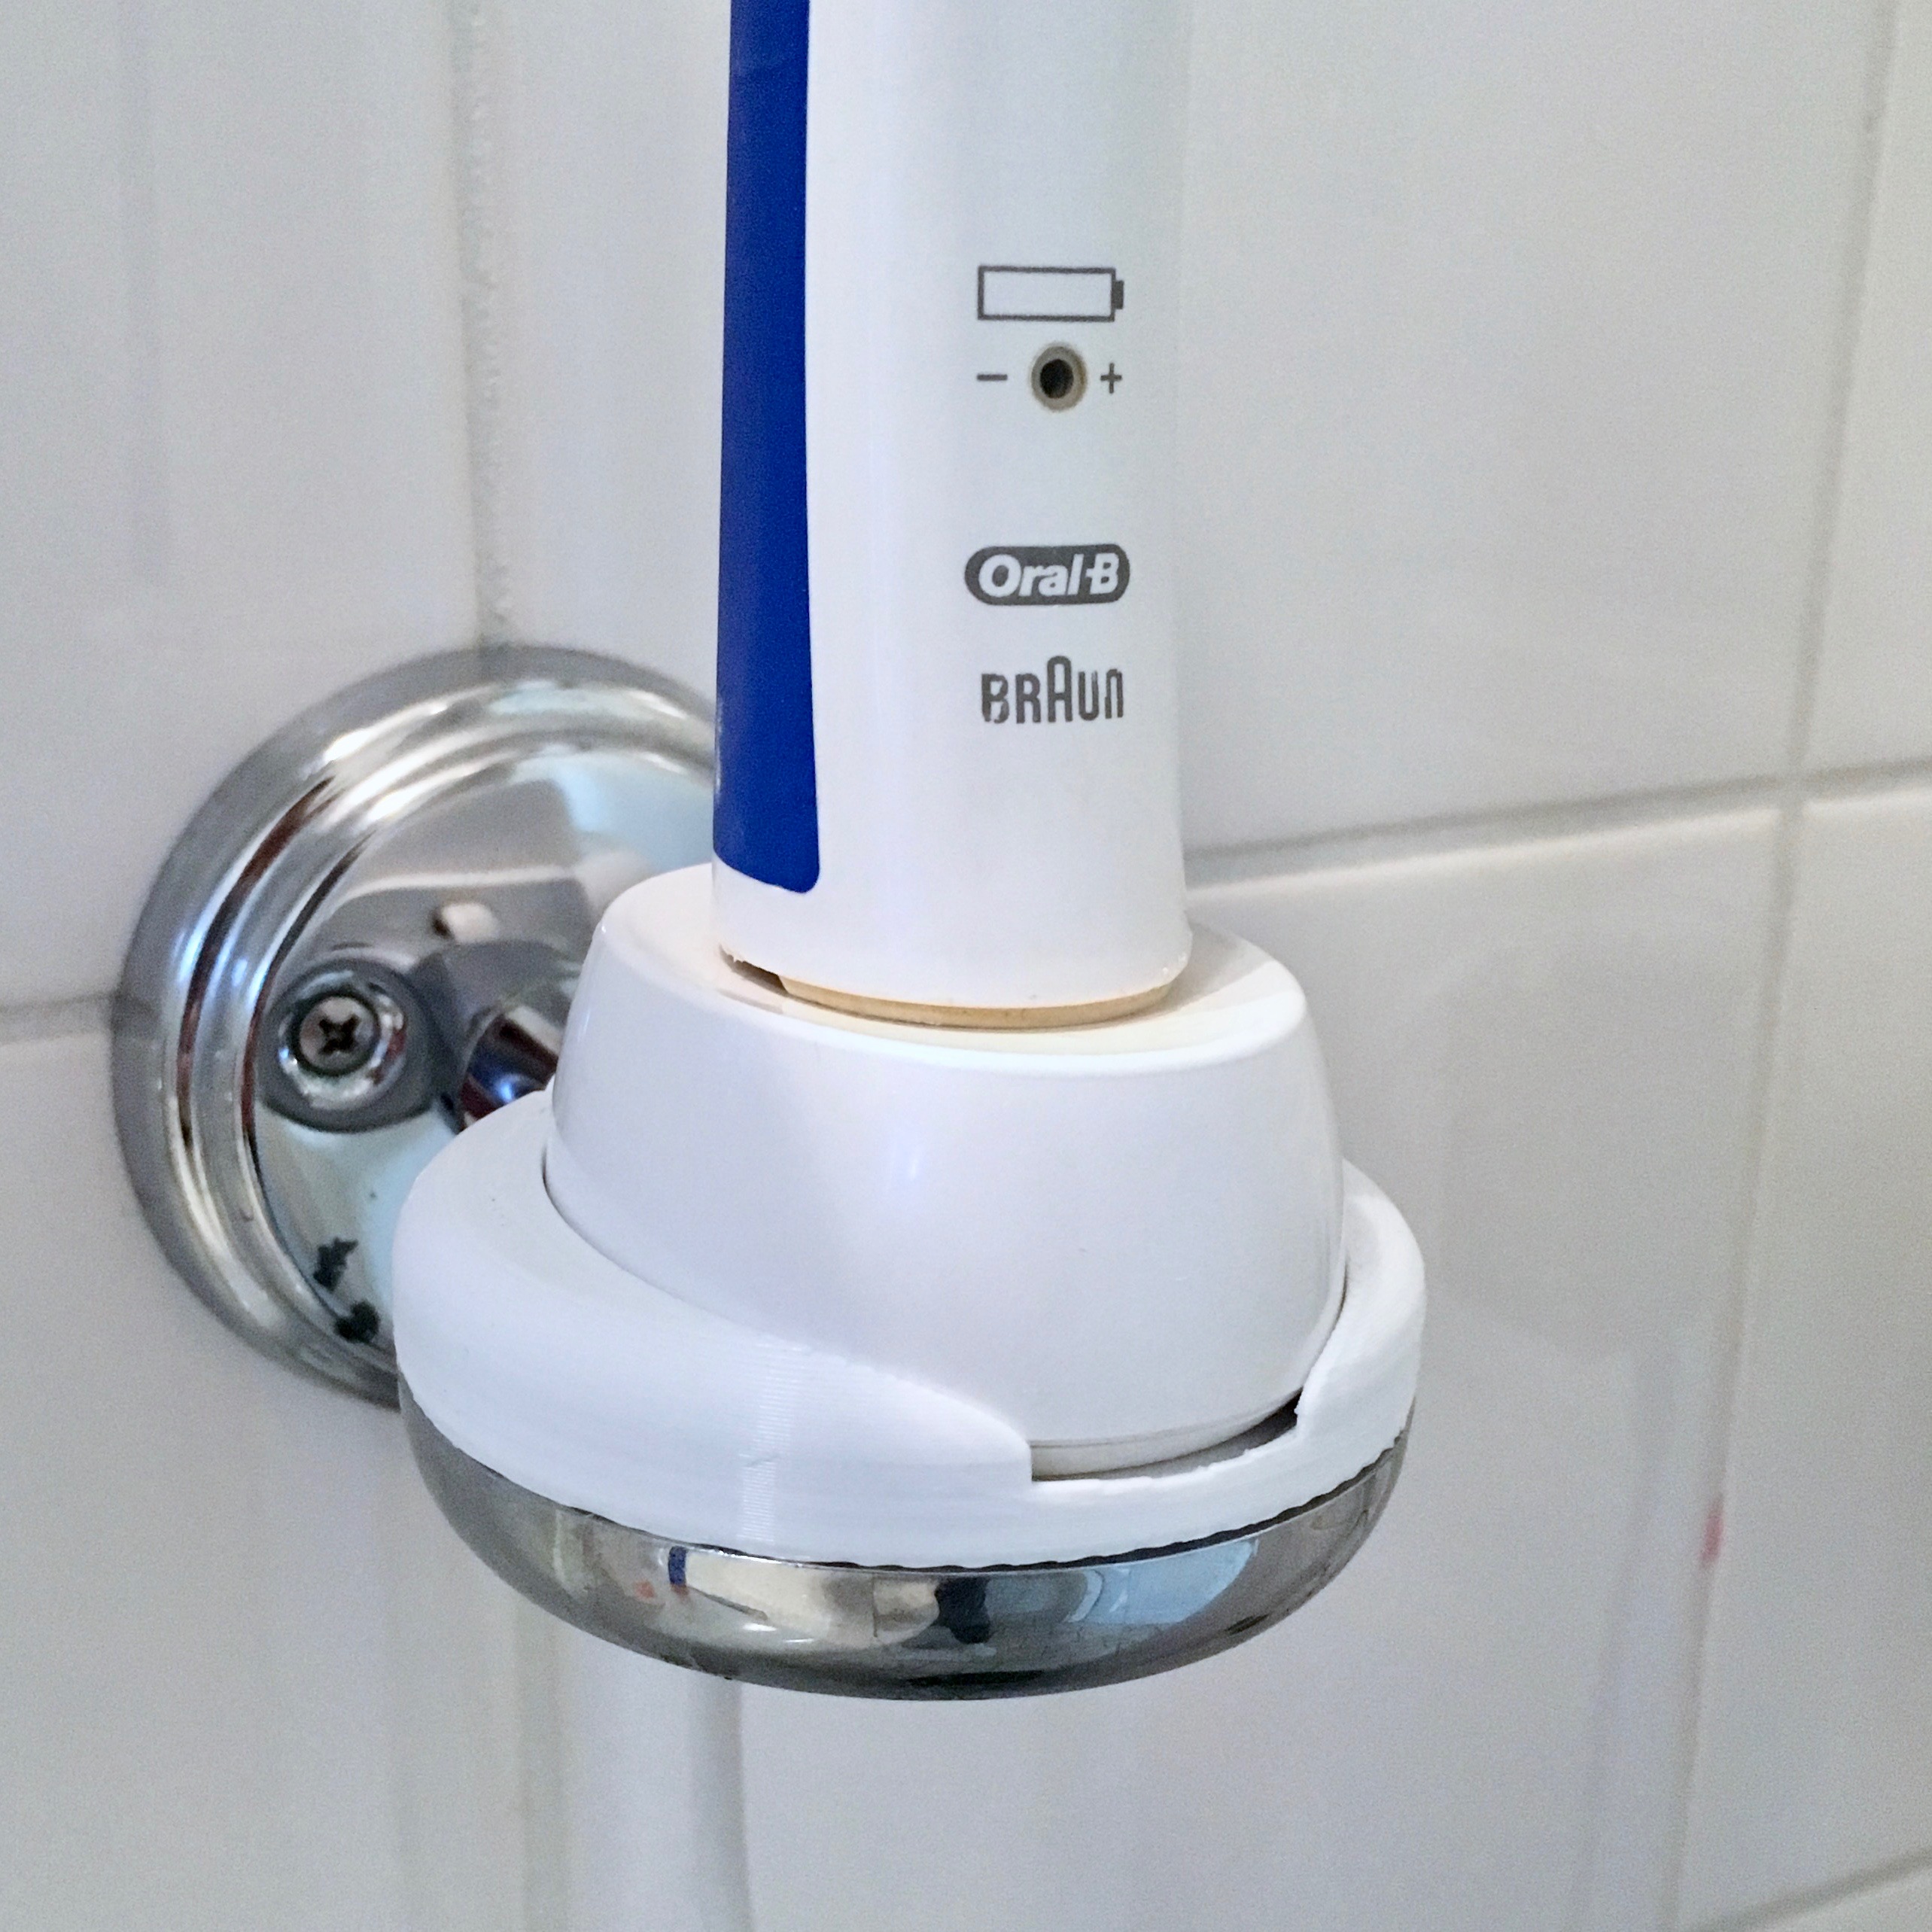
Fixing Annoyances
When I bought my 3D printer a little over 3 years ago, I convinced my wife that it wasn’t just yet another useless gadget. I told her it was a tool which would help me solve problems I didn’t know I had. This week, I solved one of those problems using Fusion 360 and a few meters of white filament.
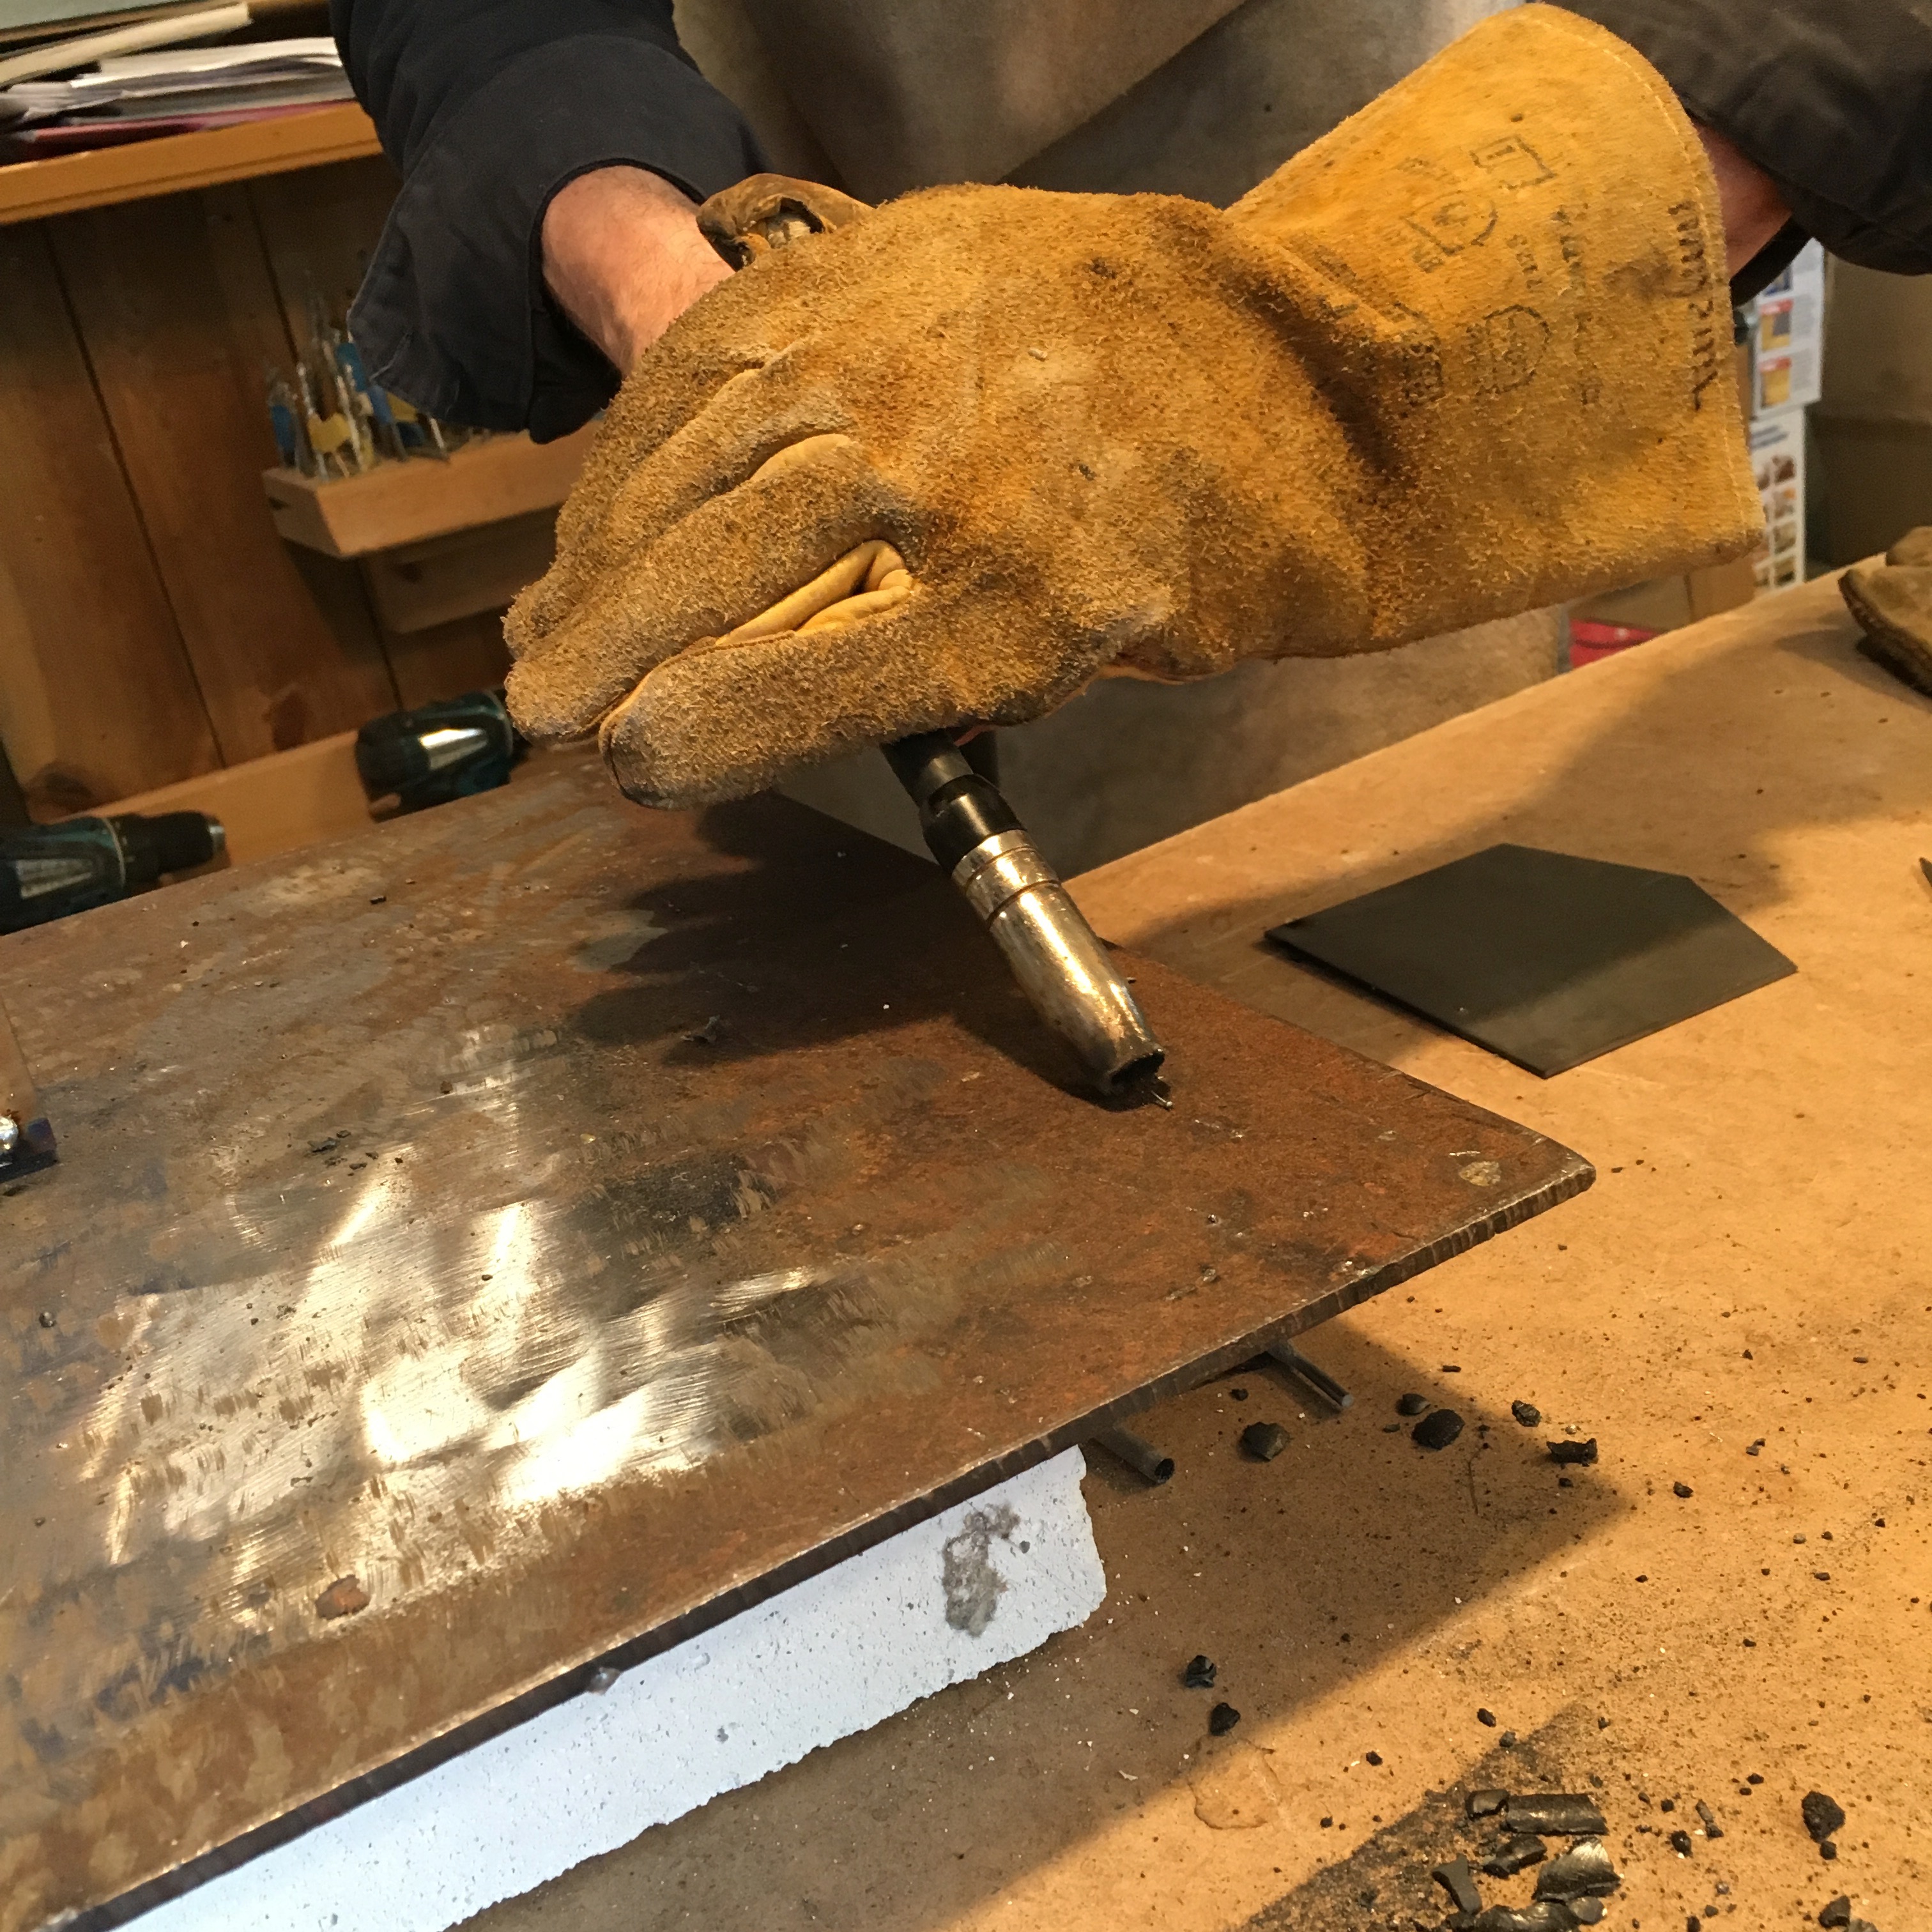
Hand me the torch! My first steps in welding.
As an enthusiastic maker, I follow a lot of YouTube channels of well know makers that throw together all different kind of contraptions using all different kind of techniques. And while I am familiar with most of the techniques, welding wasn’t something I had ever tried. Until last weekend.
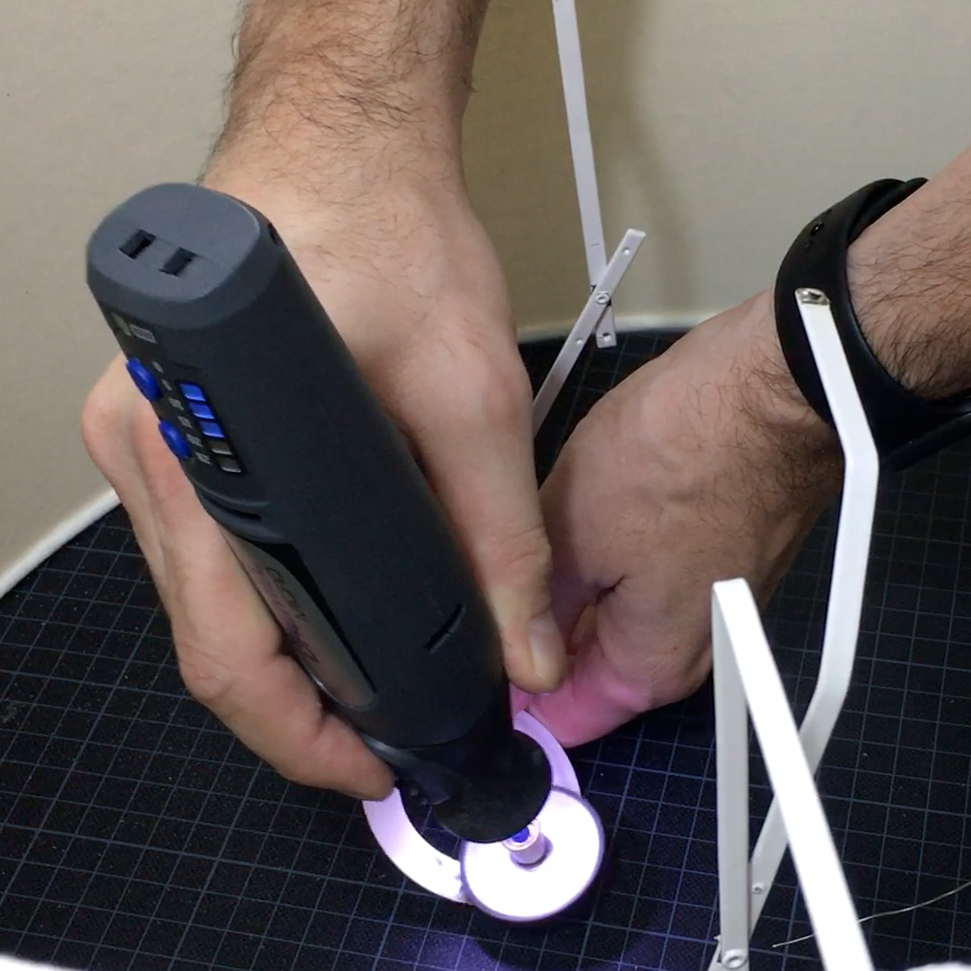
DIY Repairing
Not every experiment I do leverages the power of a 3D-printer. Sometimes it only contains a (hot air) soldering iron and a lamp shade. The end result? Some DIY repair work a corny video.
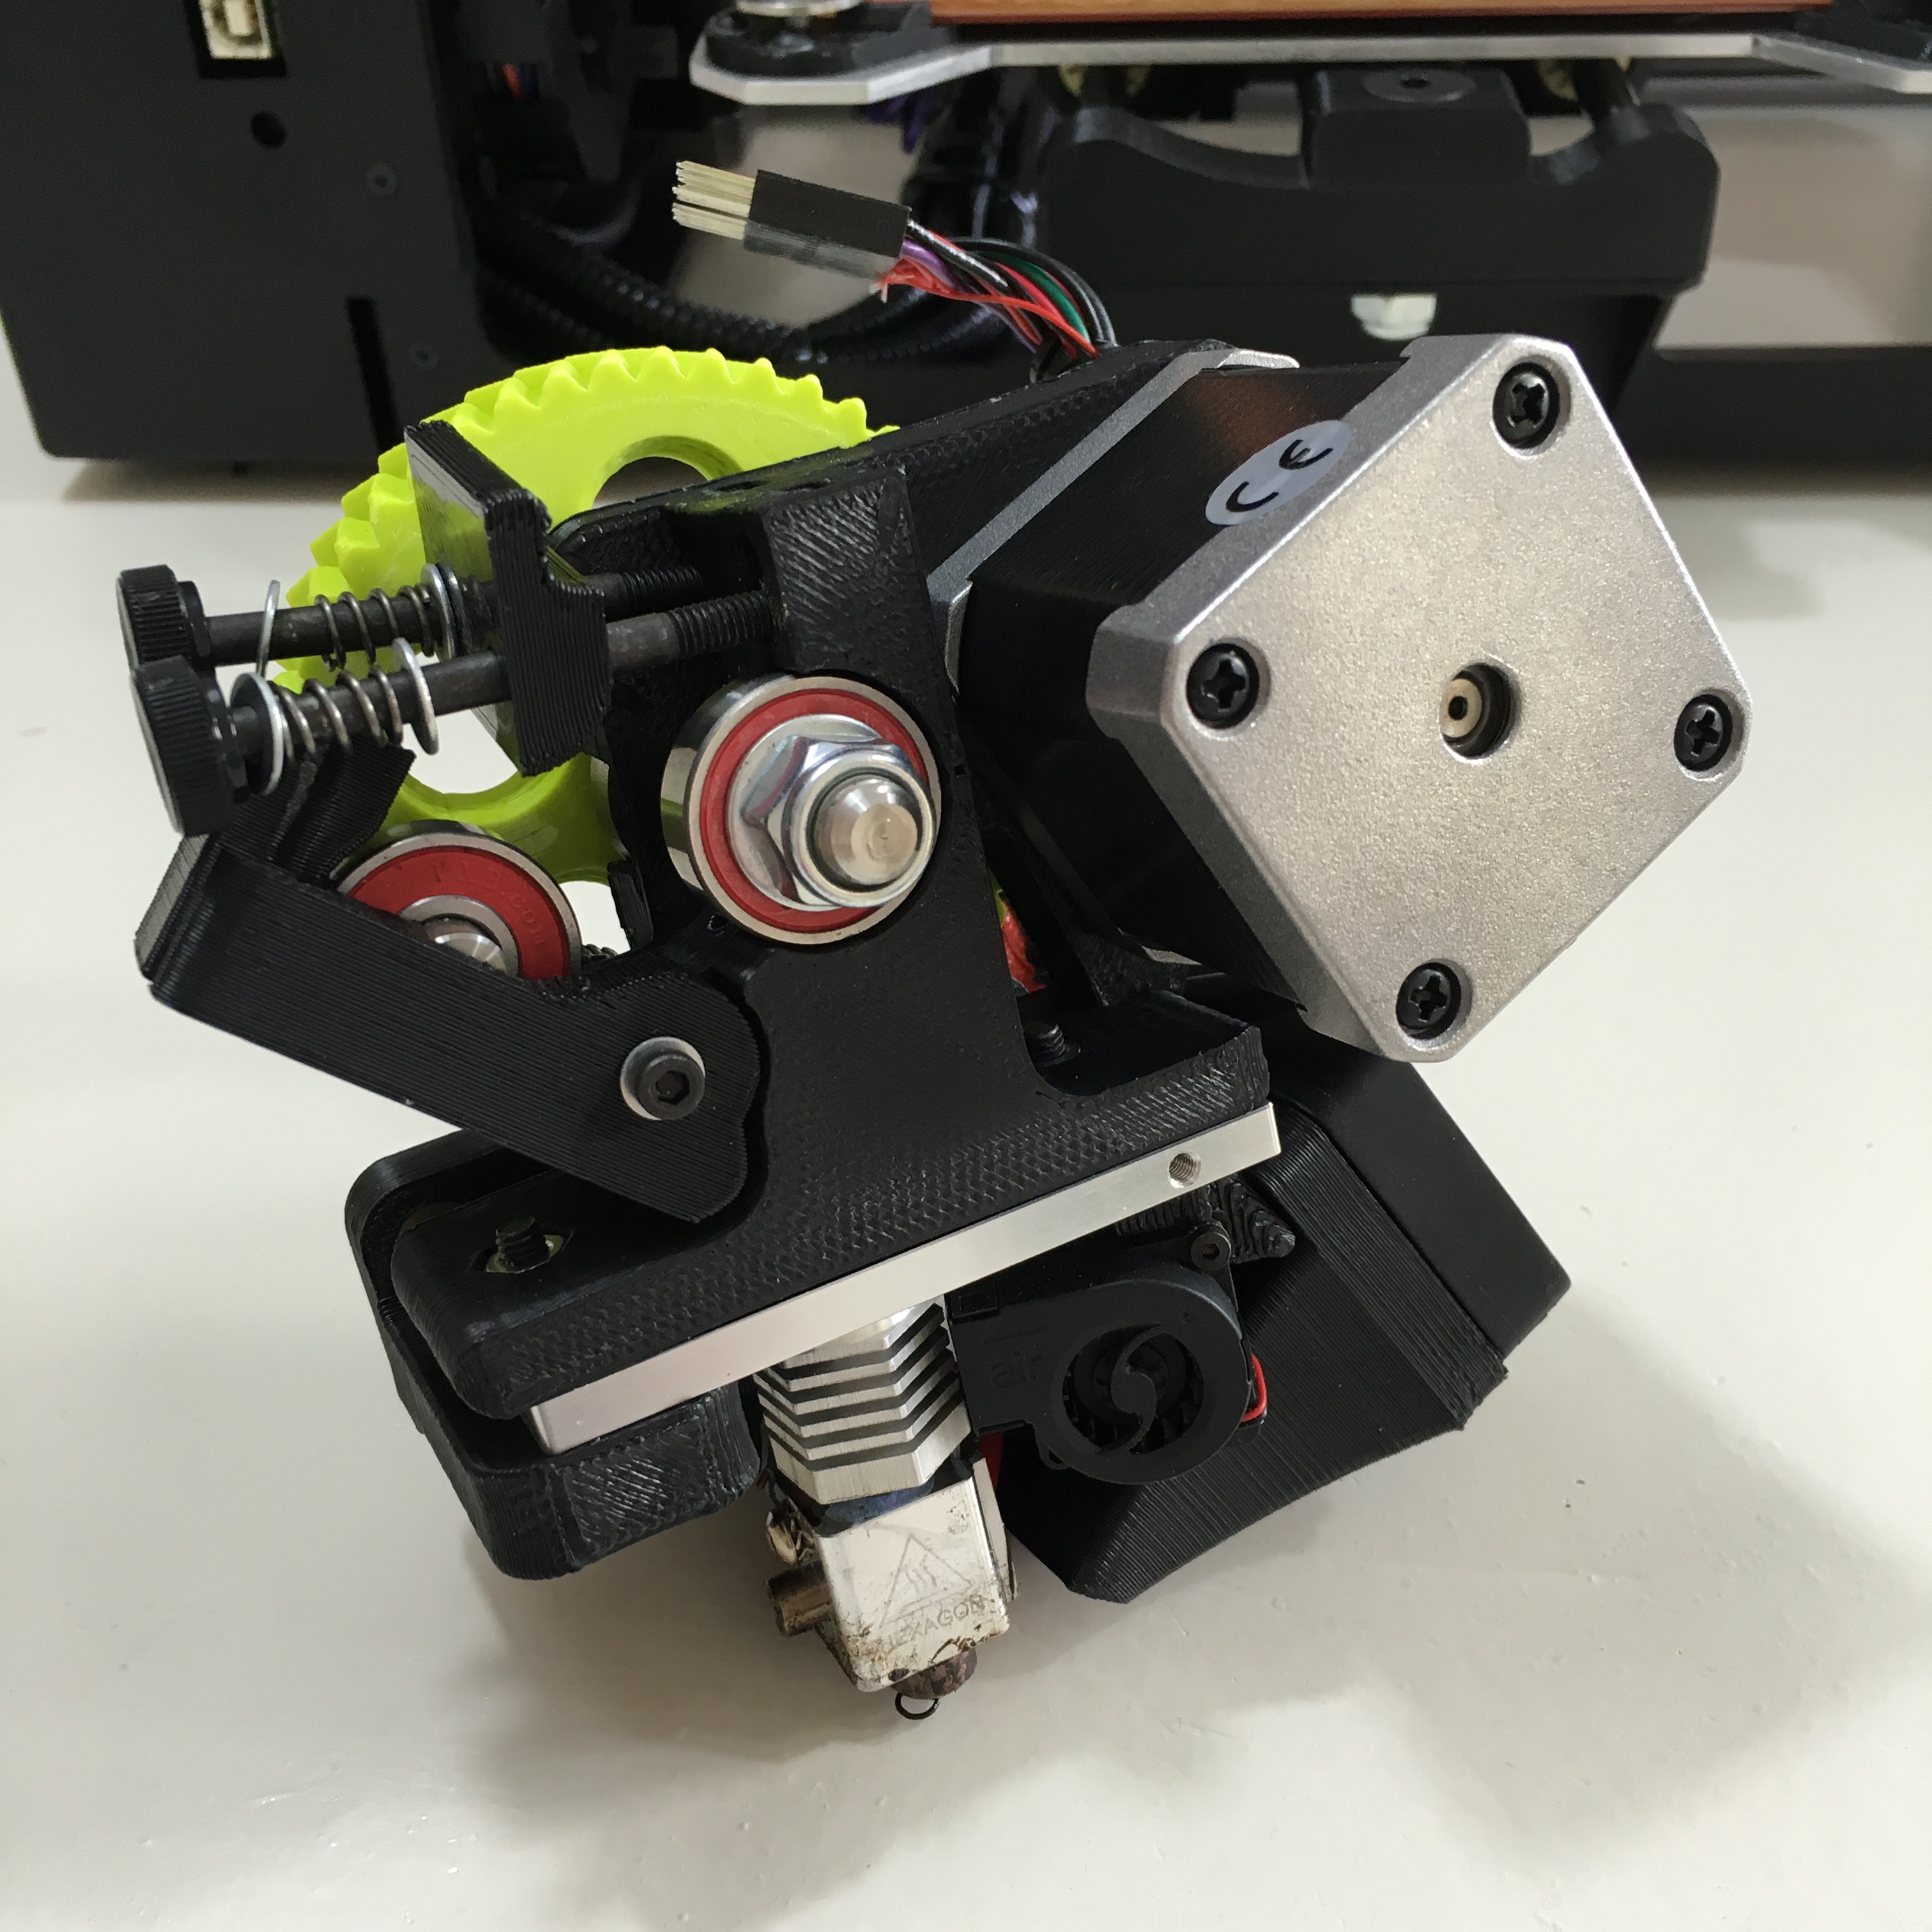
Lulzbot Repair
With over a year of 3D-printing and only a hand full of failed prints, I can honestly say my Lulzbot Mini 3D printer is a reliable piece of hardware. But after a recent failure, it turned out my printer needed some extra love.
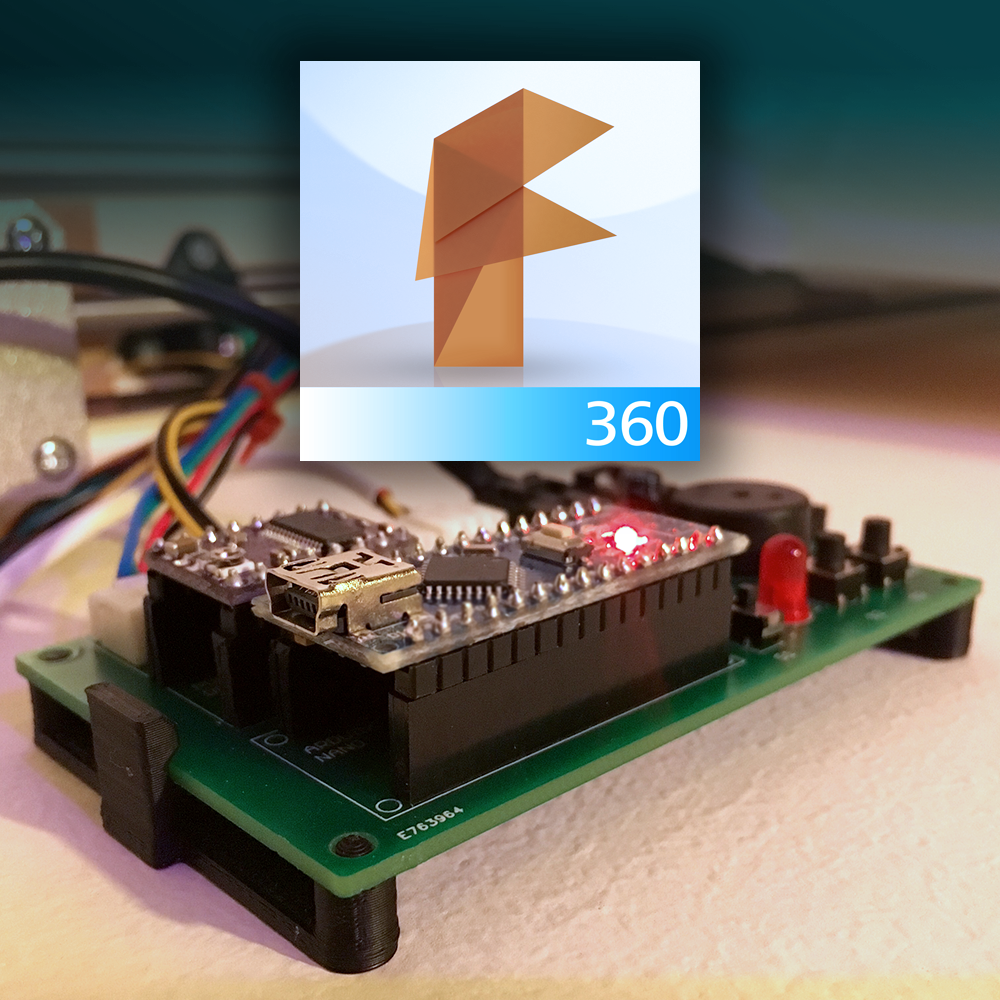
Automatic Curtains:
Designing a PCB Mount in Fusion 360 [Video]
With the Automatic Curtain Motor Controller ready, it’s time to mount it below the motor unit. Since I want it to be easily removable for maintenance, I used Autodesk Fusion 360 to quickly draw a 3D printable PCB mount.
Power Suit:
Red and Gold
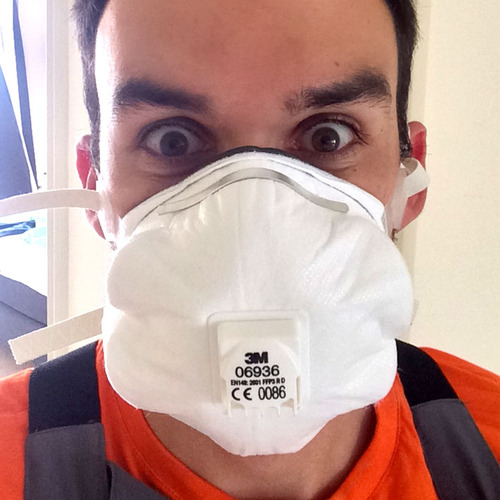
After wrapping up the last pieces of electronics in last week’s post, it’s time for the next phase of the Power Suit project. Although the Suit slowly became a futuristic Power Suit, it still needs some styling. As you might have guessed from the scary photo above, it’s time for a layer of paint.
Power Suit:
Demolish the Football Suit
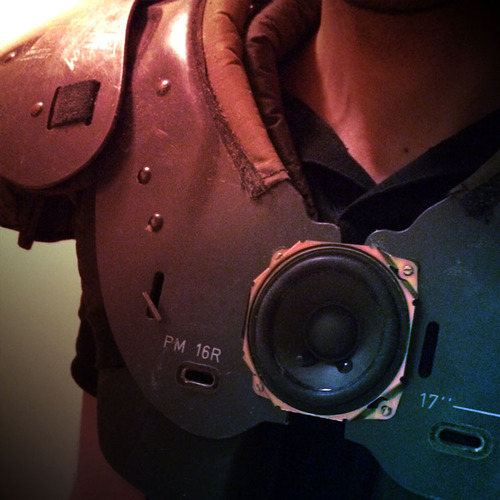
Last week I introduced my totally useless but extremely fun next project. The Power Suit! With more then 1700 YouTube views it’s obvious you guys are interested in the project. So without further ado, I continue as promised and demolish the Football Suit.
MagicMirror:
The Casing
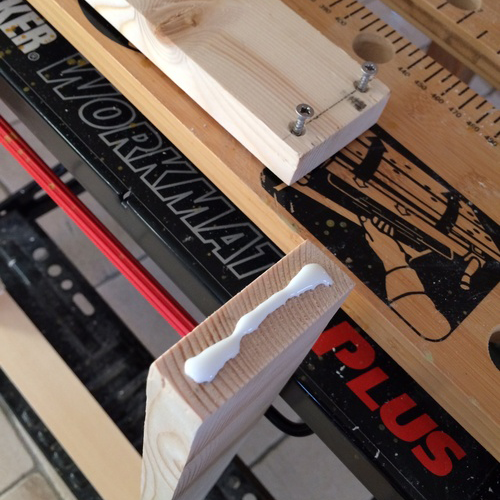
After measuring the dimensions needed for the new casing, DIY happiness could start. Using pine wood I create a strong and steady frame. For the bezel holding the mirror and monitor in place I used wooden floor plinths. Reason for this is that they were the exact perfect size (30mm width), and have a rounded bezel.
Annoying Dishwasher:
The Annoying Dishwasher
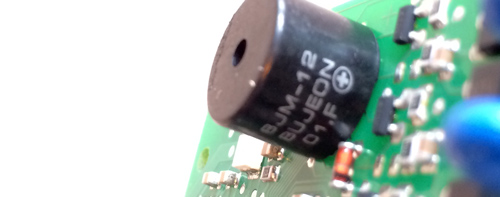
On this typical sunday morning, I needed to do some repair work on our dishwasher. The mechanism for soap dispenser was broken and needed a replacement. Luckily i was able to order some spare parts for only € 8,- So this fine piece of DIY would save me a lot of money.