It's great to finally have my own maker space which doubles as an office. A great place to do my work, without being distracted by my wife or kids. So I thought. It turns out that having an office next to the living room is the perfect invitation to invade my office any moment in time. Time to fix it with some electronics!
Of course I could just put a sing on the door saying 'Do Not Disturb', but building a more permanent solution was a perfect opportunity to start a nice project.
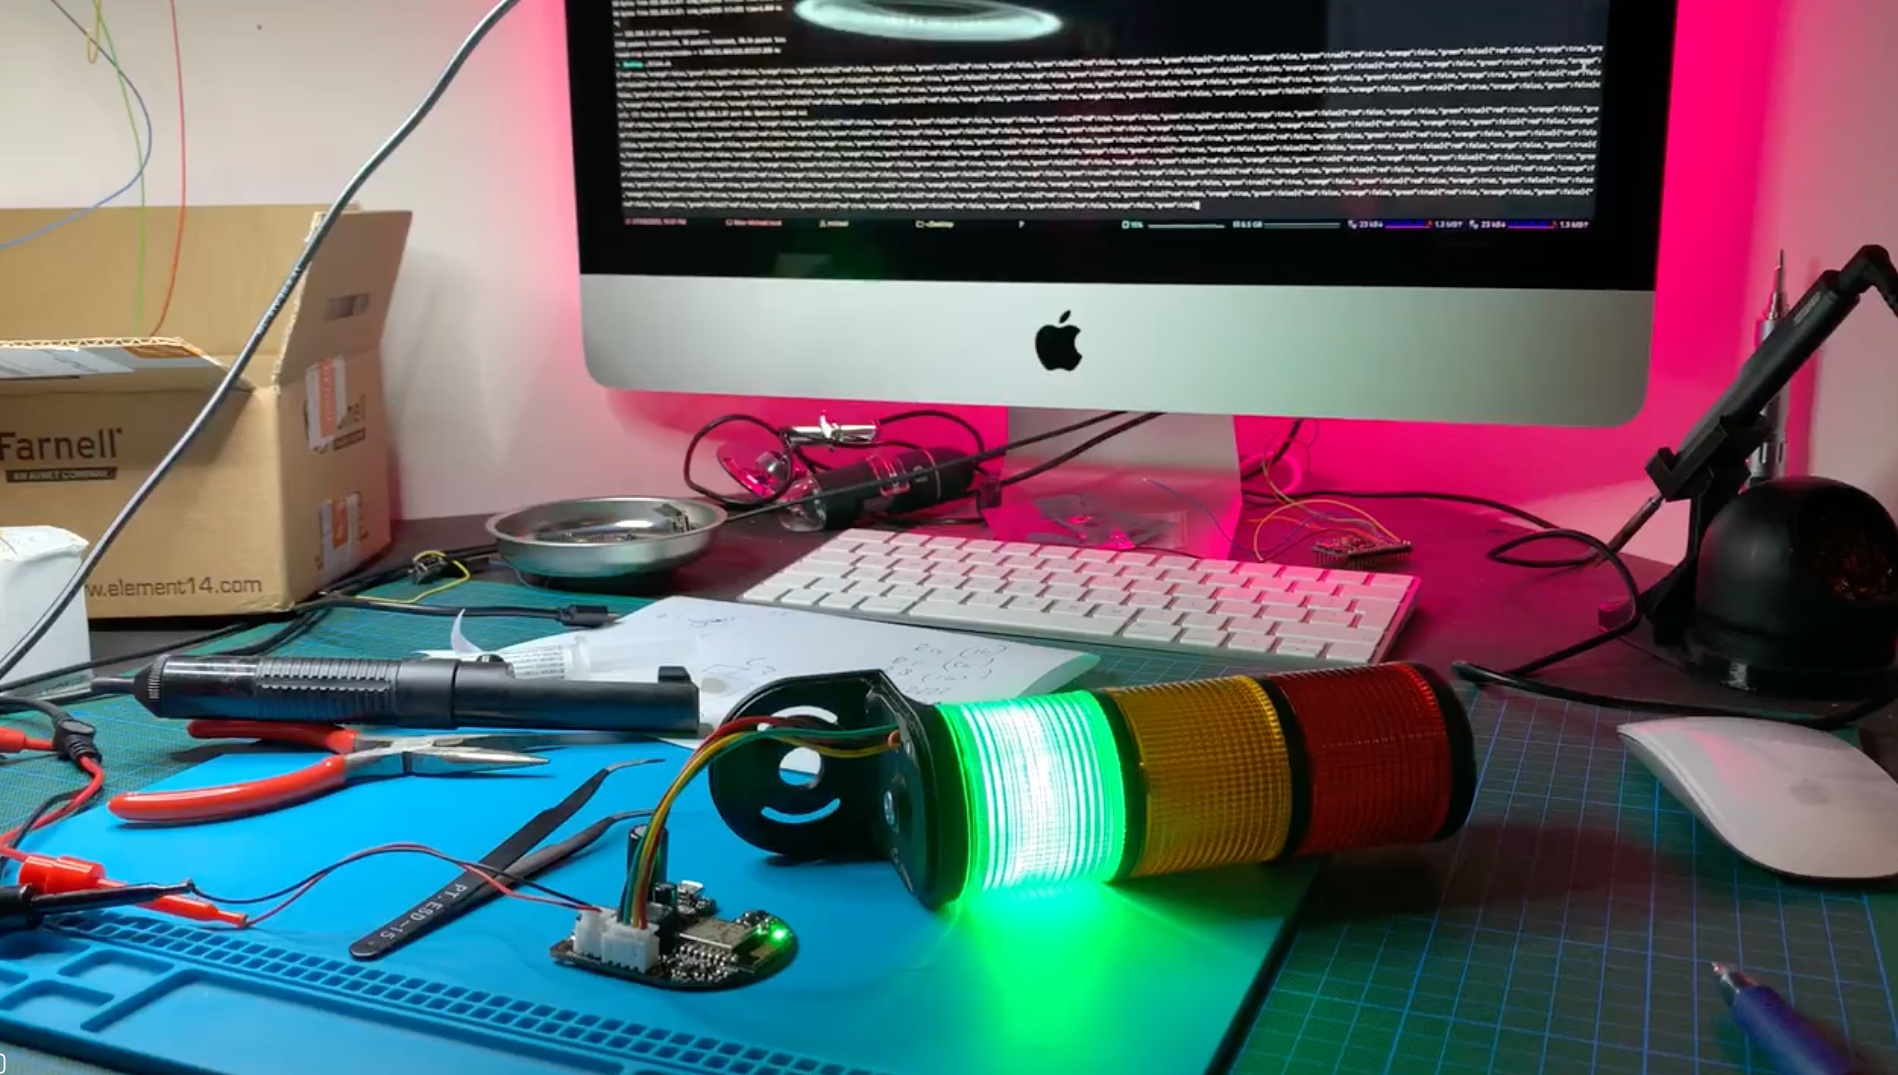
With the help of my favourite chinese reseller I got my hand on a nice industrial stacked safety light. 3 colors of bright LEDs that allow me to communicate wether or not to run into my office while I'm working.
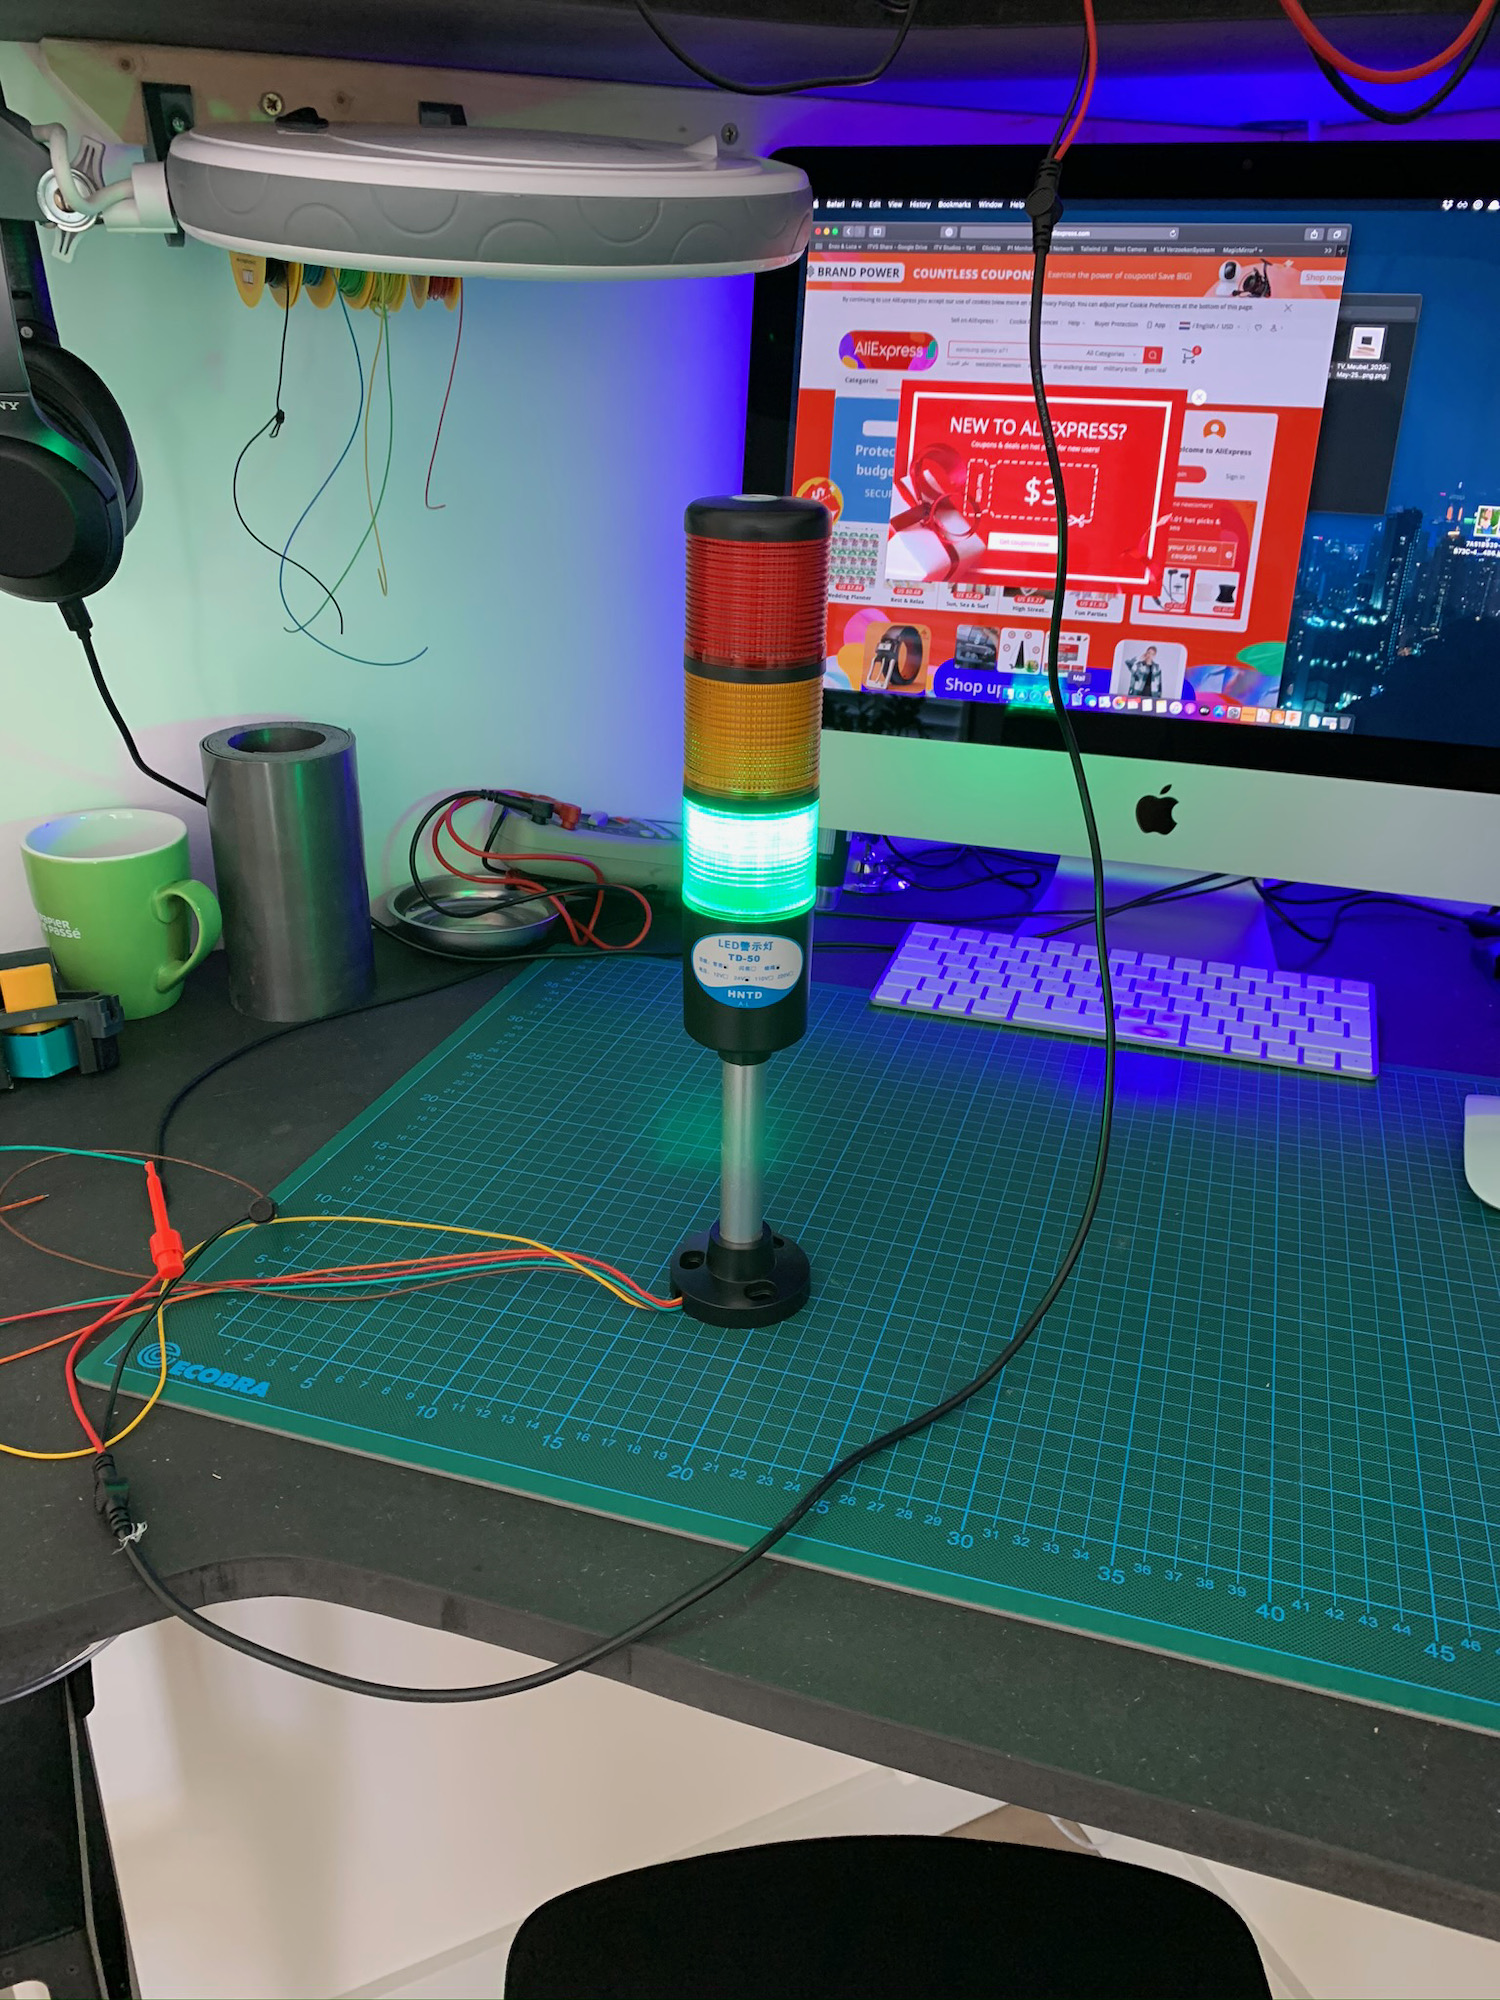
The LEDs use 24 volts and are common cathode. Meaning they have one common ground wire and 3 separate positive wires. If I wanted to make this an easy project, I could just hook these up using a few switches, but to make it a bit more fun, I decided I wanted this light to connect to my Wifi so I could control it using my Mac or my phone. To do so, all I needed was an ESP8826 and some transistors. Time to to design a custom PCB!
Designing the PCB

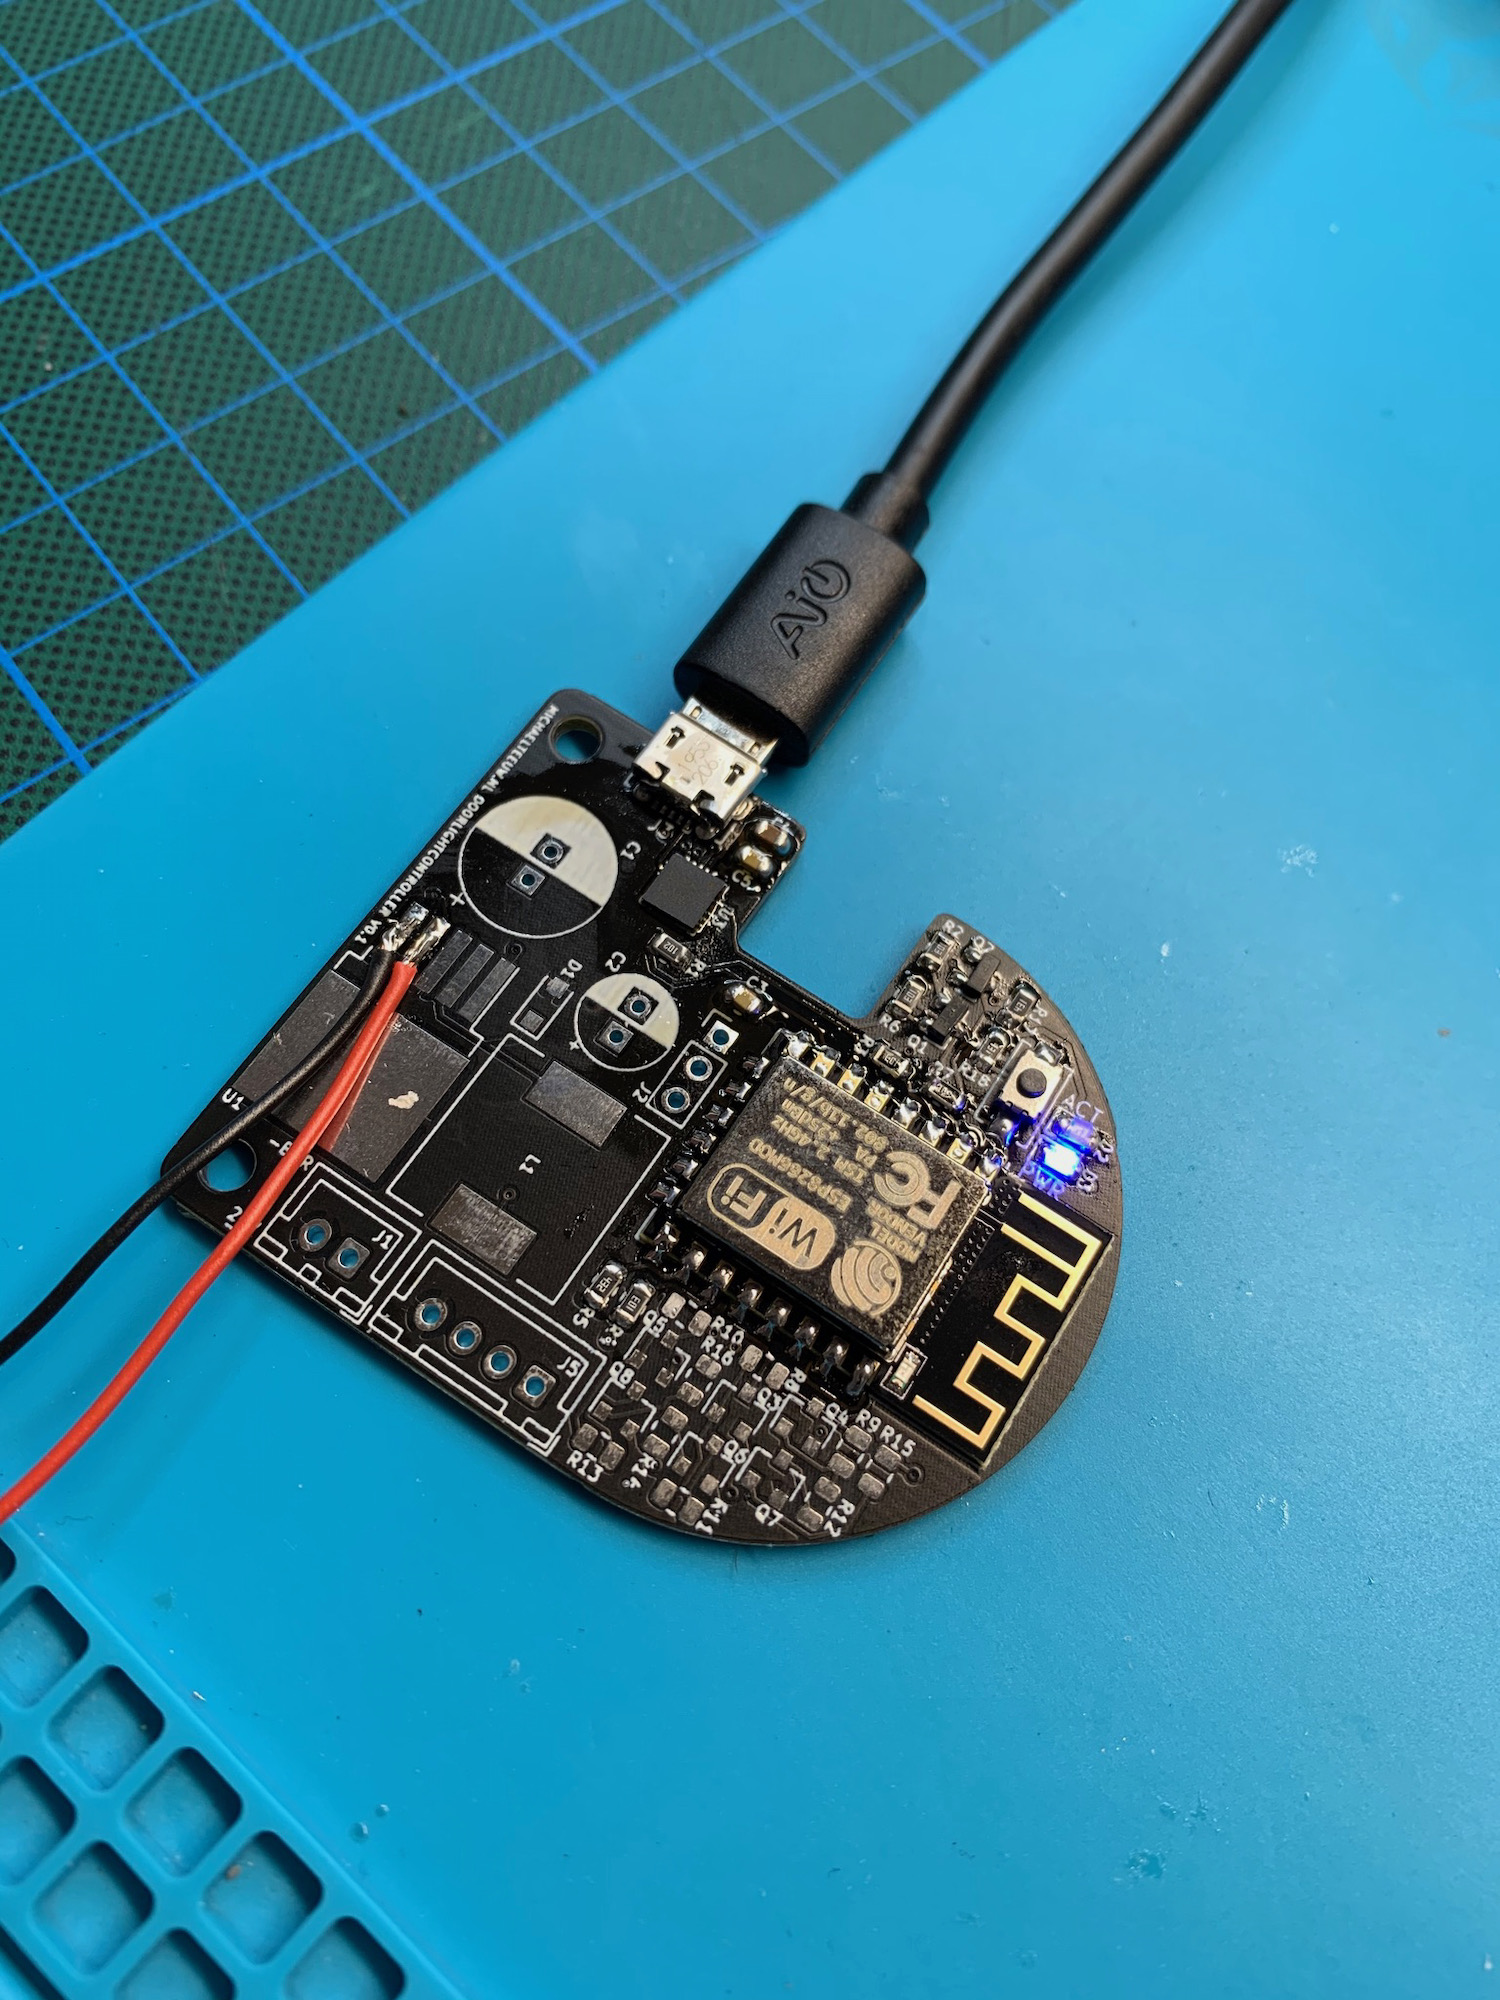
With the help of Kicad, I was able to design a fully custom (shaped) PCB. Of course I could have just used an ESP8266 breakout board like a NodeMCU or Wemos, but to make this project a bit more challenging, I wanted to completely built my own logic. Meaning it needs an onboard UART bridge (USB to Serial converter), an onboard power regulator (24v to 3v3) and all the transistors needed to program the ESP8266 and control the LEDs.

This wasn't an extreme challenge, since most of the schematics are a one-on-one copy of existing break out board, like the NodeMCU. The only challenging part was that I bought a common cathode light. Transistors are commonly used as a low side switch (meaning you put this 'switch' on the negative terminal of the light). In this case I needed a high side switch which was able to control the positive 24V. If the lights would have used 3V3 as well, it would have been a bit simpler as well. Luckily, a bit of googling led me to the following schematics to switch the 24V LEDs:
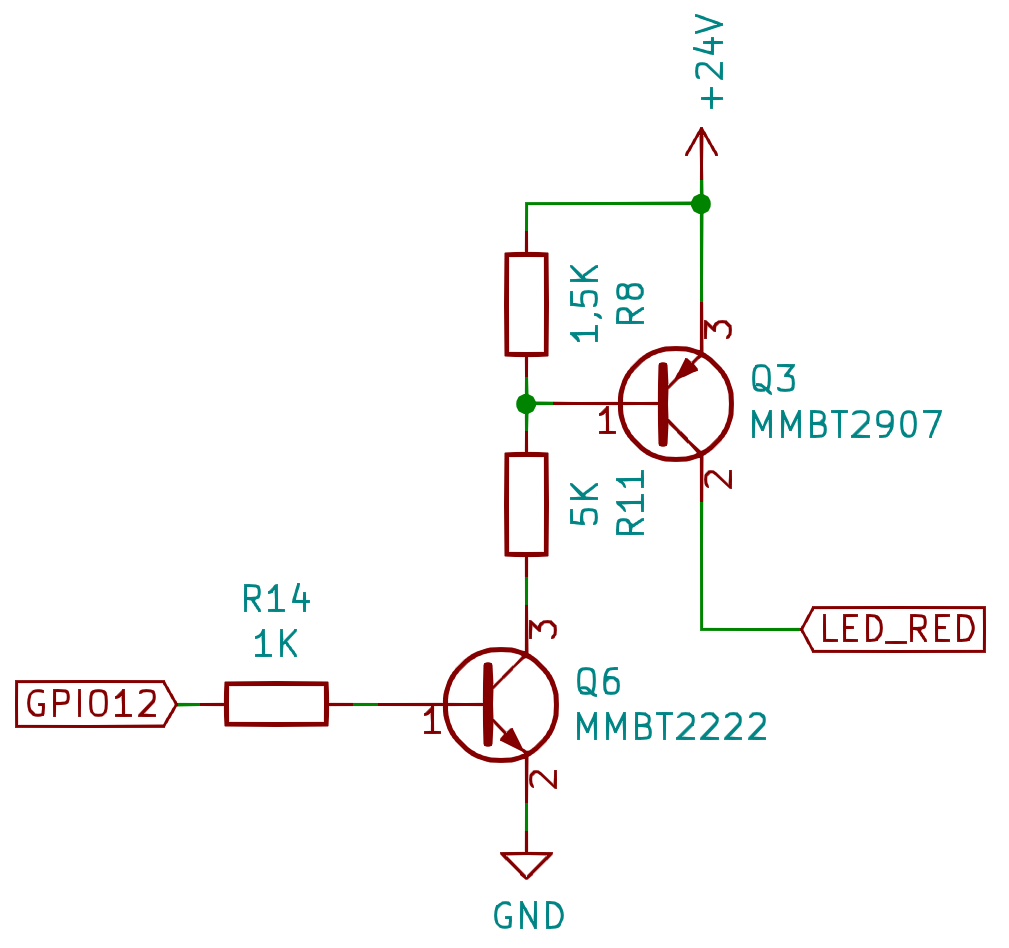
A simple MMBT2222 NPN-transistor switches the MMBT2907 PNP-transistor. And with the help of the two additional resistors it allows me to function as a high side switch. Honestly, If you want the complete and full details on how and why this works, head over to your friend YouTube. I'm just here pretending like I know what I'm doing.
So after some hours of Kicad, way more hours of Googling, and a few days of waiting, I had my new PCB on my desk.
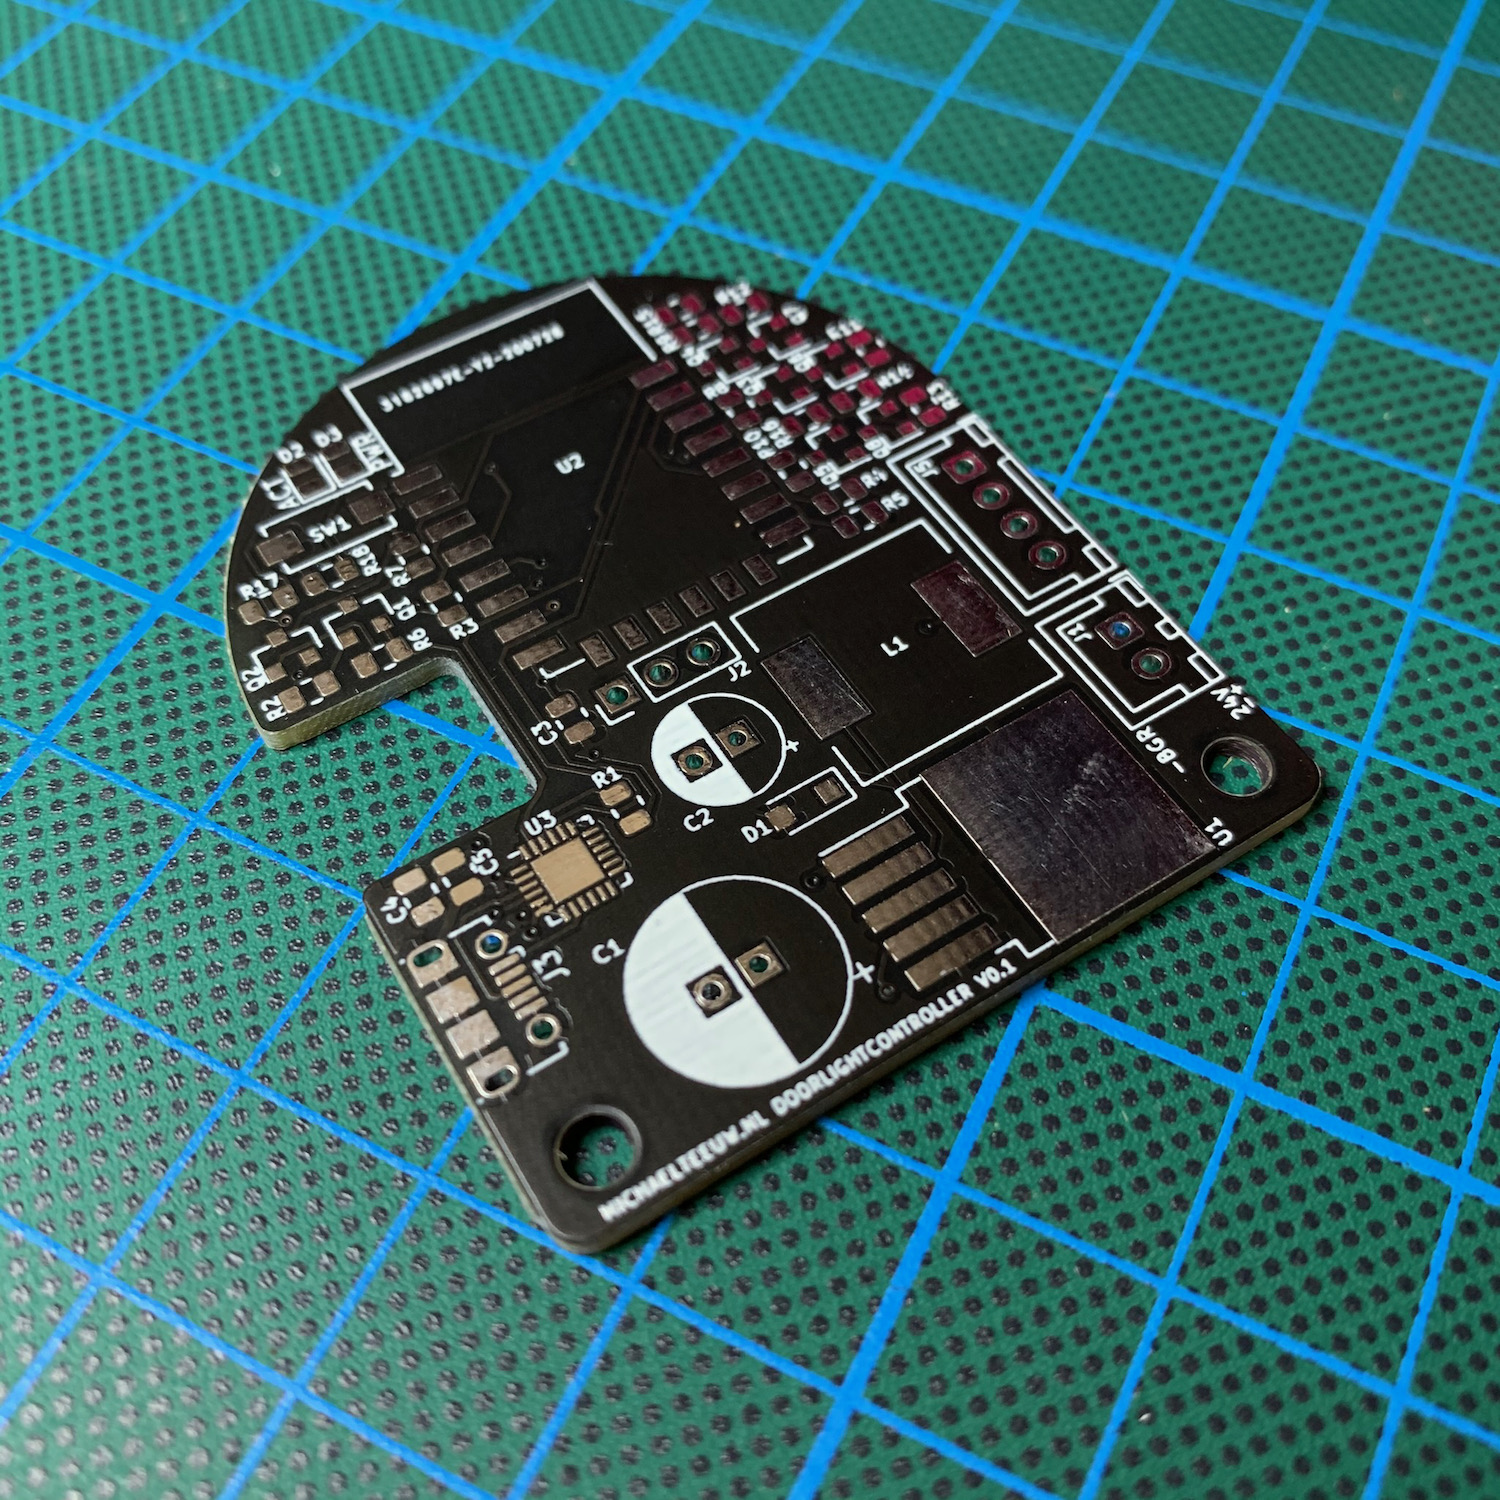
A black PCB always looks like magic. This was no exception. So time to throw on some solder paste and SMD parts, and blast it with heat. I couldn't wait to give this little fellow a spin!
The first Try
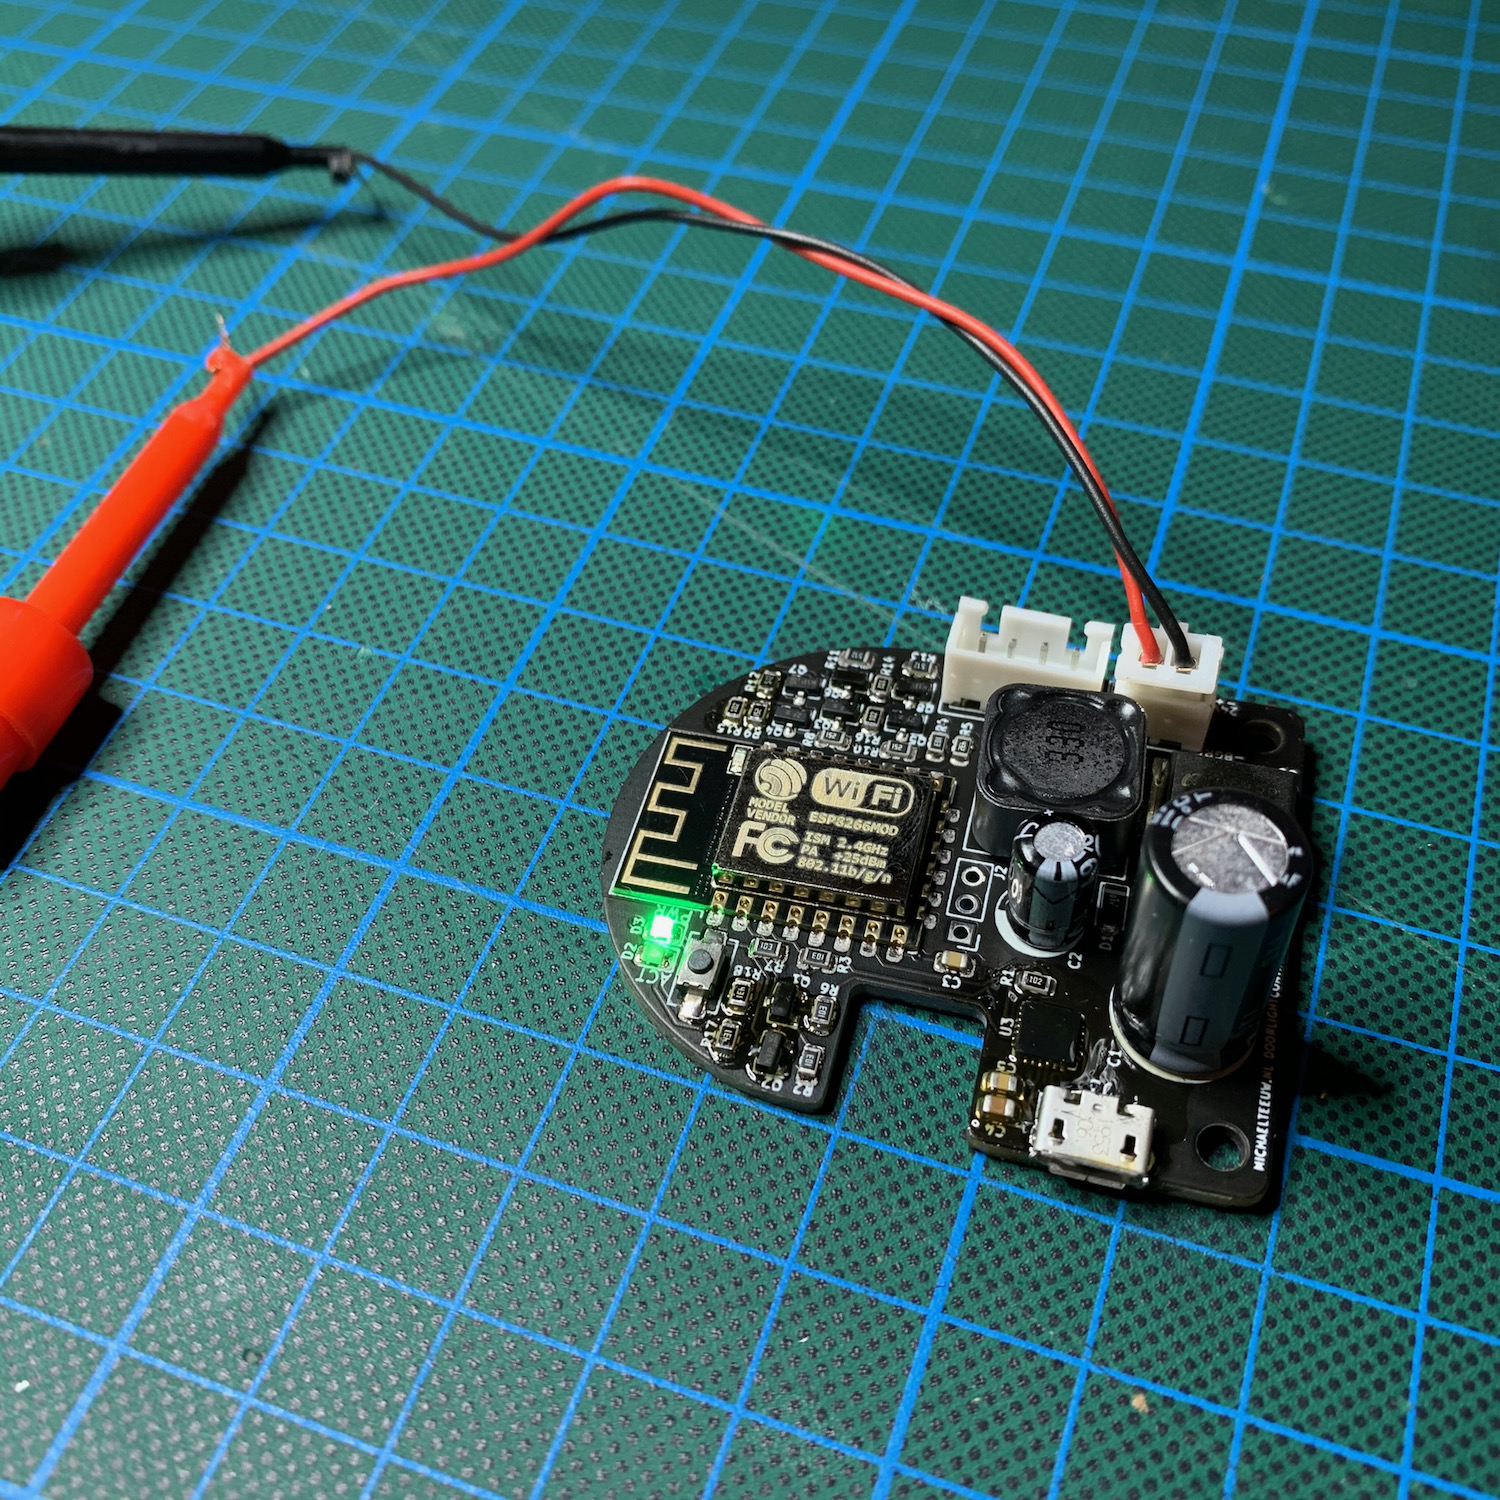
After checking for shorts, I tried firing it up using my bench to power supply. By limiting the output current on my supply, I tried to not let out any magic smoke. Speaking of magic: the power light turned on! My onboard regulator worked perfect!
Unfortunately that was where my luck stopped. I couldn't get the CP2104 UART bridge to work. My Mac didn't recognise it. Any other PCB using this CP2104 UART bridge worked fine, so it had something to do with my creation. I think I spend 3 nights trying to find out what the problem was. This included swapping out the UART IC more than once. Which was more than I wanted: The QFN-24 package isn't really fun to reflow.
After the third evening of not solving this mystery, I caved. I took one of my working NodeMCU breakout boards, desoldered the ESP8266 and used the PCB as a donor programmer by soldering some wires. This worked. Finally.
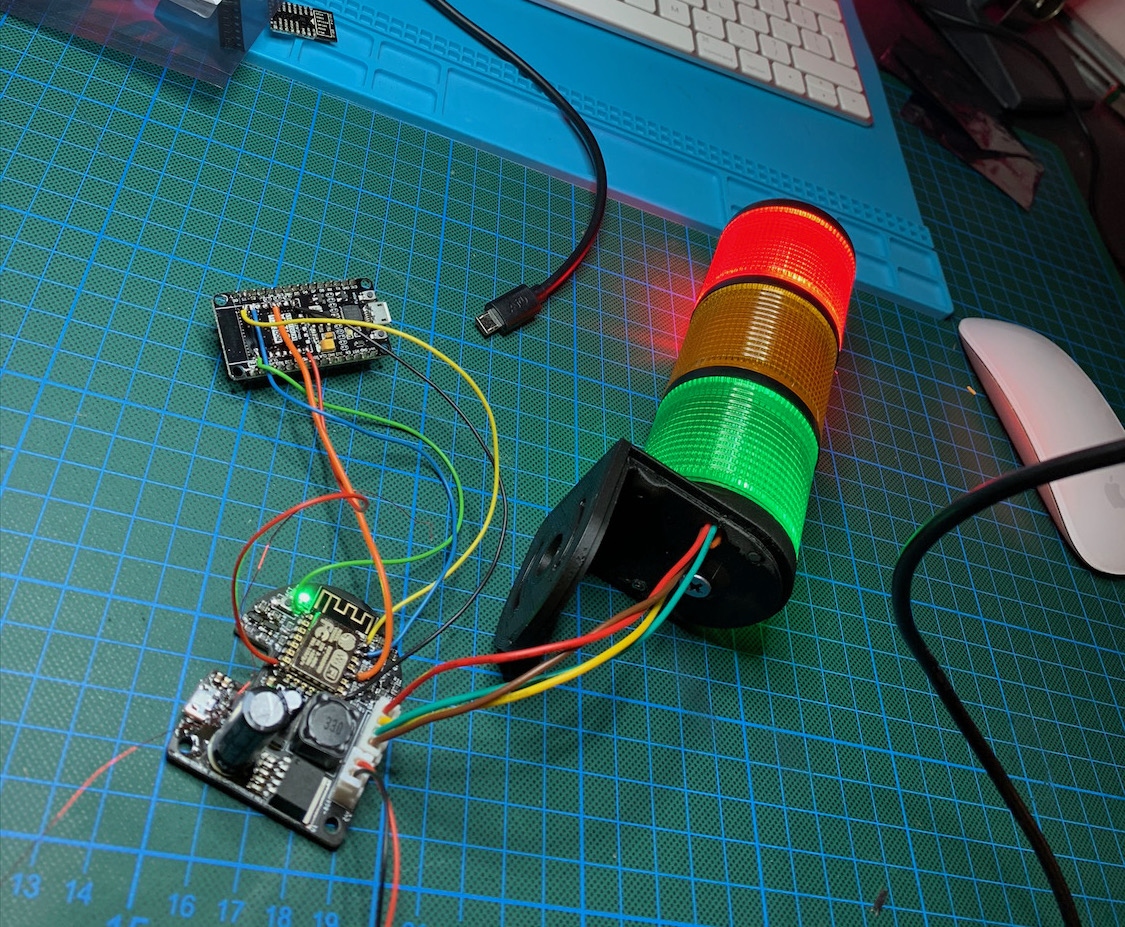
The next step was to test my high side switching circuitry. I uploaded a simple script to the ESP8266 that cycled trough the 3 colors. Unfortunately I once again ran into a strange issue.
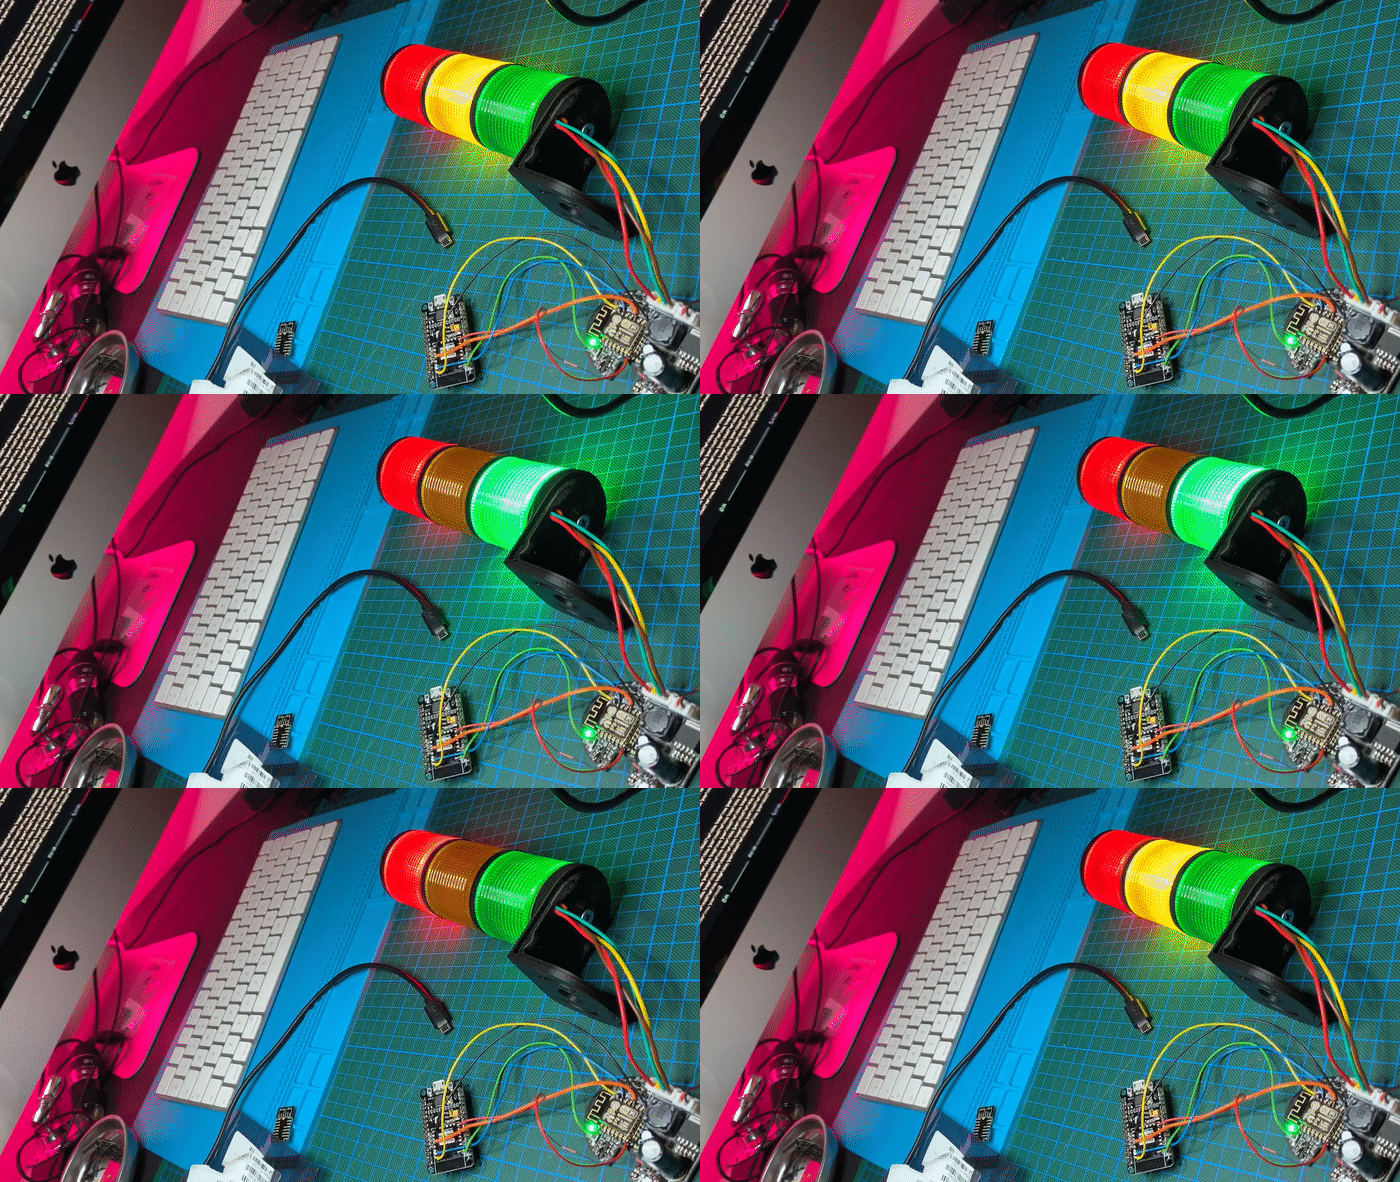
Even though the lights did something. They weren't doing what I wanted: they never completely turned off. This time it took me just one night to figure out the issue. It turned out I used the incorrect footprint for the MMBT2907 PNP-transistor which resulted in a swapped collector and base pin.

The solution for this wasn't overly complicated. If I put the MMBT2907 upside down and diagonally, the pins would align correctly.
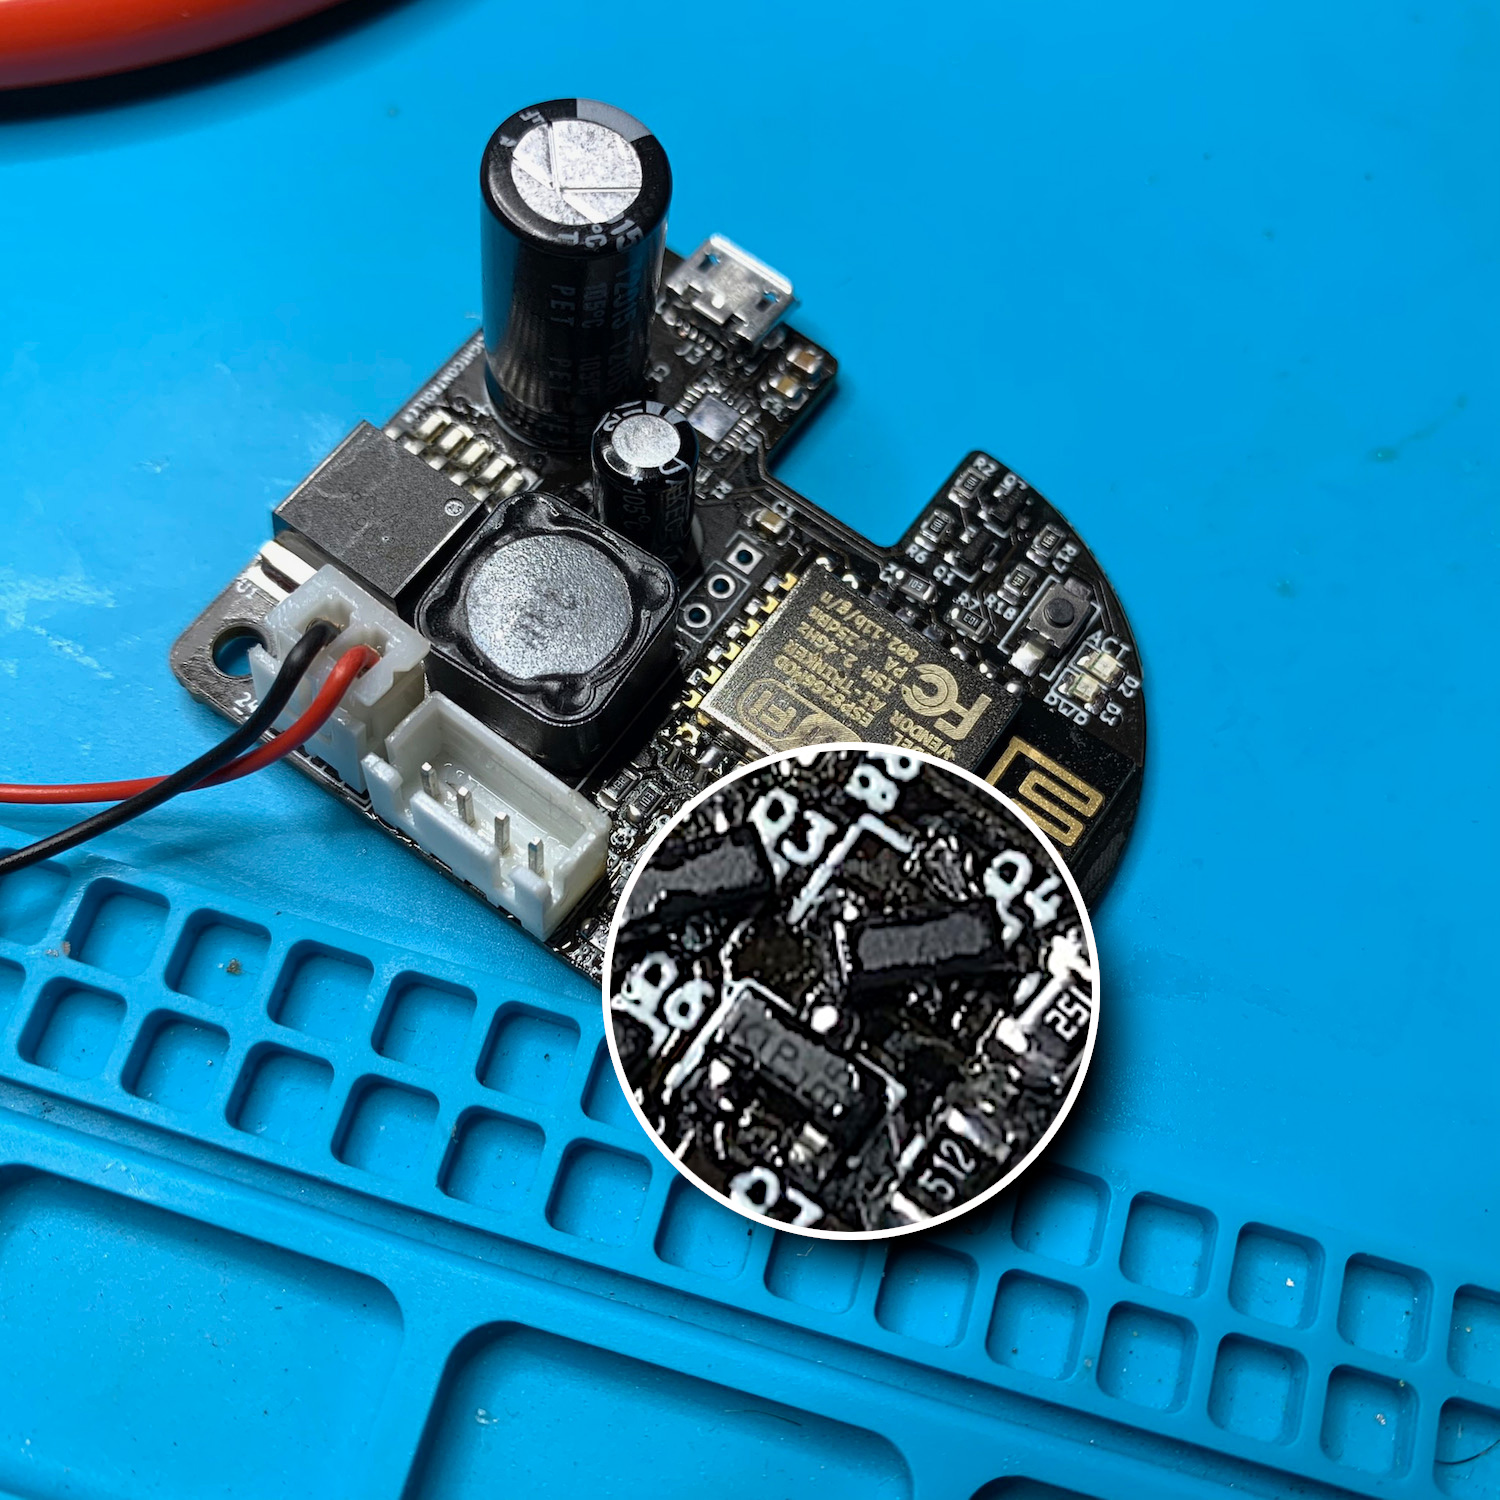
This indeed solved this issue. And allow me to continue with the next step. Writing some software.
In previous projects I used overly complicated solutions like MQTT to communicate with the ESP8266. But to keep it simple, stable and easy to use, I simply built a REST api. By POSTING a JSON string to the ESP8266's webserver, I can control the three lights:
{
  red: true,
  orange: false,
  green: false
}
If I do a GET request to the ESP8266's webserver I get the current status back, which comes in handy for future additions.
Check out the Github Repository for the full source code of the internal webserver.
It works!
And with the source code in place, the light did what it needed to do:
Now that the electronics and software were working, it could use some final touches. First I printed a bracket which would allow me to mount the light against the wall.
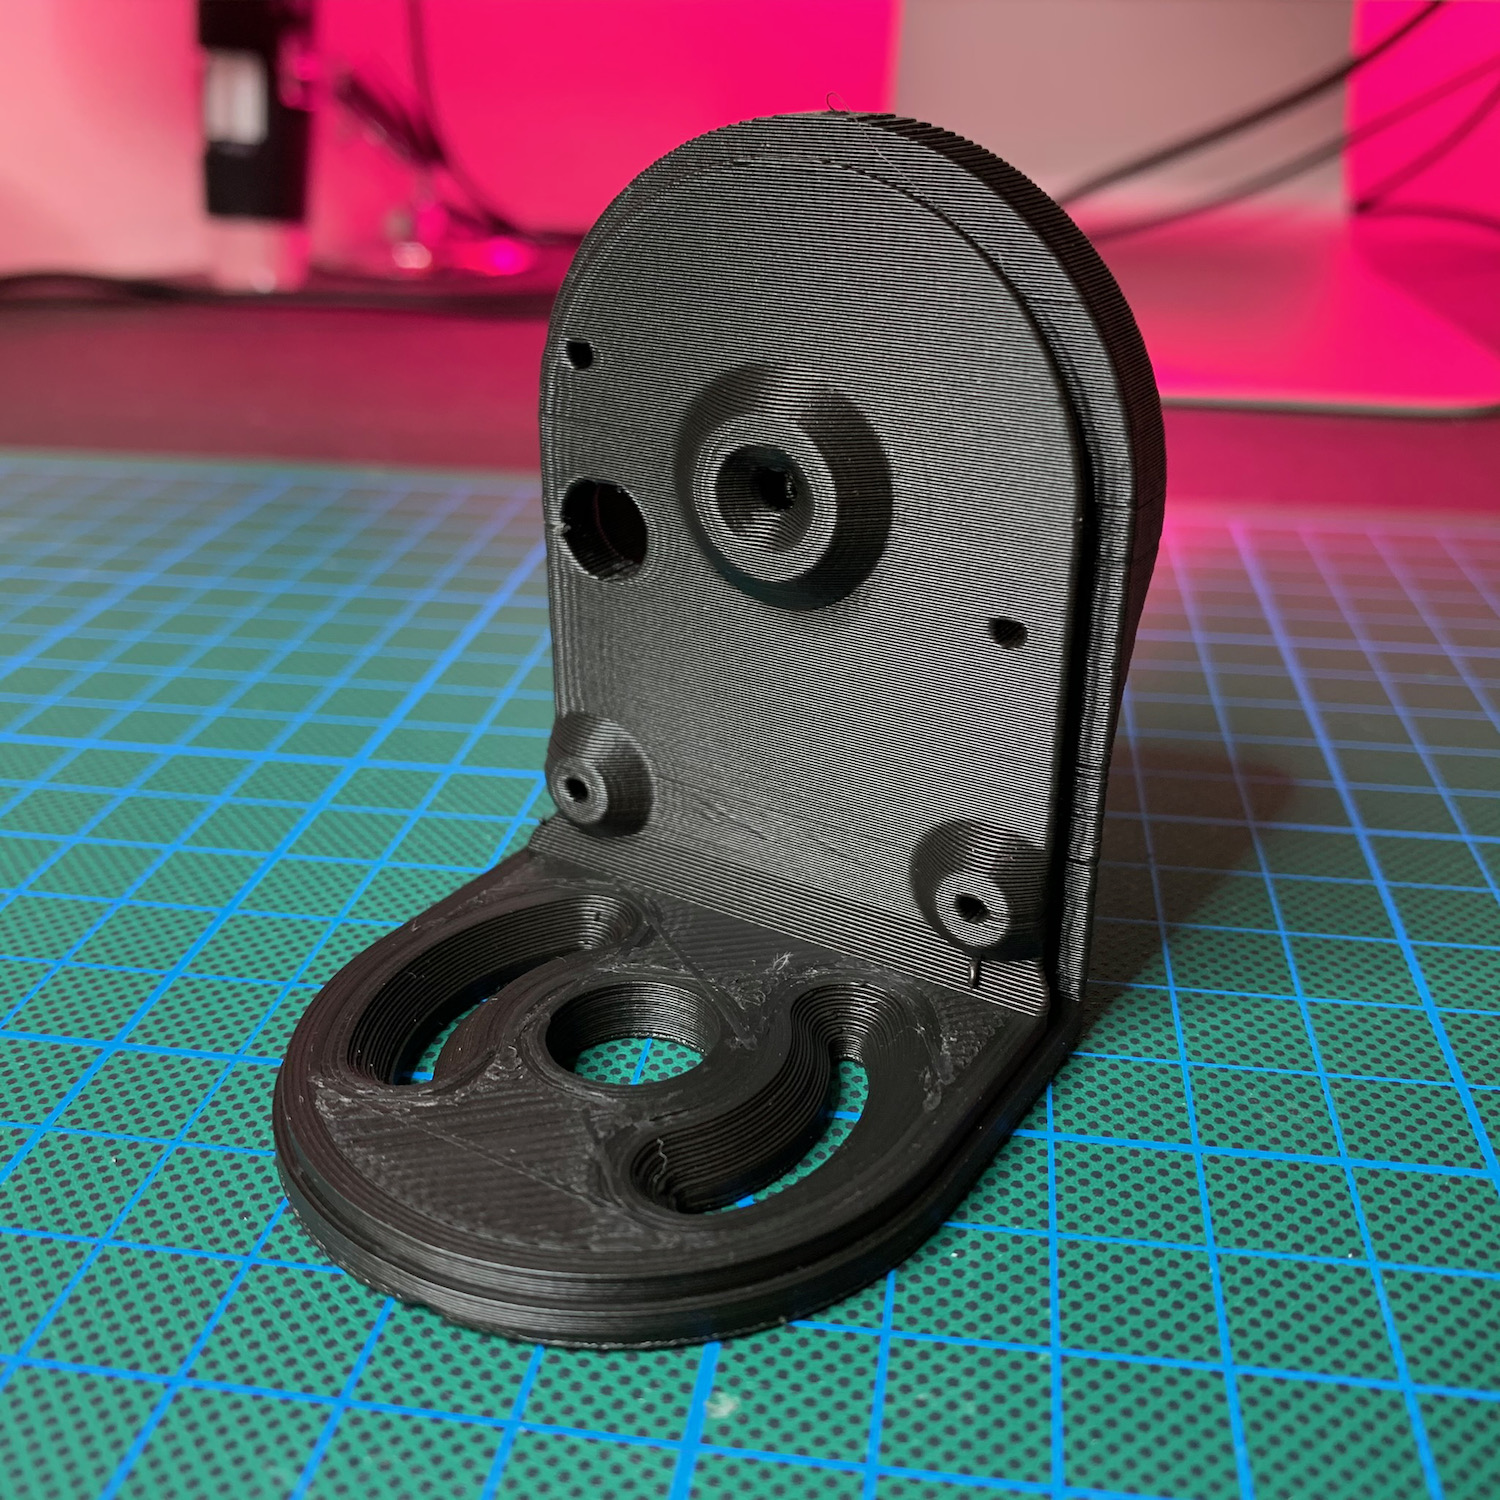
This bracket also allows me to mount the PCB. It allmost is starting to look like a real product!
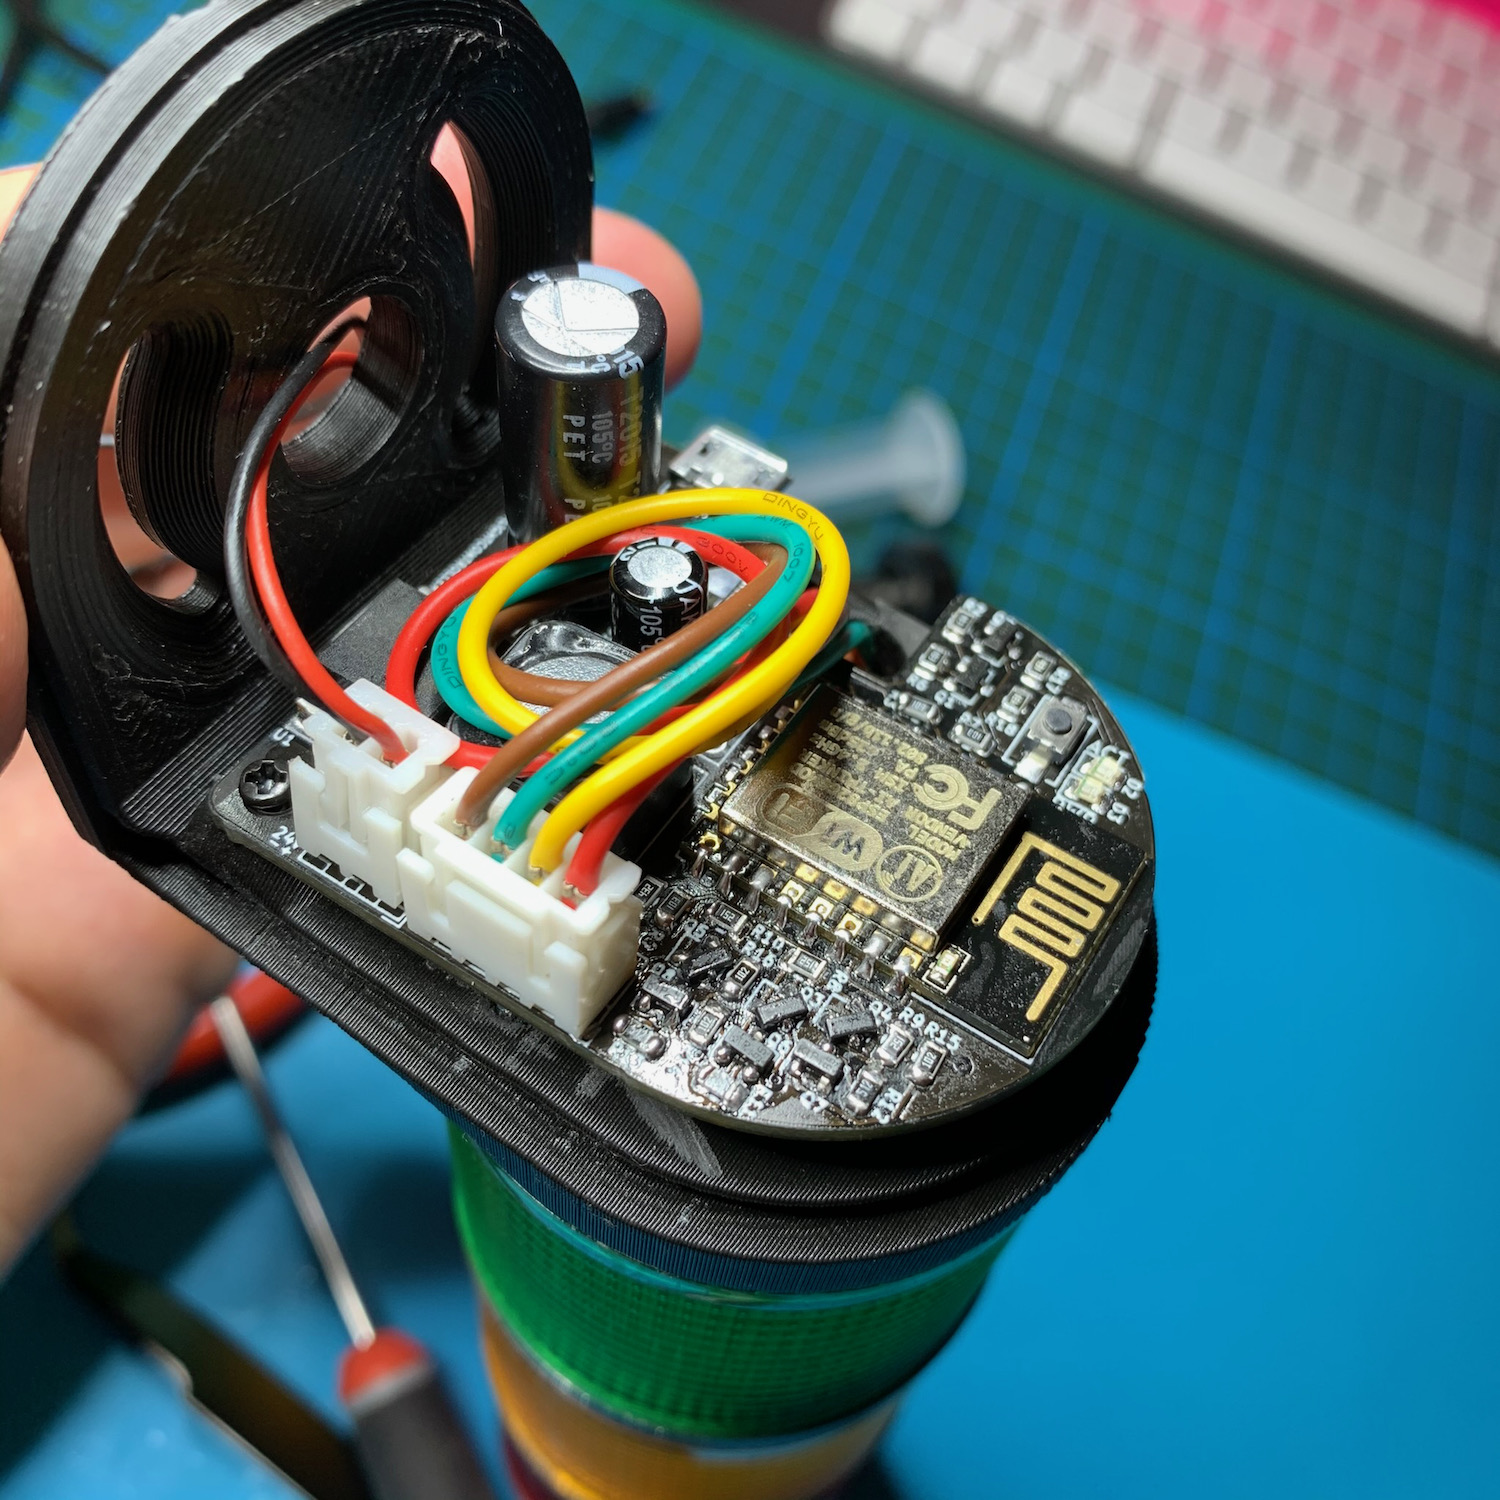
And with the PCB mounted, it only needs a nice cover to finish it off. A 3D-print which clearly shows how beautiful 3D prints can be some time ... if you are lucky.
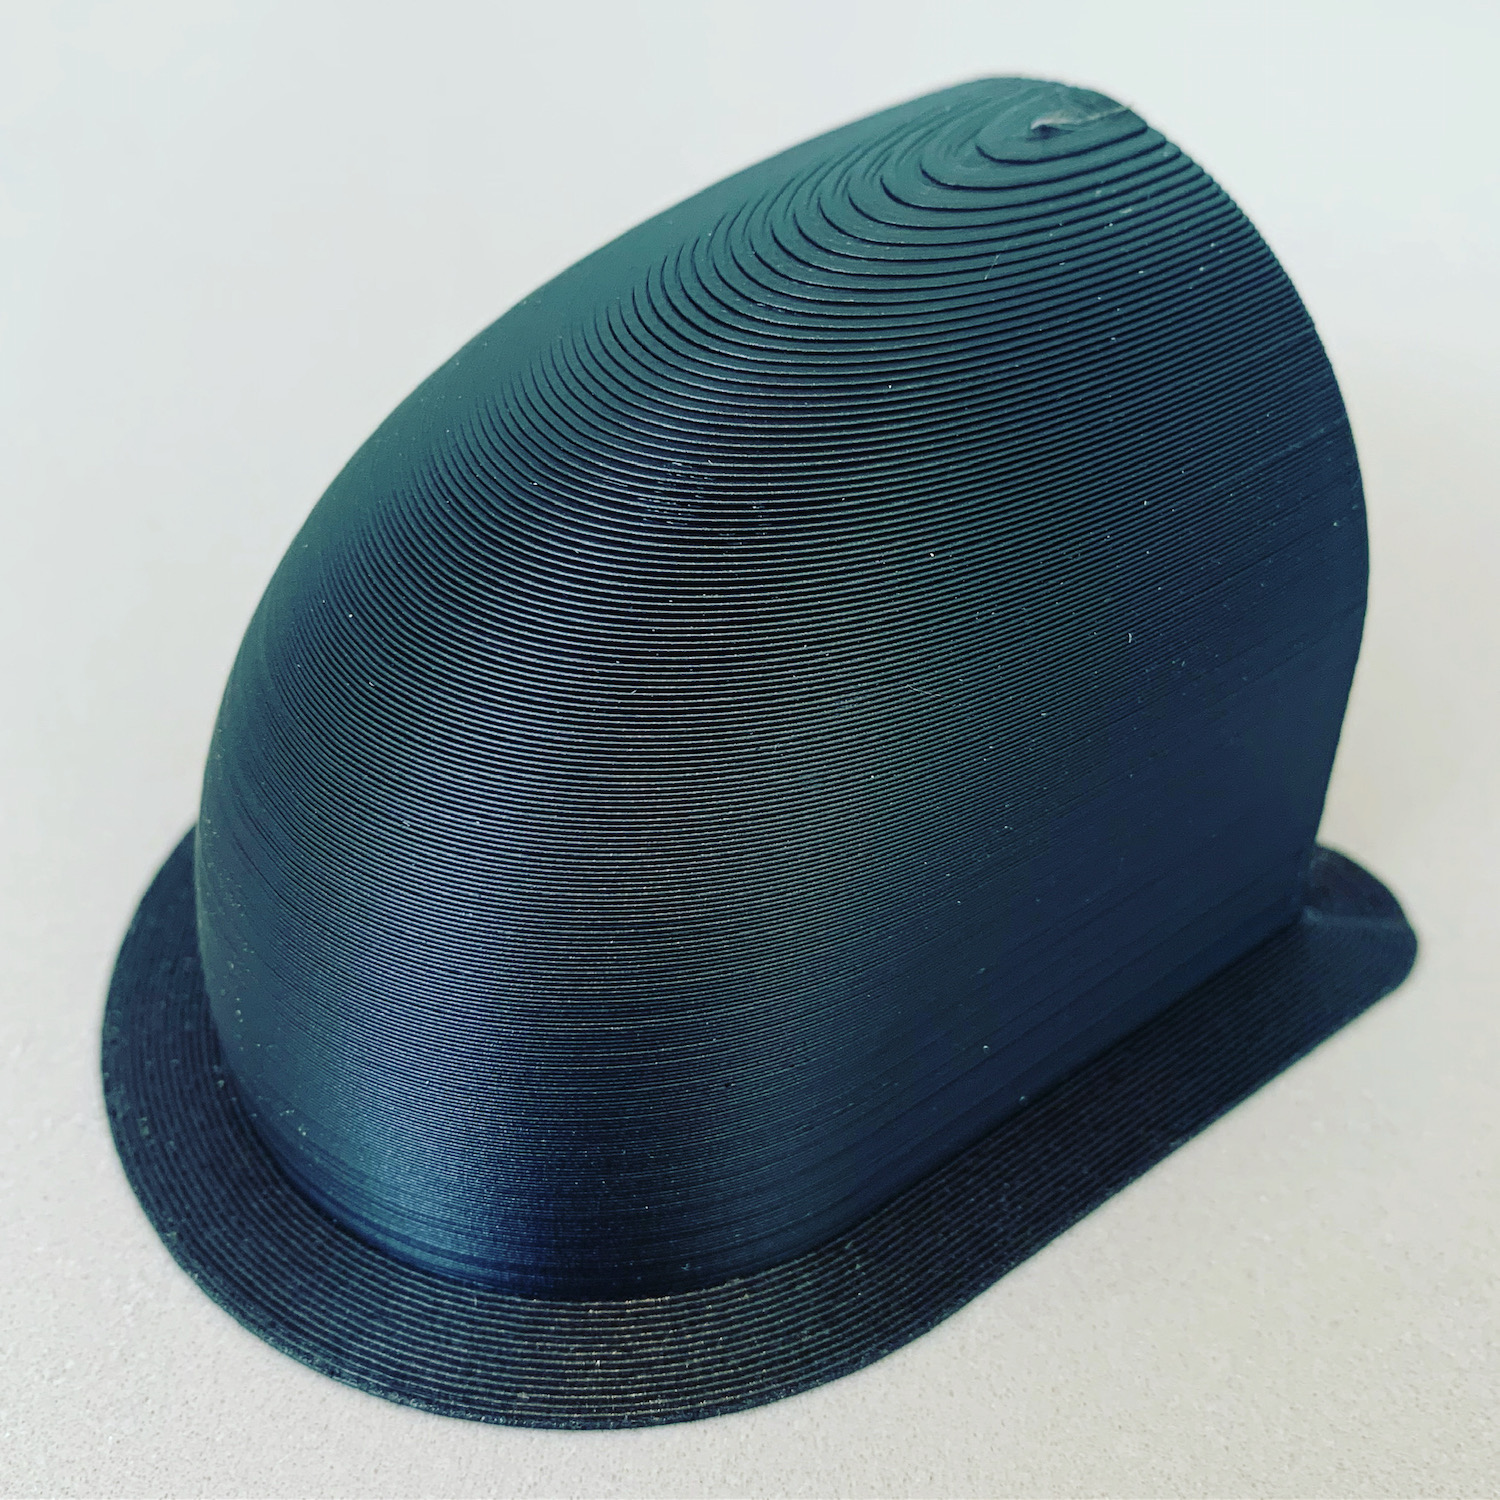
A beautiful result
The only thing left to do was drilling some holes in my wall and mounting it next to my office door.

The final result looked exactly like I hoped it would. You can't miss it. It clearly communicates weather or not people can storm in. And I can control it from anywhere. Great!
So, there is one thing I need to solve. Now that I can turn on the red light, no one will disturb me so I can fully concentrate on the one issue I couldn't figure out: What's wrong with the CP2104 UART Bridge?
I ordered some new IC's at Farnell and gave it one last shot on a partly populated board. And low and behold: it worked!

The difference? These IC's came from an official reseller. The previous CP2104 IC's I used came from AliExpress.
So the biggest leason of this project: Don't cheap out. It will bite you in the ass!
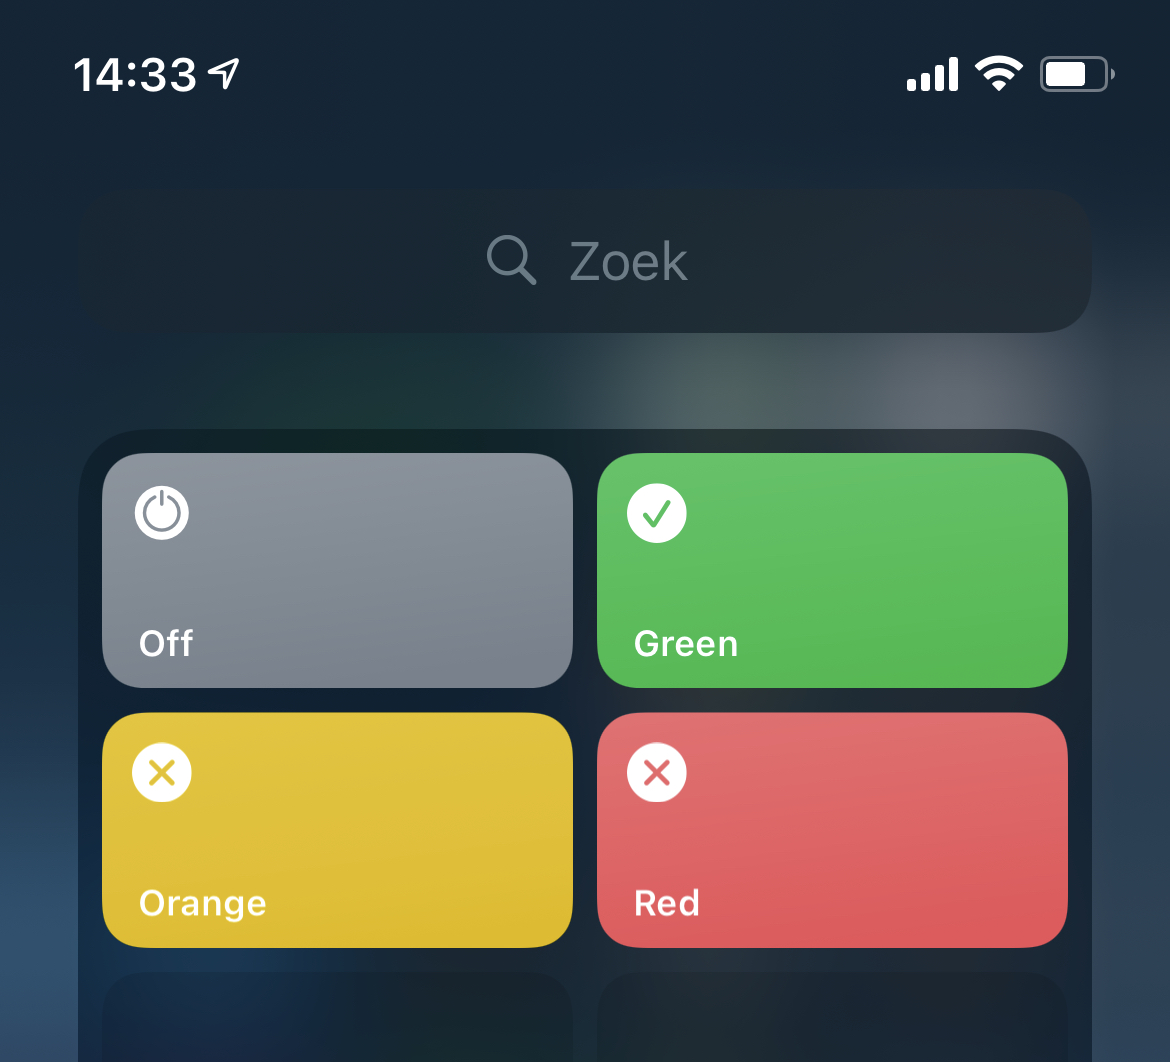
For now, I created 4 shortcuts on my iPhone which allow me to quickly control the light. These shortcuts just make a simple GET request to the Office Door Light's IP address. And because they are a homescreen widget, I never need to search for the right app.
But to make thing cooler, how about building a dedicated remote? I'll save that idea for the next post. Hope to see you soon! :)
PS. Any other cool ideas for this project? Leave a comment down below!
