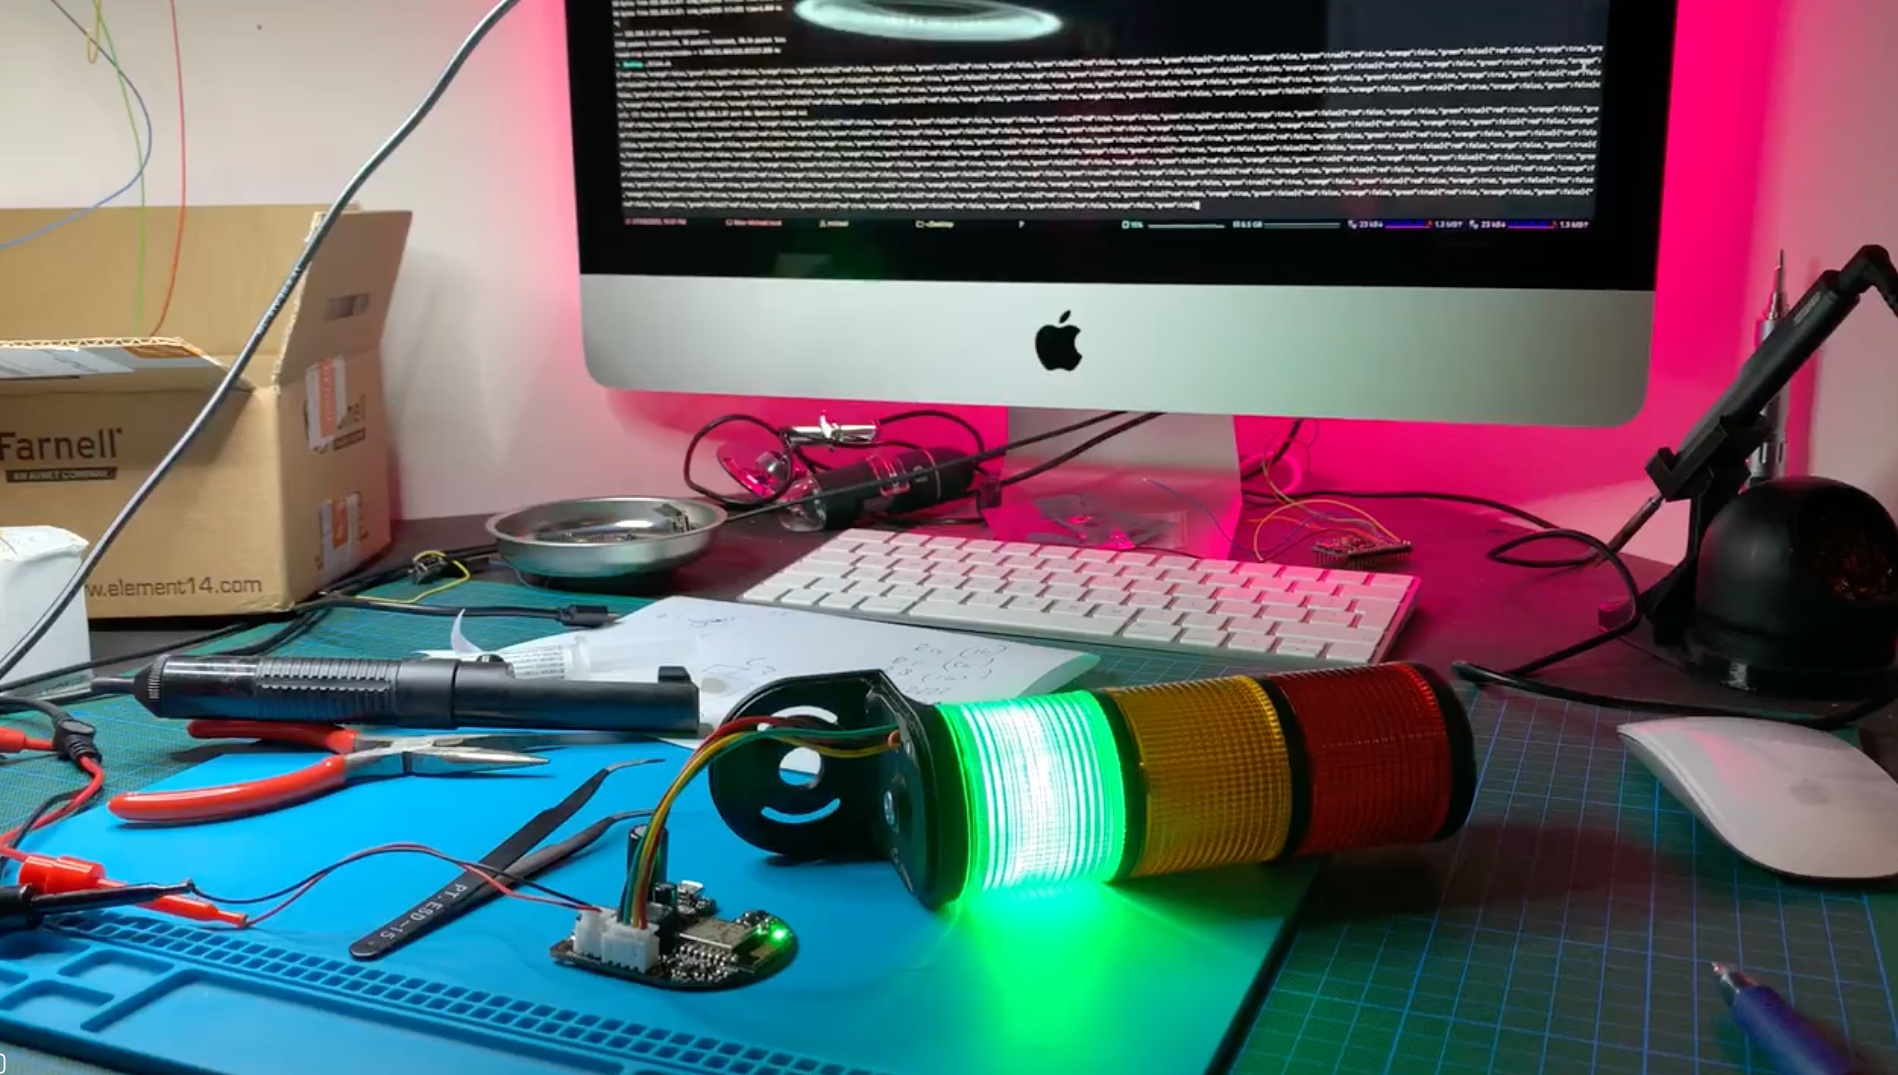
Red, Orange and Green
It's great to finally have my own maker space which doubles as an office. A great place to do my work, without being distracted by my wife or kids. So I thought. It turns out that having an office next to the living room is the perfect invitation to invade my office any moment in time. Time to fix it with some electronics!
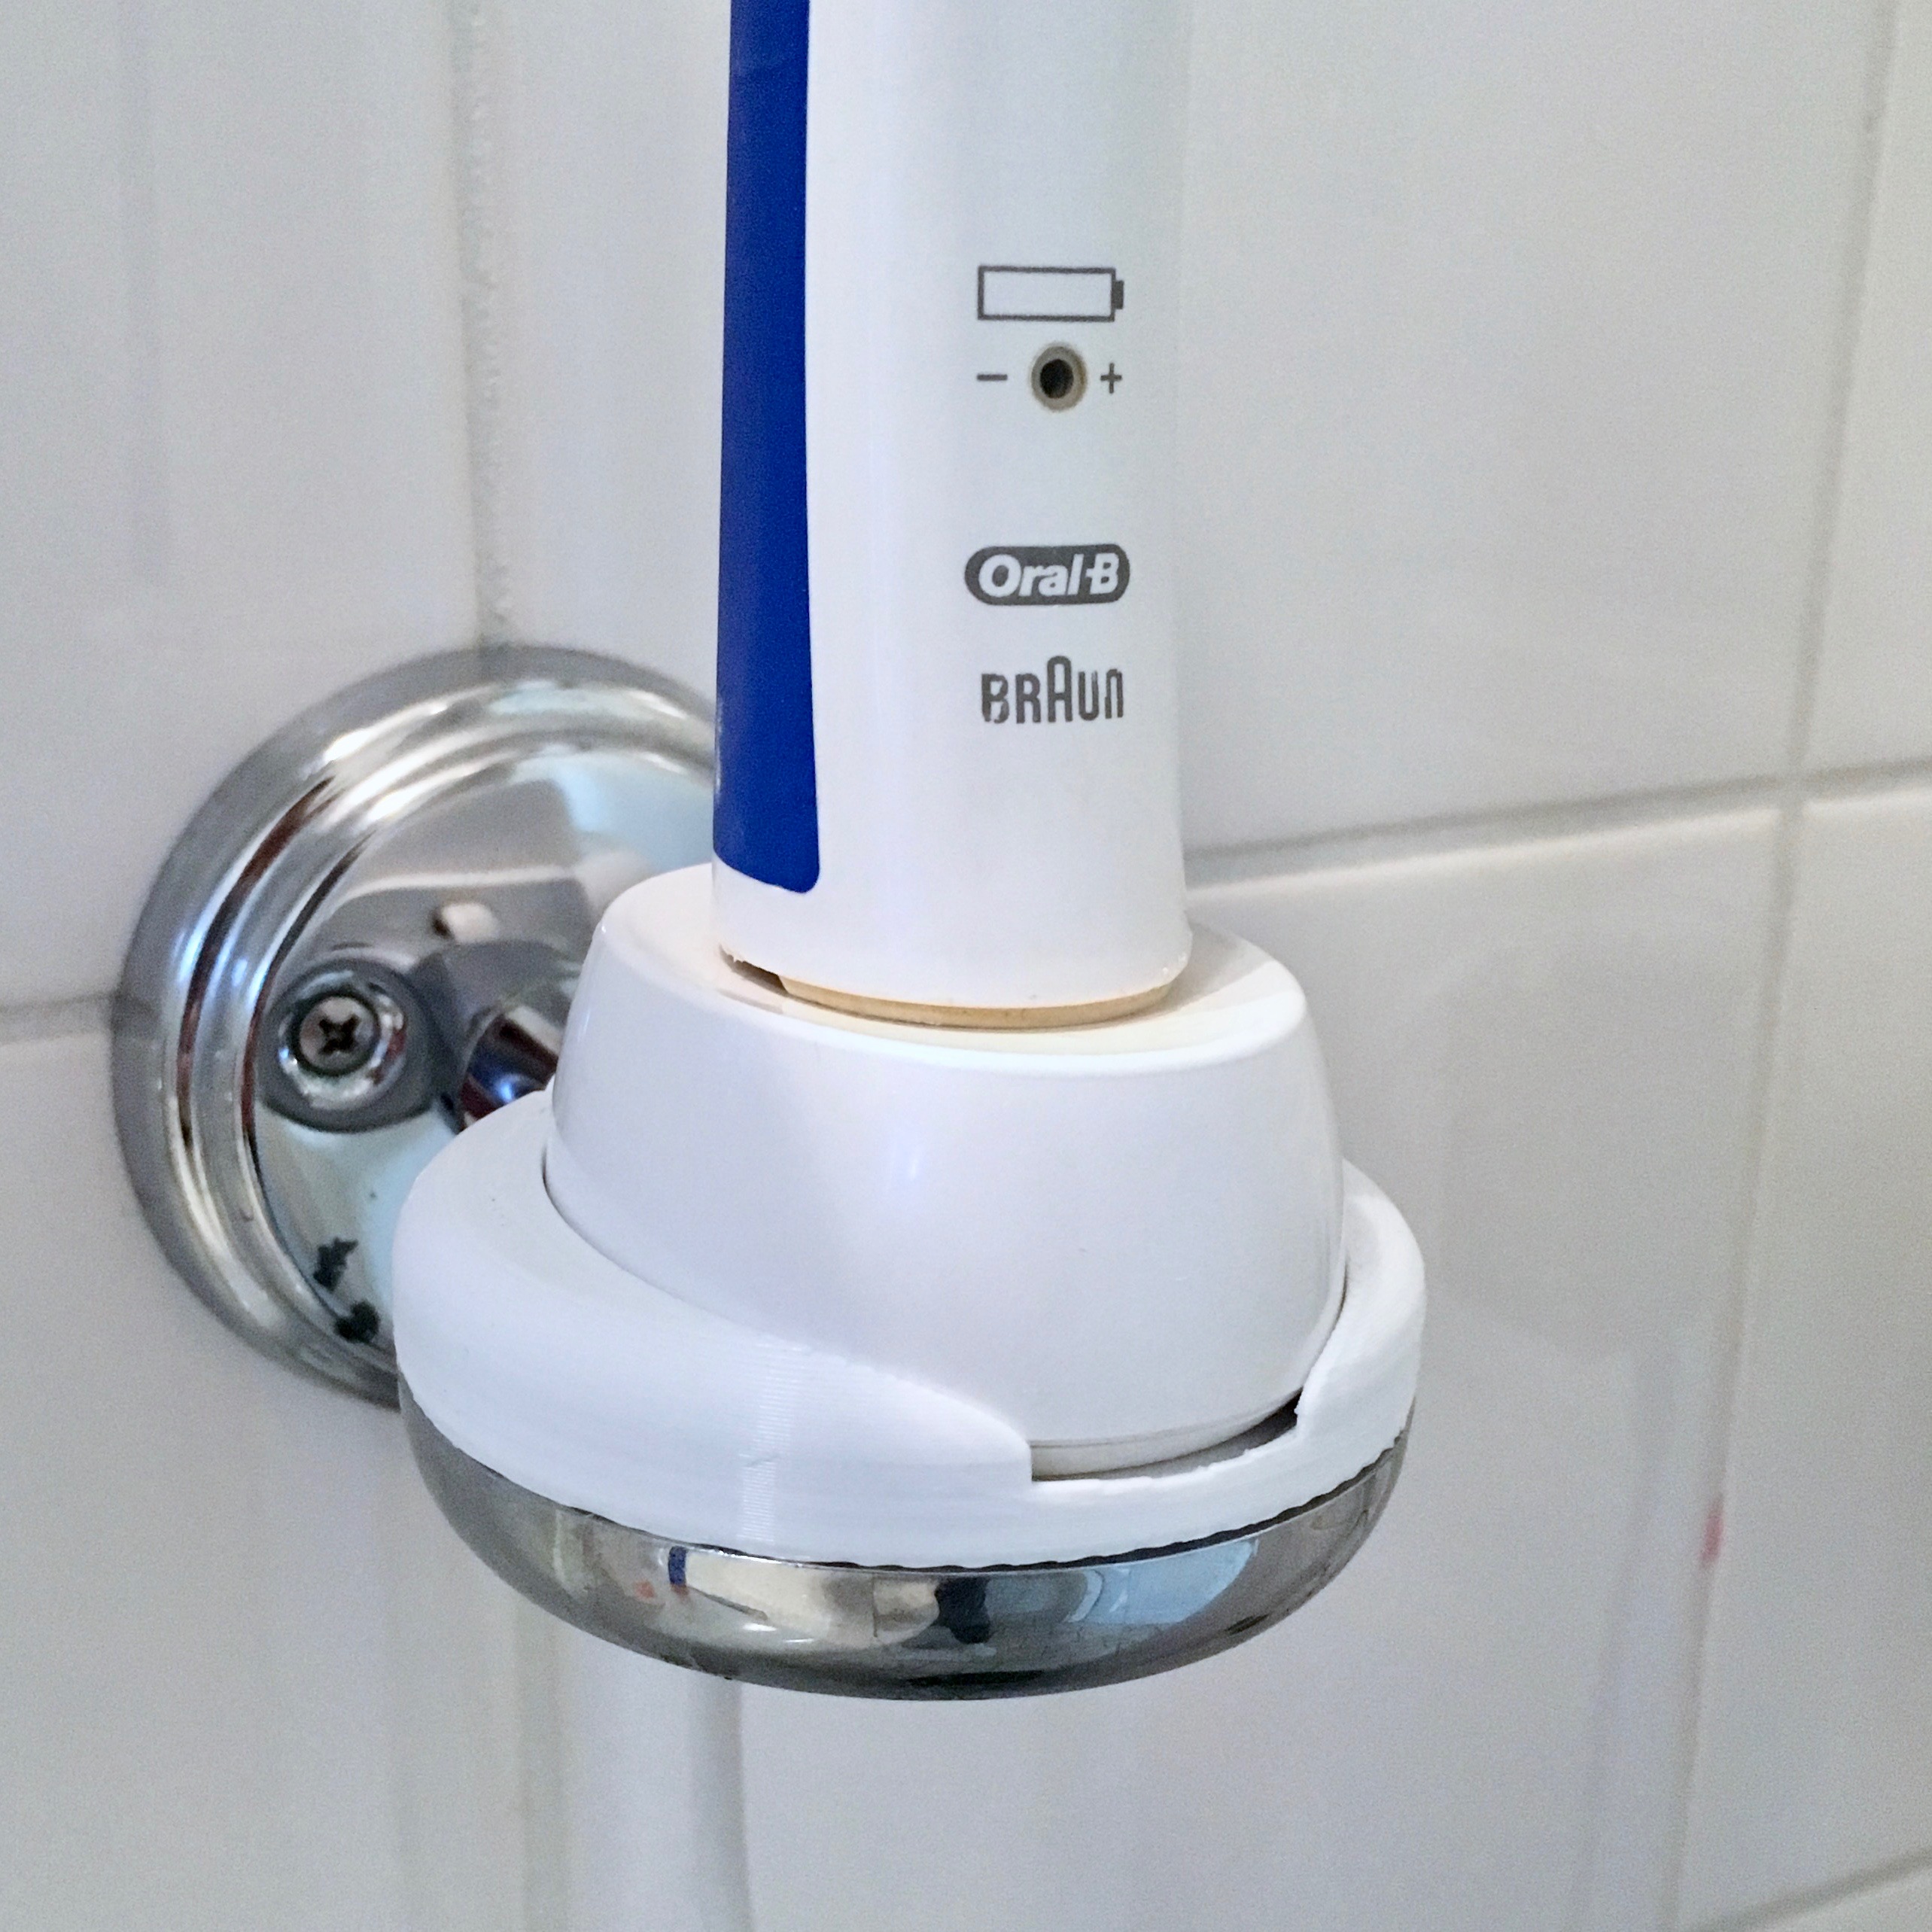
Fixing Annoyances
When I bought my 3D printer a little over 3 years ago, I convinced my wife that it wasn’t just yet another useless gadget. I told her it was a tool which would help me solve problems I didn’t know I had. This week, I solved one of those problems using Fusion 360 and a few meters of white filament.
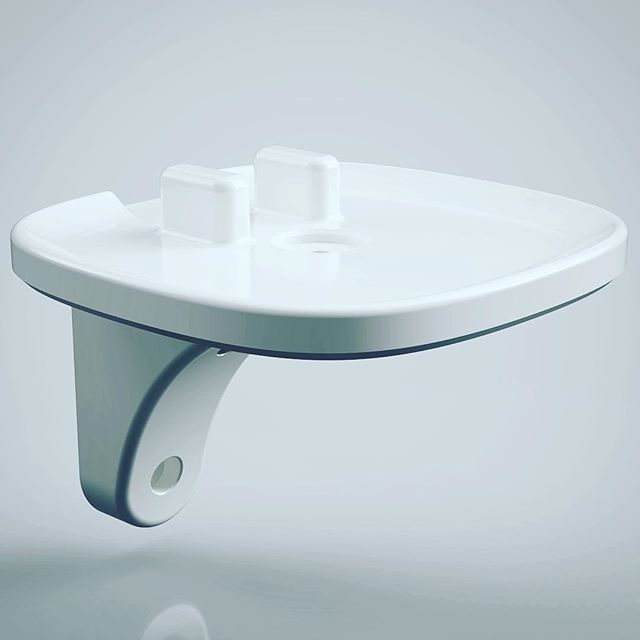
Designing my own Sonos Wall Mount.
A few weeks ago I bought two Sonos One speakers. Mounting them to the wall could be done using some purchased mounts. But when you own a 3D printer it’s more fun to design and print a mount yourself.
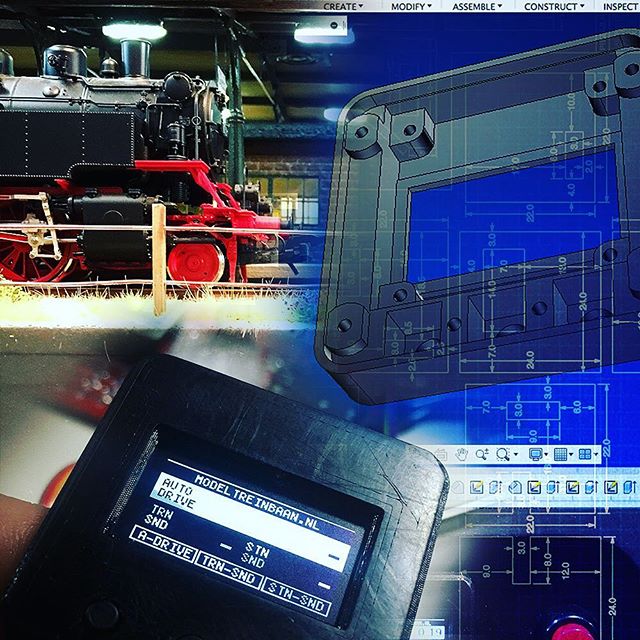
Train Automator:
Wrapping it up!
Over the course of the last few weeks I’ve been building the Arduino powered Model Train Automator. I’m sure my dad would like to start using it, so let’s wrap this project up!
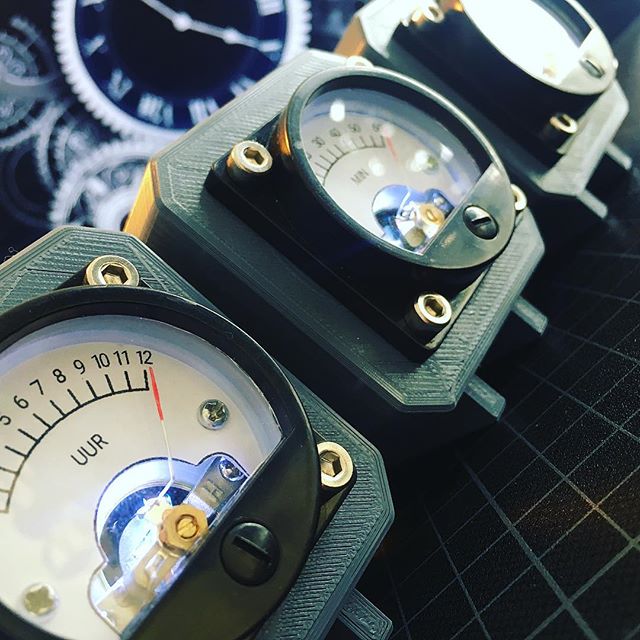
What time is it? Father's Day!
My technical enthusiasm is probably 99% inherited from my dad. So whenever I come across something fascinating, he is usually the first person to forward the link to. A little over a year, I came across some really awesome volt meter clocks. And due to his fascination of analog meters, he liked it even more than I did. Wouldn’t it be awesome to make one as a Father’s Day present?
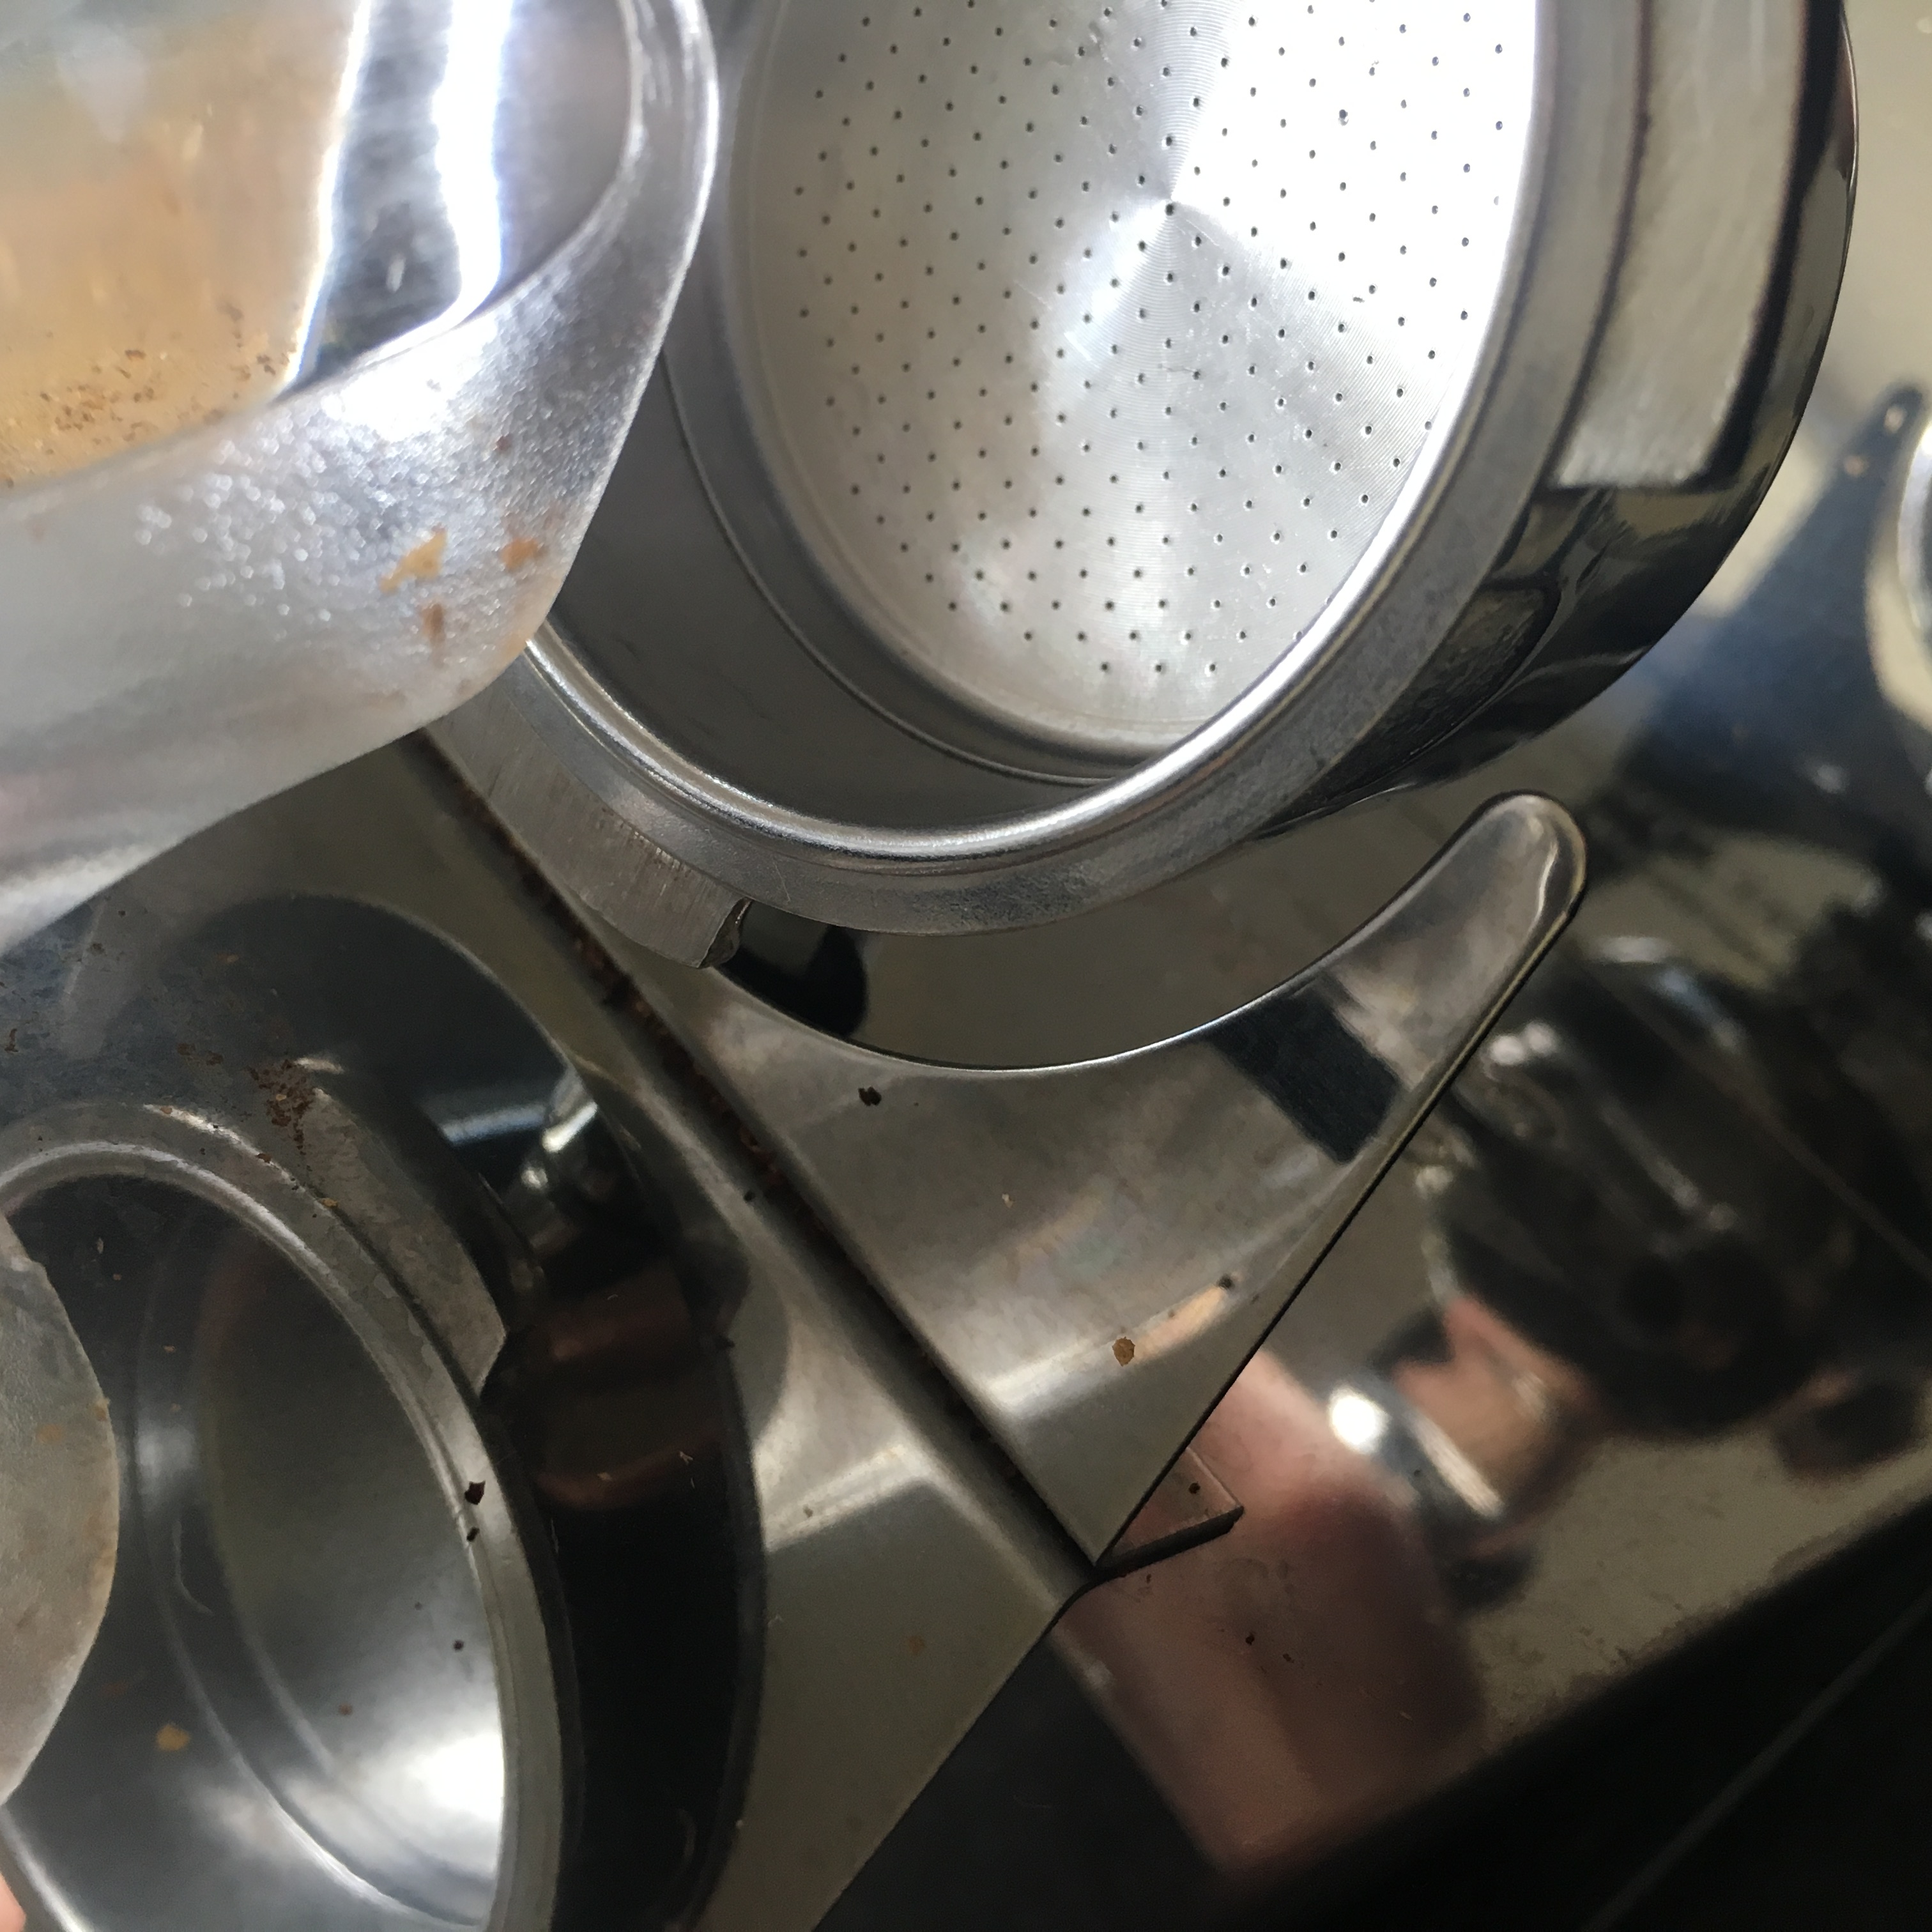
The Grinder Mount Adapter
Although I’m still working on my son’s activity board, I haven’t got much progression to show. So this week, I wanted to talk about a fun simple 3D printing solution I designed yesterday. As a real coffee addict, my coffee grinder is what it’s all about.
Robotic Arm:
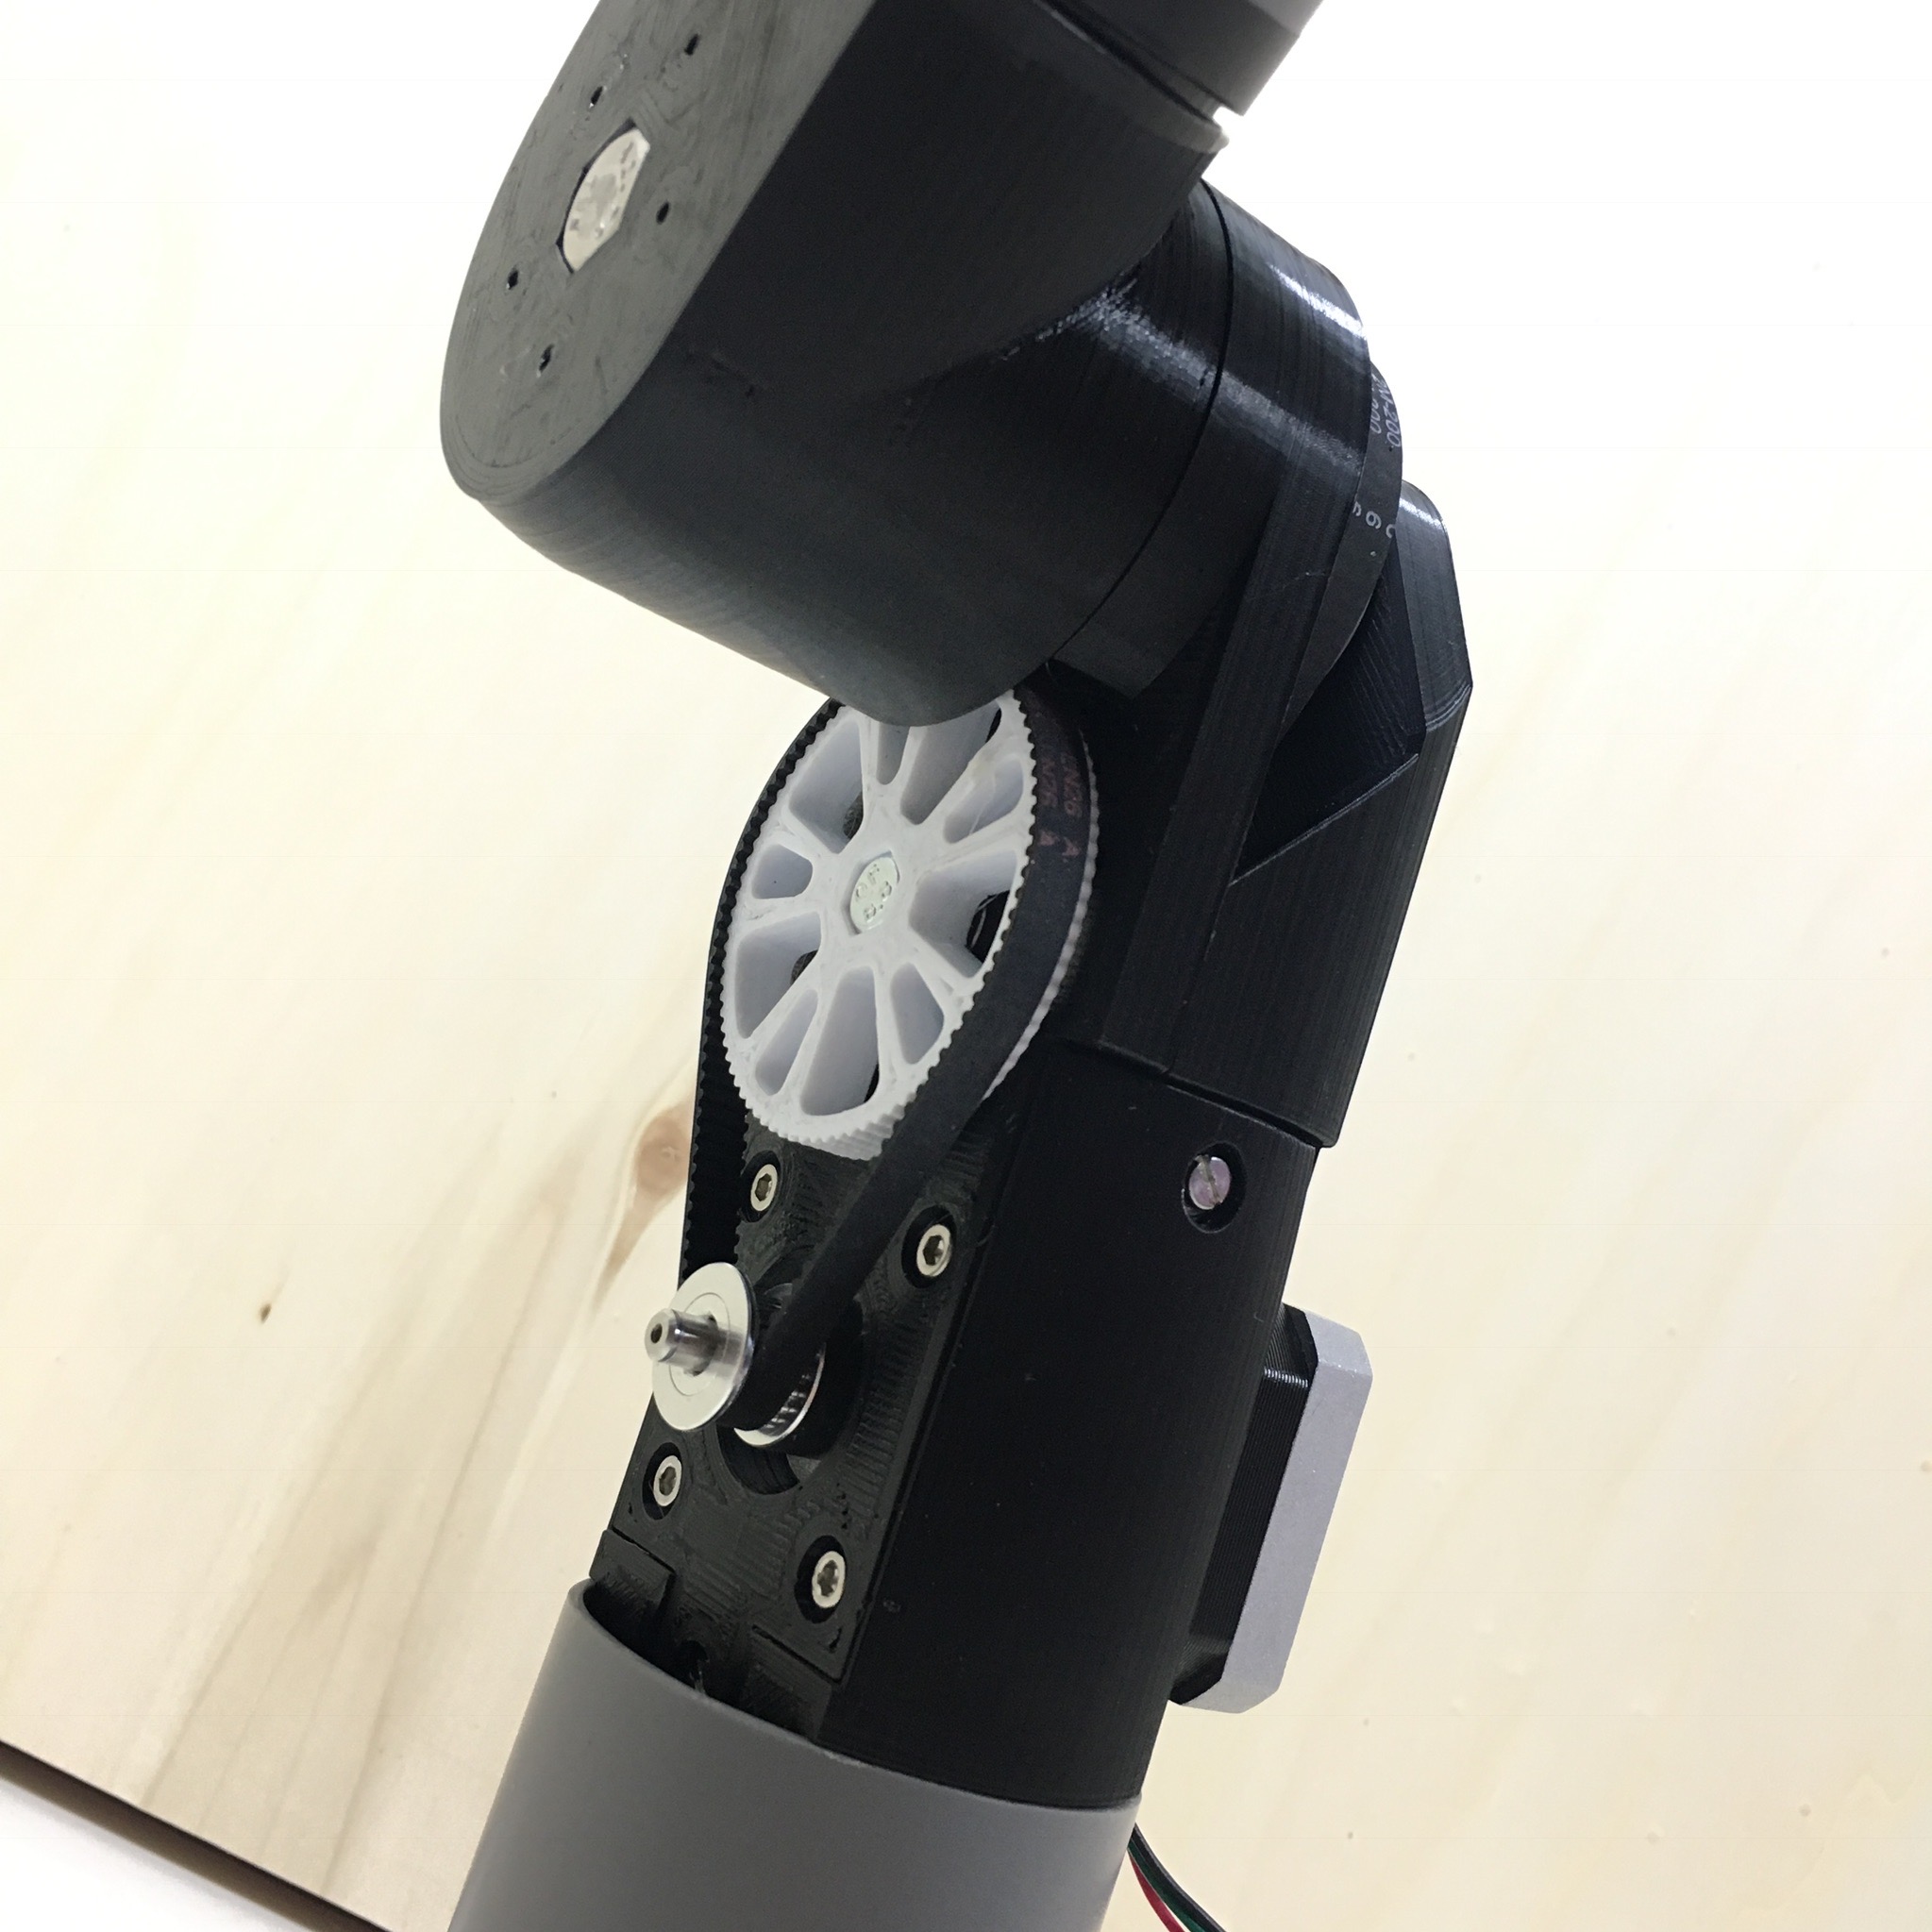
Pulley & Belt Transmission
Admittedly, building a robot arm joint transmission is way more difficult than I expected. But where’s the fun in a simple project? In my last post, I explained why a geared transmission doesn’t work. This week I’ll try a new approach.
Robotic Arm:
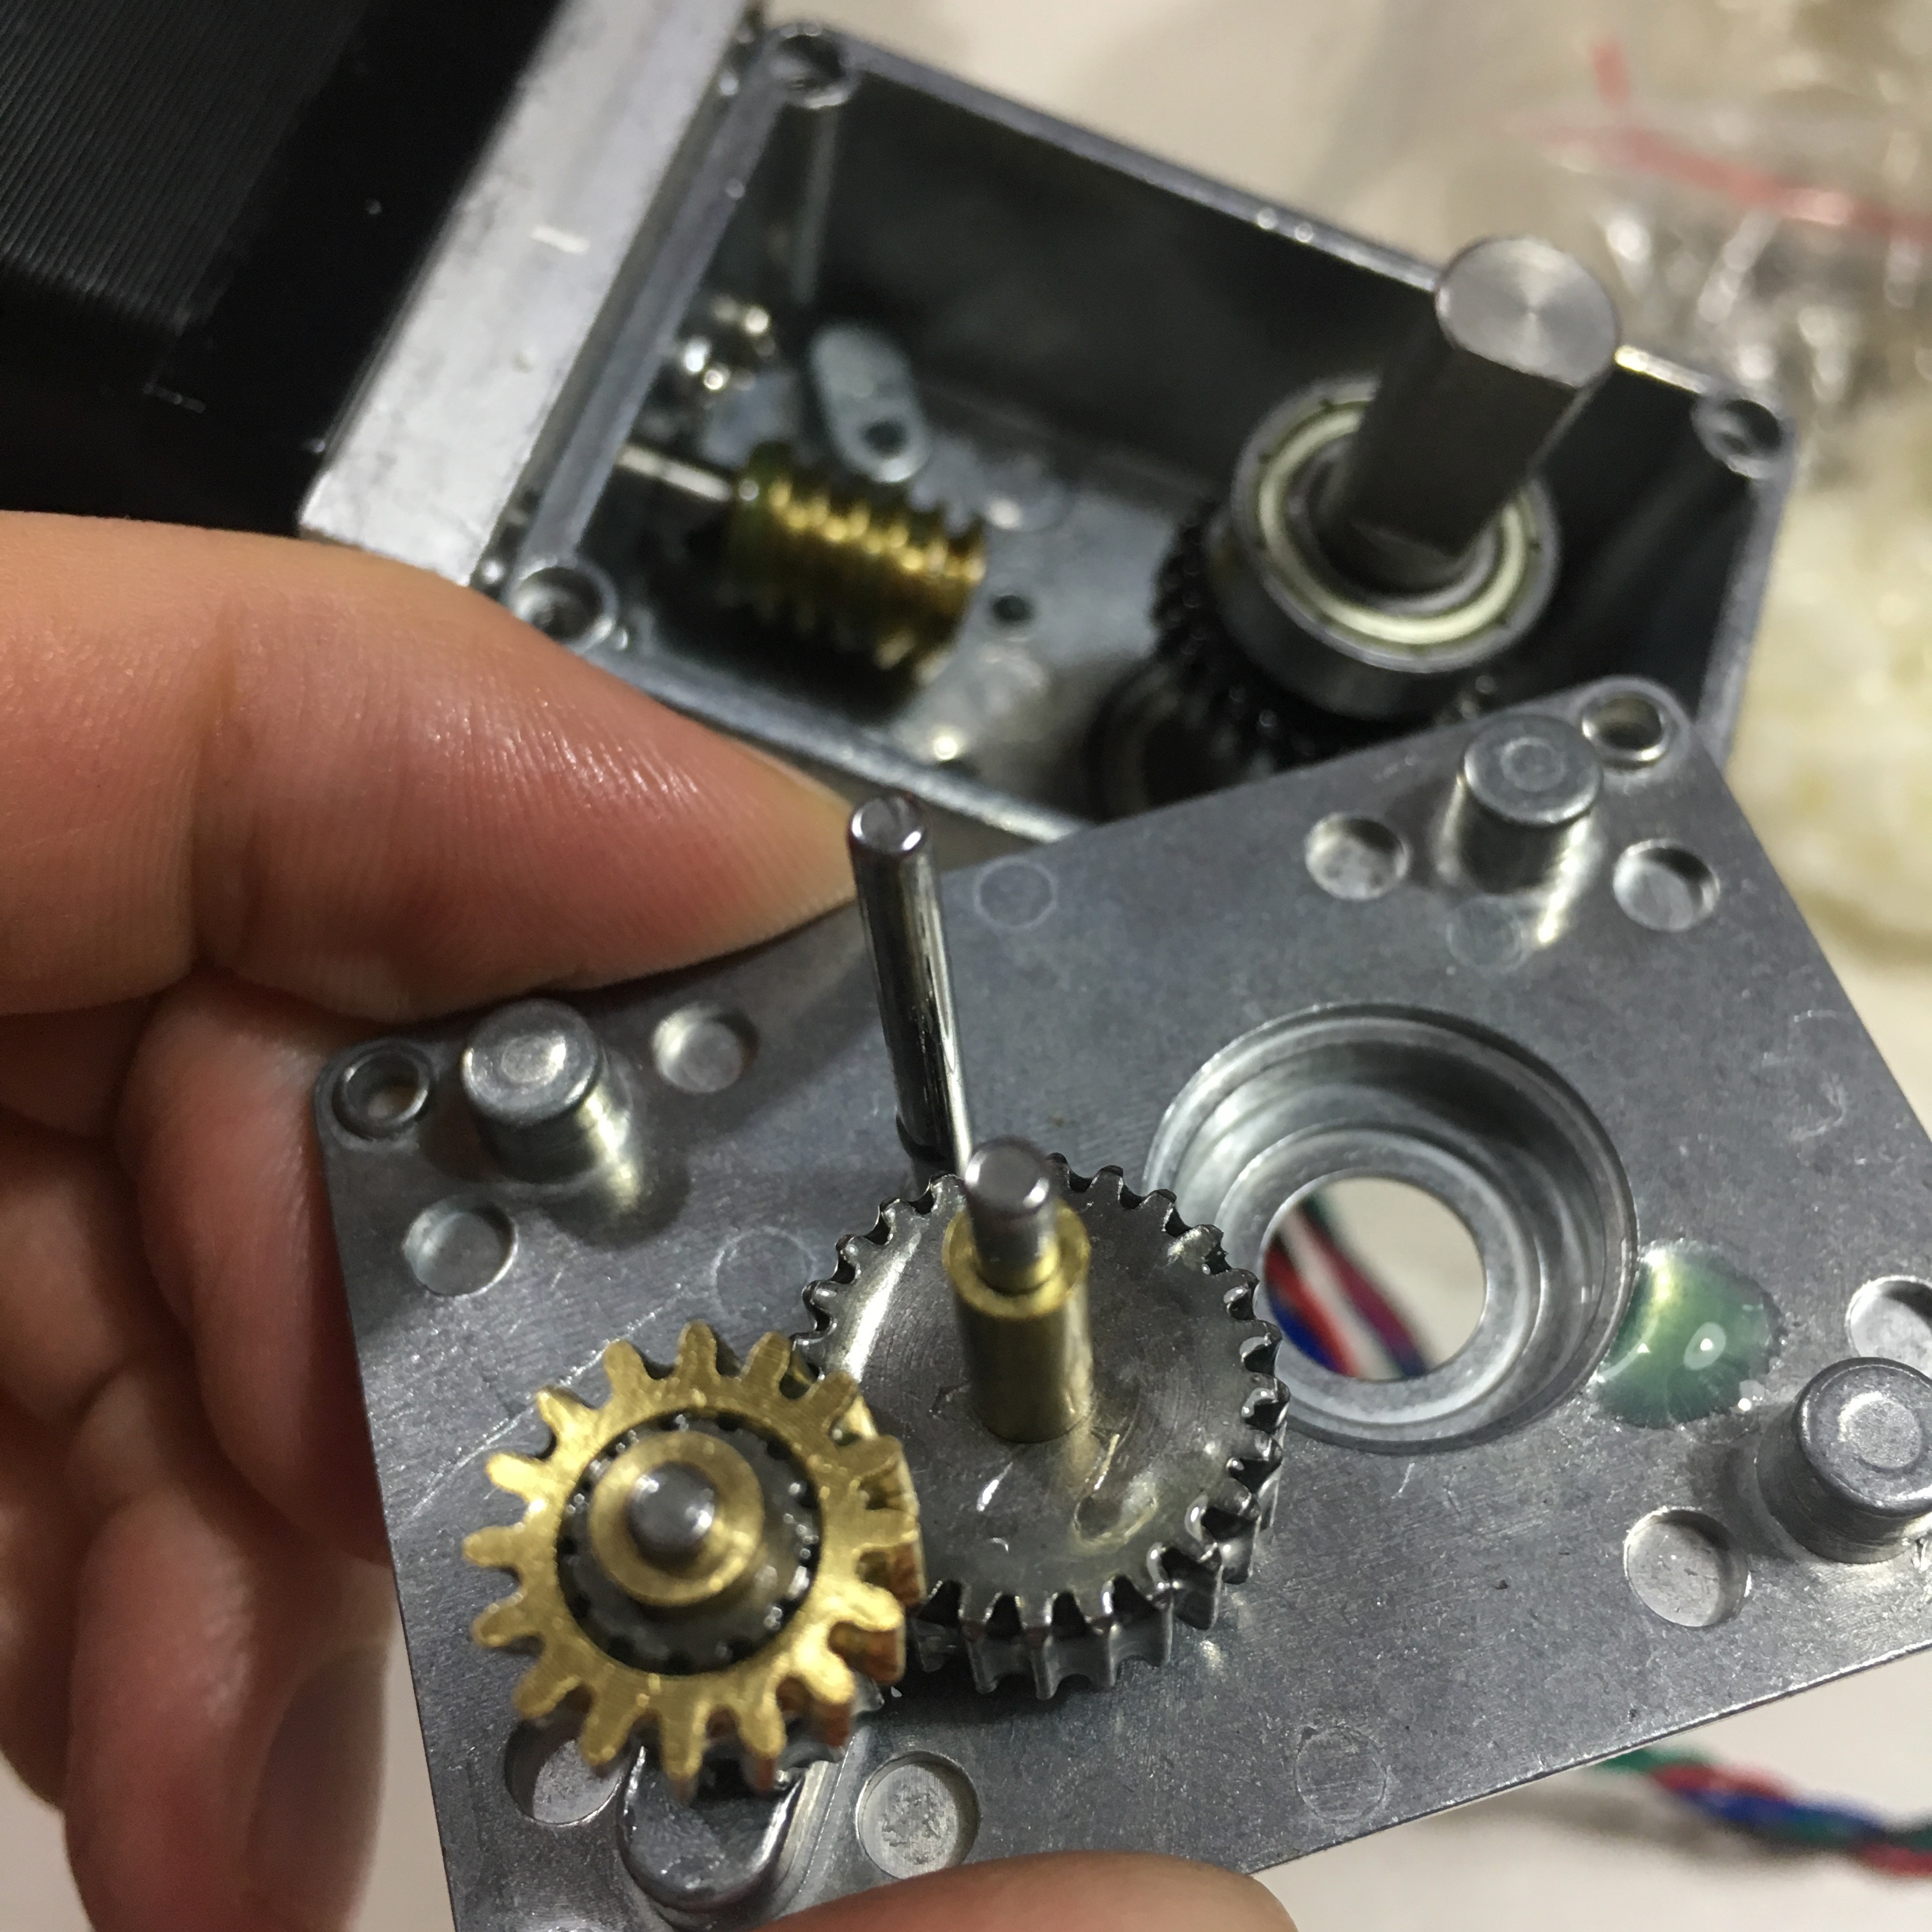
The Backlash of Cheating
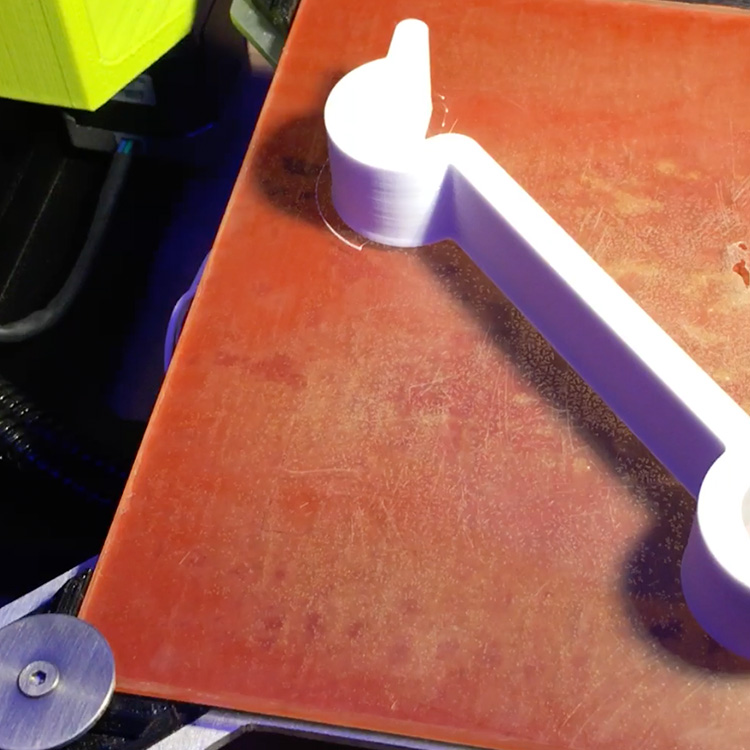
A few weeks ago I finish the first prototype of the stepper transission I need for my Robot Arm joint. In the process of improving this transmission, I tried some 3D printed gears and ended up cheating …
The Tiny Burglar
To protect our house against our tiny burglar, I’ve 3D designed and 3D printed a simple burglary prevention system. Disclaimer: it only works for tiny burglars. In stead of blogging about it, I created a two and a half minute video …
Robotic Arm:
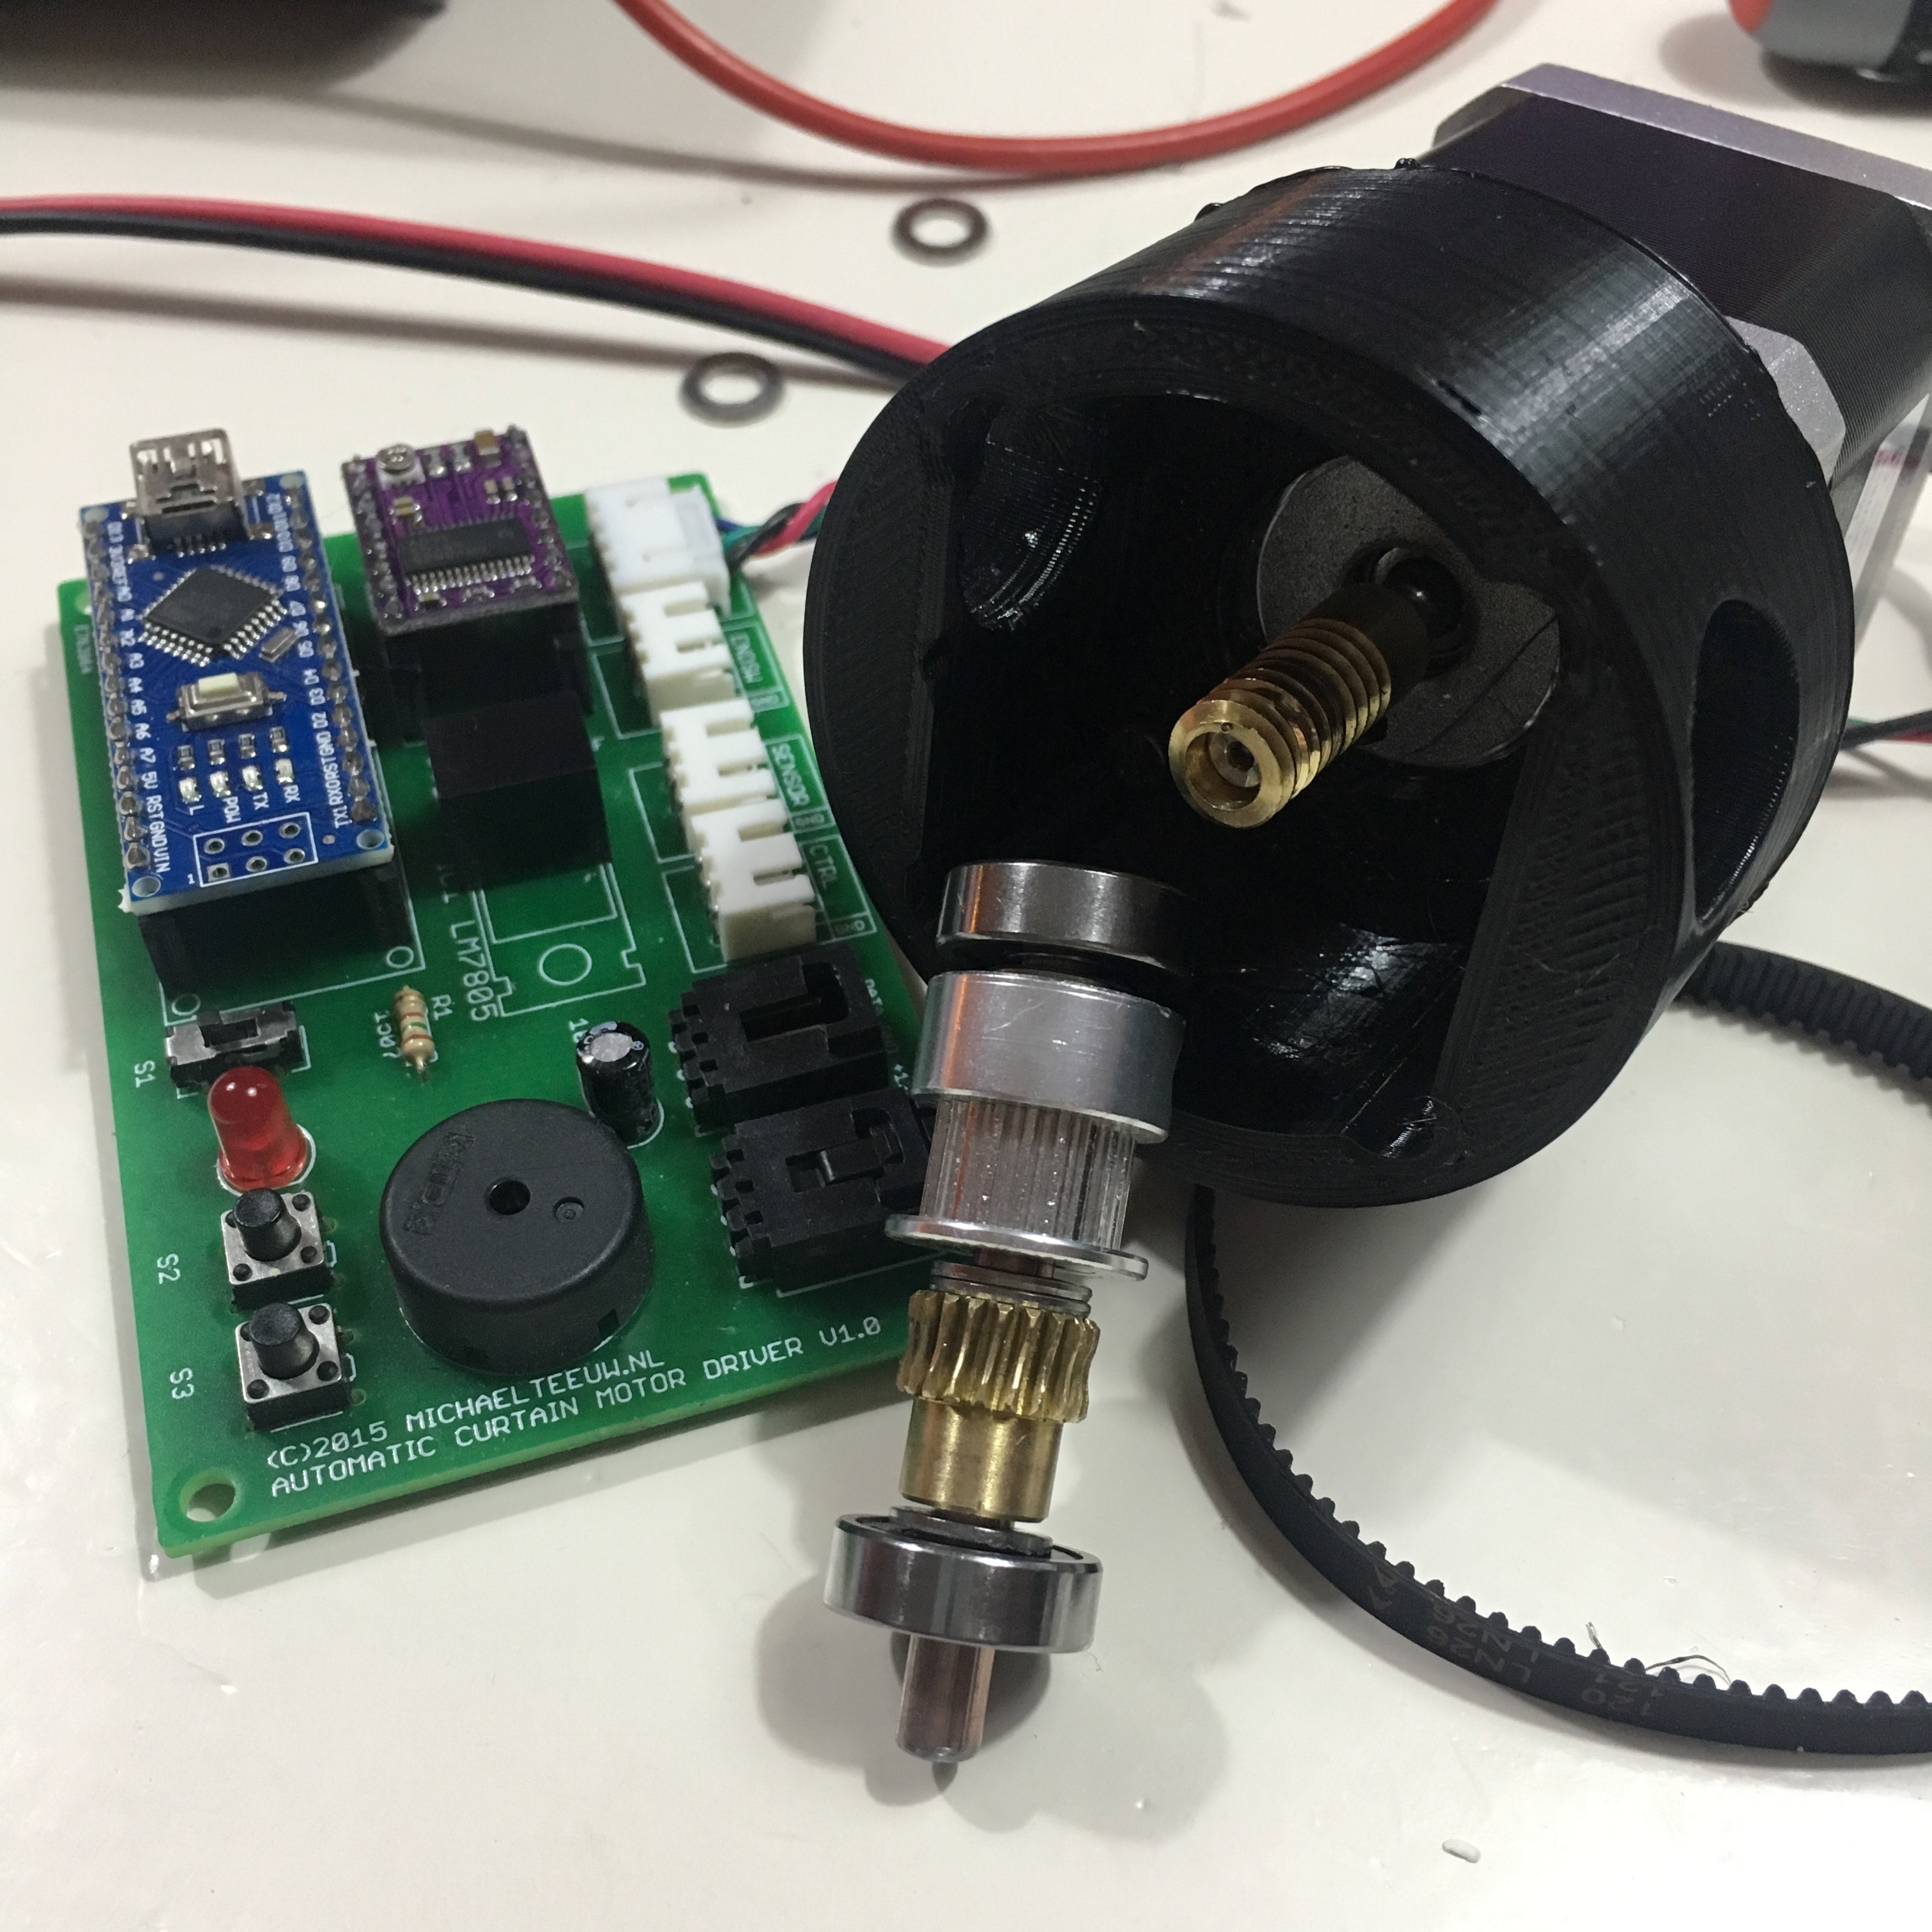
My first attempt of building a transmission box.
In the last few weeks I mostly focussed on the aesthetic of my Robot Arm project. Now that I finally received the necessary gears, It’s time to work on the transmission box.
Robotic Arm:
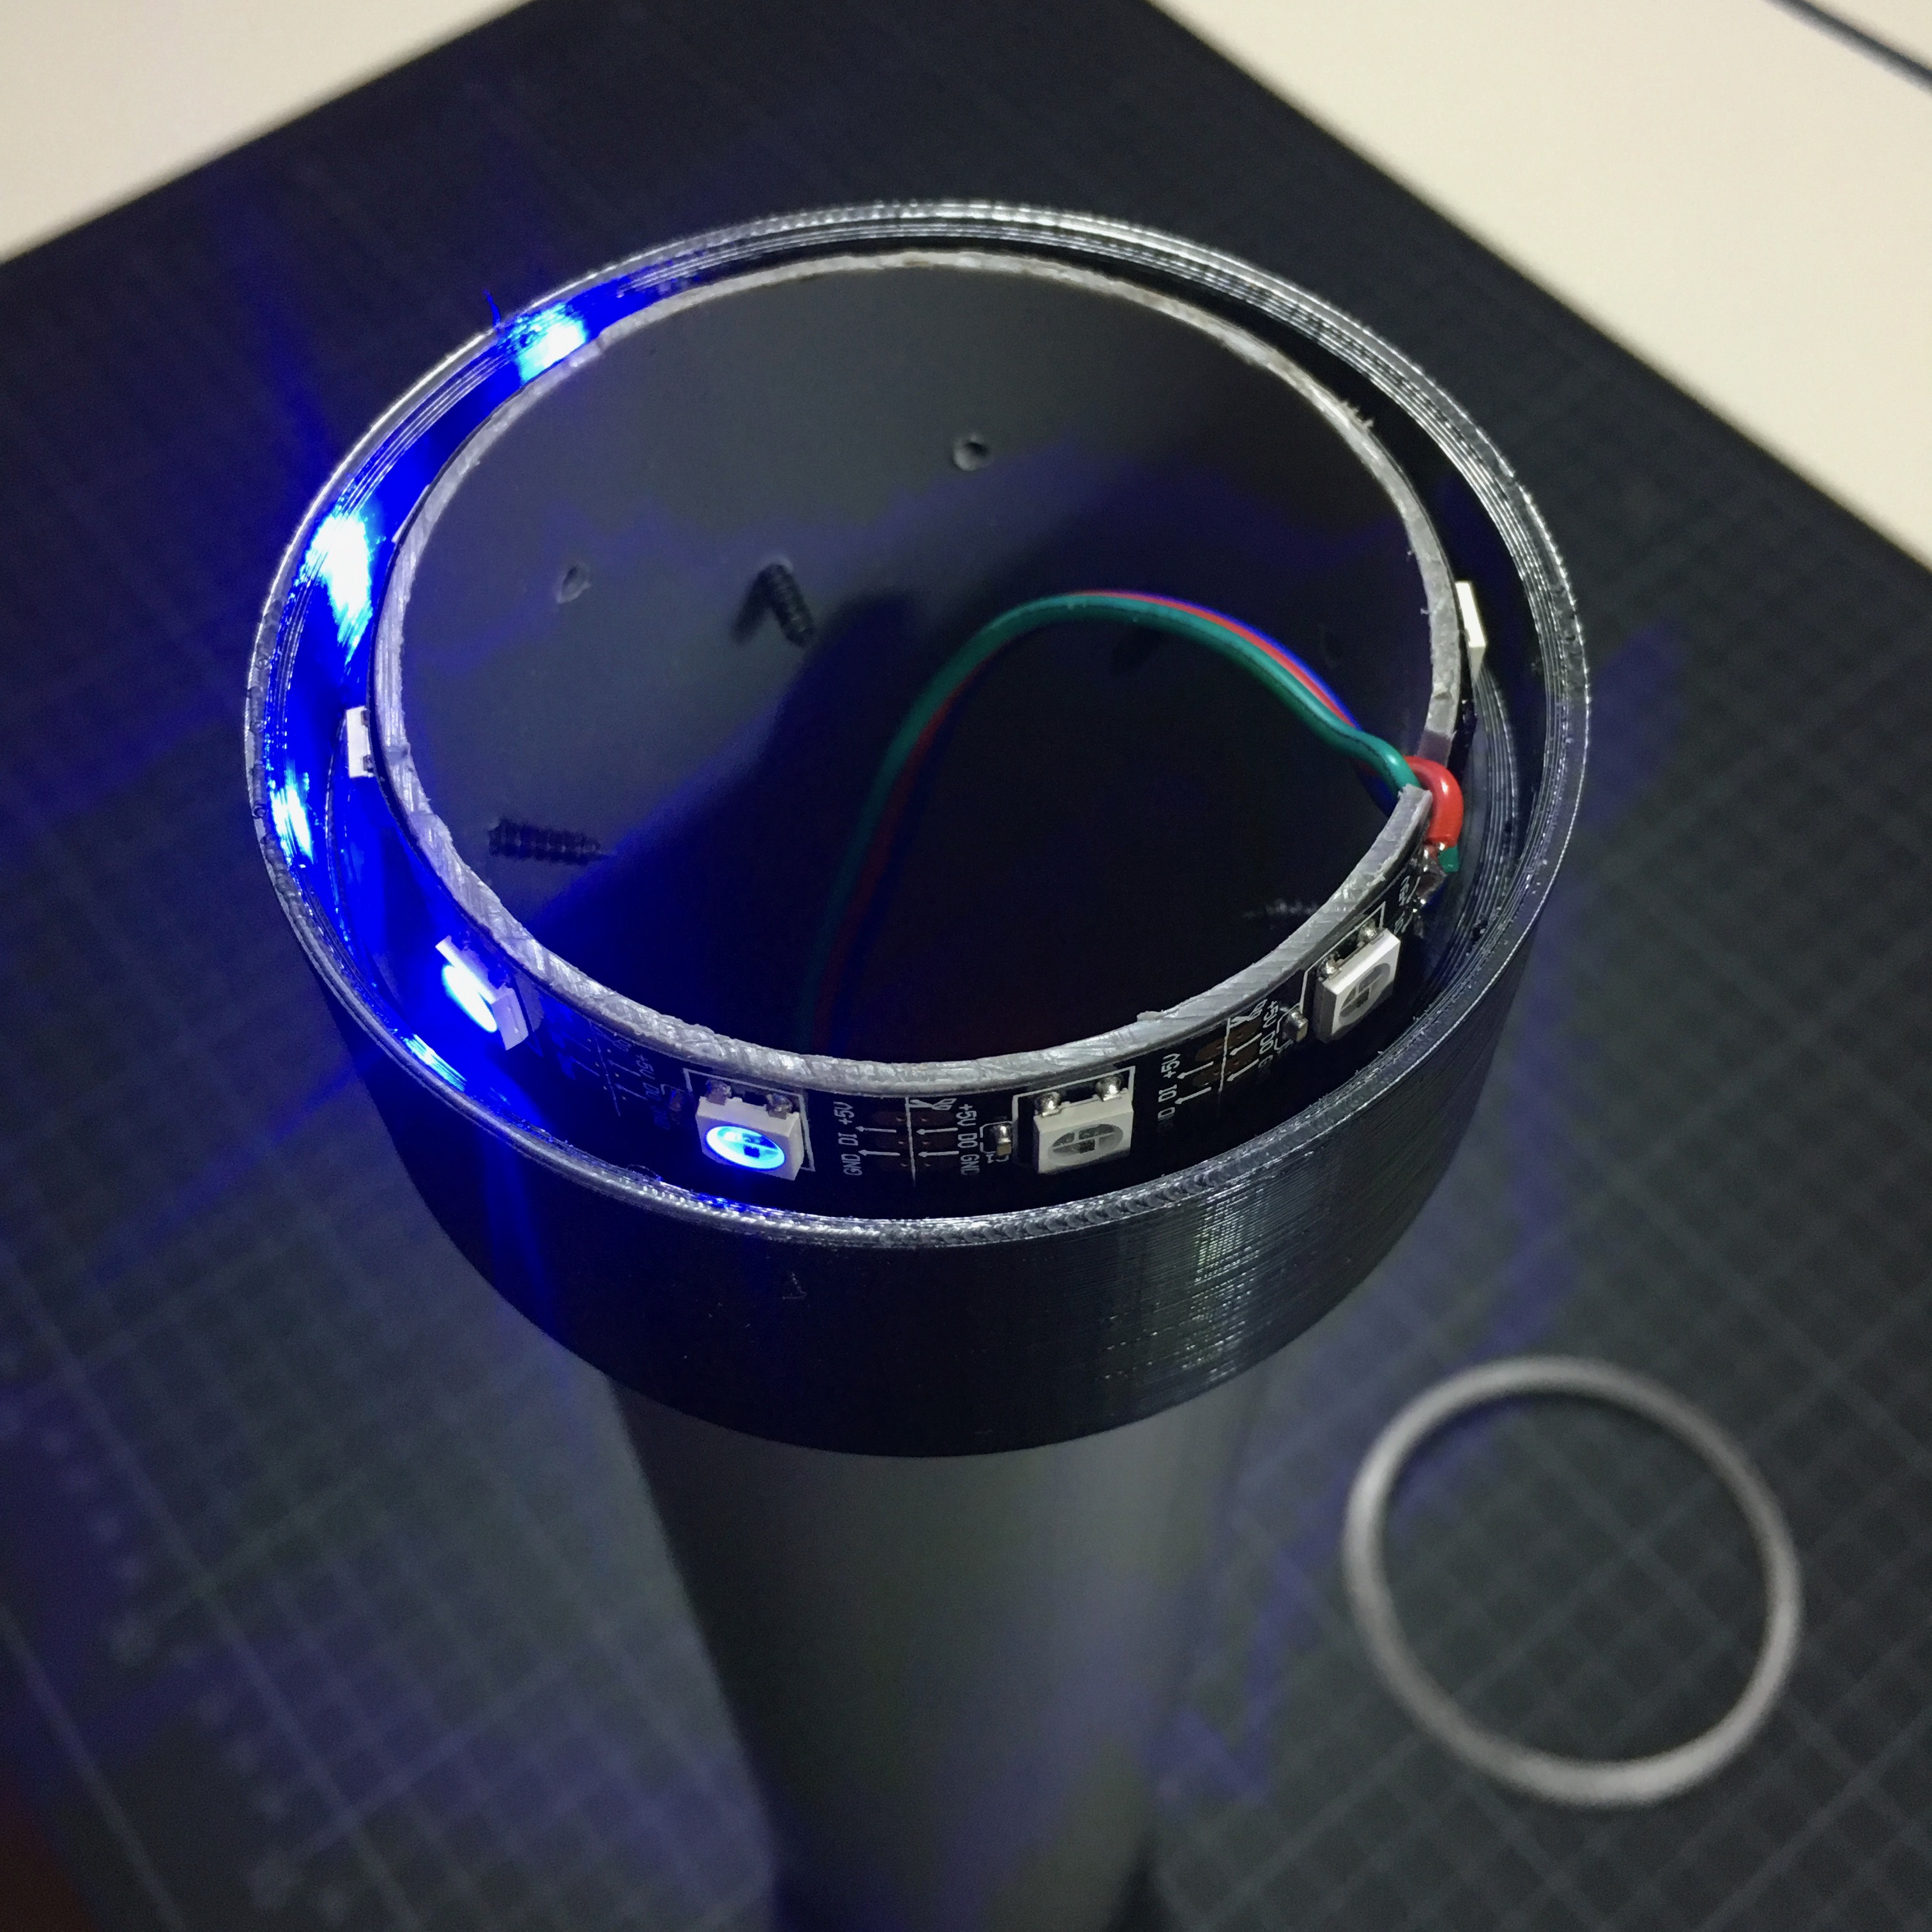
Illuminating the joint.
2 weeks ago I wrote about my new project: building my own DUM-E robot. And while I have a lot of idea’s for this project, I mainly spent my time waiting for the nessecery parts to arrive. So to ease the waiting, let’s work on making the passive side of the joint a little more sexy.
Robotic Arm:
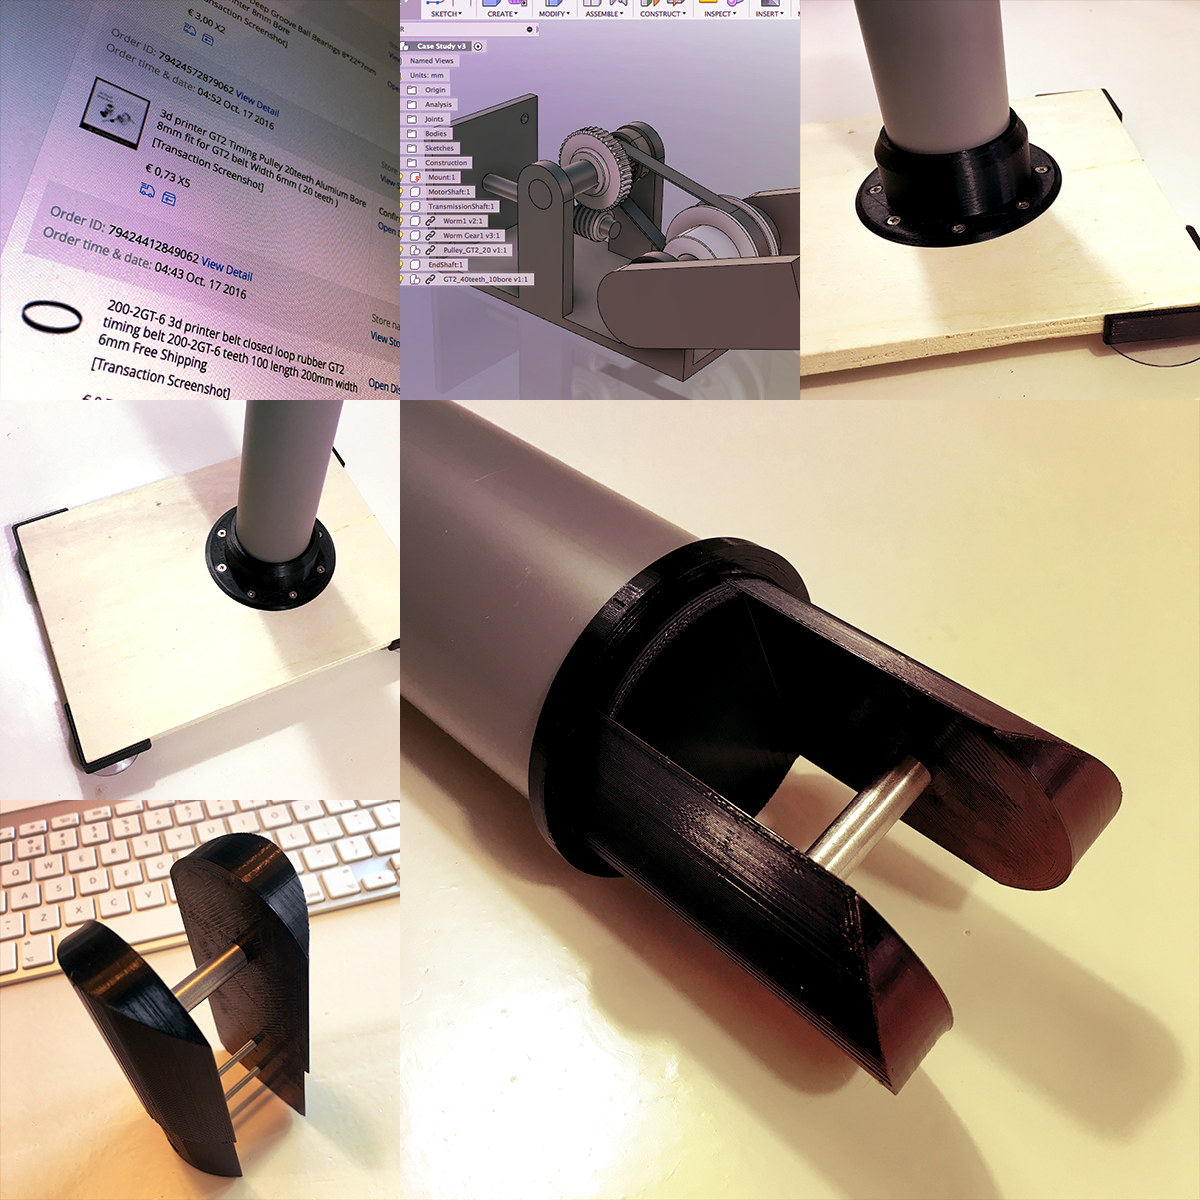
Building my own DUM-E Robot!
Let’s face it. Every maker wants to become the next Tony Stark. And even though my Power Suit looked fun, it wasn’t really capable of protecting the world against the bad guys. Let’s work on something a bit more doable …
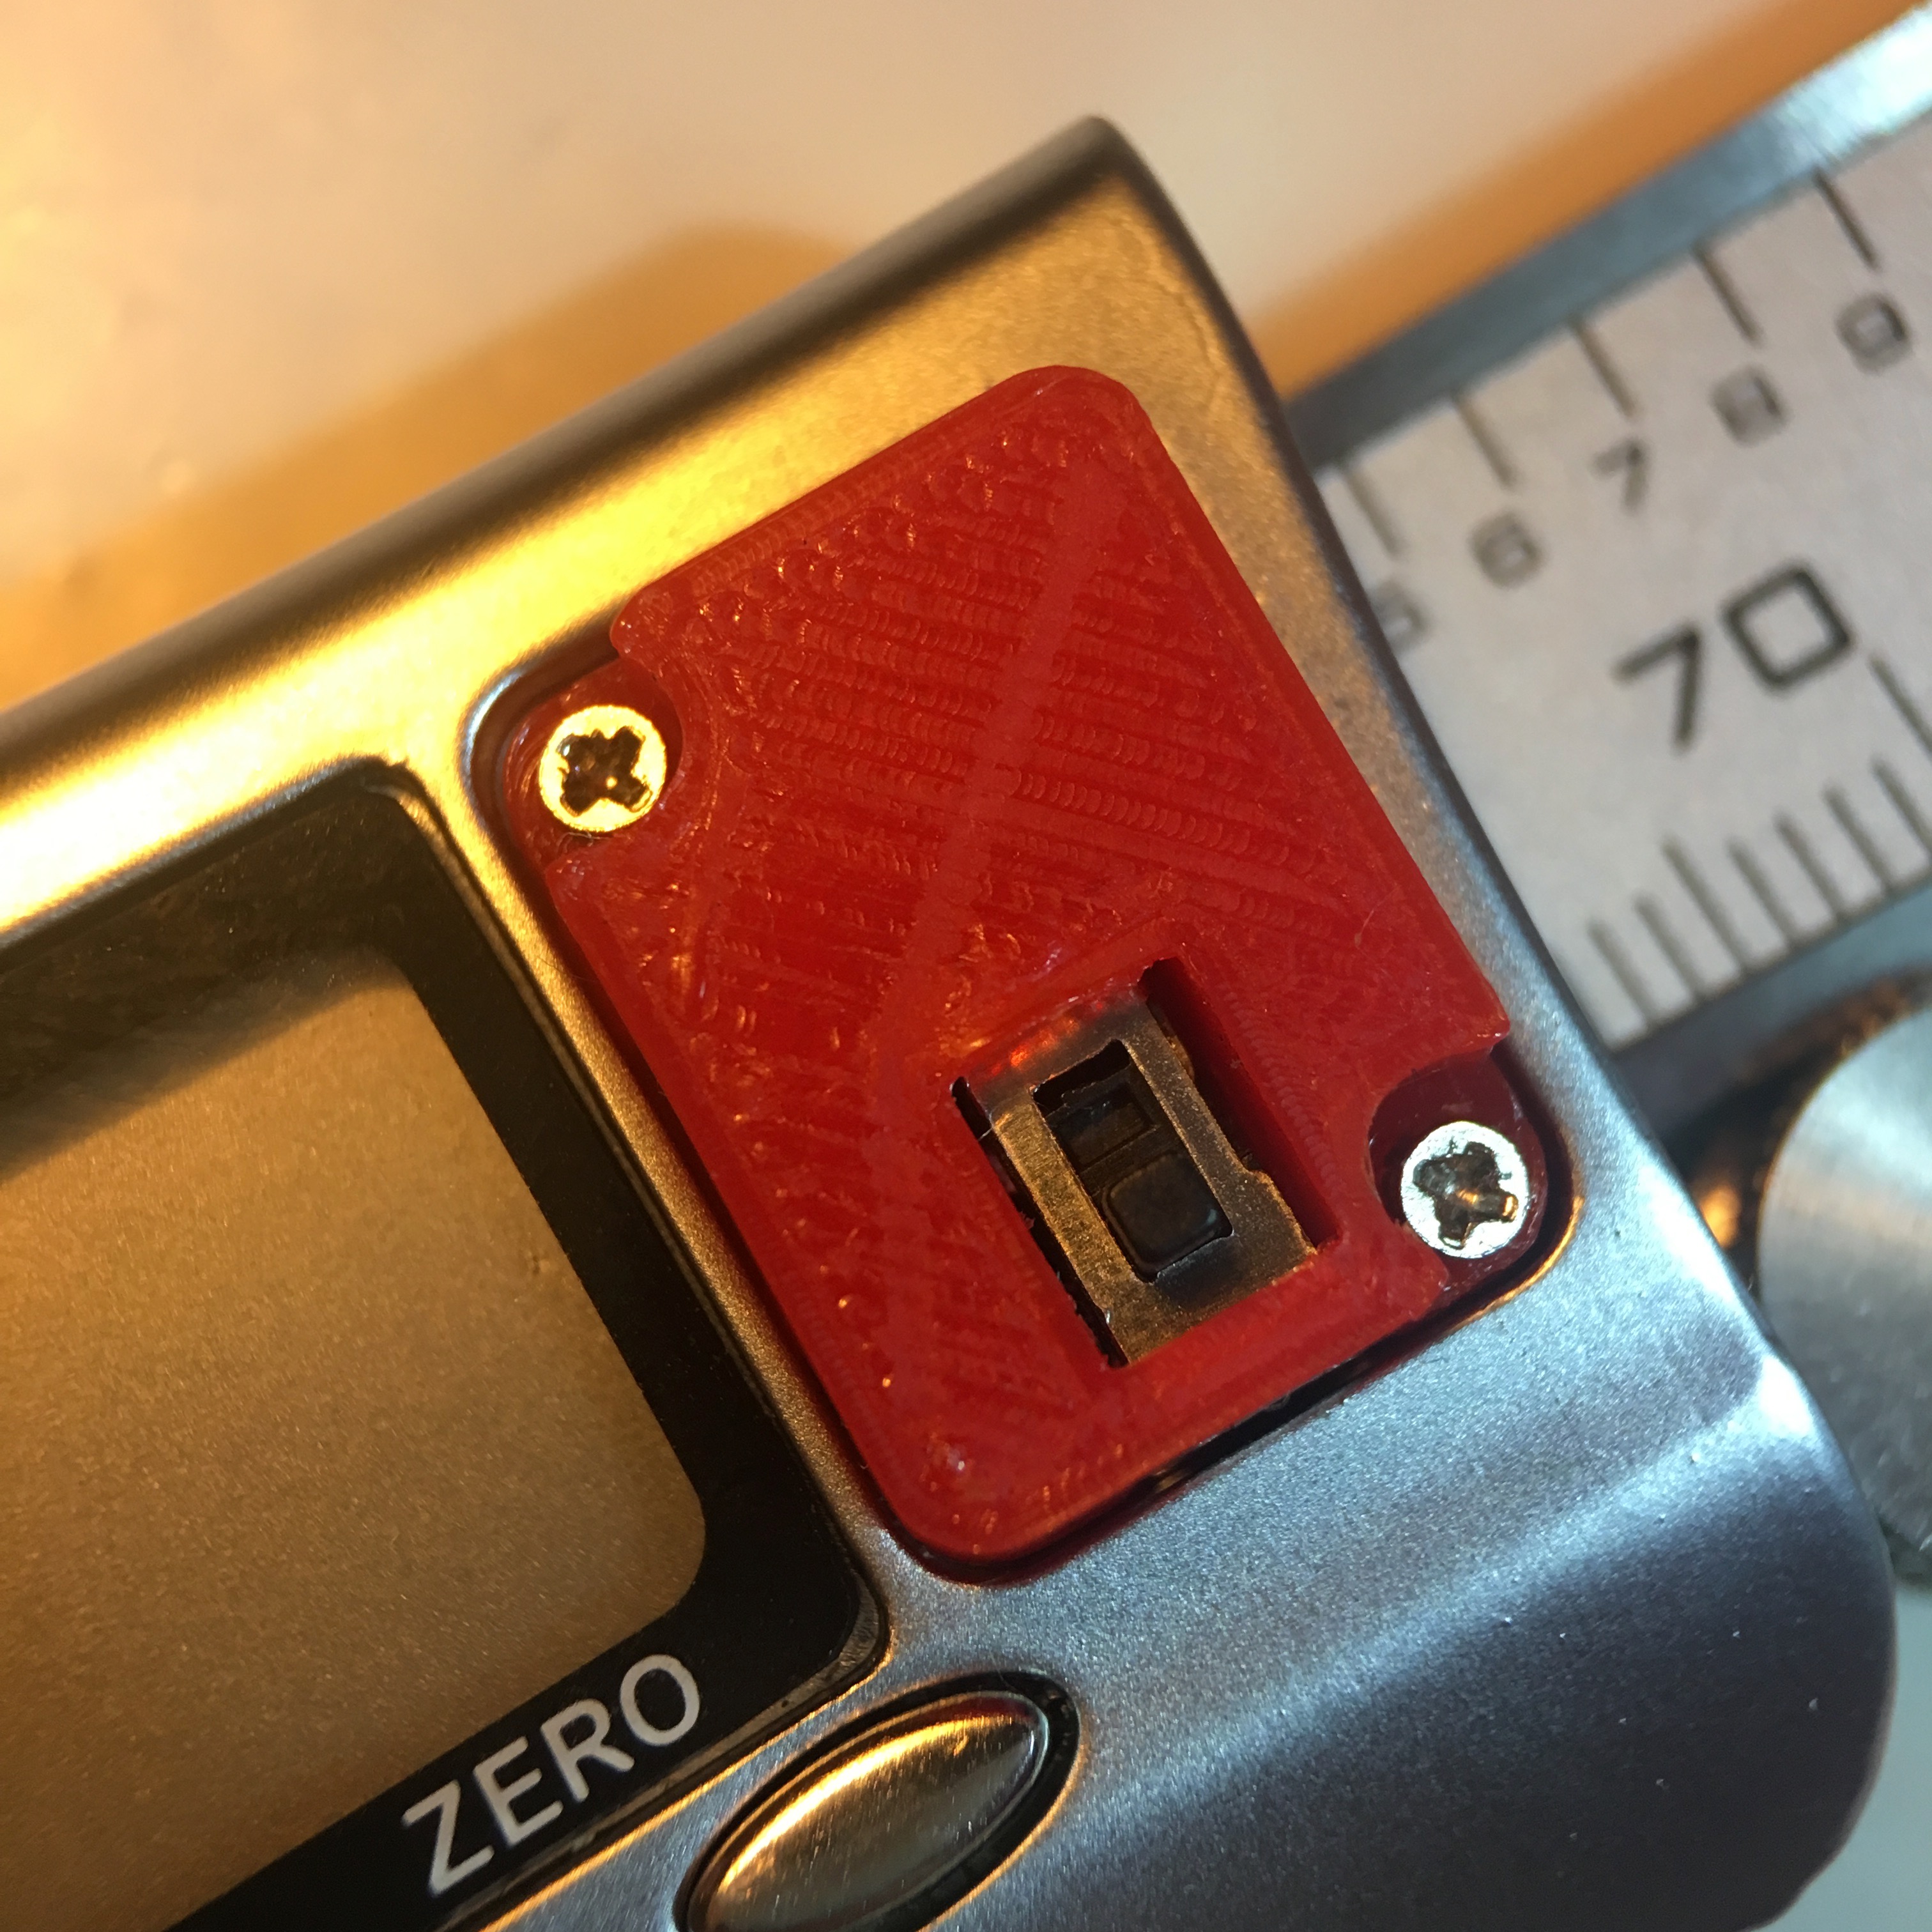
Fixing my Caliper
My caliper is one of my most beloved tools. If you’re into 3D-printing and 3D-design or any other type of engineering that requires accurate measurements, you know you can’t live without it. But unfortunately, mine is flawed. Time for some fixing.
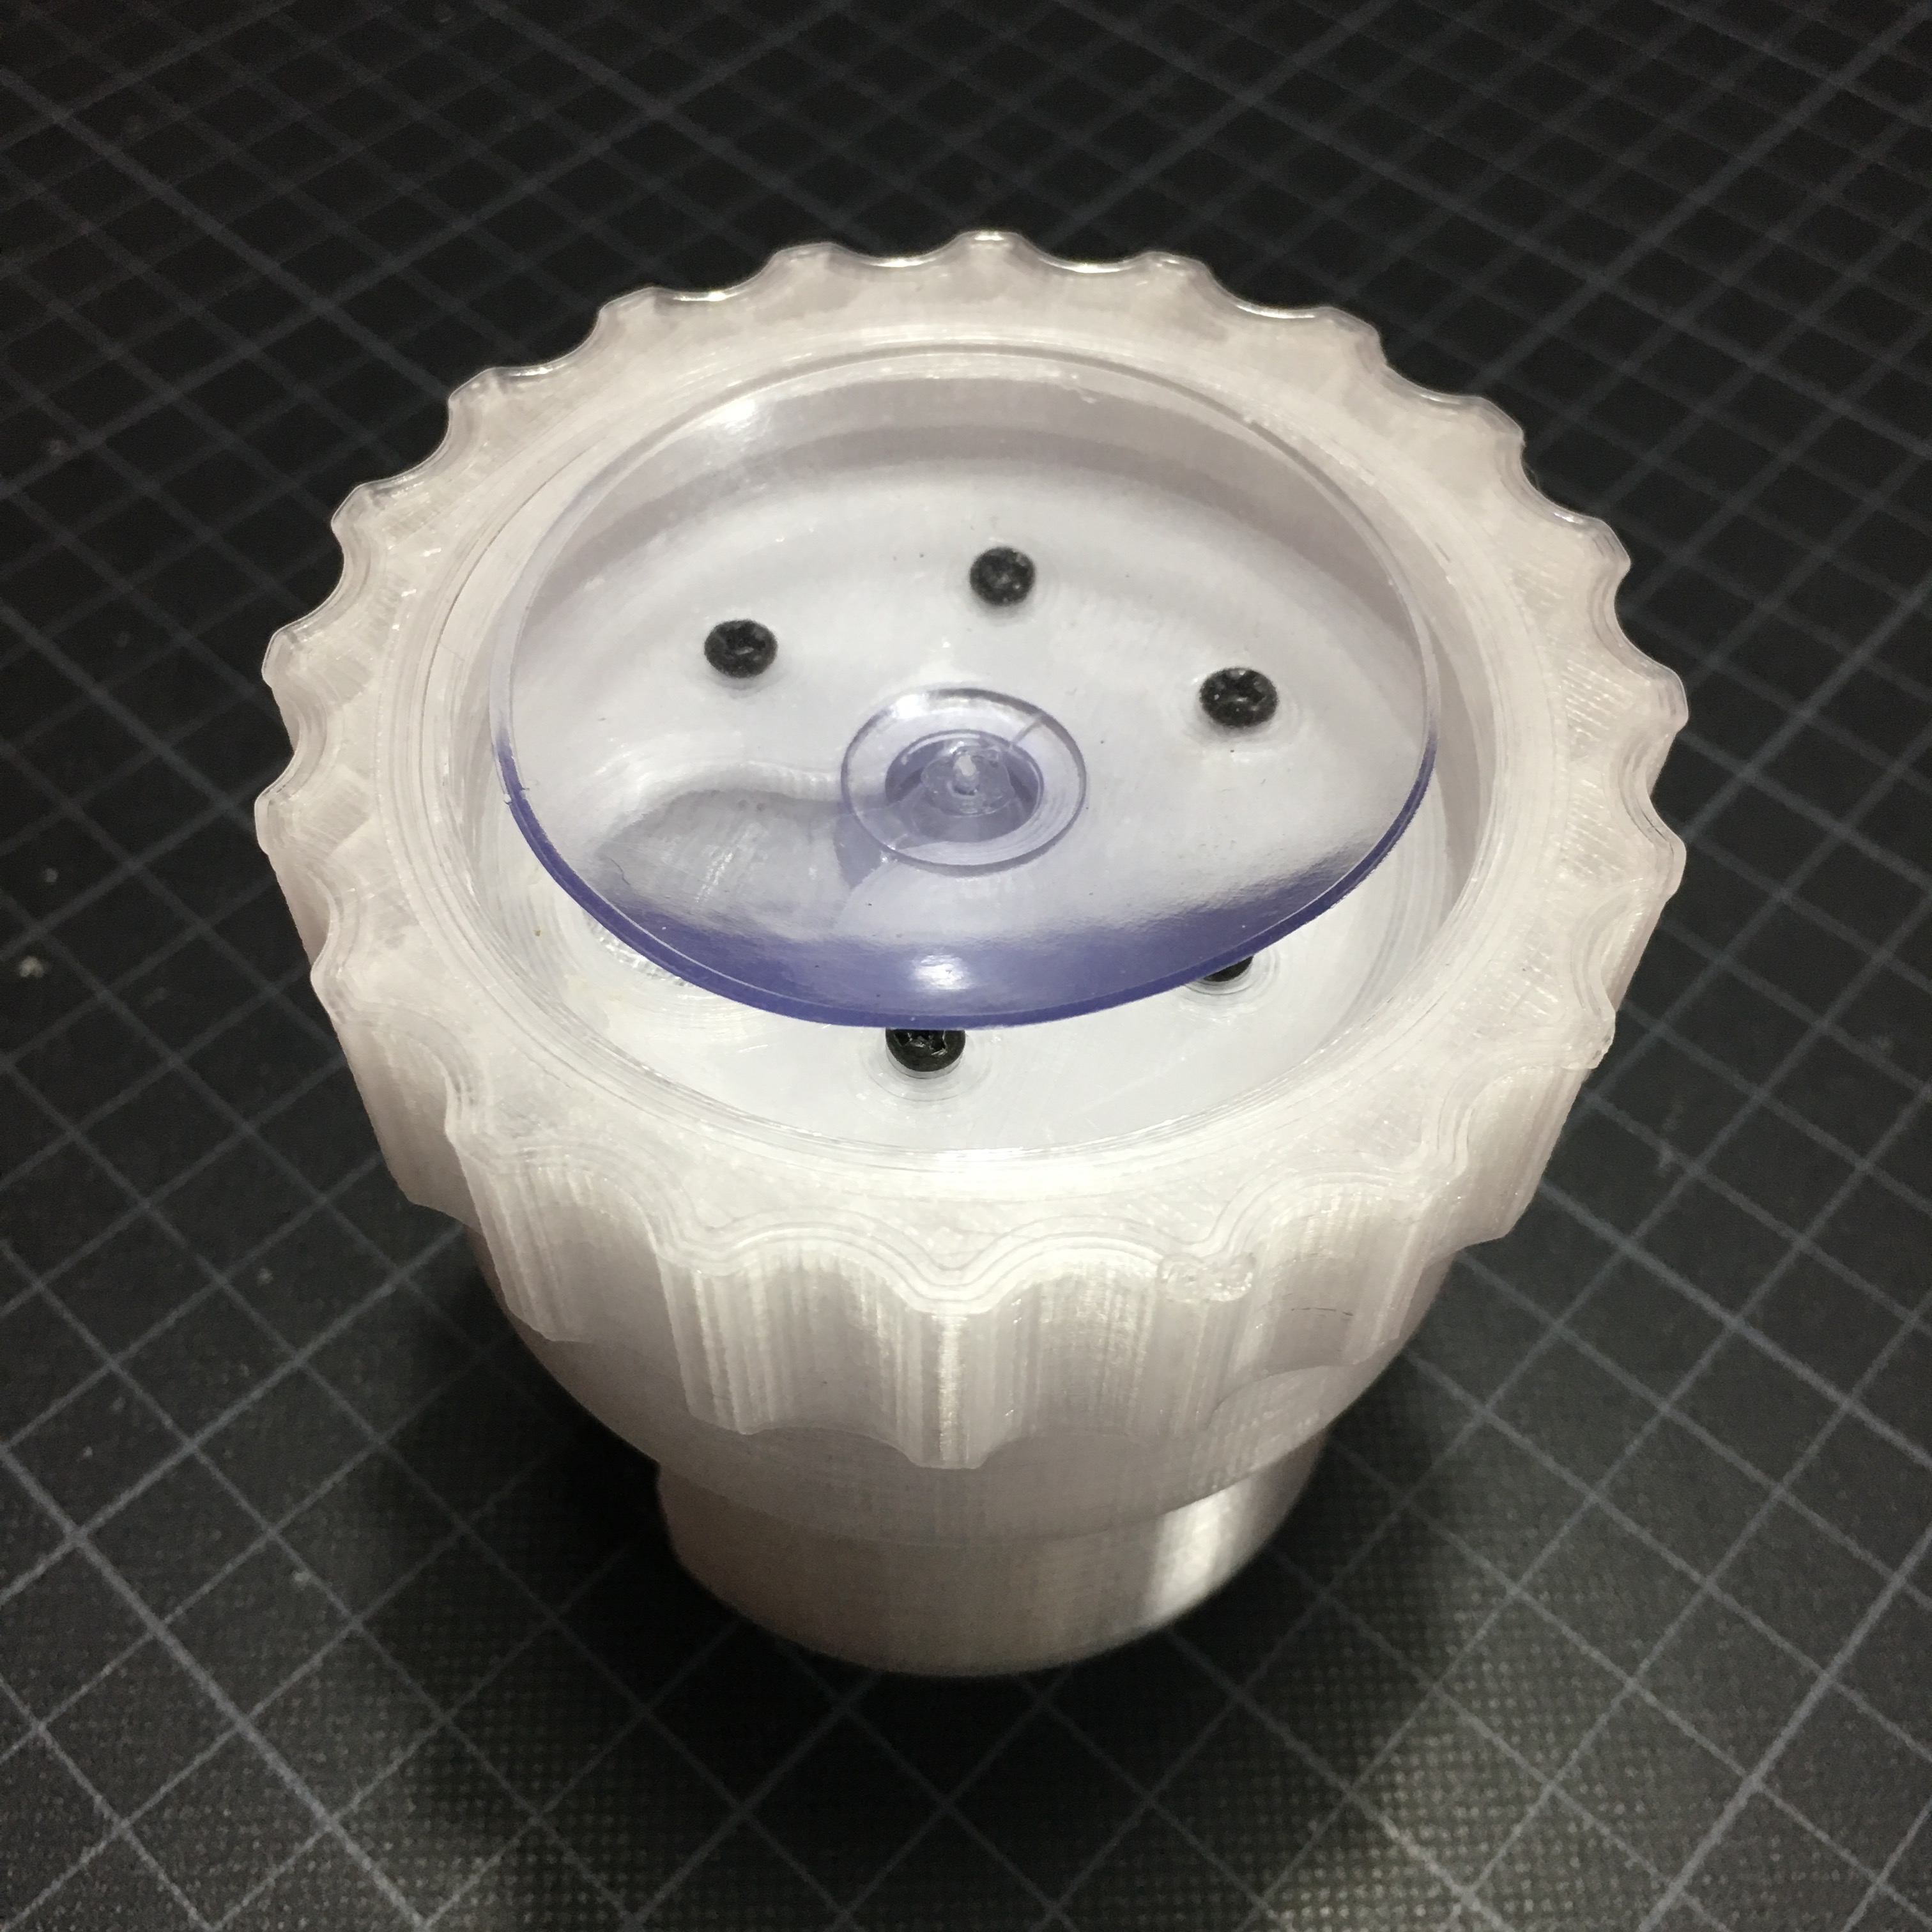
Baby Spa
After last weeks shower repair I really got bitten by the bug of 3D-printed bathroom improvements. This weekend I spent some time creating a baby-spa for my mini maker boy who loves to take a bath in the shower base.
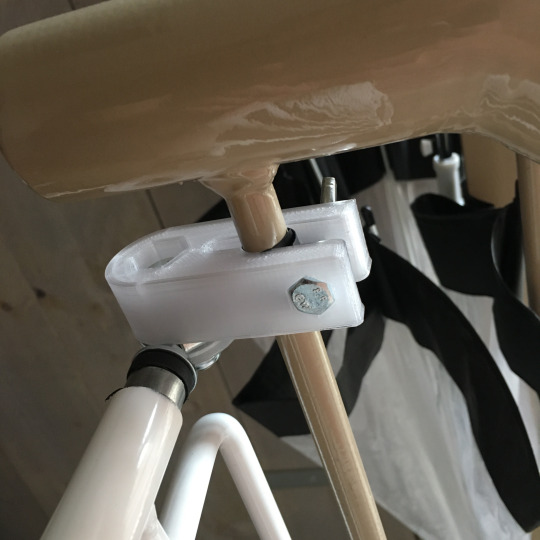
3D Stair-gate
One of the things I wasn’t expecting when my girlfriend was expecting our first child, was the amount of home improvement that was necessary protect our house from our small crawling wrecking ball. This week, it was time to protect our staircase.

Behind my computer ...
Most of my blogs are about my physical projects, my tools like my 3d printer, my Rigol power supply and scope and my beloved soldering iron. But, truth to be told, most of my time is spent behind my computer. Today I’m going to give you a rundown of tools and ingredients I use the most when working on my Mac.
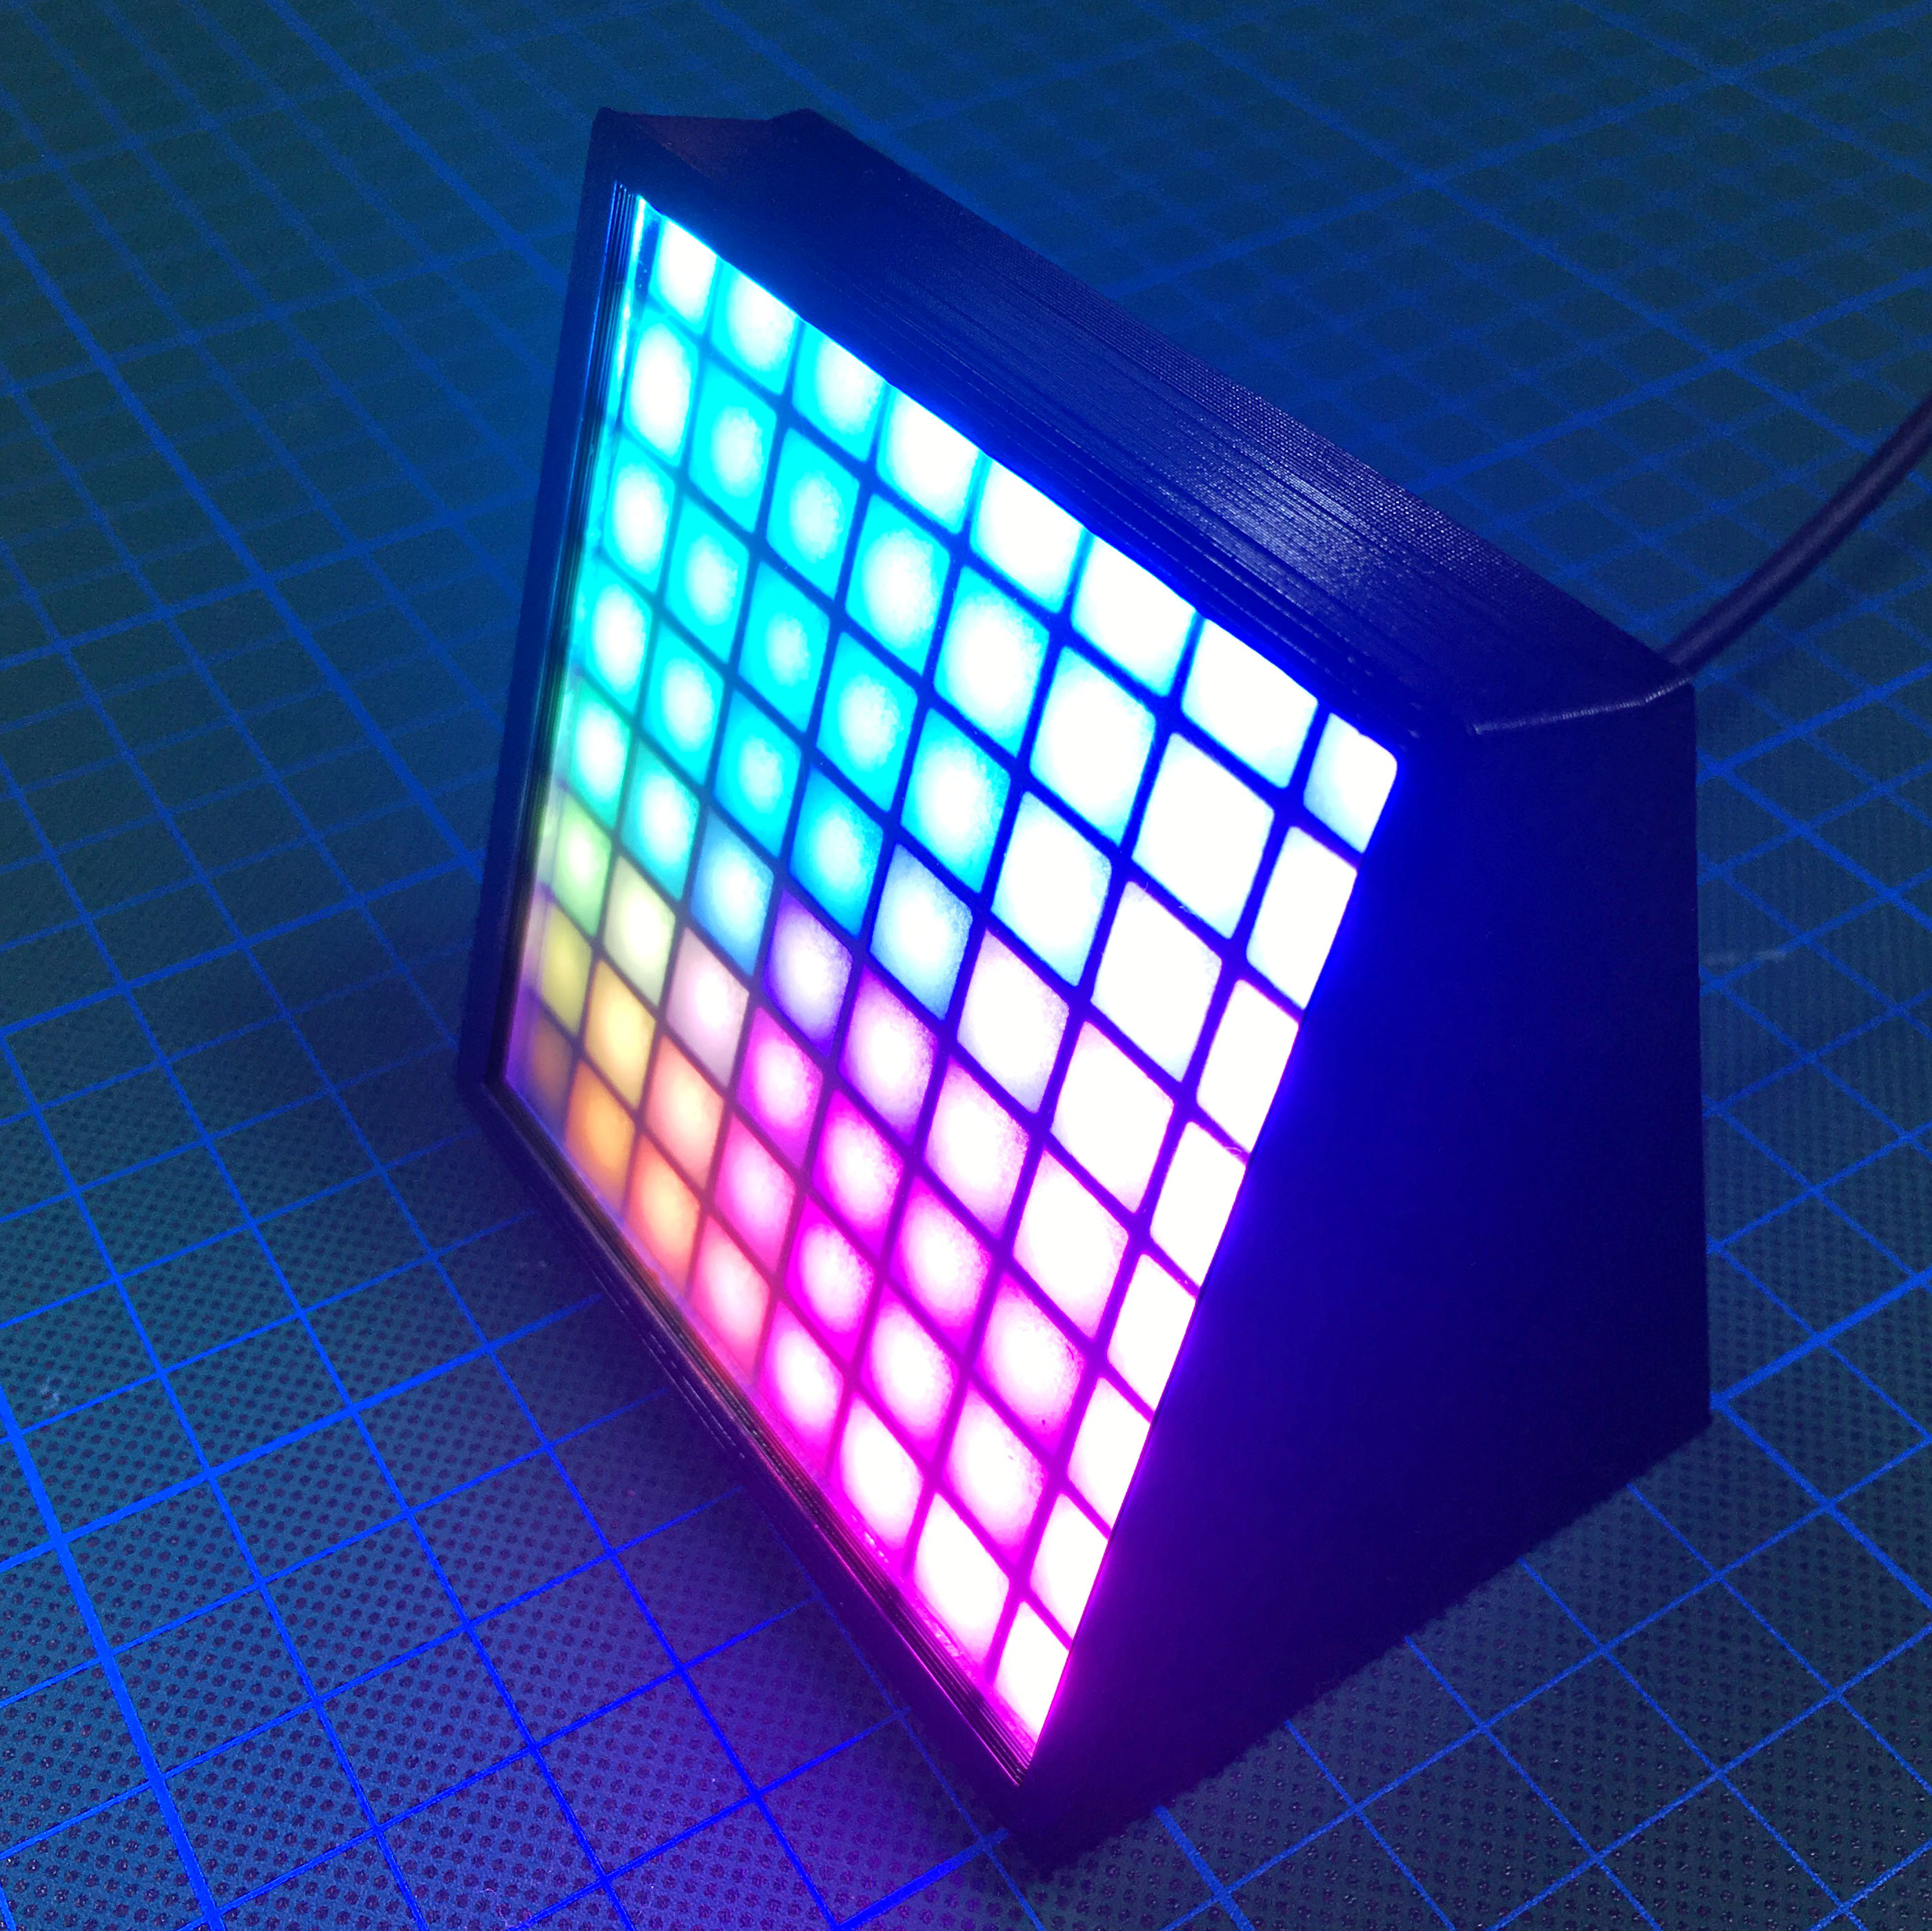
The NeoDisplay
As most of the Arduino tinkering makers, I have some NeoPixels LEDs in my drawers. Especially the 8x8 NeoMatrix is a beautiful piece of illumination. But till now, I didn’t have any good use for it yet. Time to make it a bit more useful!
3D-parenting
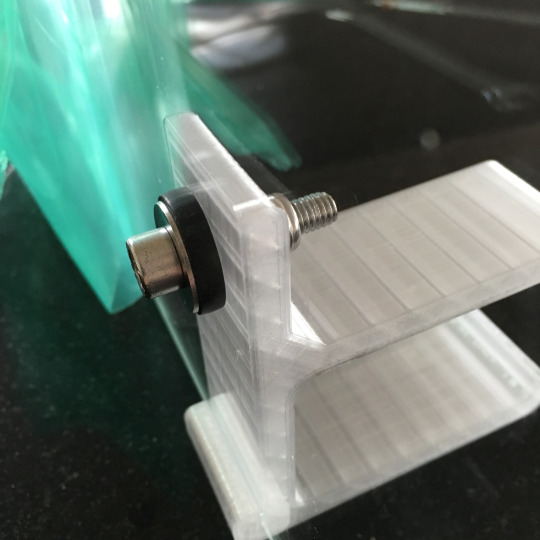
It’s June! Which means two things: it’s getting hotter each day. And my son is 9 months old. Together these facts are a good reason for a nice 3D printing project.
Automatic Curtains:
Designing a PCB Mount in Fusion 360 [Video]
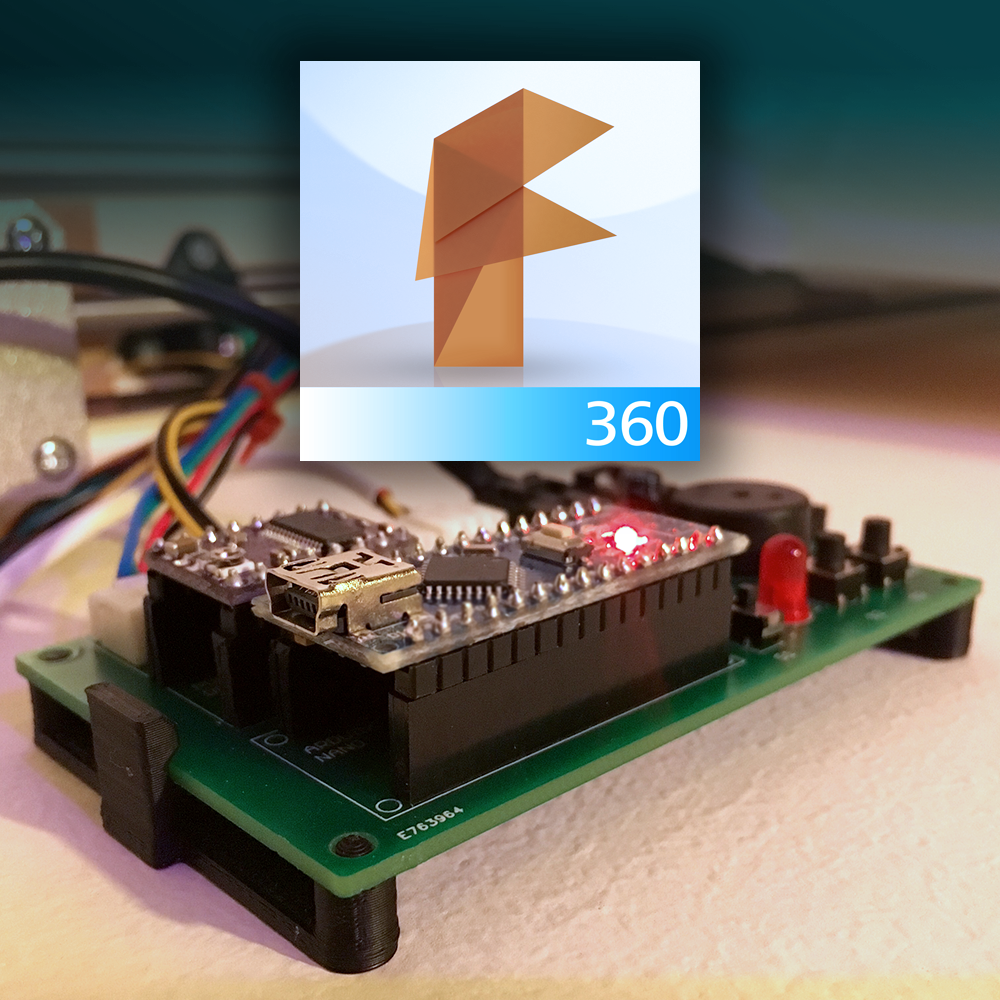
With the Automatic Curtain Motor Controller ready, it’s time to mount it below the motor unit. Since I want it to be easily removable for maintenance, I used Autodesk Fusion 360 to quickly draw a 3D printable PCB mount.
Automatic Curtains:
One Year of Prototyping
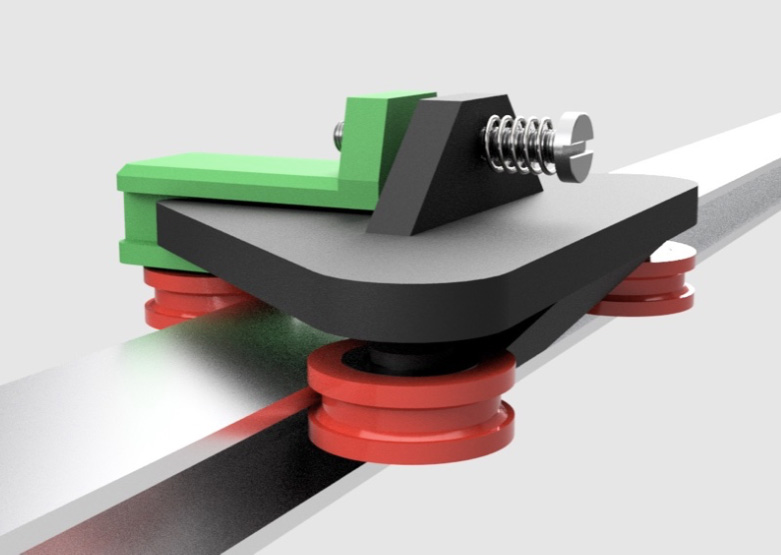
Exactly one year ago I started working on a new project: a smartphone controlled automated curtain system. Of course, this isn’t something groundbreaking or new. The reason I picked it up is because I wanted to experiment with the mechanics, aside from all the electronics and software.To make it a bit more challenging, I set one special requirement …