In the past few weeks, life got a little bit in the way of my maker-hobby. To make sure I got my monthly doses of tinkering, I decided to take on a quick and fun one hour project this weekend: solving a hot and sticky situation.
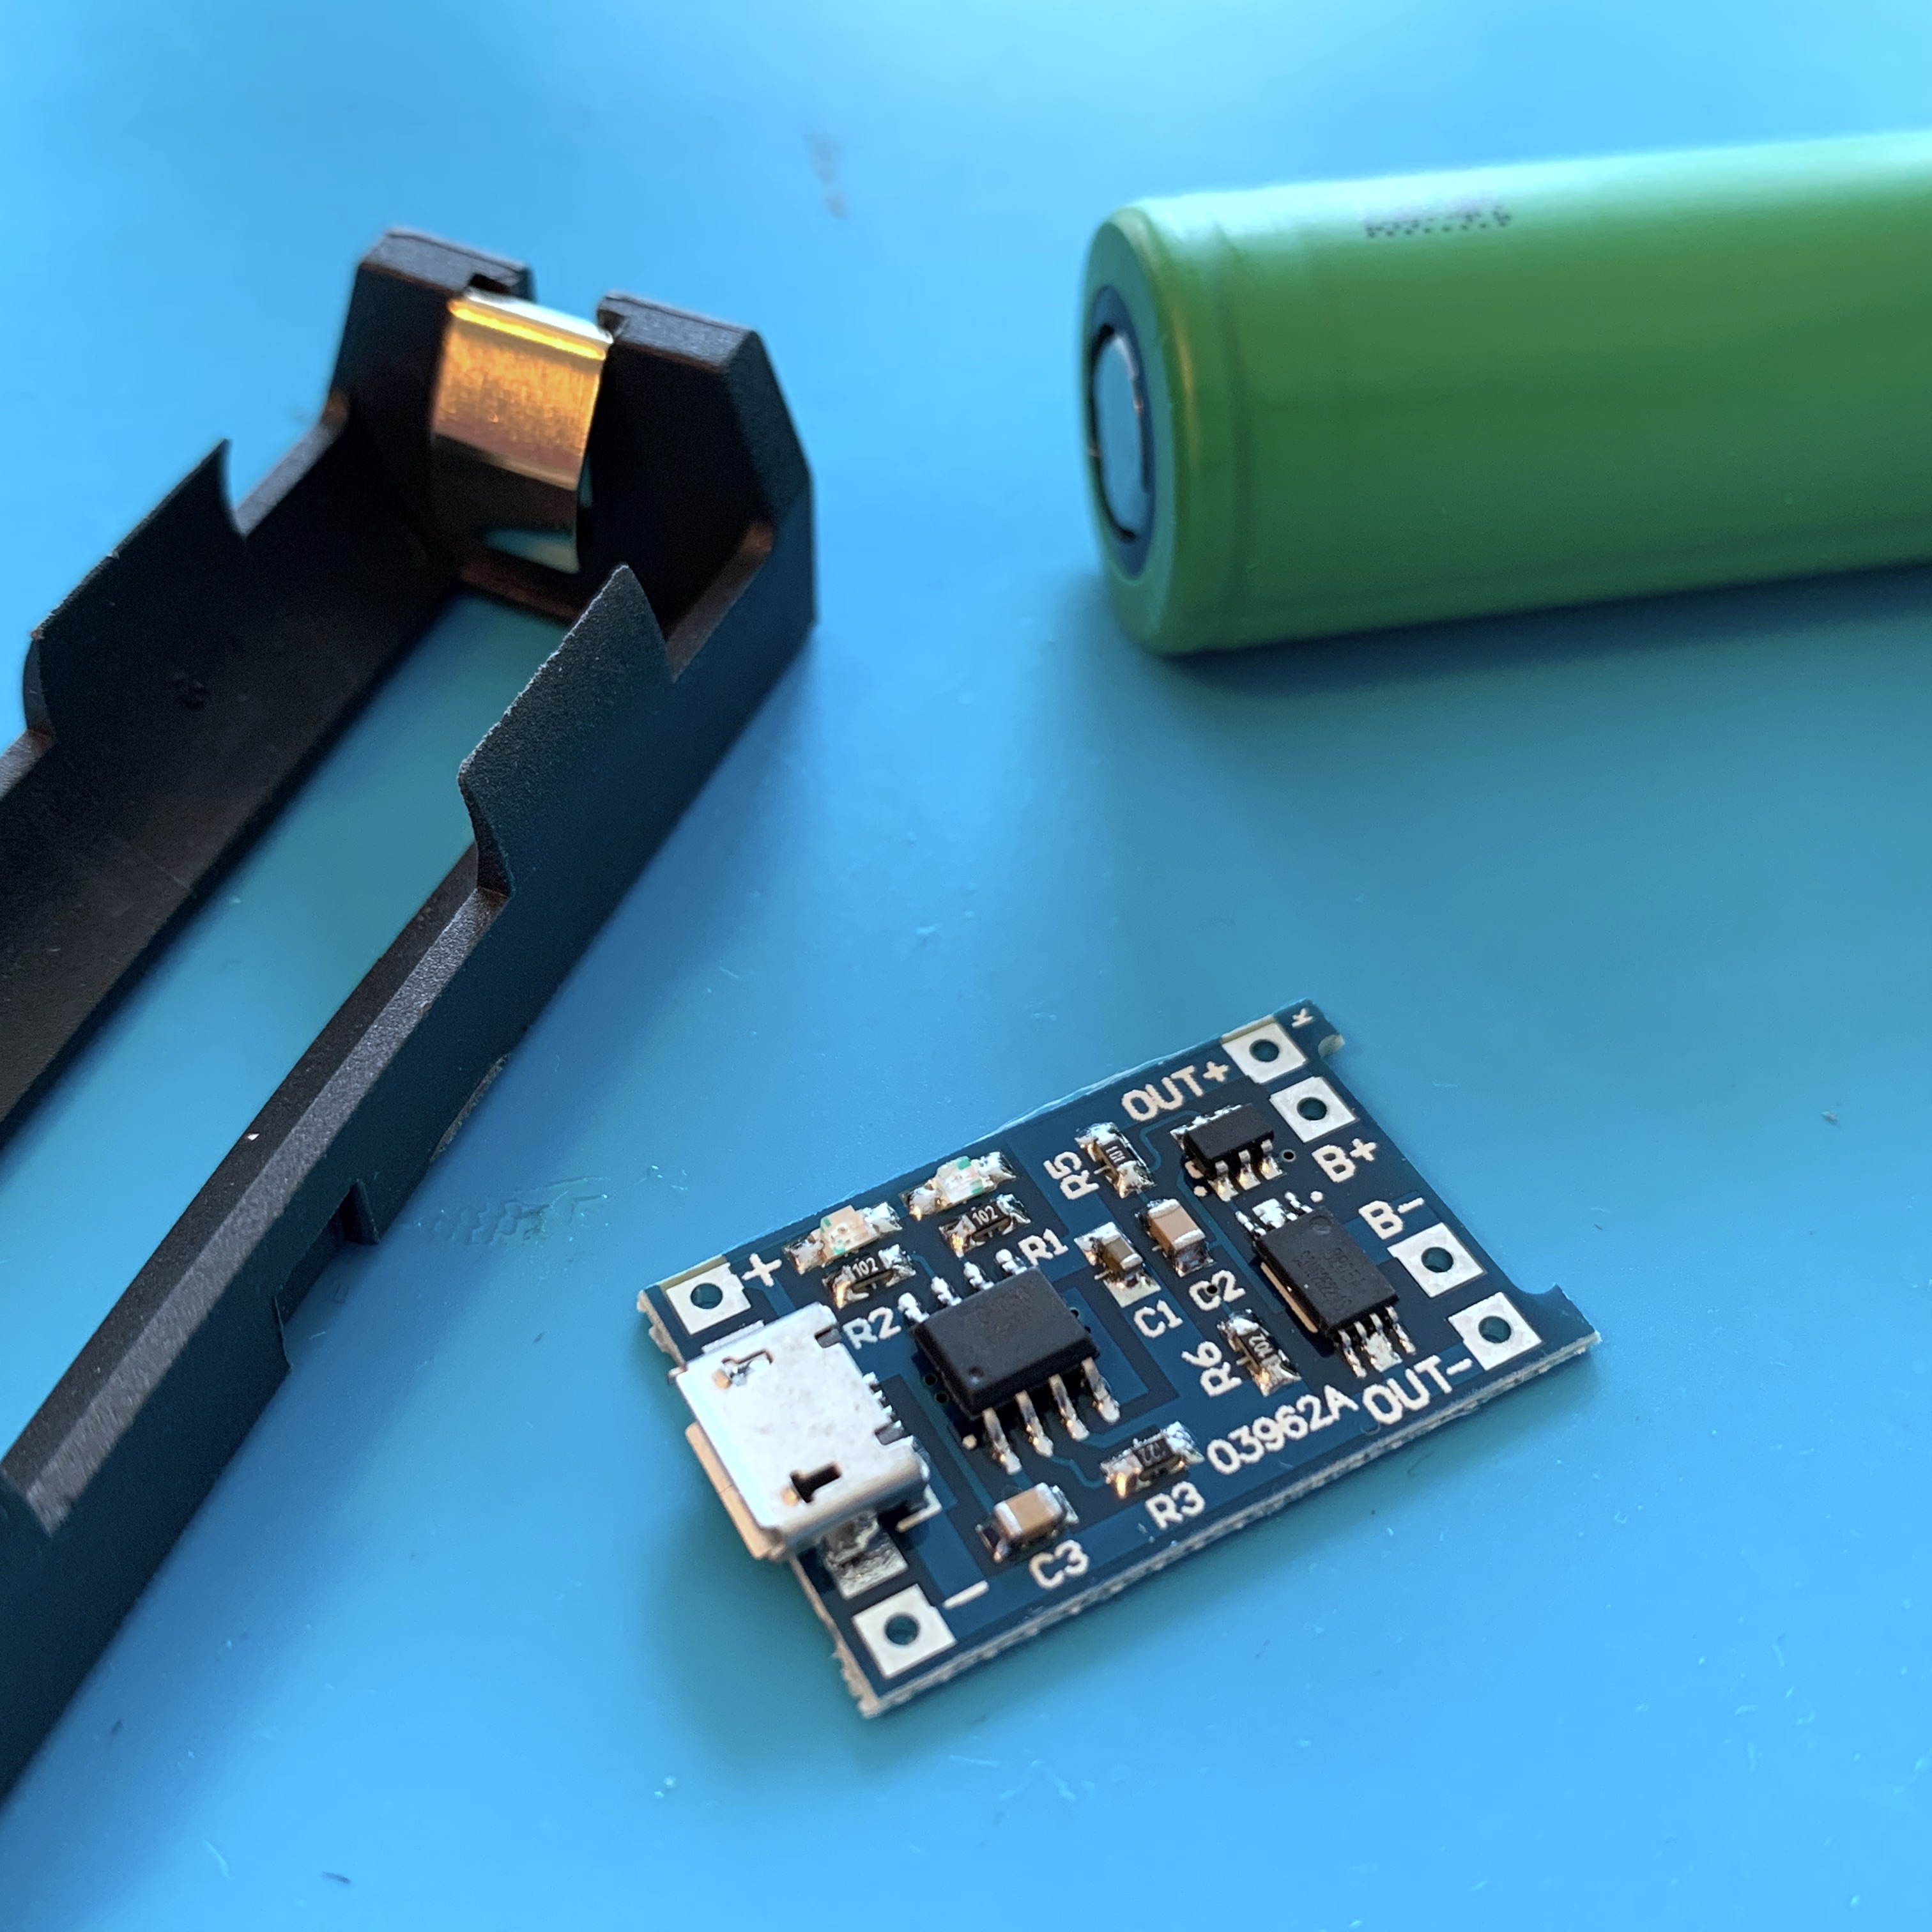
A few weeks ago I quickly fabricated a simple 18650 charger by soldering a TP4056 charging module to a Keystone battery holder. I used my hot glue gun to keep everything together.
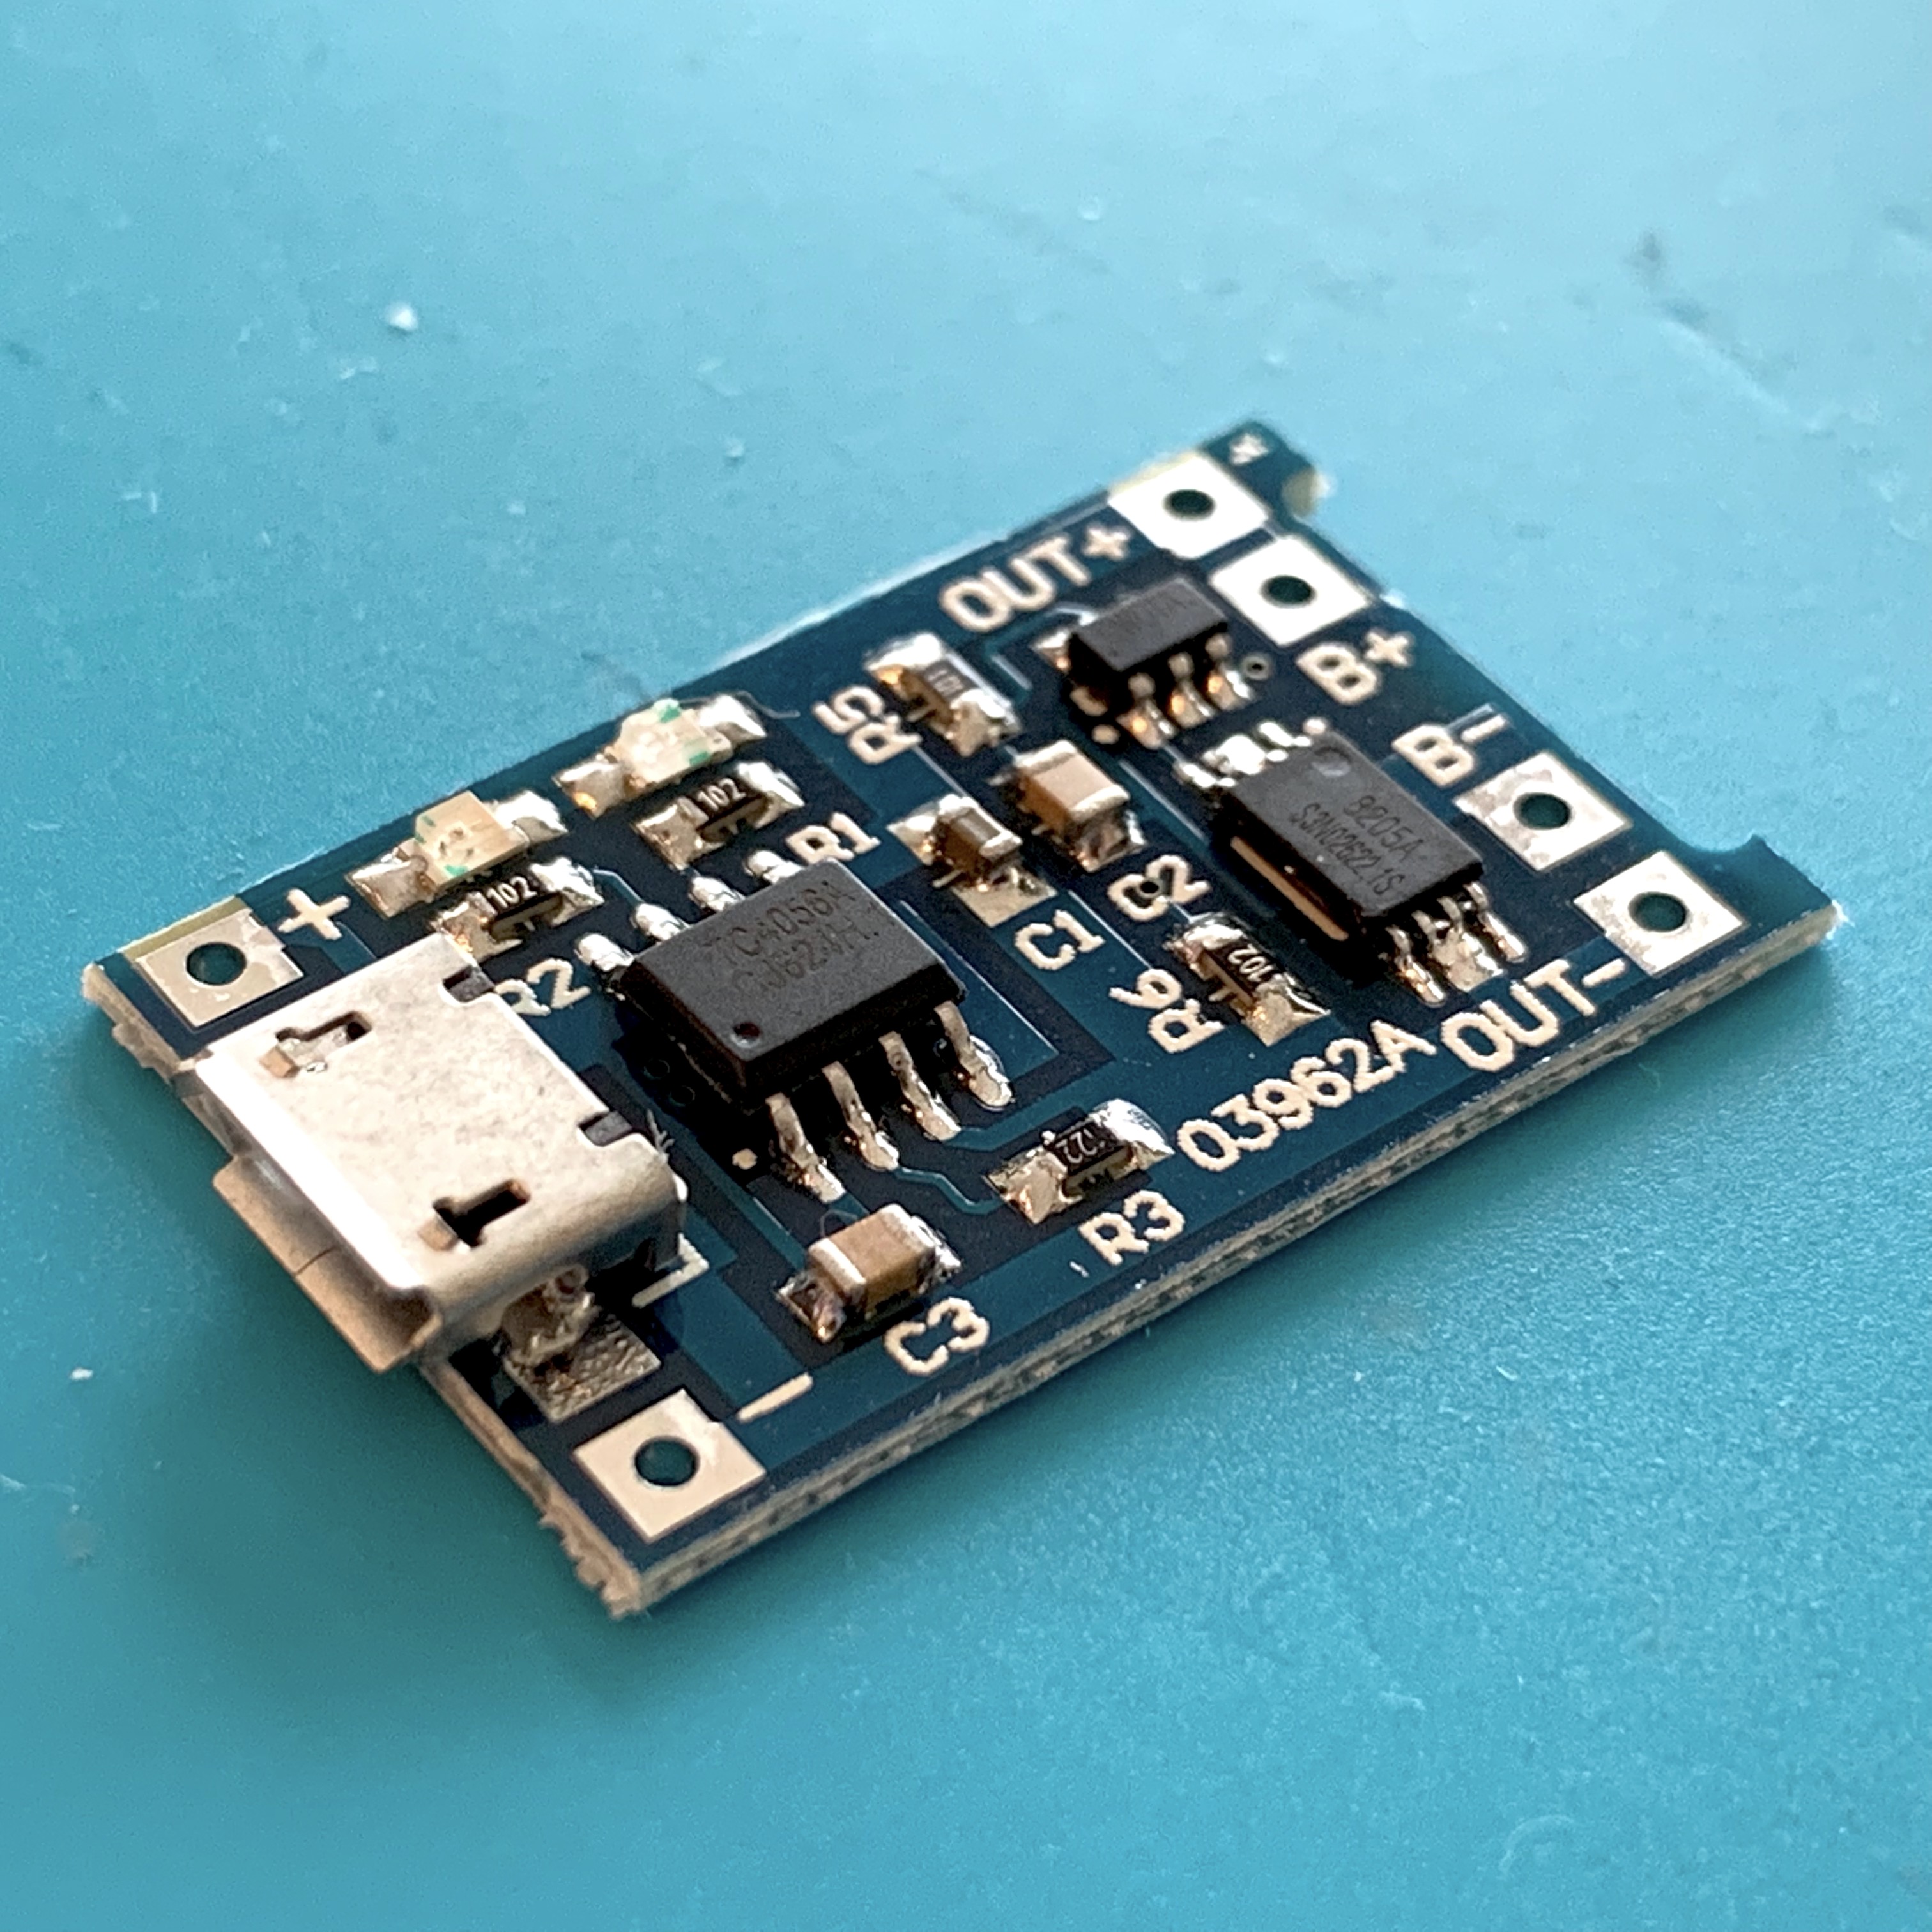
Not my brightest moment: the TP4056 charger module gets VERY hot, resulting in melting glue. Ending up with a desk full of glue after the 18650 battery was charged. I facepalmed so hard, I forgot to take a picture of the hot and sticky situation.
3D-Printing to the rescue!
Owning the 3D printer, the only obvious solution is to print a mount for the 18650 Keystone holder and the TP4056 module. If you search Thingiverse, you’ll find a lot of these mounts, but of course there is no fun in downloading a ready made model.
Let’s design my own version!
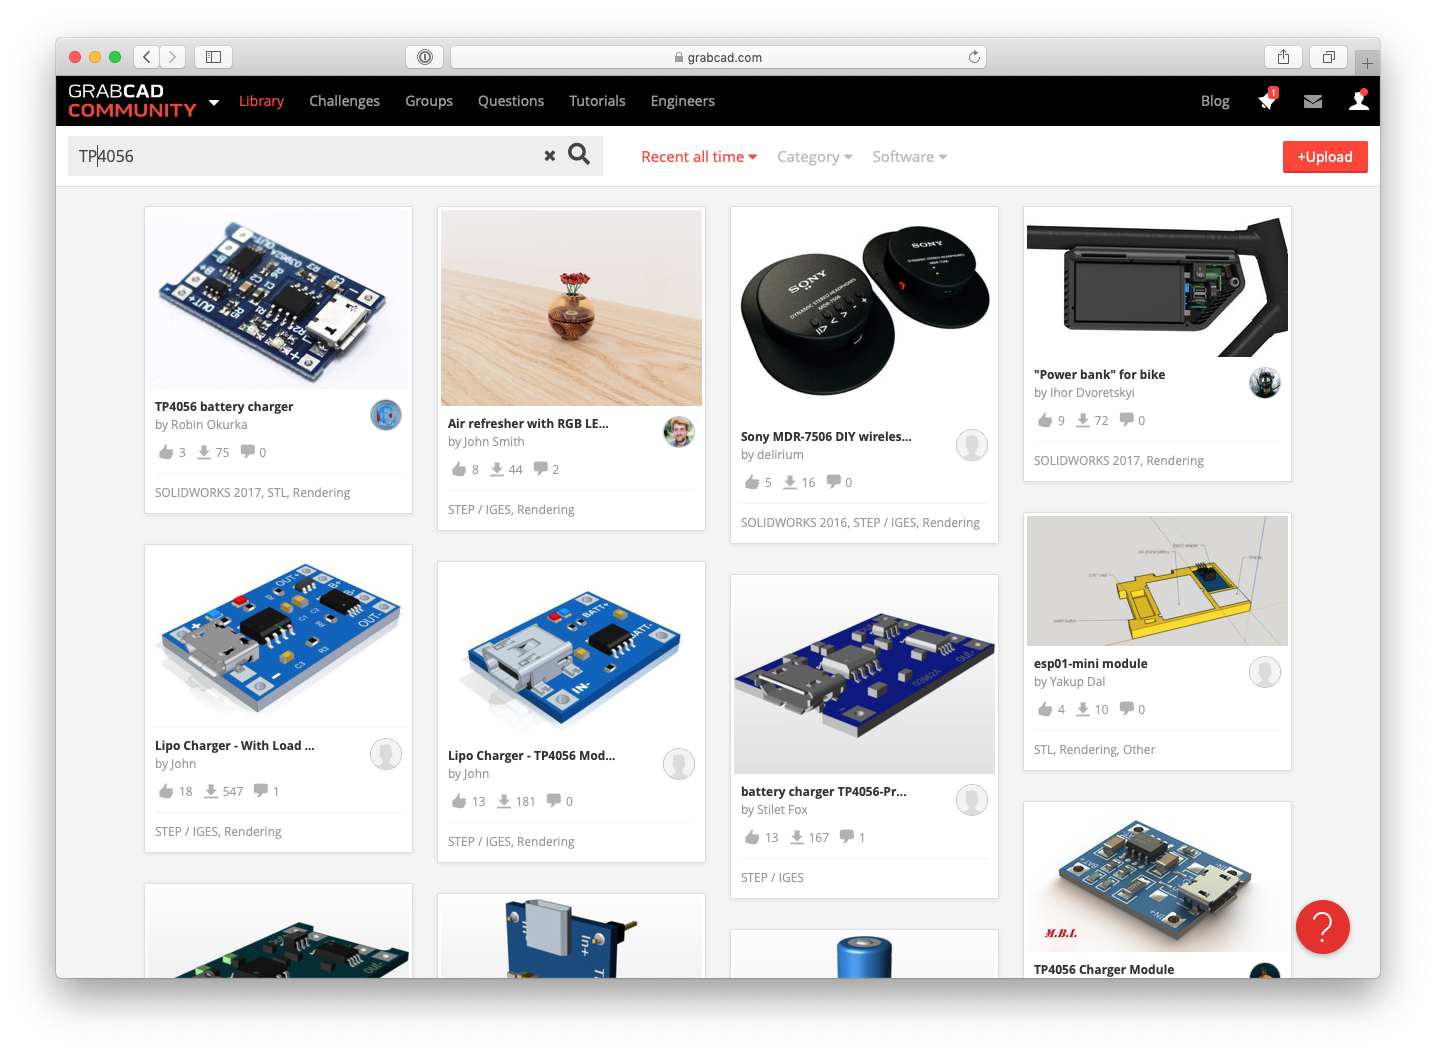
To make things easy, I’ve downloaded a model of the Keystone holder as well as the TP4056 module from GrabCad.
After importing the step files into Fusion 360, I place the models as desired, allowing me to design a holder around them.
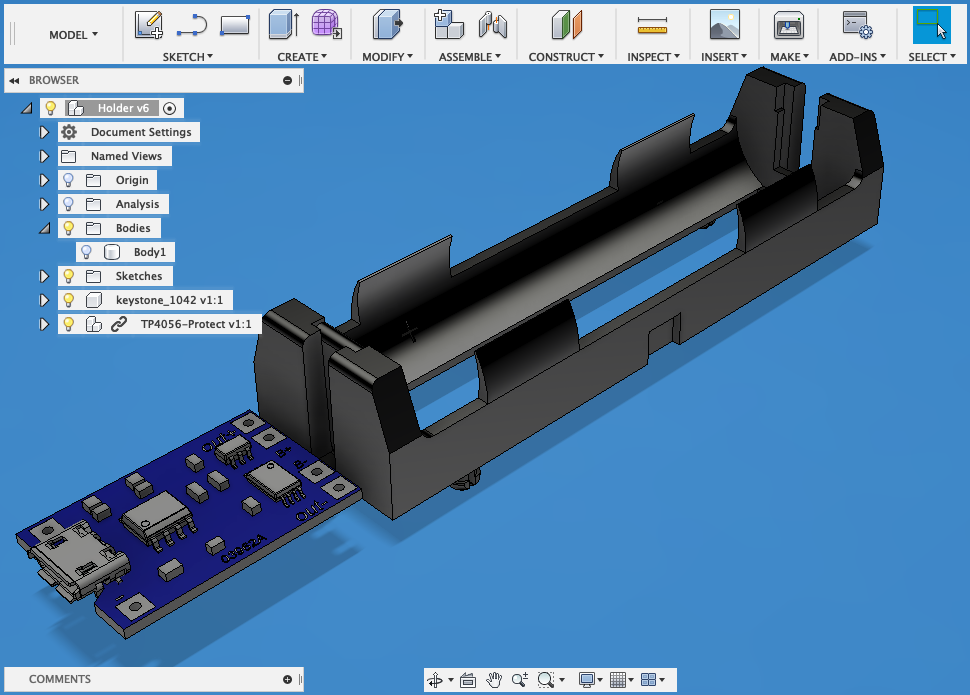
With a few sketches and extrusions, the holder begins to take shape.
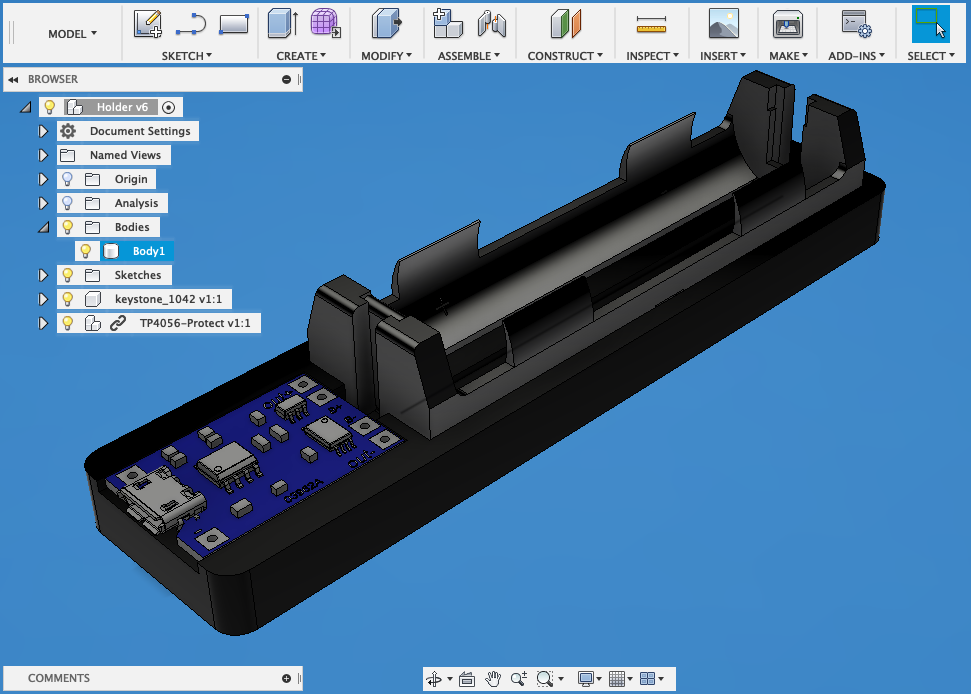
After adding some mounting holes and and slot for the wires. The design is ready to be printed.

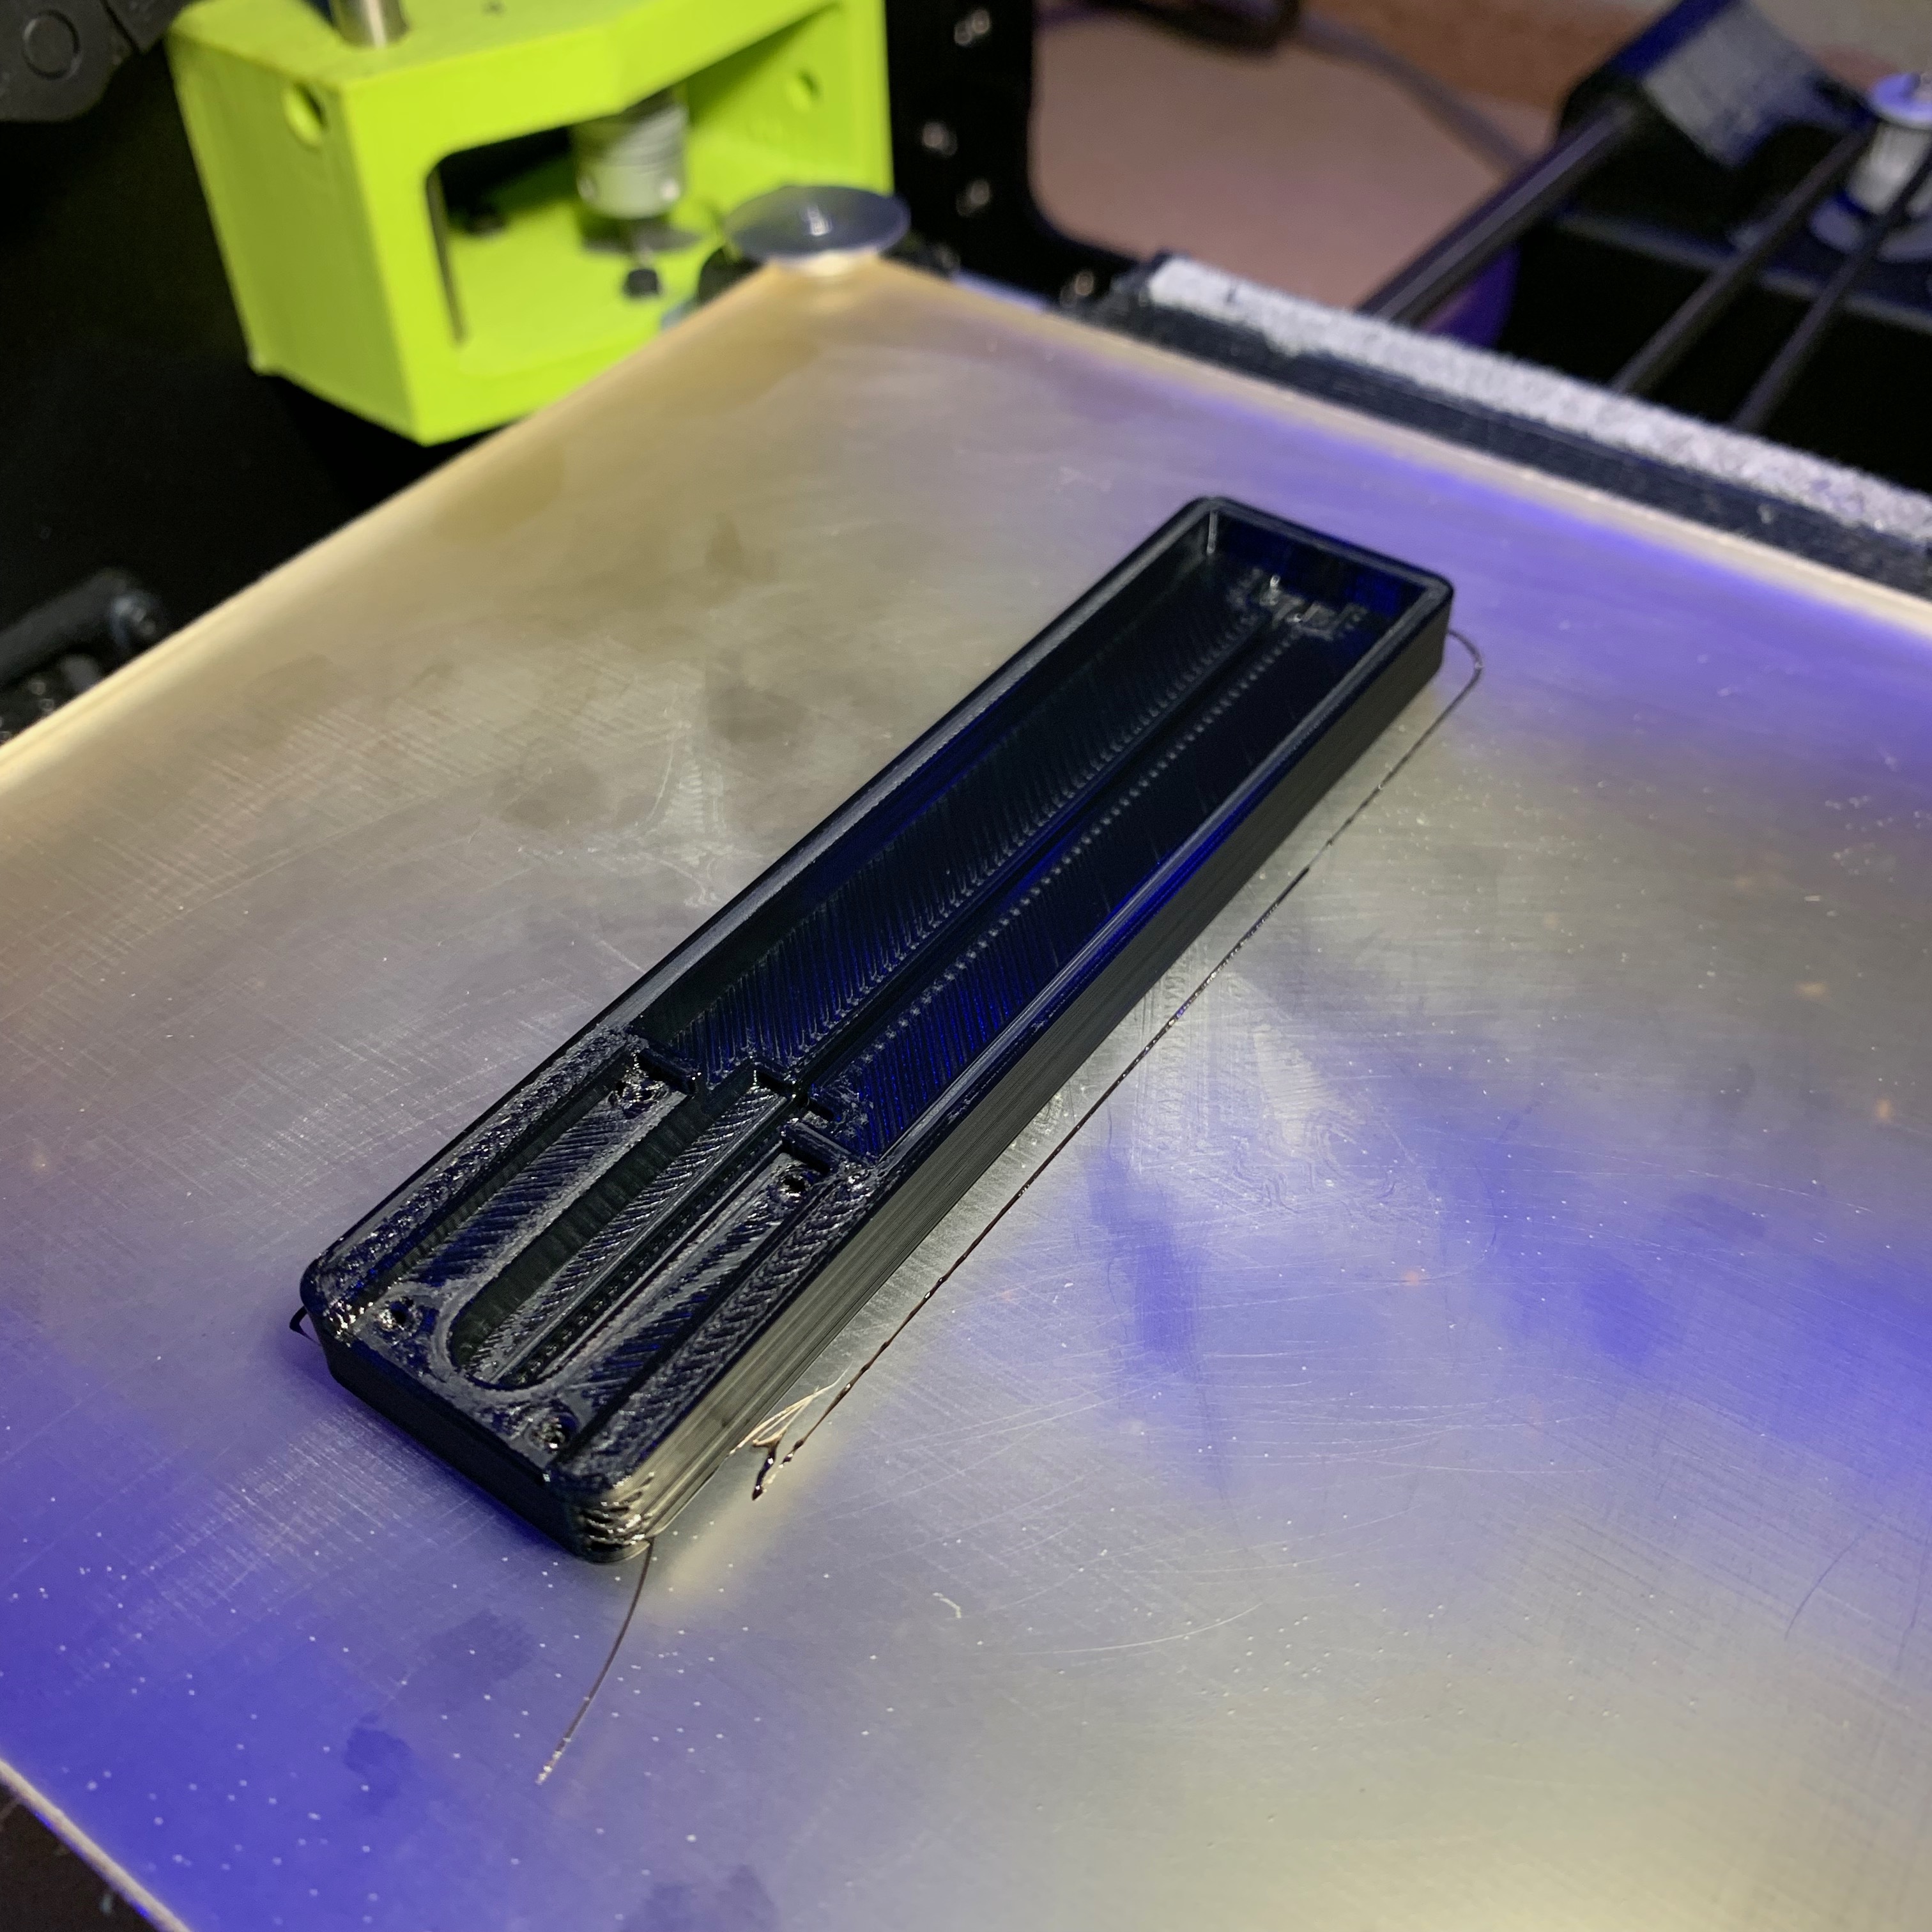
Aside from some minor slicing issues at one of the corners of the design, my Lulzbot Mini did a fine job of printing the design I just made.
Time to put everything together!
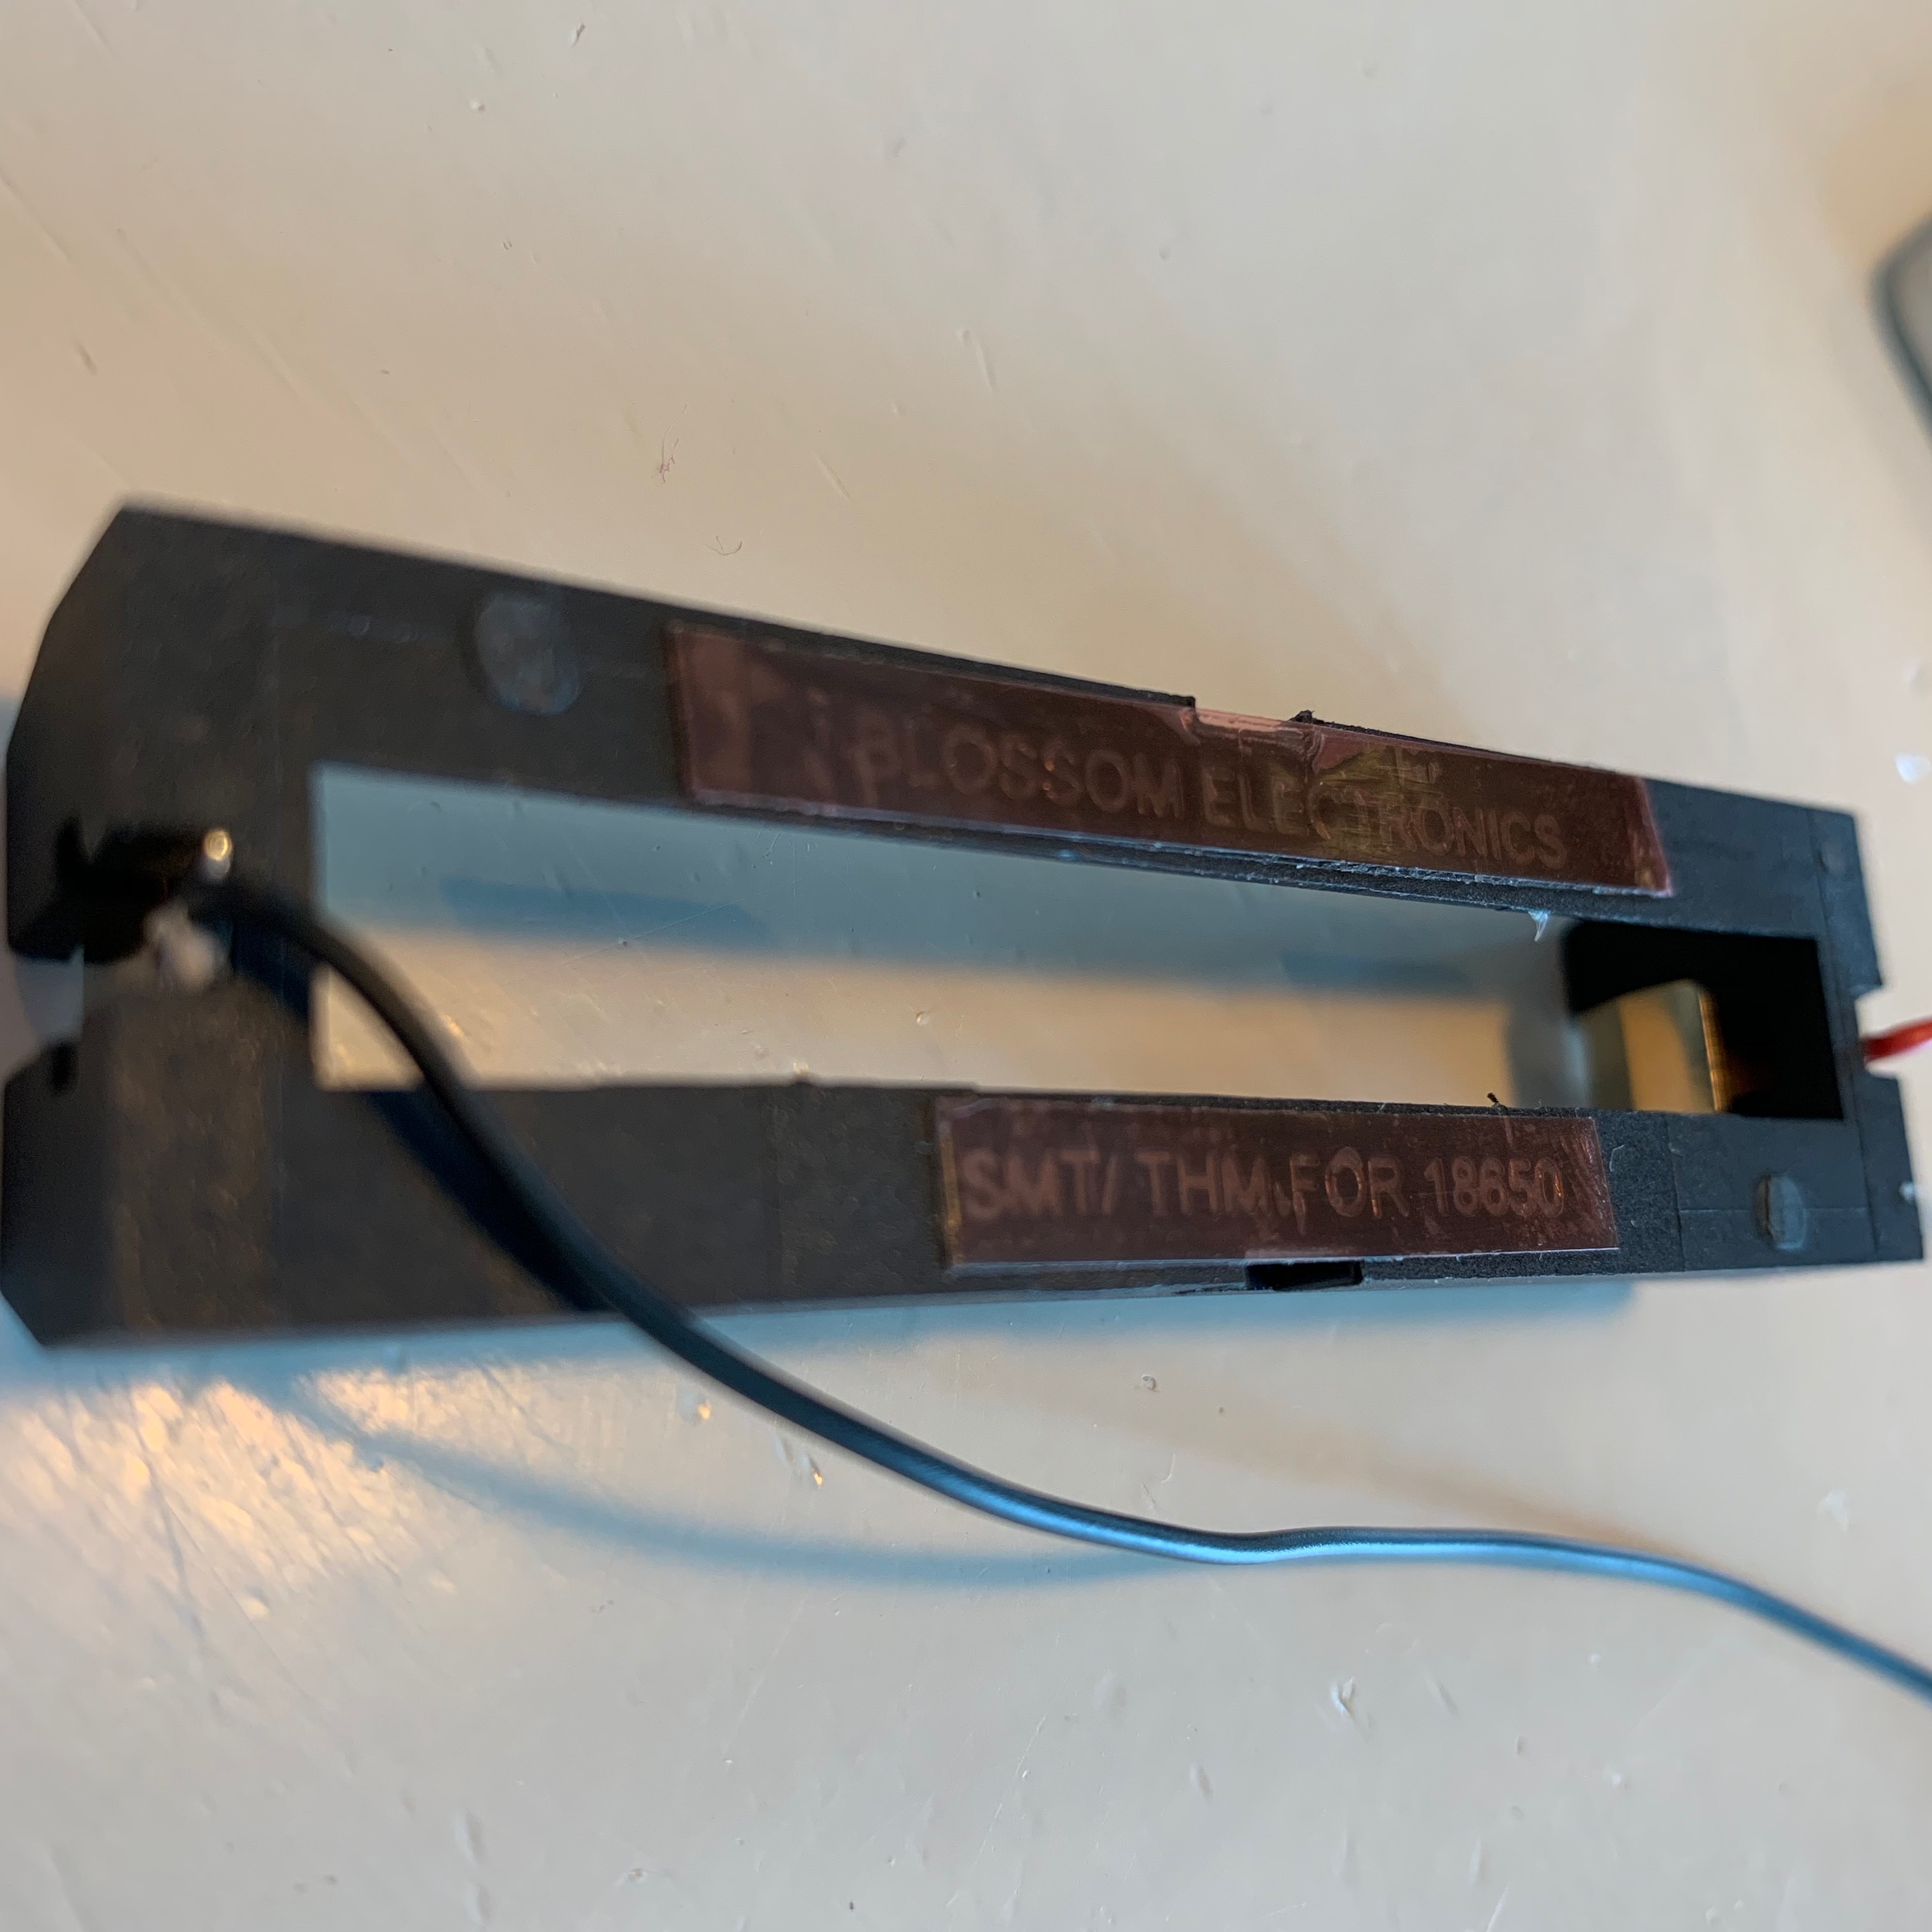
The Keystone holders I use don’t have the little trough hole mounting pins, so I used a few pieces of double sided tape to keep the holder in place. I also soldered two wires to the connectors. And soldered those wires to the battery connection points of the TP4056 module.
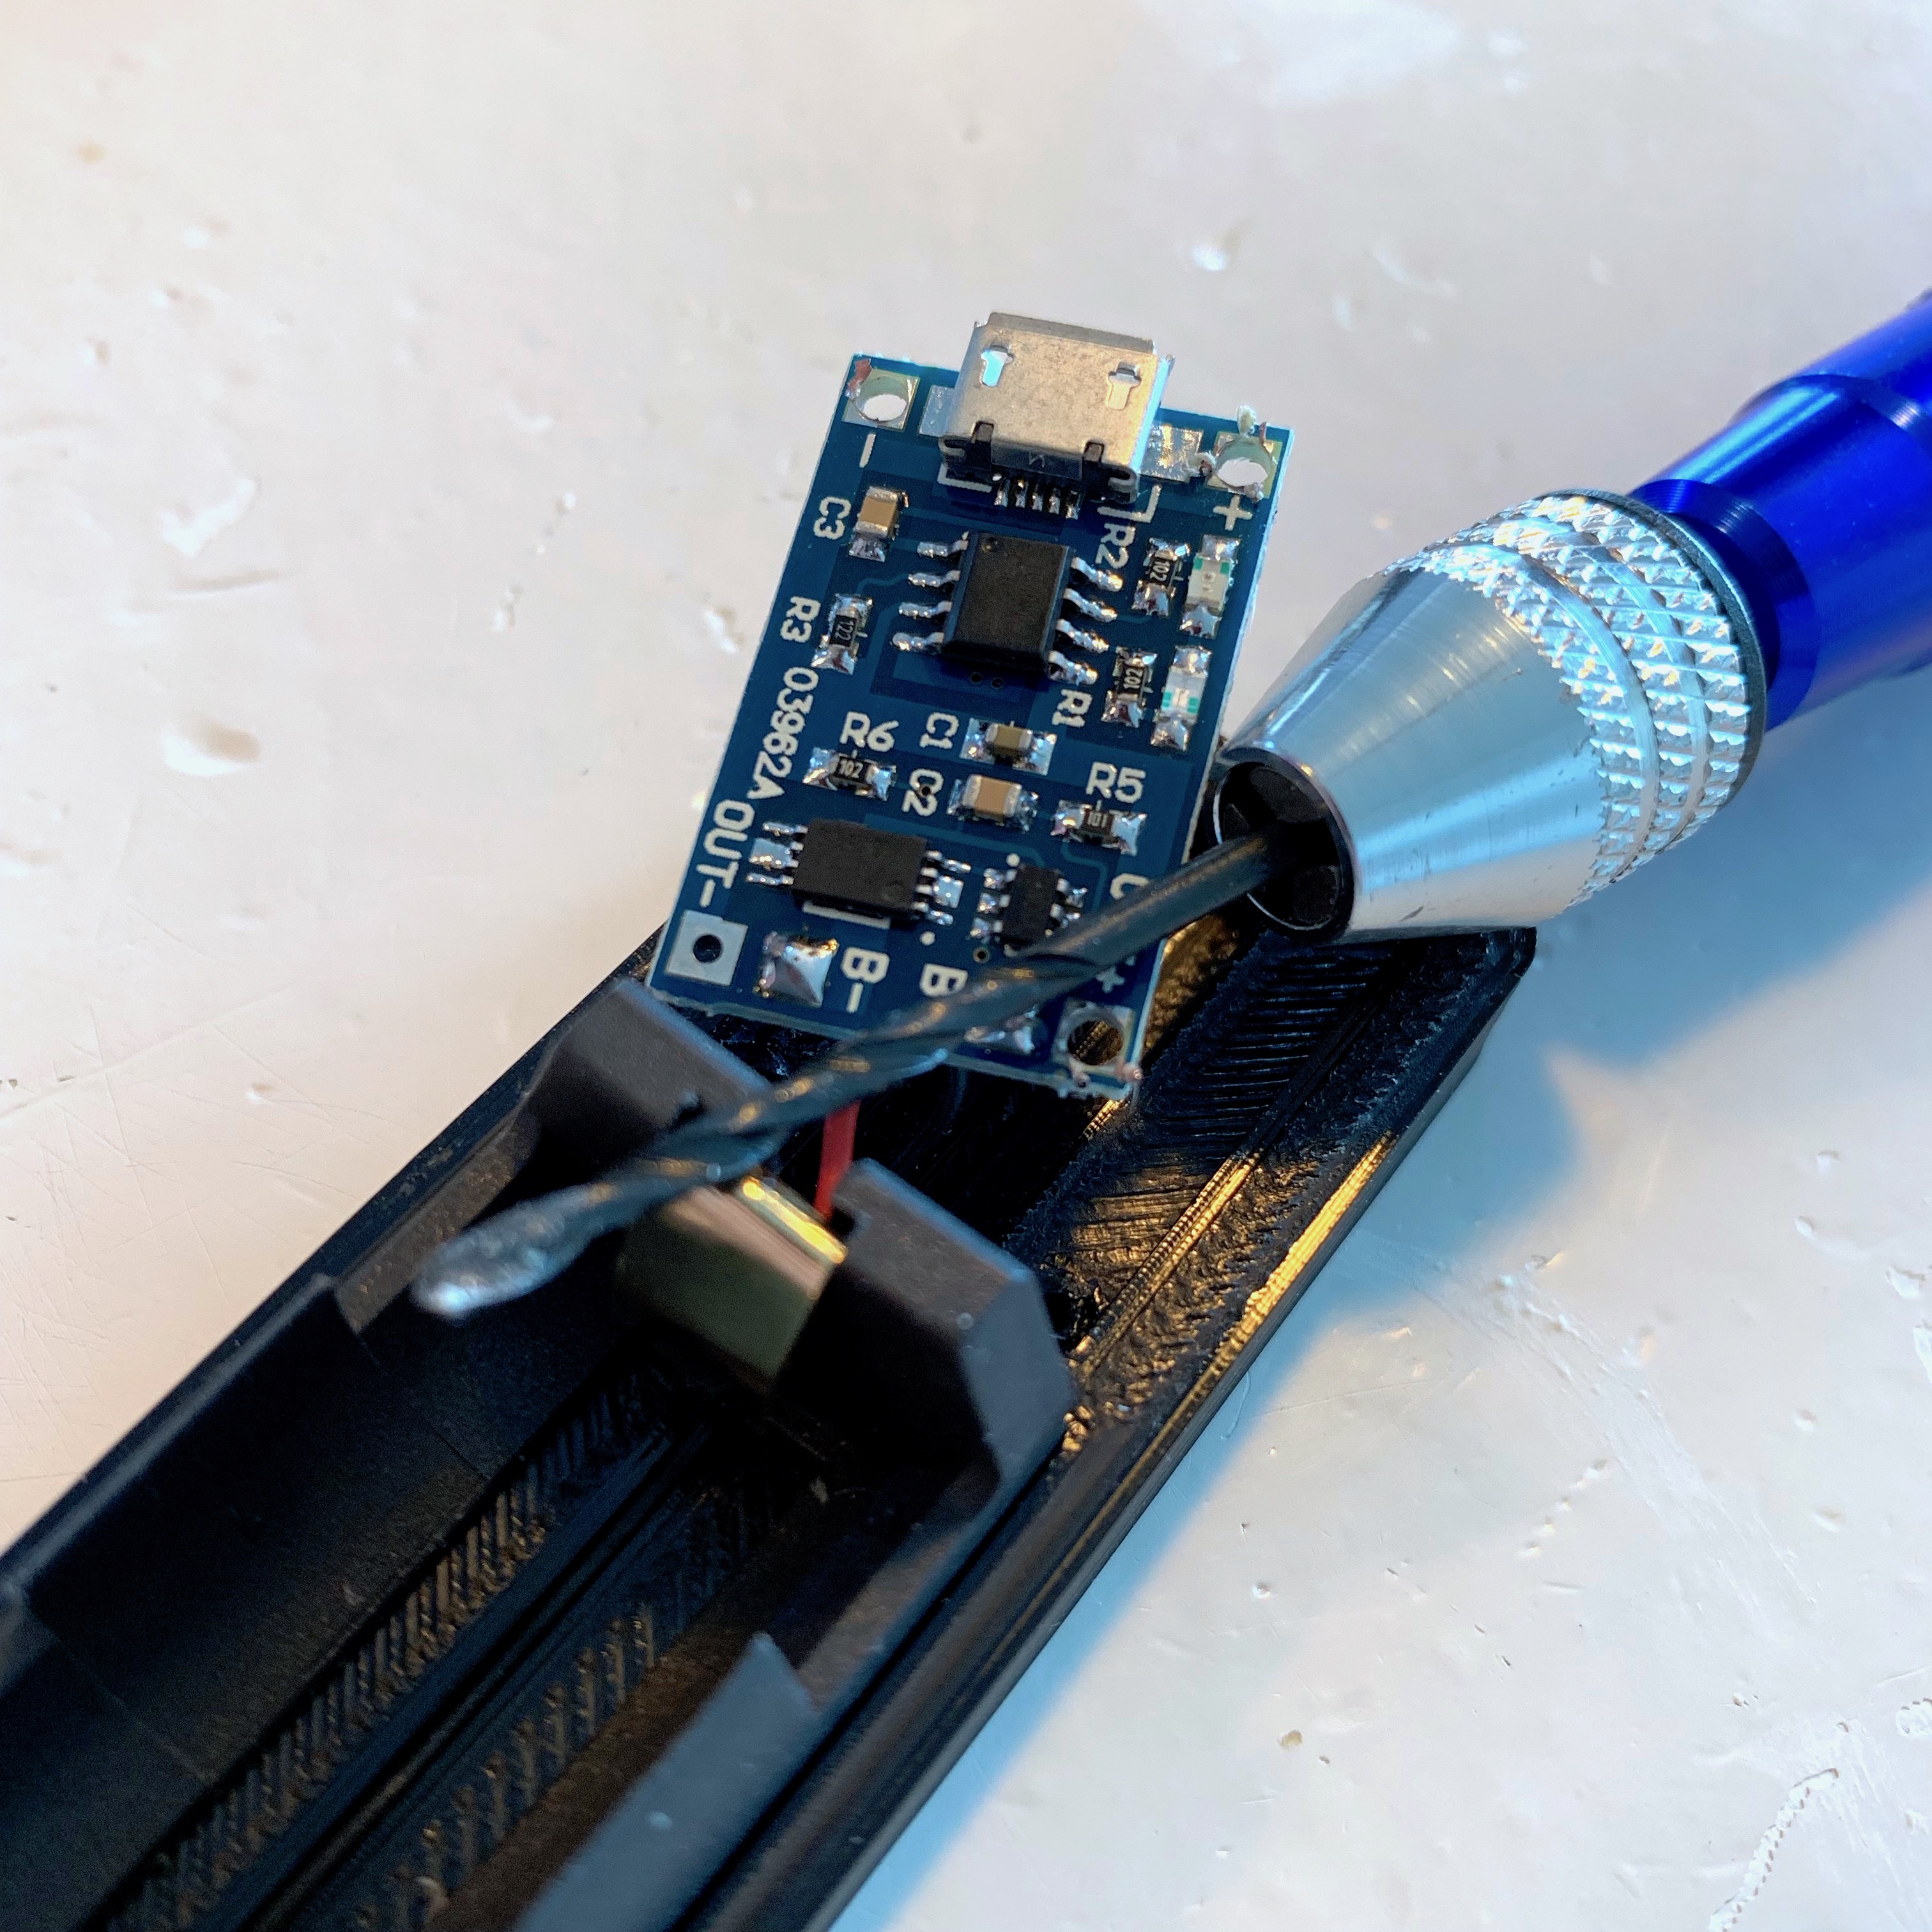
Because I wanted to use 4 screws to mount the TP4056 module, I needed to use a little drill to make the holes a bit wider. After drilling I cleaned up the burs. And more importantly: after screwing the module into place I checked for shorts using my multimeter because I used metal screws. Everything good to go!
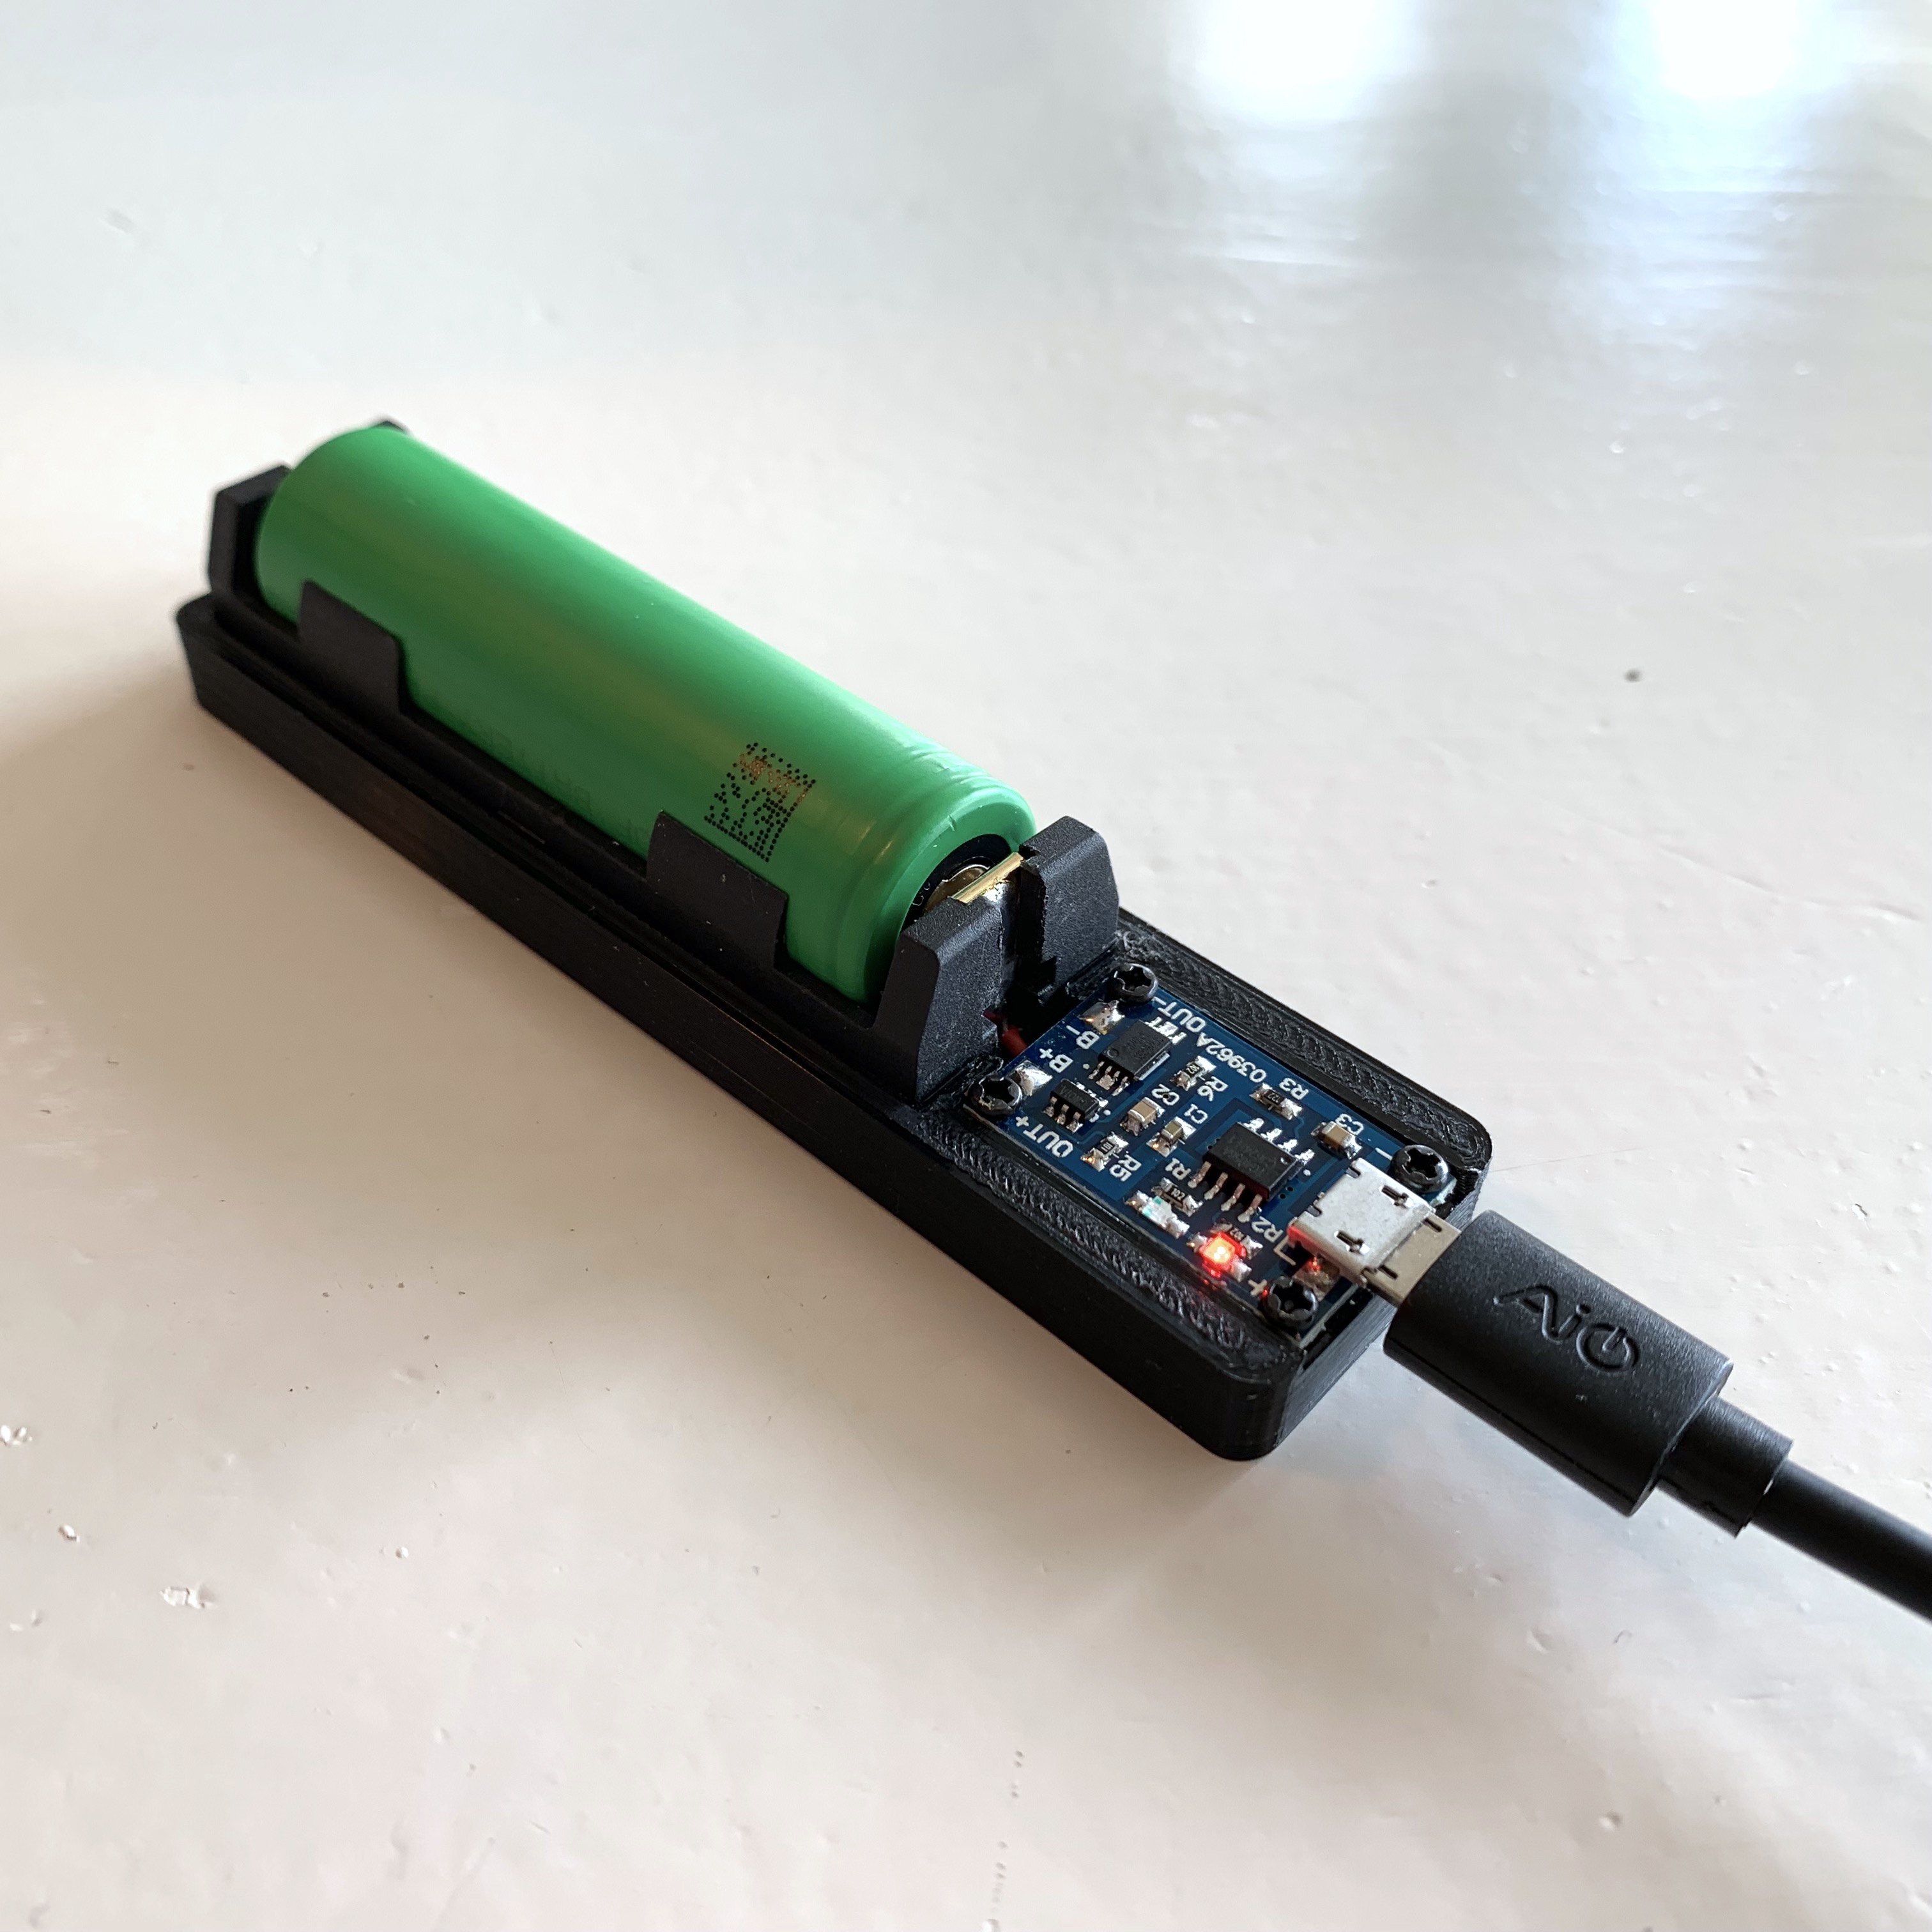
Time to start using this handy little fella!
If you want to print this mount yourself, check out the STL file on Thingiverse. Happy Printing!