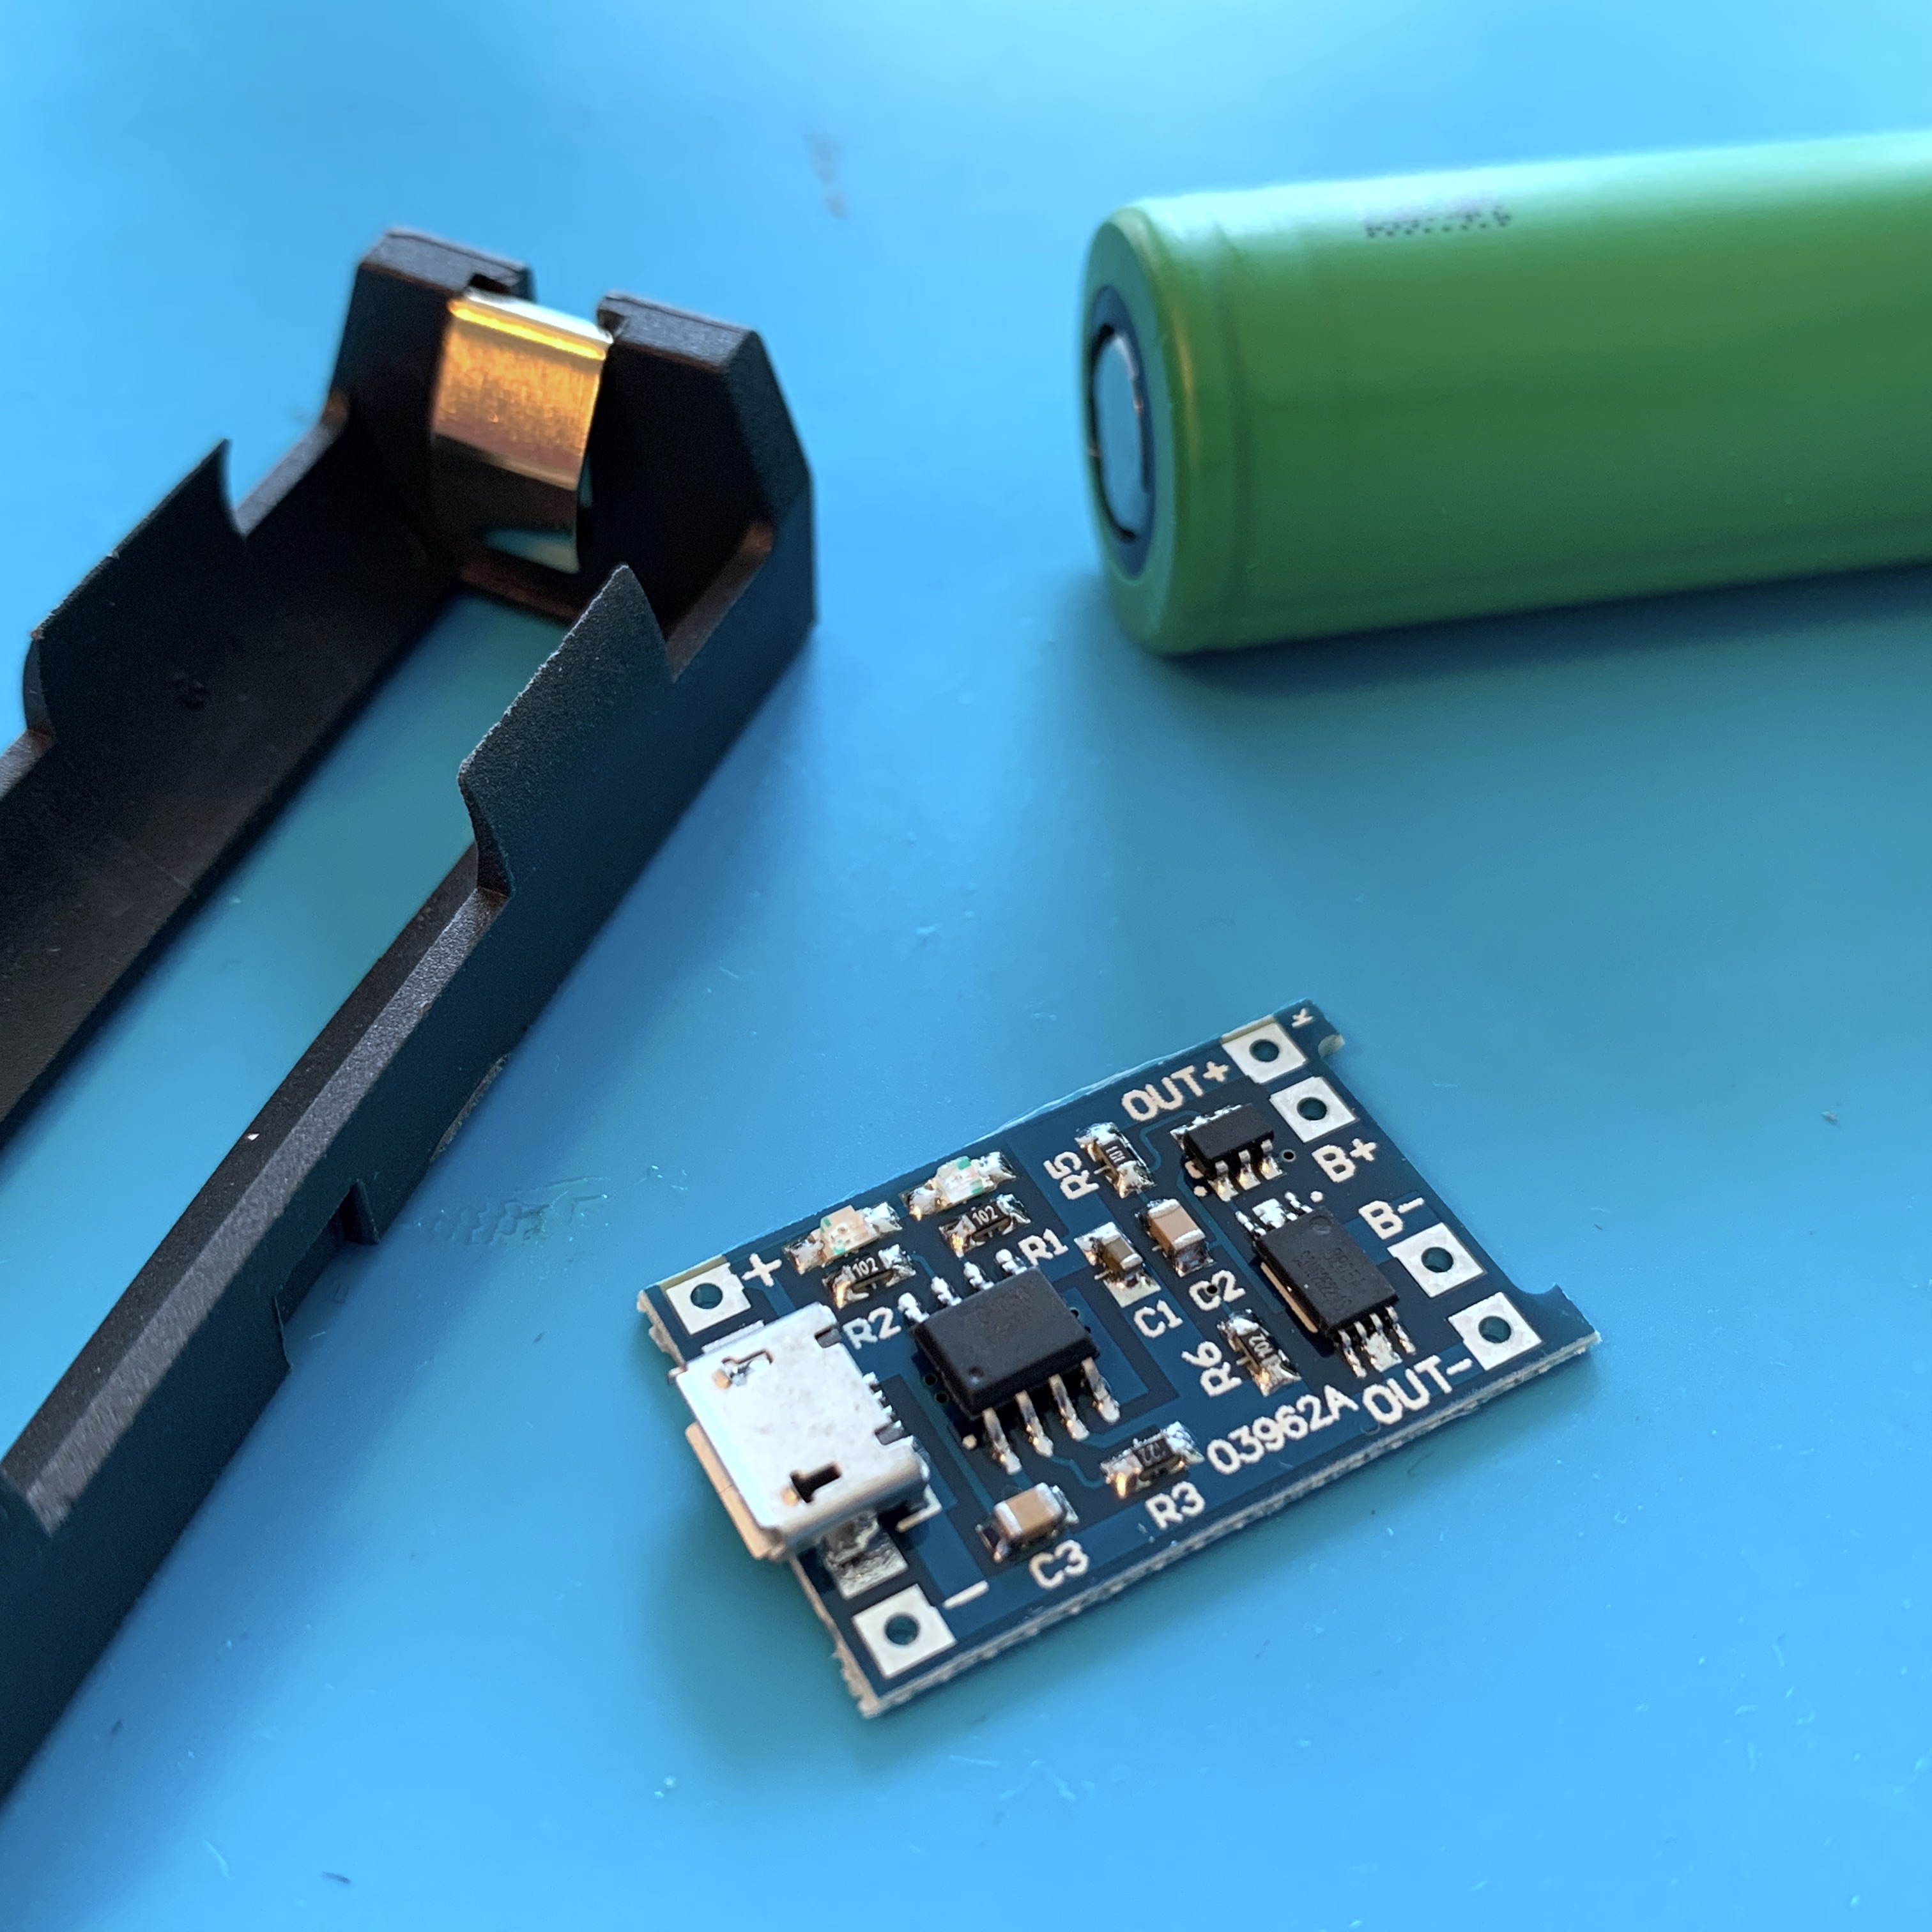
Solving a Hot and Sticky situation
In the past few weeks, life got a little bit in the way of my maker-hobby. To make sure I got my monthly doses of tinkering, I decided to take on a quick and fun one hour project this weekend: solving a hot and sticky situation.
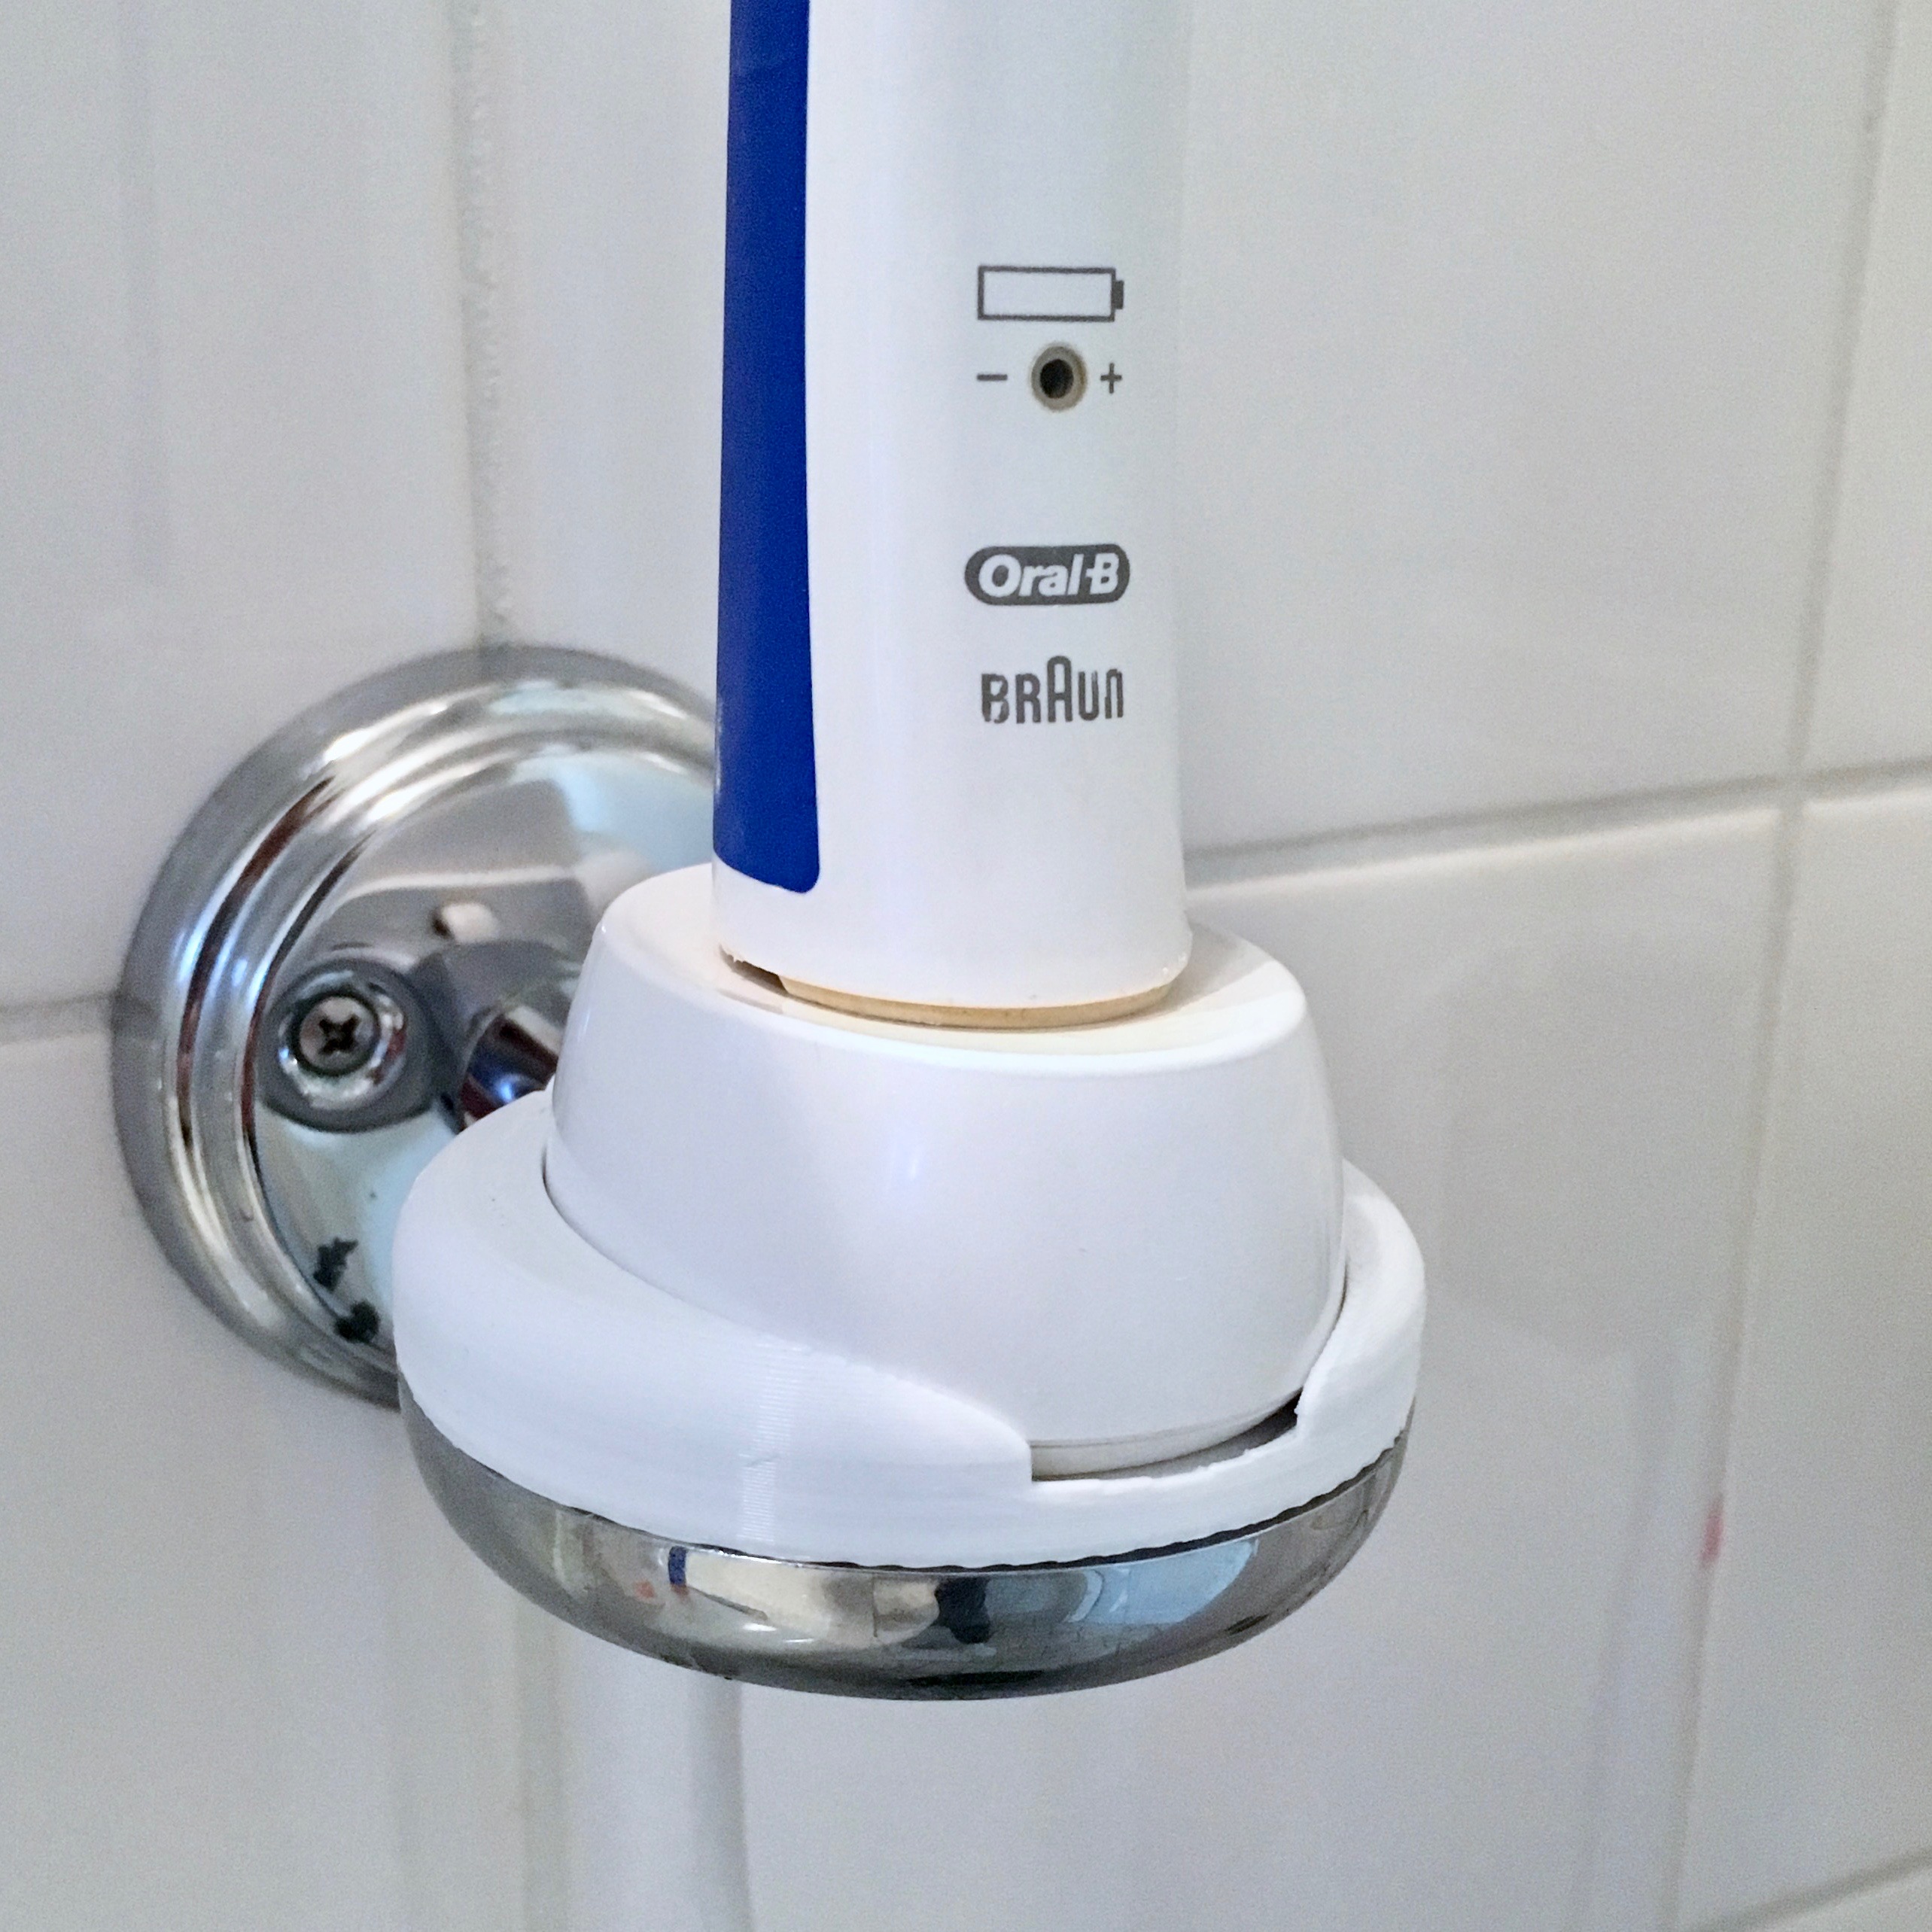
Fixing Annoyances
When I bought my 3D printer a little over 3 years ago, I convinced my wife that it wasn’t just yet another useless gadget. I told her it was a tool which would help me solve problems I didn’t know I had. This week, I solved one of those problems using Fusion 360 and a few meters of white filament.
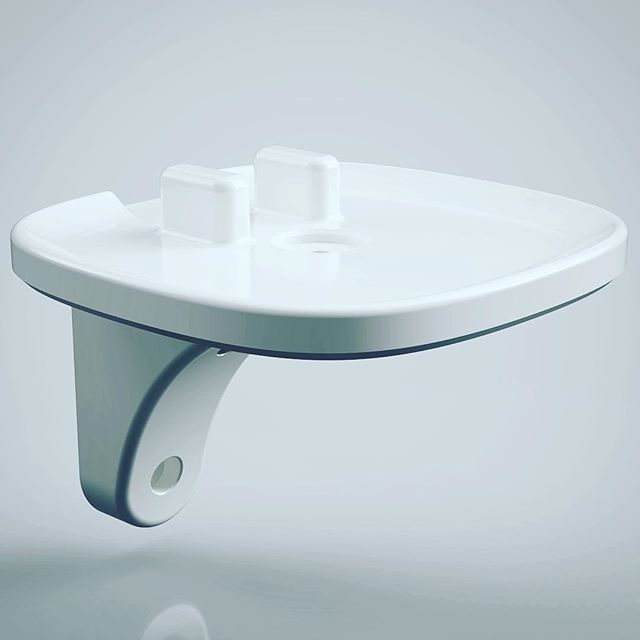
Designing my own Sonos Wall Mount.
A few weeks ago I bought two Sonos One speakers. Mounting them to the wall could be done using some purchased mounts. But when you own a 3D printer it’s more fun to design and print a mount yourself.
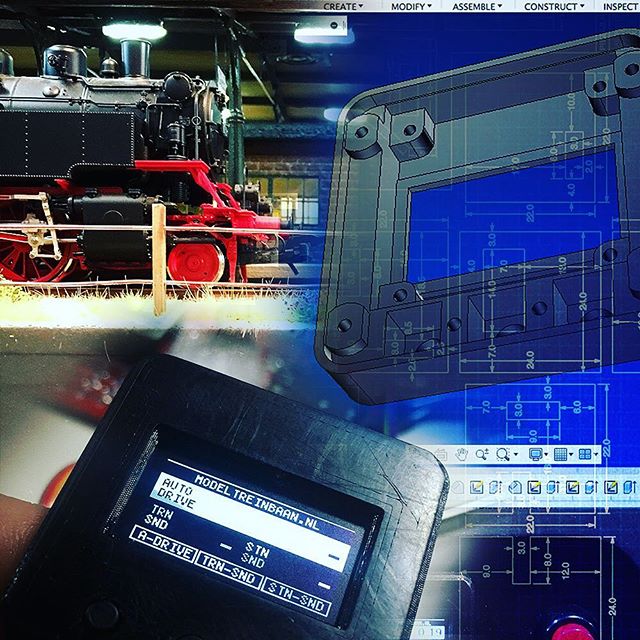
Train Automator:
Wrapping it up!
Over the course of the last few weeks I’ve been building the Arduino powered Model Train Automator. I’m sure my dad would like to start using it, so let’s wrap this project up!
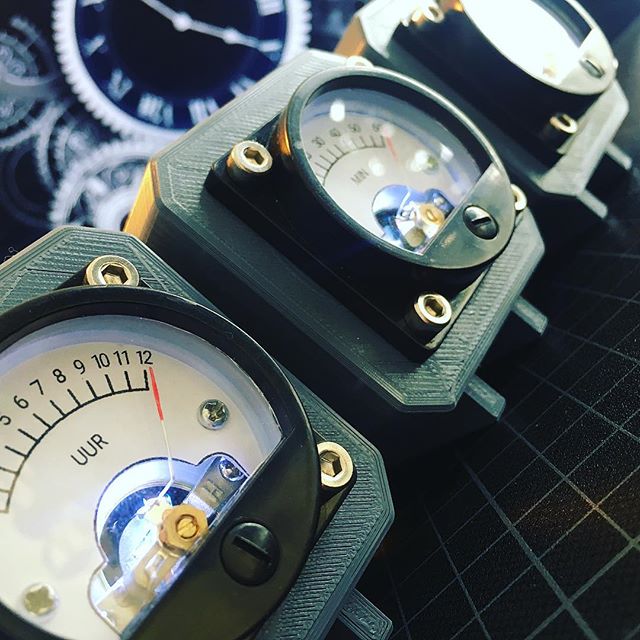
What time is it? Father's Day!
My technical enthusiasm is probably 99% inherited from my dad. So whenever I come across something fascinating, he is usually the first person to forward the link to. A little over a year, I came across some really awesome volt meter clocks. And due to his fascination of analog meters, he liked it even more than I did. Wouldn’t it be awesome to make one as a Father’s Day present?
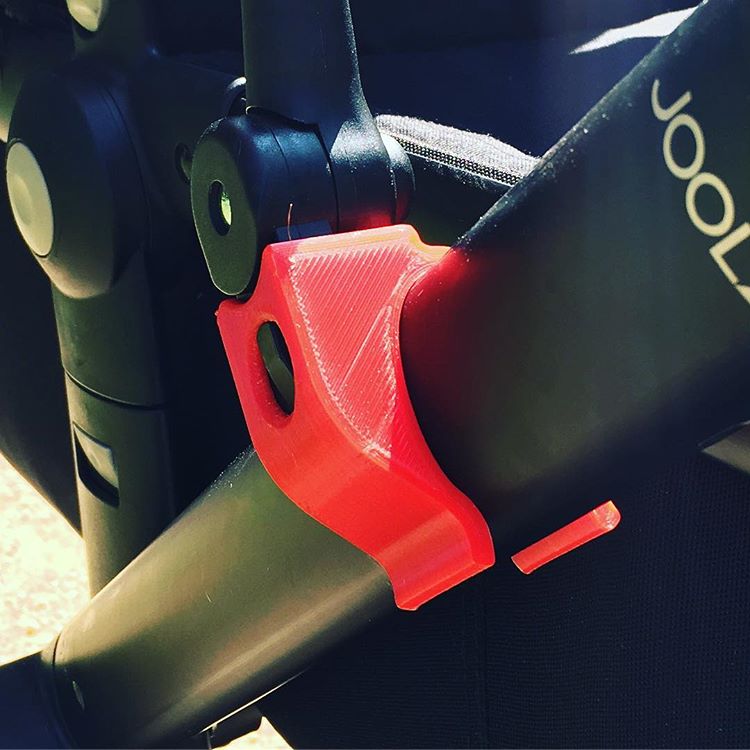
Under my umbrella, ella, ella, eh, eh, eh!
So, it has been a month ago since my last blog post. Reason for this is the birth of my beautiful second baby boy, Luca! But after some quality family time, it’s now time to pick up the tinkering, and start making things! Of course we start easy, so this week I’d like to show you the beautiful power of 3D printing and how it helps me to be an awesome dad!
Activity Board:
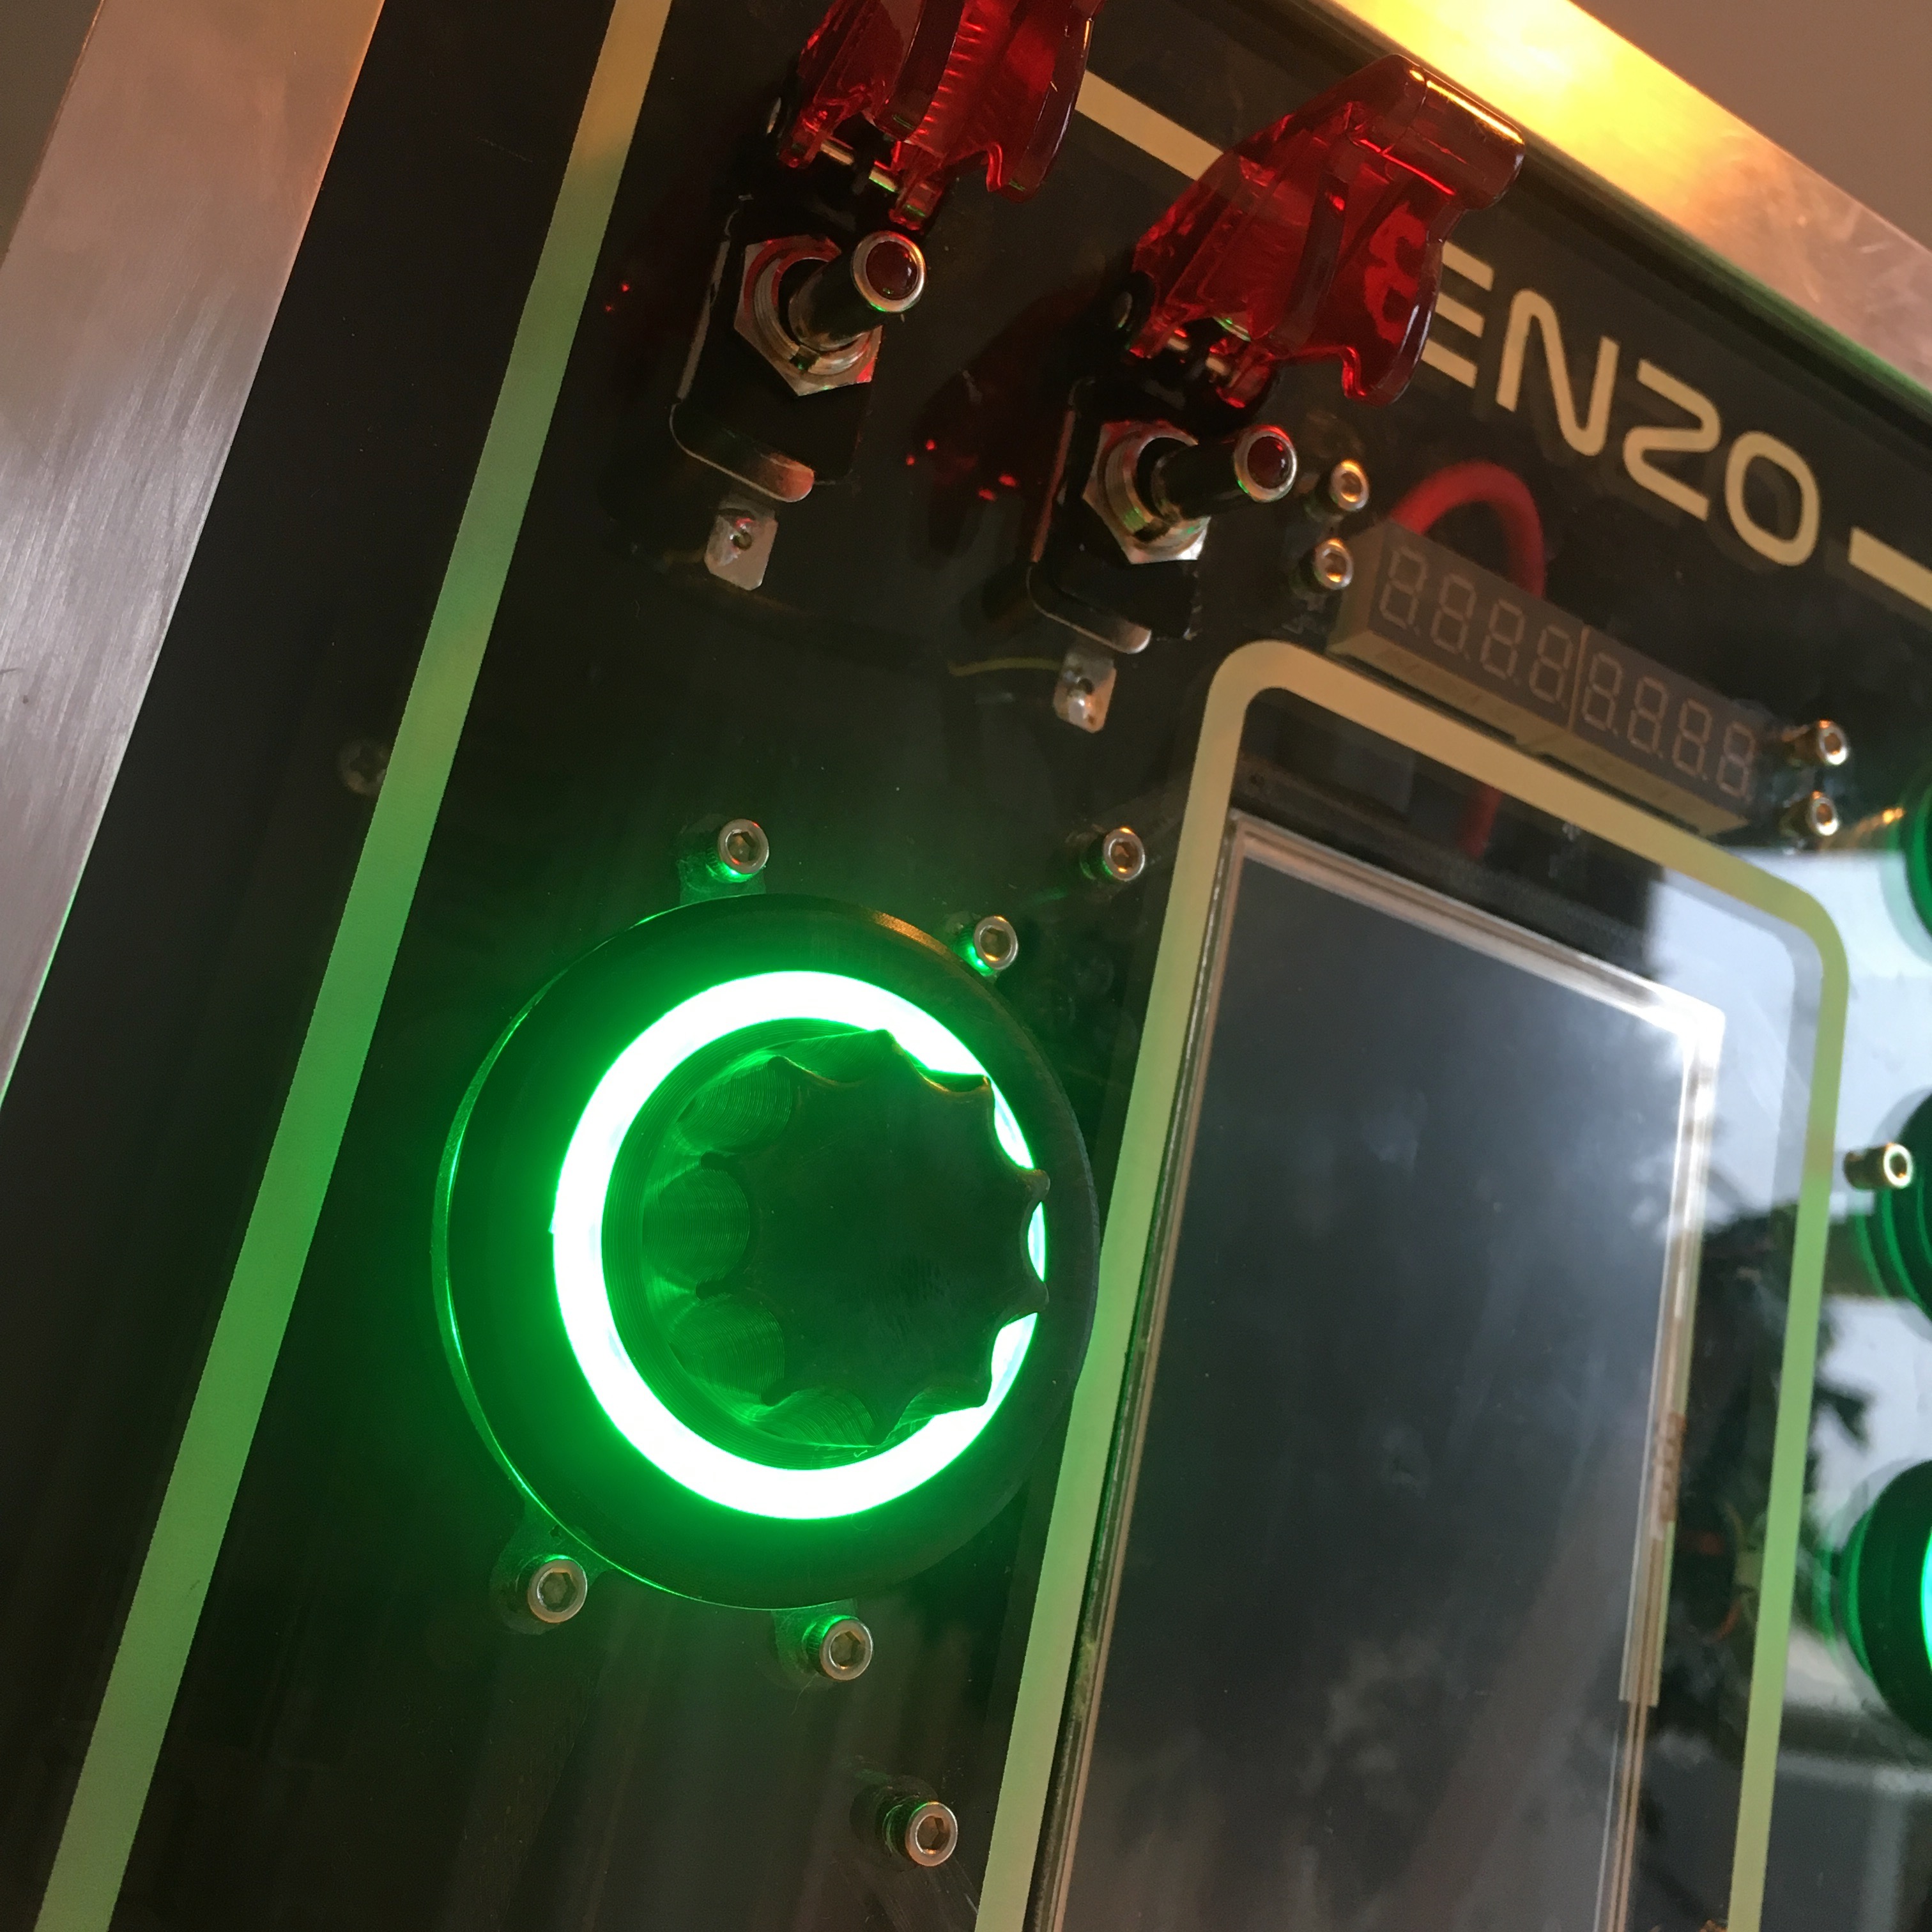
The dial on the board goes round and round
Creating an nice big dial knob for the activity board, isn’t that difficult since I own a 3D printer. But to make it a big more special than the average dial, I wanted to add a nice light effect to the button.
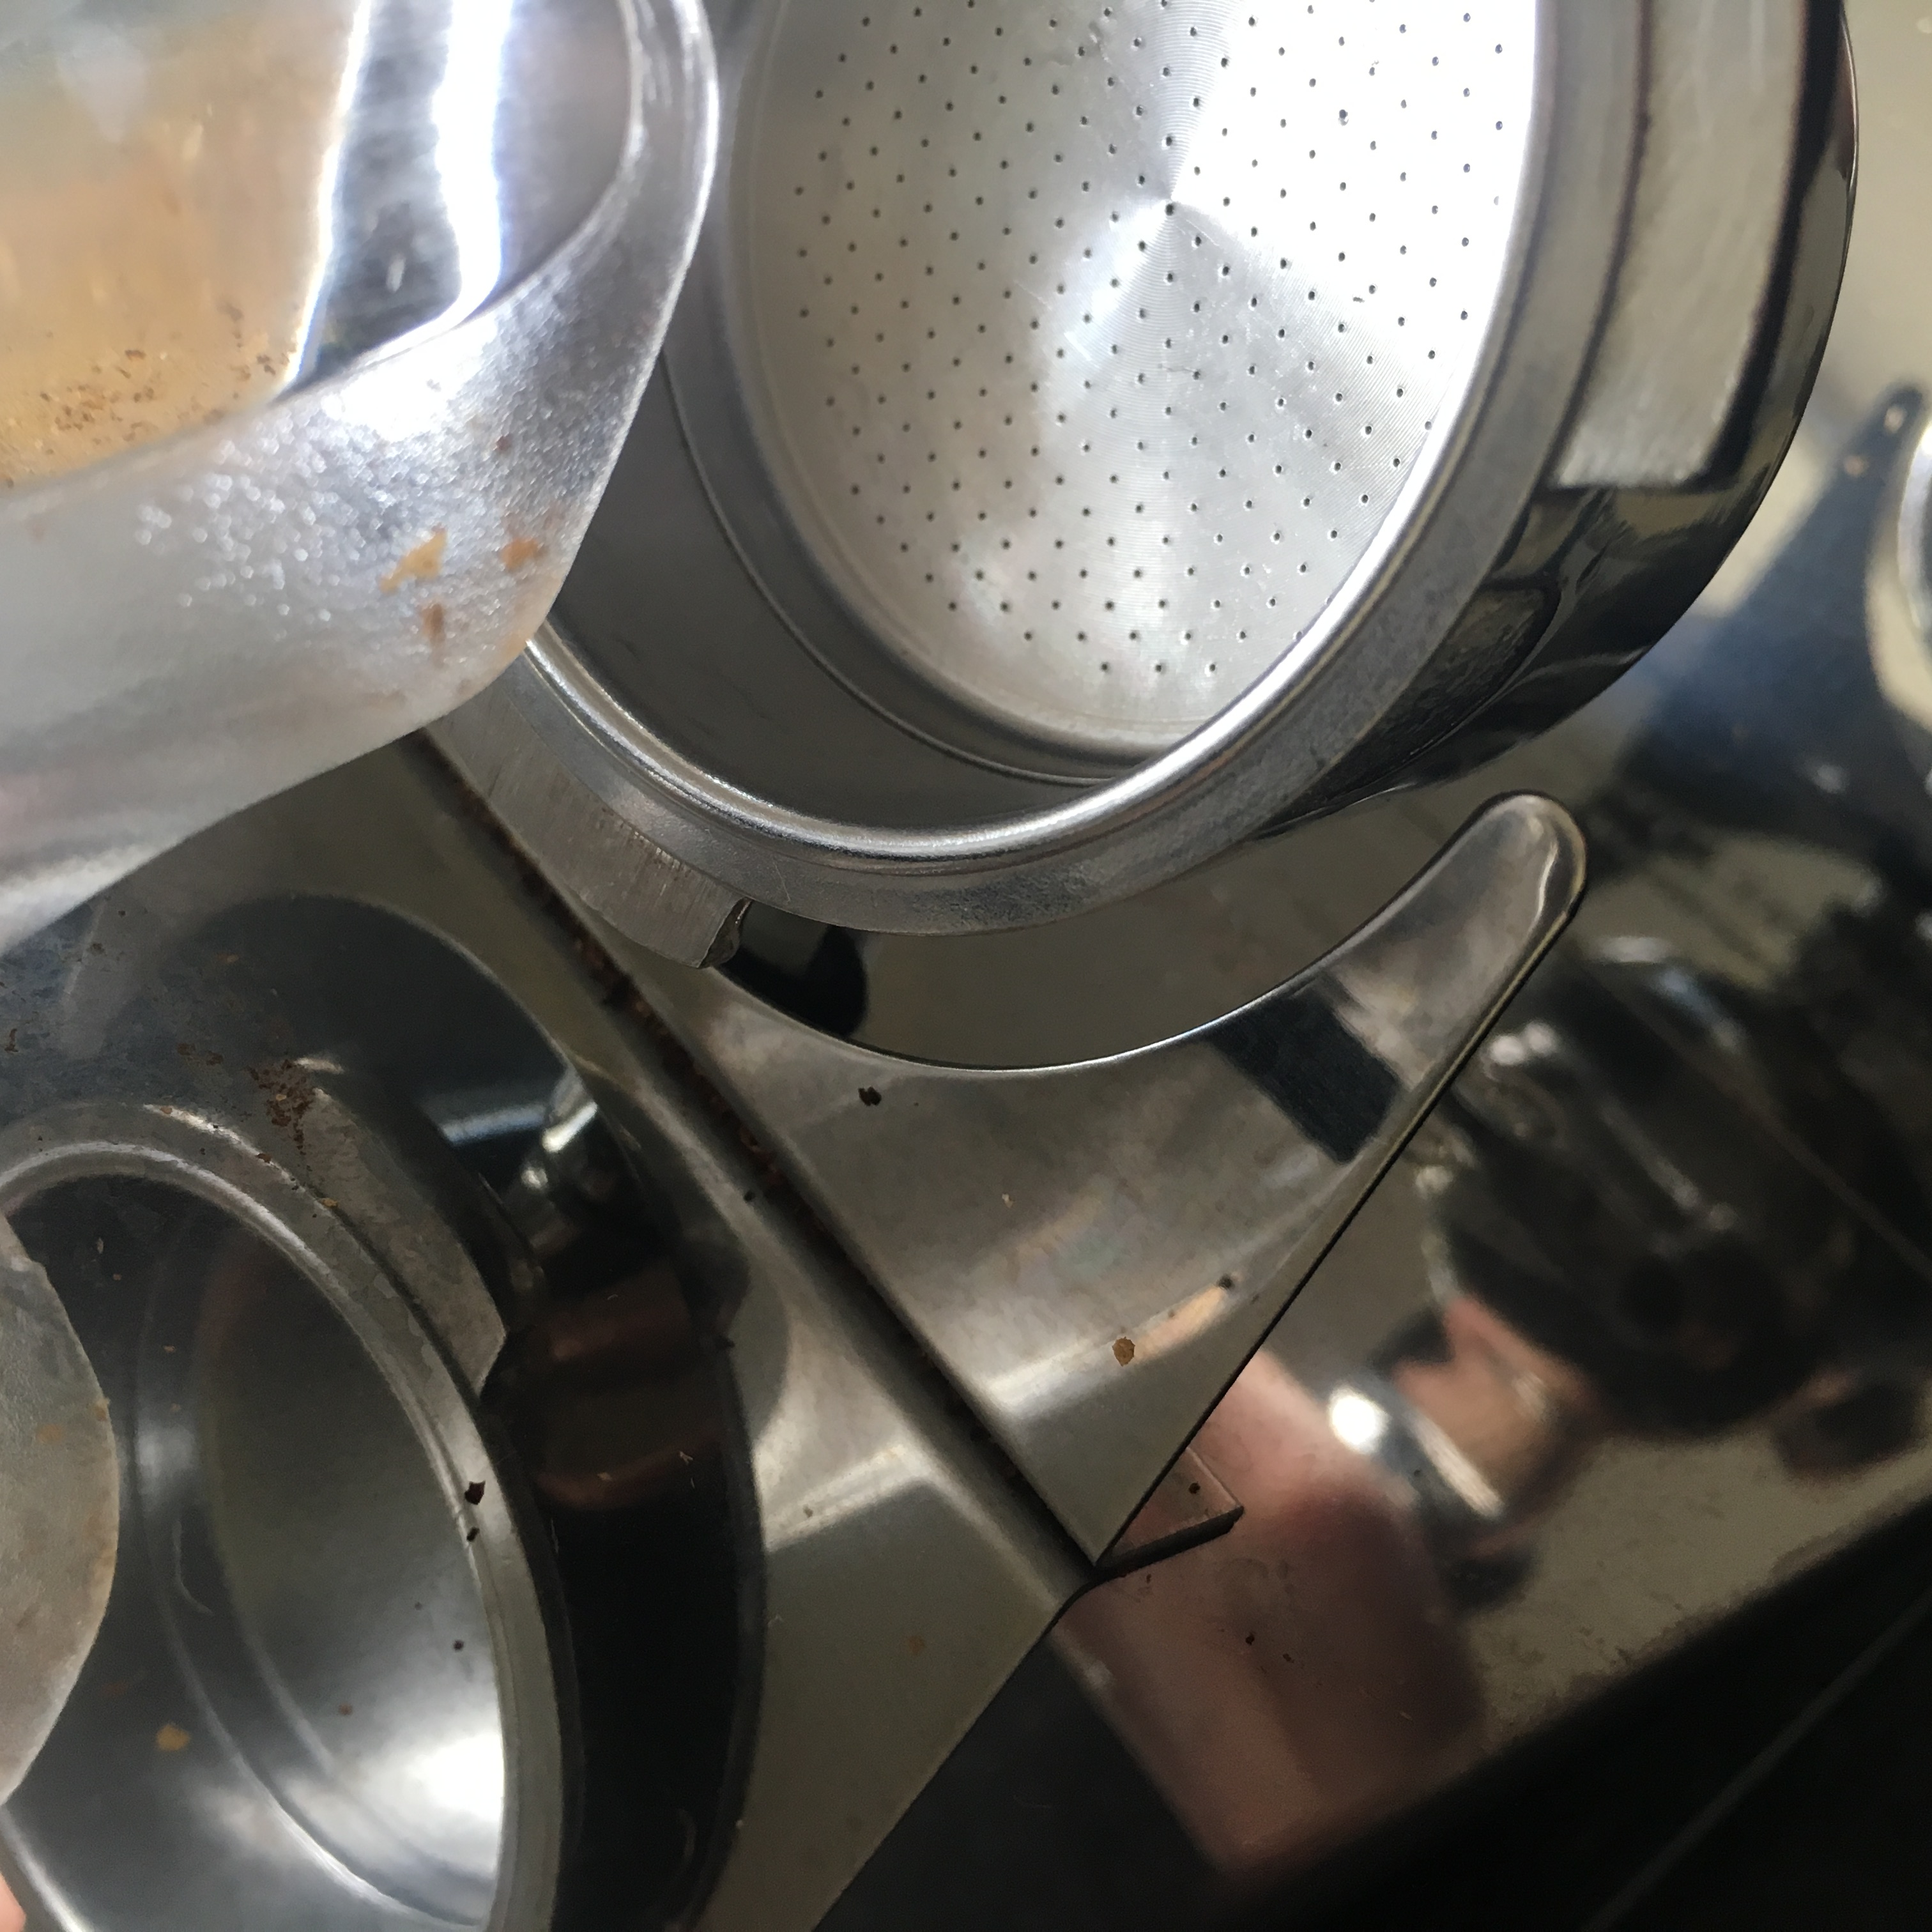
The Grinder Mount Adapter
Although I’m still working on my son’s activity board, I haven’t got much progression to show. So this week, I wanted to talk about a fun simple 3D printing solution I designed yesterday. As a real coffee addict, my coffee grinder is what it’s all about.
Robotic Arm:
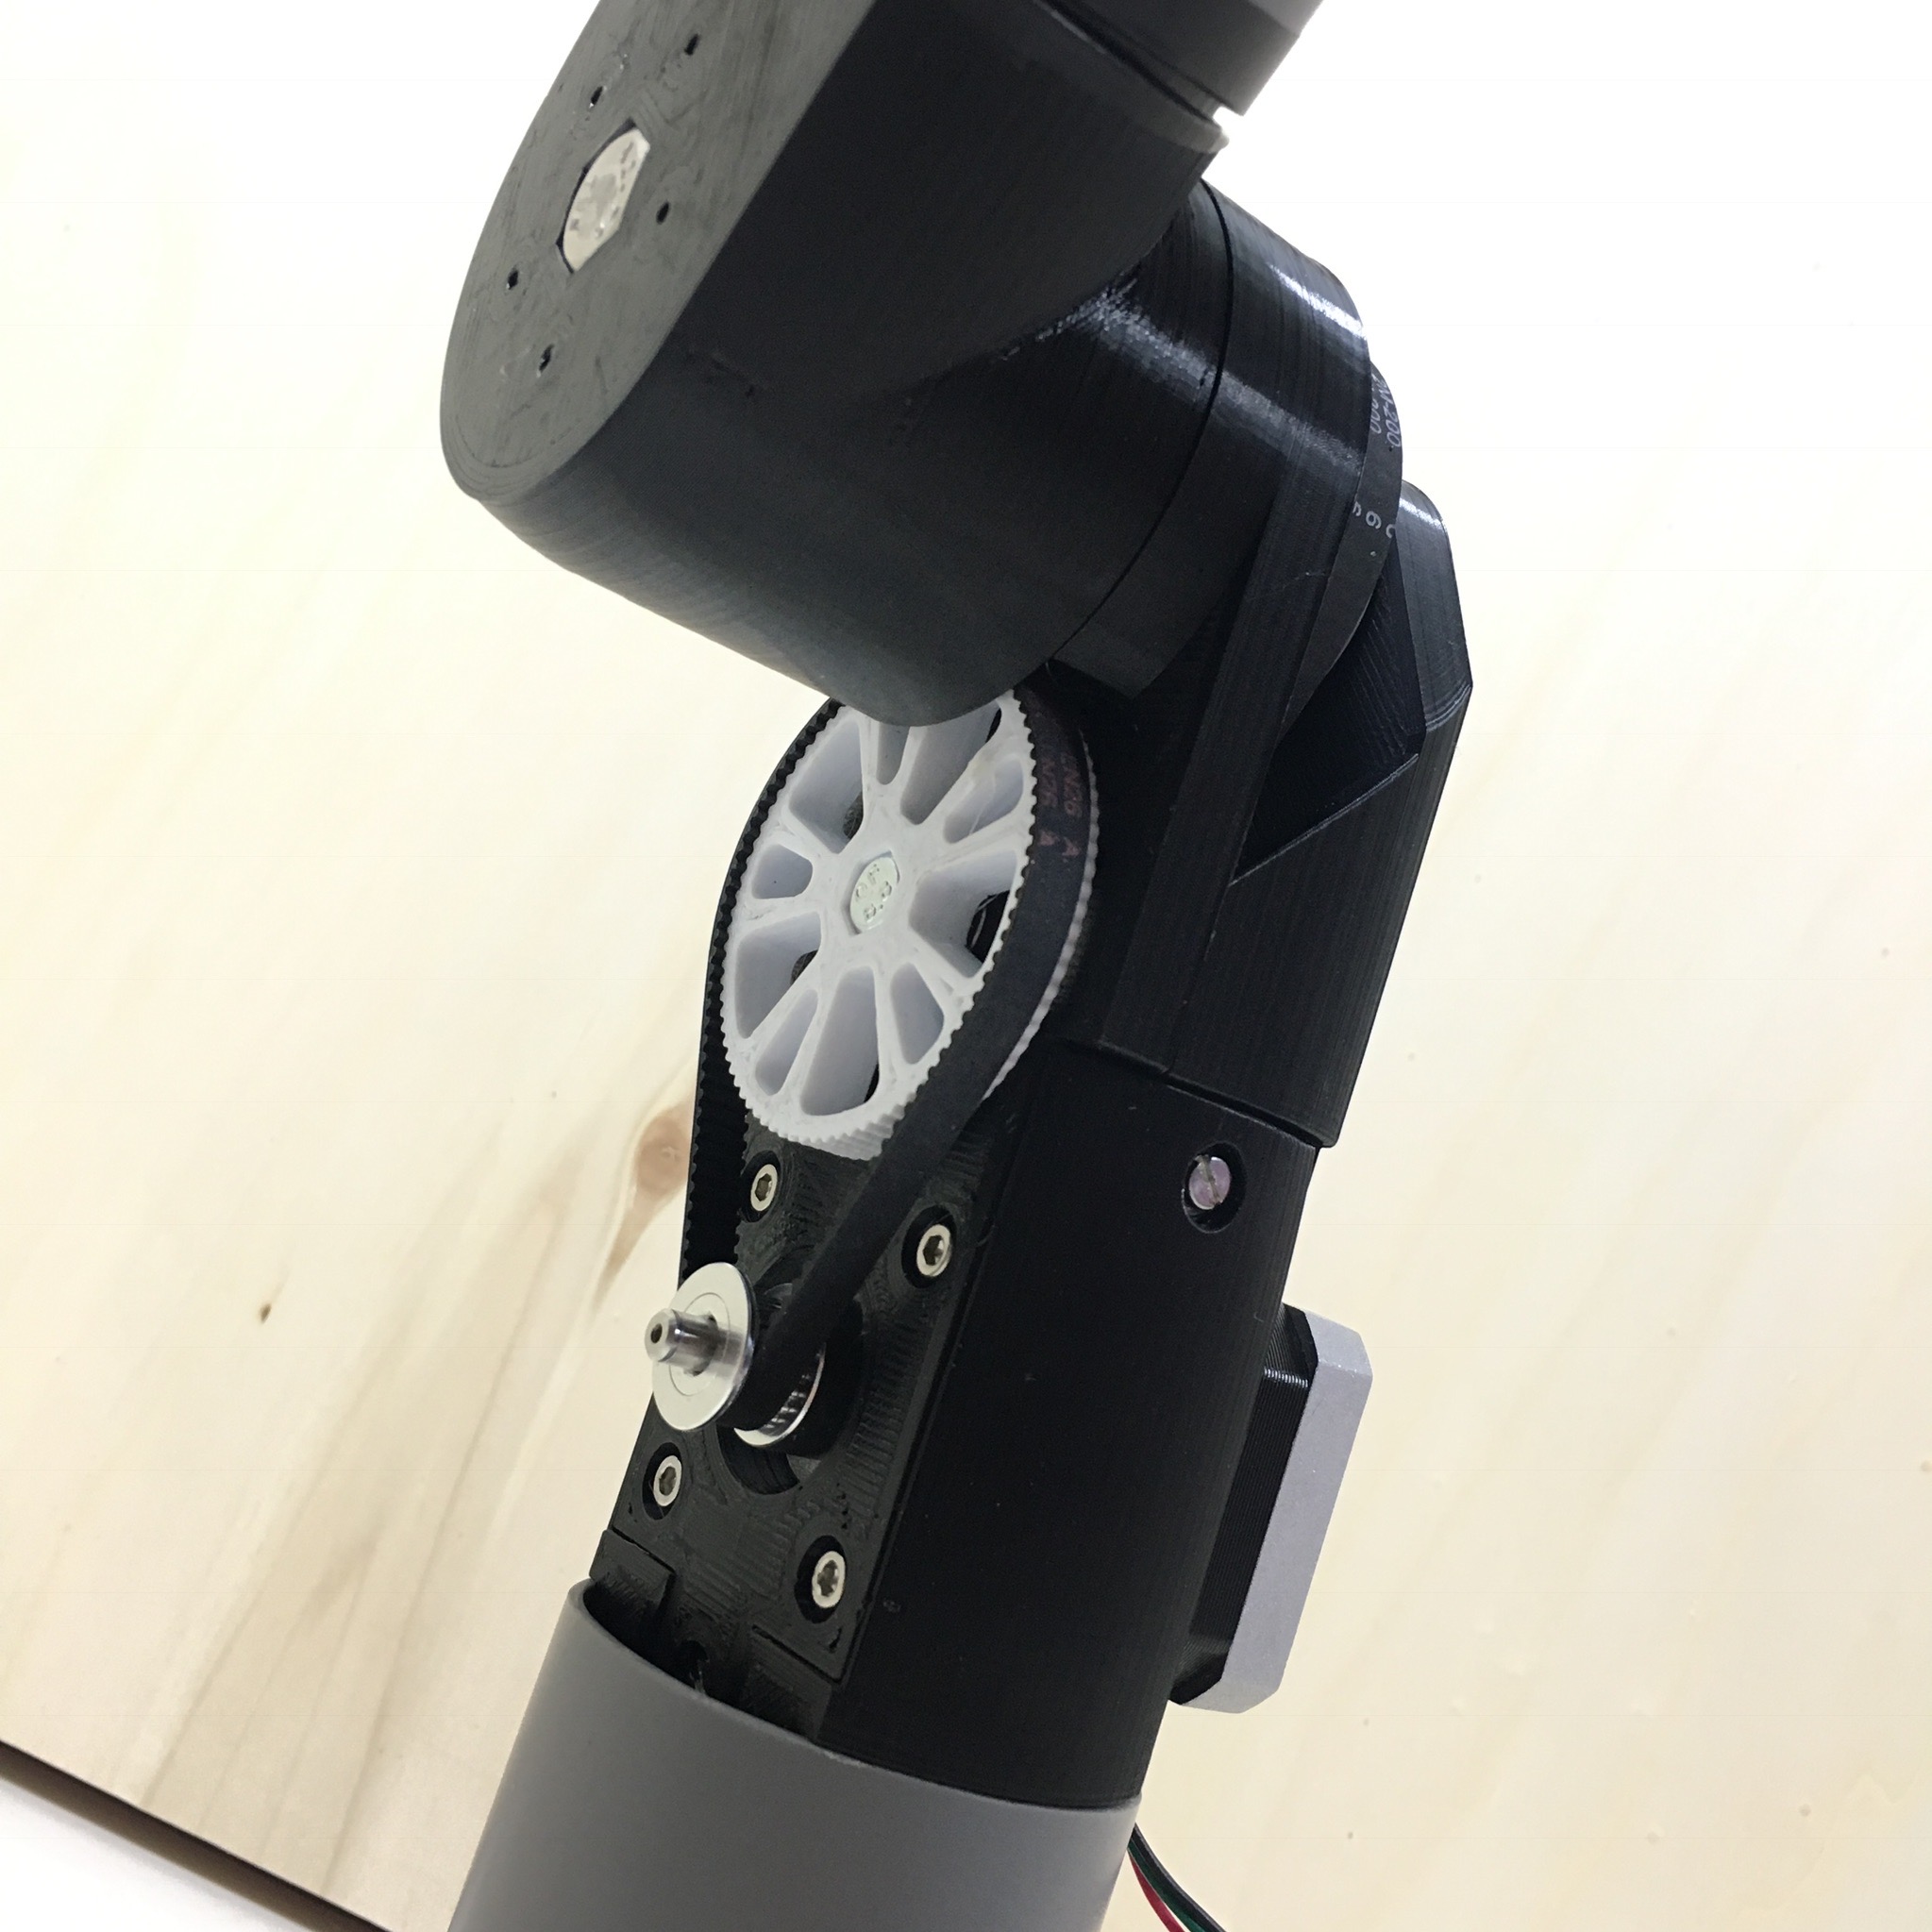
Pulley & Belt Transmission
Admittedly, building a robot arm joint transmission is way more difficult than I expected. But where’s the fun in a simple project? In my last post, I explained why a geared transmission doesn’t work. This week I’ll try a new approach.
The Tiny Burglar
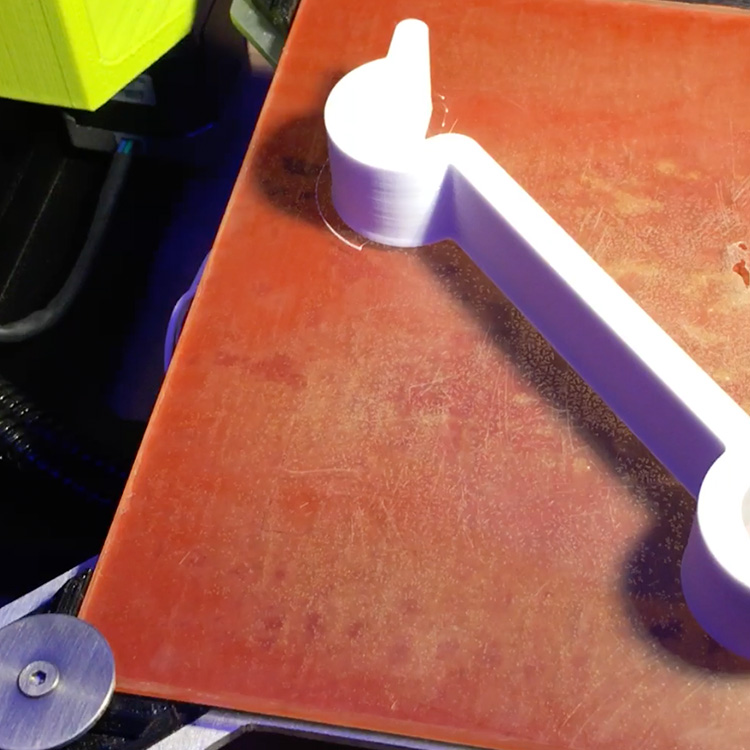
To protect our house against our tiny burglar, I’ve 3D designed and 3D printed a simple burglary prevention system. Disclaimer: it only works for tiny burglars. In stead of blogging about it, I created a two and a half minute video …
Baby Spa
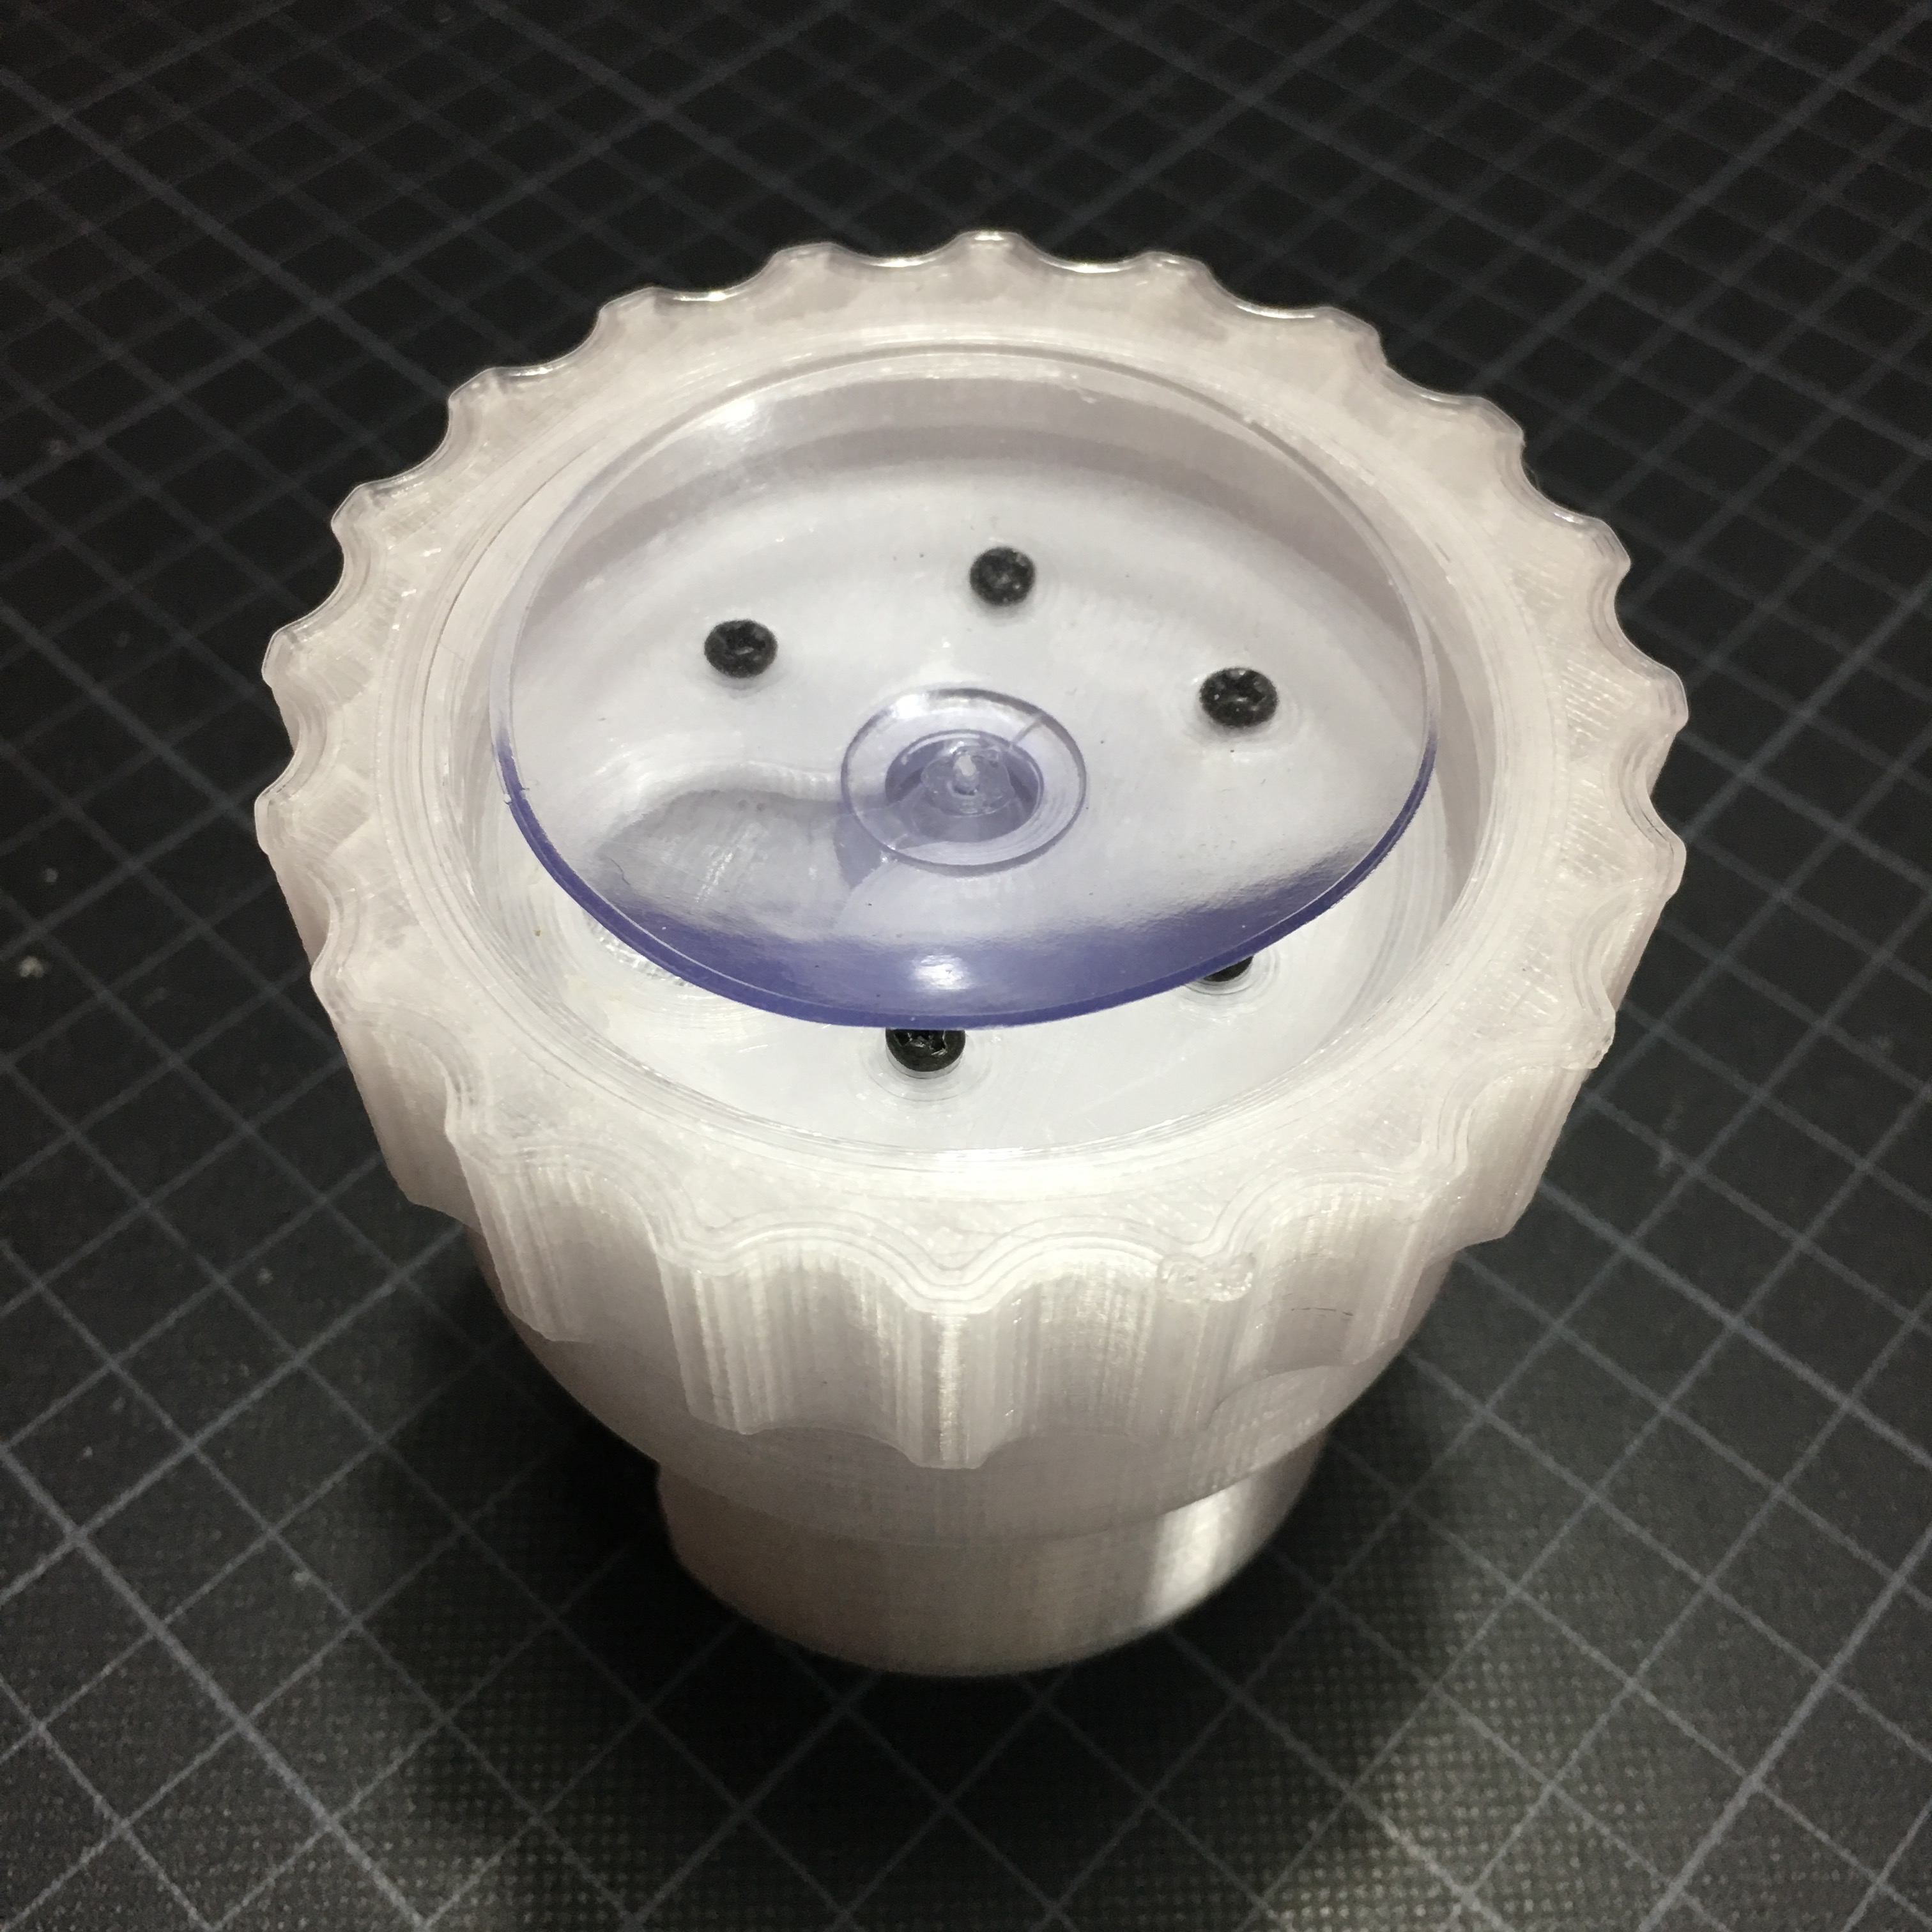
After last weeks shower repair I really got bitten by the bug of 3D-printed bathroom improvements. This weekend I spent some time creating a baby-spa for my mini maker boy who loves to take a bath in the shower base.
3D Stair-gate
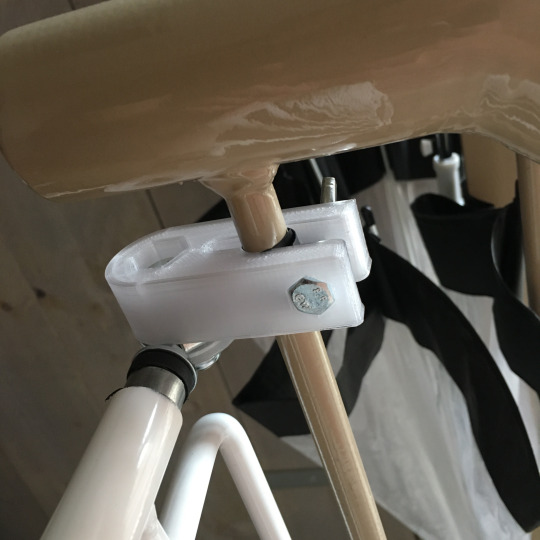
One of the things I wasn’t expecting when my girlfriend was expecting our first child, was the amount of home improvement that was necessary protect our house from our small crawling wrecking ball. This week, it was time to protect our staircase.
Lulzbot Repair
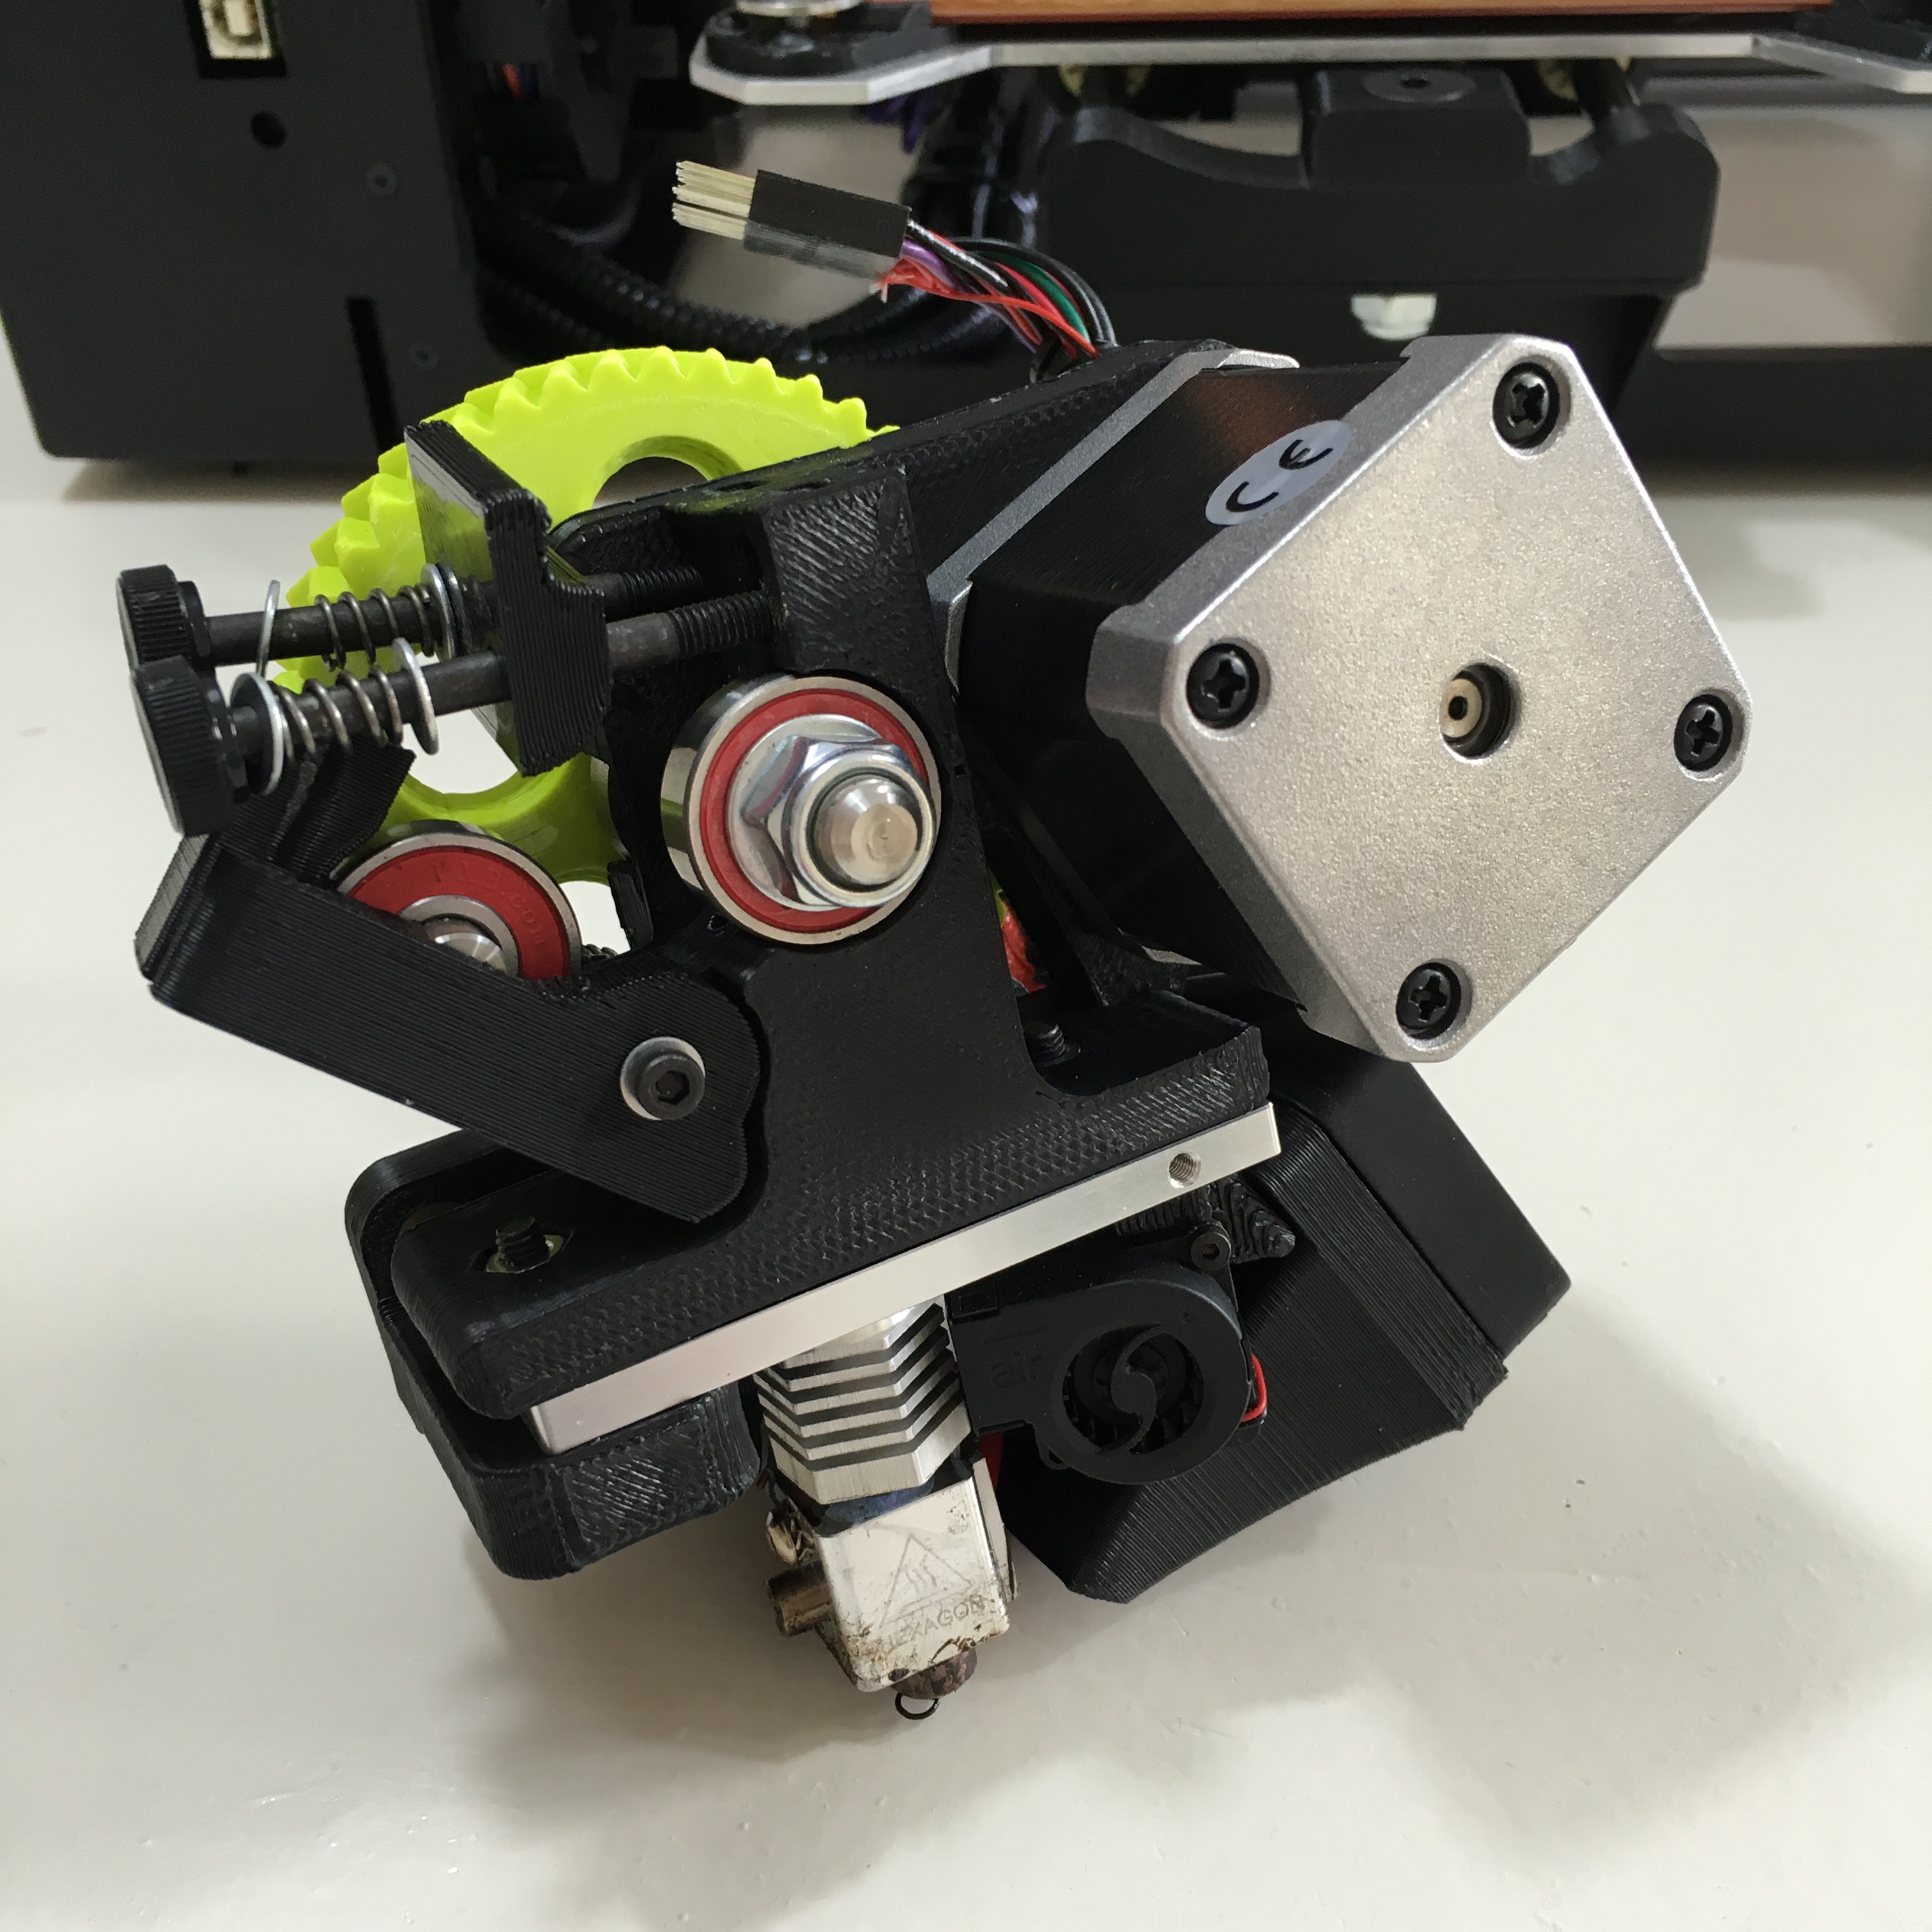
With over a year of 3D-printing and only a hand full of failed prints, I can honestly say my Lulzbot Mini 3D printer is a reliable piece of hardware. But after a recent failure, it turned out my printer needed some extra love.
The NeoDisplay
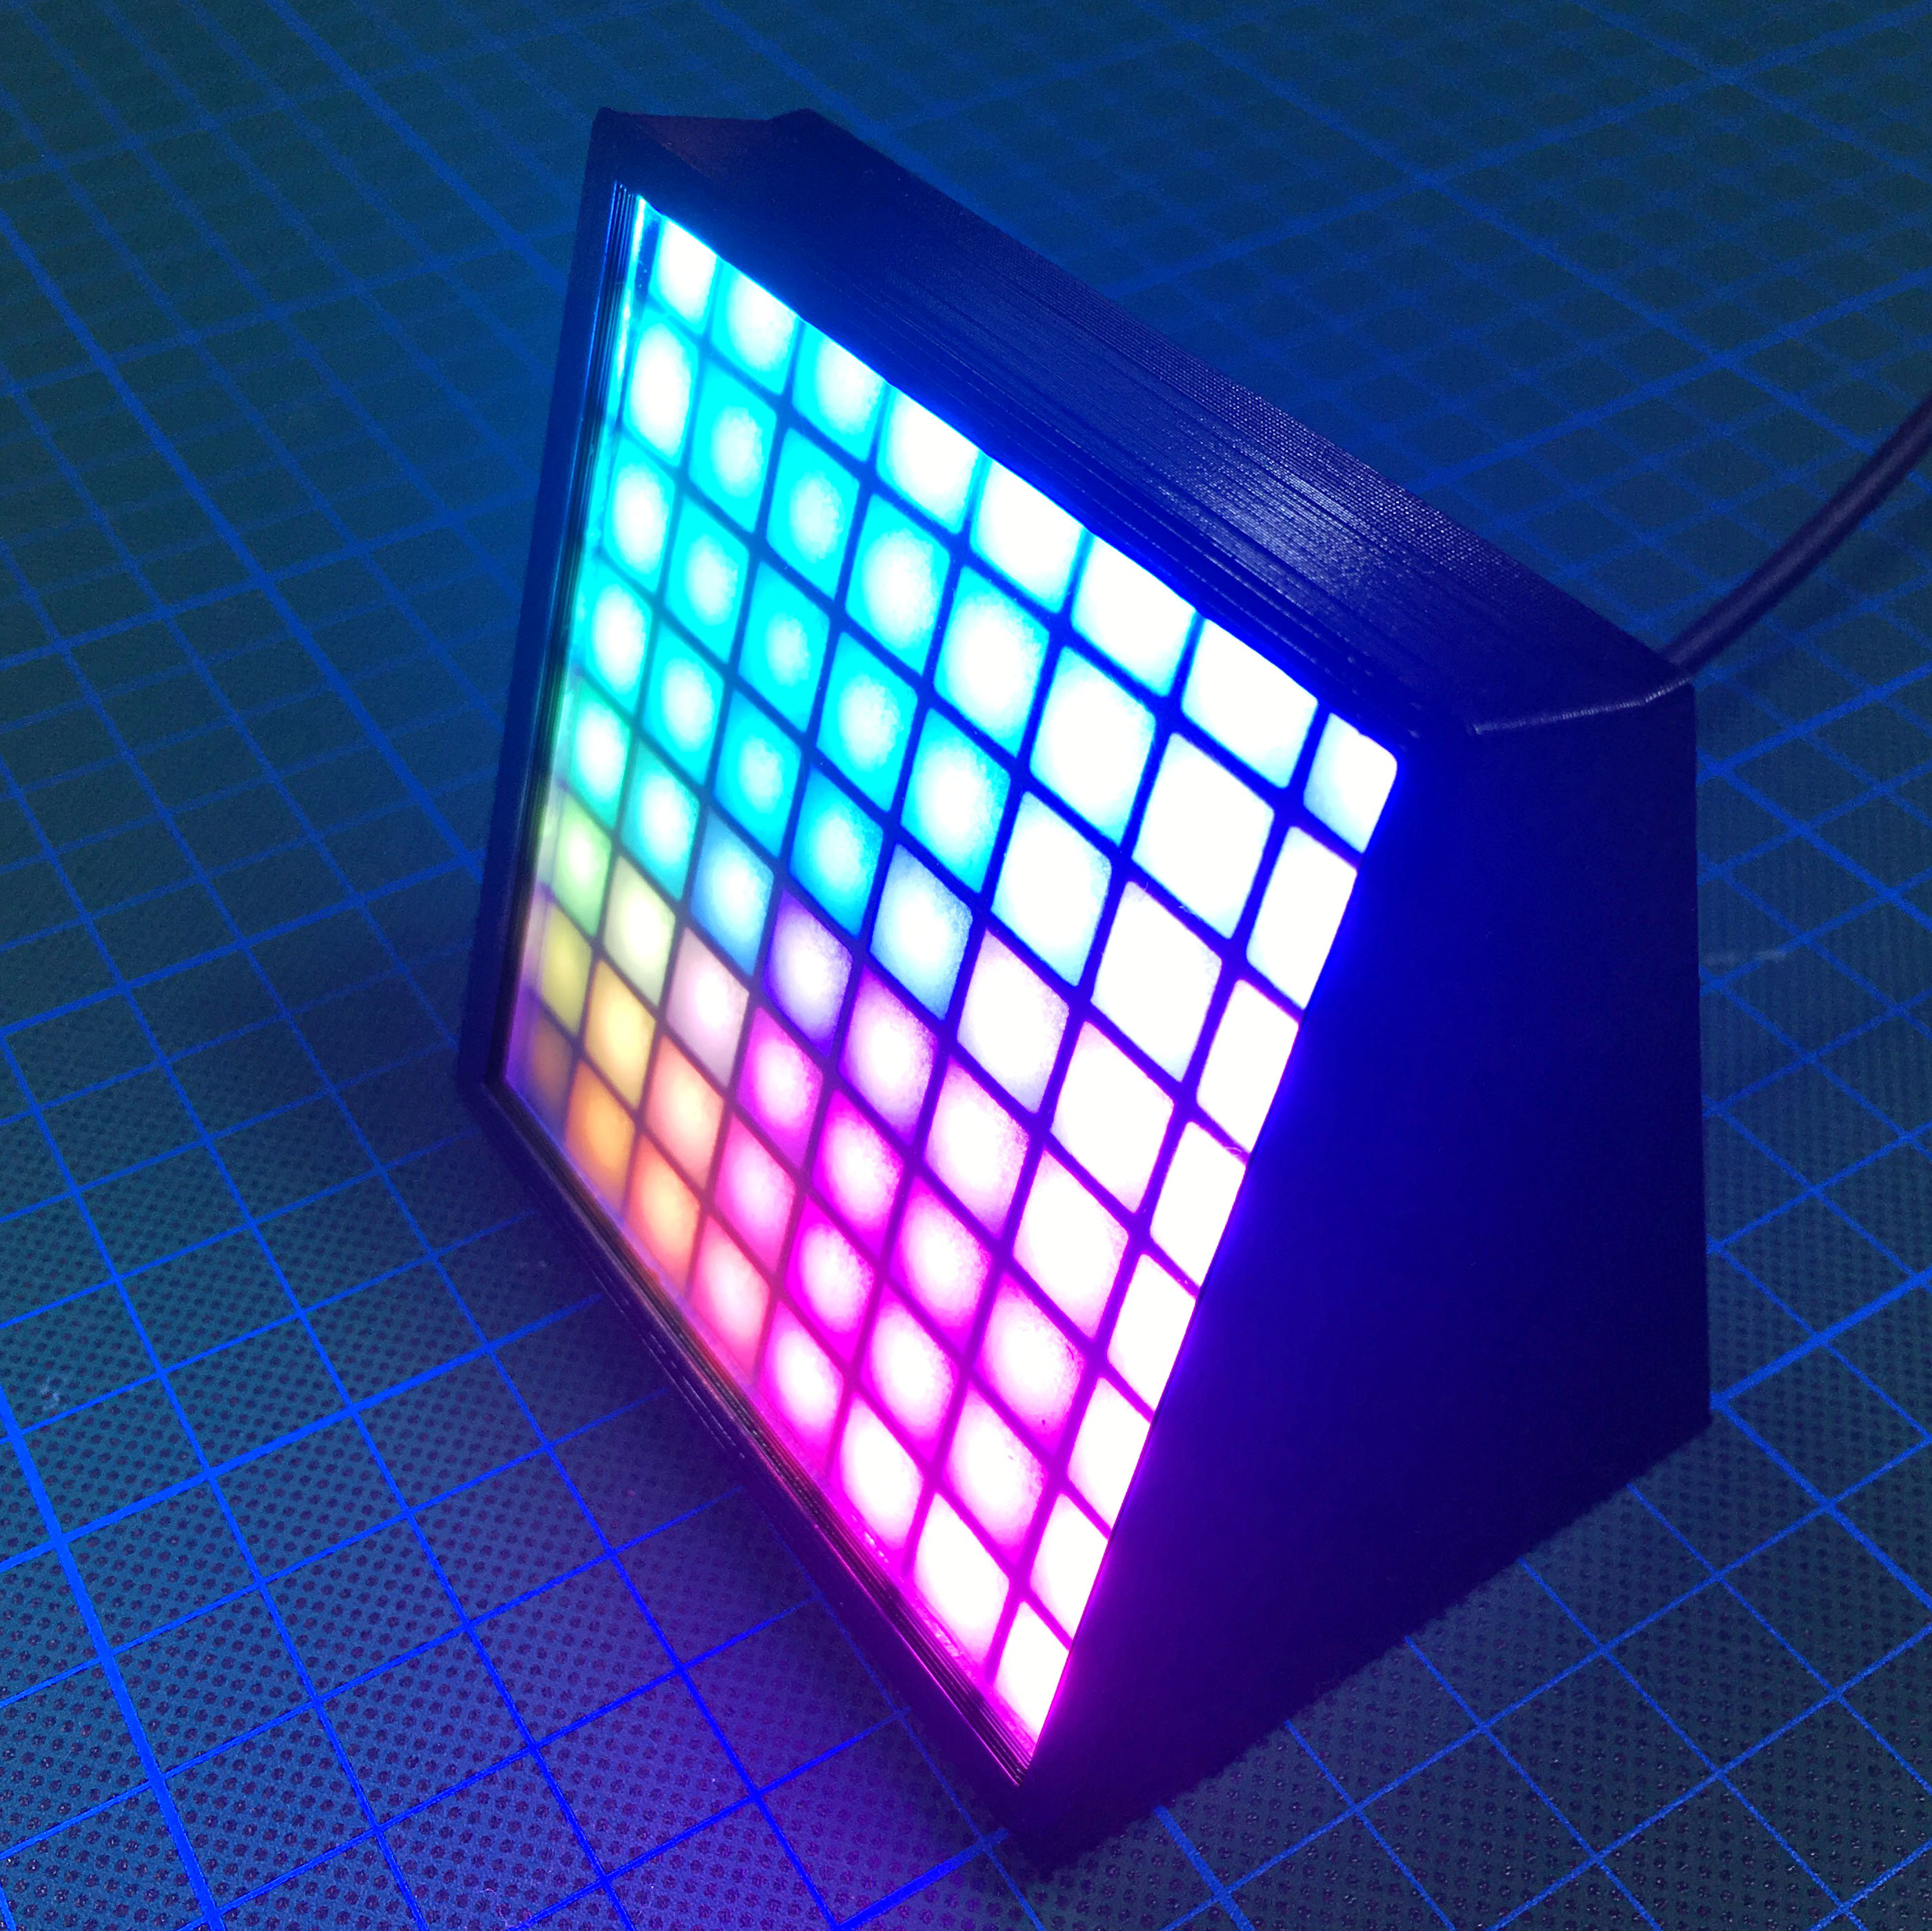
As most of the Arduino tinkering makers, I have some NeoPixels LEDs in my drawers. Especially the 8x8 NeoMatrix is a beautiful piece of illumination. But till now, I didn’t have any good use for it yet. Time to make it a bit more useful!
3D-parenting
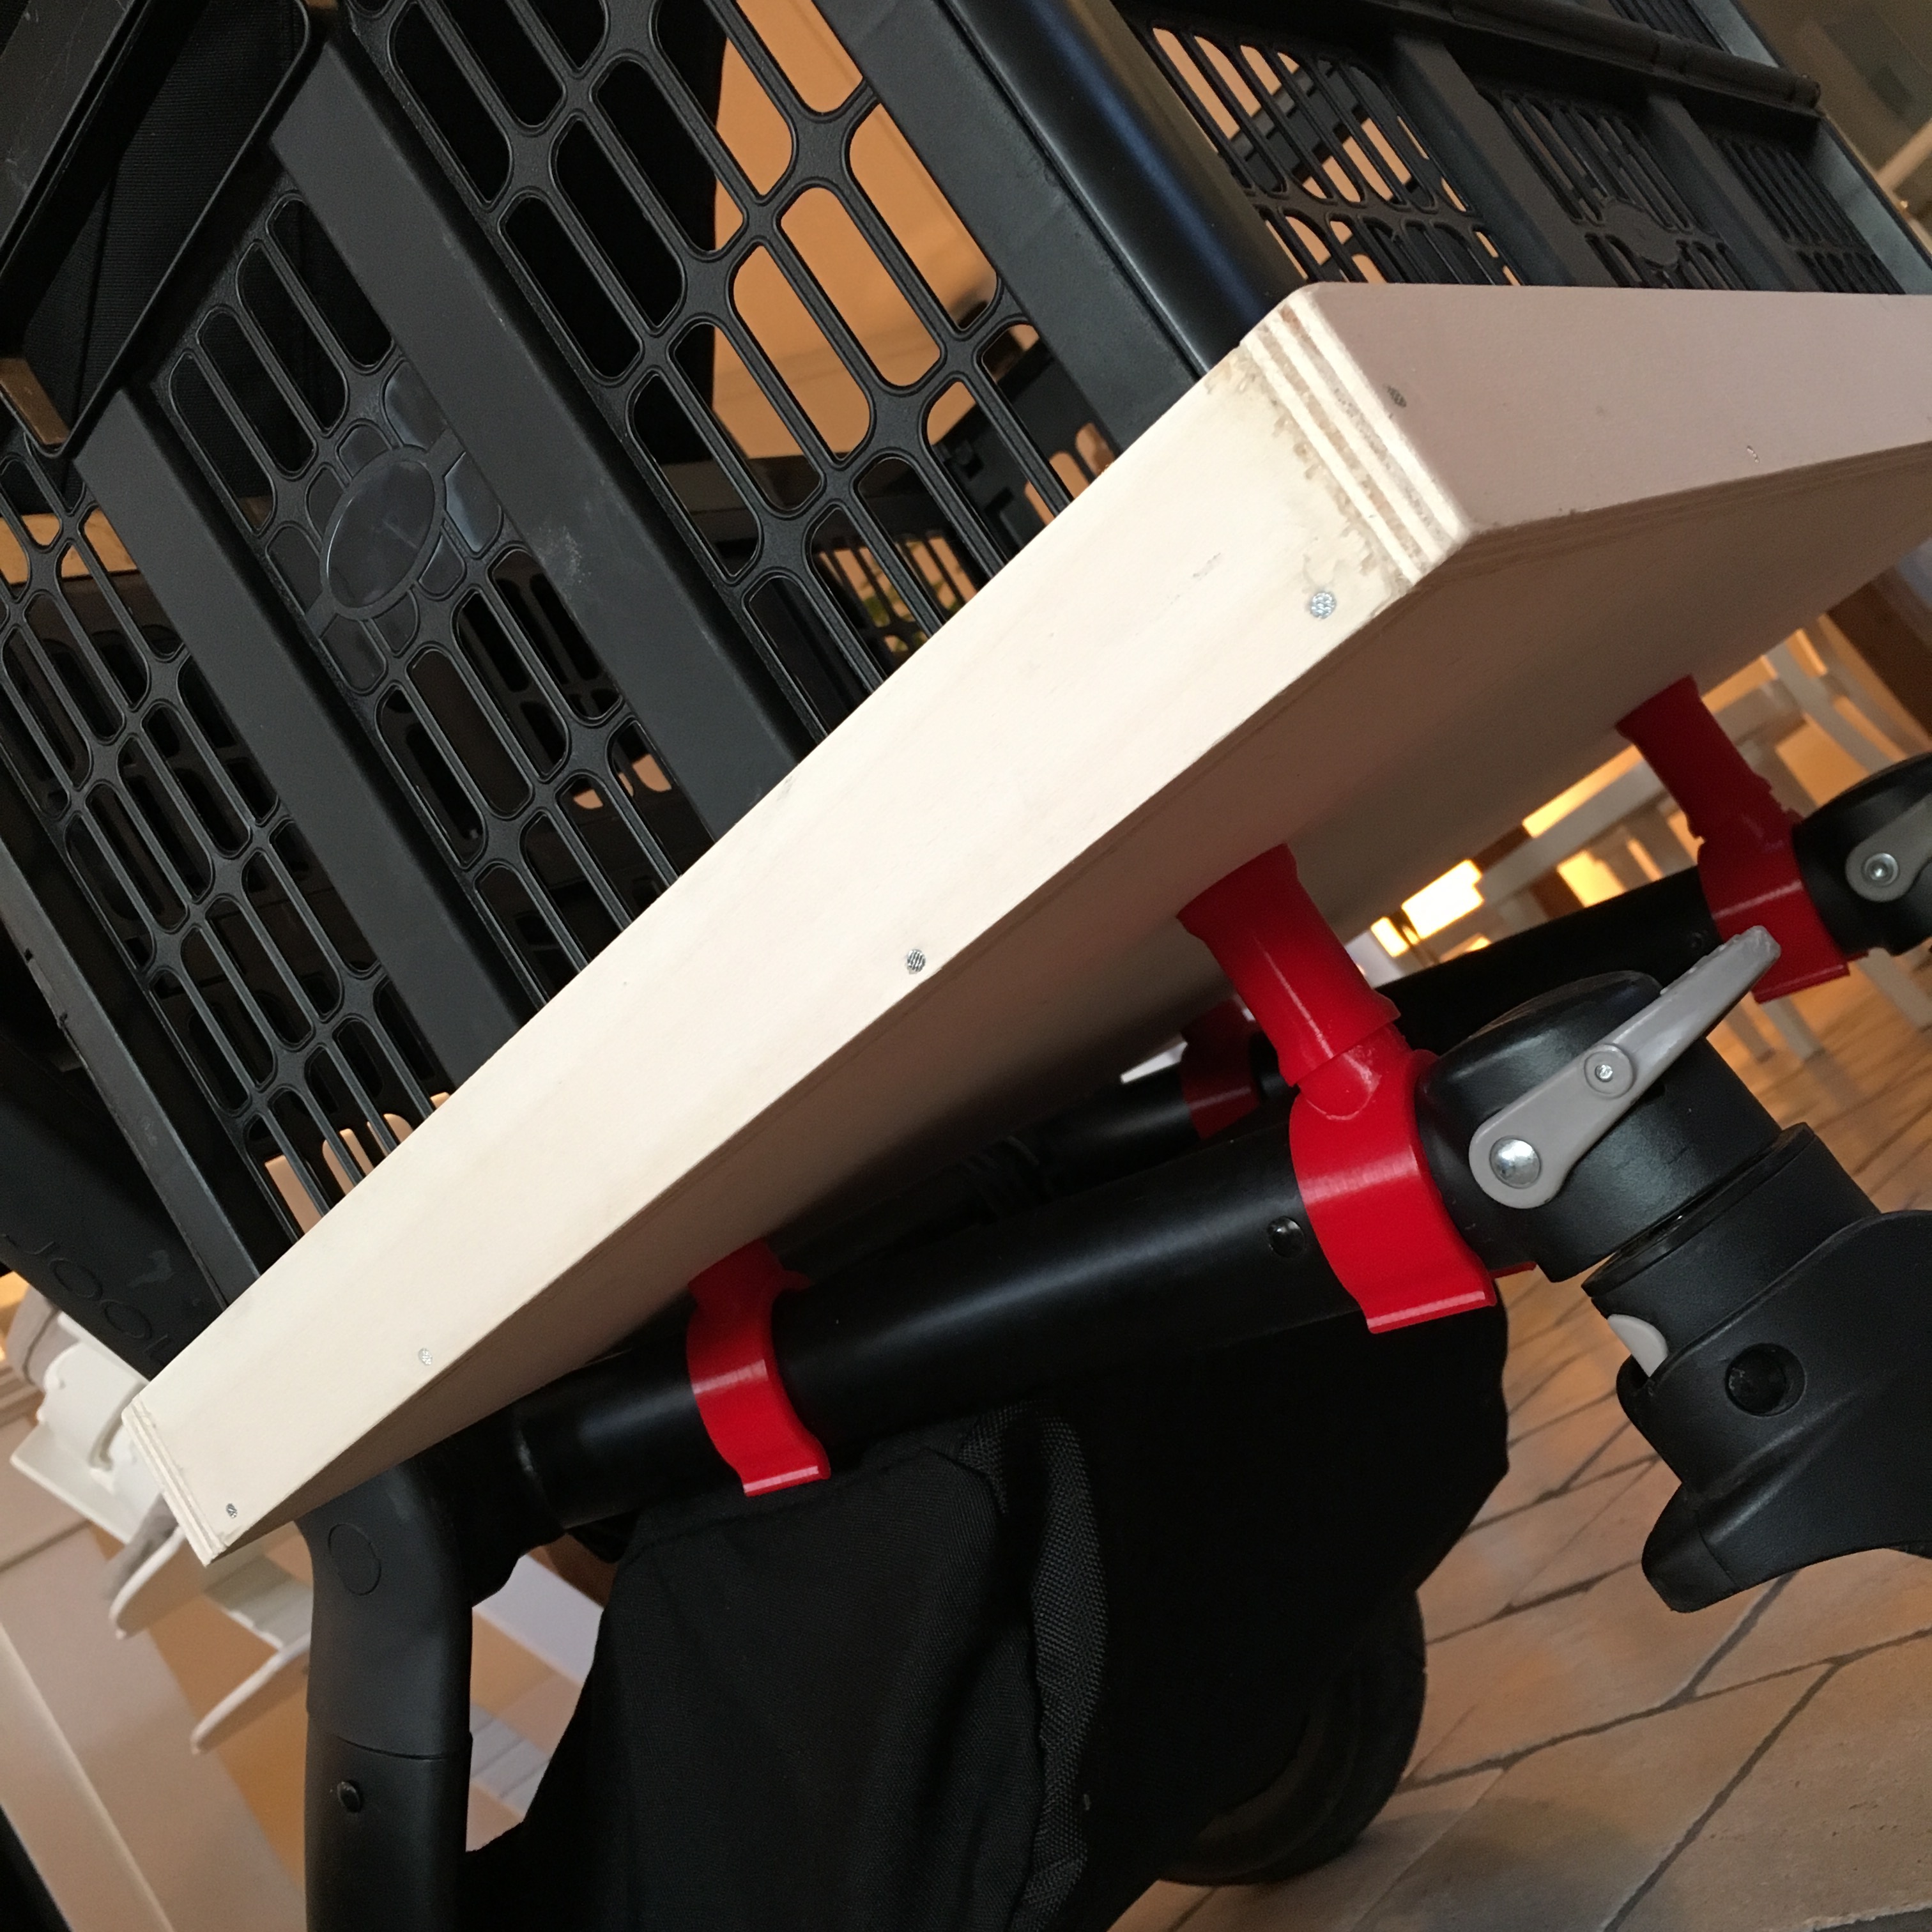
It’s June! Which means two things: it’s getting hotter each day. And my son is 9 months old. Together these facts are a good reason for a nice 3D printing project.
Pimping my ride!
While I’m still waiting for some Chinese parts to arrive in order to finish my Wifi controlled curtains, I took some time to pick up a totally different project …
Automatic Curtains:
The most permanent temporary solution.
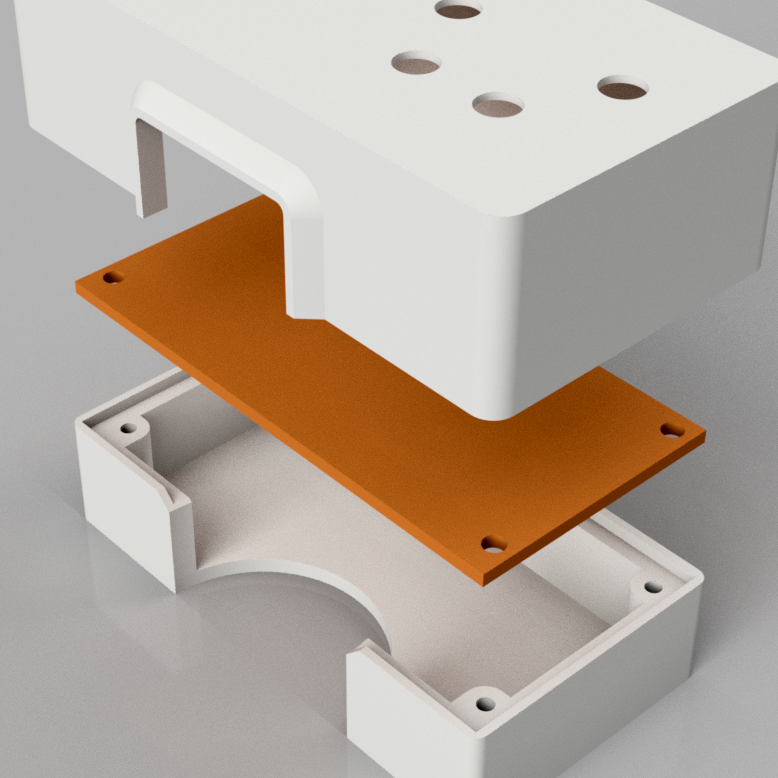
With the final Motor Unit moutend, and the cables routed to a central location, it is time to install a simple control unit. Unfortunately, the sophisticated button pad I created a while ago, wasn’t functioning as well as I hoped. So while I fix these issues, I need to mount a temporary control unit.
Automatic Curtains:
Push the button!
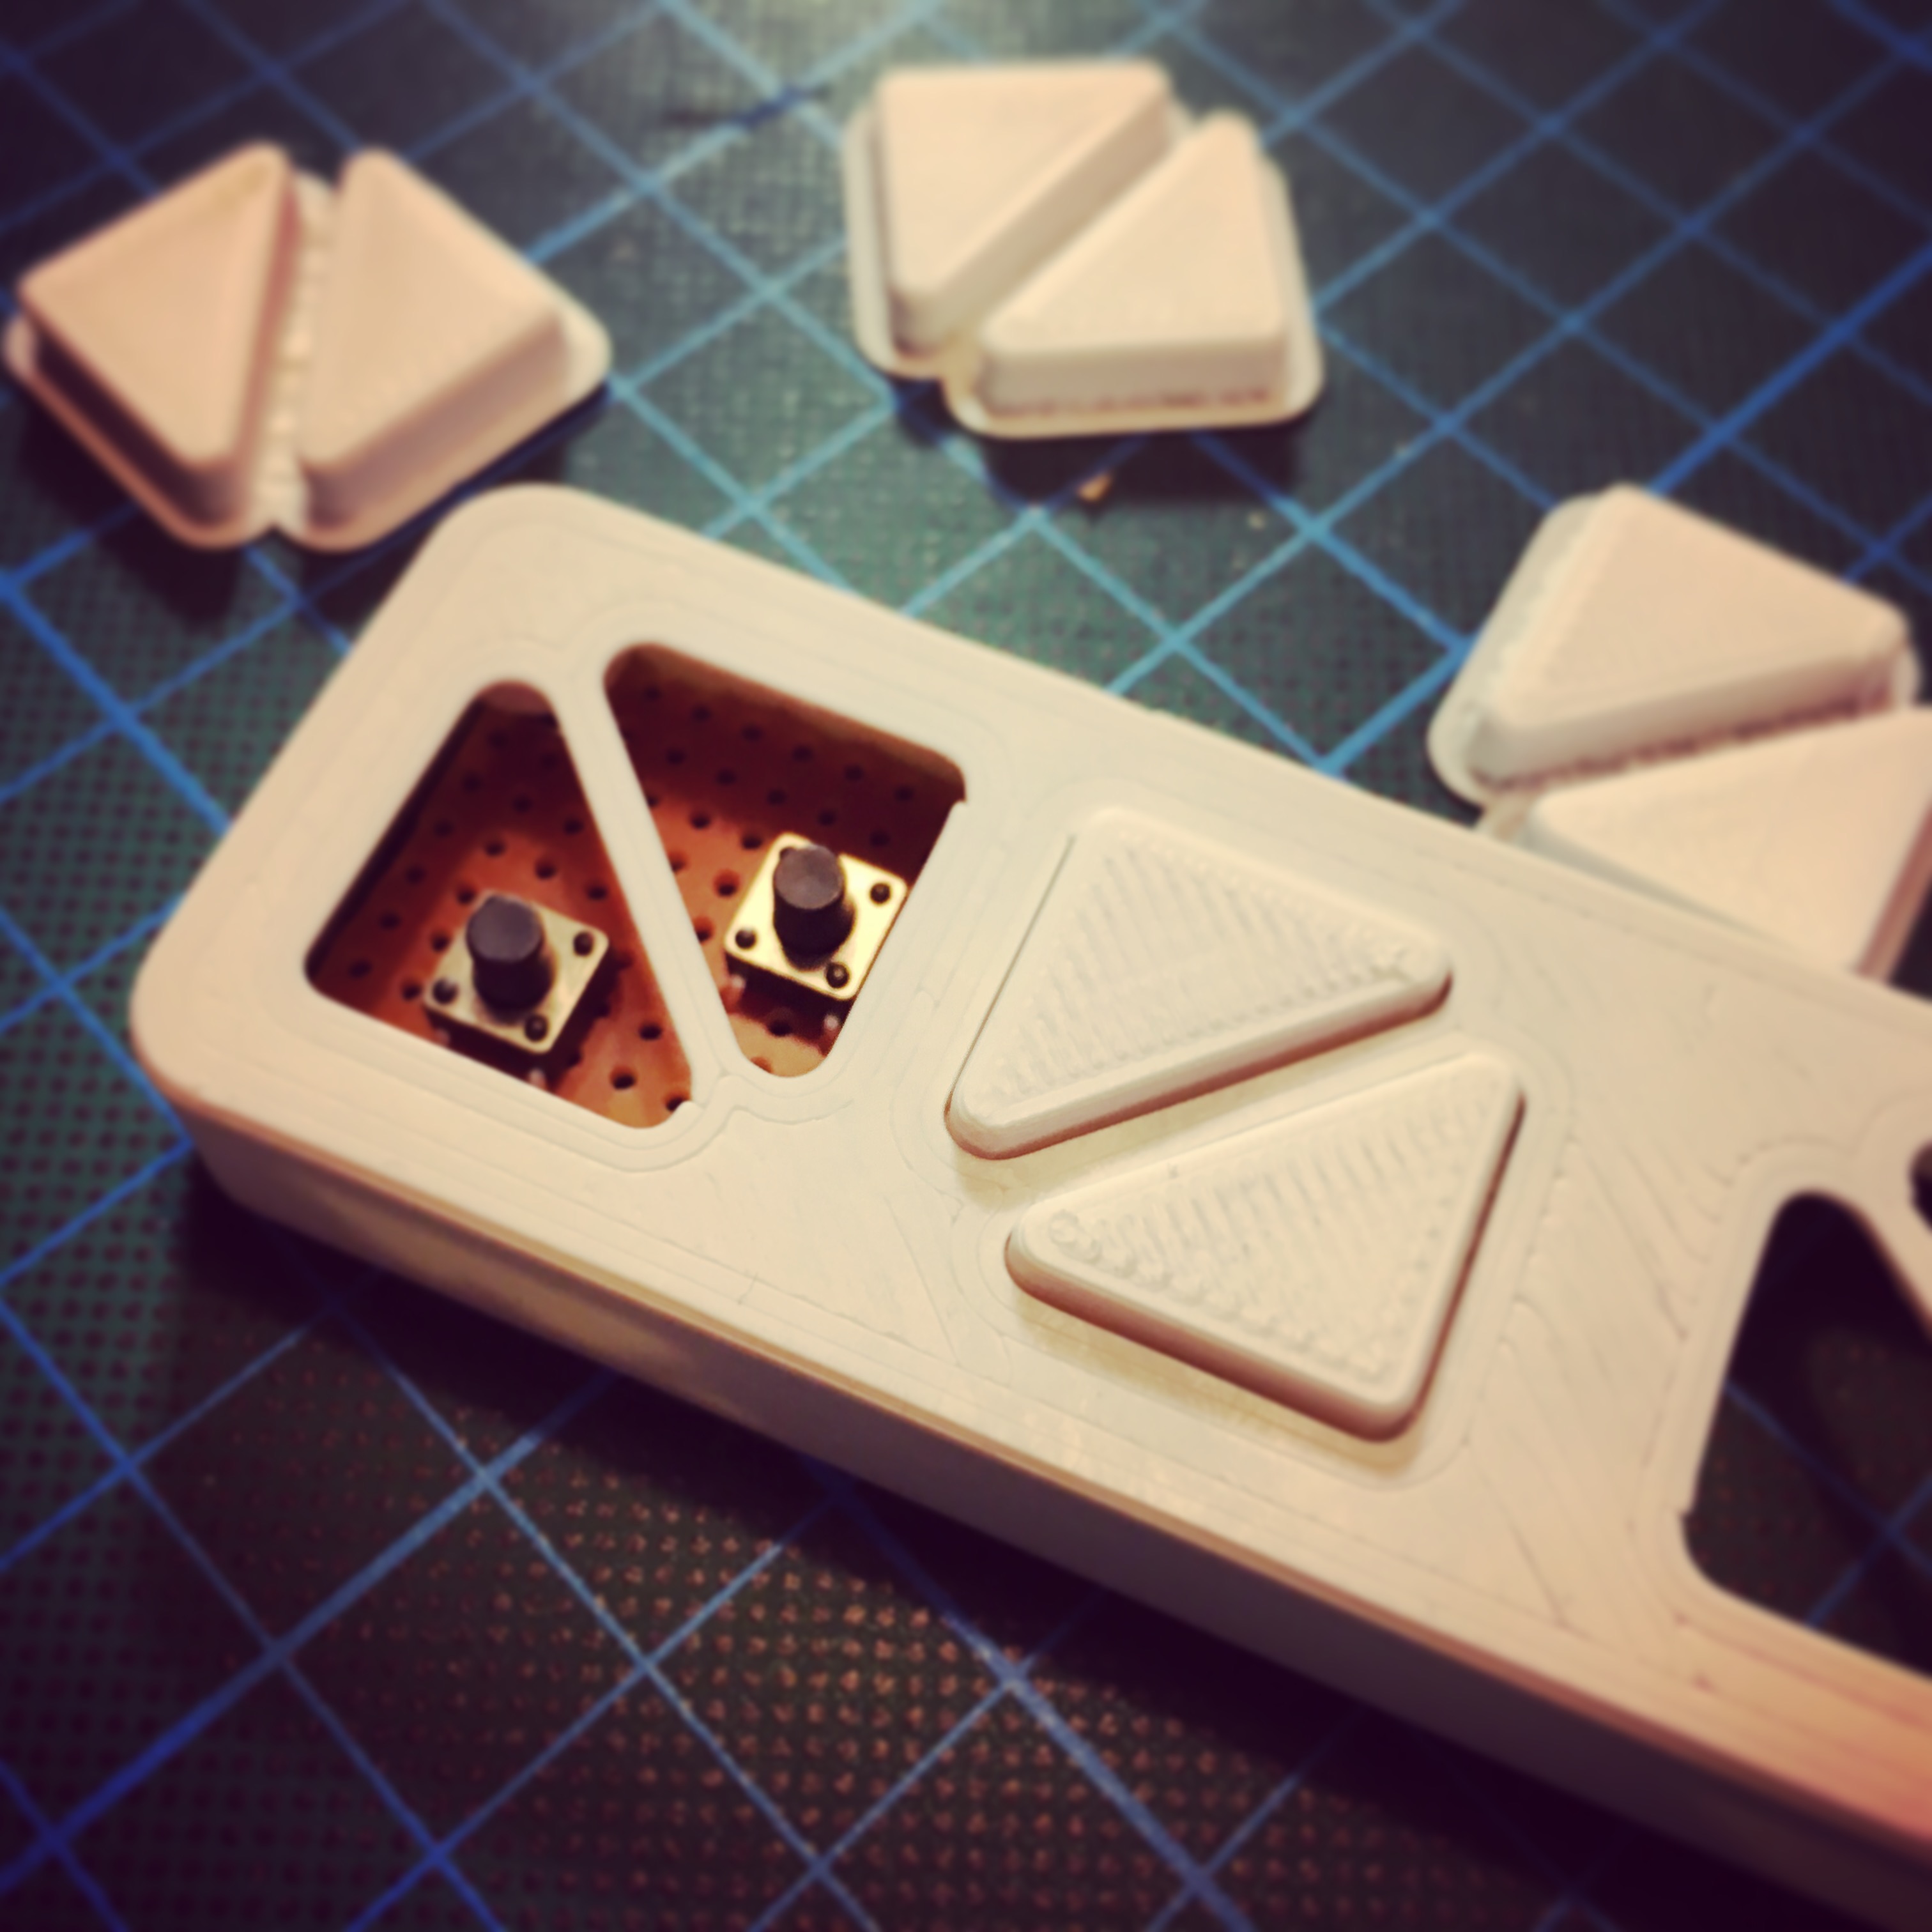
With most of the automatic curtain motor units done, it is time to start worrying about the controls. With projects like these, you always have to work on the WAF-score. The Wife Acceptance Factor. So a simple control pad is a must.
Automatic Curtains:
Assembling the motor units.
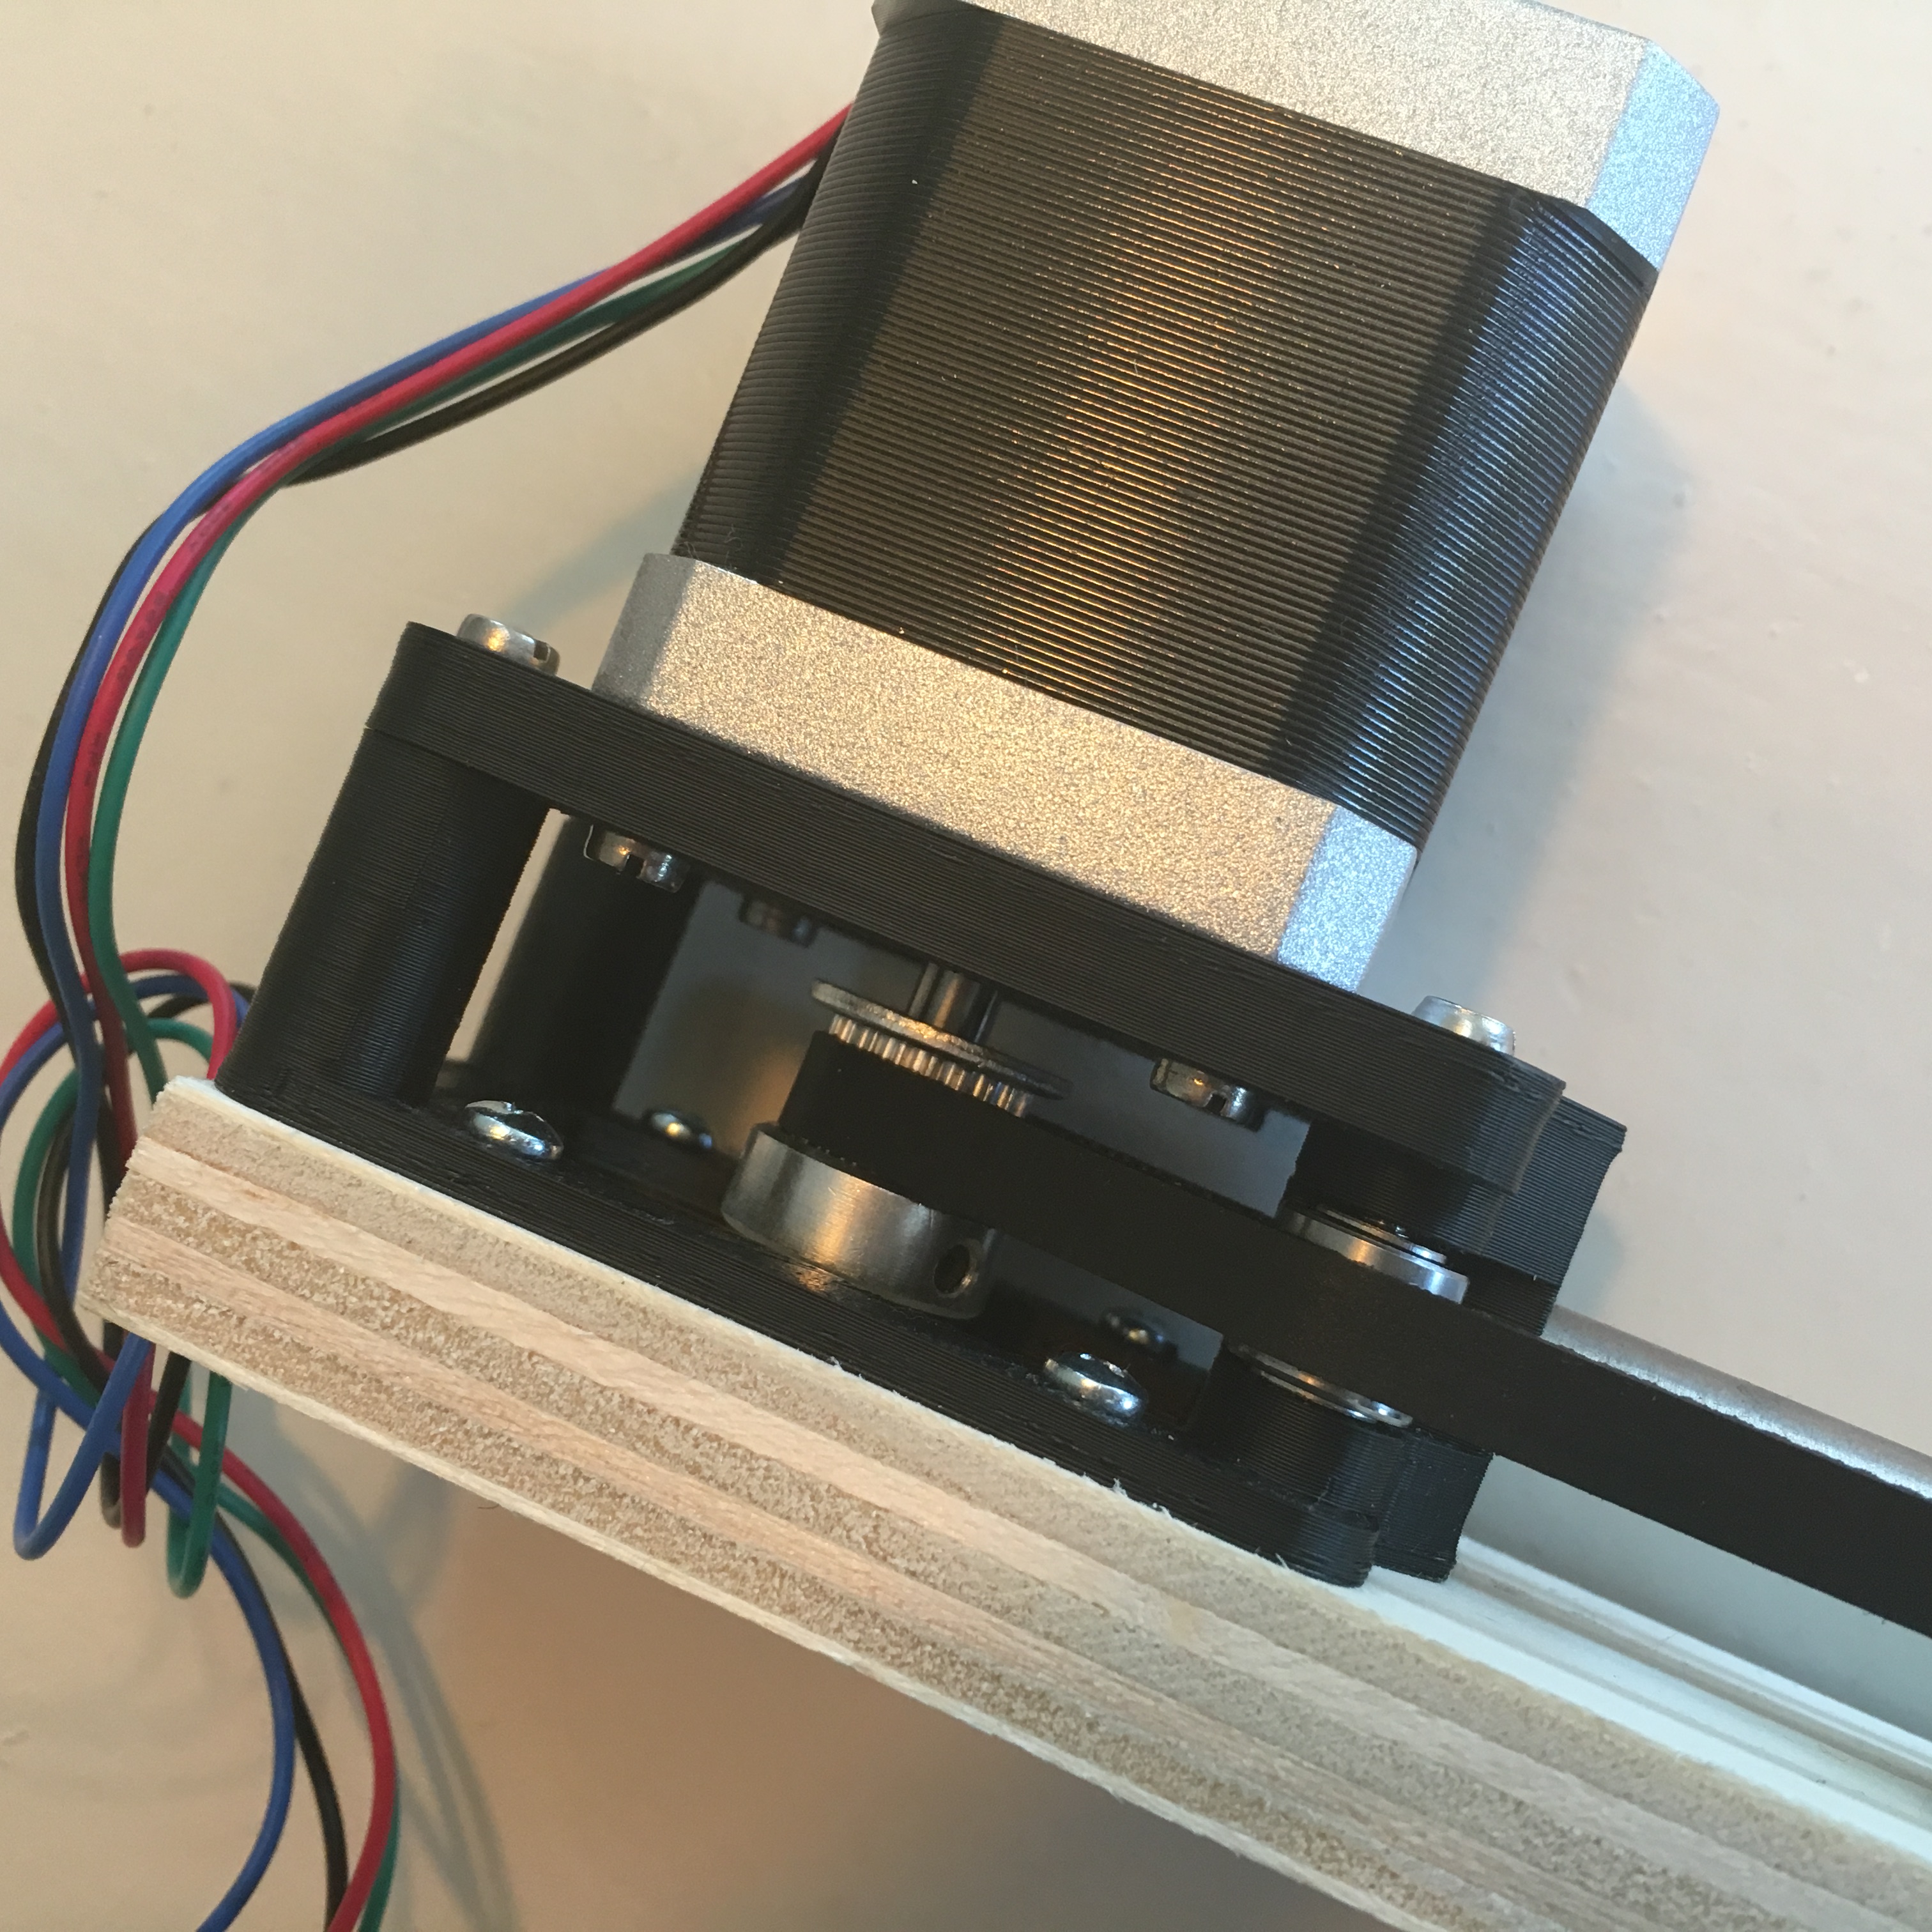
Now that the prototype is finally complete, it is time to start assembling the 4 final motor units: a combination of wood working, 3D printing and some minor cussing. Because I expect some small adjustments along the way, I’ll make the units piece by piece.
When the heat hits the fan ...
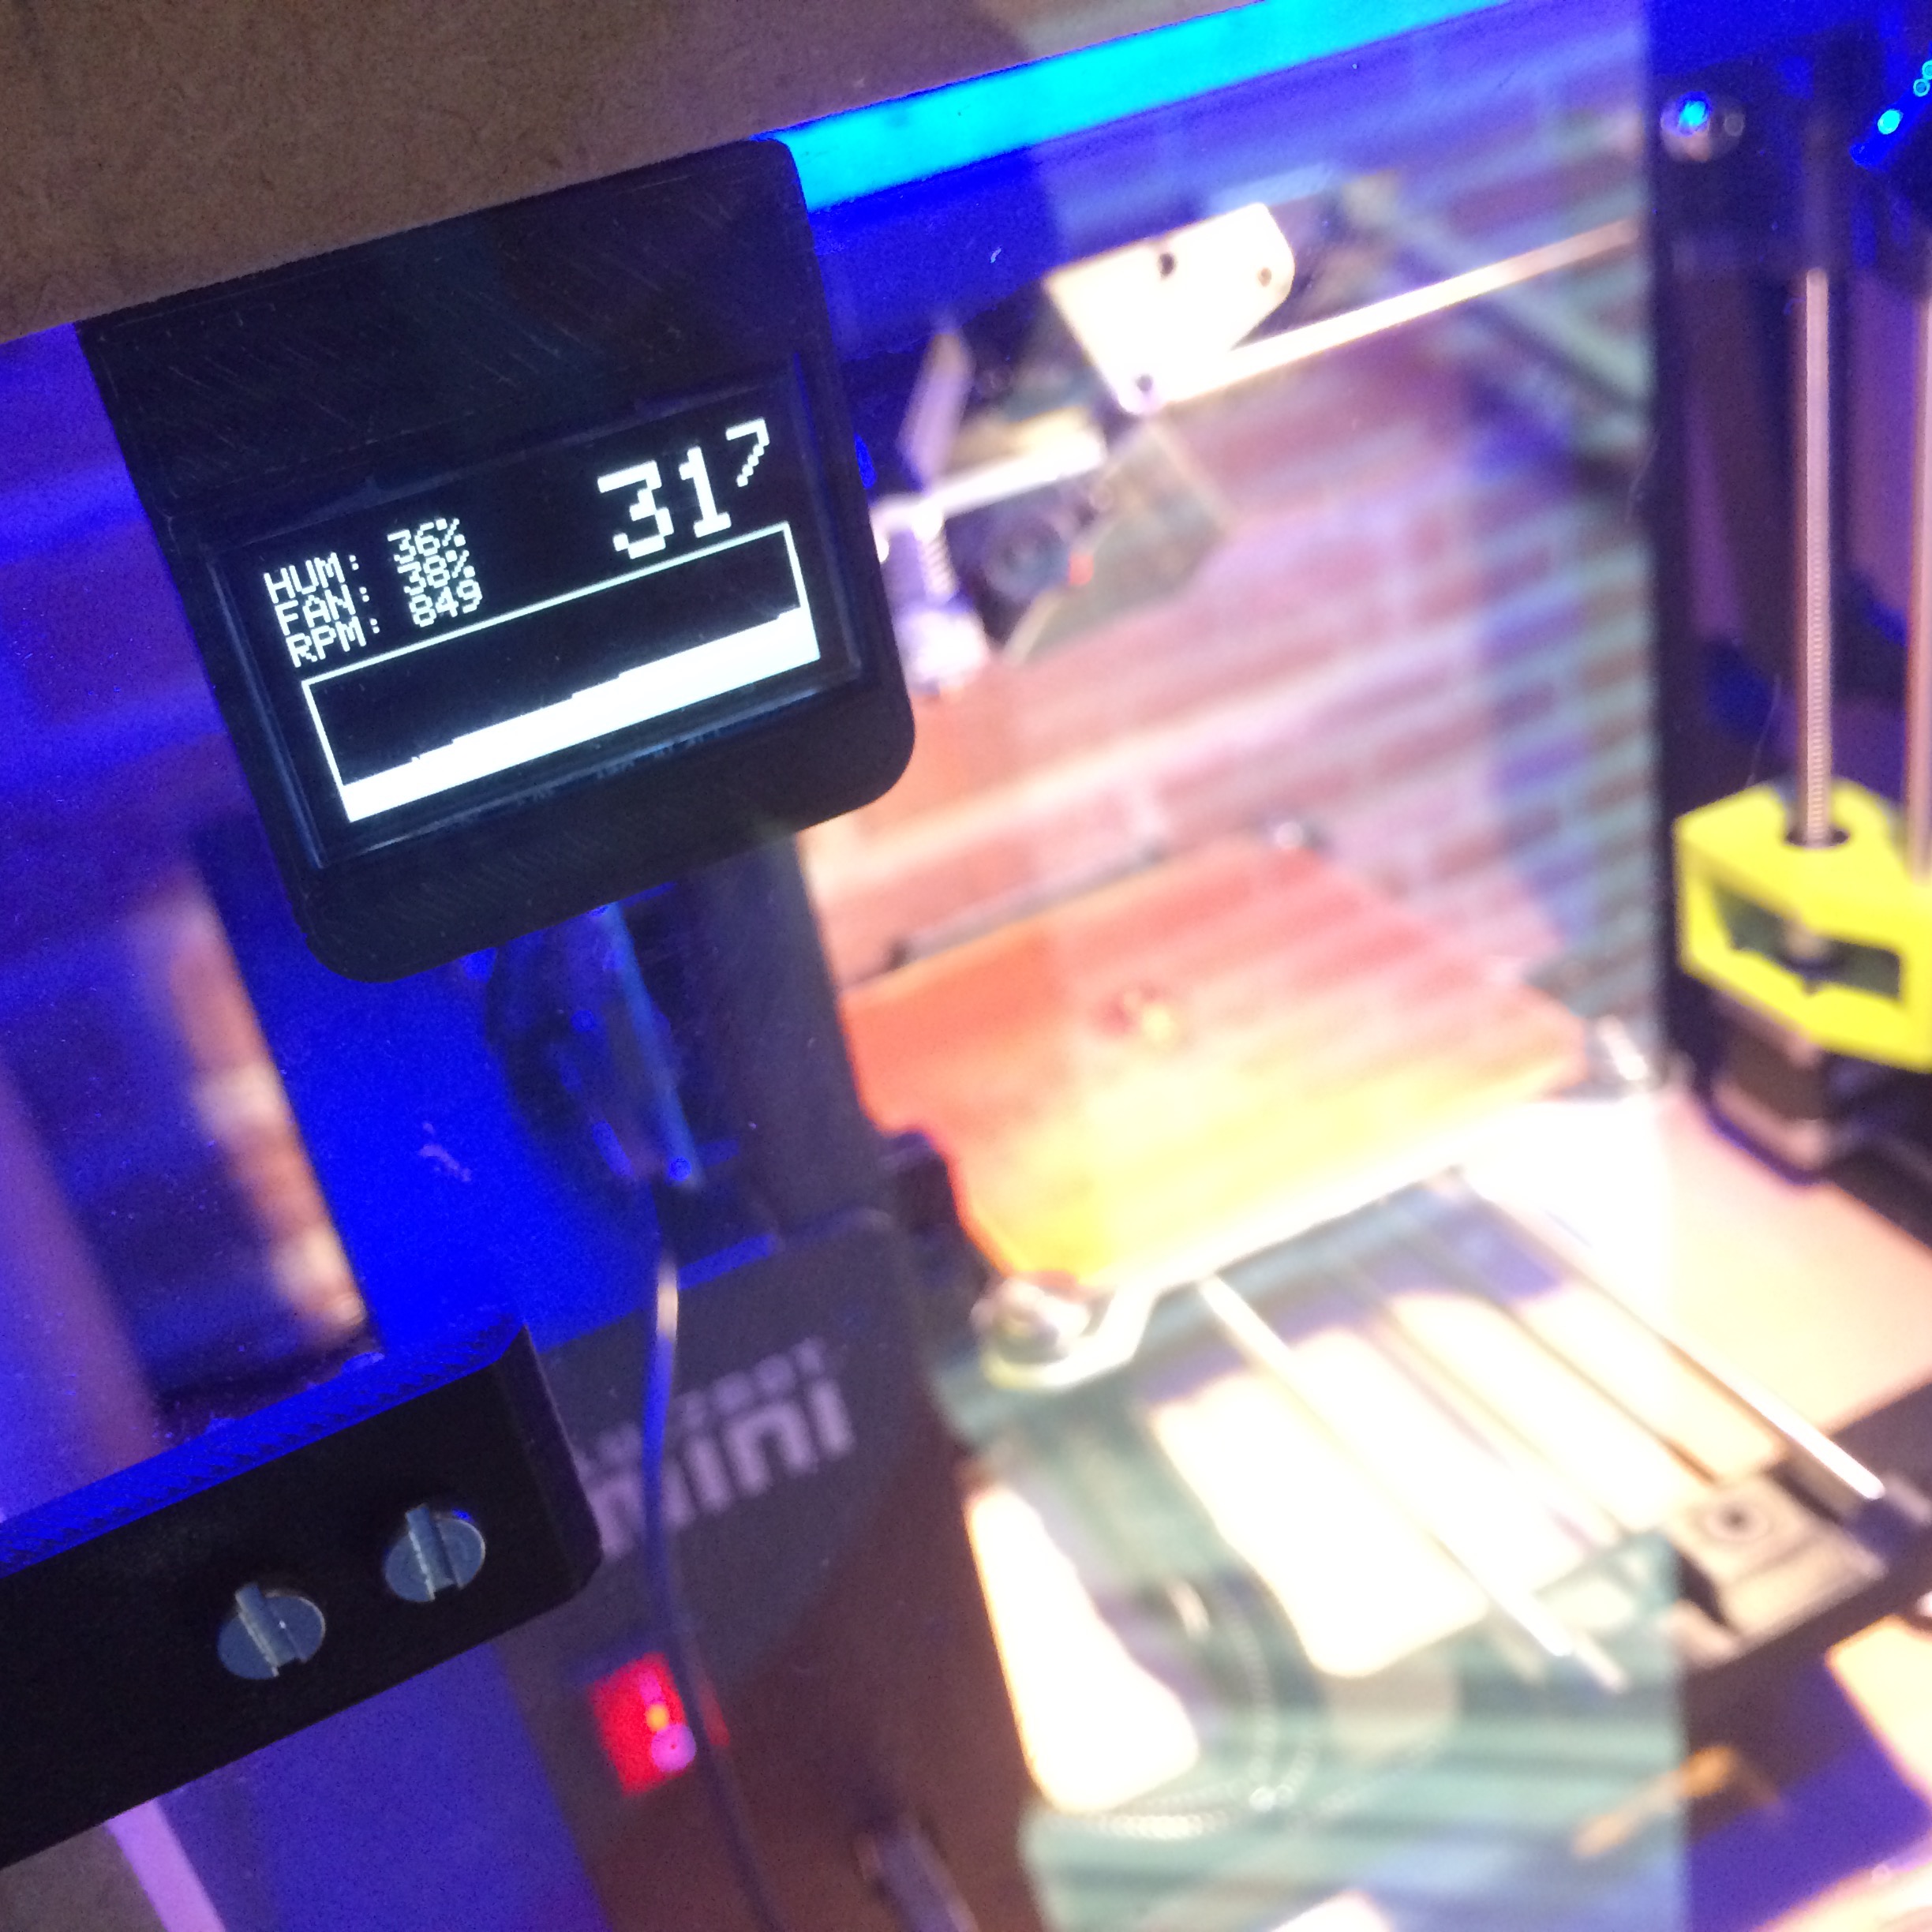
After building the Enclosure for my Lulzbot Mini 3D Printer, I started to worry my Printer wouldn’t like the built up heat. Although higher temperatures are usually an improvement for the print quality, it might affect the hardware. To prevent this, I decided to add a temperature regulated cooling fan.
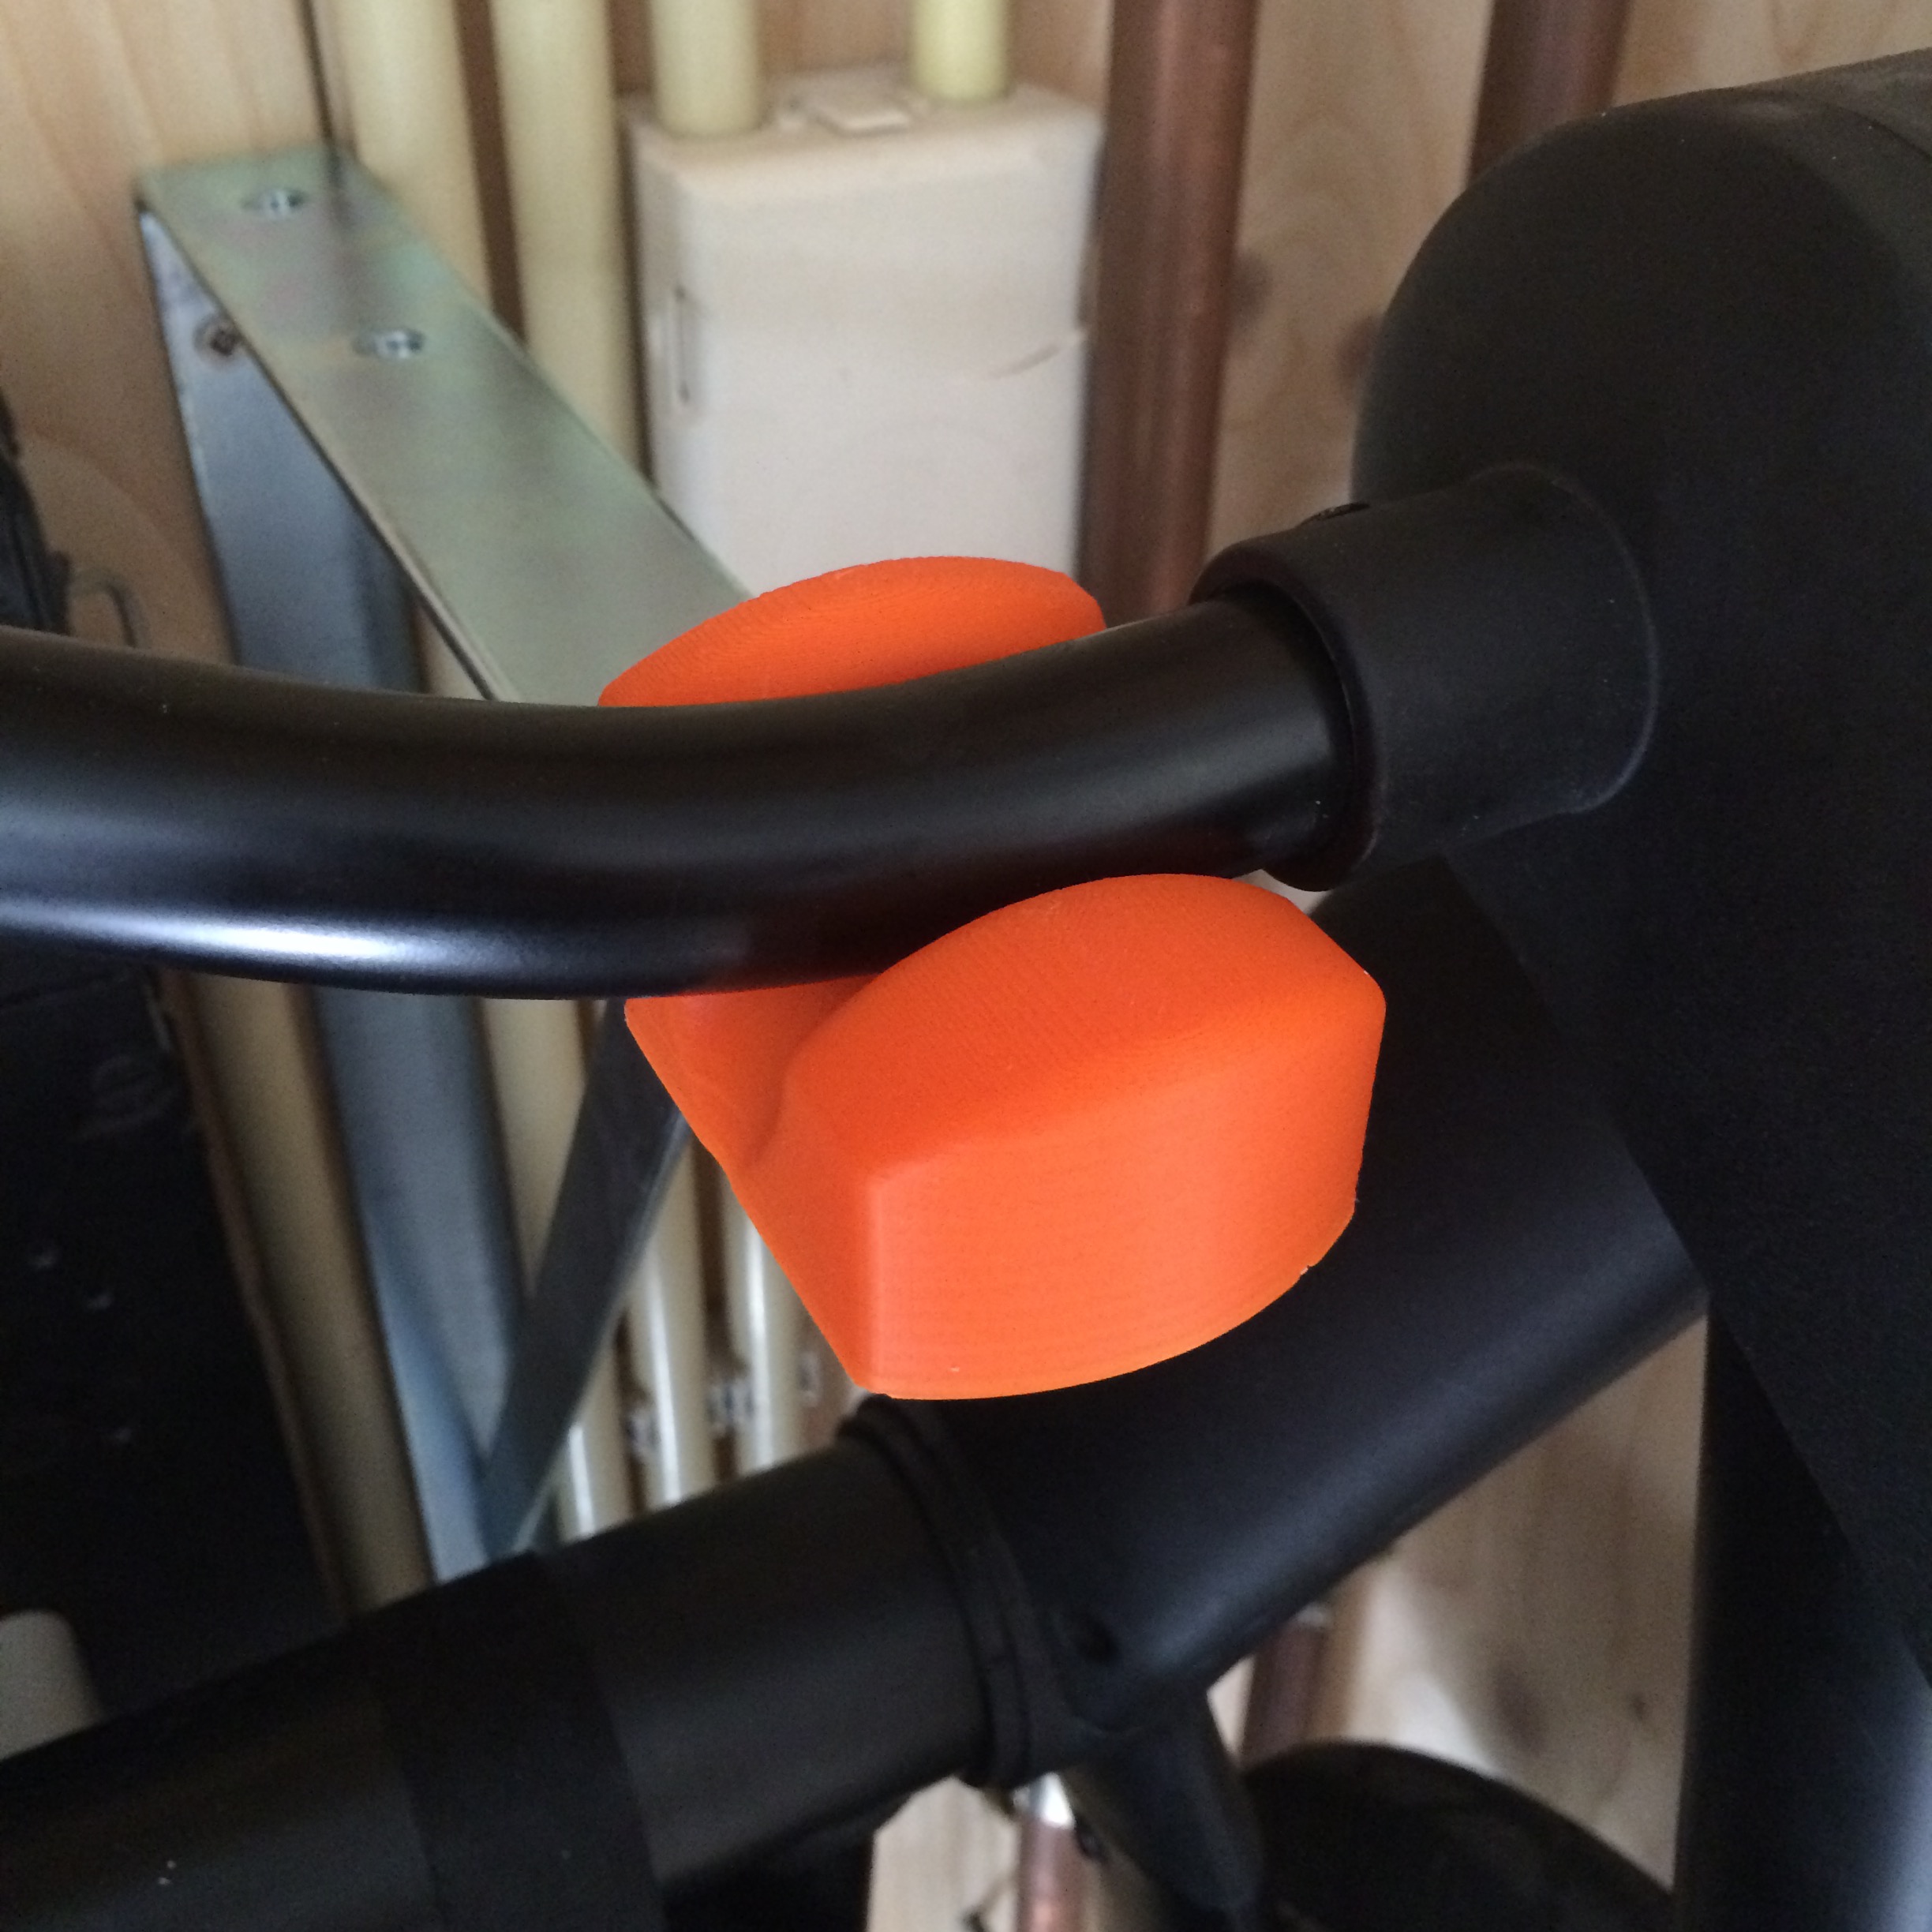
Expecting a baby? Start printing!
If you are a maker, you probably know the feeling: use everything as an excuse to invent something new. And while most people think I should focus on reading parenting books, I think my unborn child is the perfect reason to spend my time behind my 3D-printer!
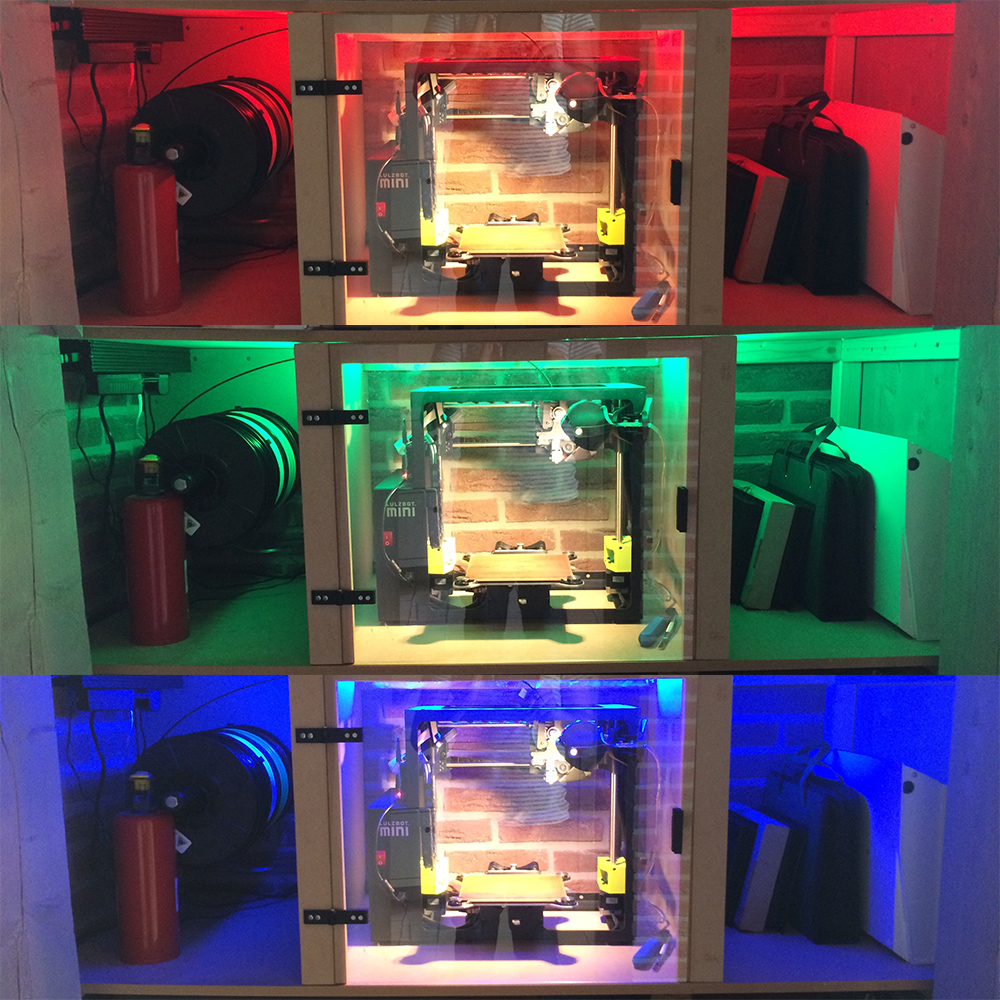
Building my 3D-printer enclosure.
Ever since I bought my Lulzbot Mini, I’m hooked to the concept of 3D printing. But not only the printing keeps me busy. Creating the perfect printing environment is just as addictive.
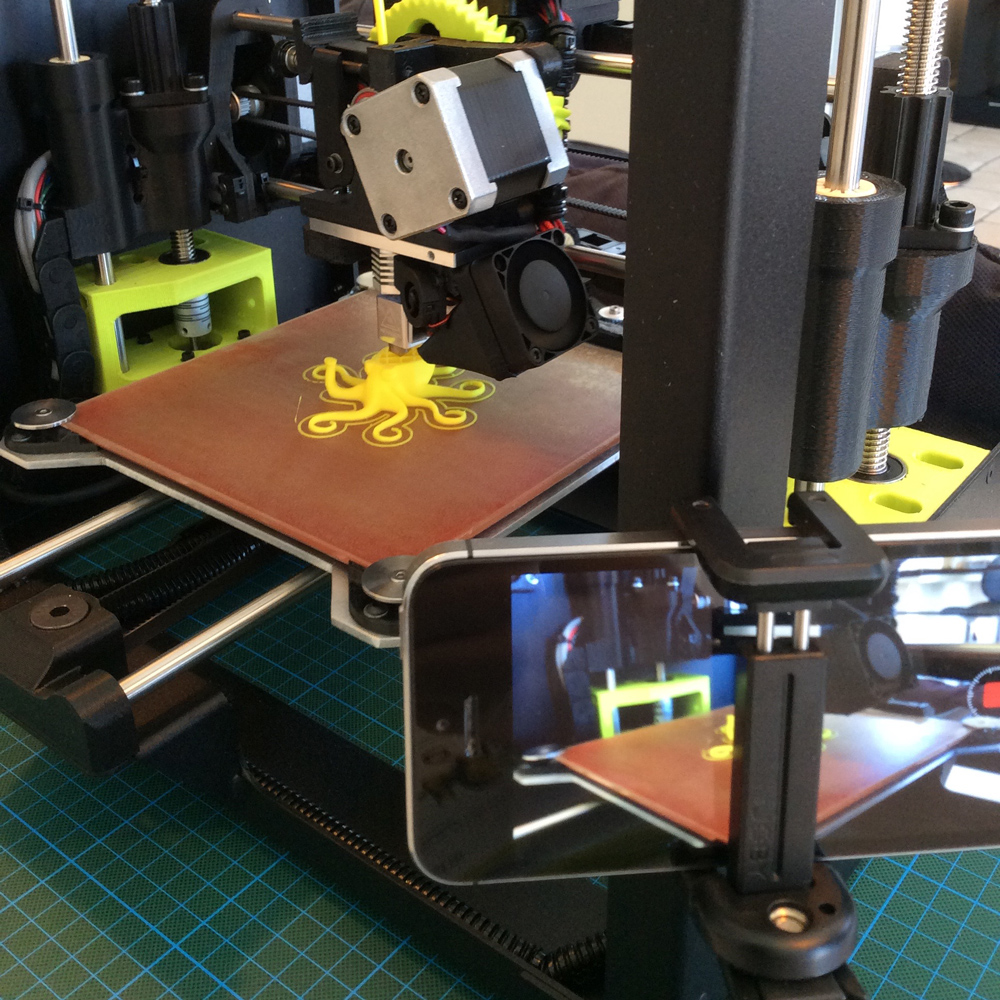
Welcome to the world of 3D printing.
Ever since I’ve worked on my PowerSuit I felt the need for a 3D printer. Or to be more exact, since then I had a good way to sell it to myself. When I recently stumbled upon the Lulzbot Mini, I was sold!