Two weeks ago I posted about my experiment with the ATTiny10. A 12Mhz 8-bit micro controller small enough to be confused with an obese ant. Unfortunately I didn’t succeed in programming this tiny guy, so this week I continue my small scale flashing quest.
My first guess was that the tiny wires I used to connect the ATTiny10 to my USBasp flasher weren’t working, or I damaged the ATTiny10 in my amateur micro soldering attempts.
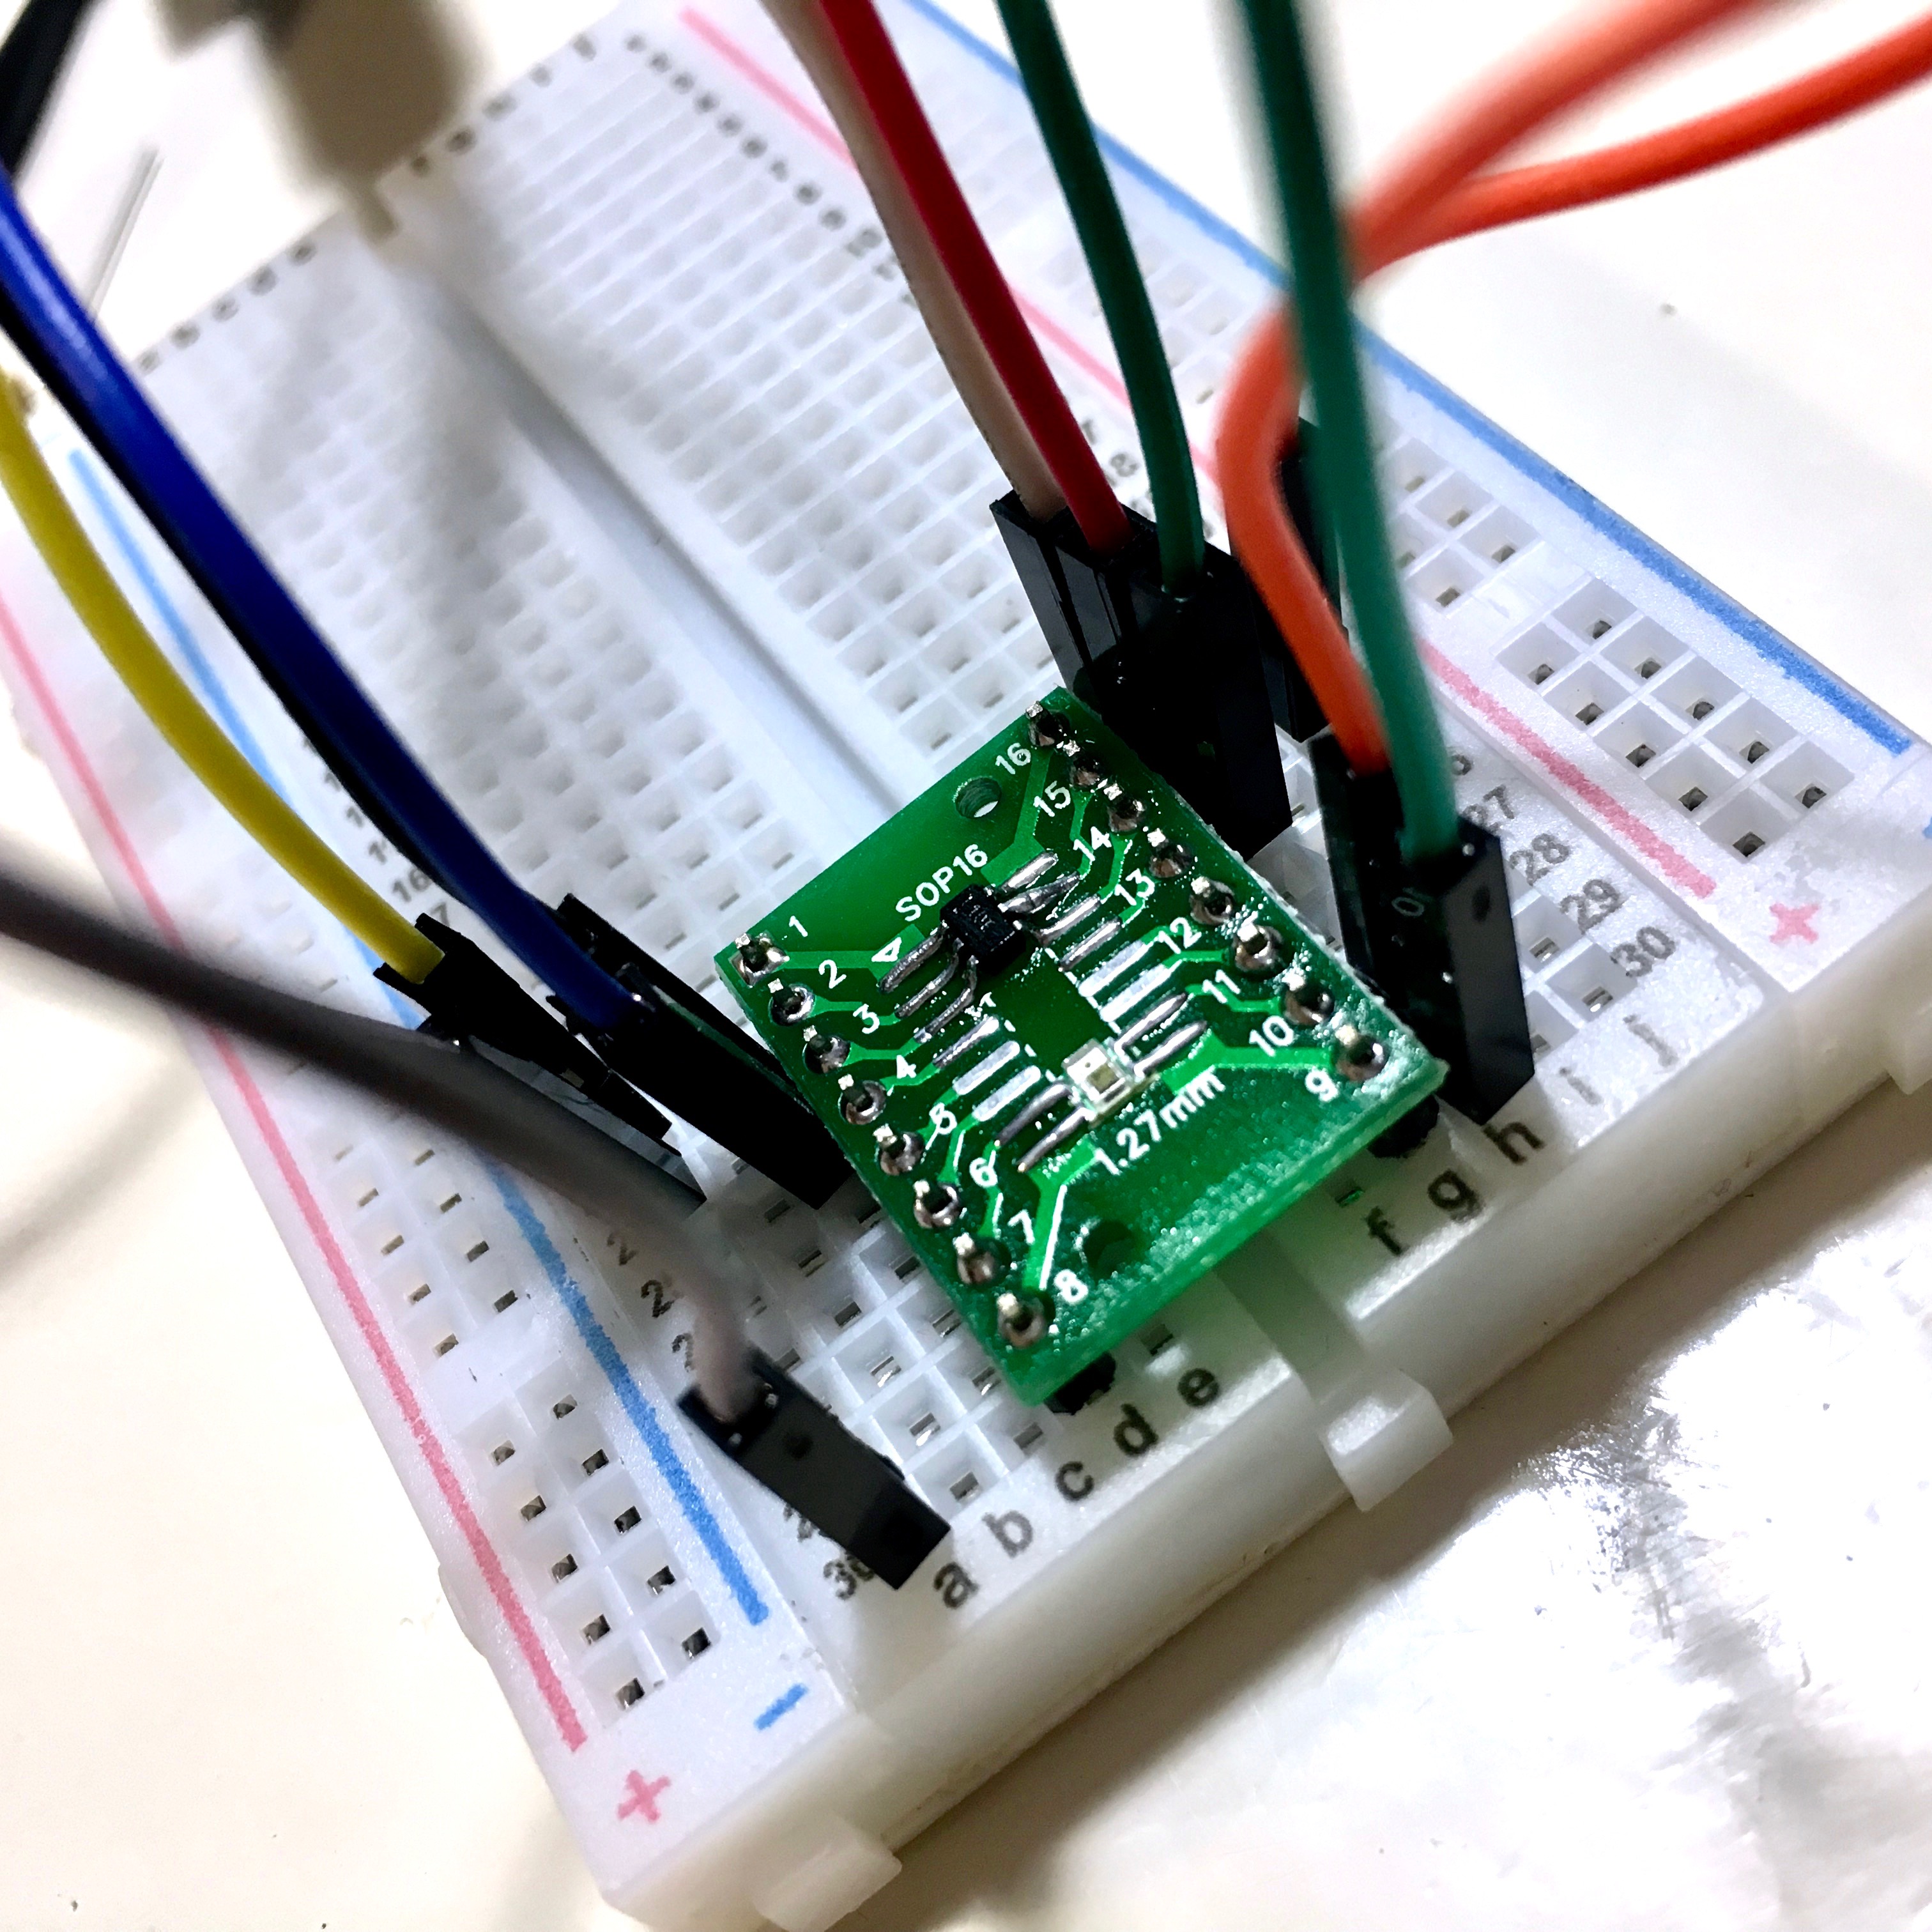
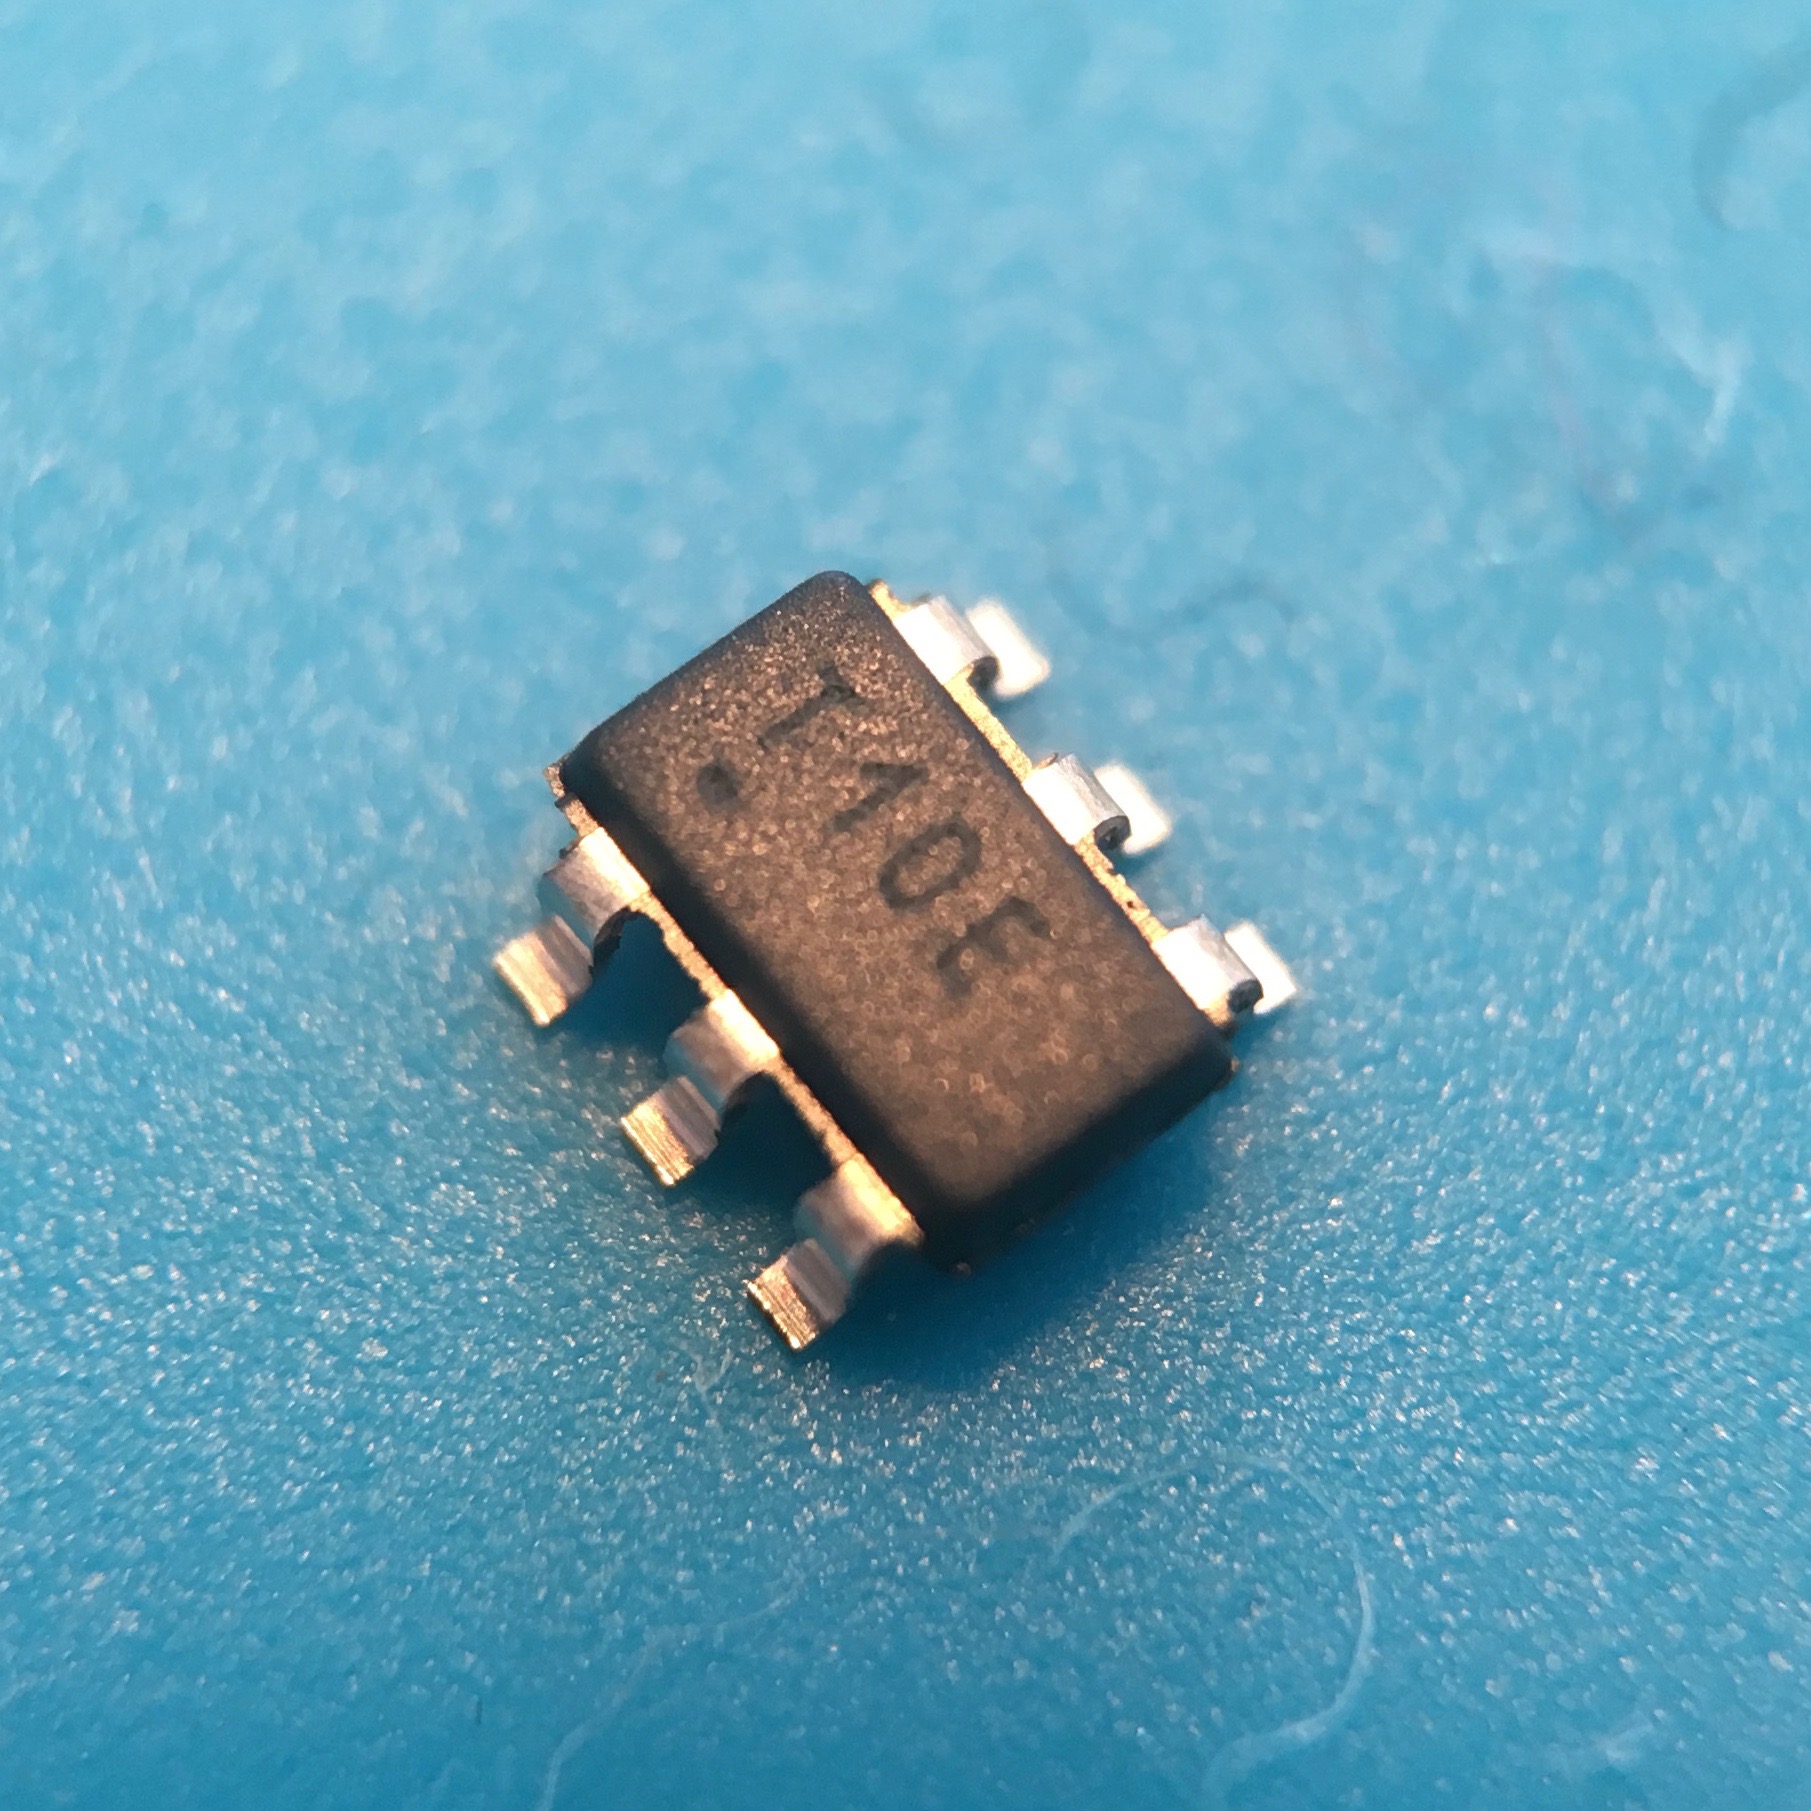
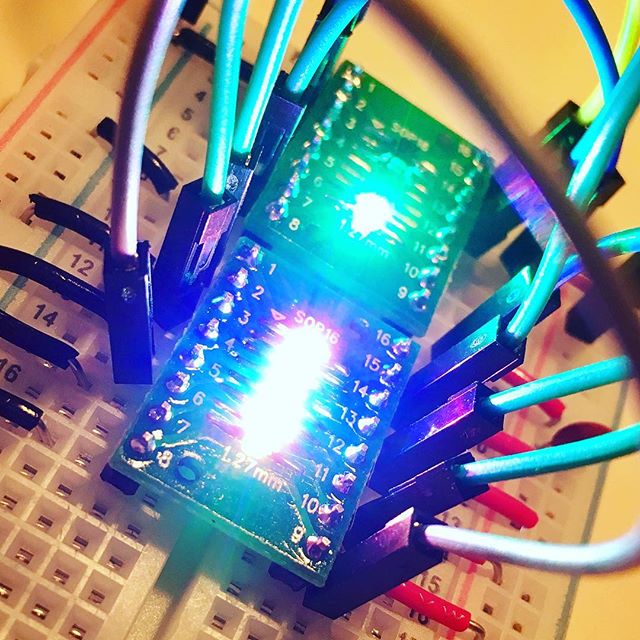
To test if these were the causes, I soldered an ATTiny10 and a WS2812 2020 to SOP16 breakout board. This allows me to do some testing on a breadboard. It also made the soldering much simpler, lowering the risk of overheating the components.
Unfortunately, this didn’t solve the issue. I still wasn’t able to upload firmware to the ATTiny. Time to shift the focus to the next suspect: the USBasp flasher.
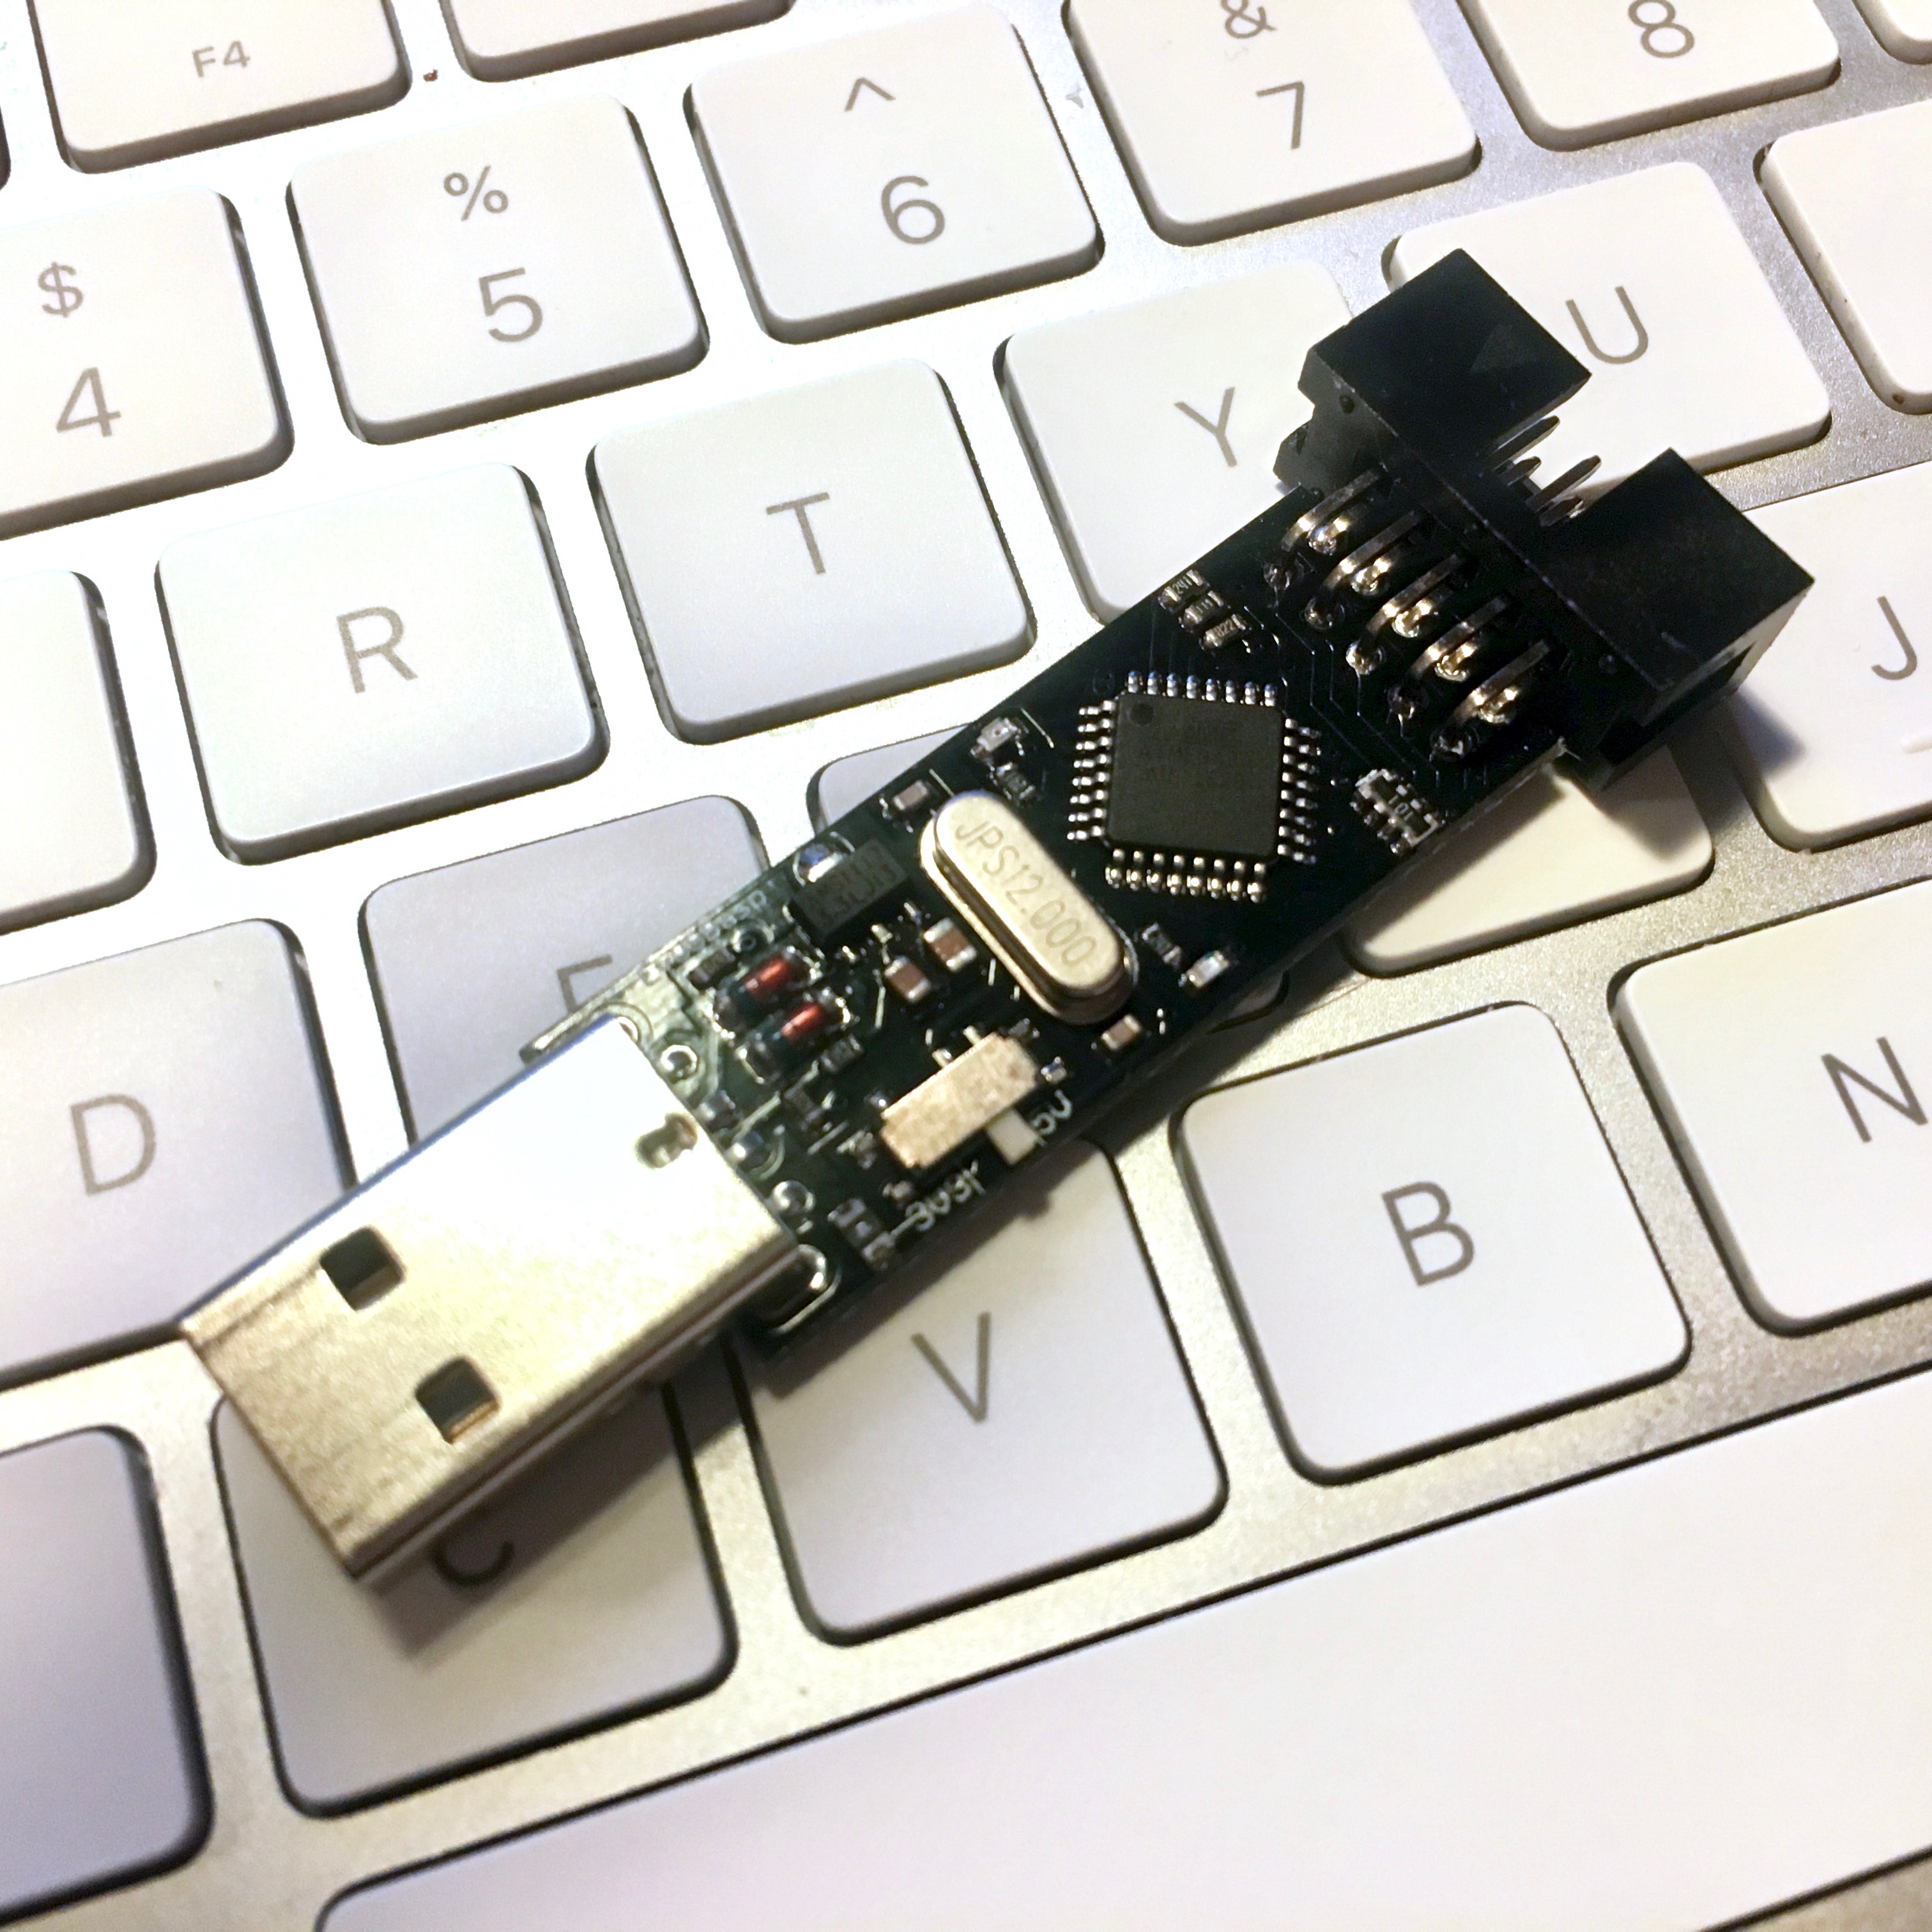
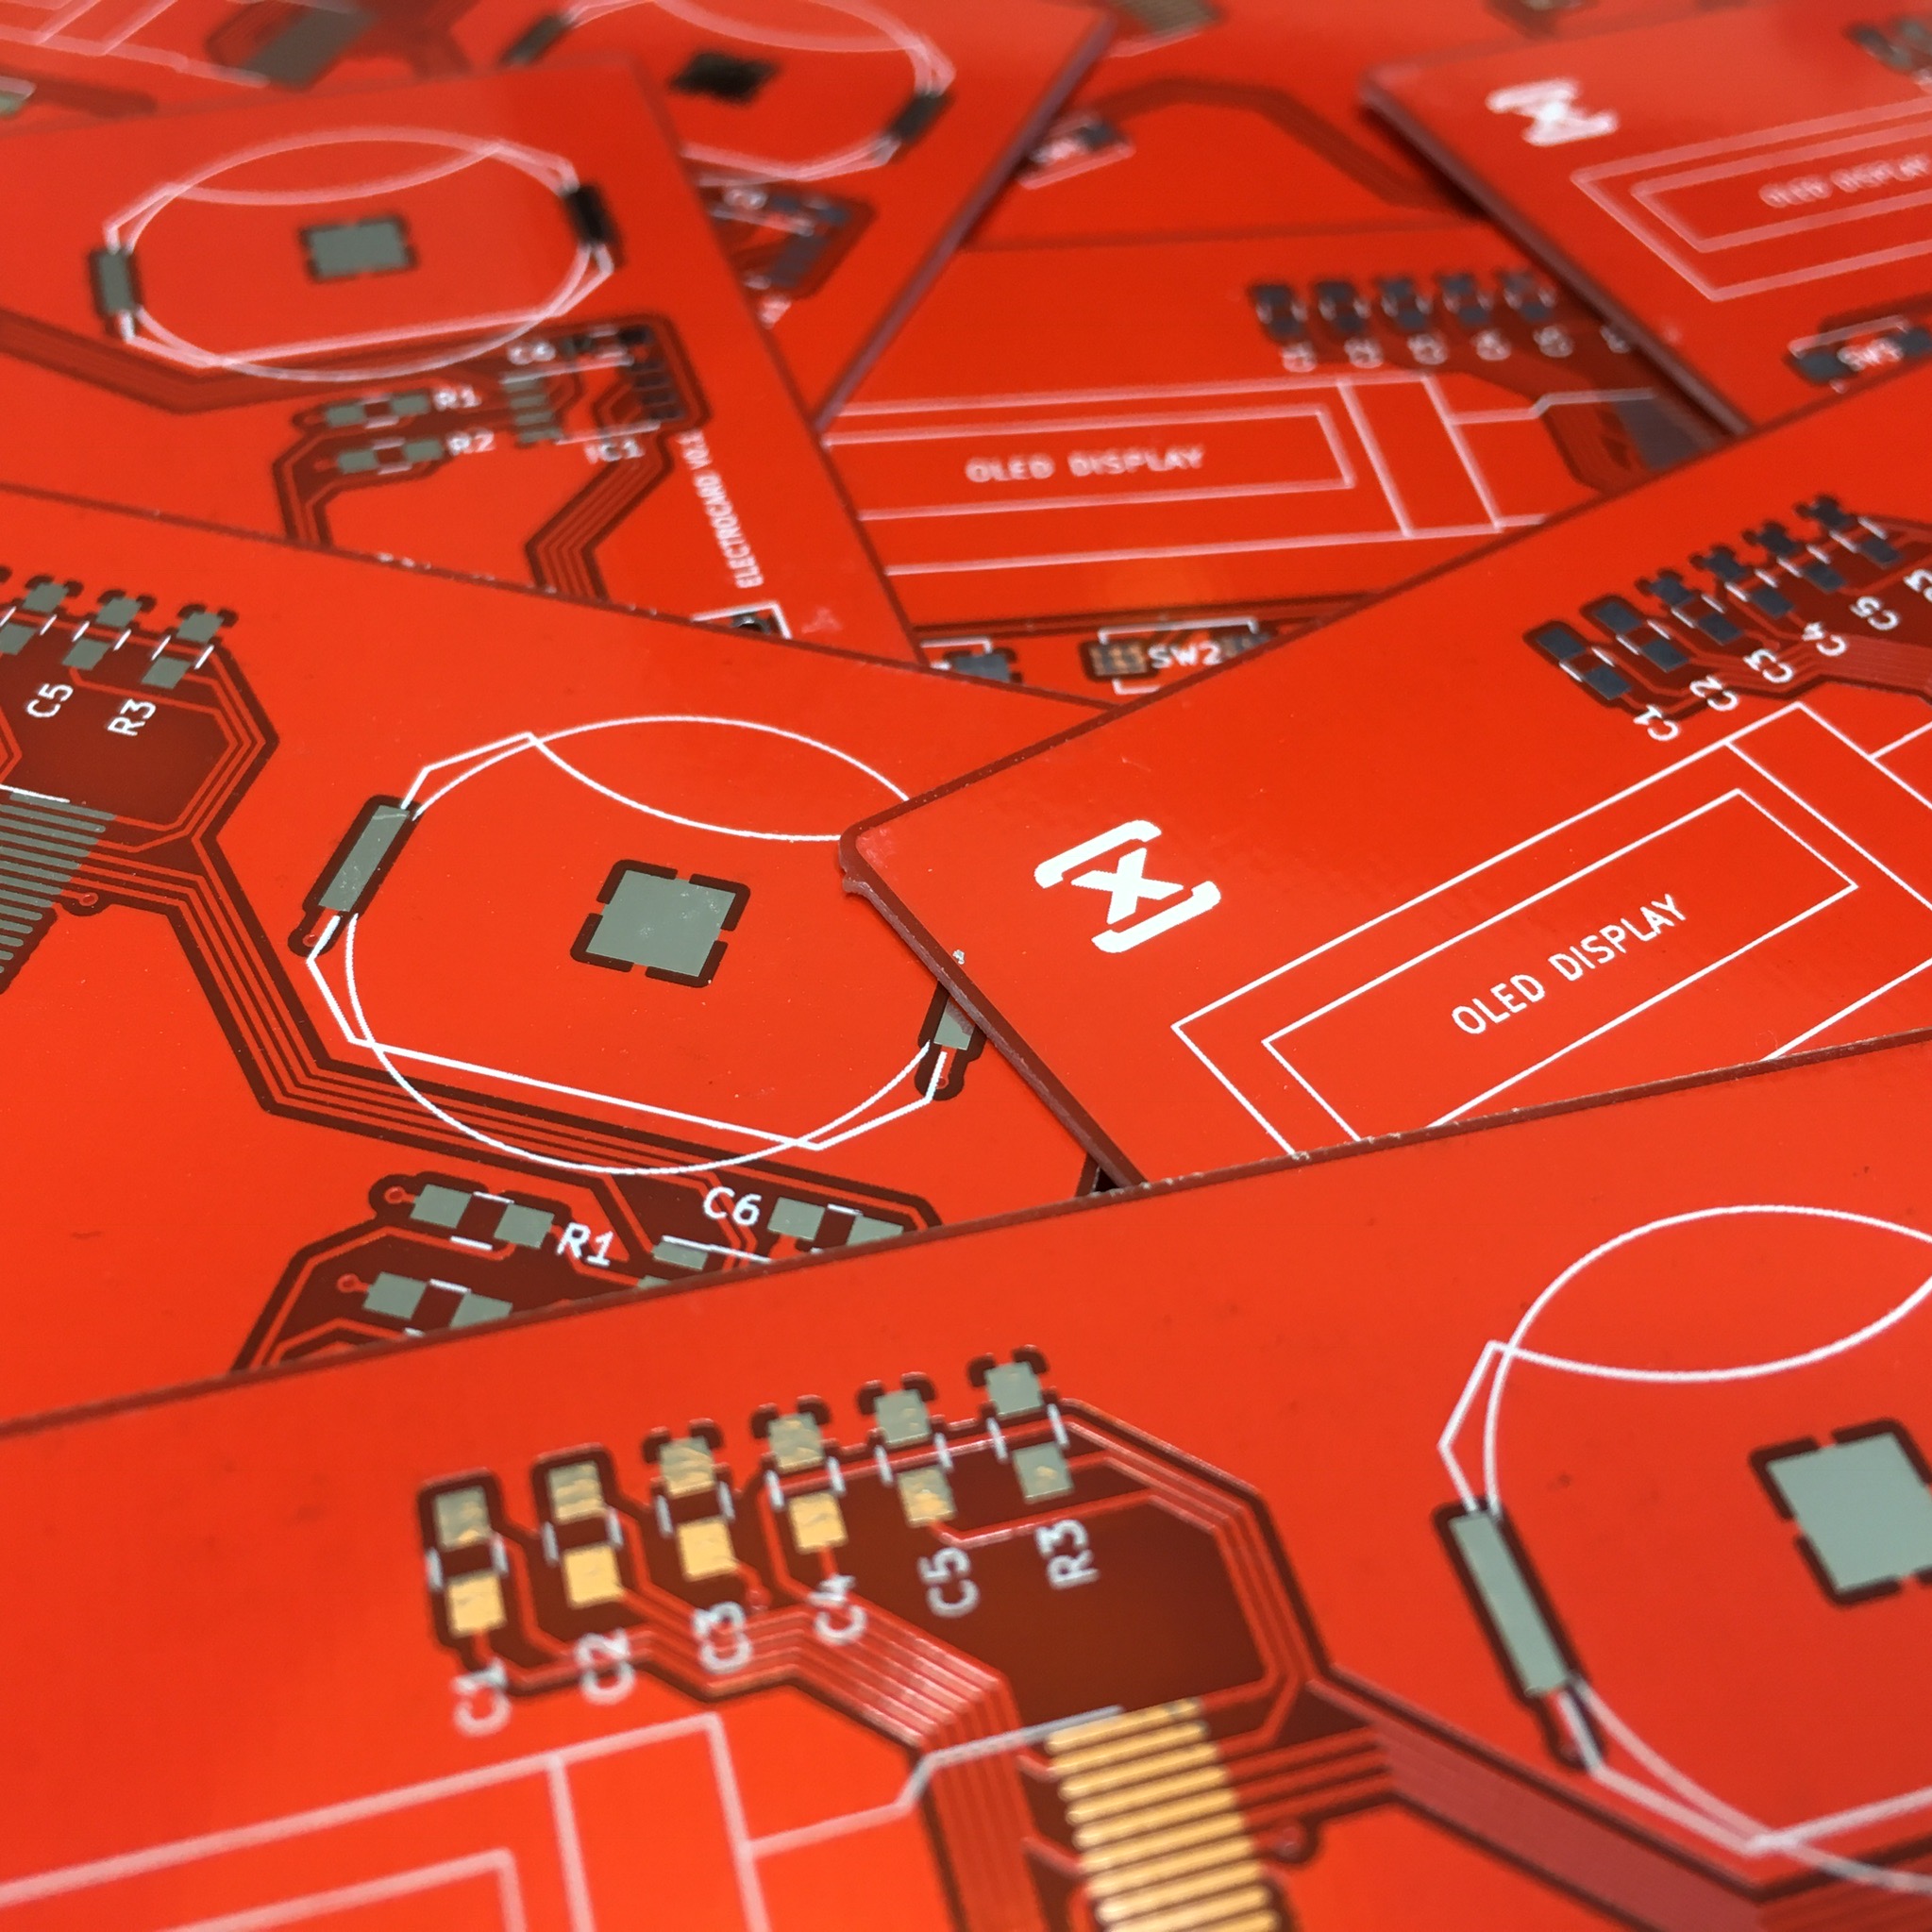
To program the ATTiny10 I tried using the USBasp flasher I bought from AliExpress. I used this Flasher to program my Electrocards, so I know it works. The only difference between the electrocard’s ATTiny85 and the ATTiny10 is that the latter uses TPI protocol in stead of the ISP protocol to be programmed.
After a small Google session, I found the USBasp project website. Besides some interesting technical details, this website also offers the Firmware downloads. And that’s where I noticed that TPI support was only available in the newest firmware. Maybe my cheap chinese USBasp included some old firmware? Time for an update!
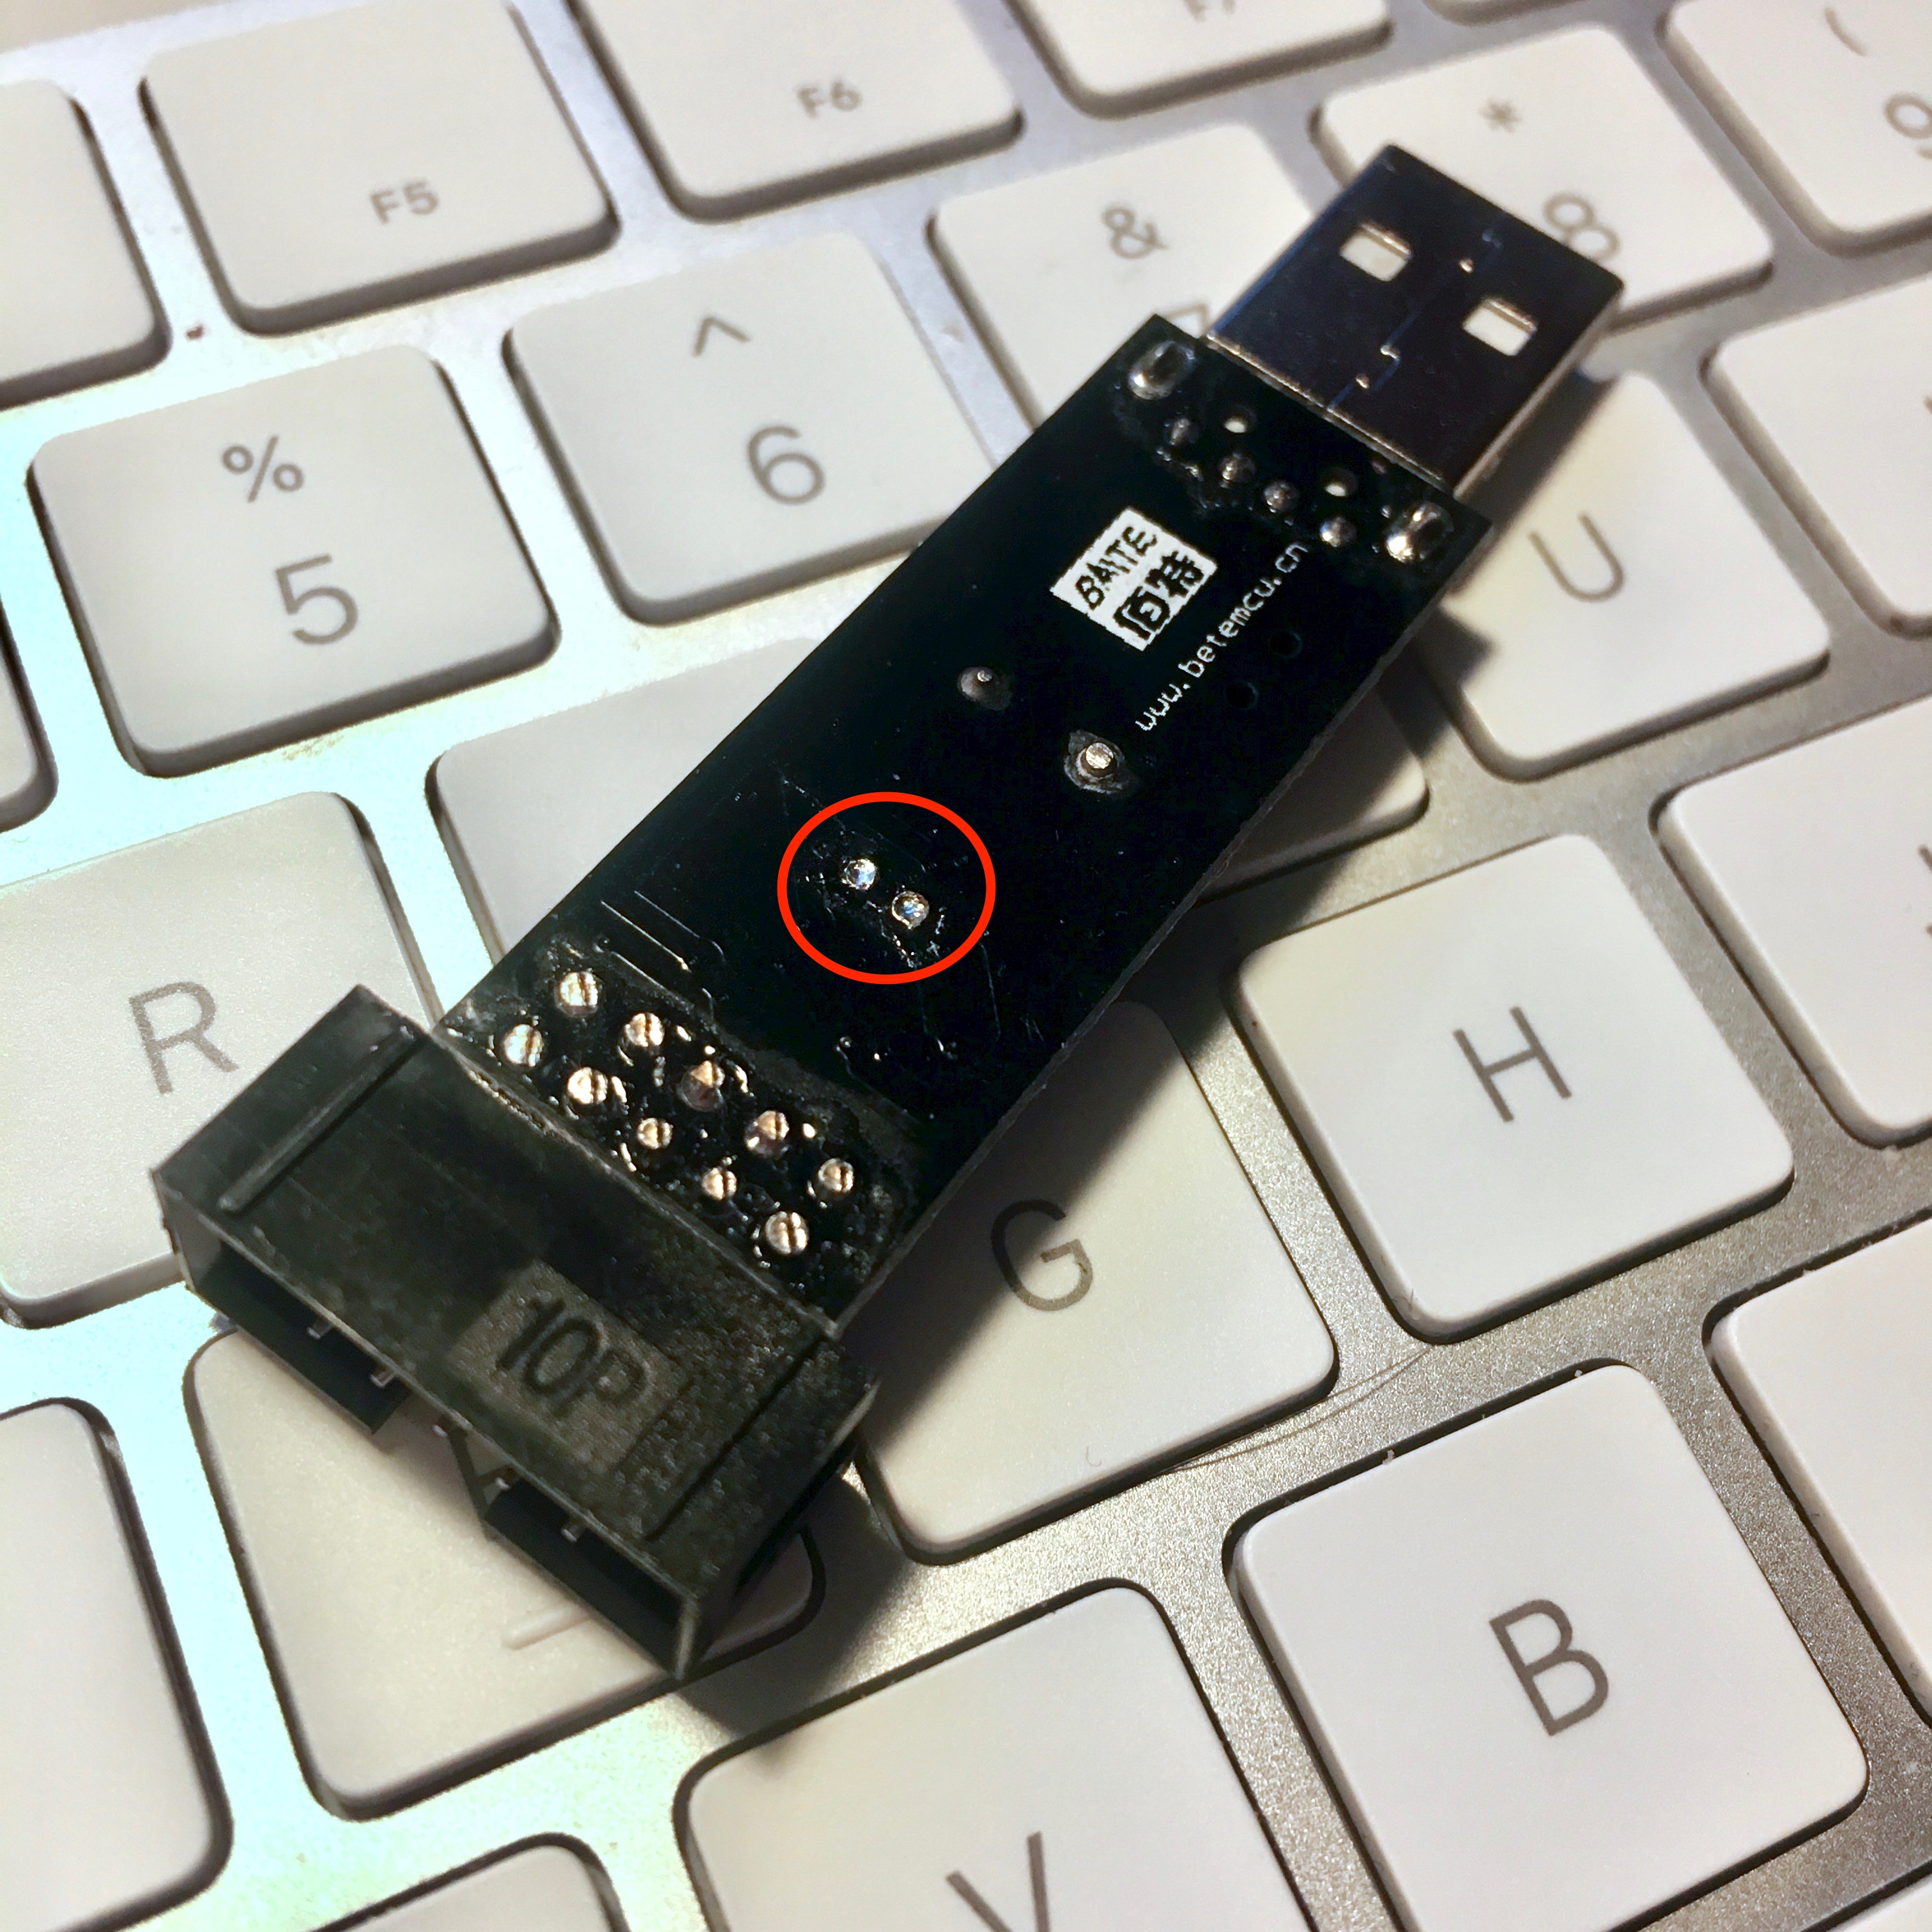
To allow the USBasp to be updated, JP2 needs to be closed. In this case, the JP2 is on the back of the PCB. Soldering a short wire between these connection points is enough to enable self programming mode.
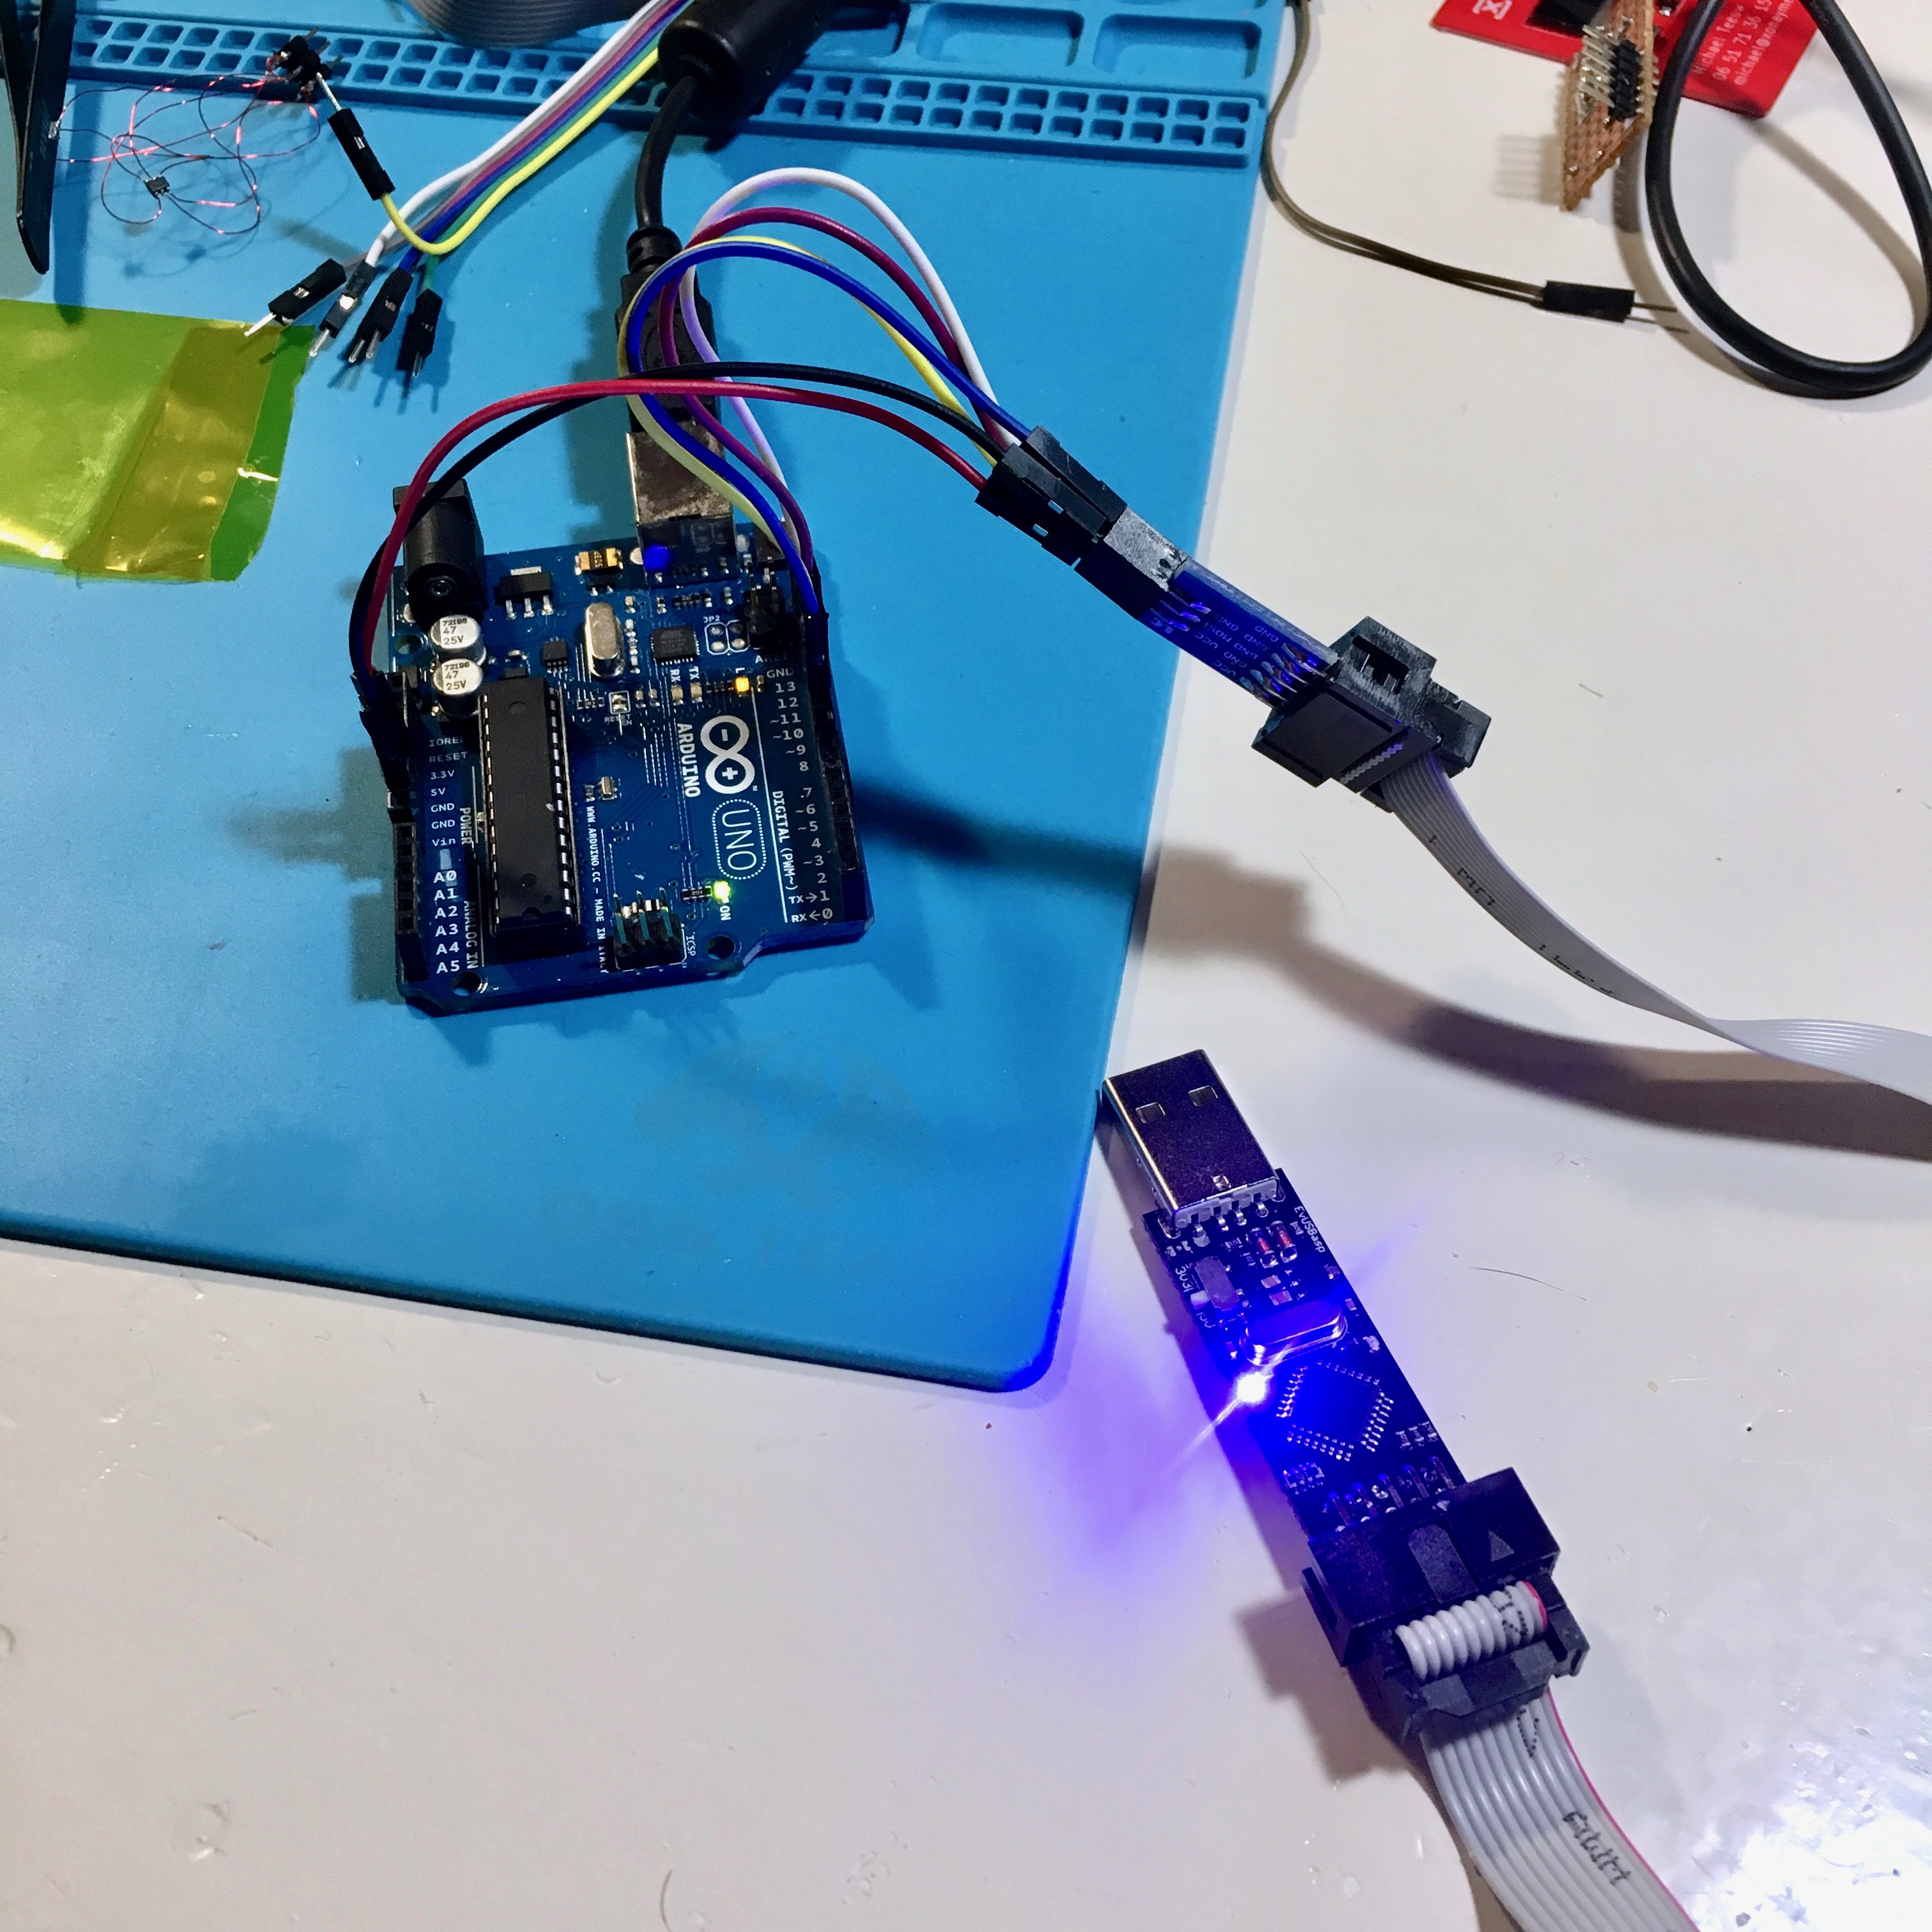
Next, I used an Arduino Uno as the programmer. To do so, I uploaded the ArduinoISP sketch to the Uno. This sketch is available in the Examples sketches section of the Arduino IDE. Next I connected the USBasp to the Arduino using the following pin configuration:
ARDUINO ---  USBasp

 5V -------  2 (VCC)
GND ------- 10 (GND)
 13 -------  7 (SCK)
 12 -------  9 (MISO)
 11 -------  1 (MOSI)
 10 -------  5 (RESET)
(Note that the blue led of the USBasp will not turn on after connecting it. I’ll get back to this later …)
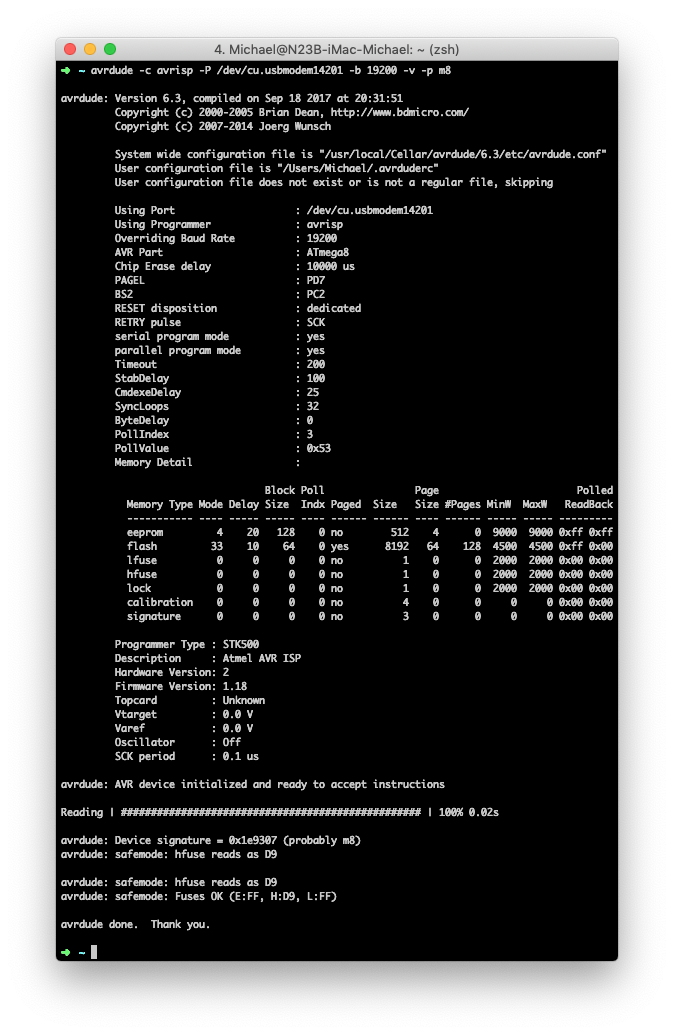
To check if the connection is working, I used the following command in my macOS terminal:
avrdude -c avrisp -P /dev/cu.usbmodem14201 -b 19200 -v -p m8
- avrdude is a utility to download/upload/manipulate the ROM and EEPROM contents of AVR microcontrollers.
- The -c flag specifies which programmer whe are using. In this case the Arduino usni which is configured as an avrisp programmer.
- Using -P I specify to which port the Arduino Uno is connected. In my case this is the /dev/cu.usbmodem14201 port, but in your case it might have a different name/path.
- Next, I specify the communication speed using the -b flag. In this case 19200 baud.
- To get some feedback, I enable the verbose mode using -v.
- And last but not least, I specify the type of AVR I want to program. Since my USBasp has a ATMEGA8A, I specify part m8 using the -p. If you omit the -p flag you’ll get a list of all supported AVRs.
After running this command, avrdude will try to communicate with the USBasp’s microcontroller using the Arduino avrisp.
Great! This works! Time to do the real work: flashing the USBasp with the new firmware. First I downloaded the latest firmware at: http://www.fischl.de/usbasp. In this case the latest firmware was usbasp.2011-05-28.tar.gz. After downloading and extracting the file (by simply double clicking it in the macOS finder) I navigated to the usbasp.2011-05-28/bin/firmware folder which includes the firmware I need: usbasp.atmega8.2011-05-28.hex.
Uploading the firmware to the USBasp is almost the same command as before:
avrdude -c avrisp -P /dev/cu.usbmodem14201 -b 19200 -v -p m8 -U flash:w:usbasp.atmega8.2011-05-28.hex
In this case I’ve added the -U flag to do a memory operation:
- I want to do an operation on the flash part of the micro controller.
- I want to write, so I specify the write flash with the w flag.
- And most important: I define the filename of the flash hex file (which is in the current folder)
Let’s press enter, and hope for the best …
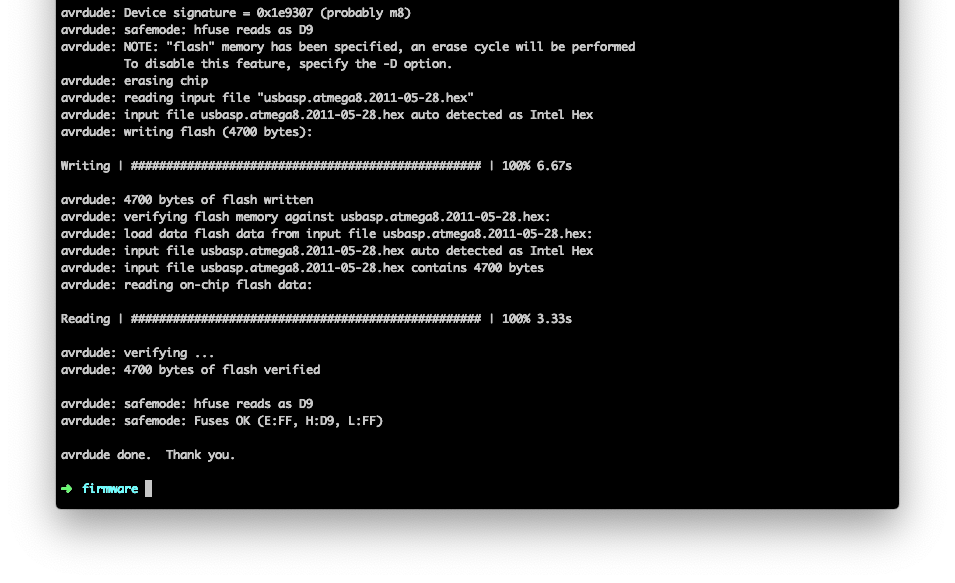
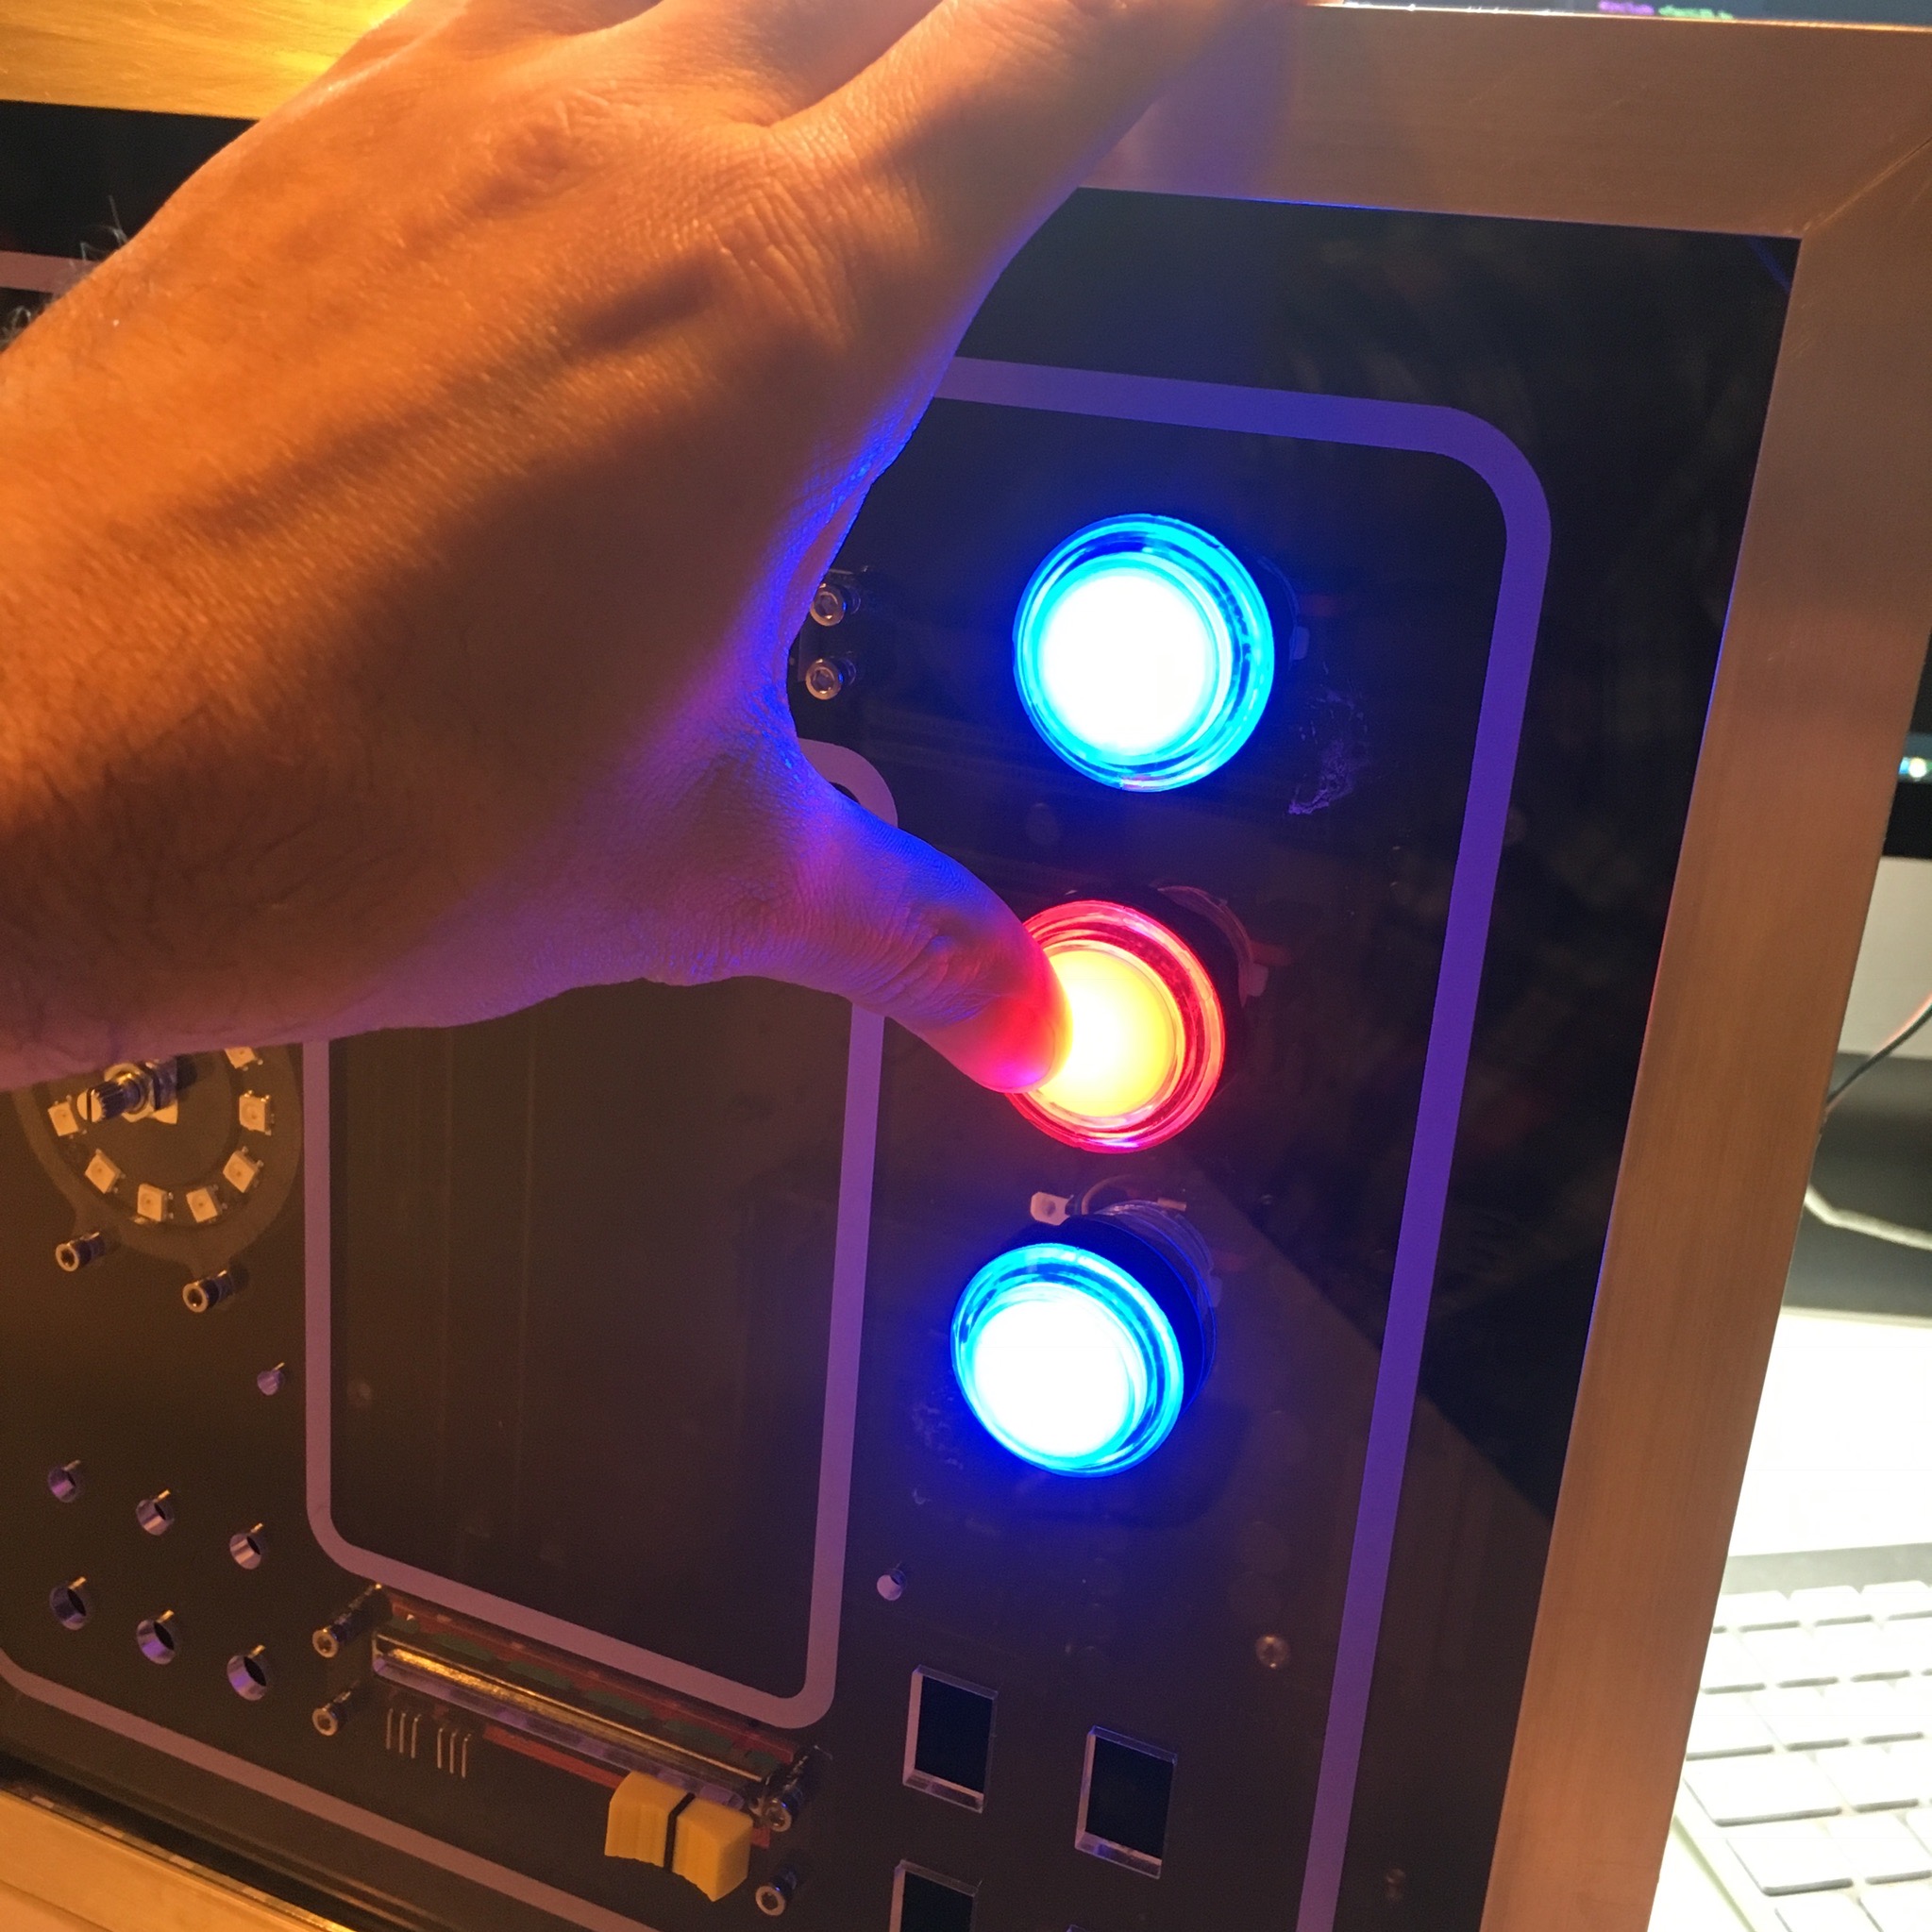
Yes! It seems it has worked! :) Since the blue led has turned on after flashing, it really feels like something good has happened. LEDs always make thing better, right?!

Now, most important … don’t be like me: don’t forget to open/disconnect that self programming jumper JP2 on the back of the USBasp! When it’s connected/closed, the ESPasp won’t be able to function.
So, after reconnecting the ATTIny10 to the USBasp, it’s time for the most exciting part. Will the Arduino IDE, be able to flash the ATTiny10 using the ATTiny10Core?
How about we just select the USBasp programmer and smash that Upload button?
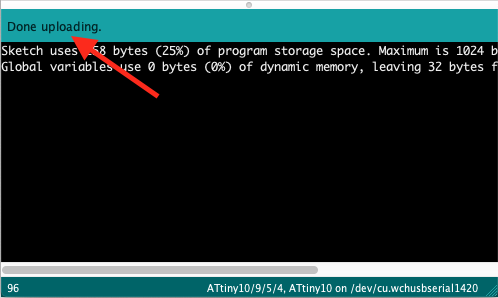
YEAH! It worked! :)

If you want to read more about this flashing process, make sure to read Roger Clark’s great post on this subject…
For me it’s time to start working the firmware to get that WS2812 2020 LED working. Don’t miss it, so make sure to keep an eye on my blog or follow me on Twitter or Instagram.