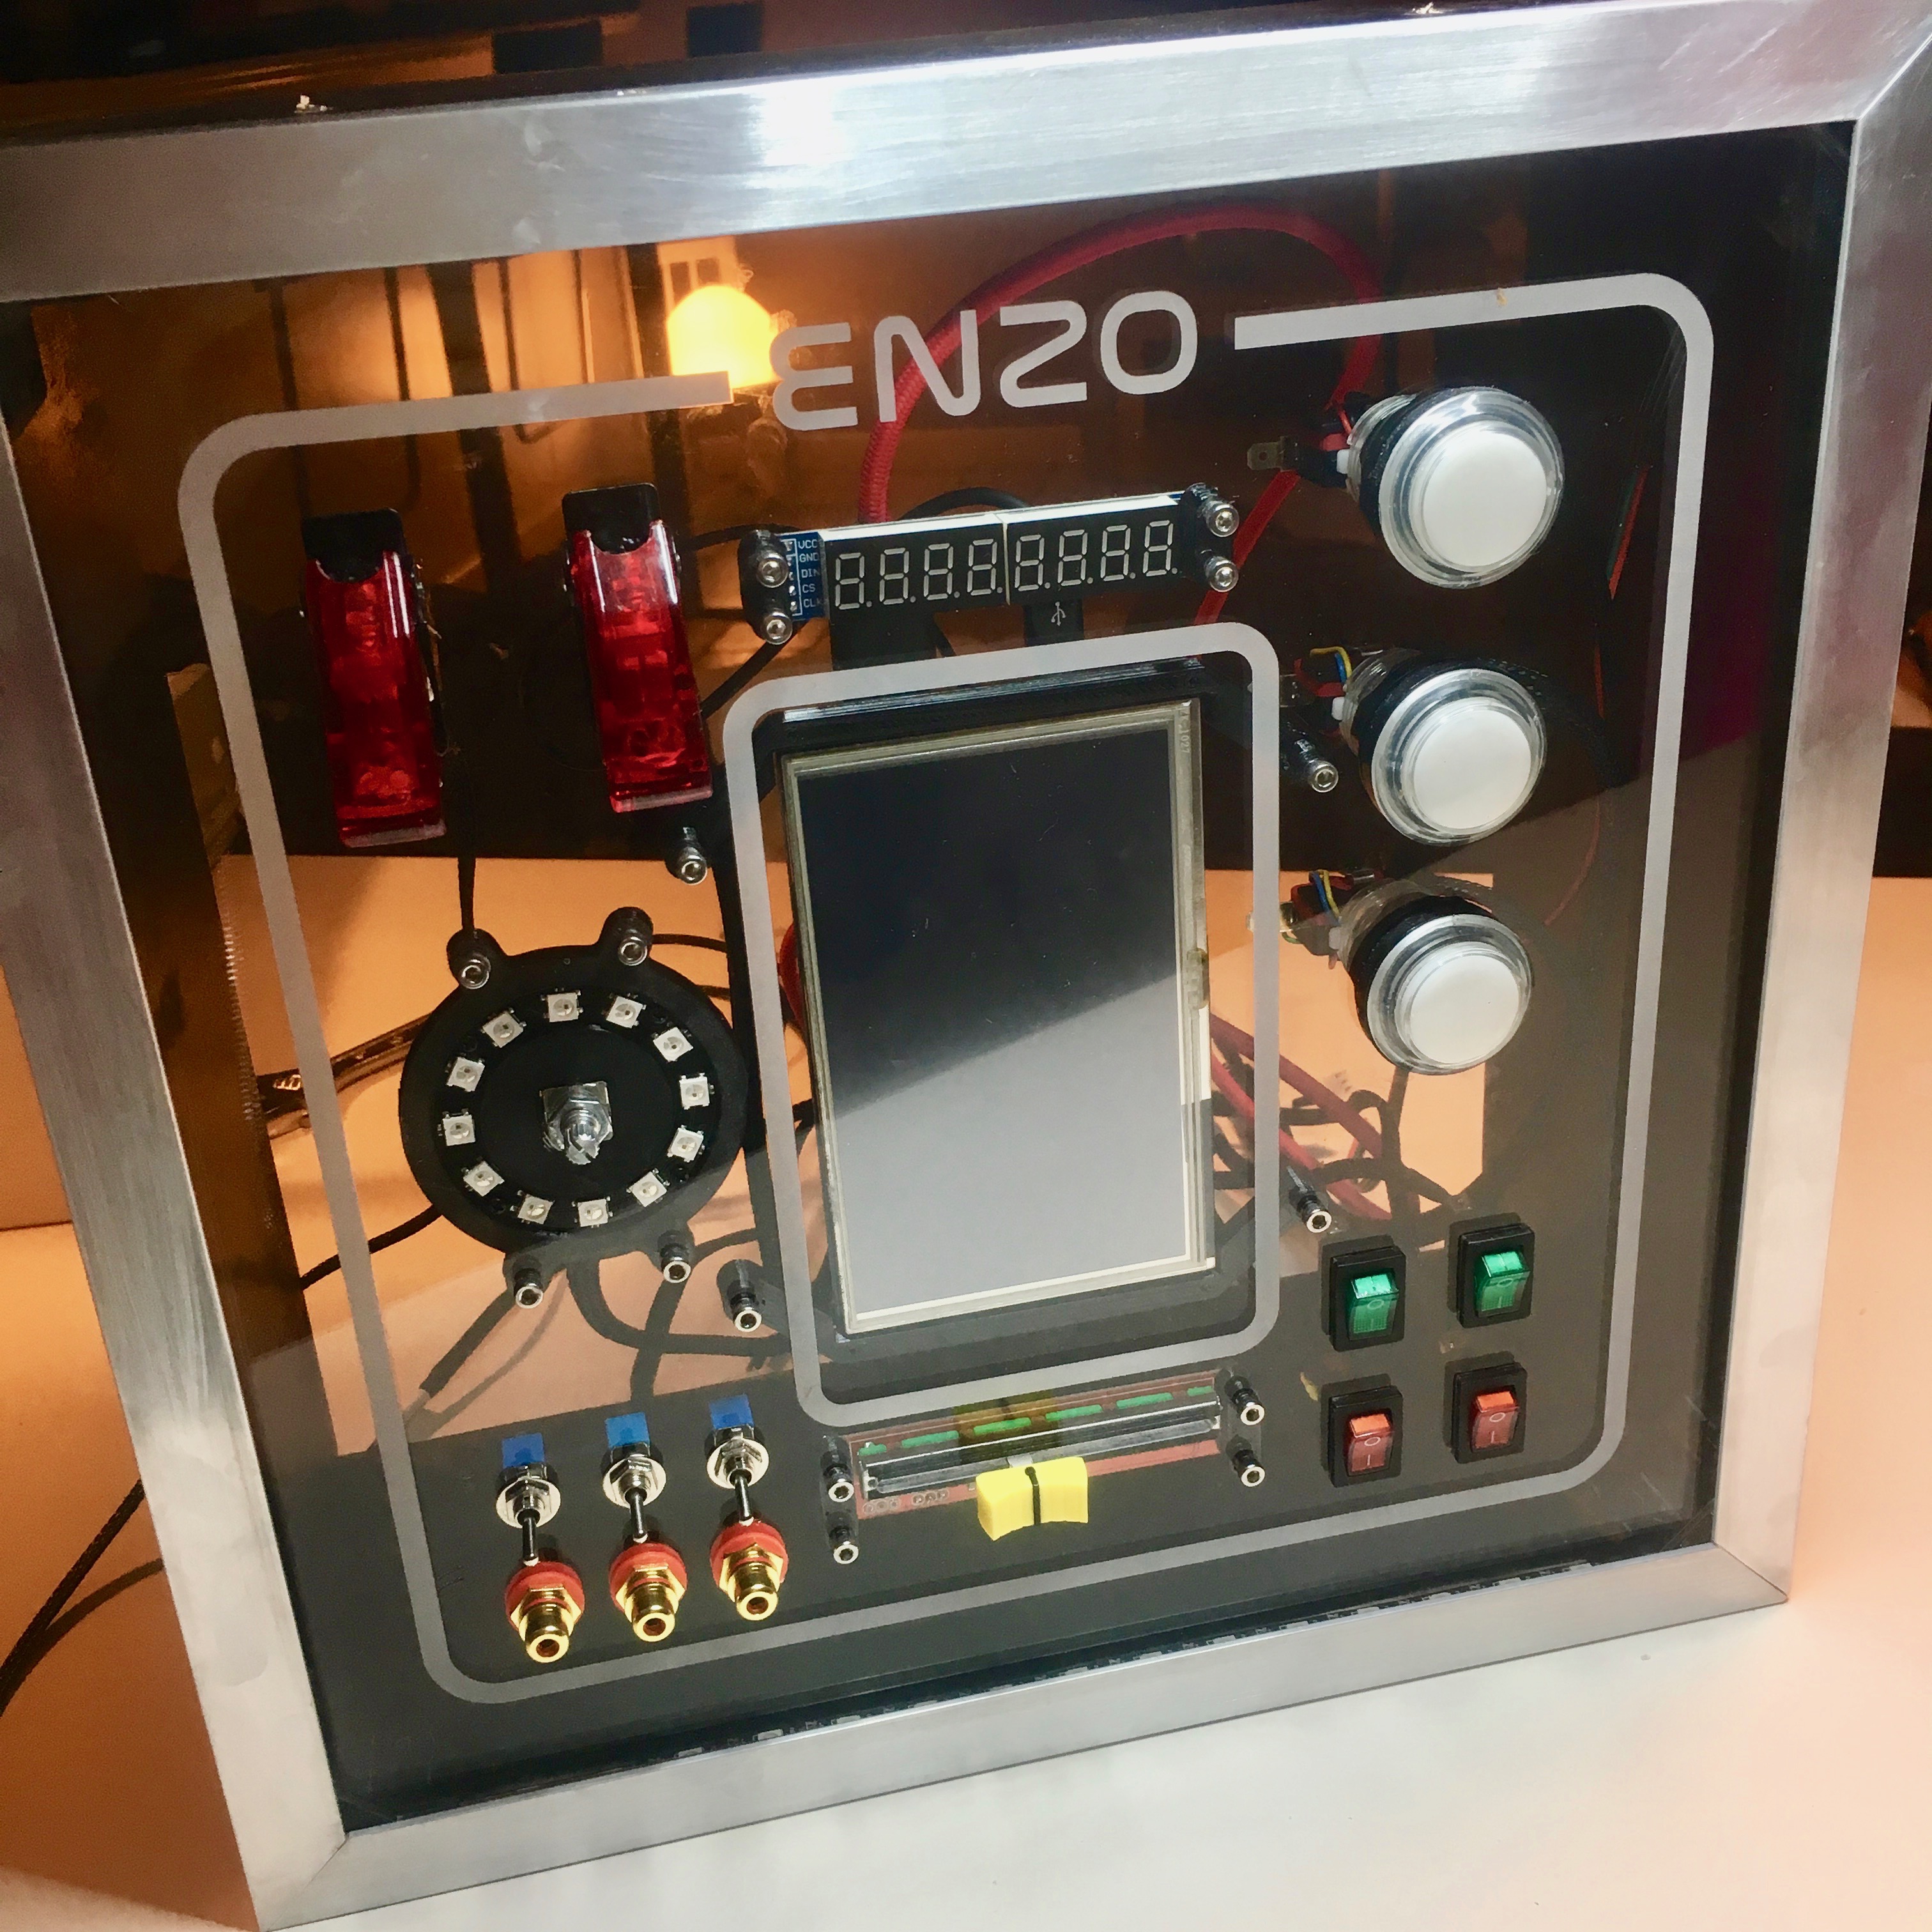
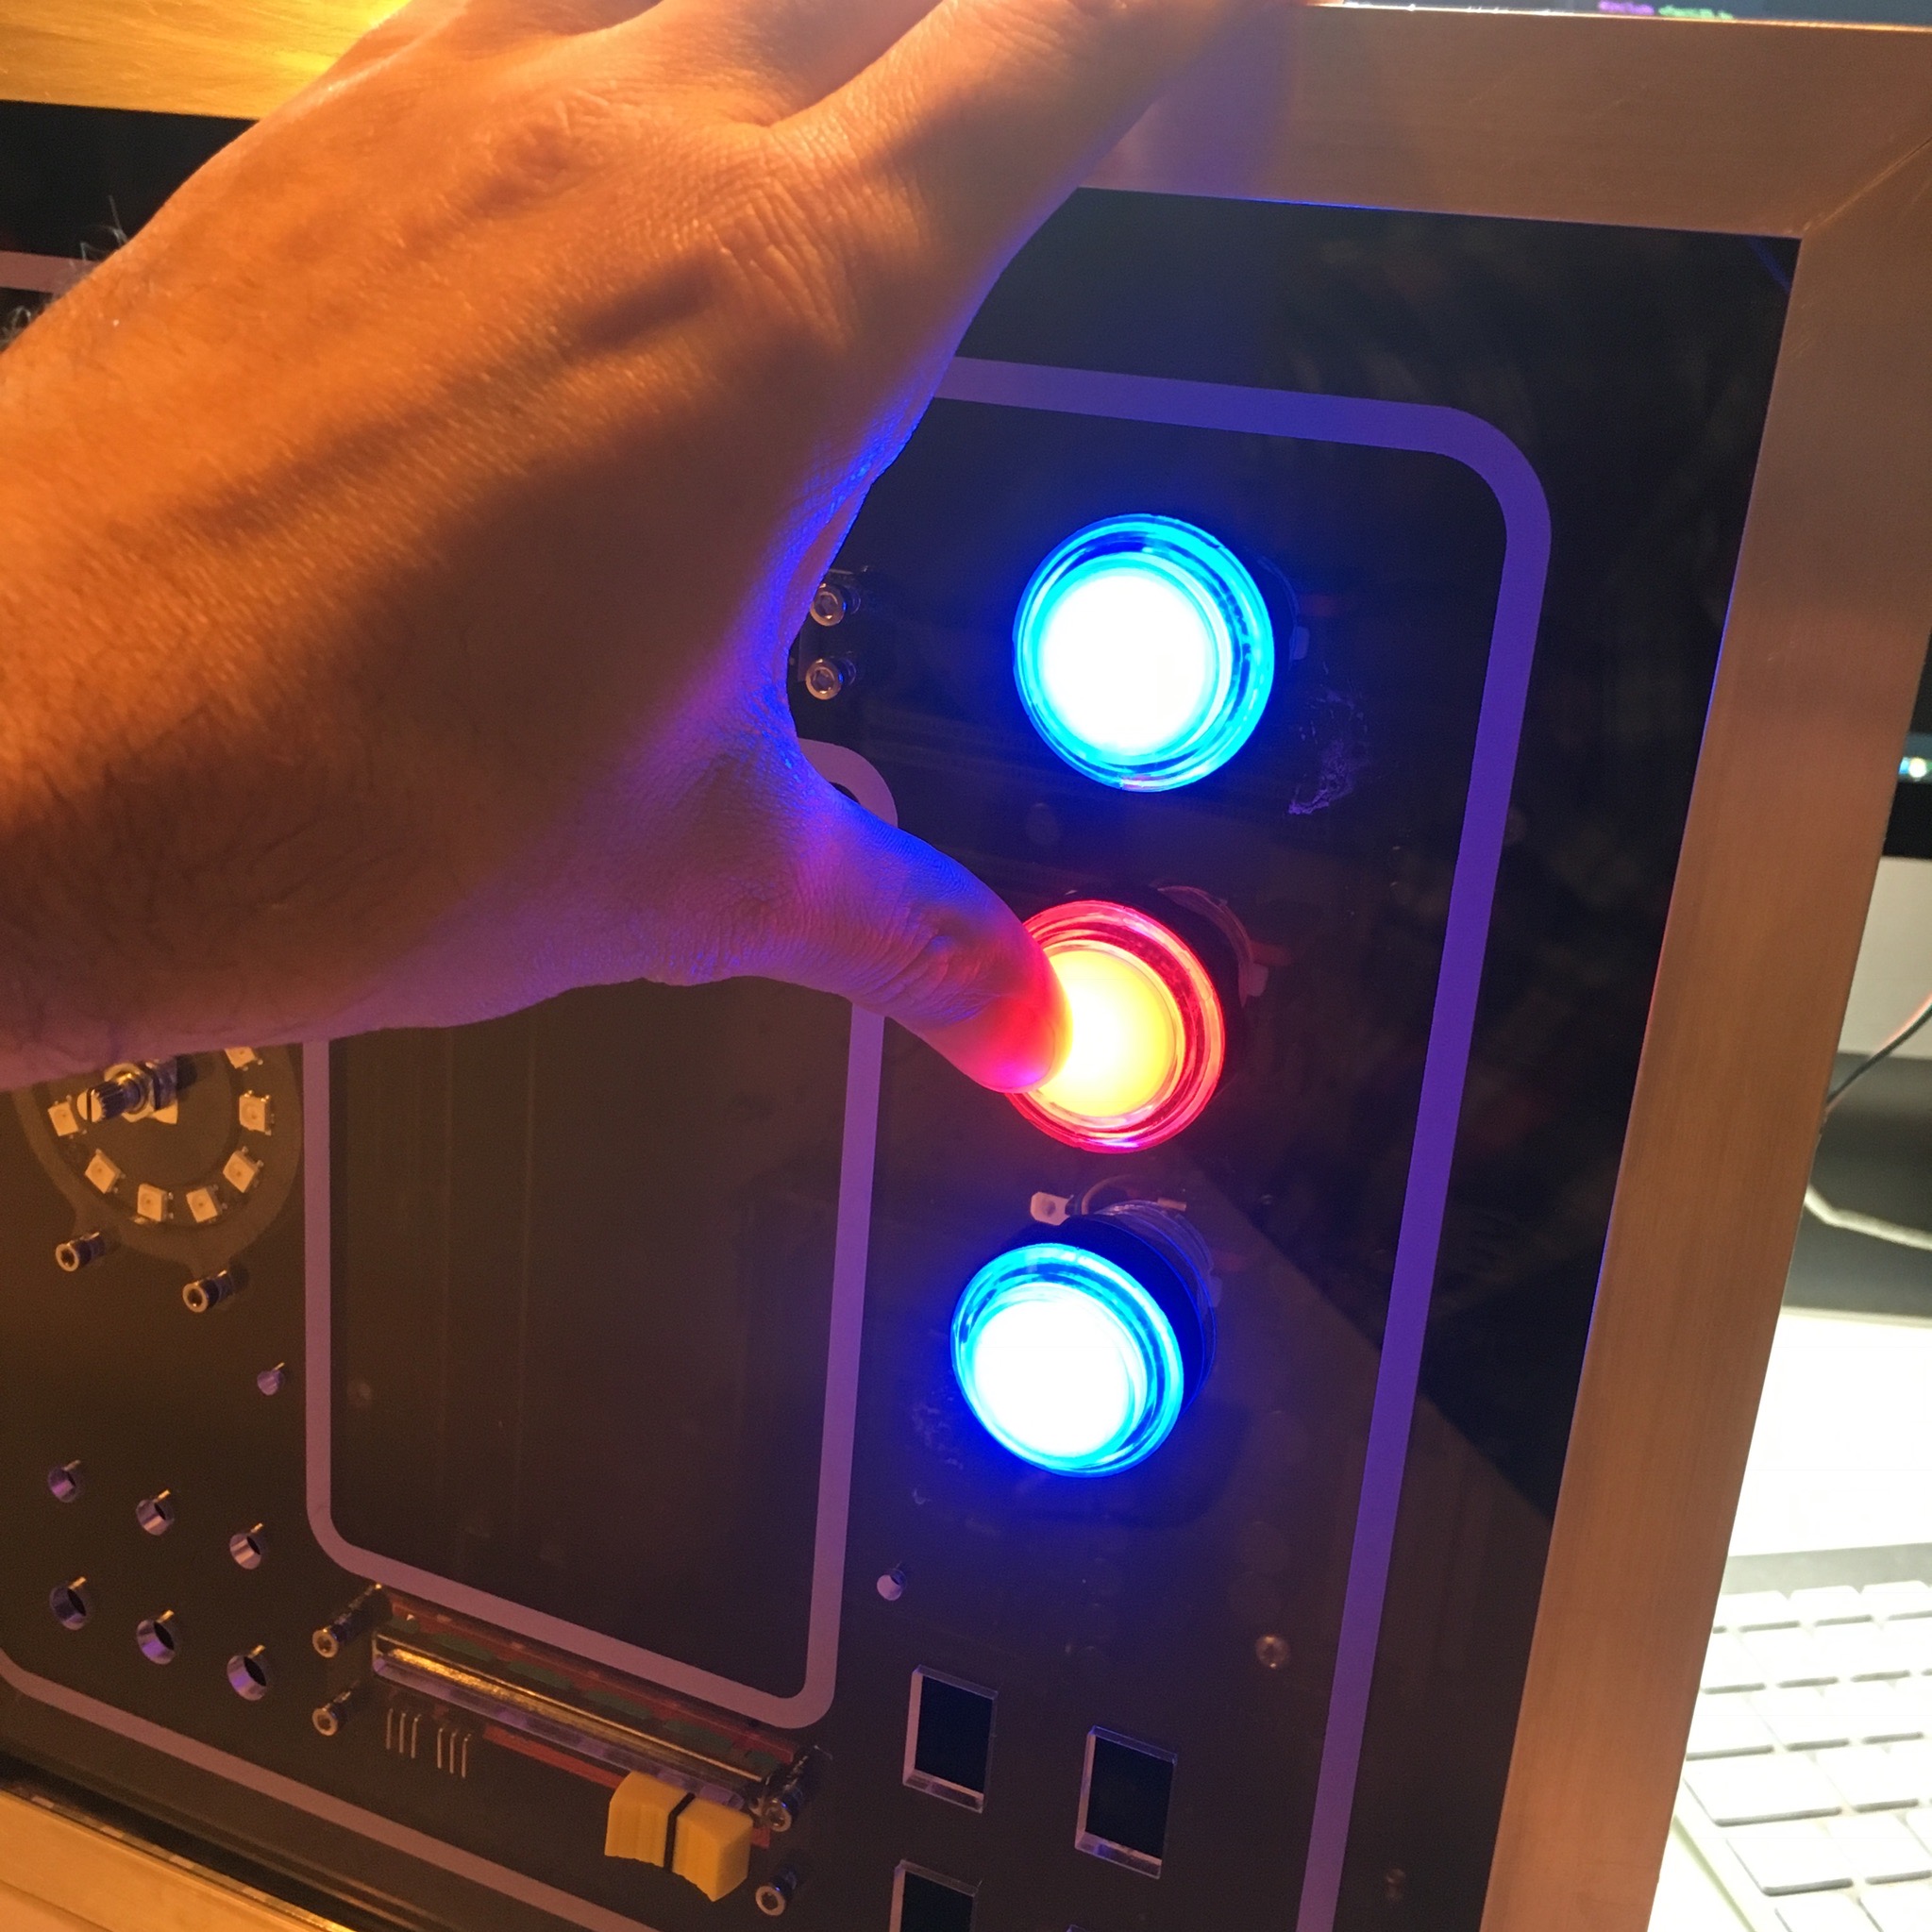
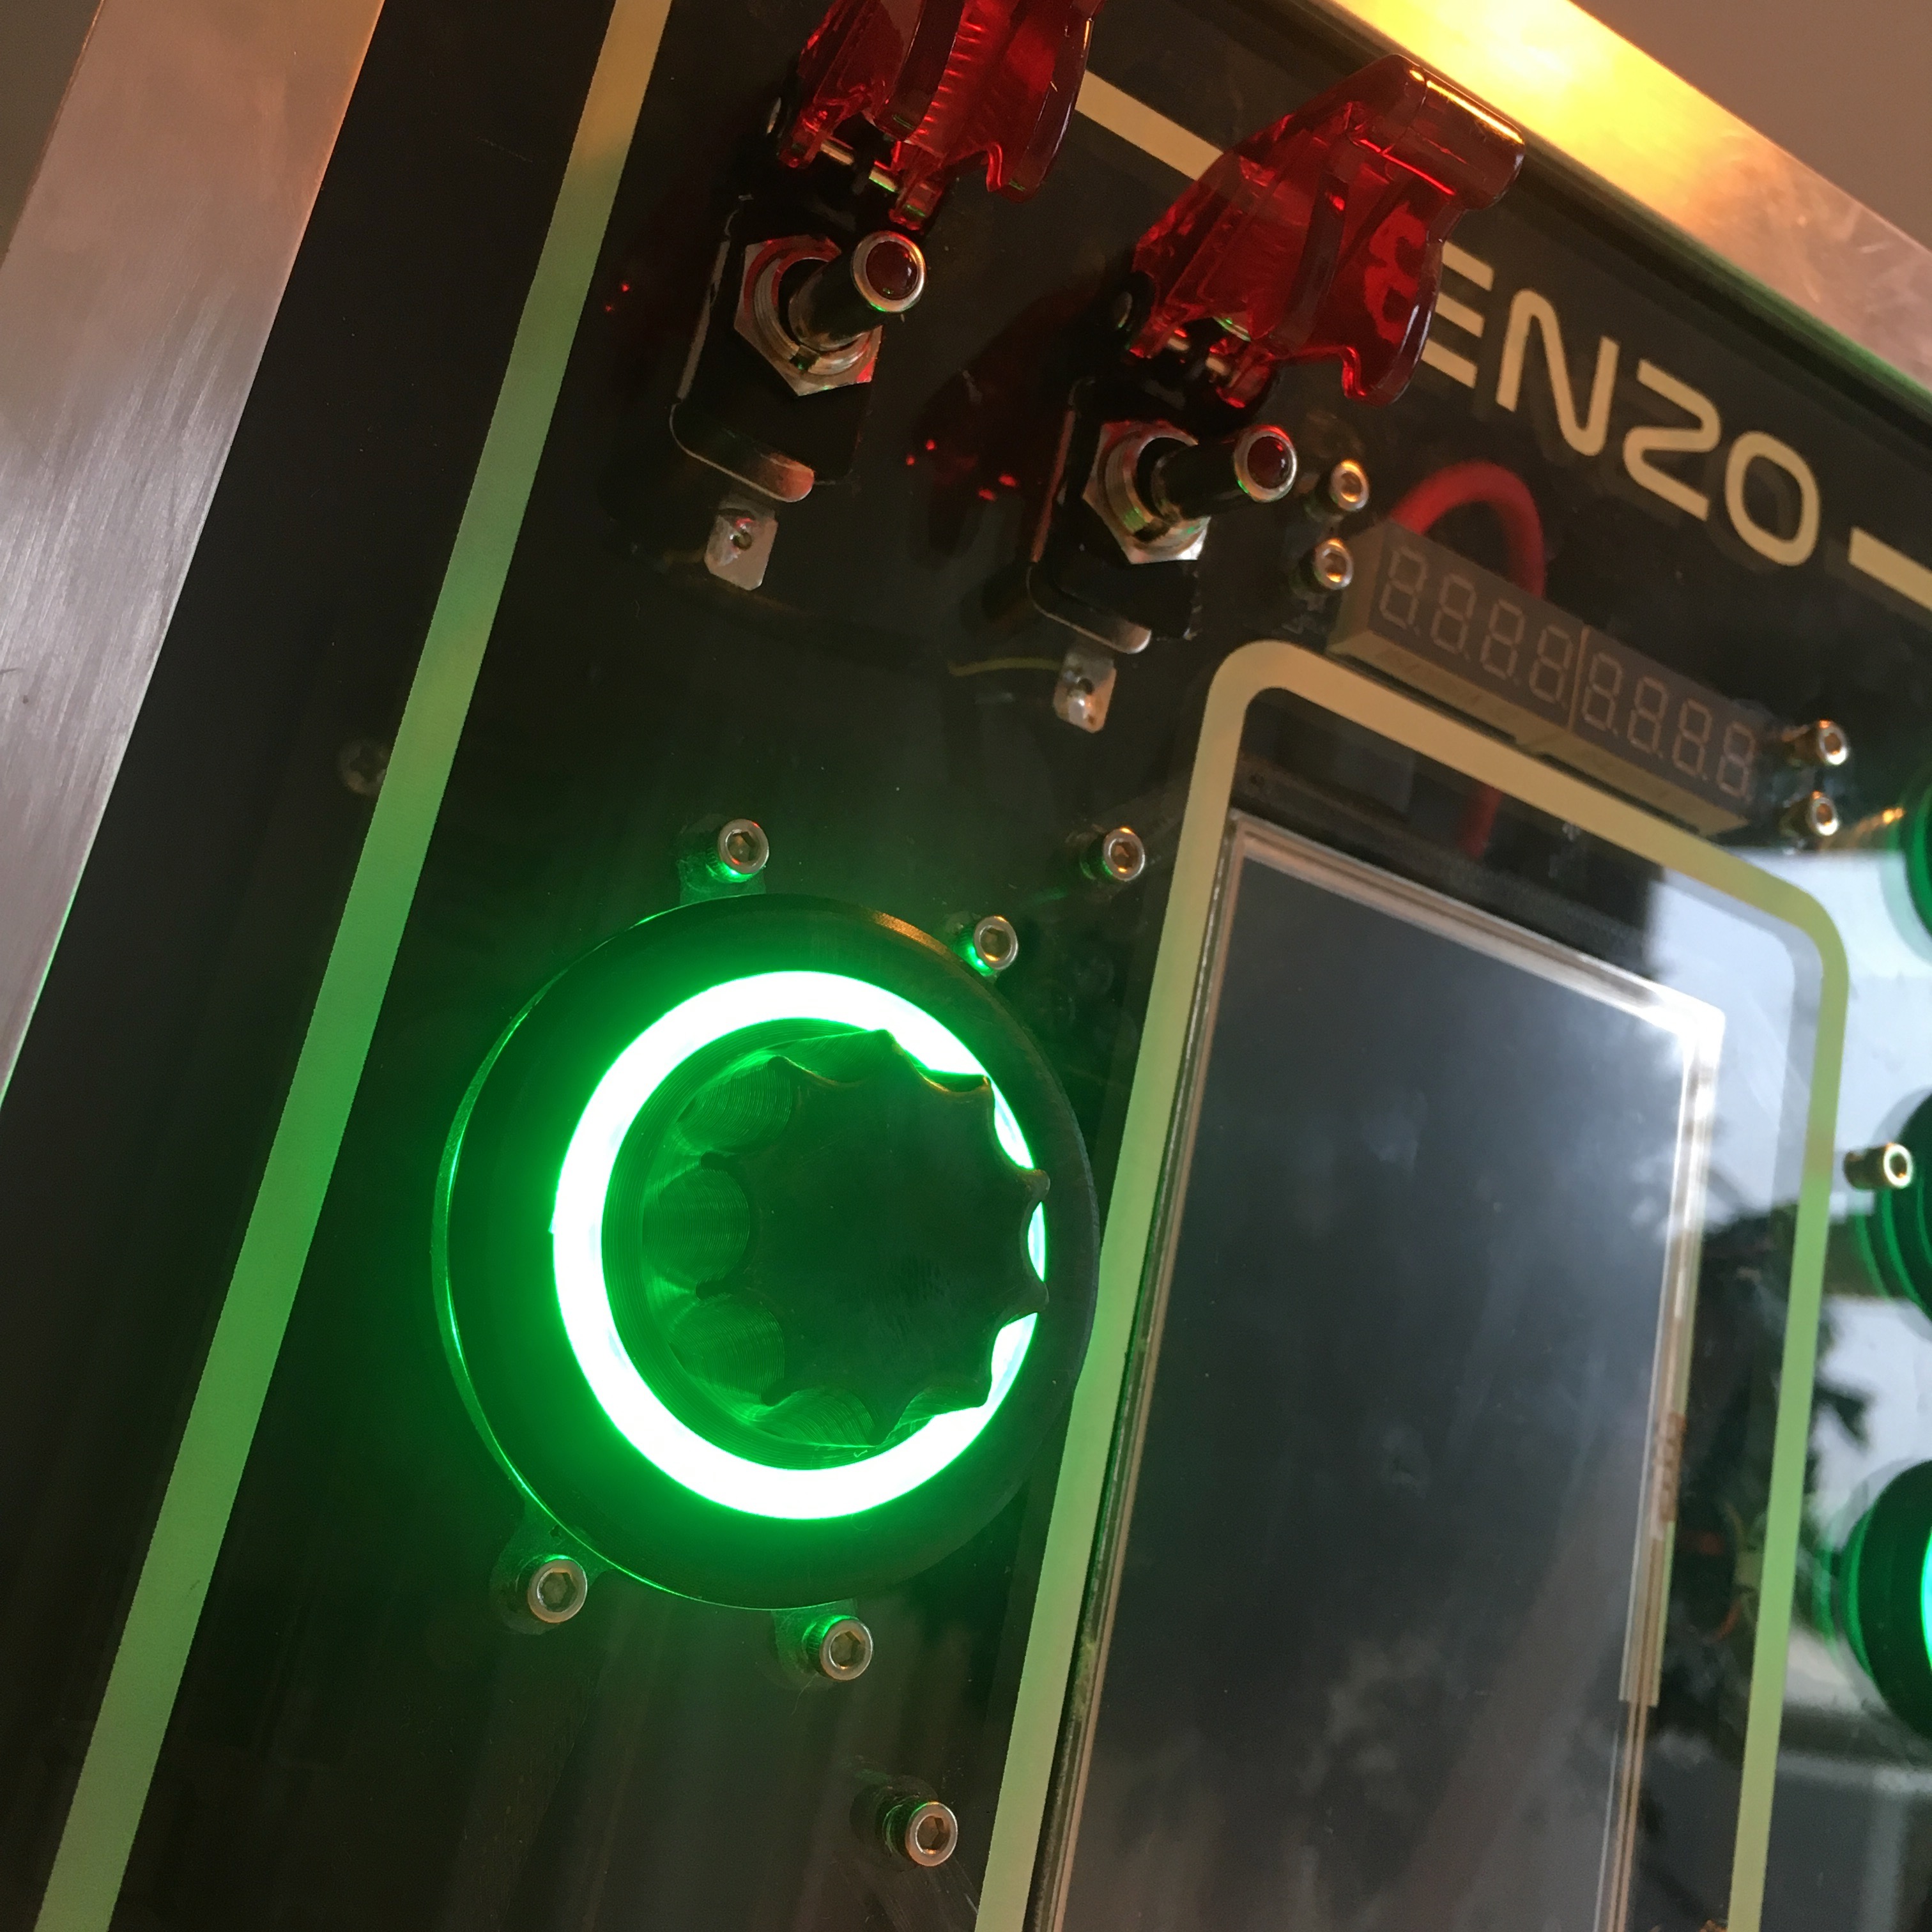
Now that most of the firmware is all set an done, it’s time to start working on the final part of the Activity Board: the Raspberry Pi display interface.
Activity Board: It's all about the code!
The activity board contains a simple 800x480 pixel HDMI display, so after simply connecting an Raspberry Pi I was quickly able to get my favorite Pi application running. The MagicMirror² framework!

Of course, this wasn’t the type of information I want to display on the screen. But since the MagicMirror² is extremely robust and easy to set up, it is the perfect package to run the application on the activity board’s display.

As a small test (and mainly as a placeholder) I quikly trew together a small configuration which looked cool. In the mean time I could start working on something more advanced.
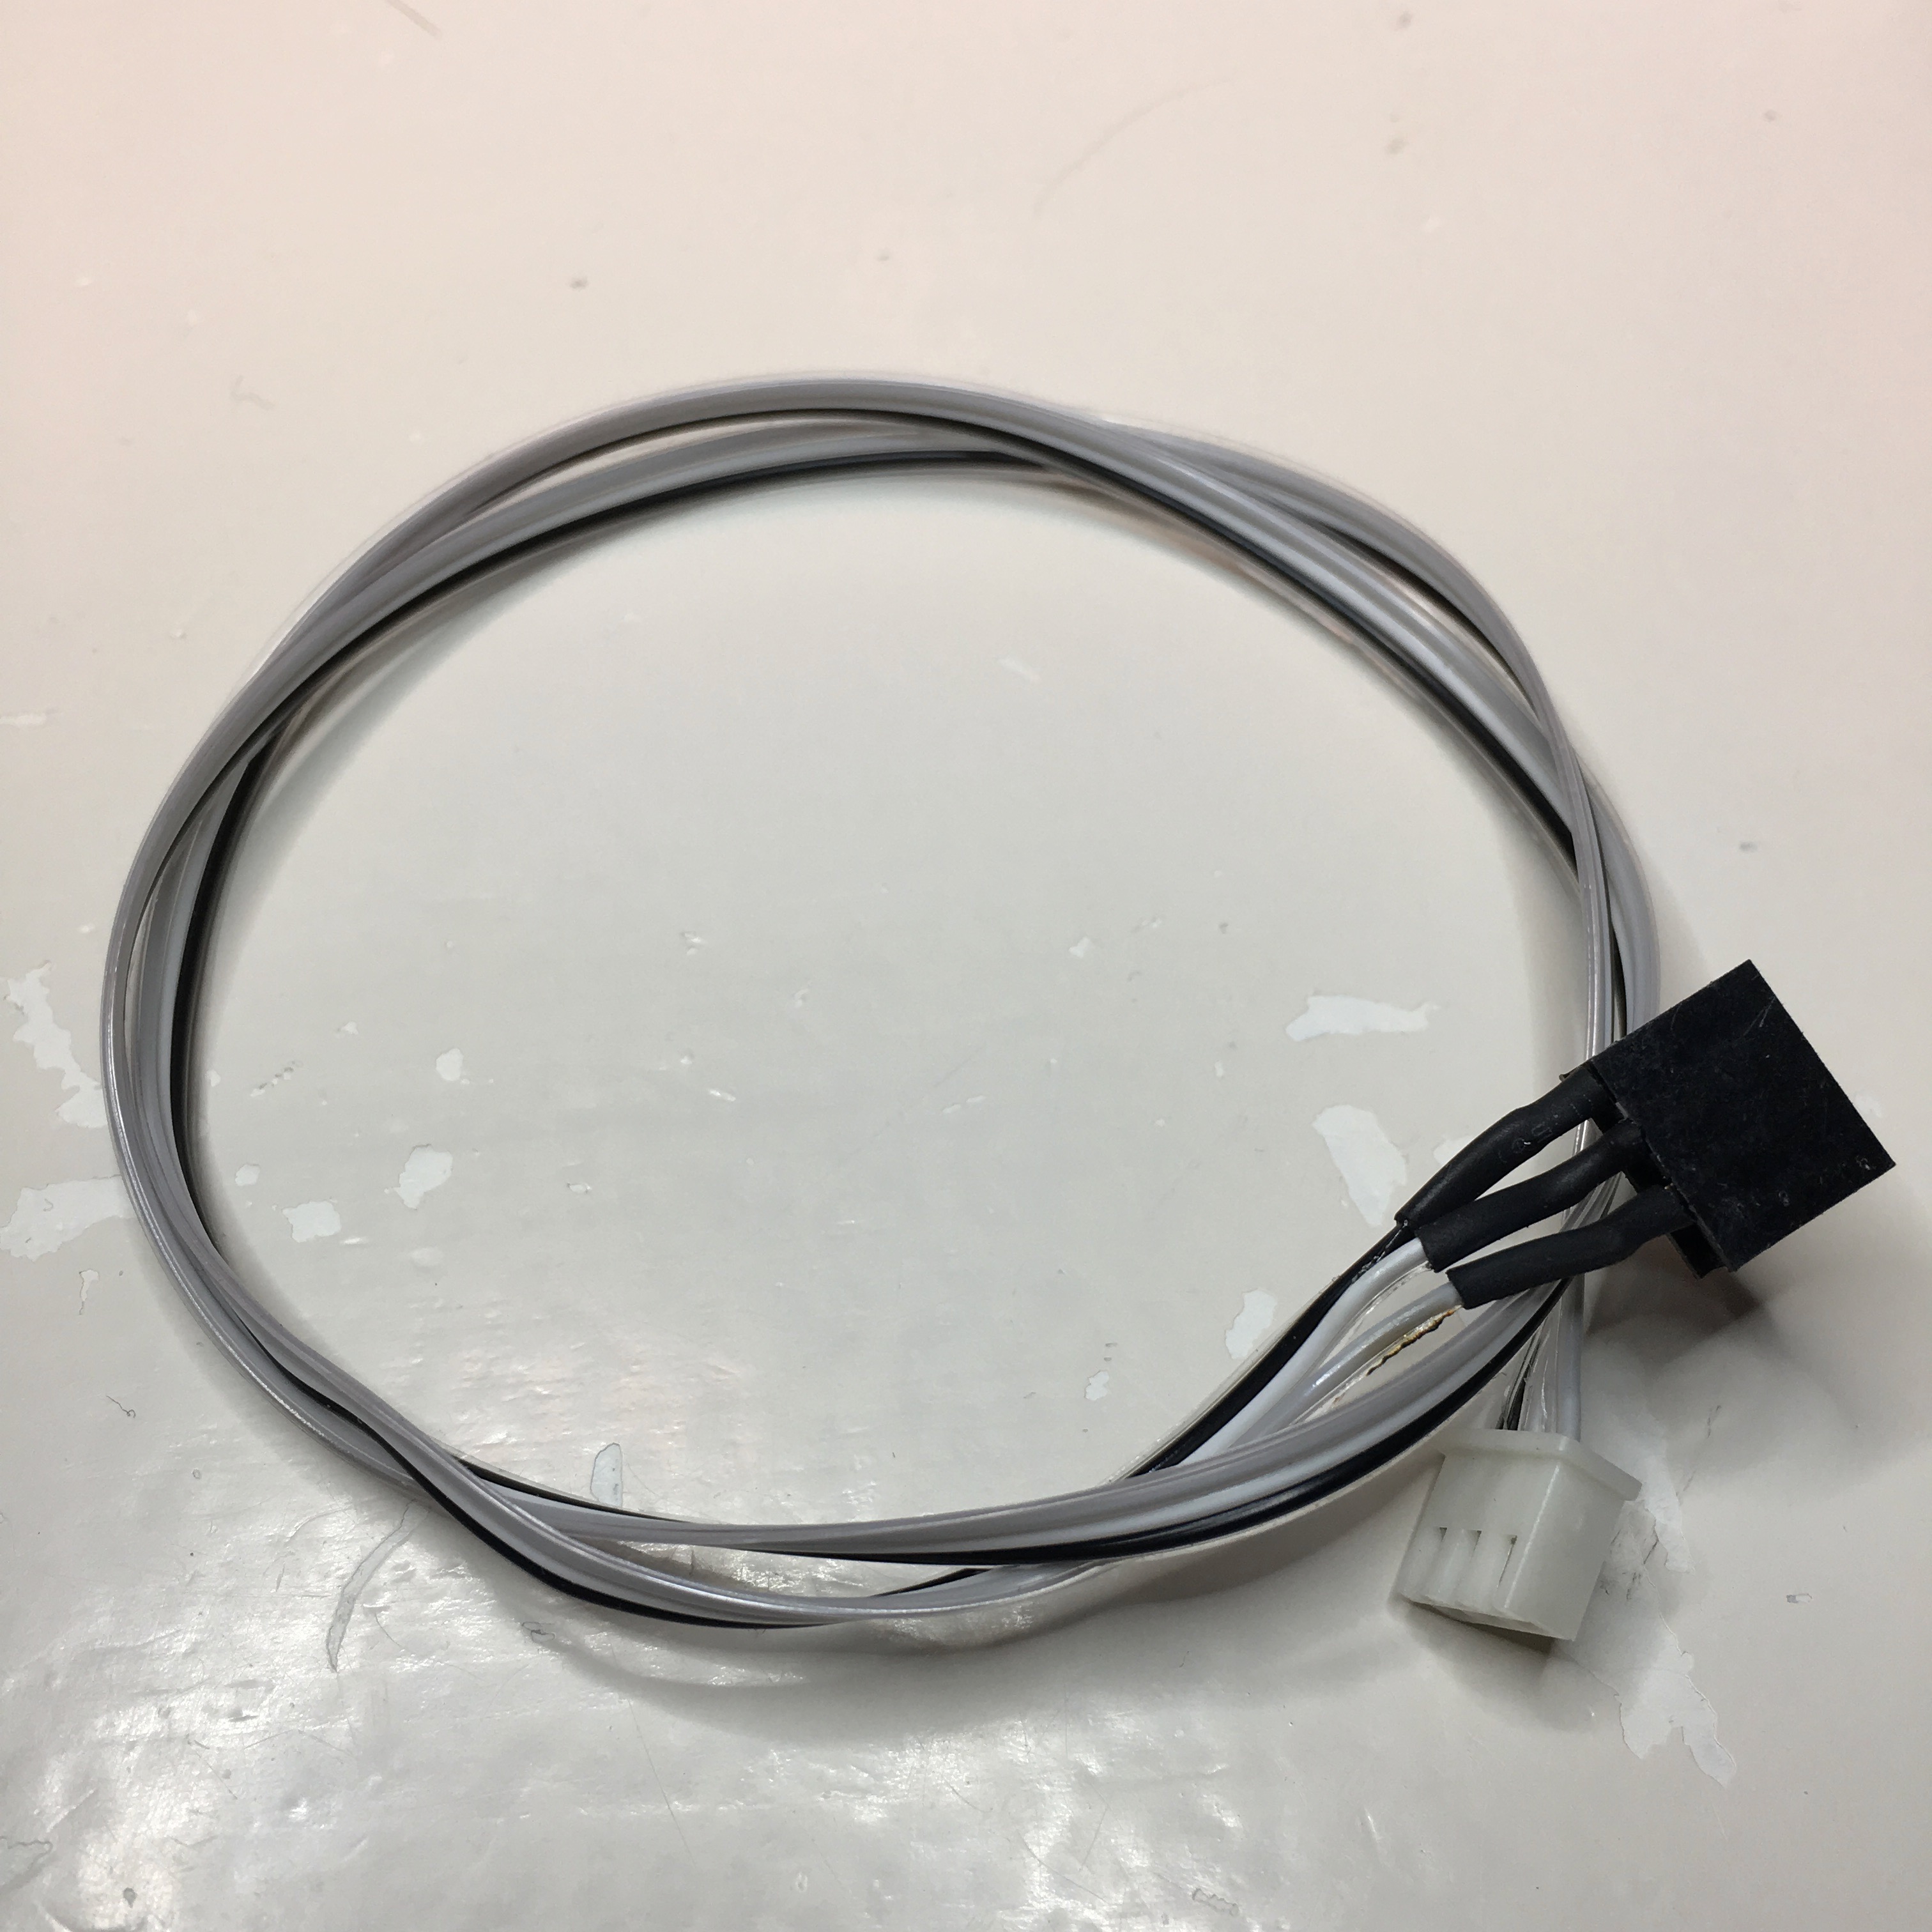
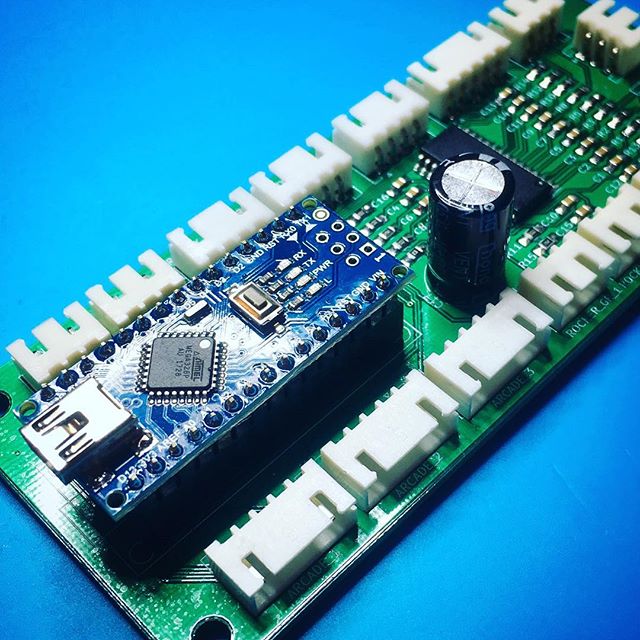
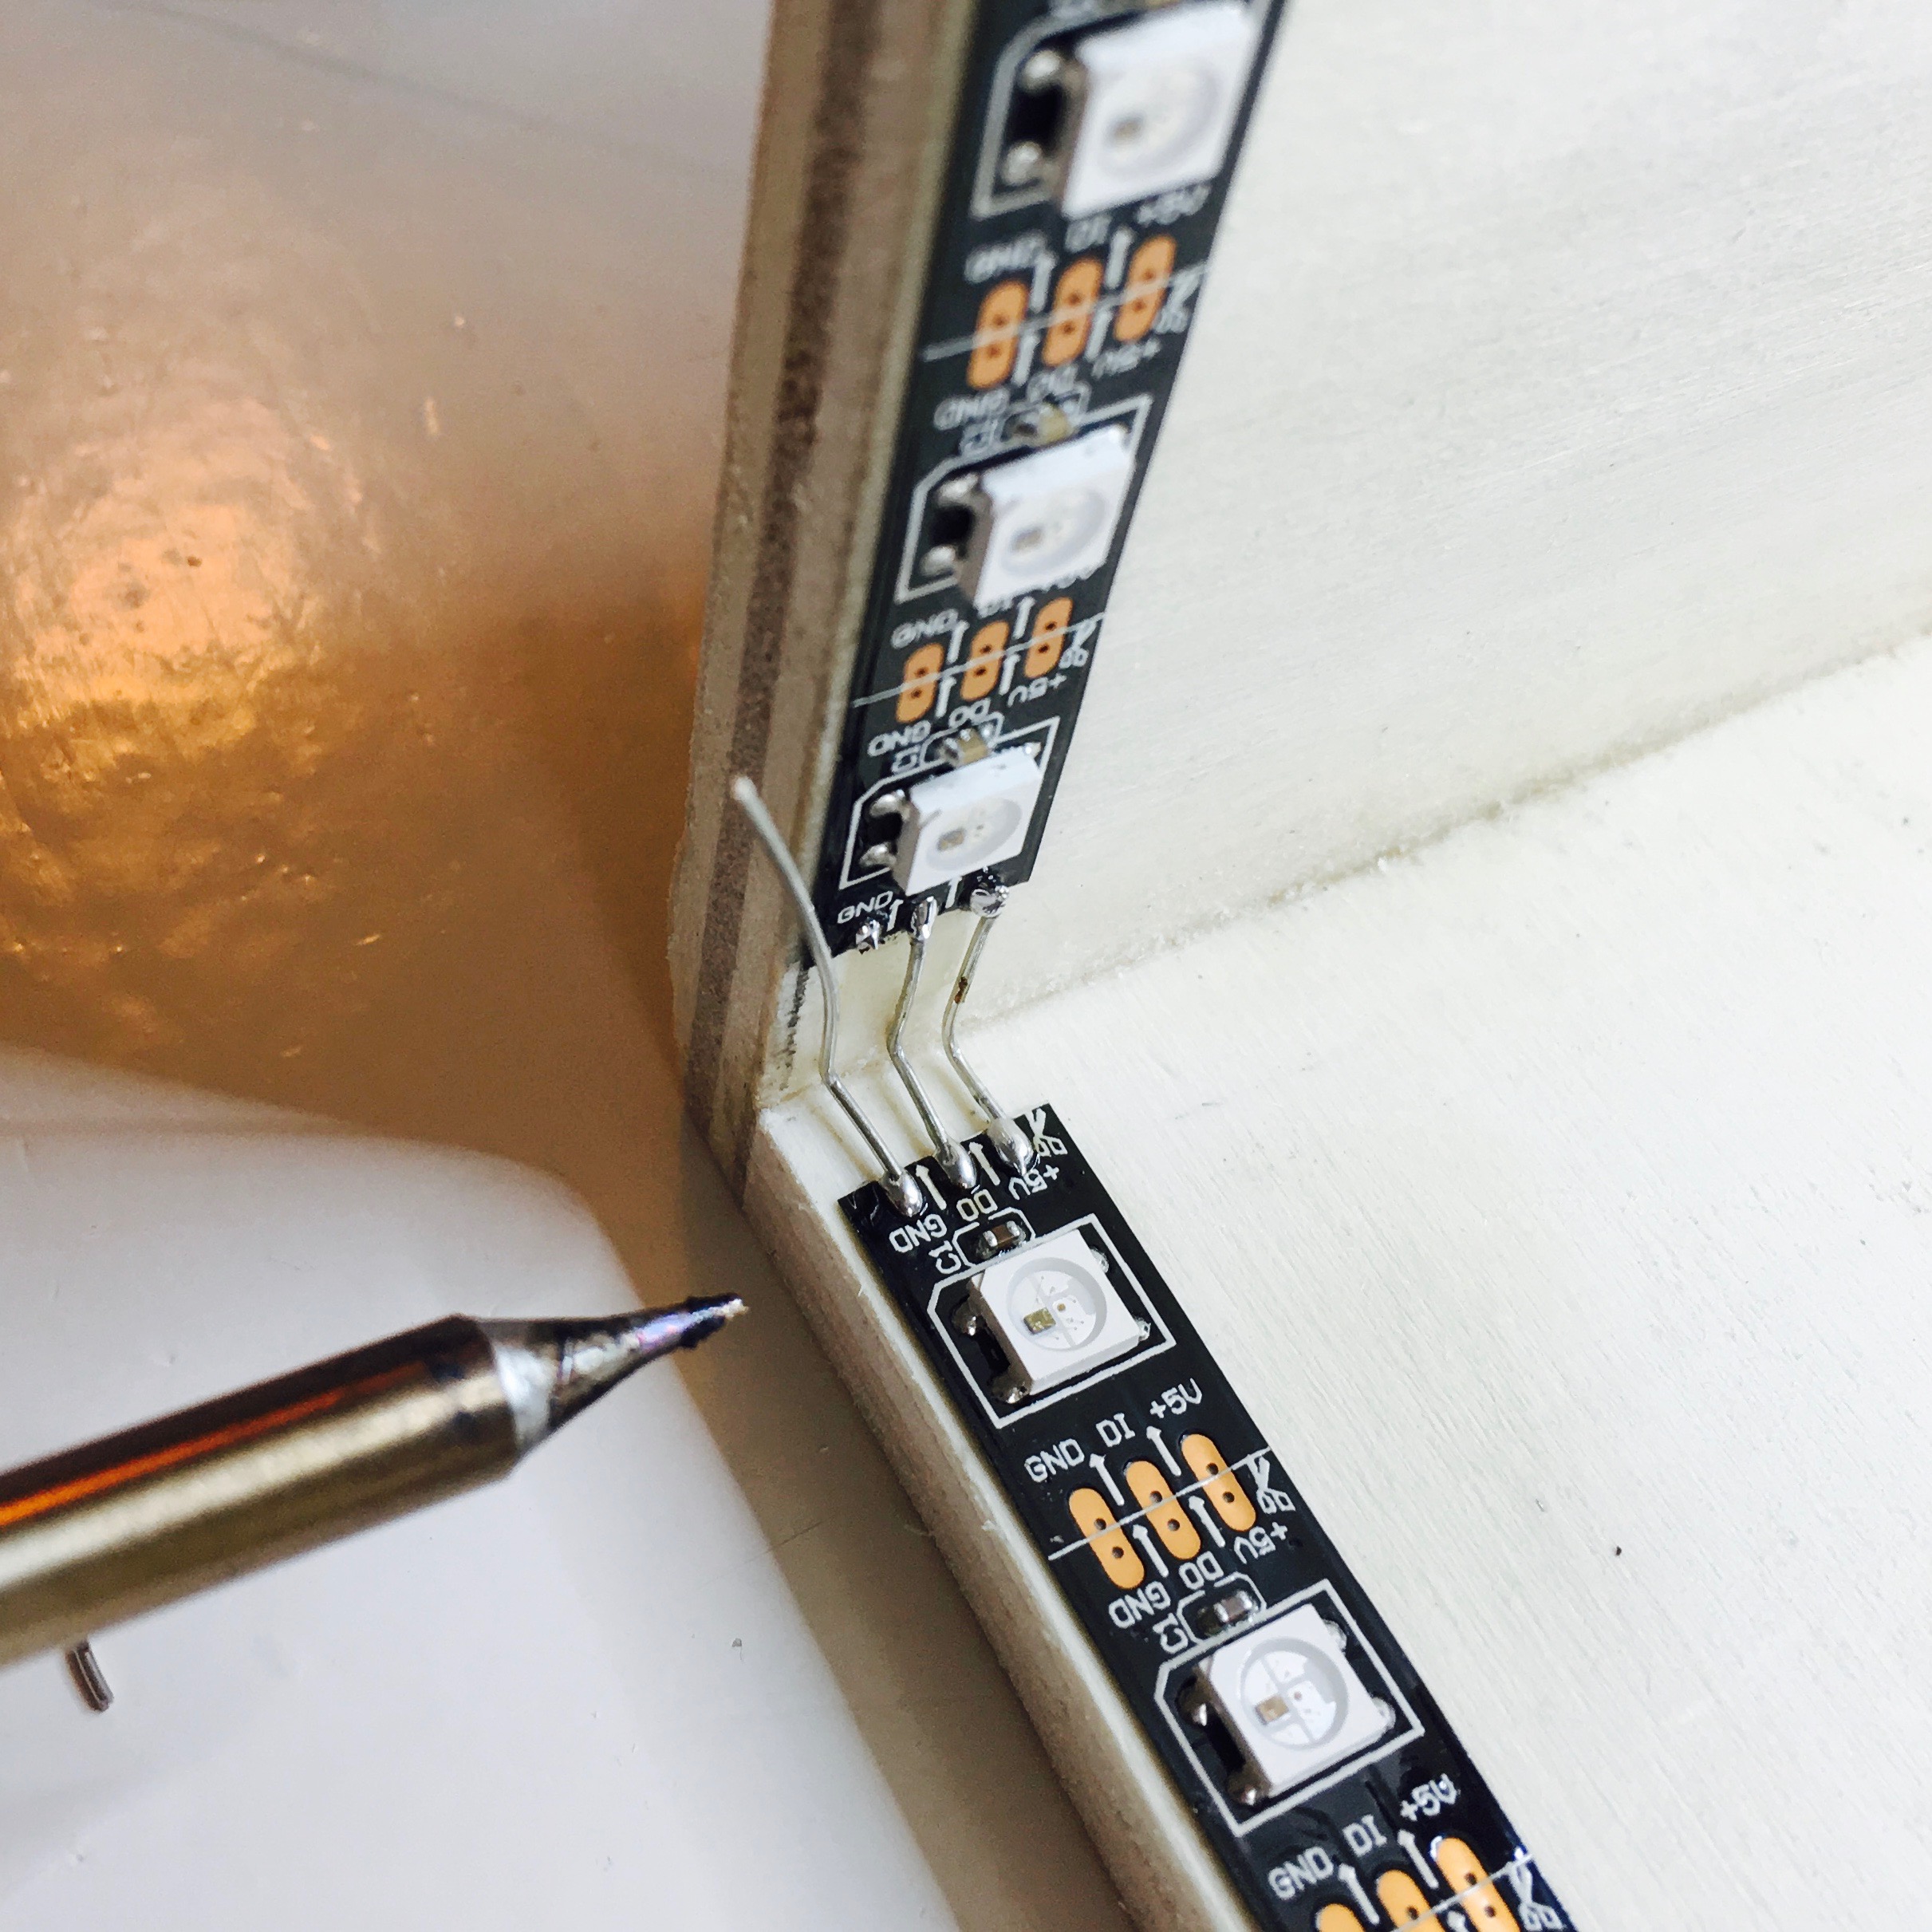
Of course, I wanted to control the interface with all the different input options from the activity board, so I had to connect the Arduino and Raspberry Pi together. The simple wire displayed above was enough to let the two core components communicate over RS232 (Serial).
To read out the info the data the Arduino sends, I use the Node Serialport package. It took some head scratching to get it up and running, since I had to recompile it to work with Electron, but after that, it was pretty easy to set up the communication.
A MagicMirror’s Node Helper sends the received serial data to a specially crafted MagicMirror² module.
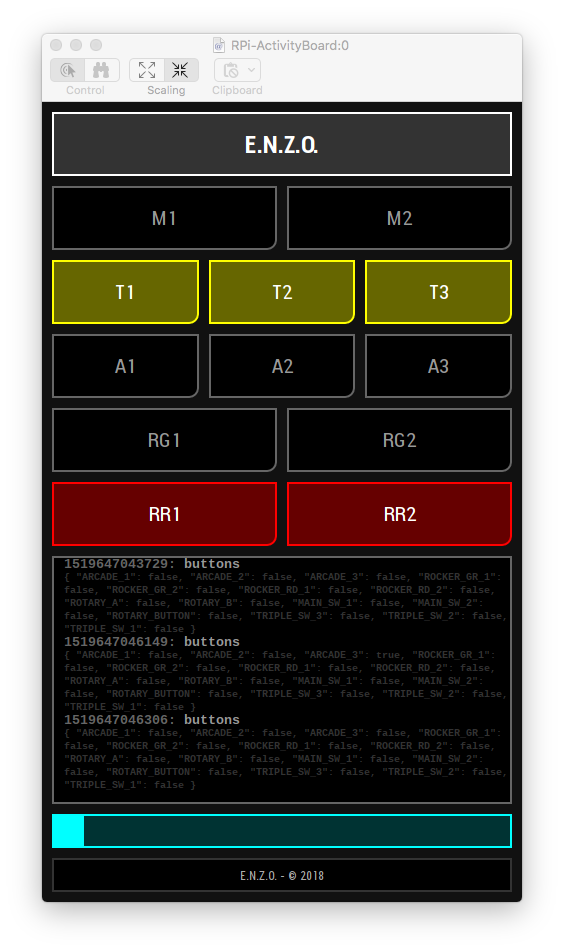
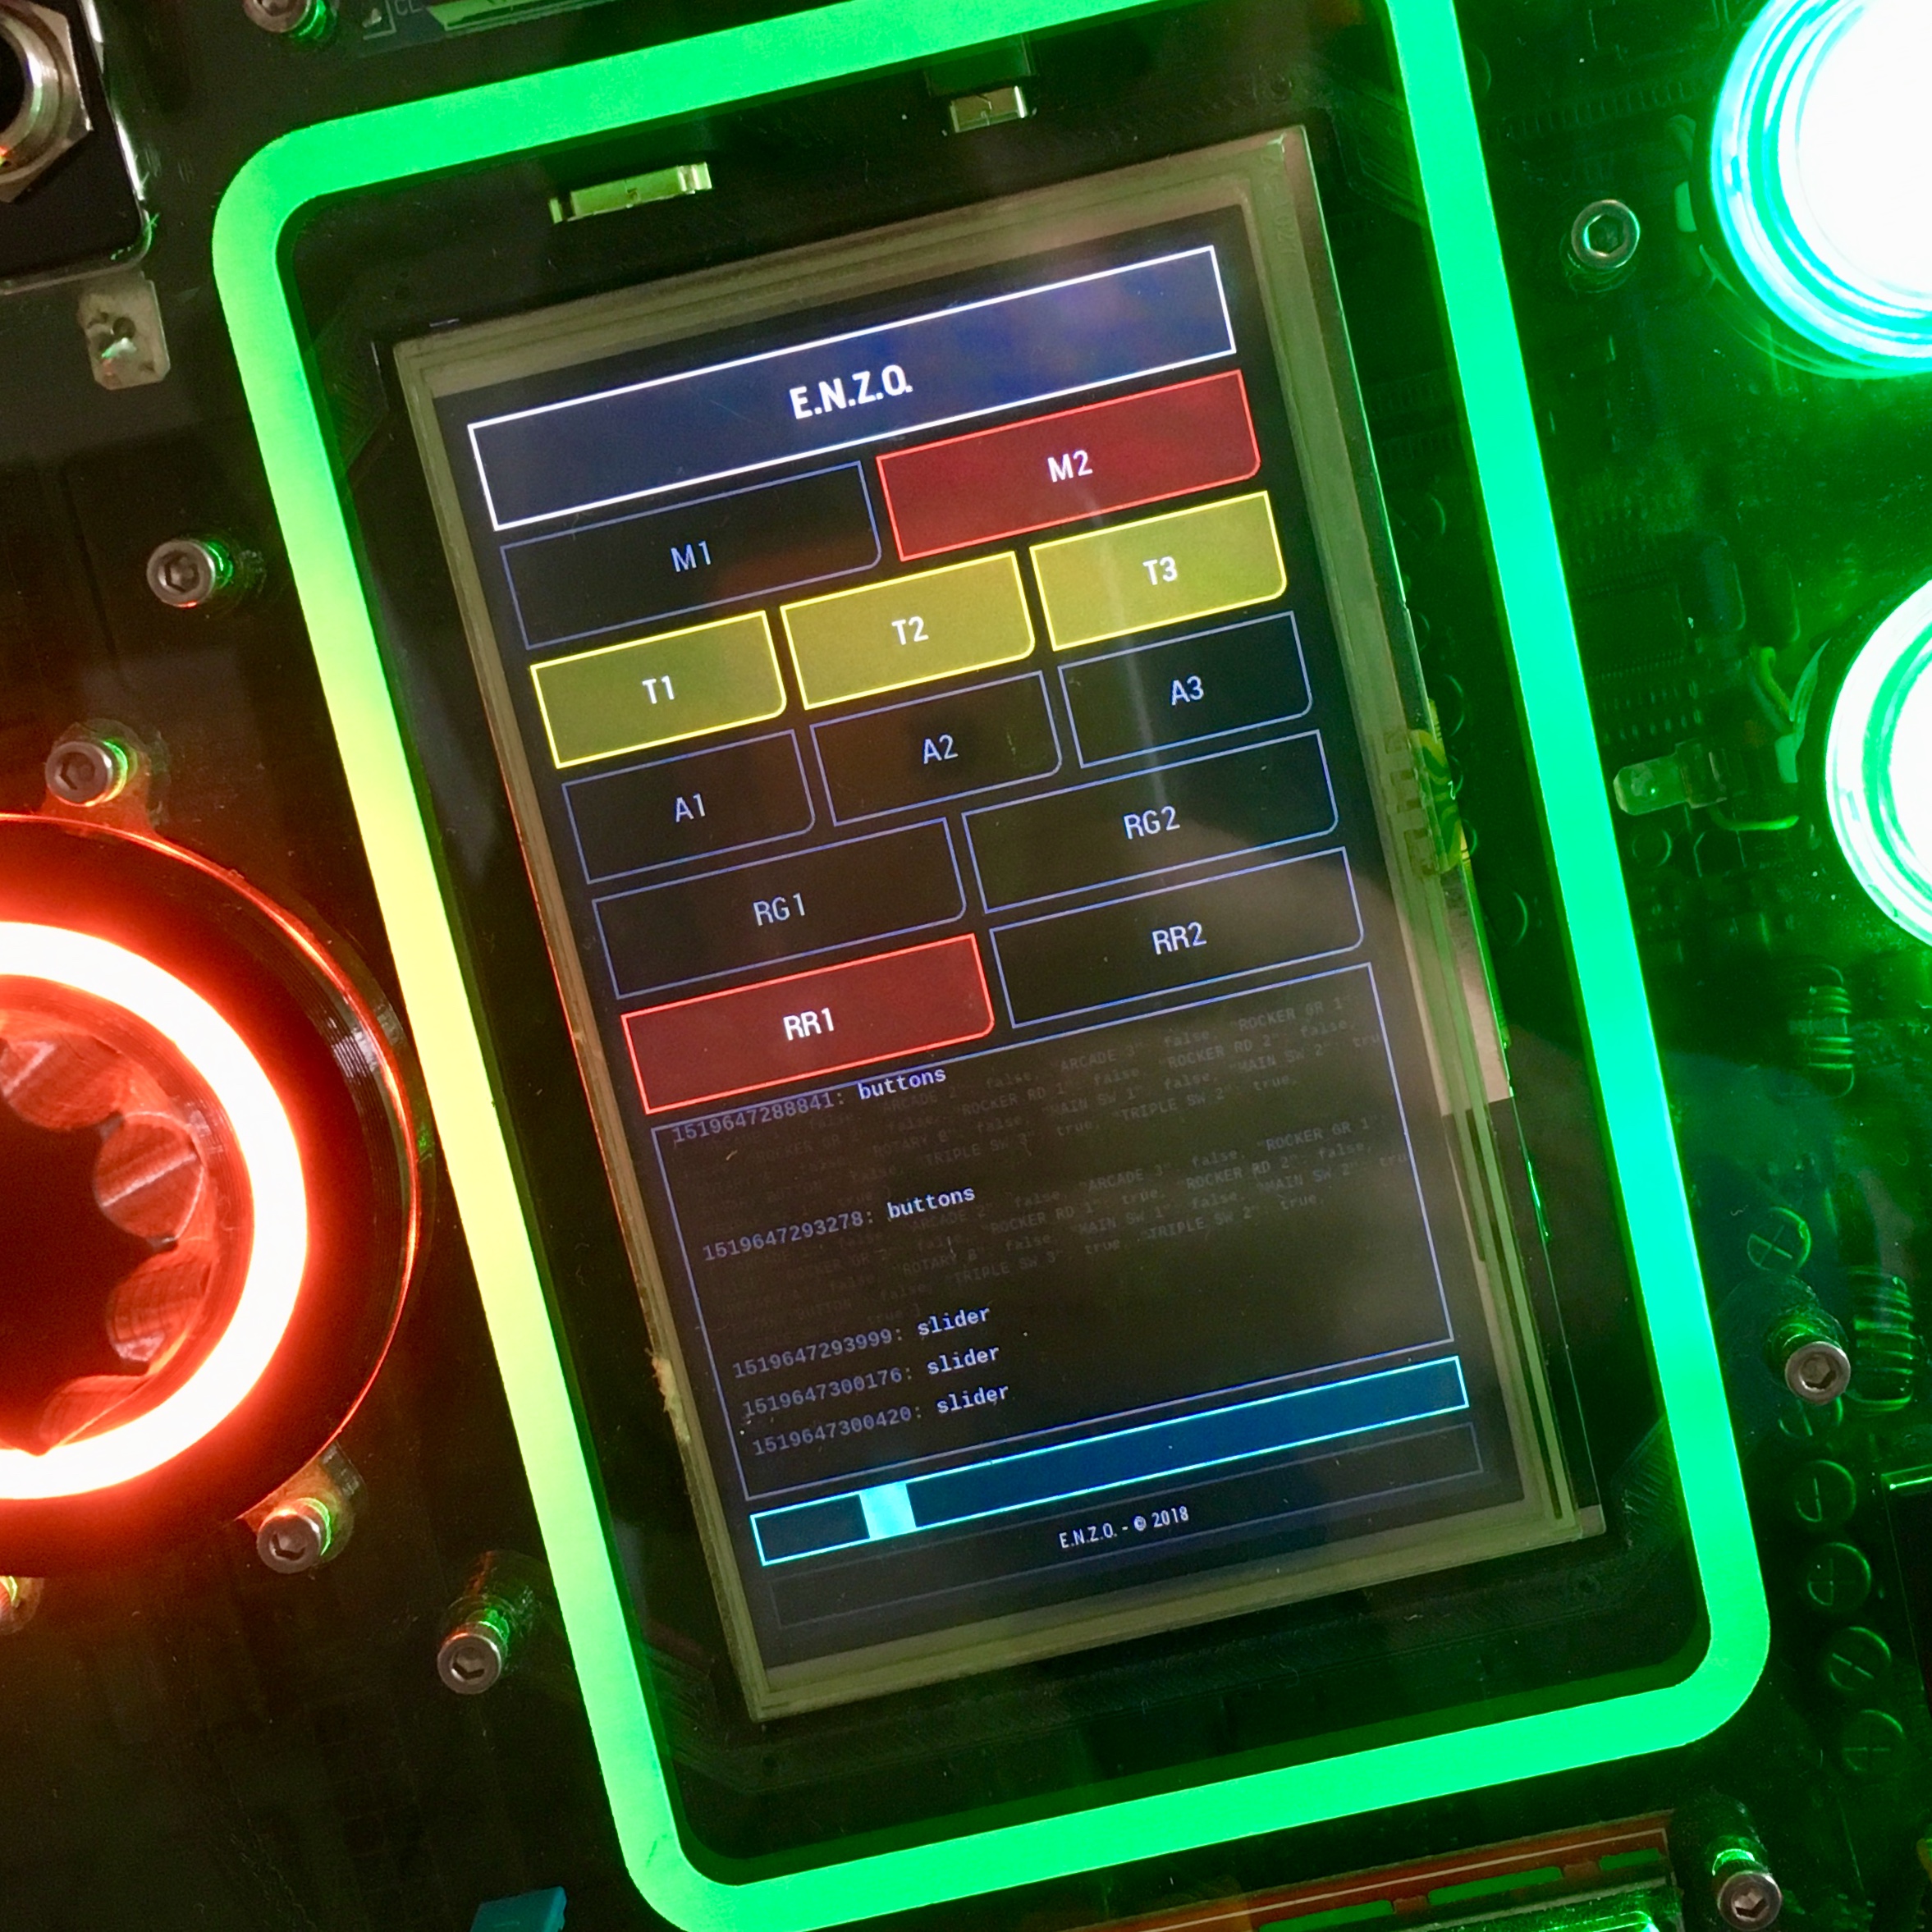
The futuristic looking debug app allows me to test the communication. And is a perfect place holder to keep my son busy for a while …
The module leverages the power of Vue.js to quickly develop the interface. It took some fiddling to get a Vue.js working as a MagicMirror module, but is does show the flexibility of the MagicMirror² core. If you’re interested in how it’s all tied together, check out the module’s repository.
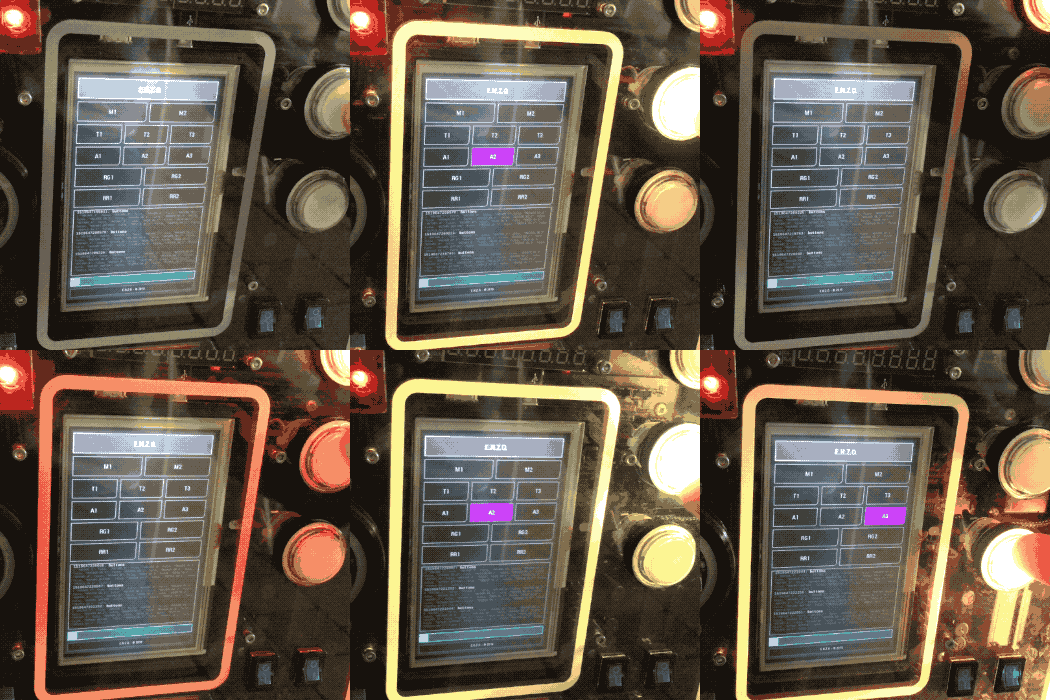
And with this interface, the technology of the activity board is fully tested. The only thing left is the development of an addictive interface which keeps my son busy while I’m tinkering behind my desk. Perfect parenting!
Activity Board: The Final Touch
