
Activity Board:
The Final Touch
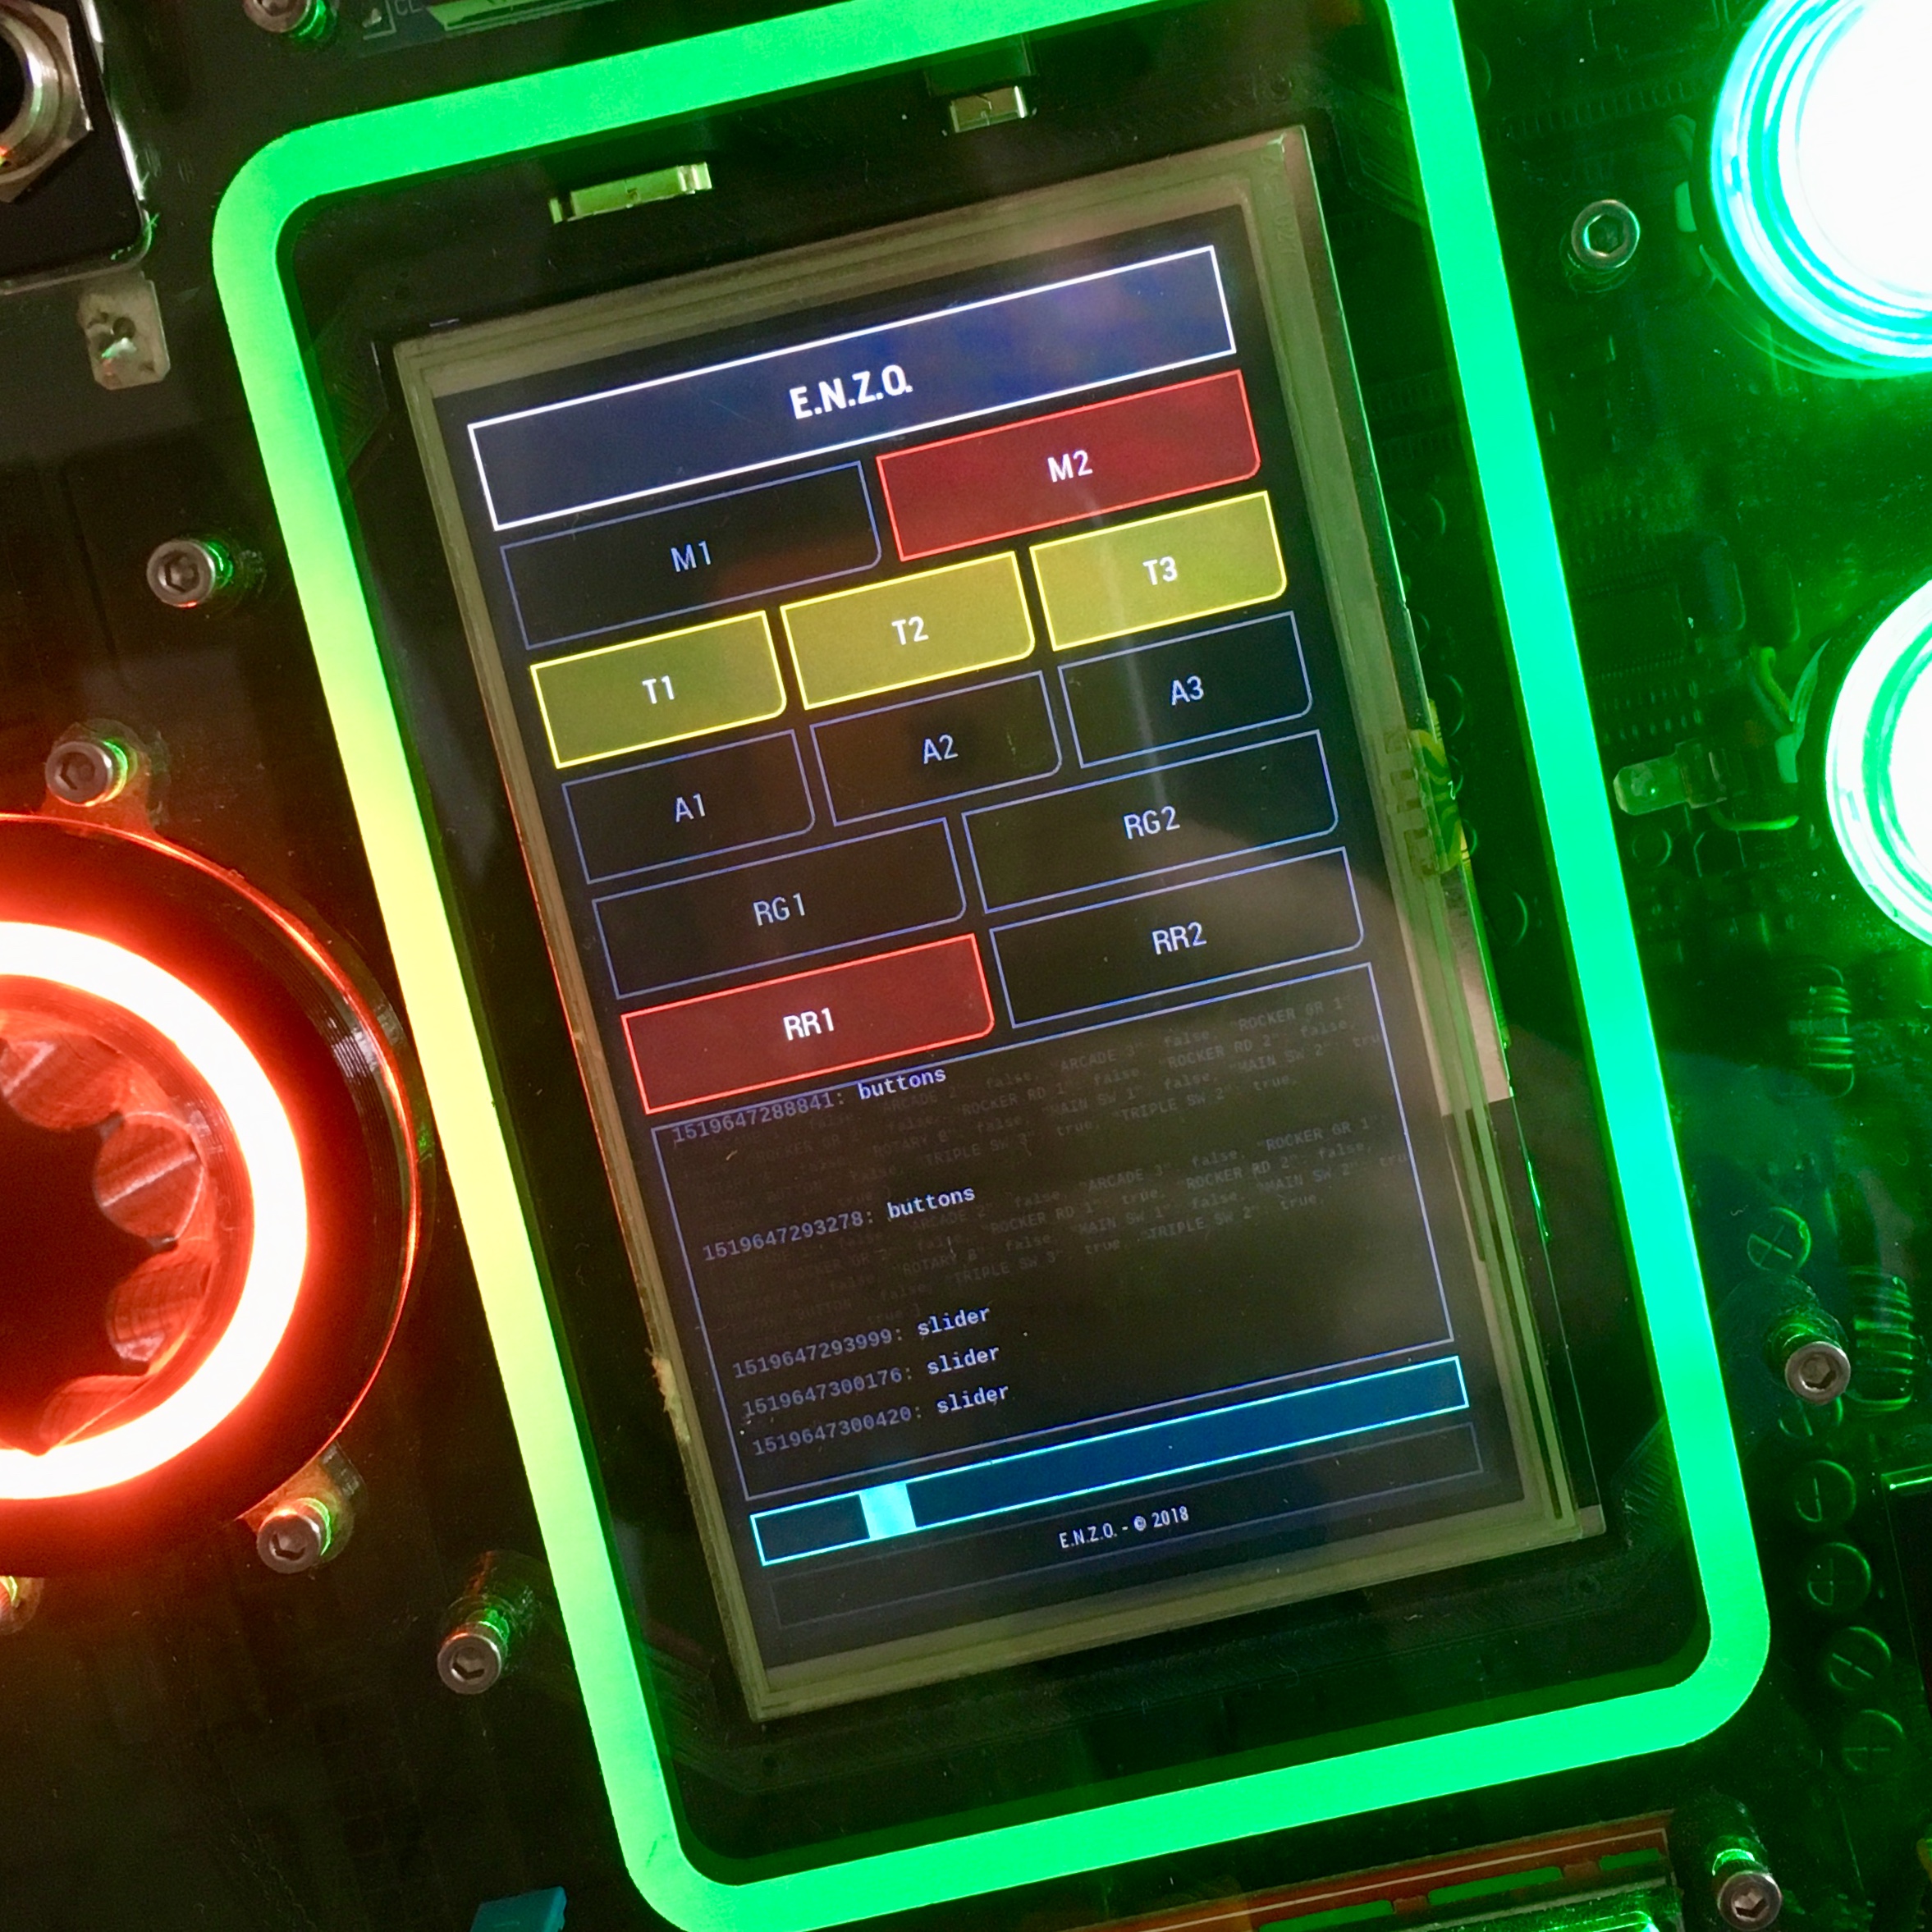
It has been almost a year since I started the activity board project. So it is time to wrap it up. As said in the last activity board blog post, the only thing left to do was to finish the interface …
Activity Board:
Bake me some Pi!
Now that most of the firmware is all set an done, it’s time to start working on the final part of the Activity Board: the Raspberry Pi display interface.
Activity Board:
It's all about the code!
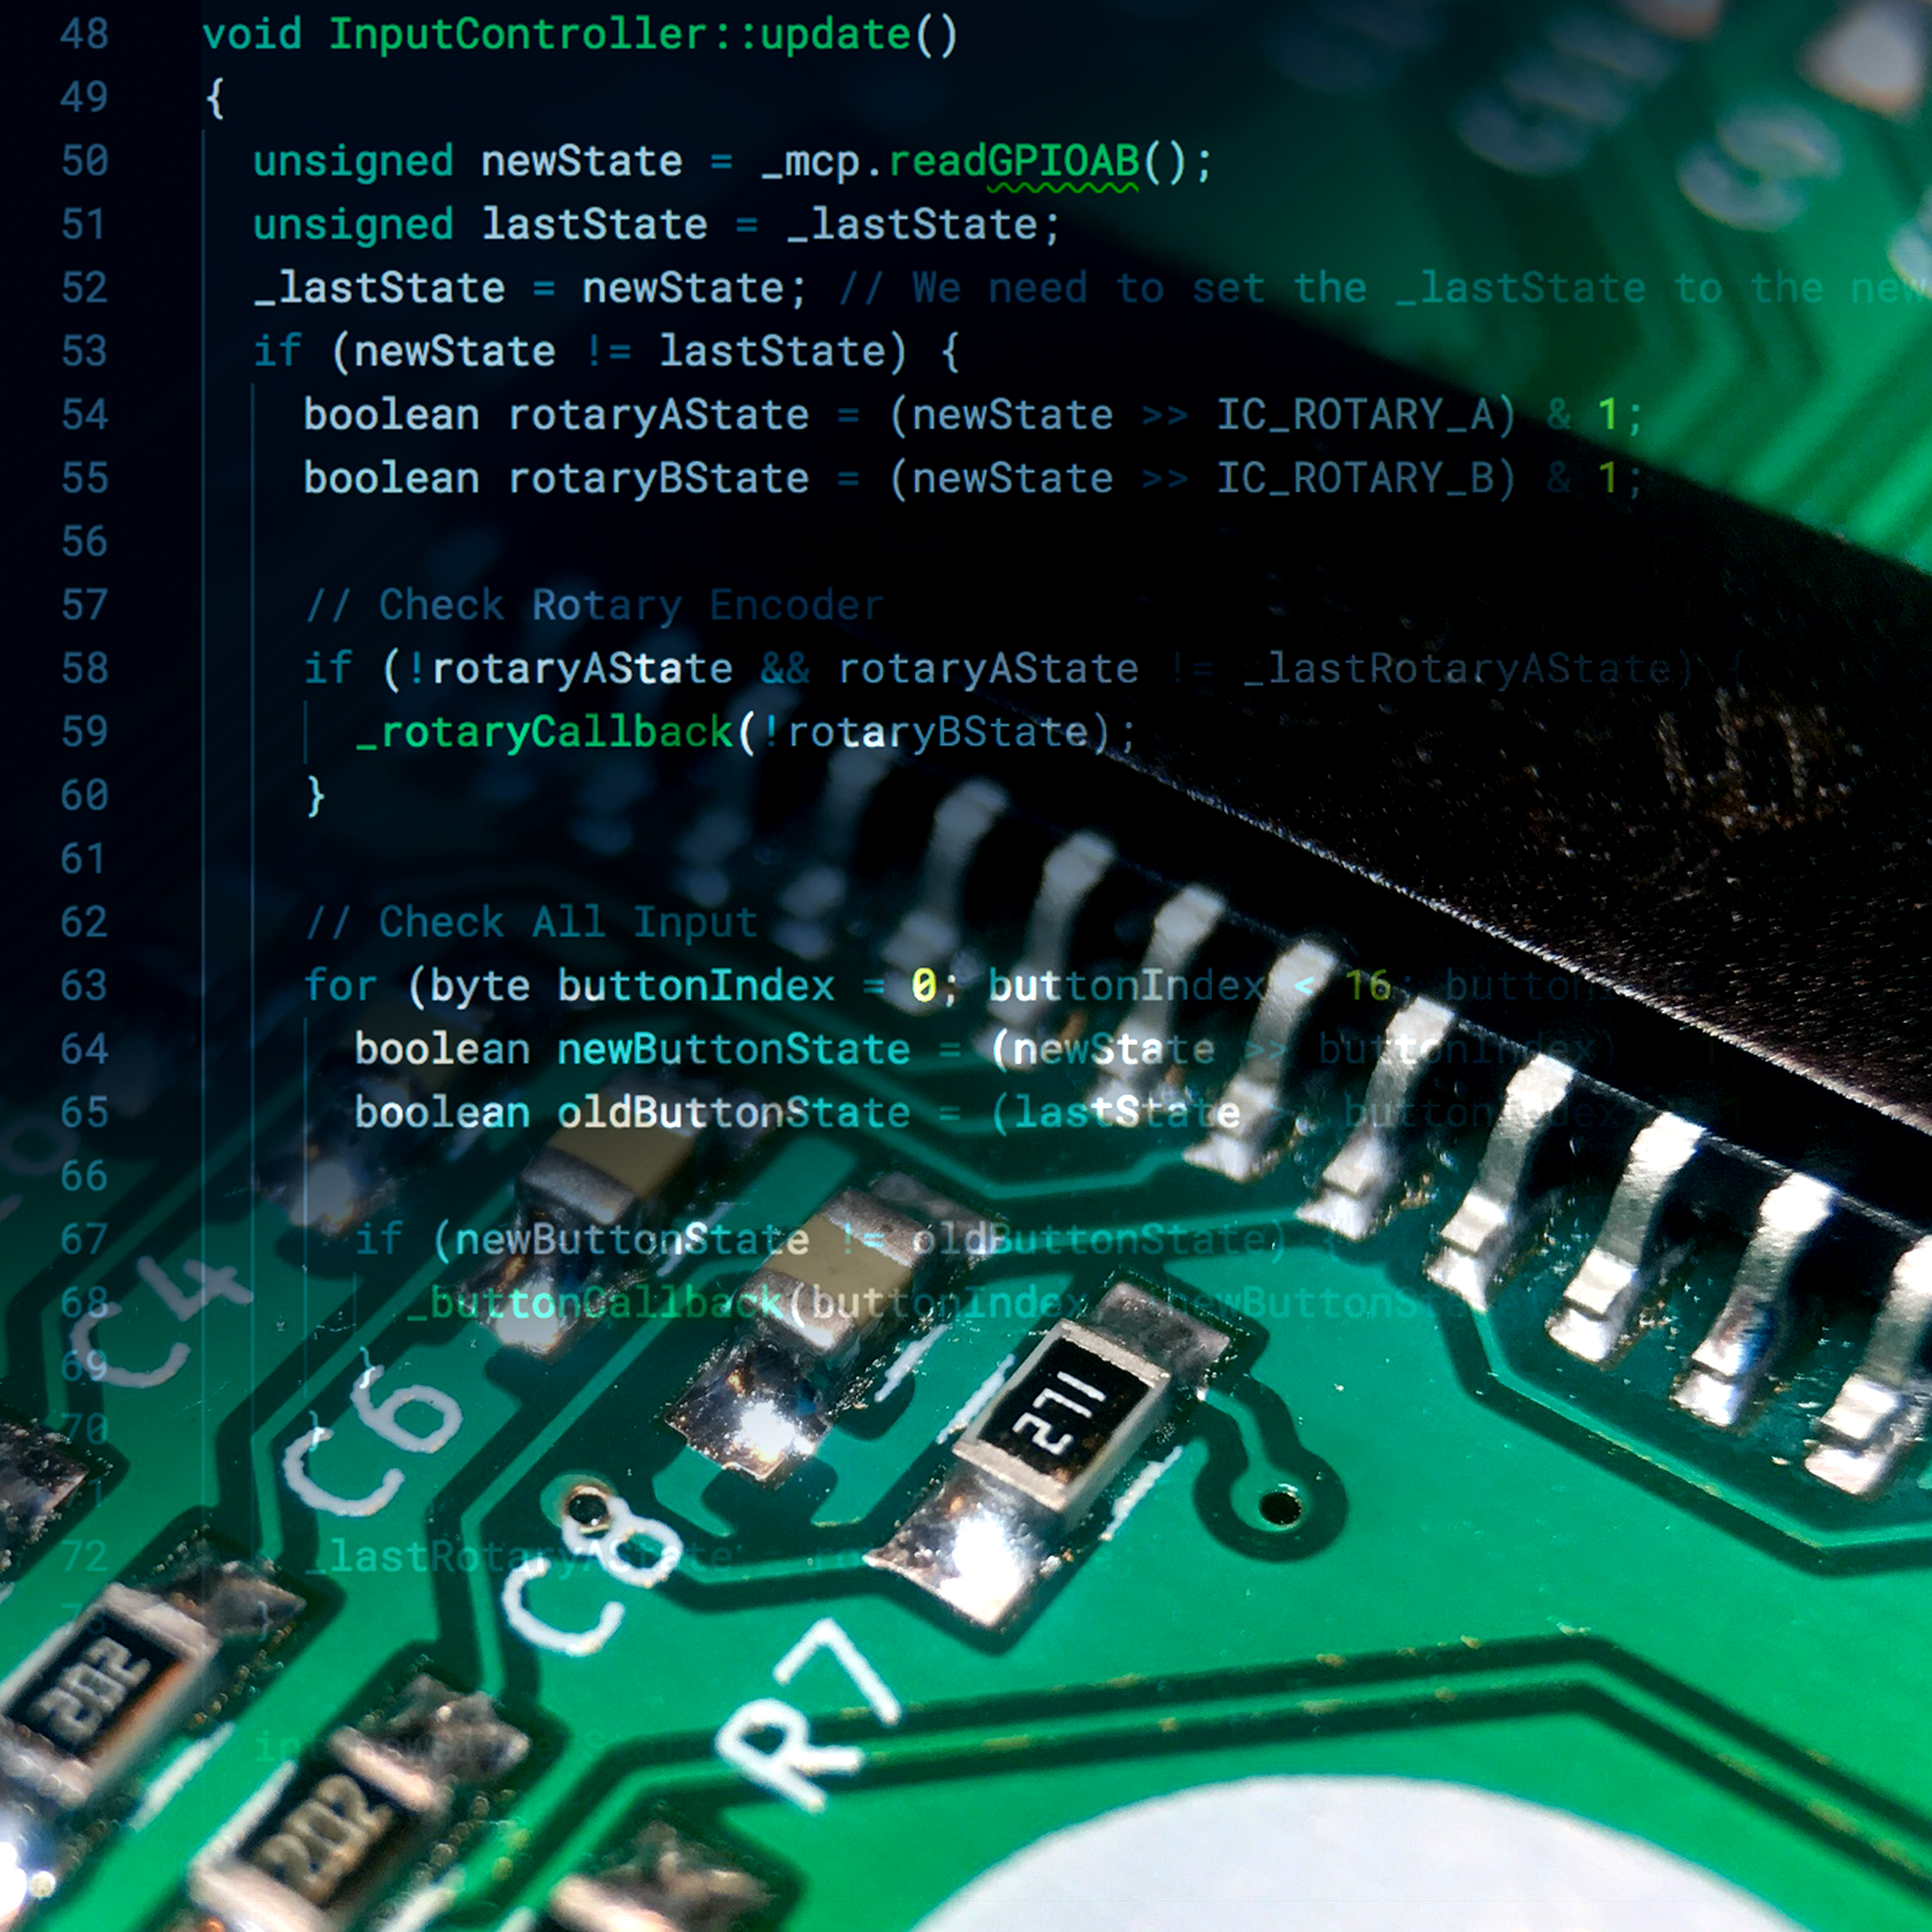
With the activity board controller finally in place and tested. It’s time to throw together the actual firmware. Let’s fire up VSCode!
Activity Board:
Take control!
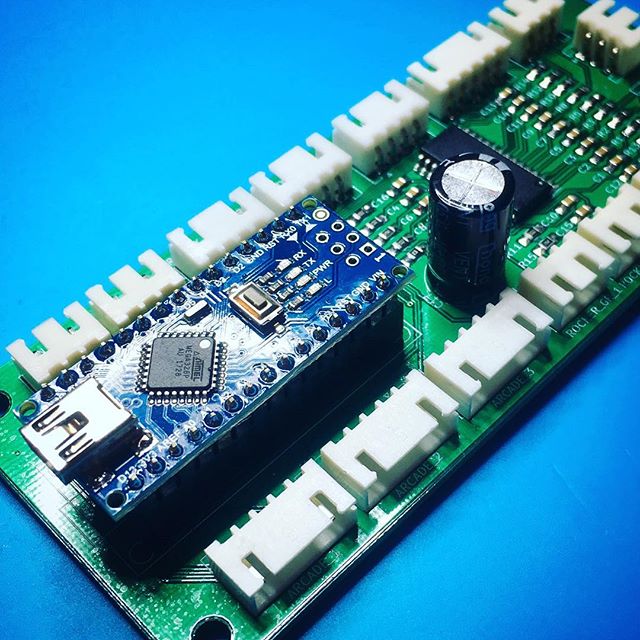
In my last activity board blog post I finished the final part of the control panel. It is time to start working on the electronics. Or to use a bit more exciting terminology: it is time to work on the activity board controller!
Activity Board:
The dial on the board goes round and round
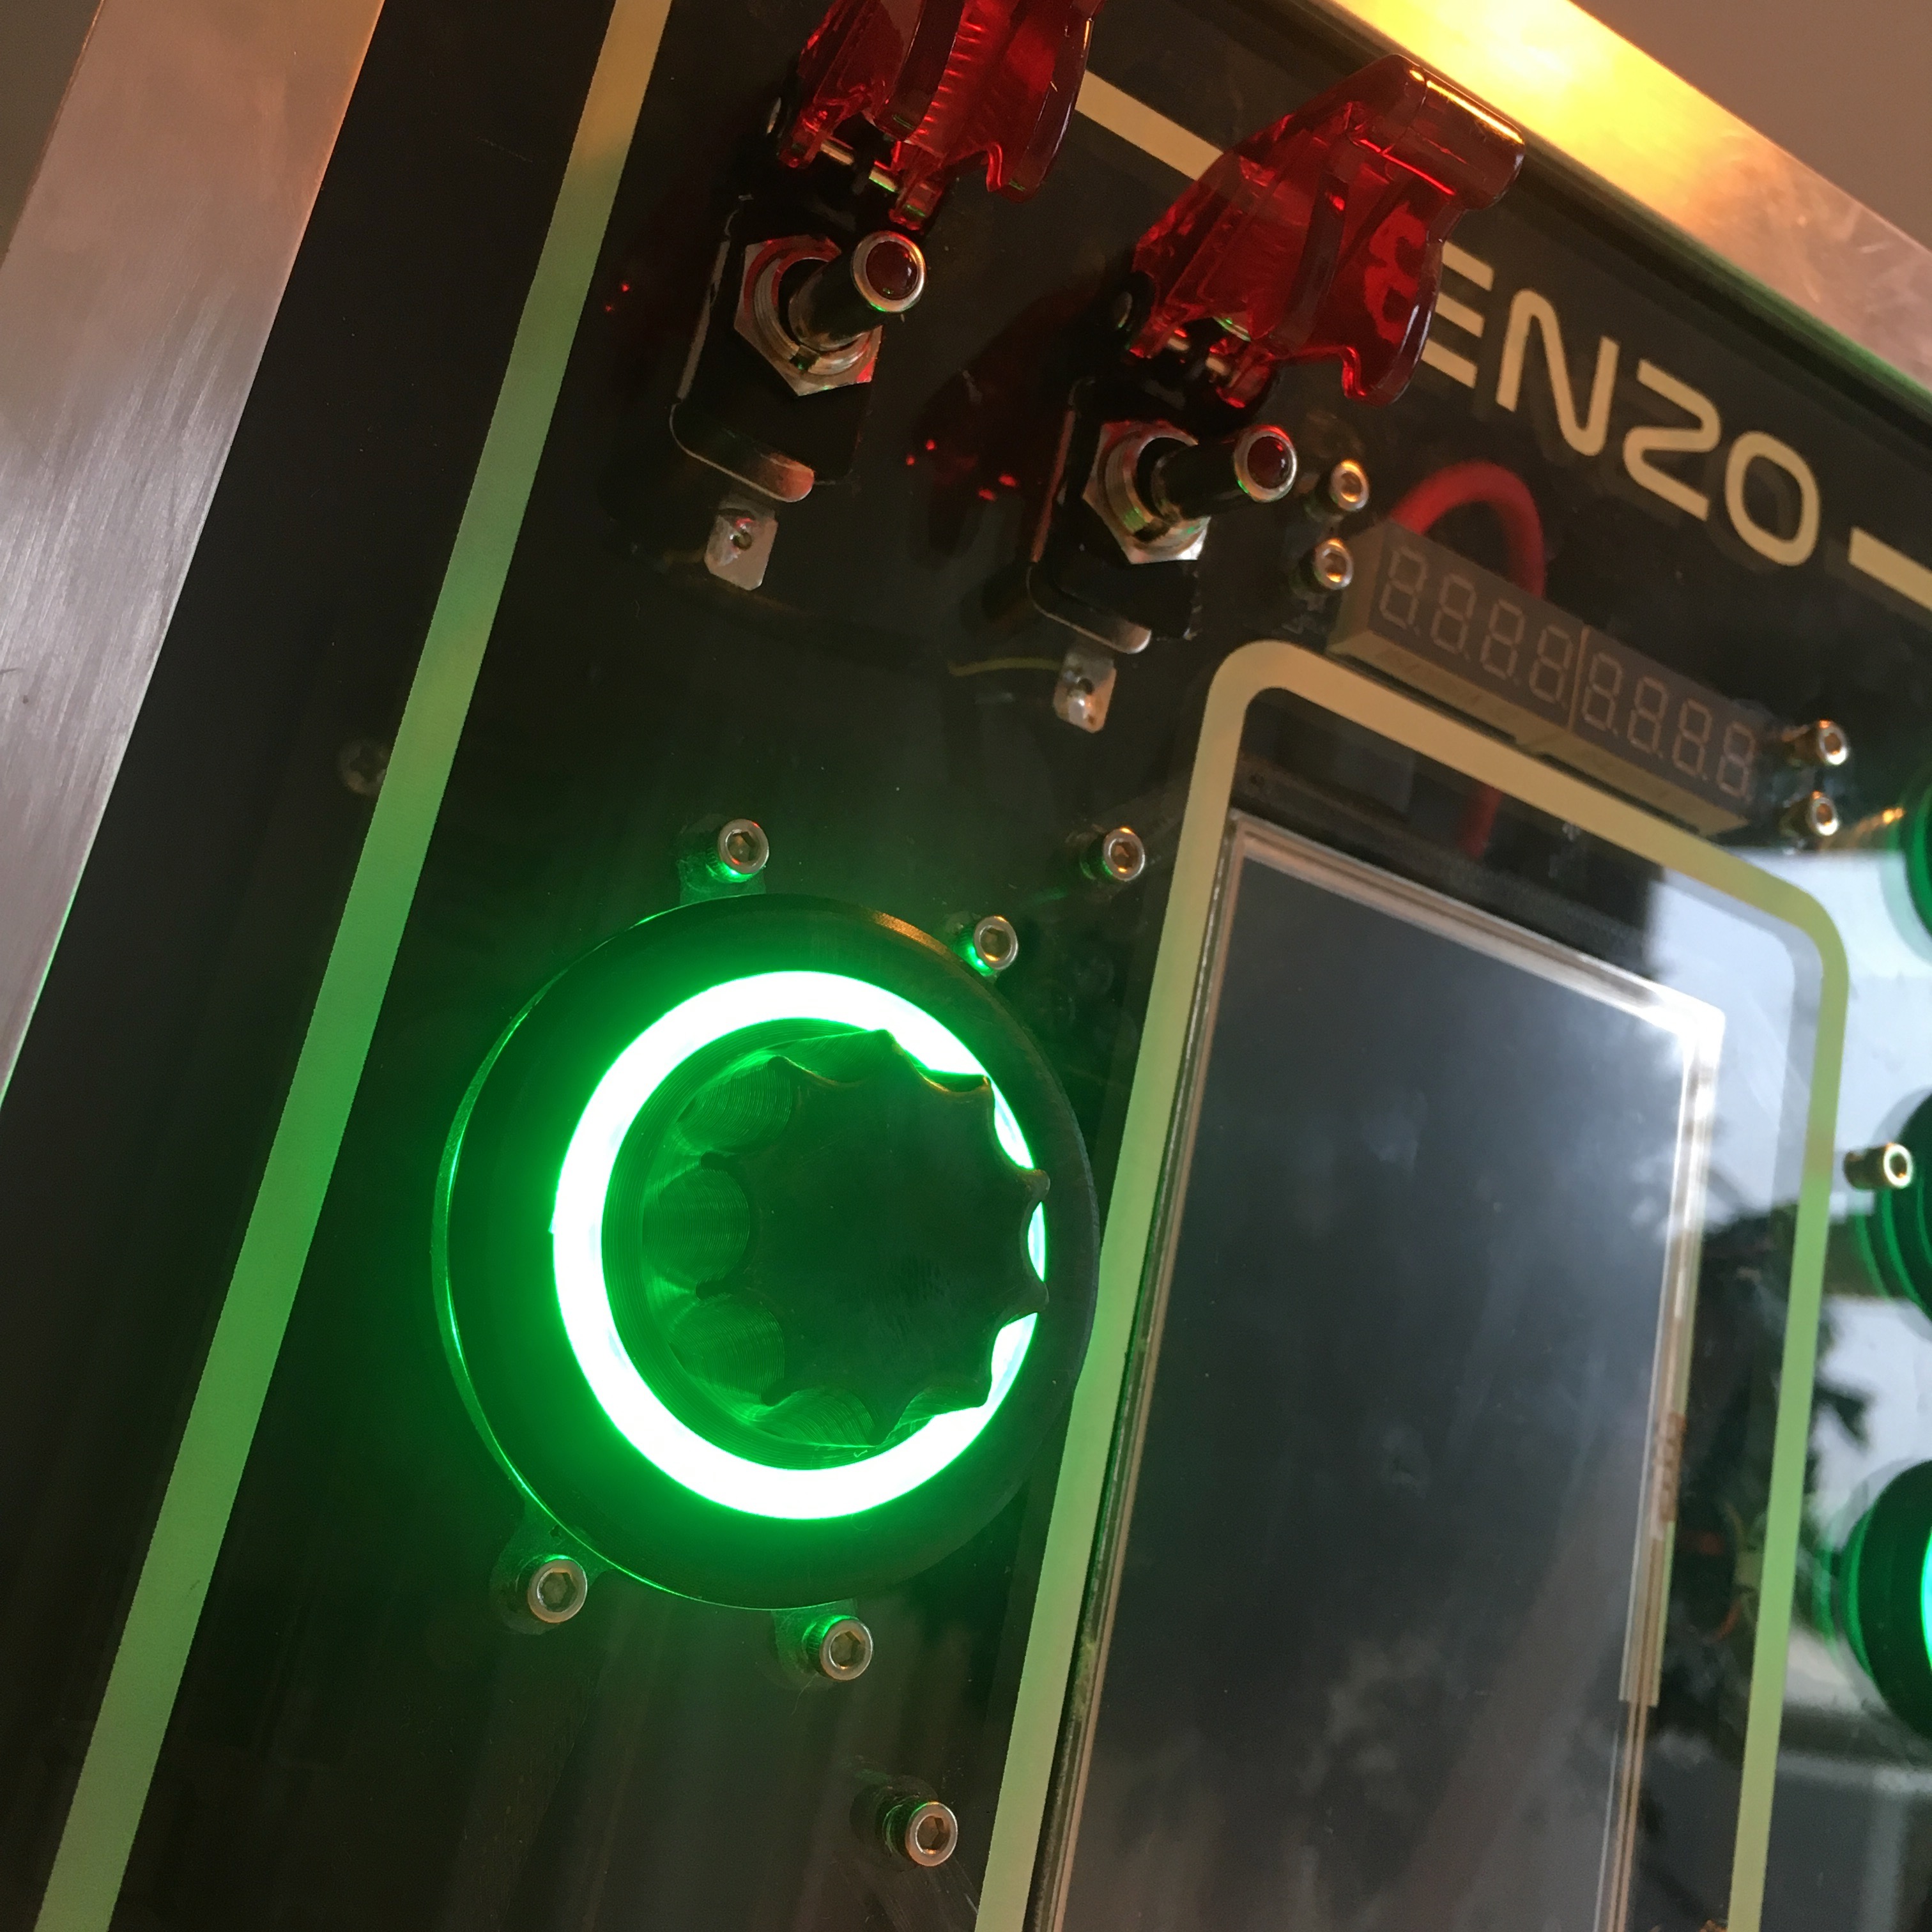
Creating an nice big dial knob for the activity board, isn’t that difficult since I own a 3D printer. But to make it a big more special than the average dial, I wanted to add a nice light effect to the button.
Activity Board:
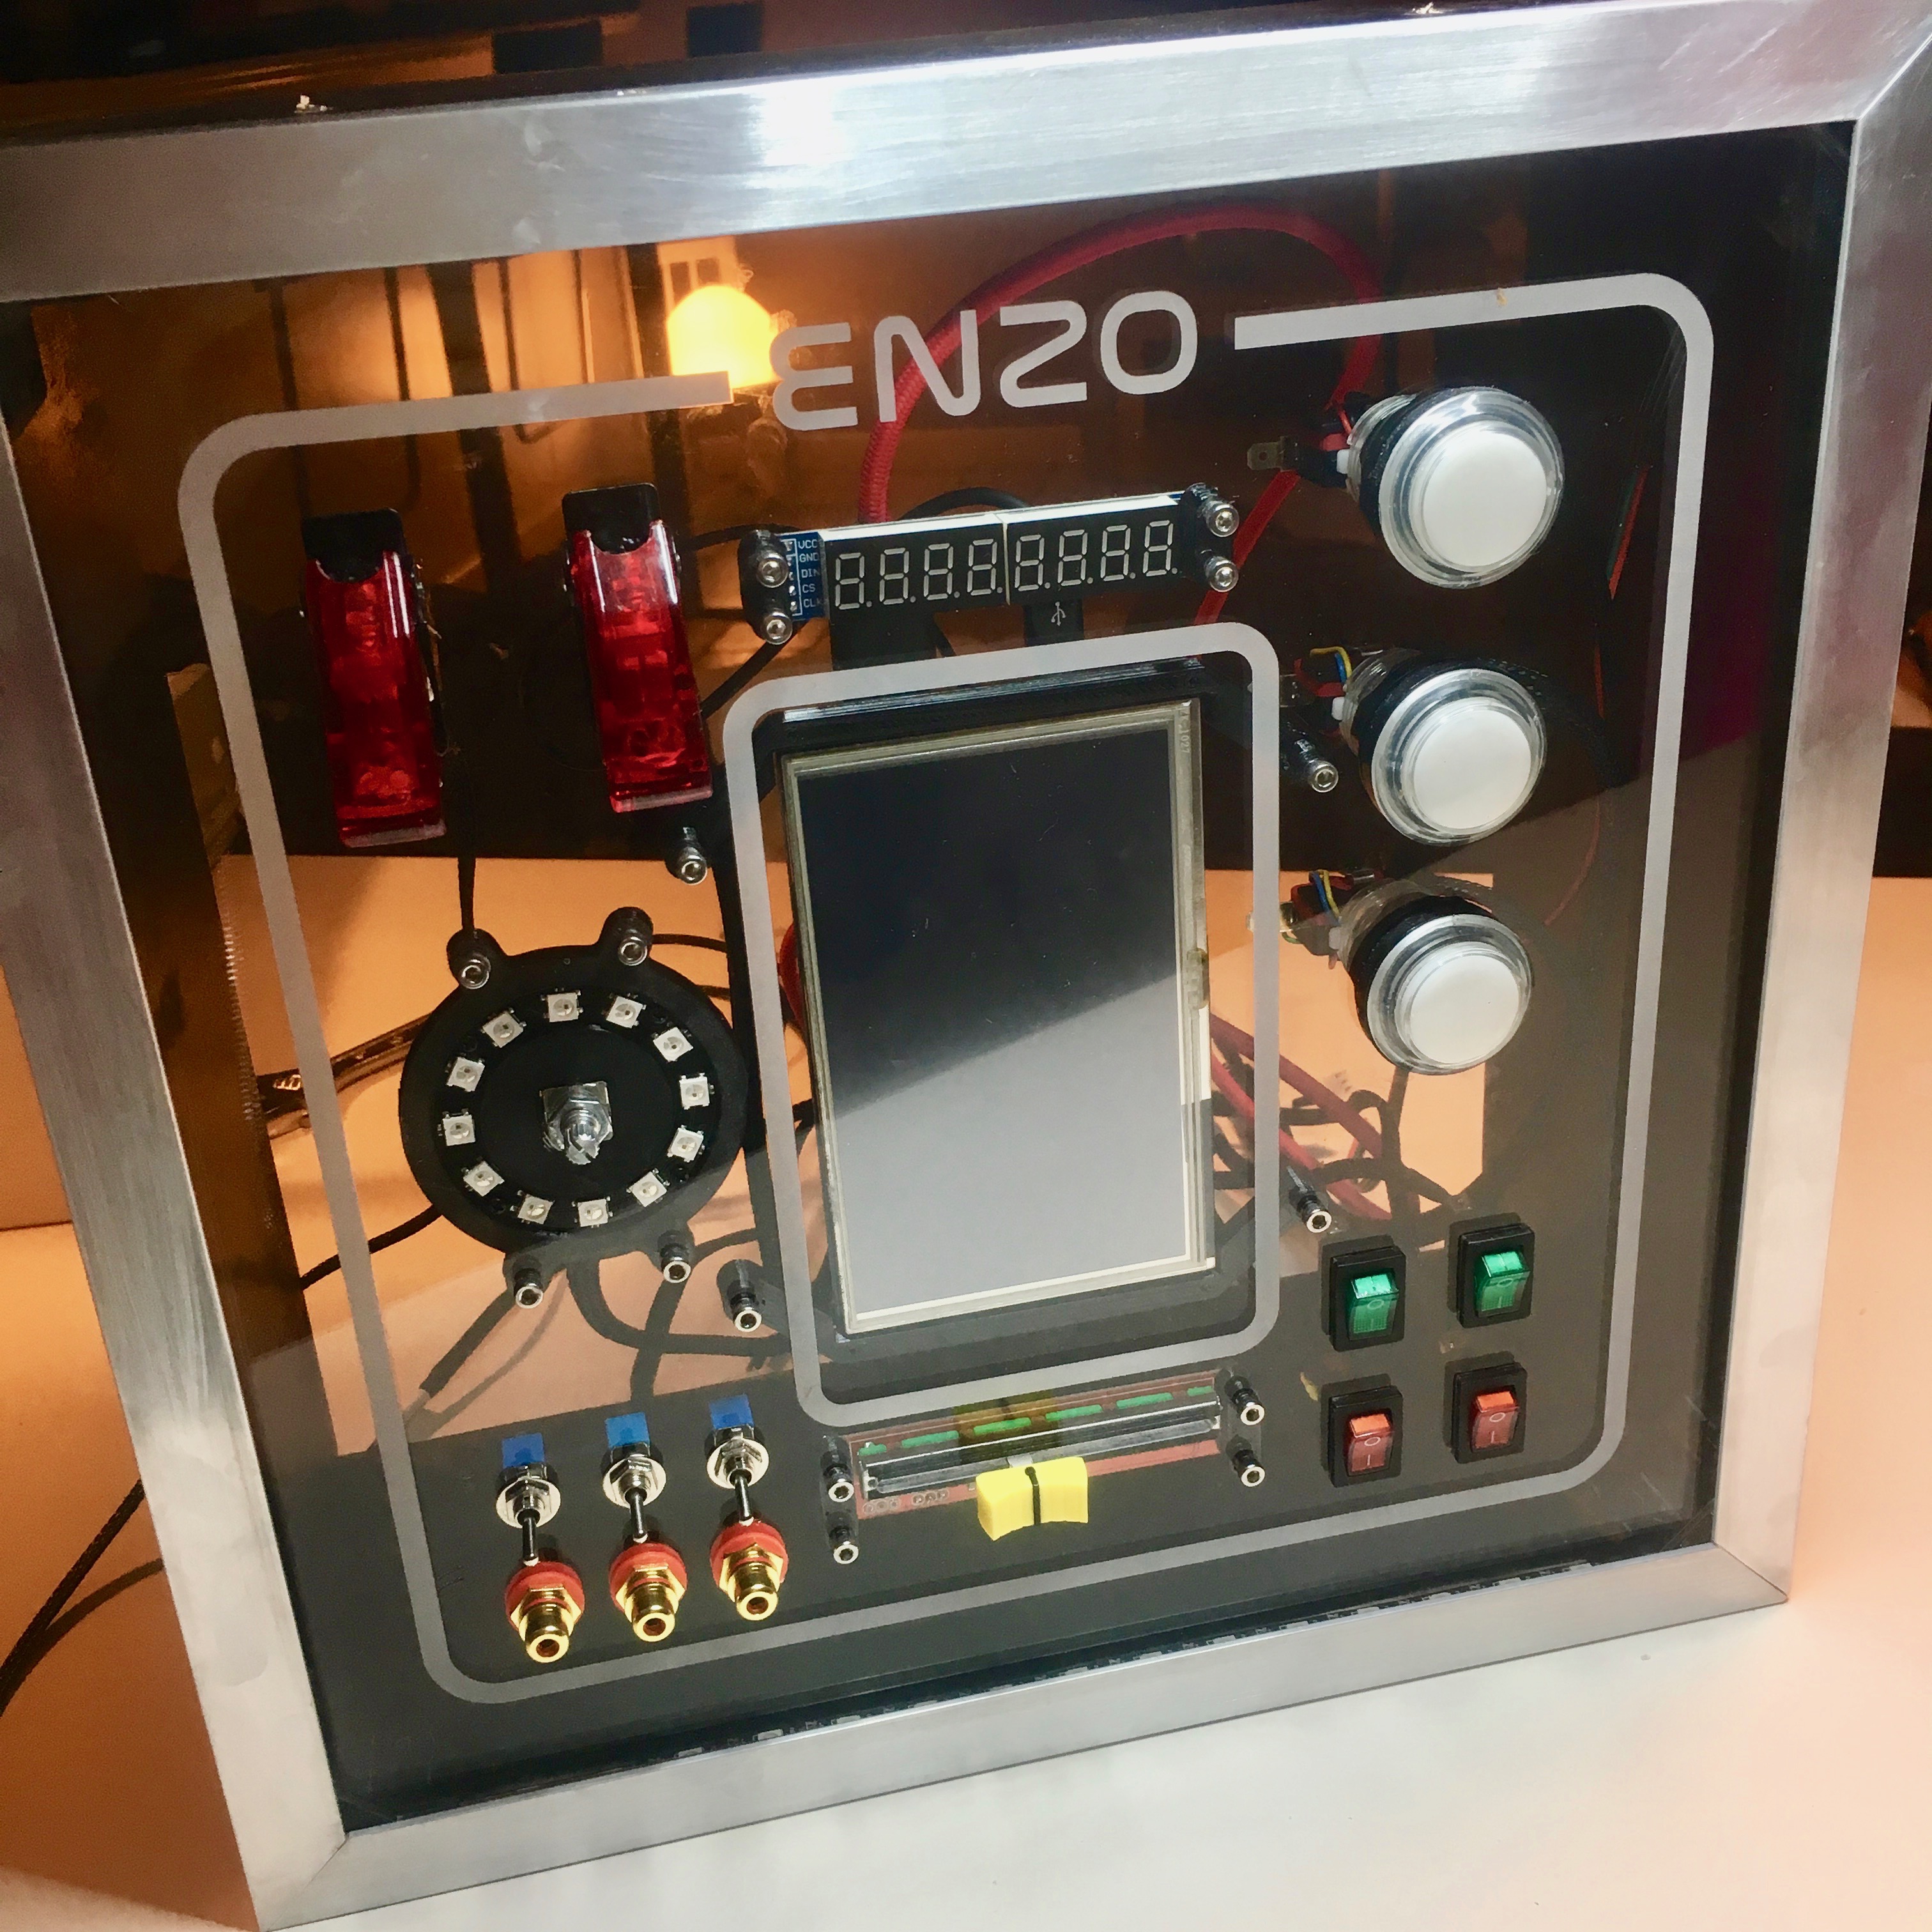
Assembling the panel
After a succesful intergration of the push buttons it is time to wrap up the front panel. With 9 switches, 3 buttons, 2 displays, 1 slide pot, 1 rotary encoder and a lot of LEDs, this includes a lot of wiring.
Activity Board:
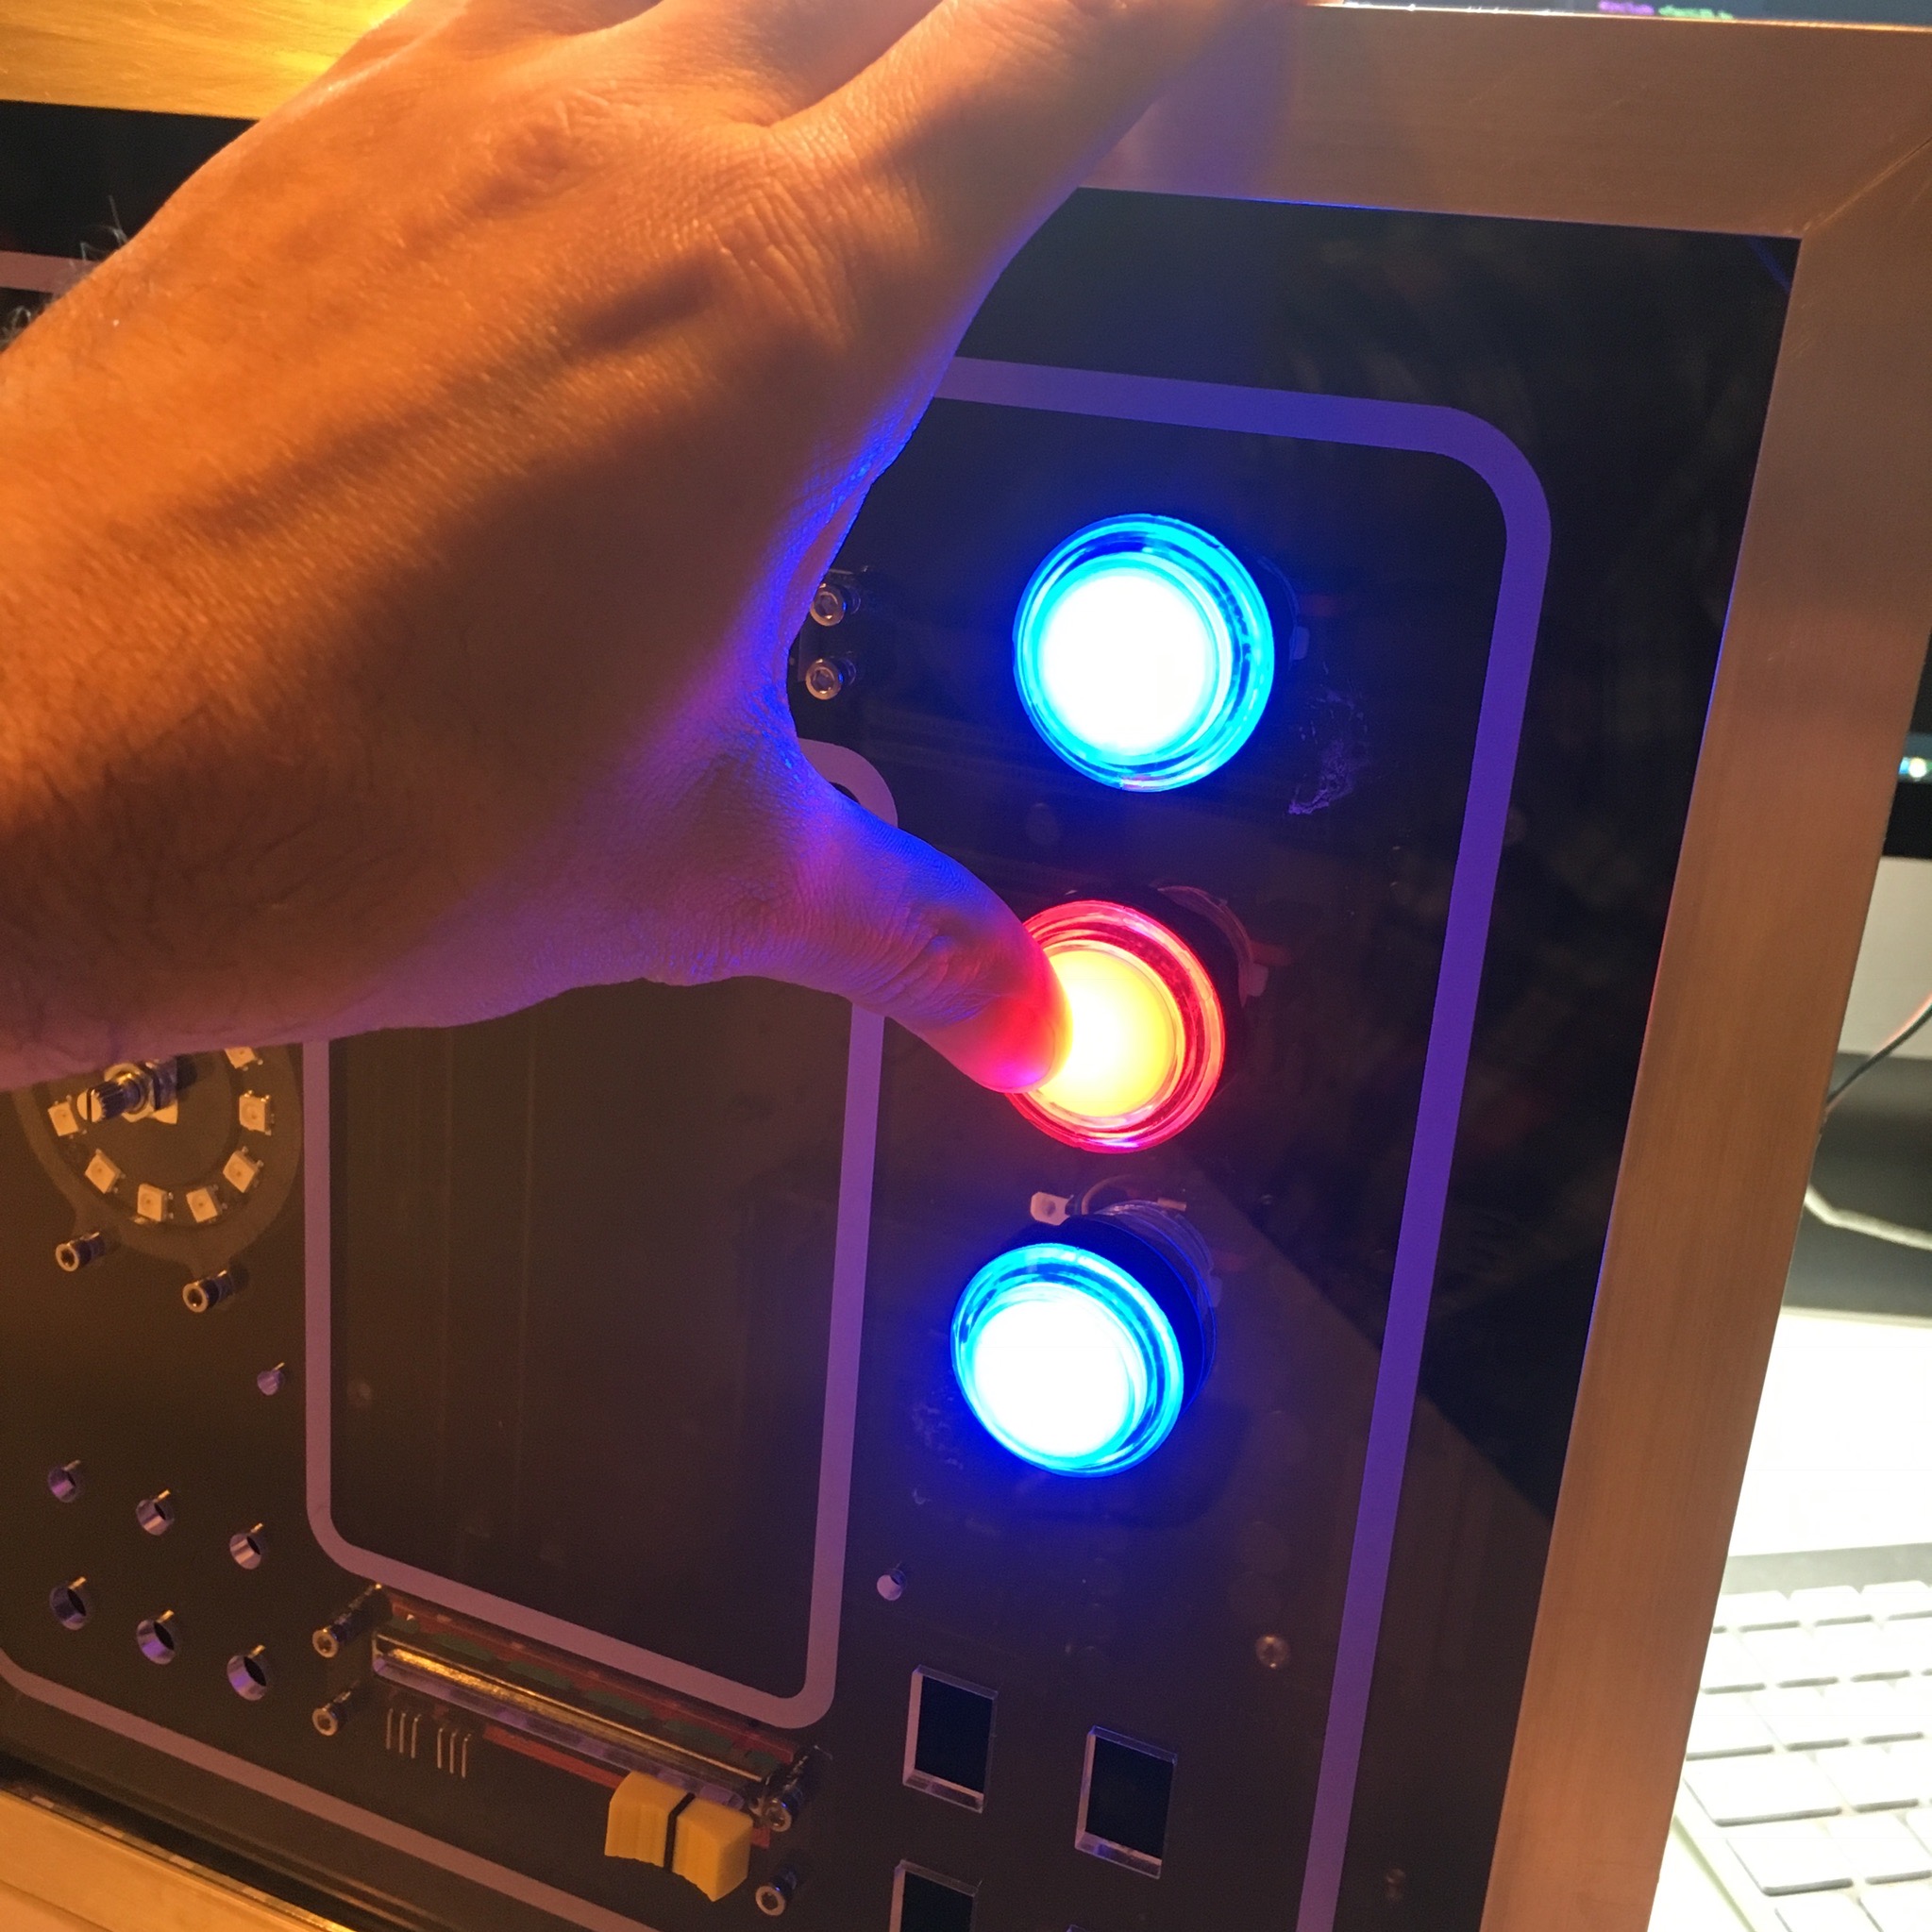
Push the button!
Now that the activity board casing is done. It’s time to start the wiring of all the components. A tedious job which I take way too serious.
Activity Board:
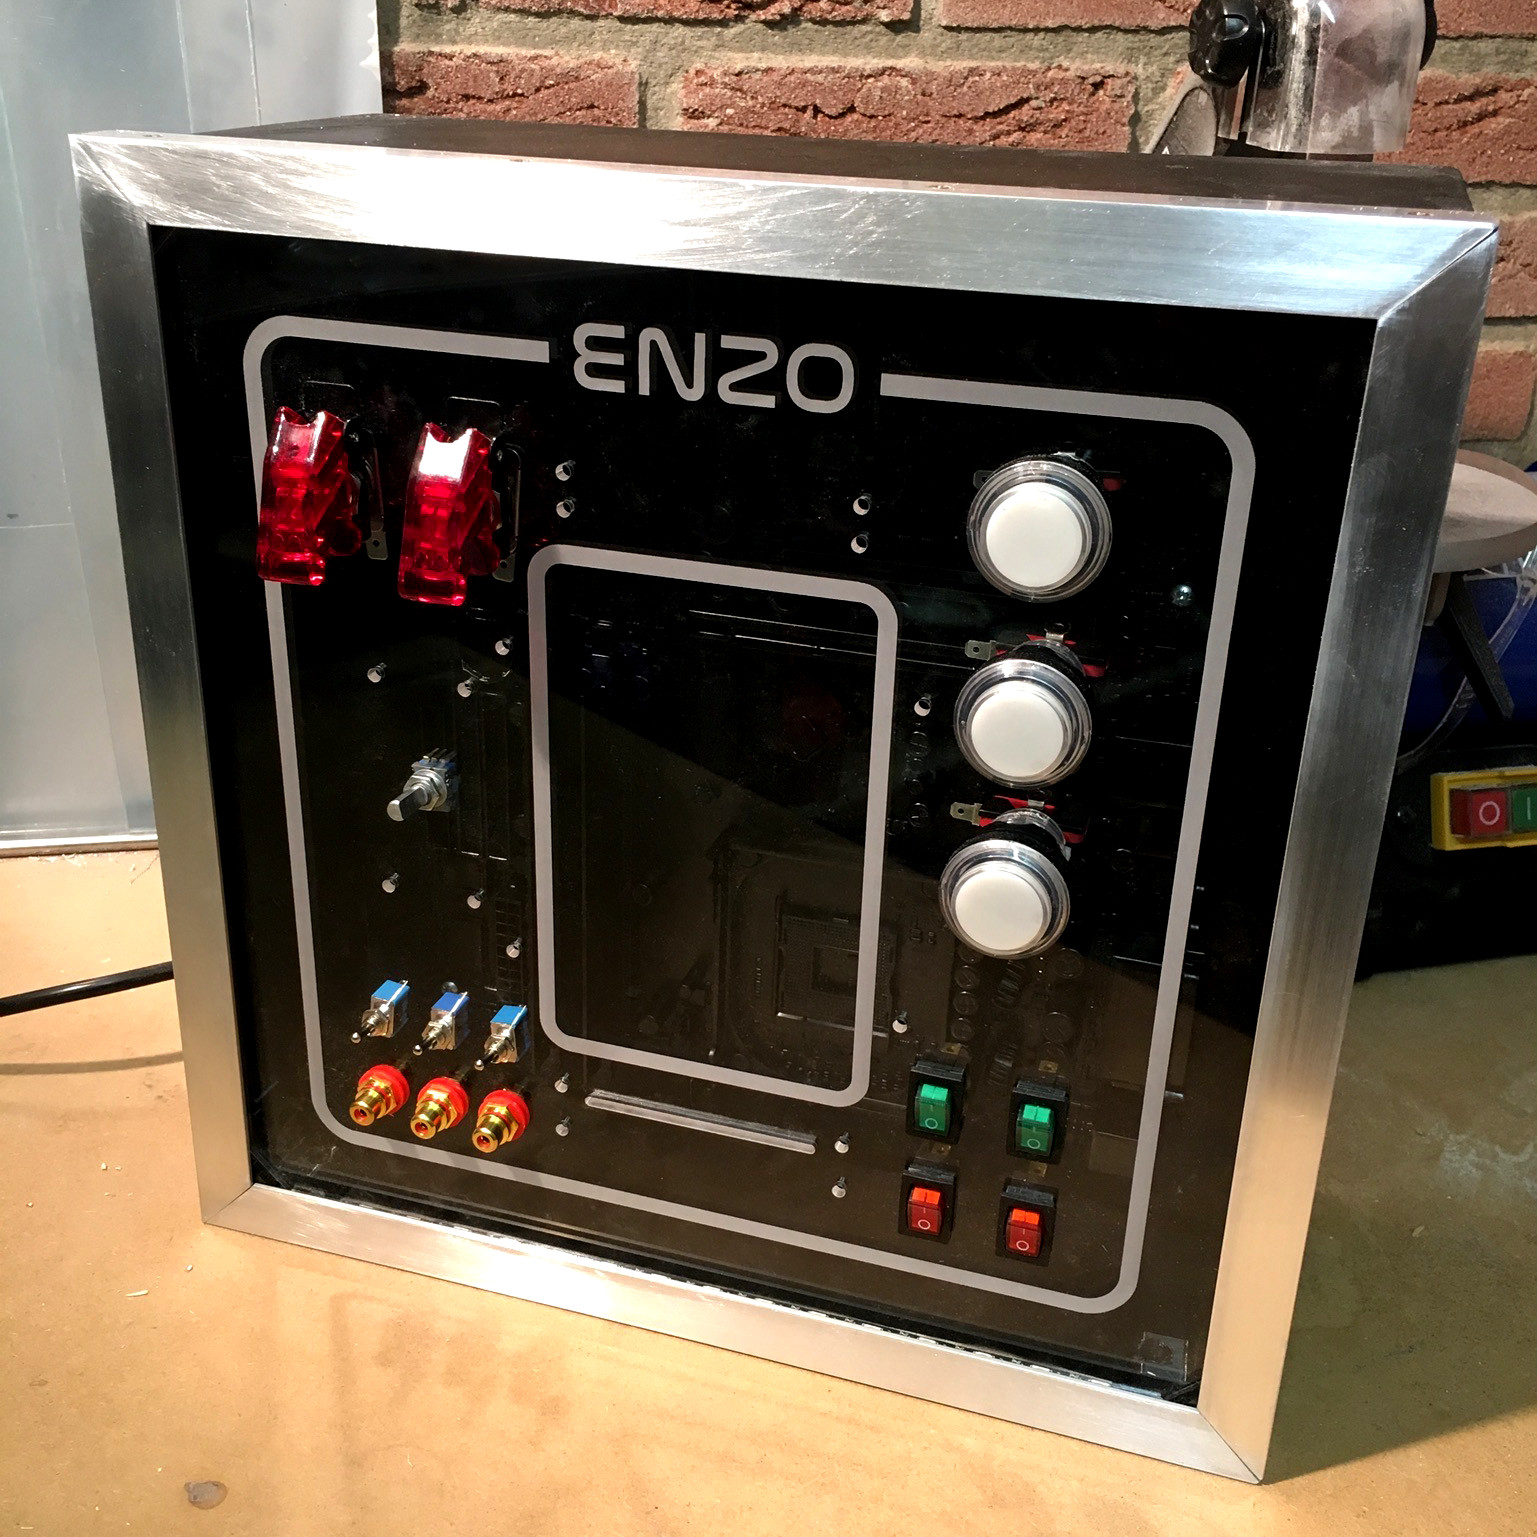
Spray Away!
After I finished the front panel, and getting an approval of Enzo, the next step in the process of the activity board is finishing the casing. A nice reason for some evenings in the shed.
Activity Board:
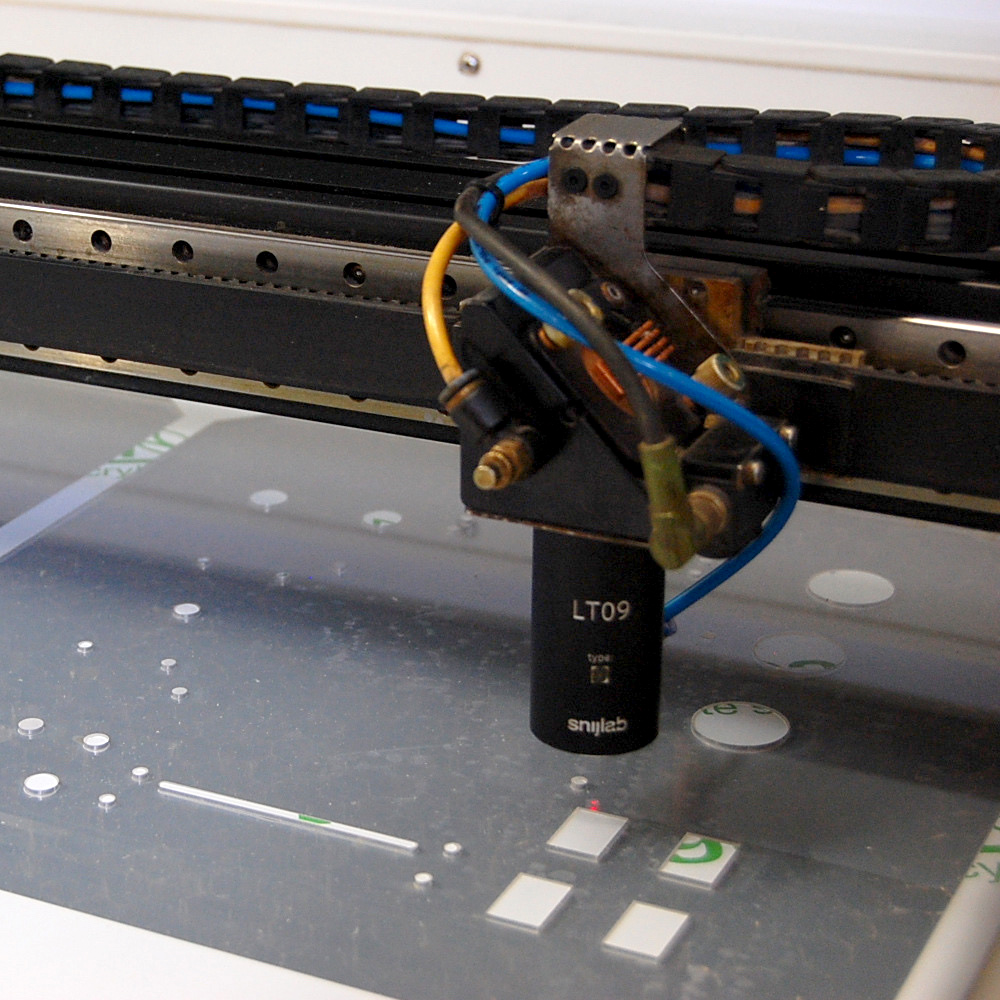
Fire up the Lasers!
After I finished the box of Enzo's Activity Board, it was time to work on the front panel. And while I expected that this would be a matter of a few days, it turned out to be a bit more complex.
Activity Board:
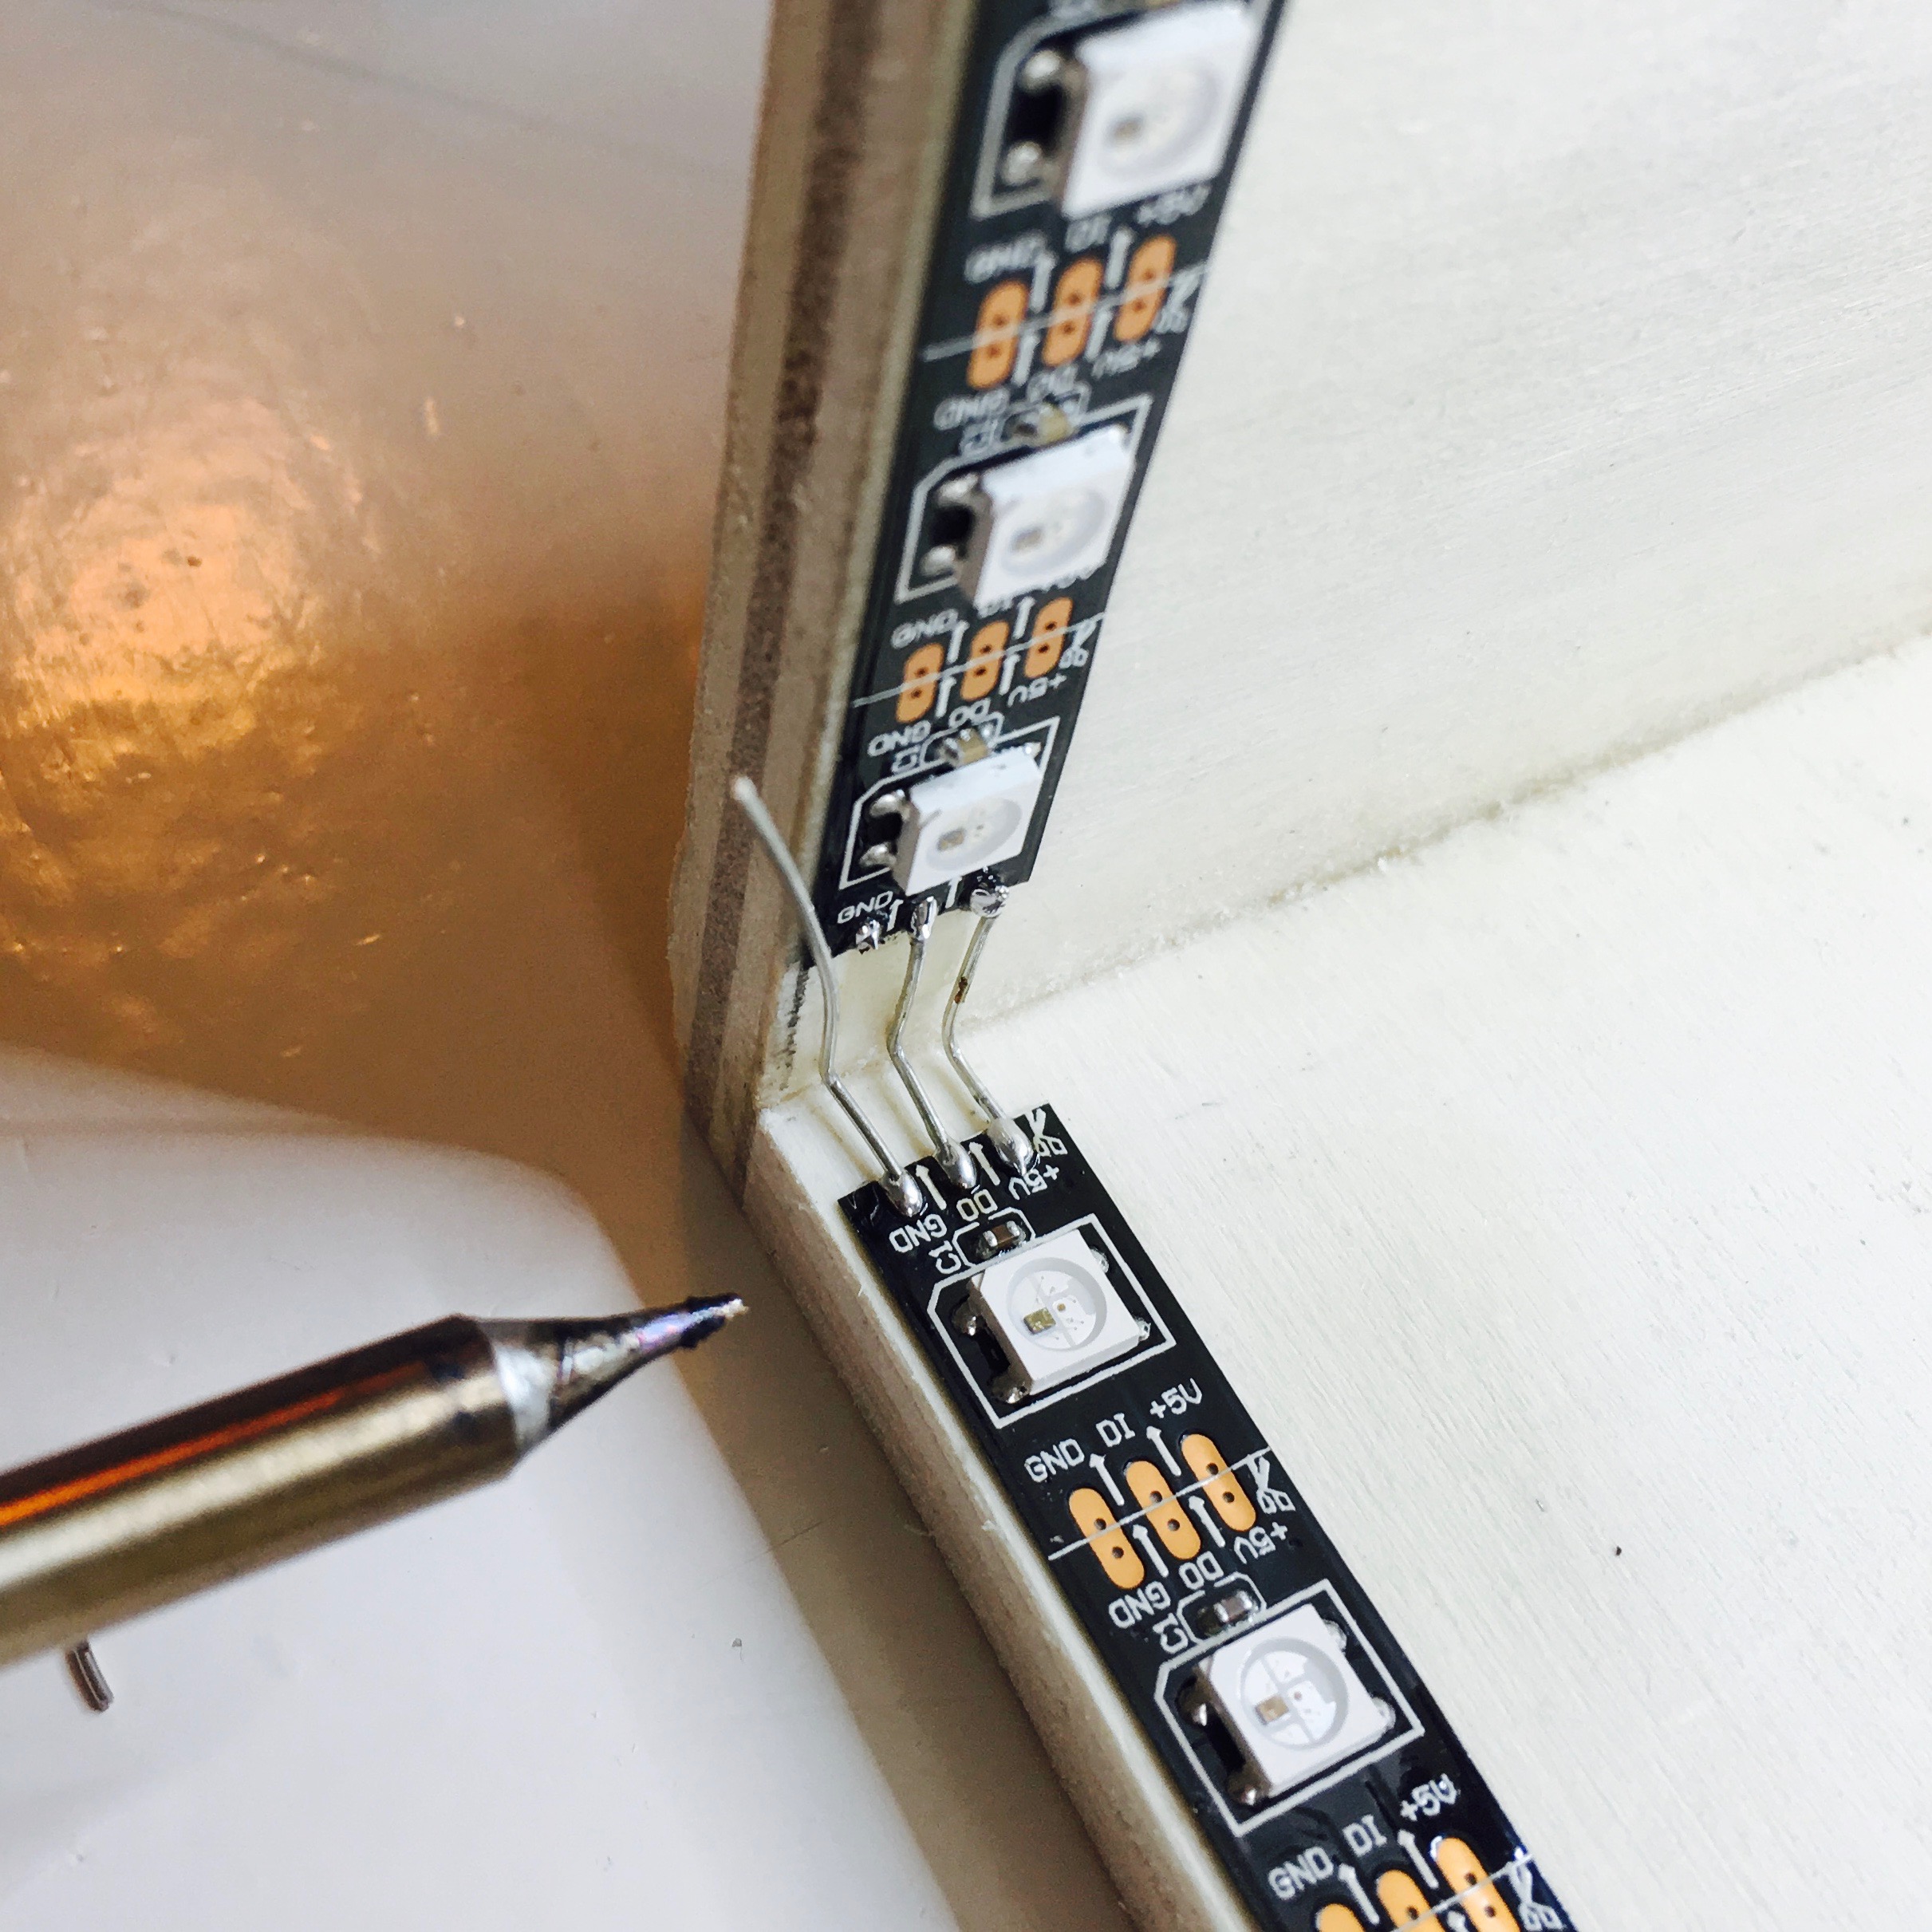
Building the Box
Before I can work on the front panel design of Enzo’s Activity Board, I need to know the exact dimensions. This can be figured out either by using some math, or by simply just measuring it. I choose the latter, but this means I first need to build the box that holds everything in place …
Activity Board:
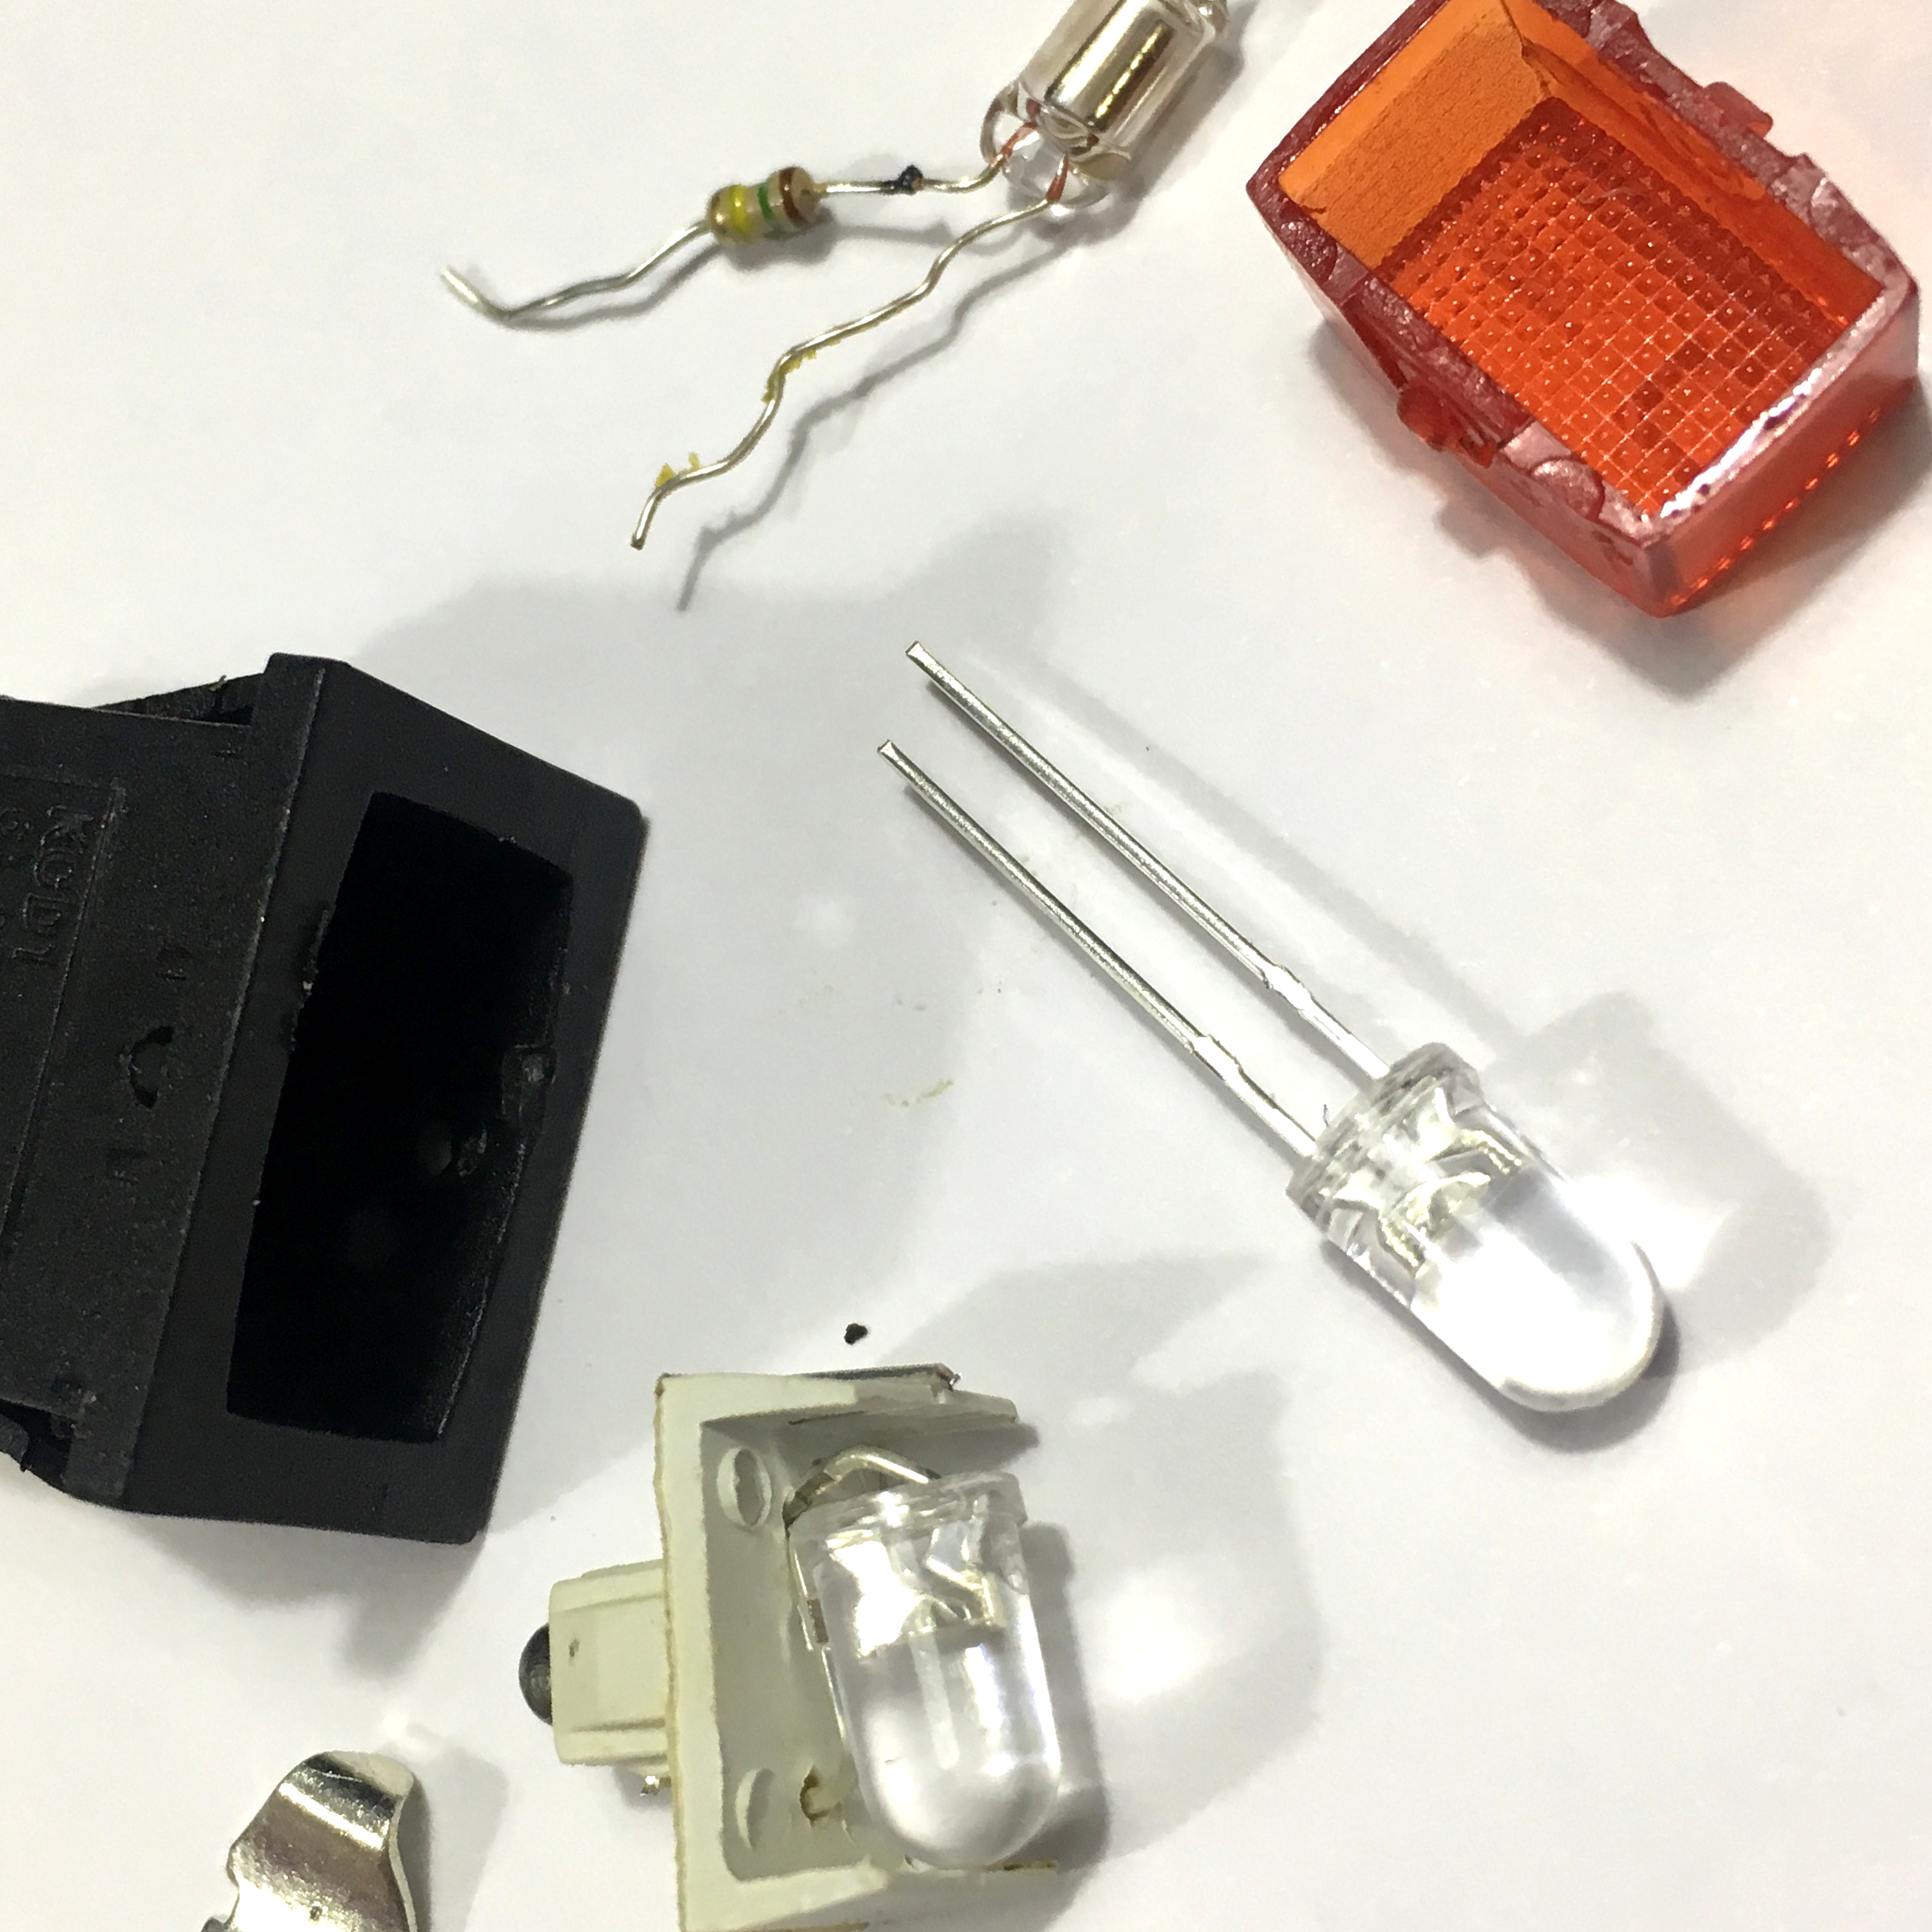
Adjusting the Switches
Two weeks ago, I wrote about the Activity Board I’m building for my son. Since I want this panel to use a 5 volt power supply, i needed to tweak some of the buttons I’ll be using.
Activity Board:
Enzo's Control Room
With all of my projects that include one or more buttons, I know one thing for sure. The buttons will be extensively tested by my 1,5 year old tinkerer Enzo. My Automatic curtains need to open and closed more than a few times a day, and my robot arm’s test buttons are being pressed repeatedly even while it isn’t powered on. I think the message is clear: he wants his own buttons!