After I finished the box of Enzo’s Activity Board, it was time to work on the front panel. And while I expected that this would be a matter of a few days, it turned out to be a bit more complex.
Activity Board: Building the Box
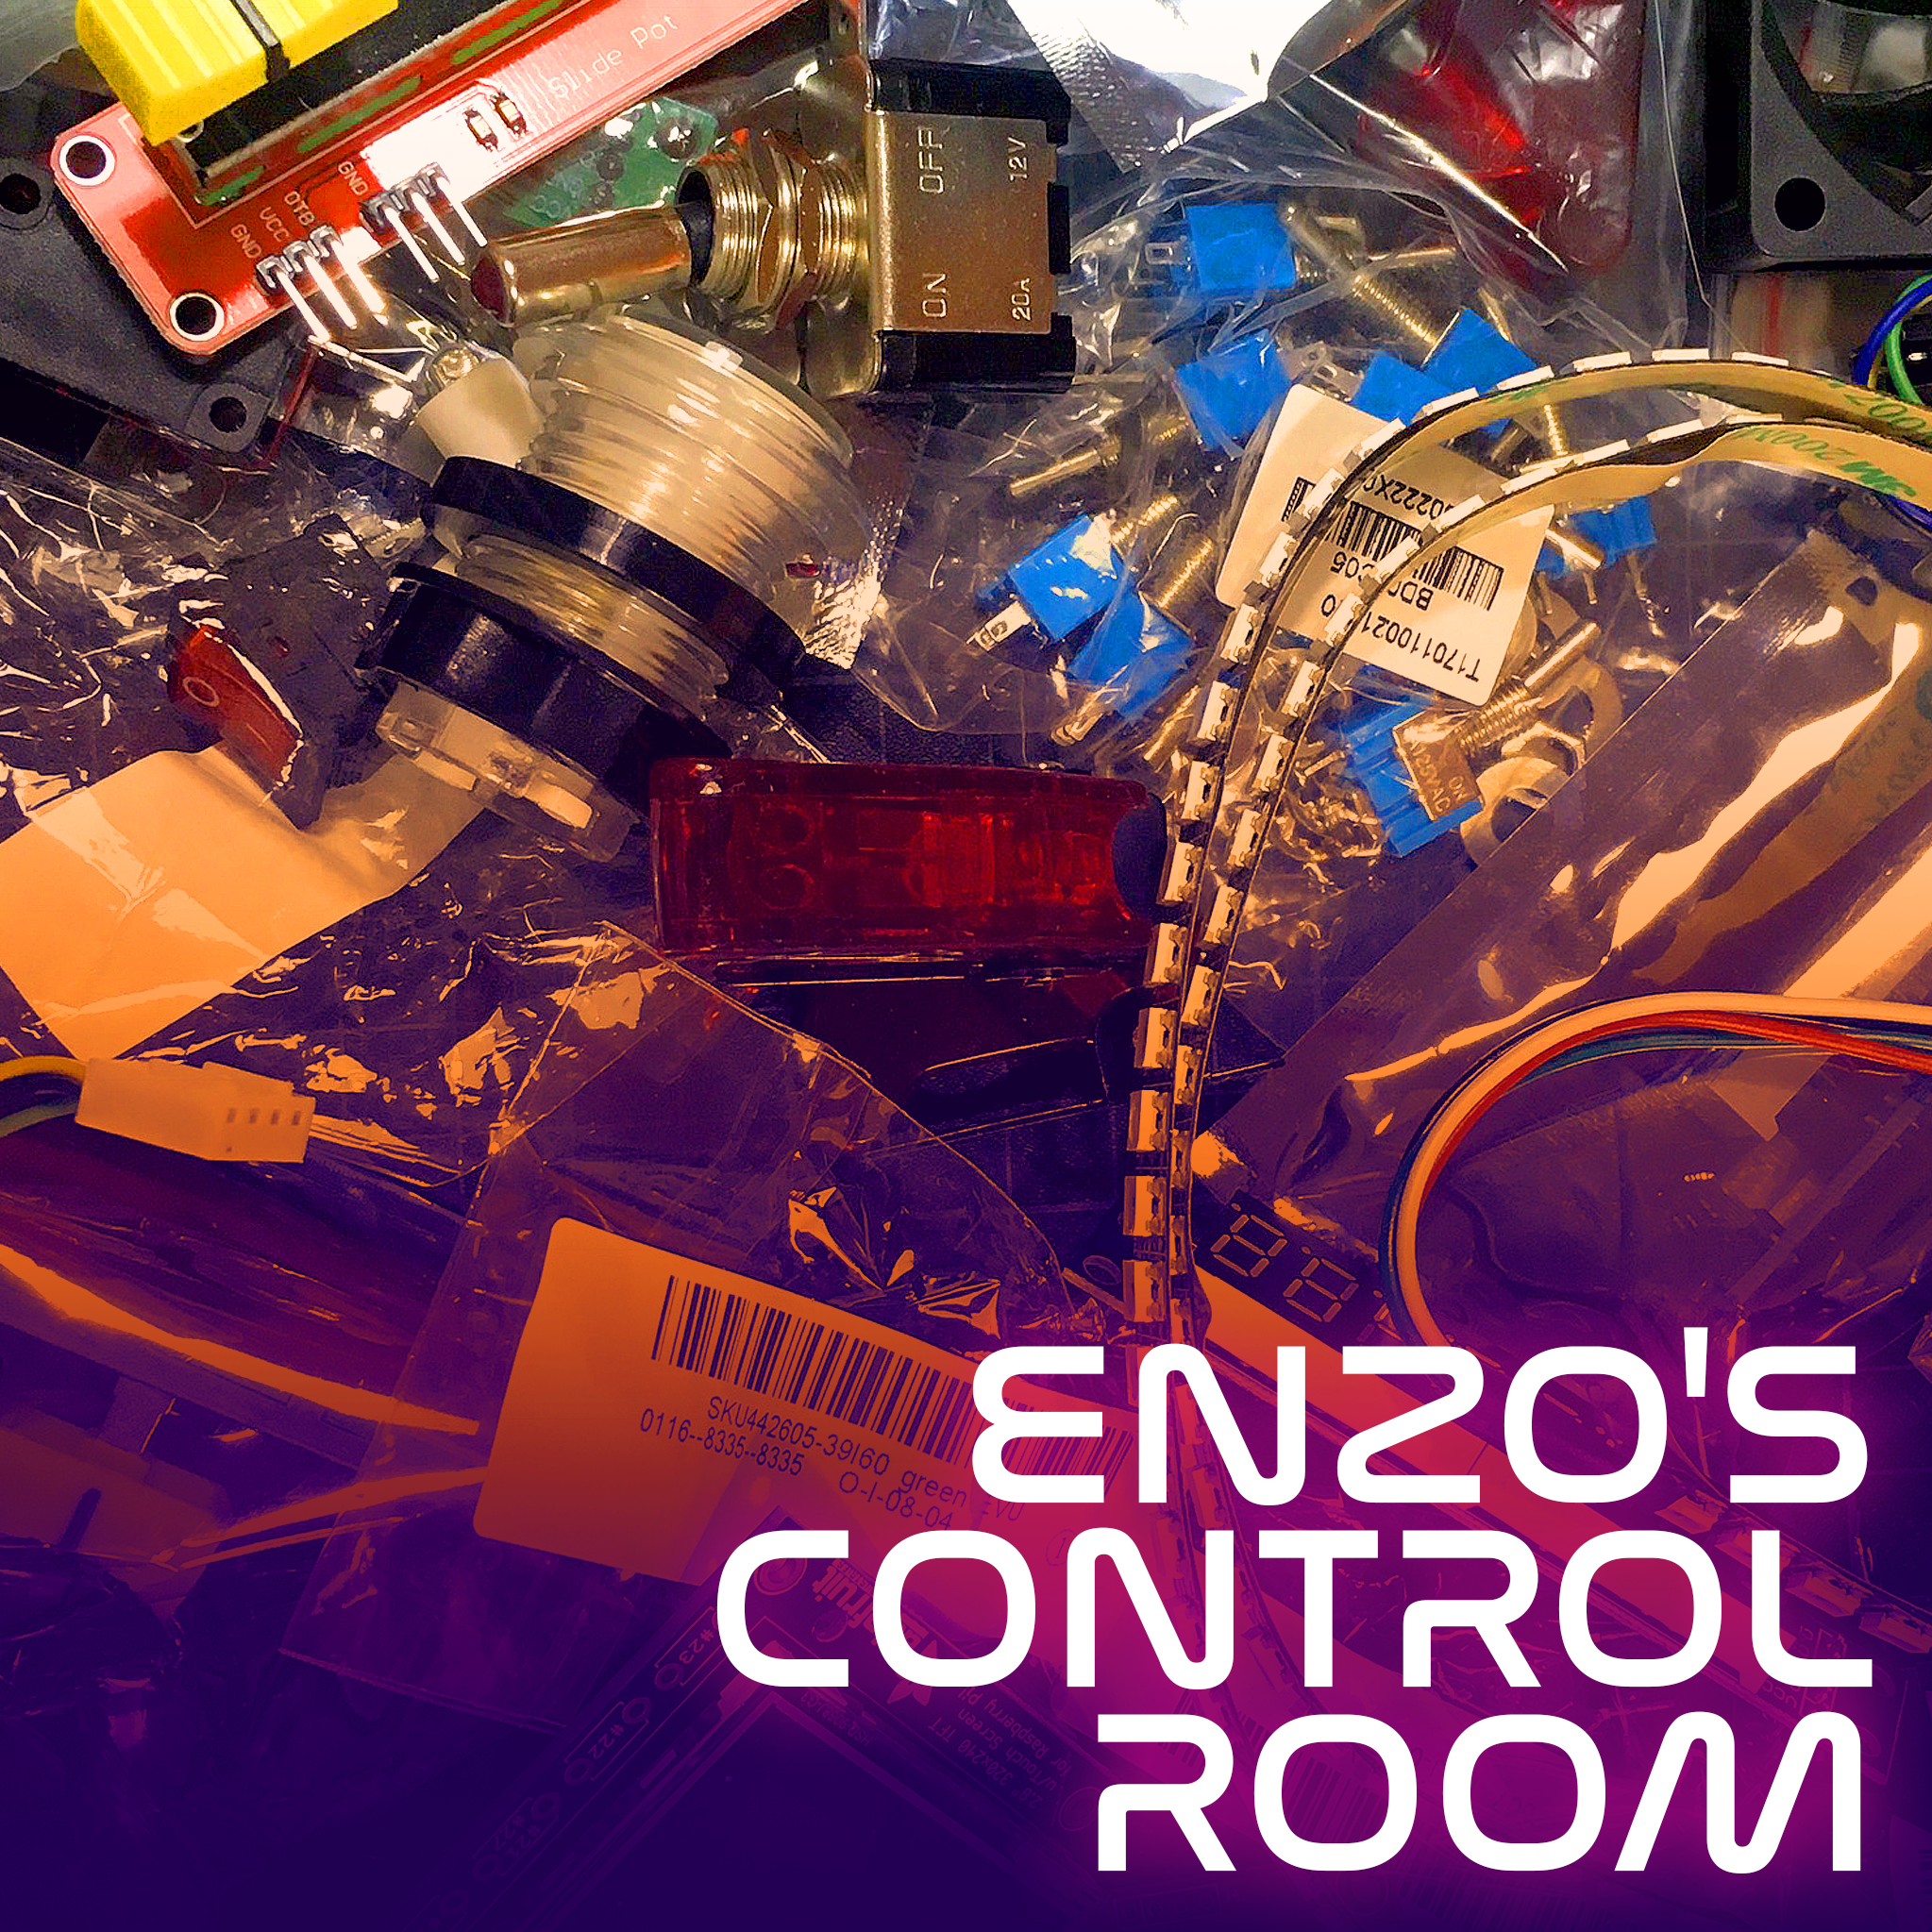
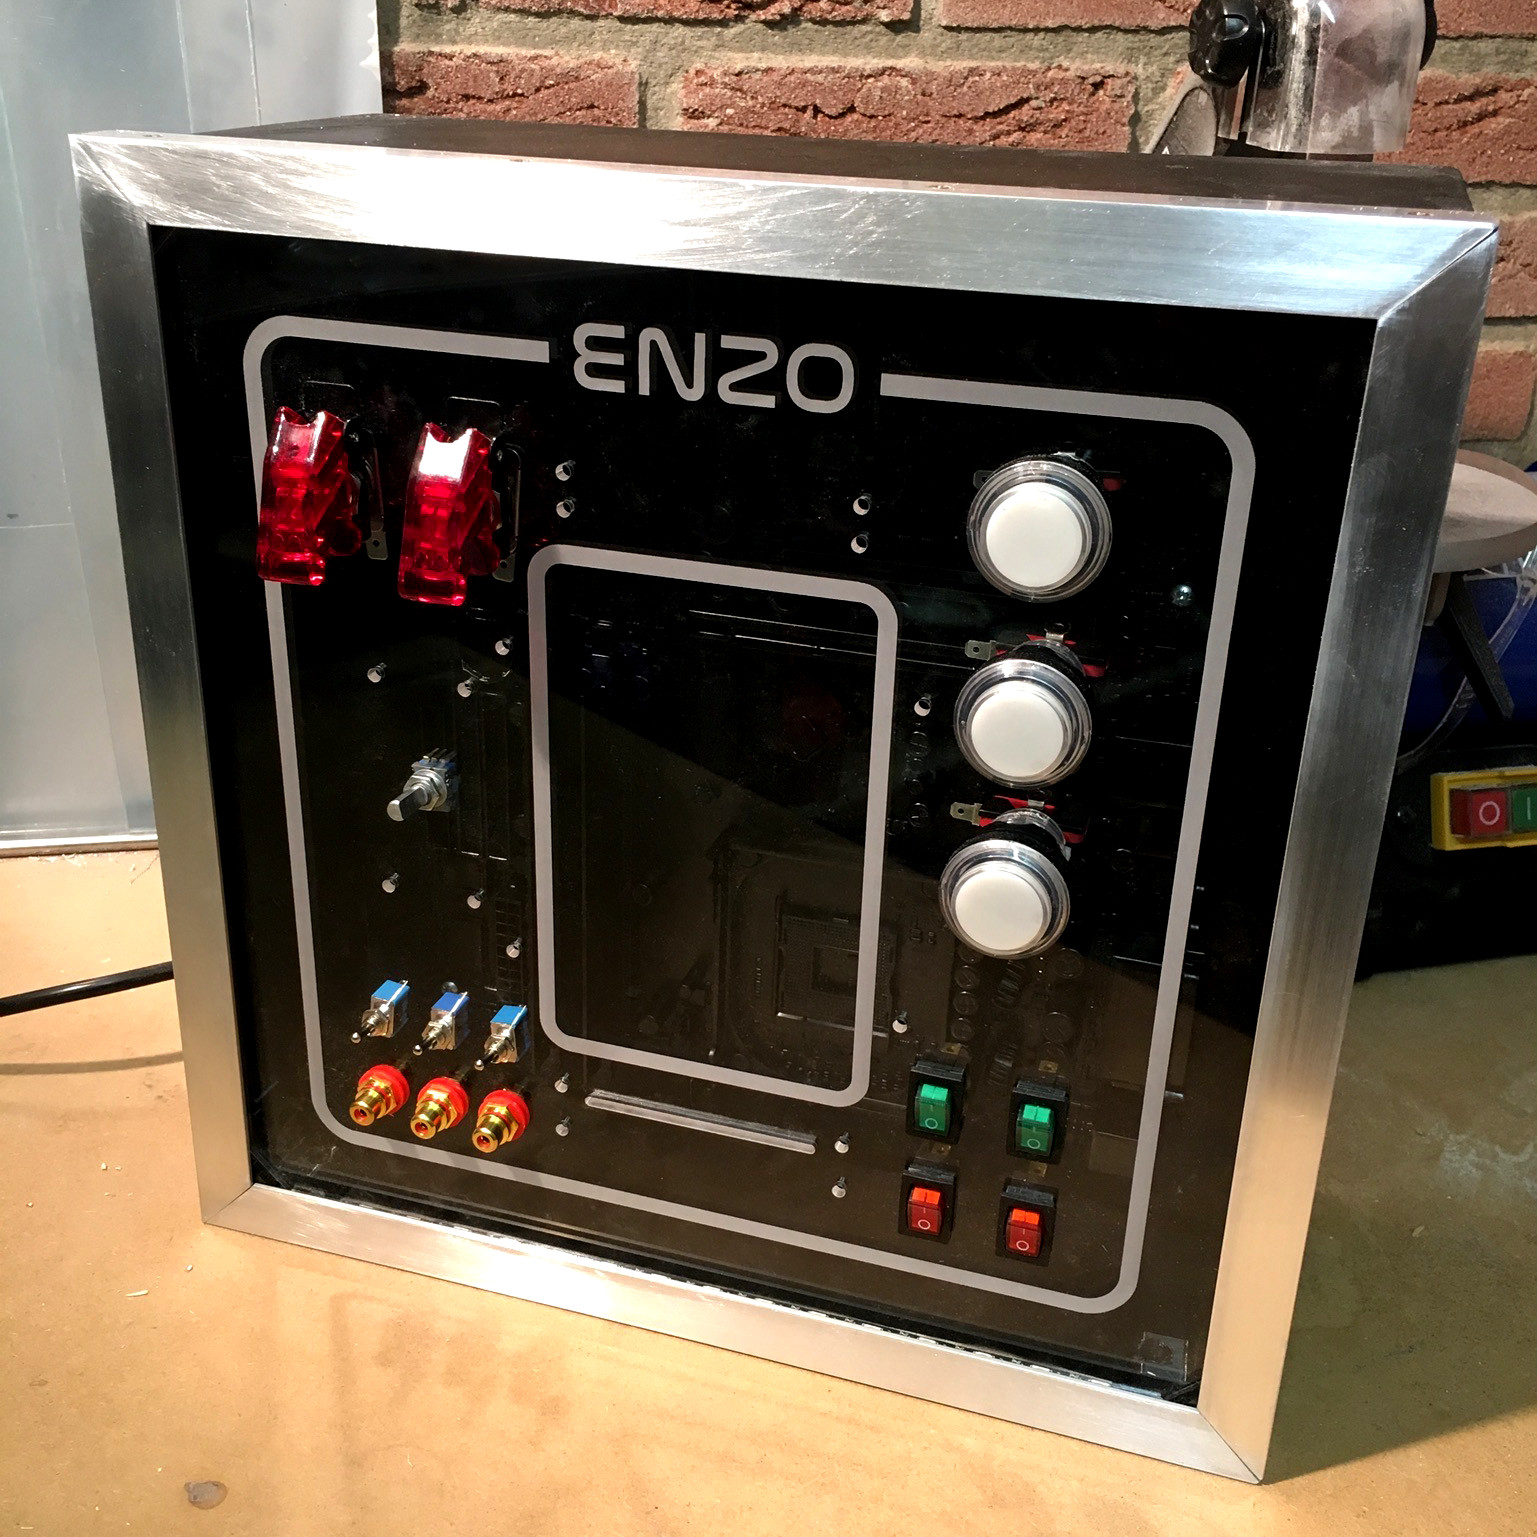
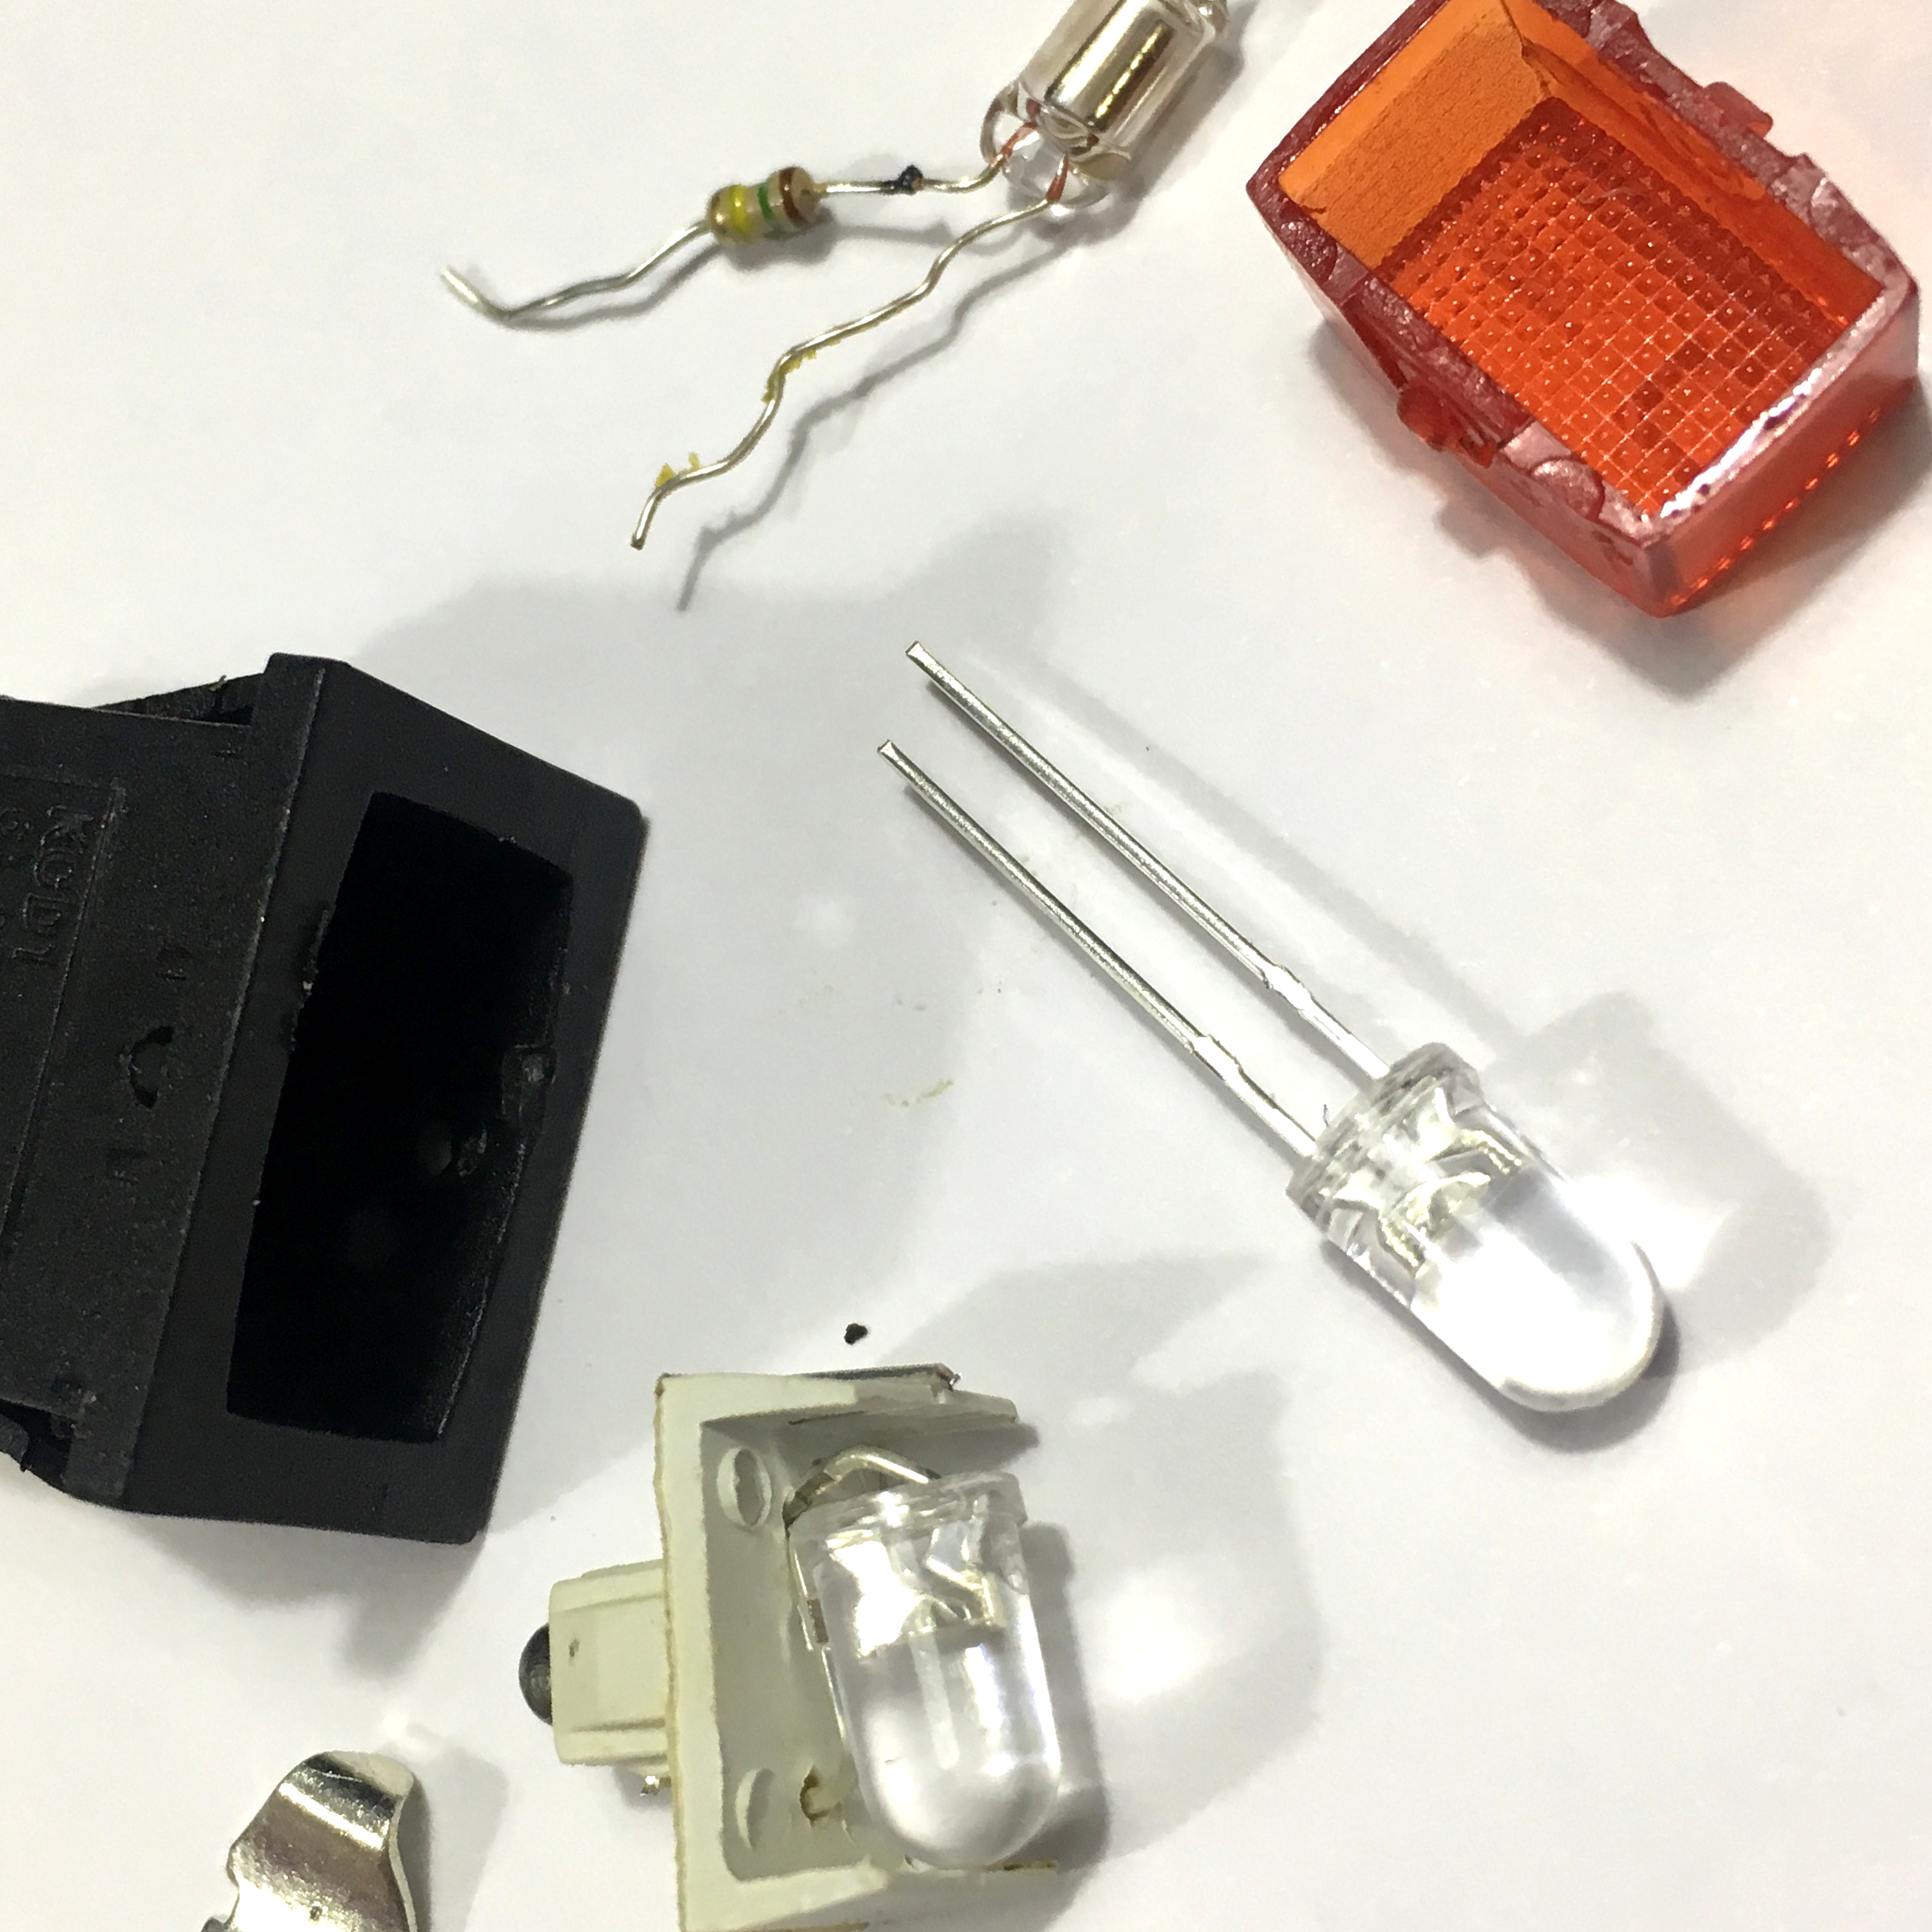
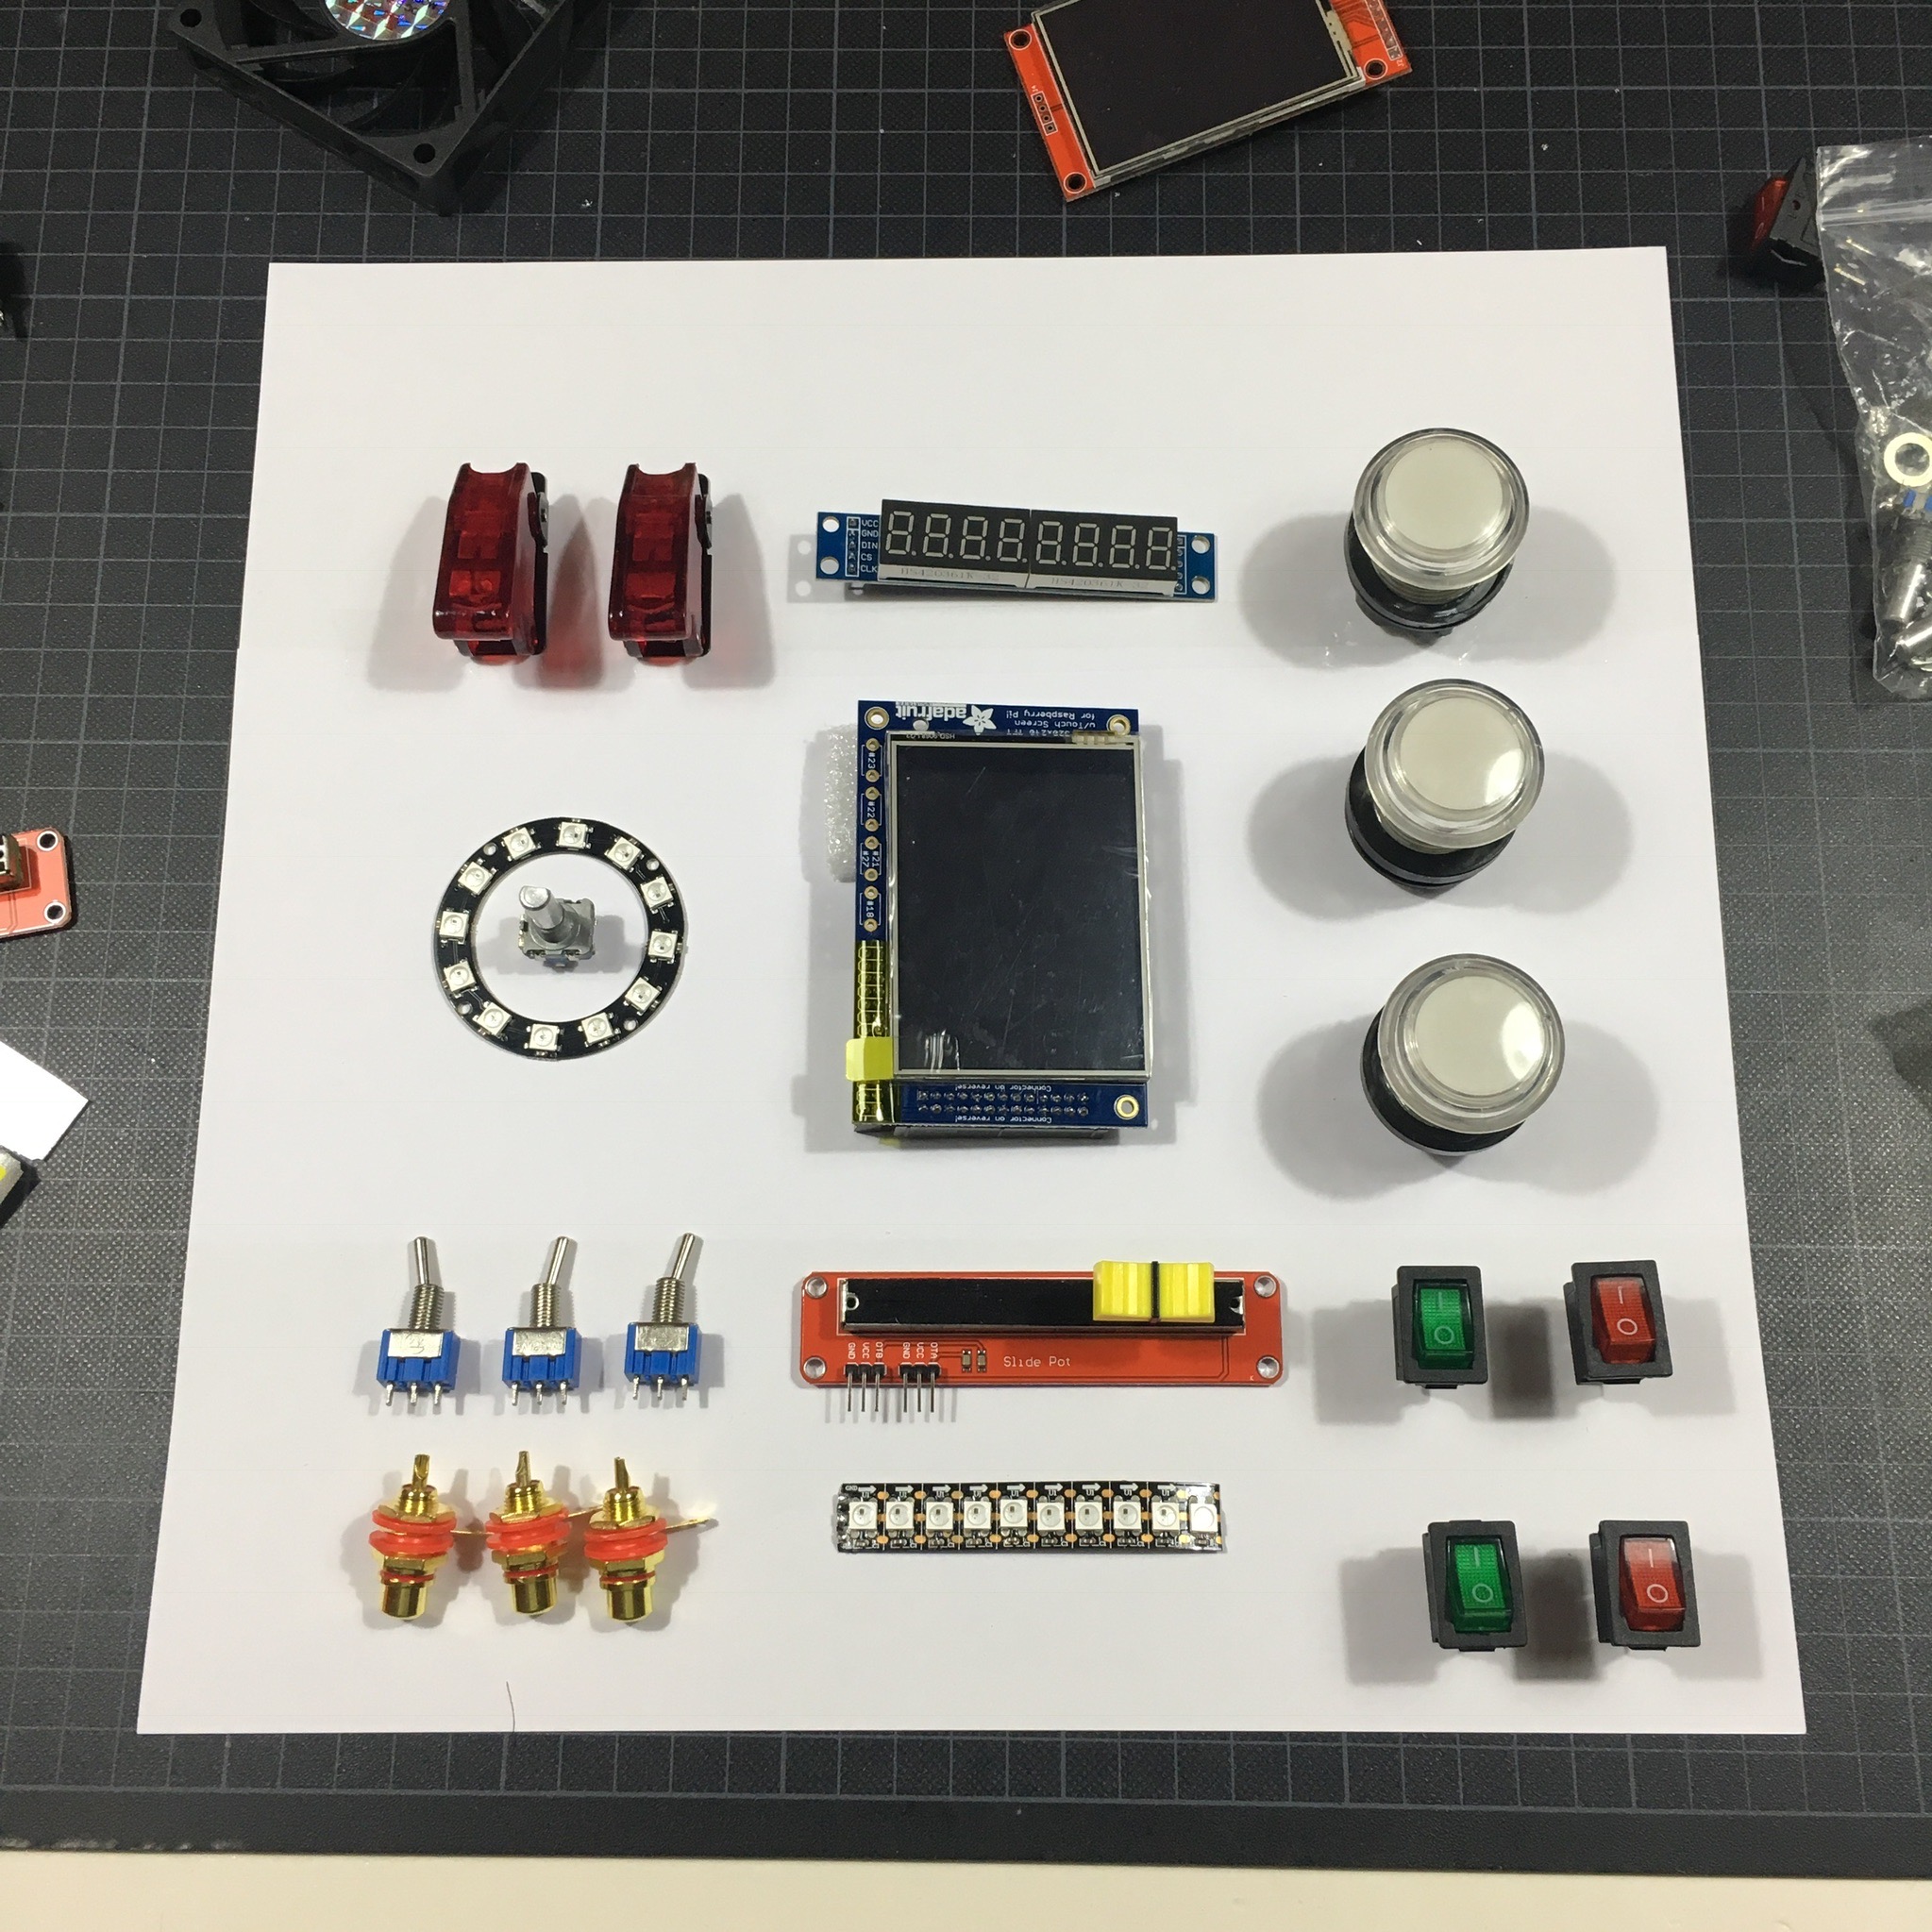
As I showed in the initial post, the activity board will contain multiple switches, and other controls.
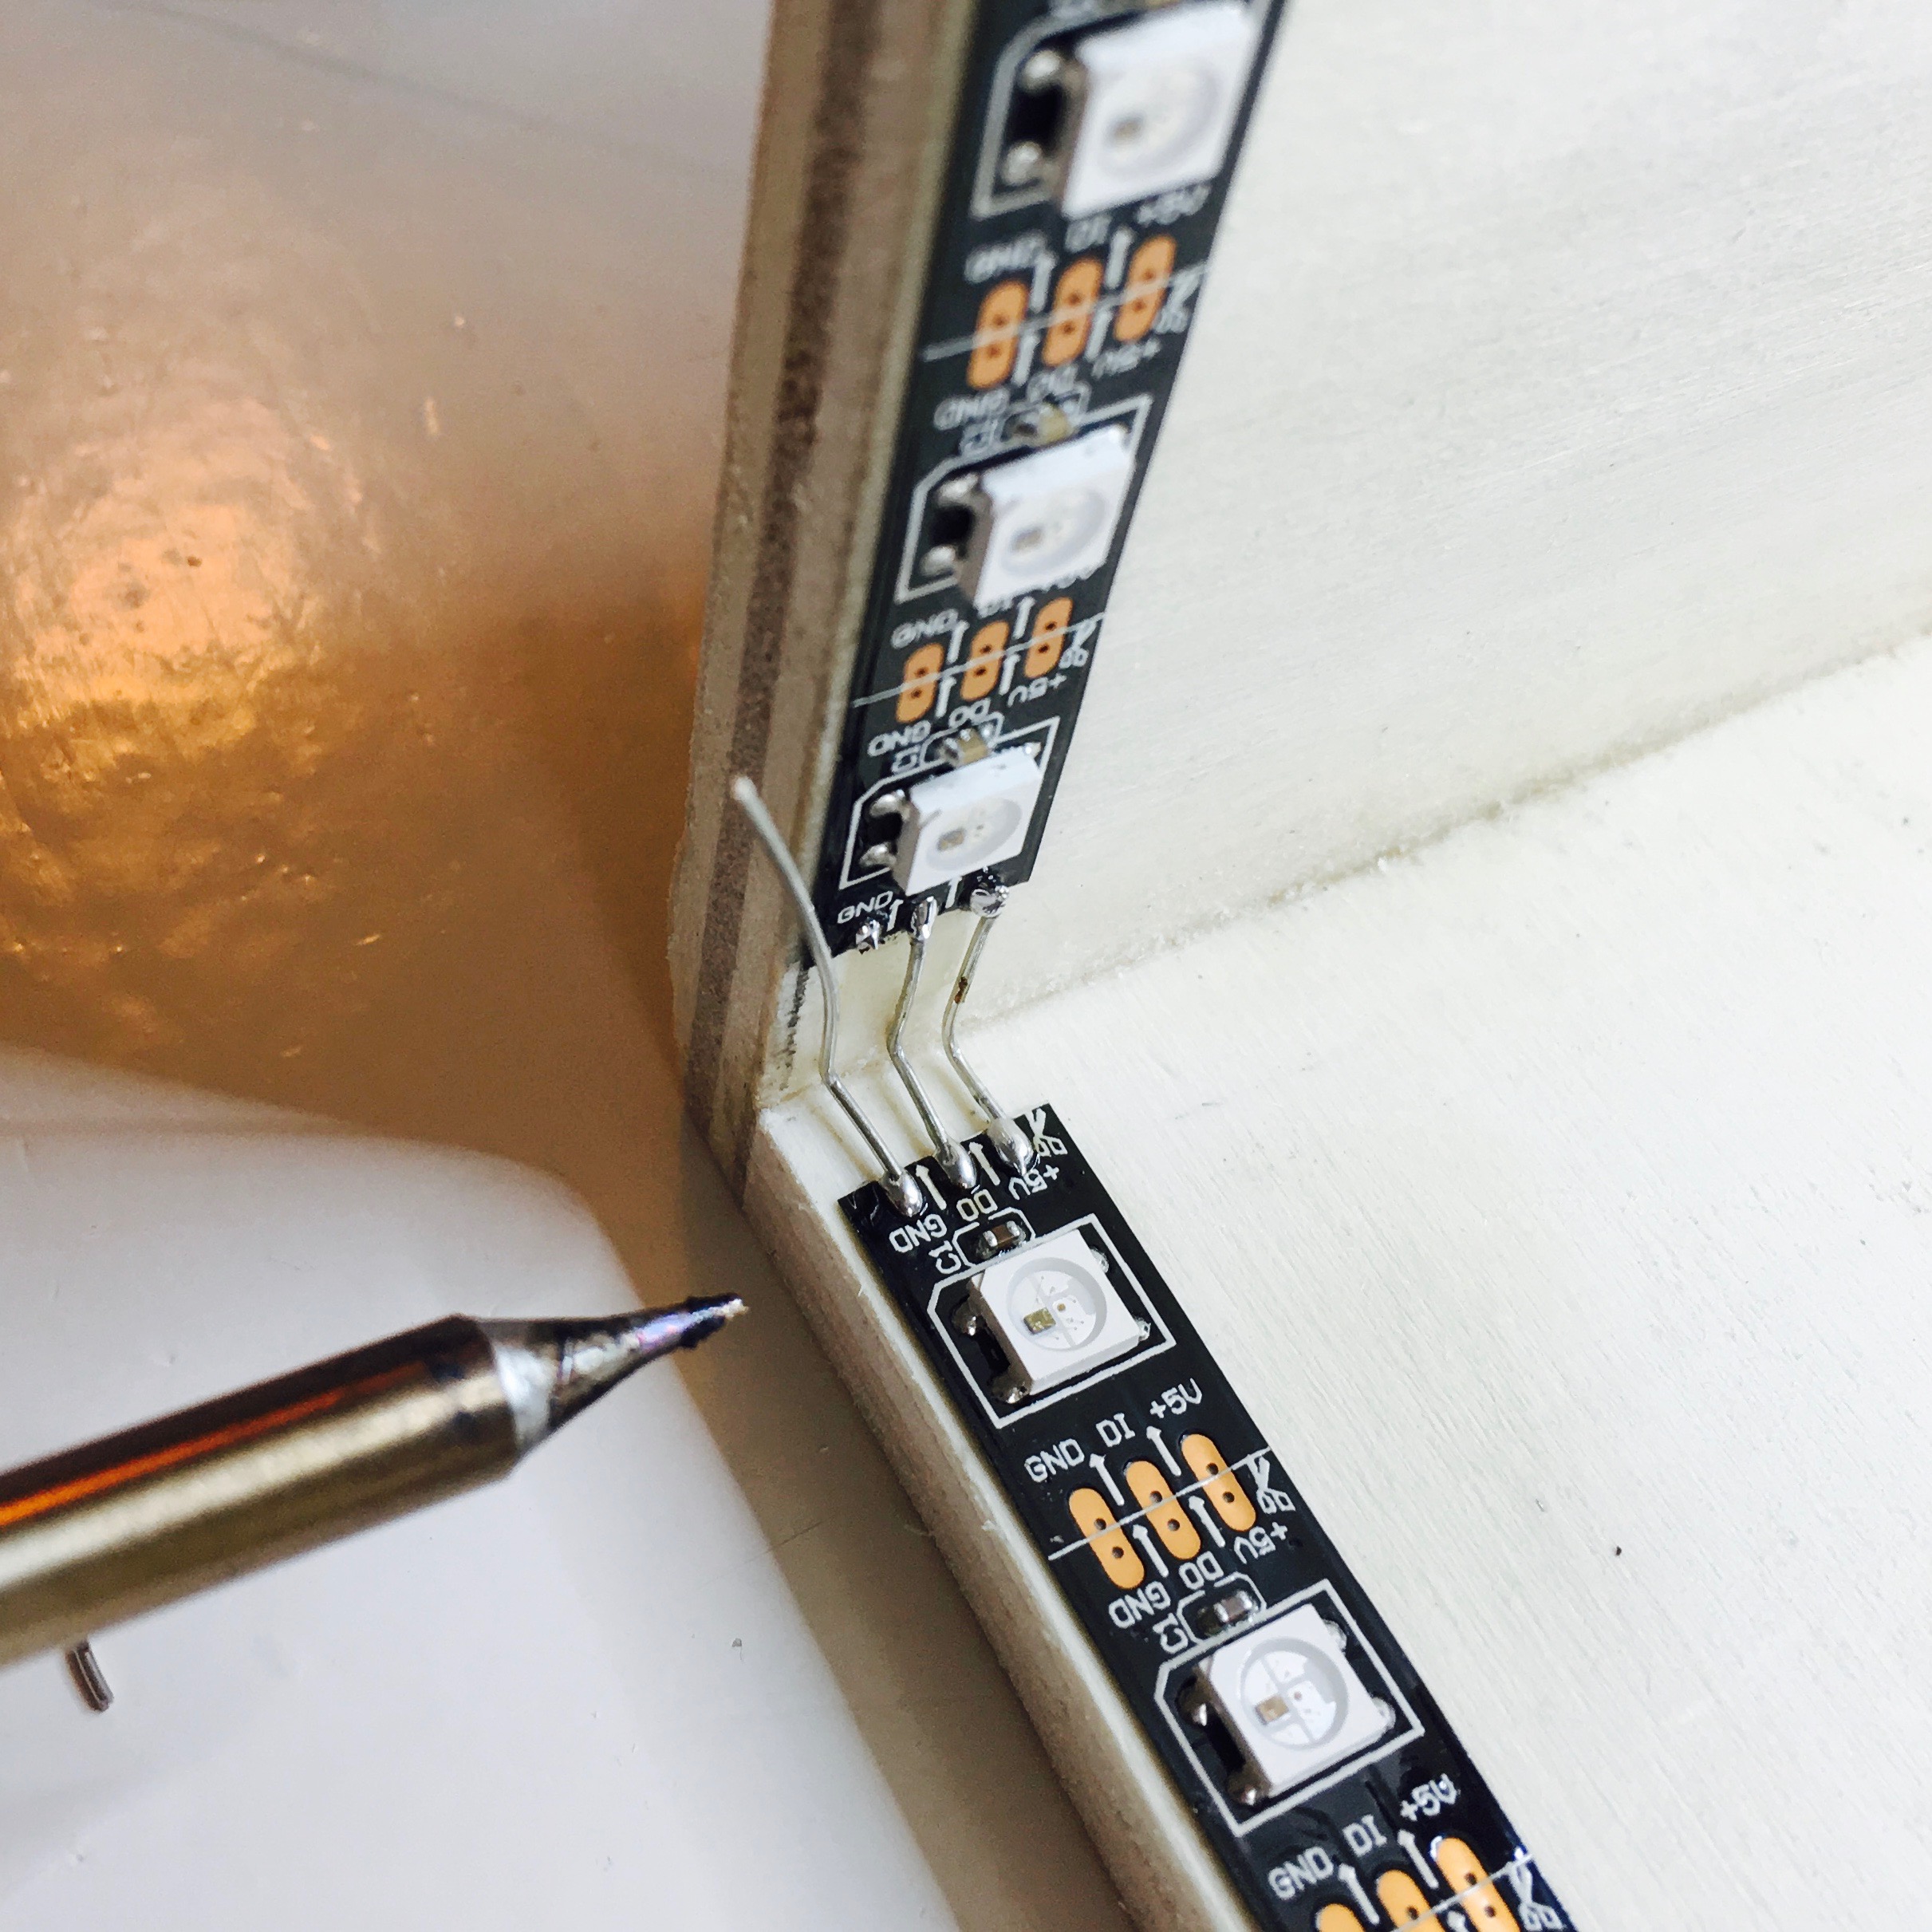
For the added LED effects, the front panel must be transparent. Not a big deal, but since I’ll be using 4mm acrylic, I need a laser cutter to cut out all the holes. So let’s work on the design …
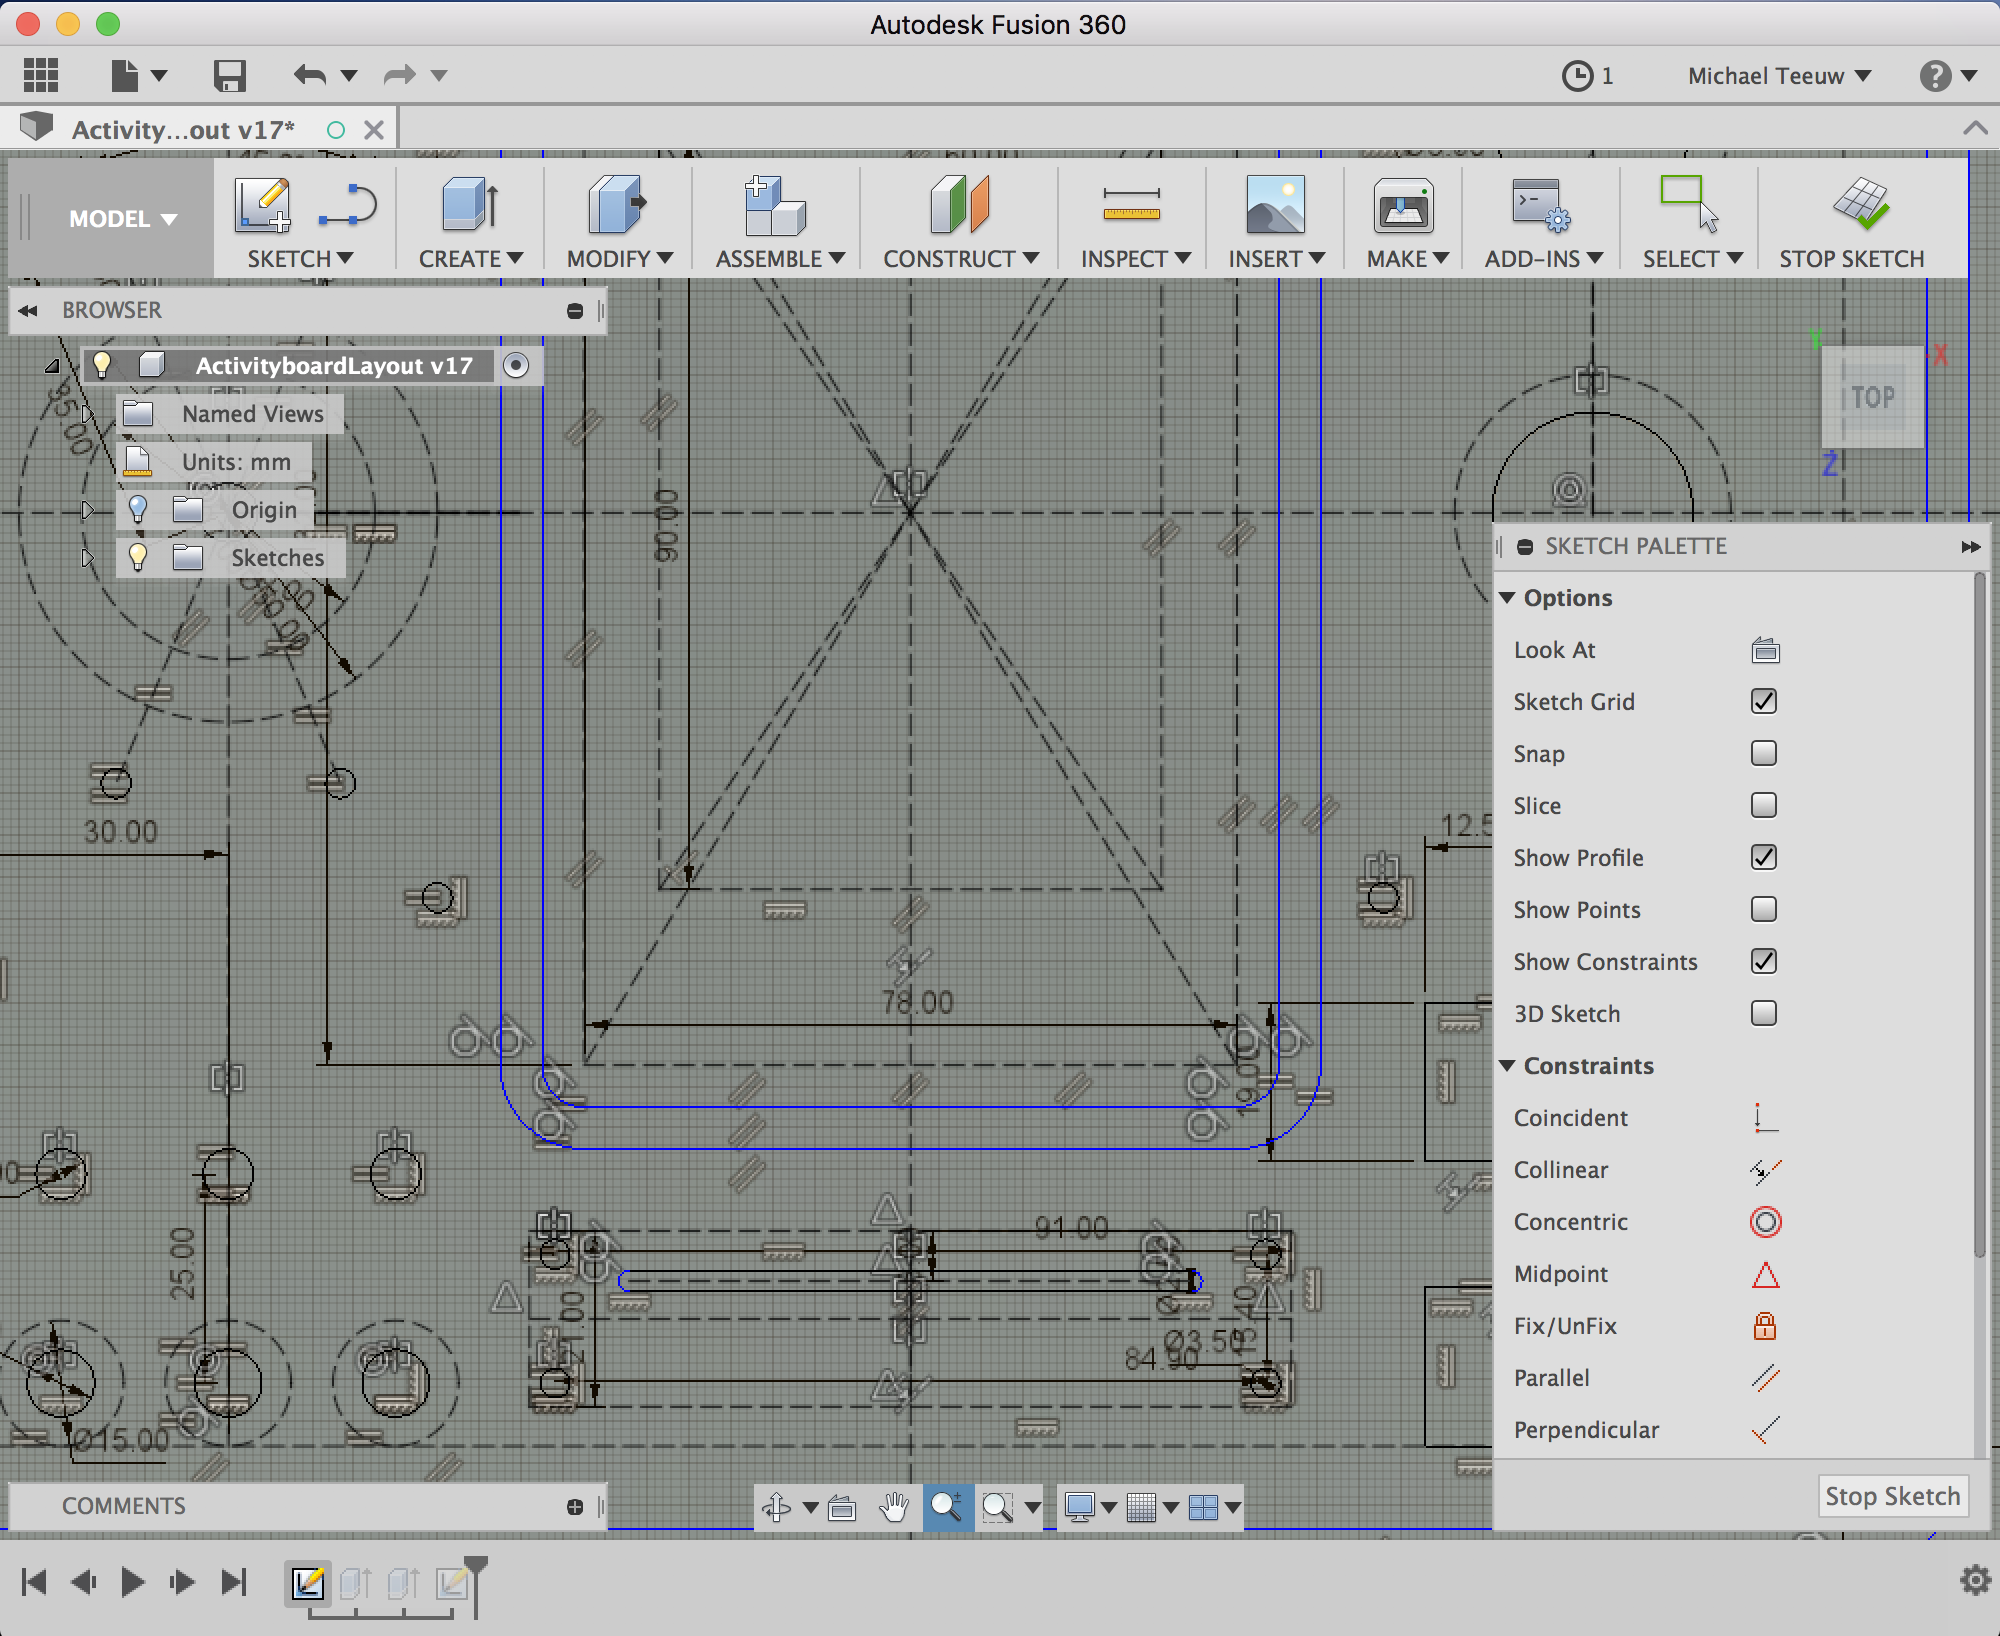
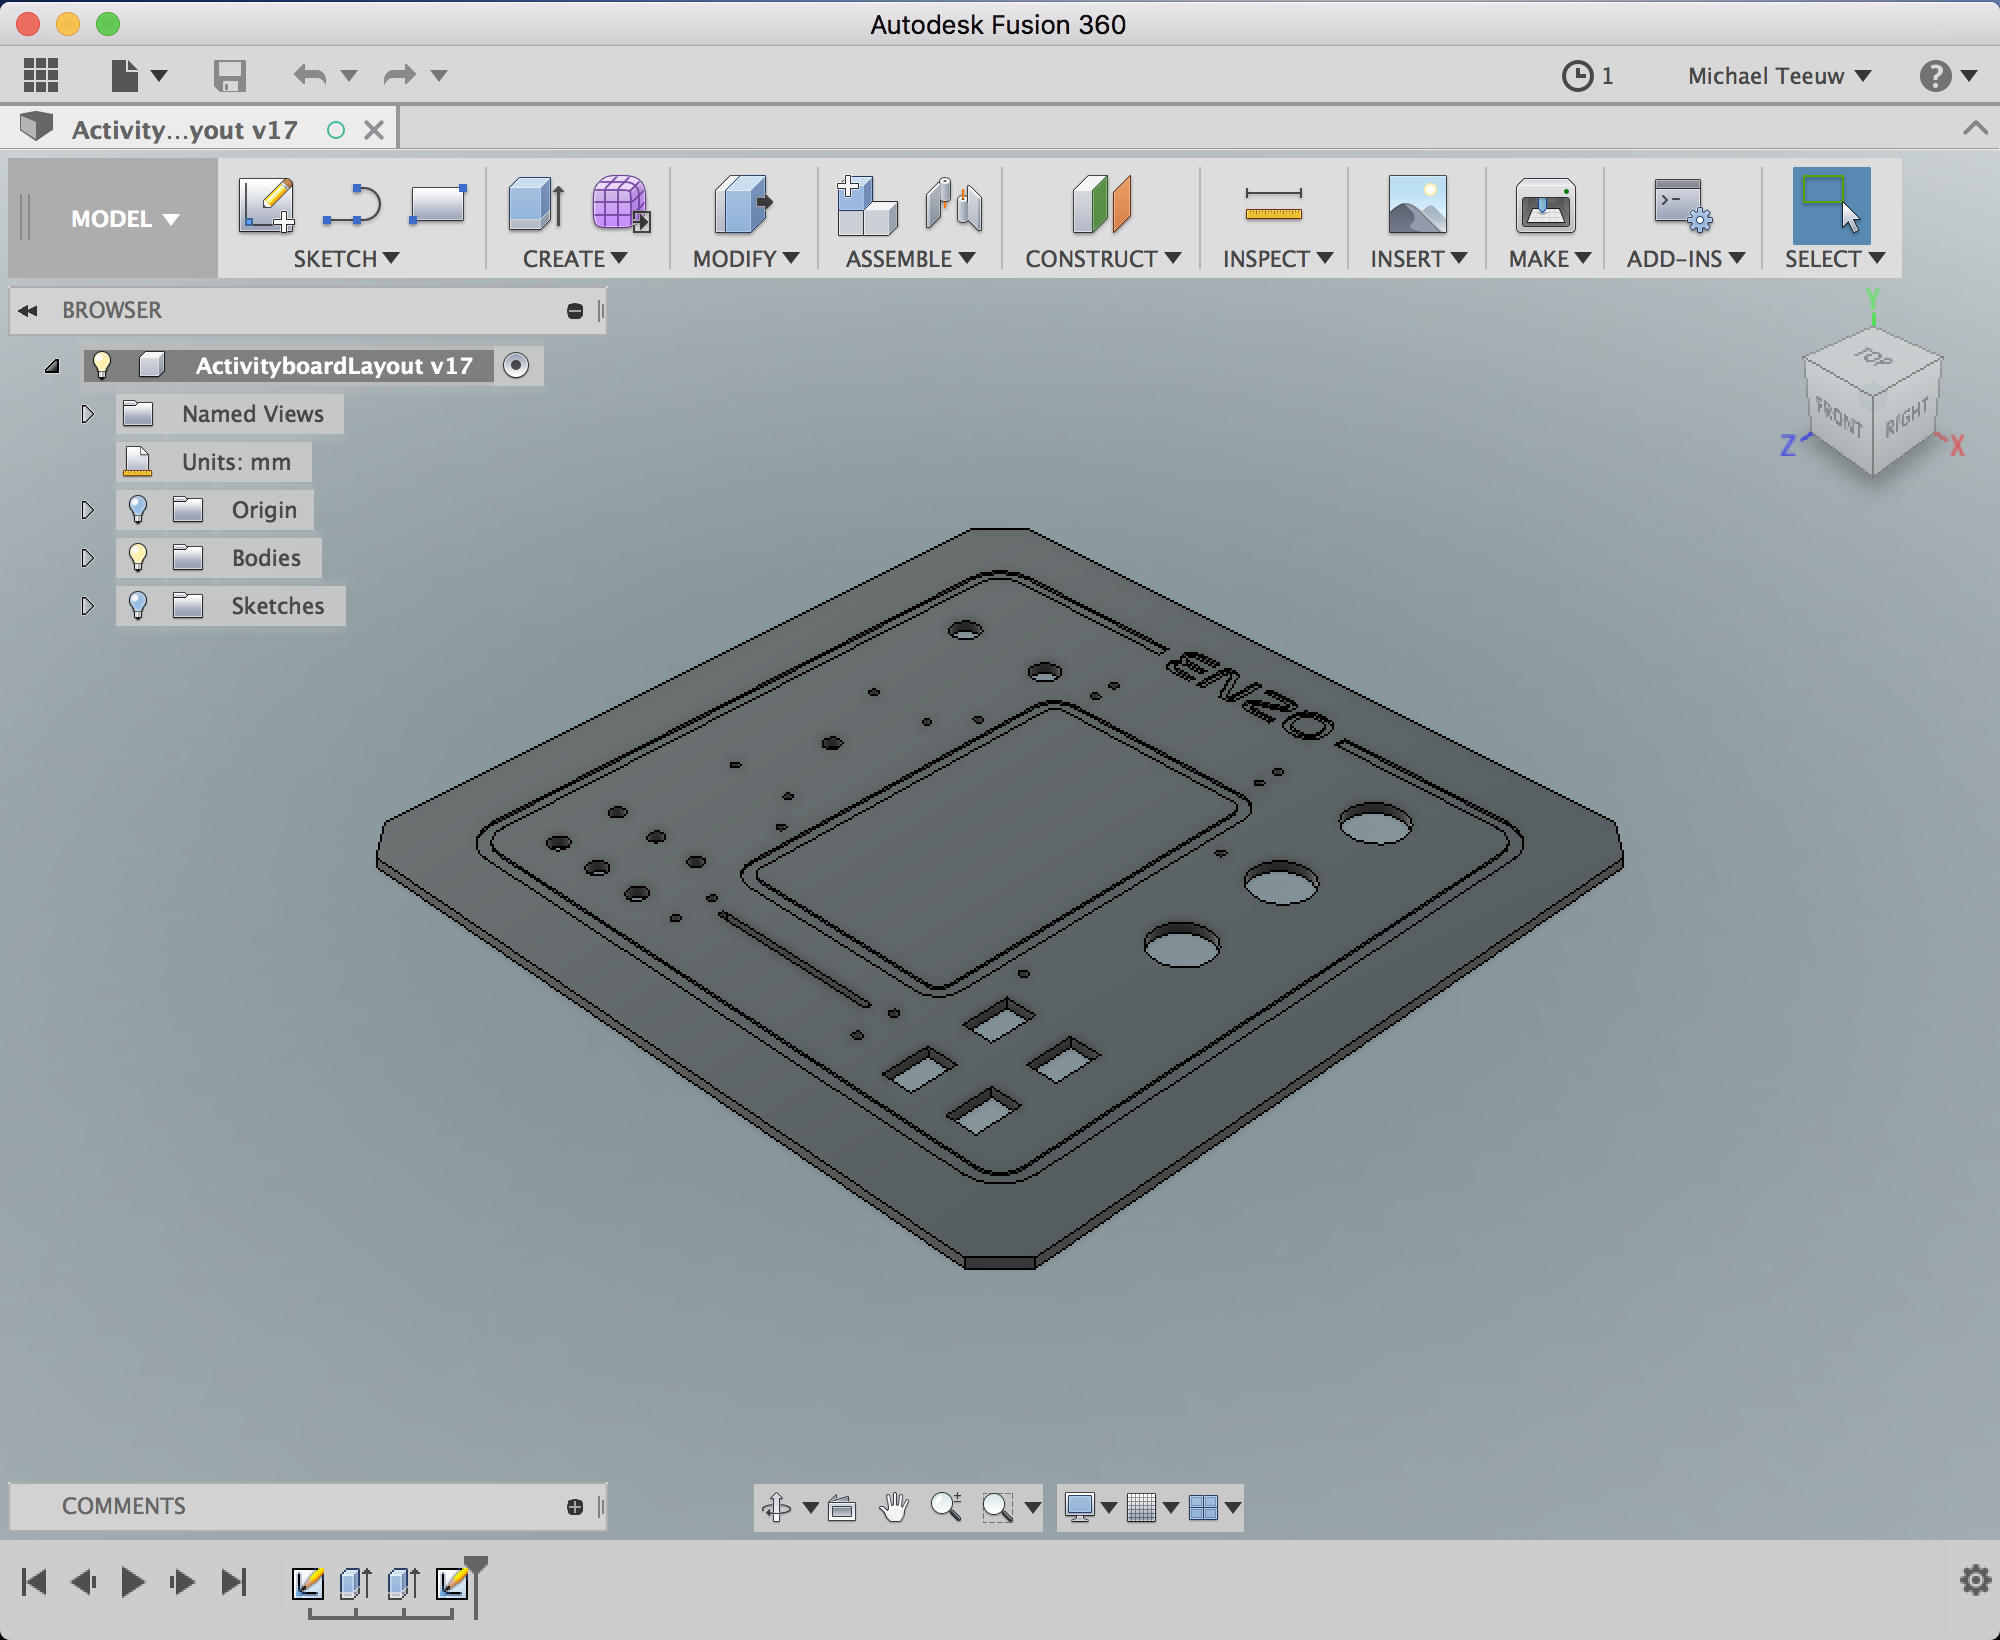
Using Fusion 360, I managed to draw out a nice layout. It uses a lot of constraints to keep stuff aligned. And while Fusion 360 perfectly is capable of doing this. I really learned Fusion 360 really is a 3D package. 2D sketching isn’t its most powerful side.
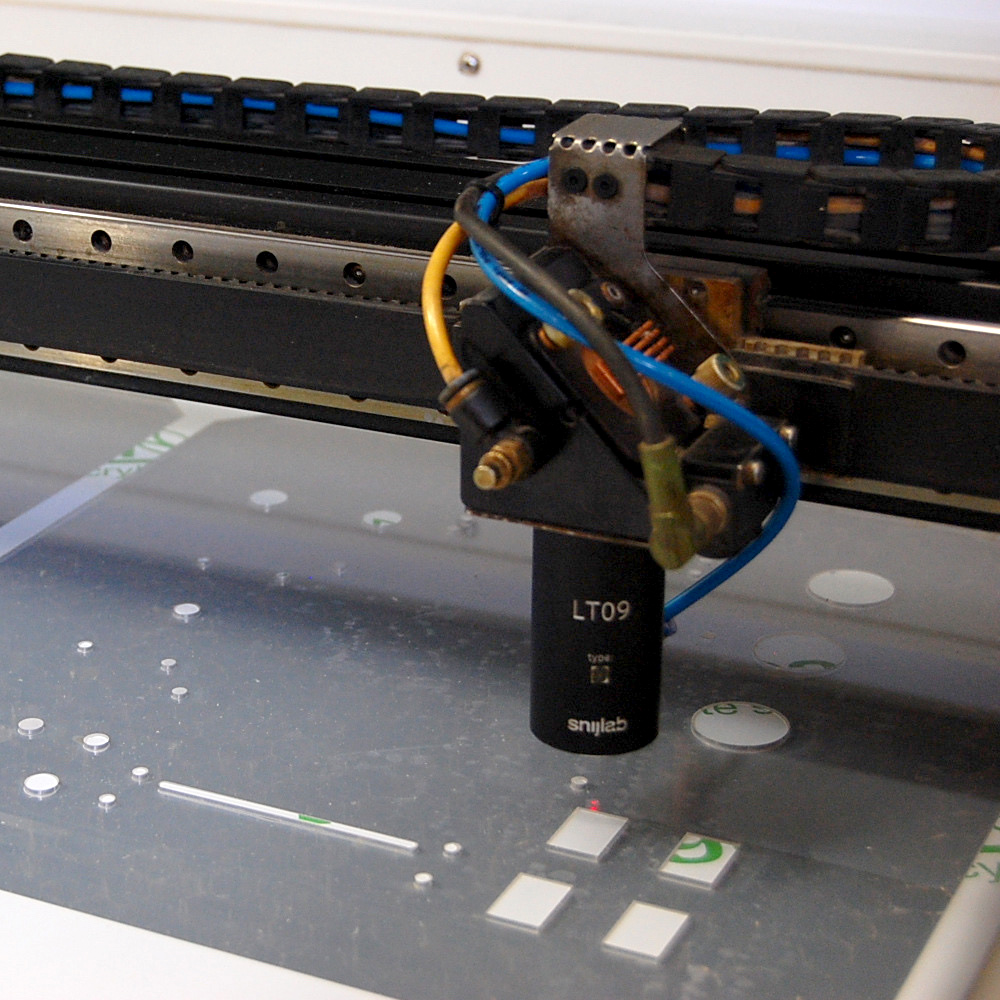
After an afternoon of drawing, it was now time to fire up the Laser! Unfortunately I don’t own a laser cutter myself … yet! But luckily my Twitter buddy Johan Adriaans was friendly enough to let me use his laser cutter. So with a six pack of beers and some acrylic, I drove to Utrecht for an evening worth of tinkering …
Before the fun could started, we spent some time cleaning and fine tune the laser cutter. In the process Johan showed me the concept an inner workings of the cutter. One big downside: now I really want my own laser cutter!
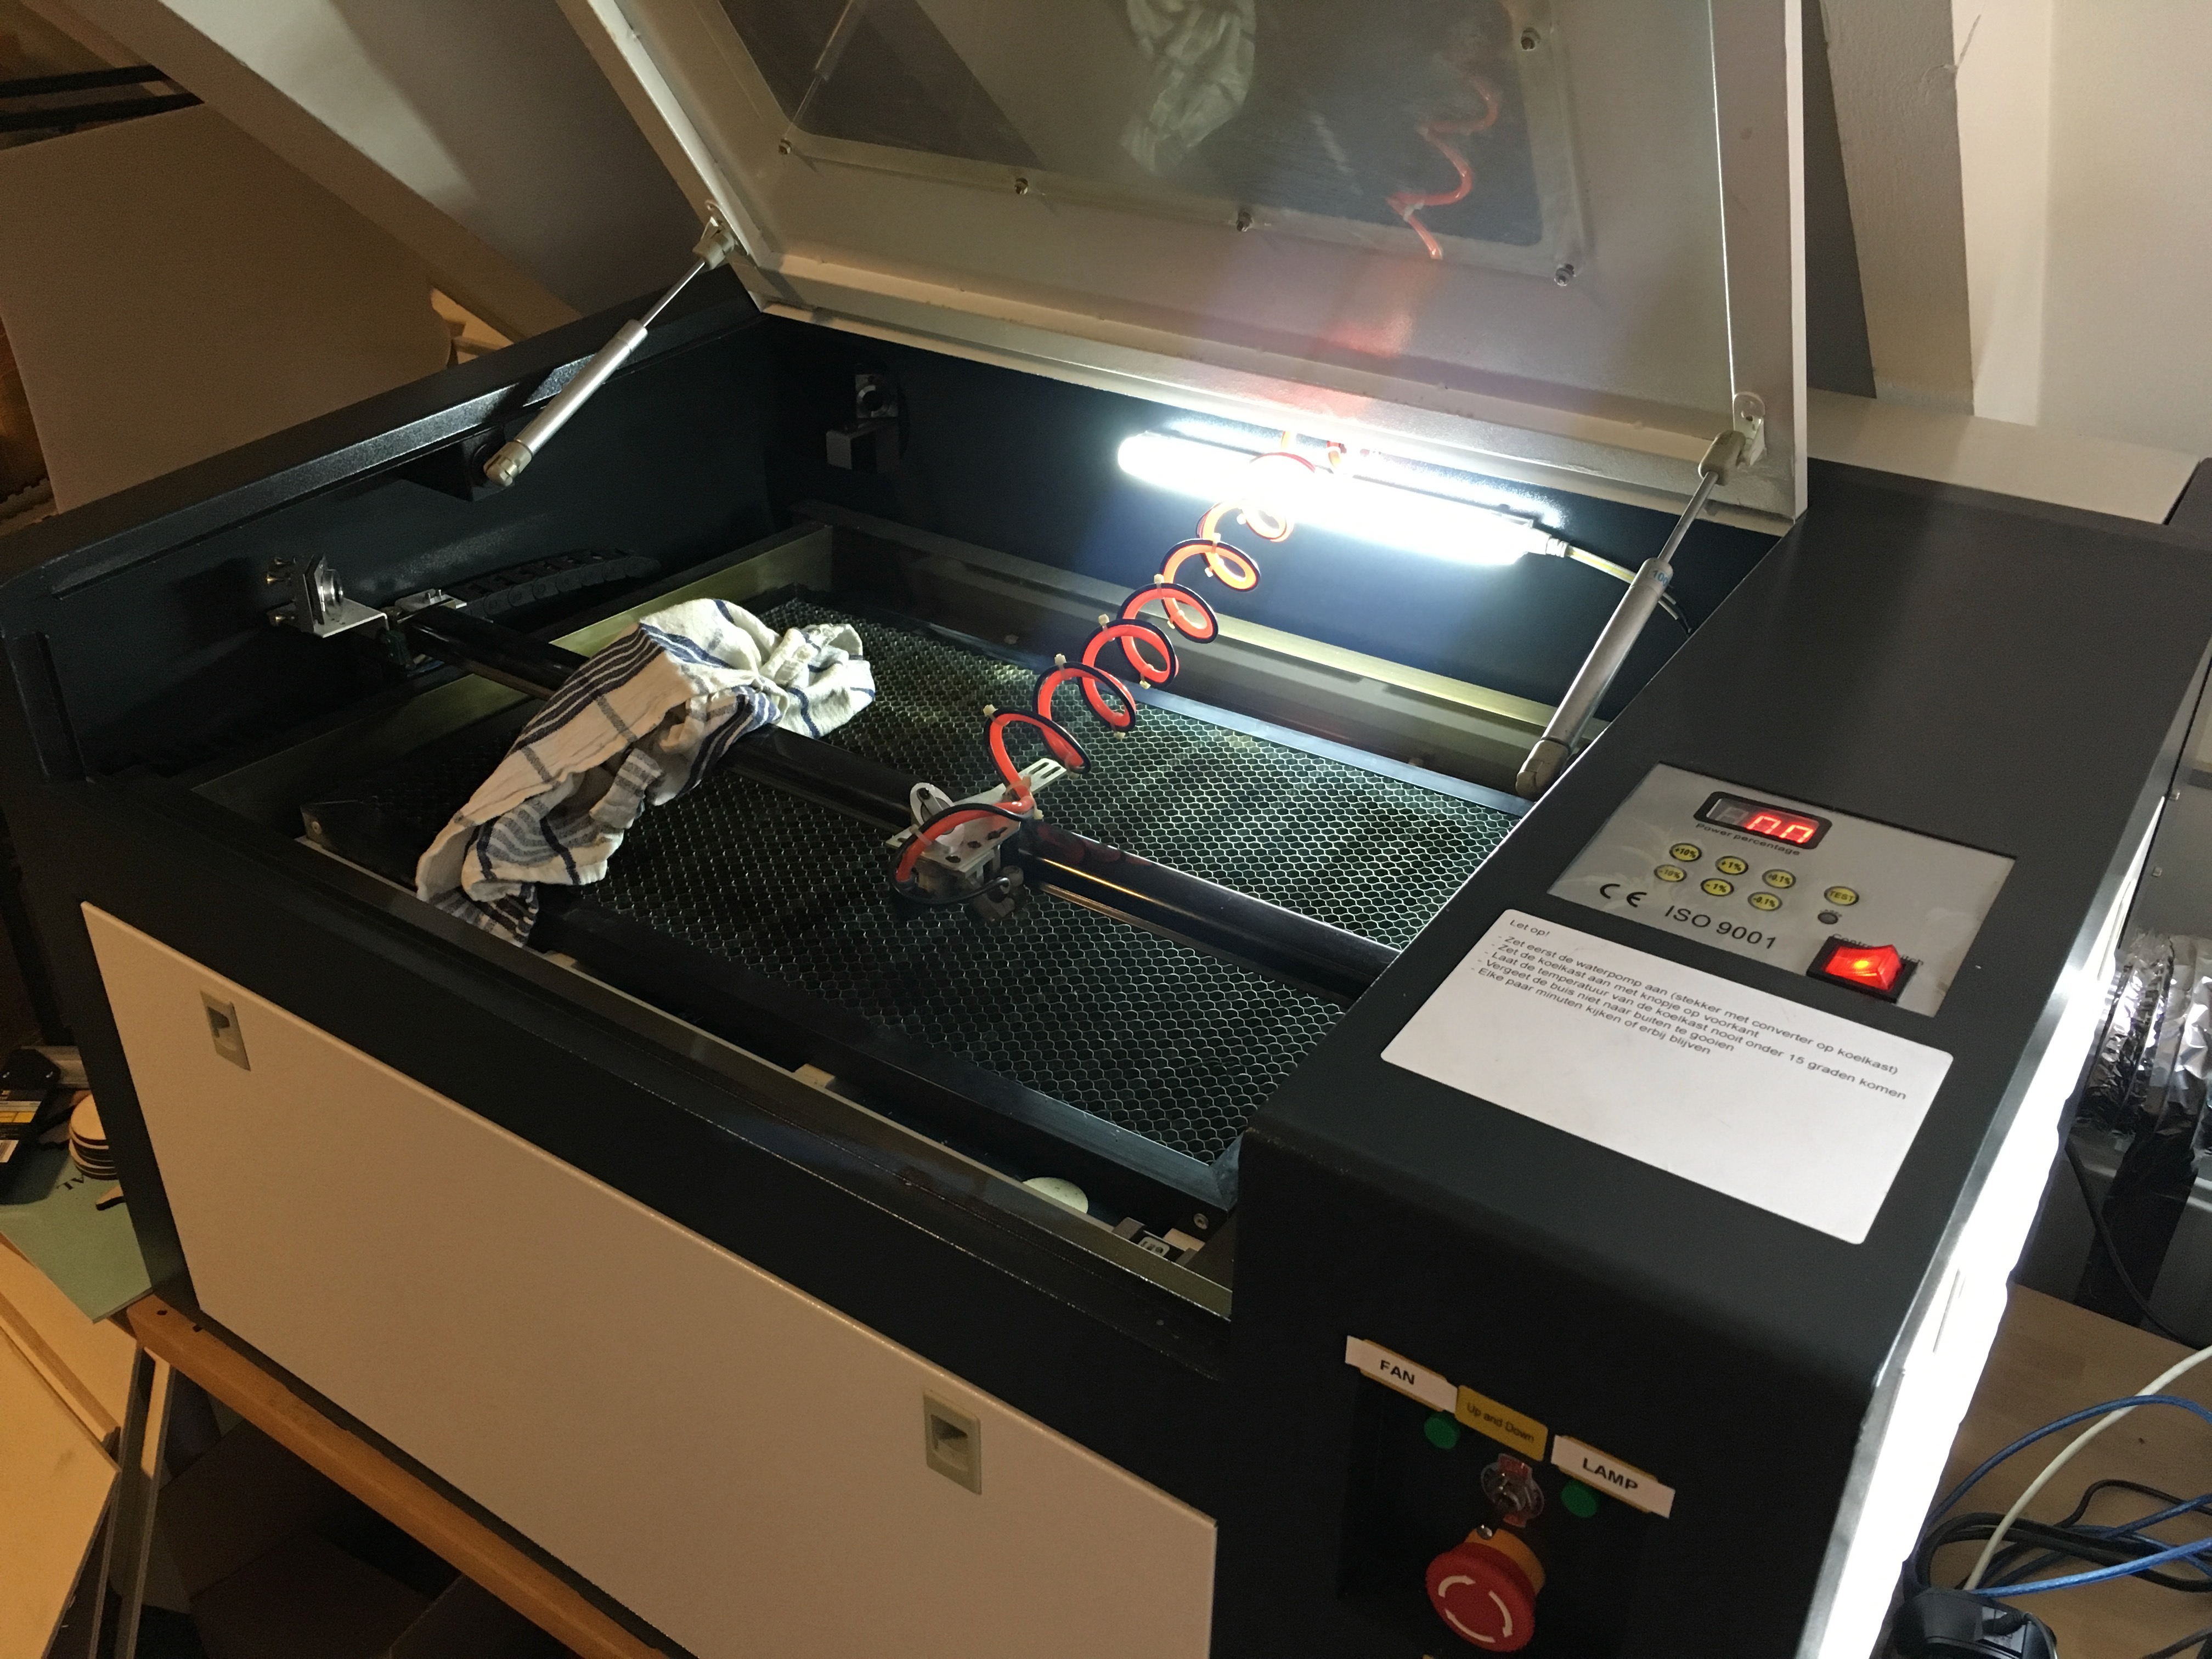
After we finished the maintenance, it was time for some test cuts. This way we could test the necessary laser power. You really have to find the sweet spot.
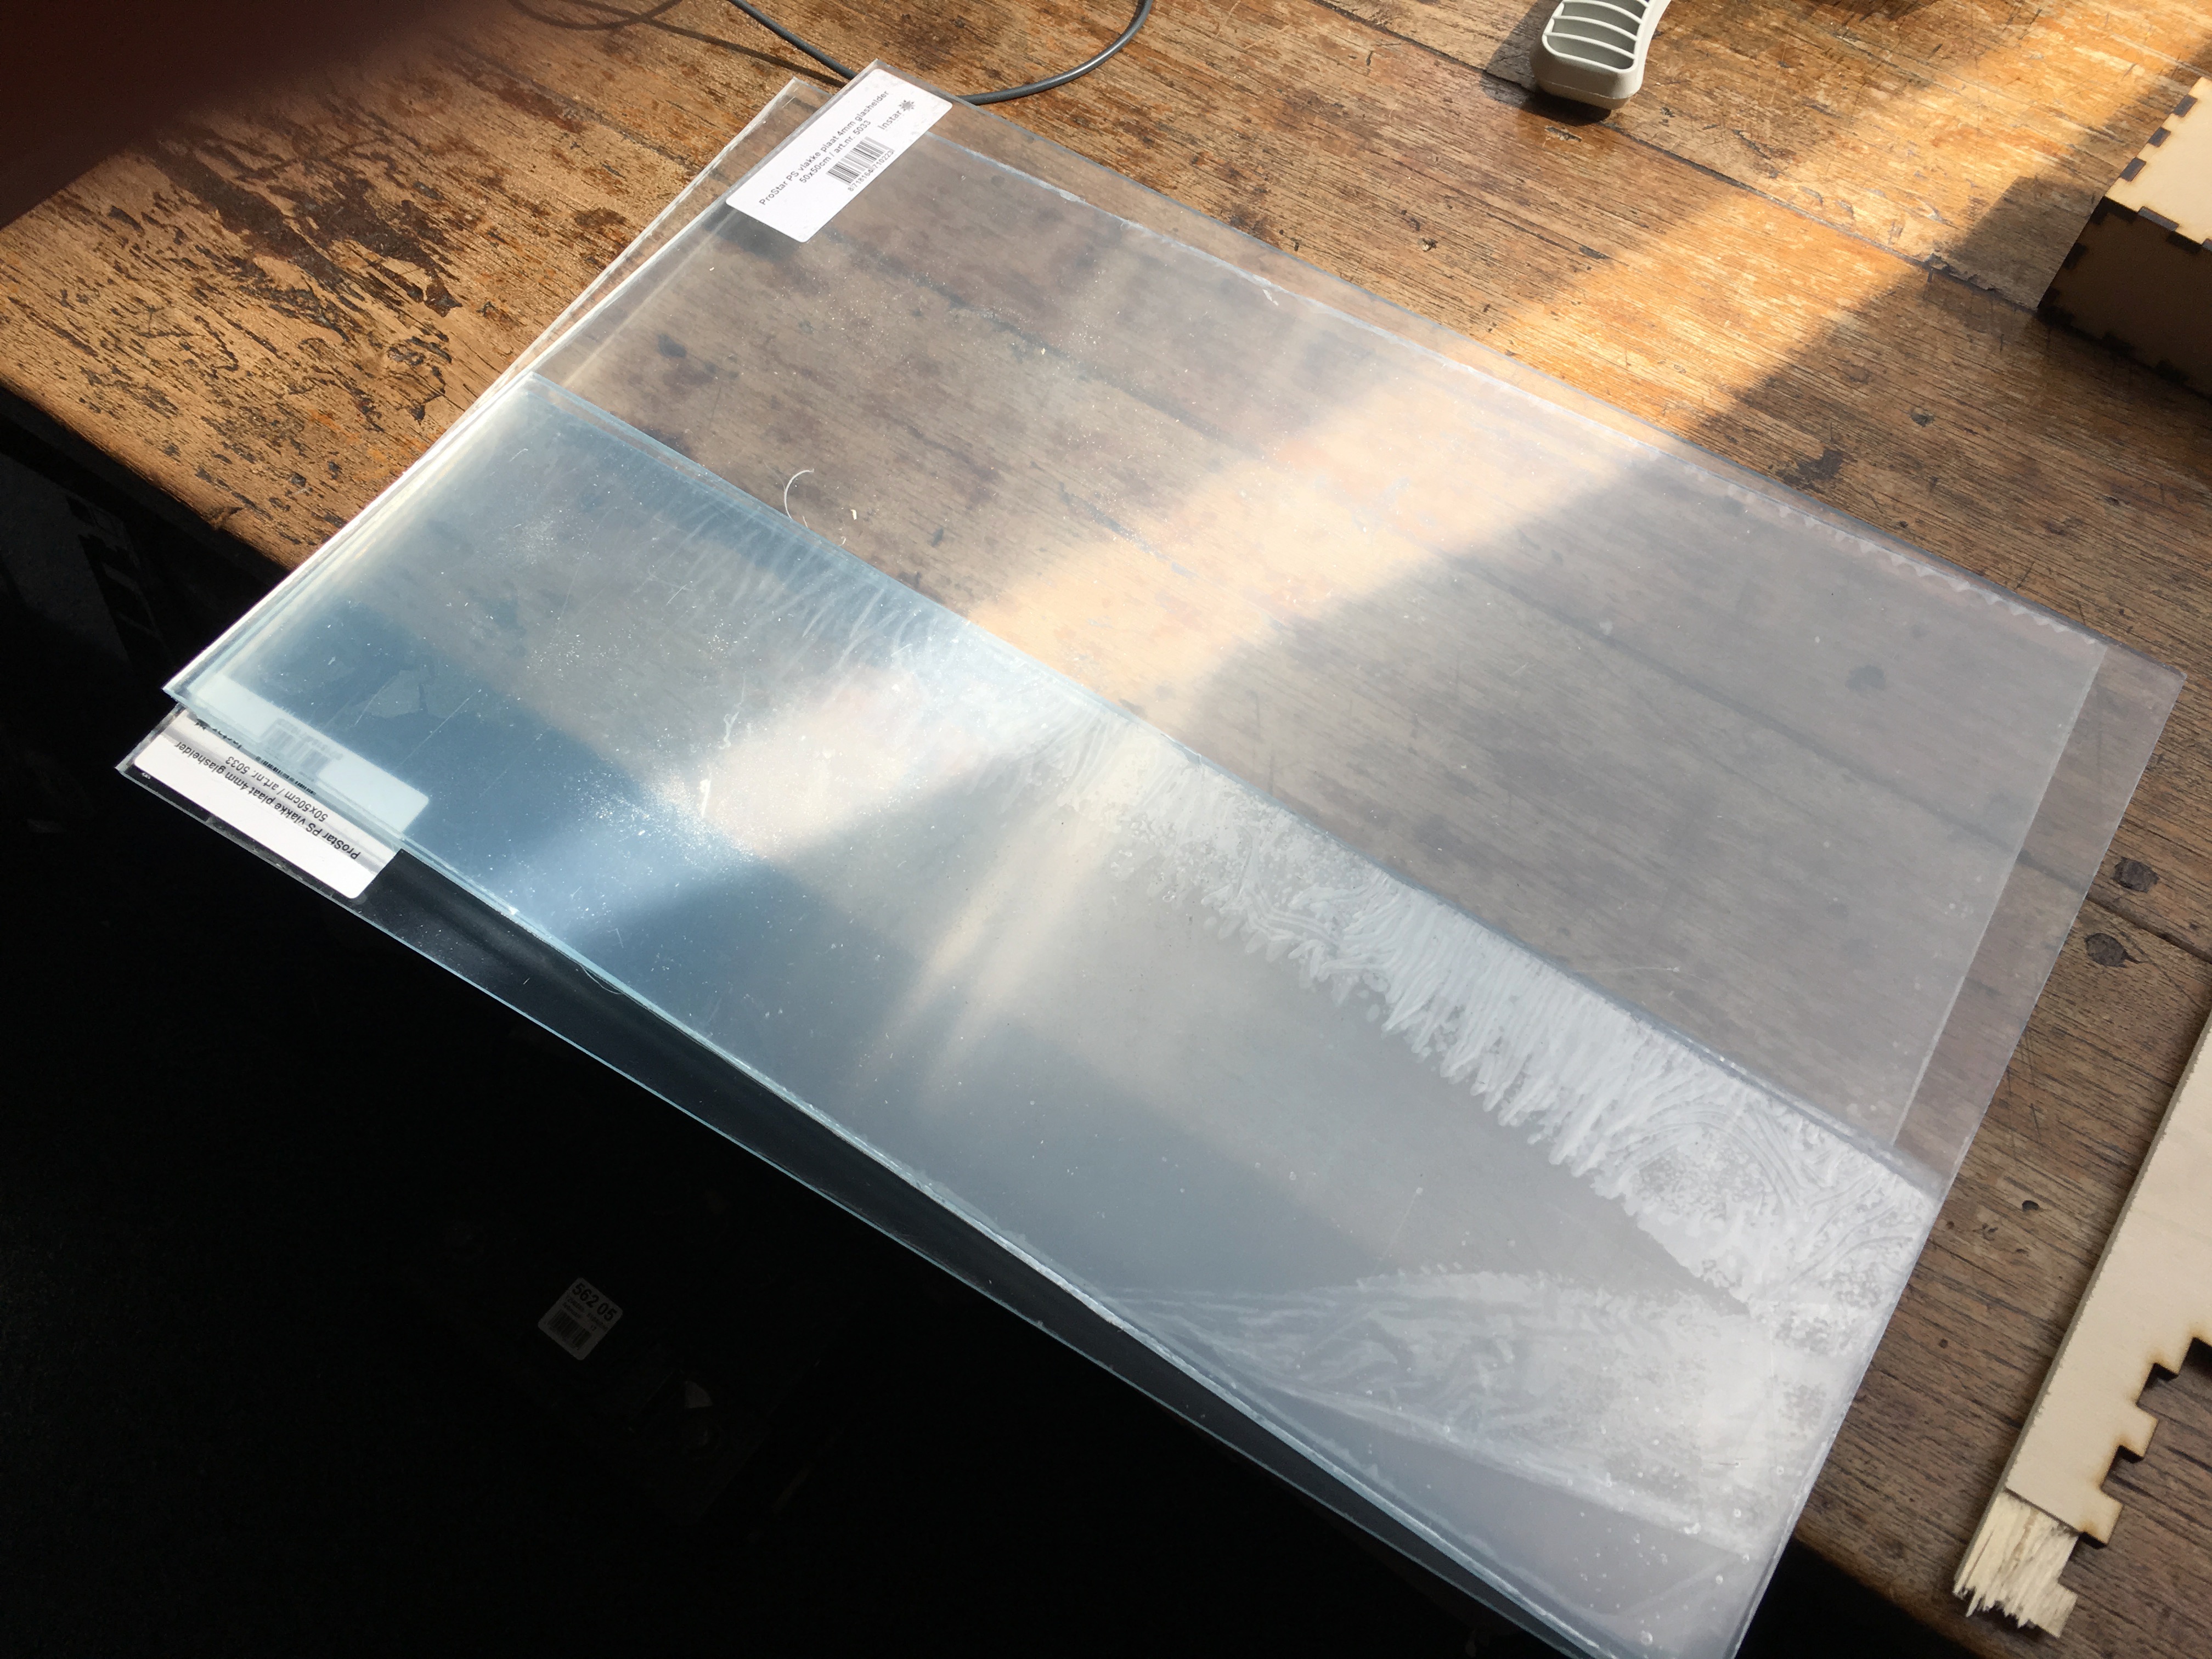
Unfortunately, at this point we ran into a major issue. Which was completely my own fault. The material I bought wasn’t acrylic. It turned out to be polycarbonate. A laser cutter can only cut acrylic, since it evaporates the material. In case of polycarbonate it melts. As an additional side effect, the cutting of the polycarbonate resulted in some gasses that possibly shortened my life span with a few years … Oh well, at least it’s a great way to learn!
After this discovery I drove to the nearest DIY-shop to buy some acrylic, but it turned out they only sell 4mm transparent polycarbonate. So for now, I thanked Johan for his help, told him to enjoy the beers, and called it a night.

A few days later, I continued my quest for 4mm sheets of acrylic online. Which led me to Snijlab.nl. And while they don’t sell sheets of acrylic, they do offer an awesome online tool to order your own designs cut out from the material of choice.
Even better yet, after I contacted them, they agreed on making some pictures of the process to show on my blog.
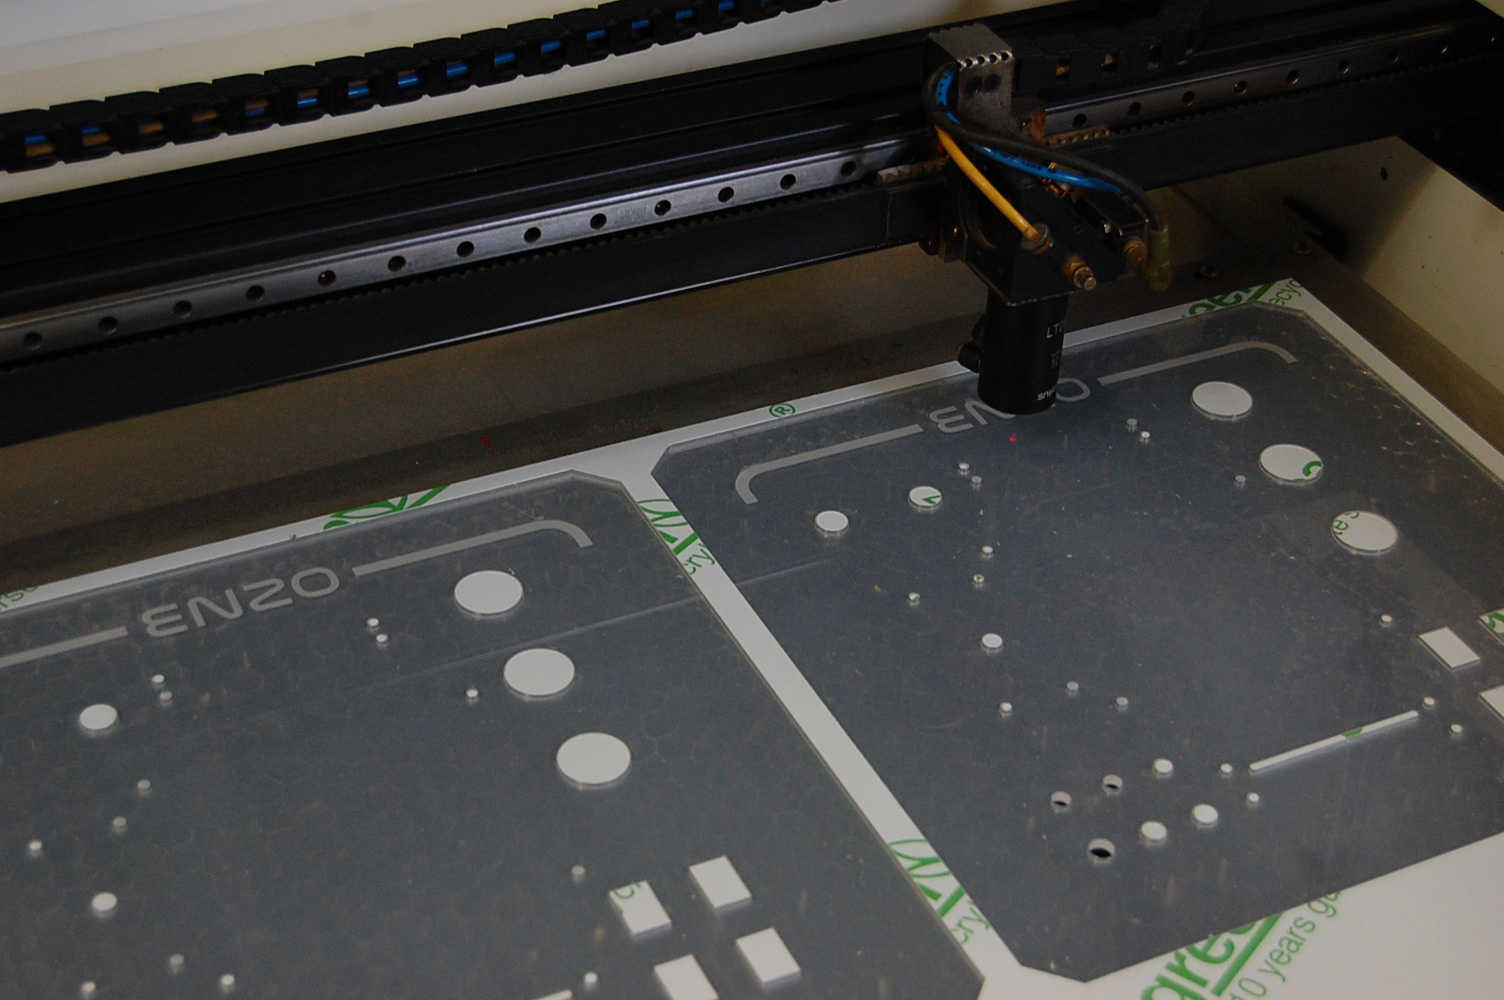
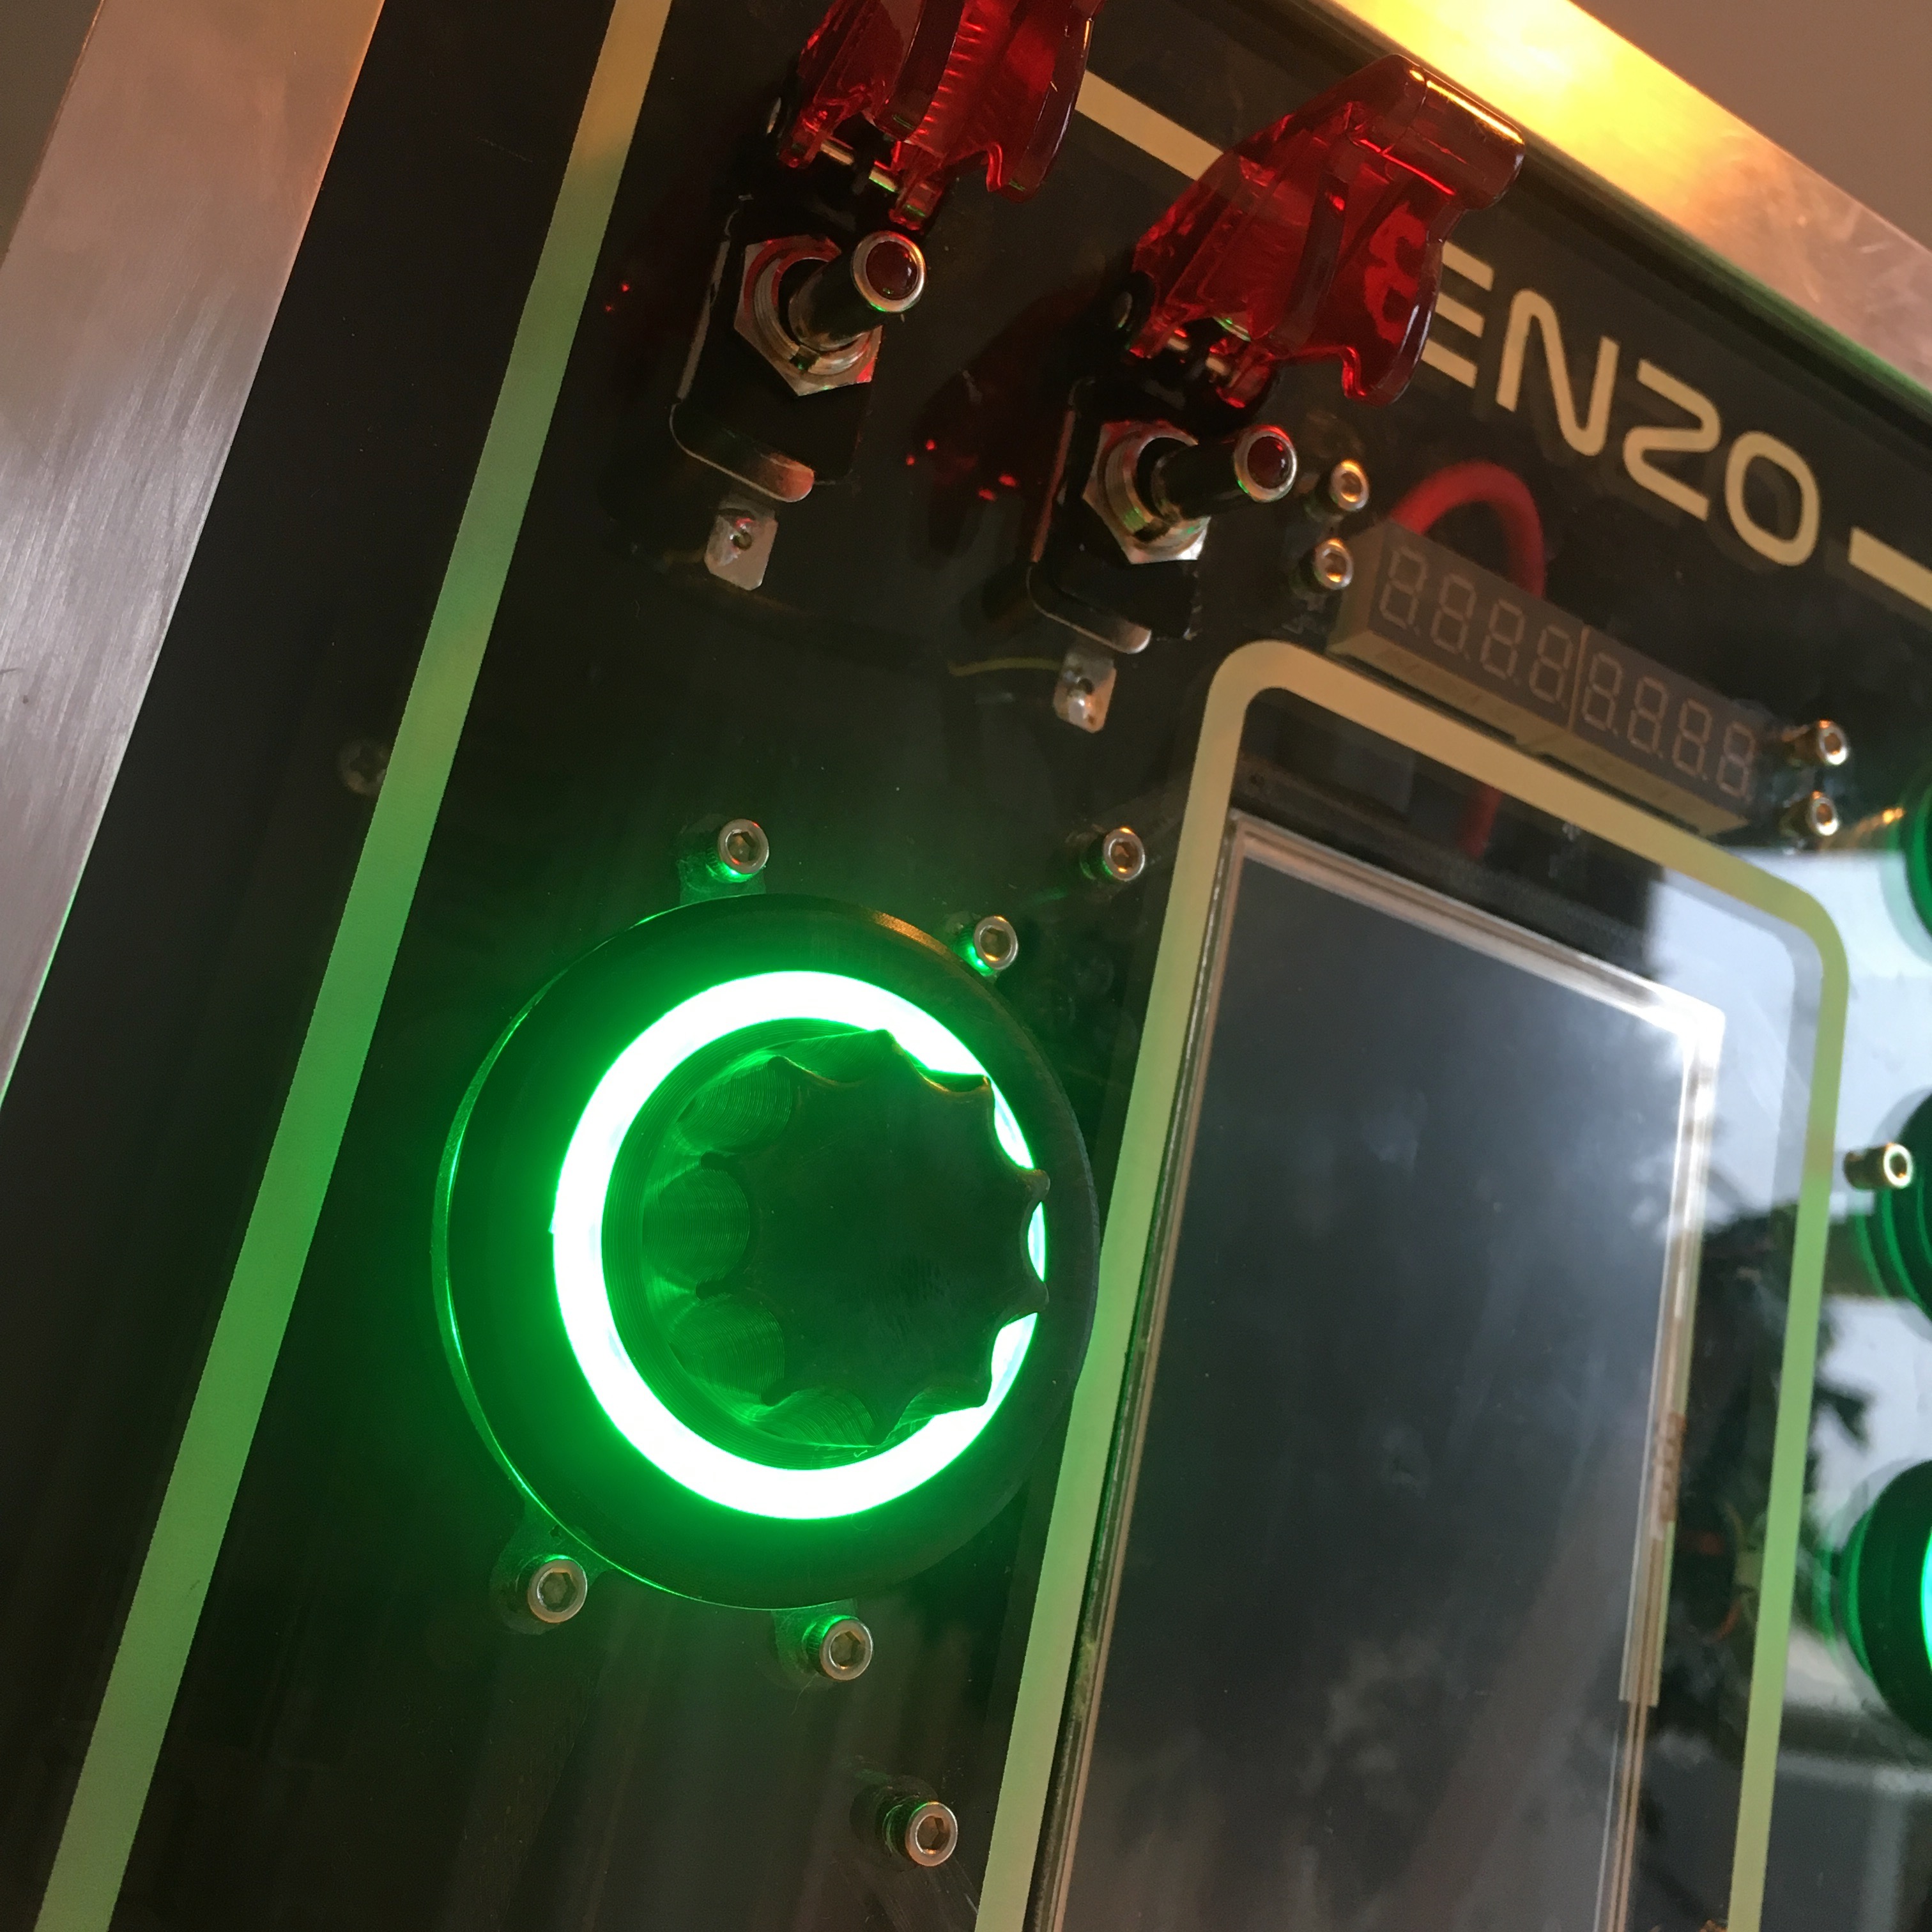
The panels both uses engraving and cutting. The engraving allows the lines and Enzo’s name to light up. The cutting makes sure all the buttons will fit in place.
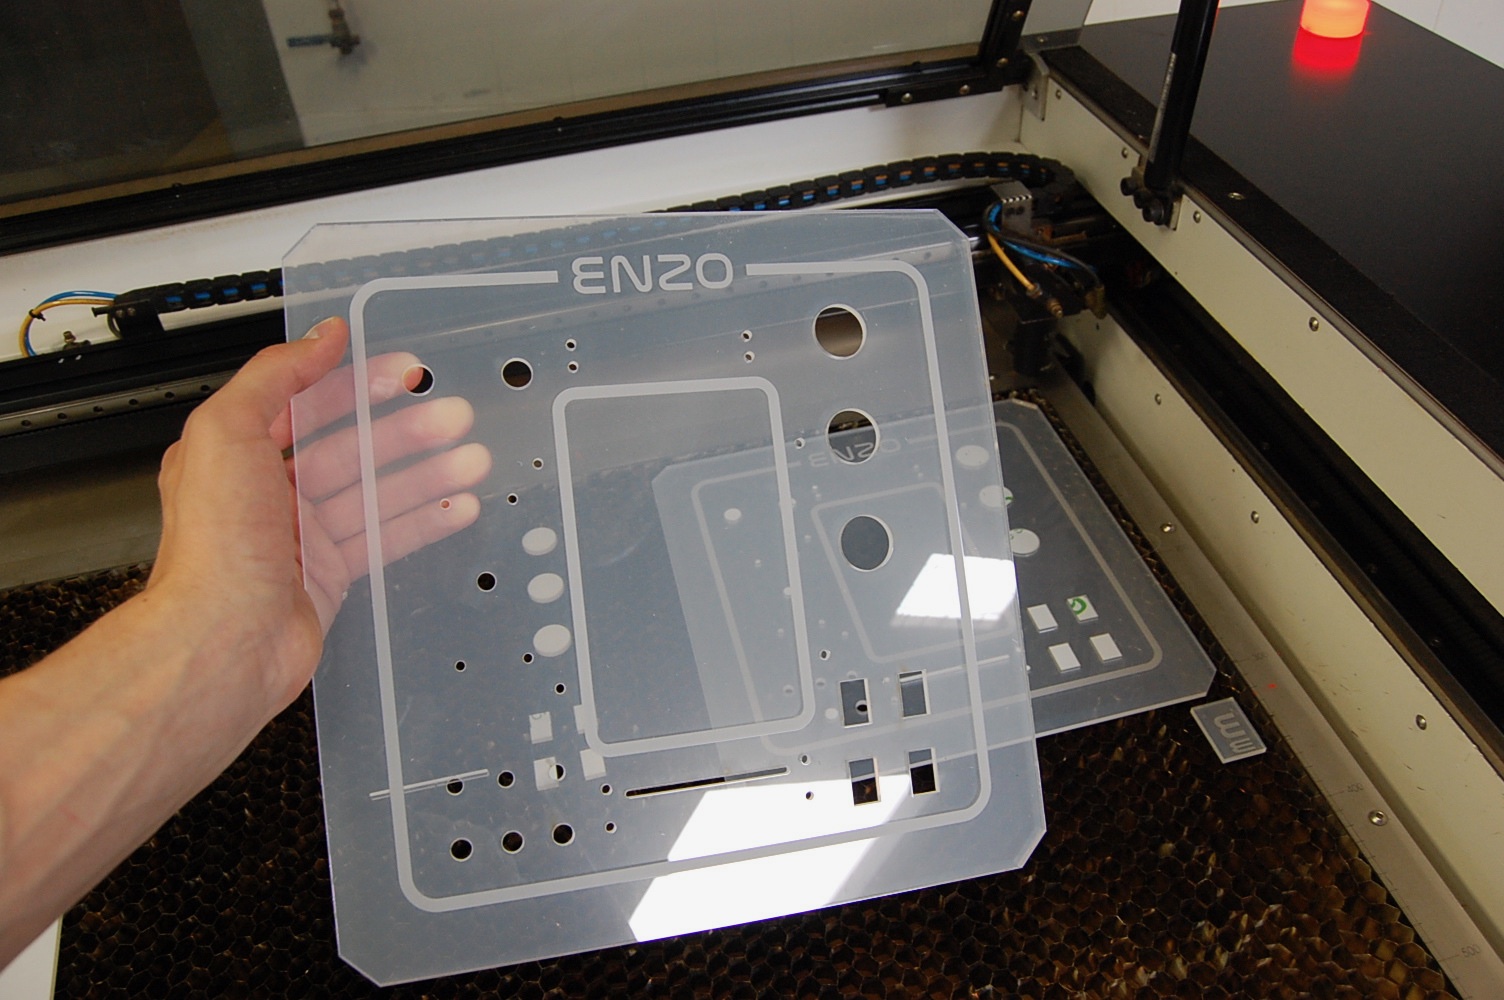
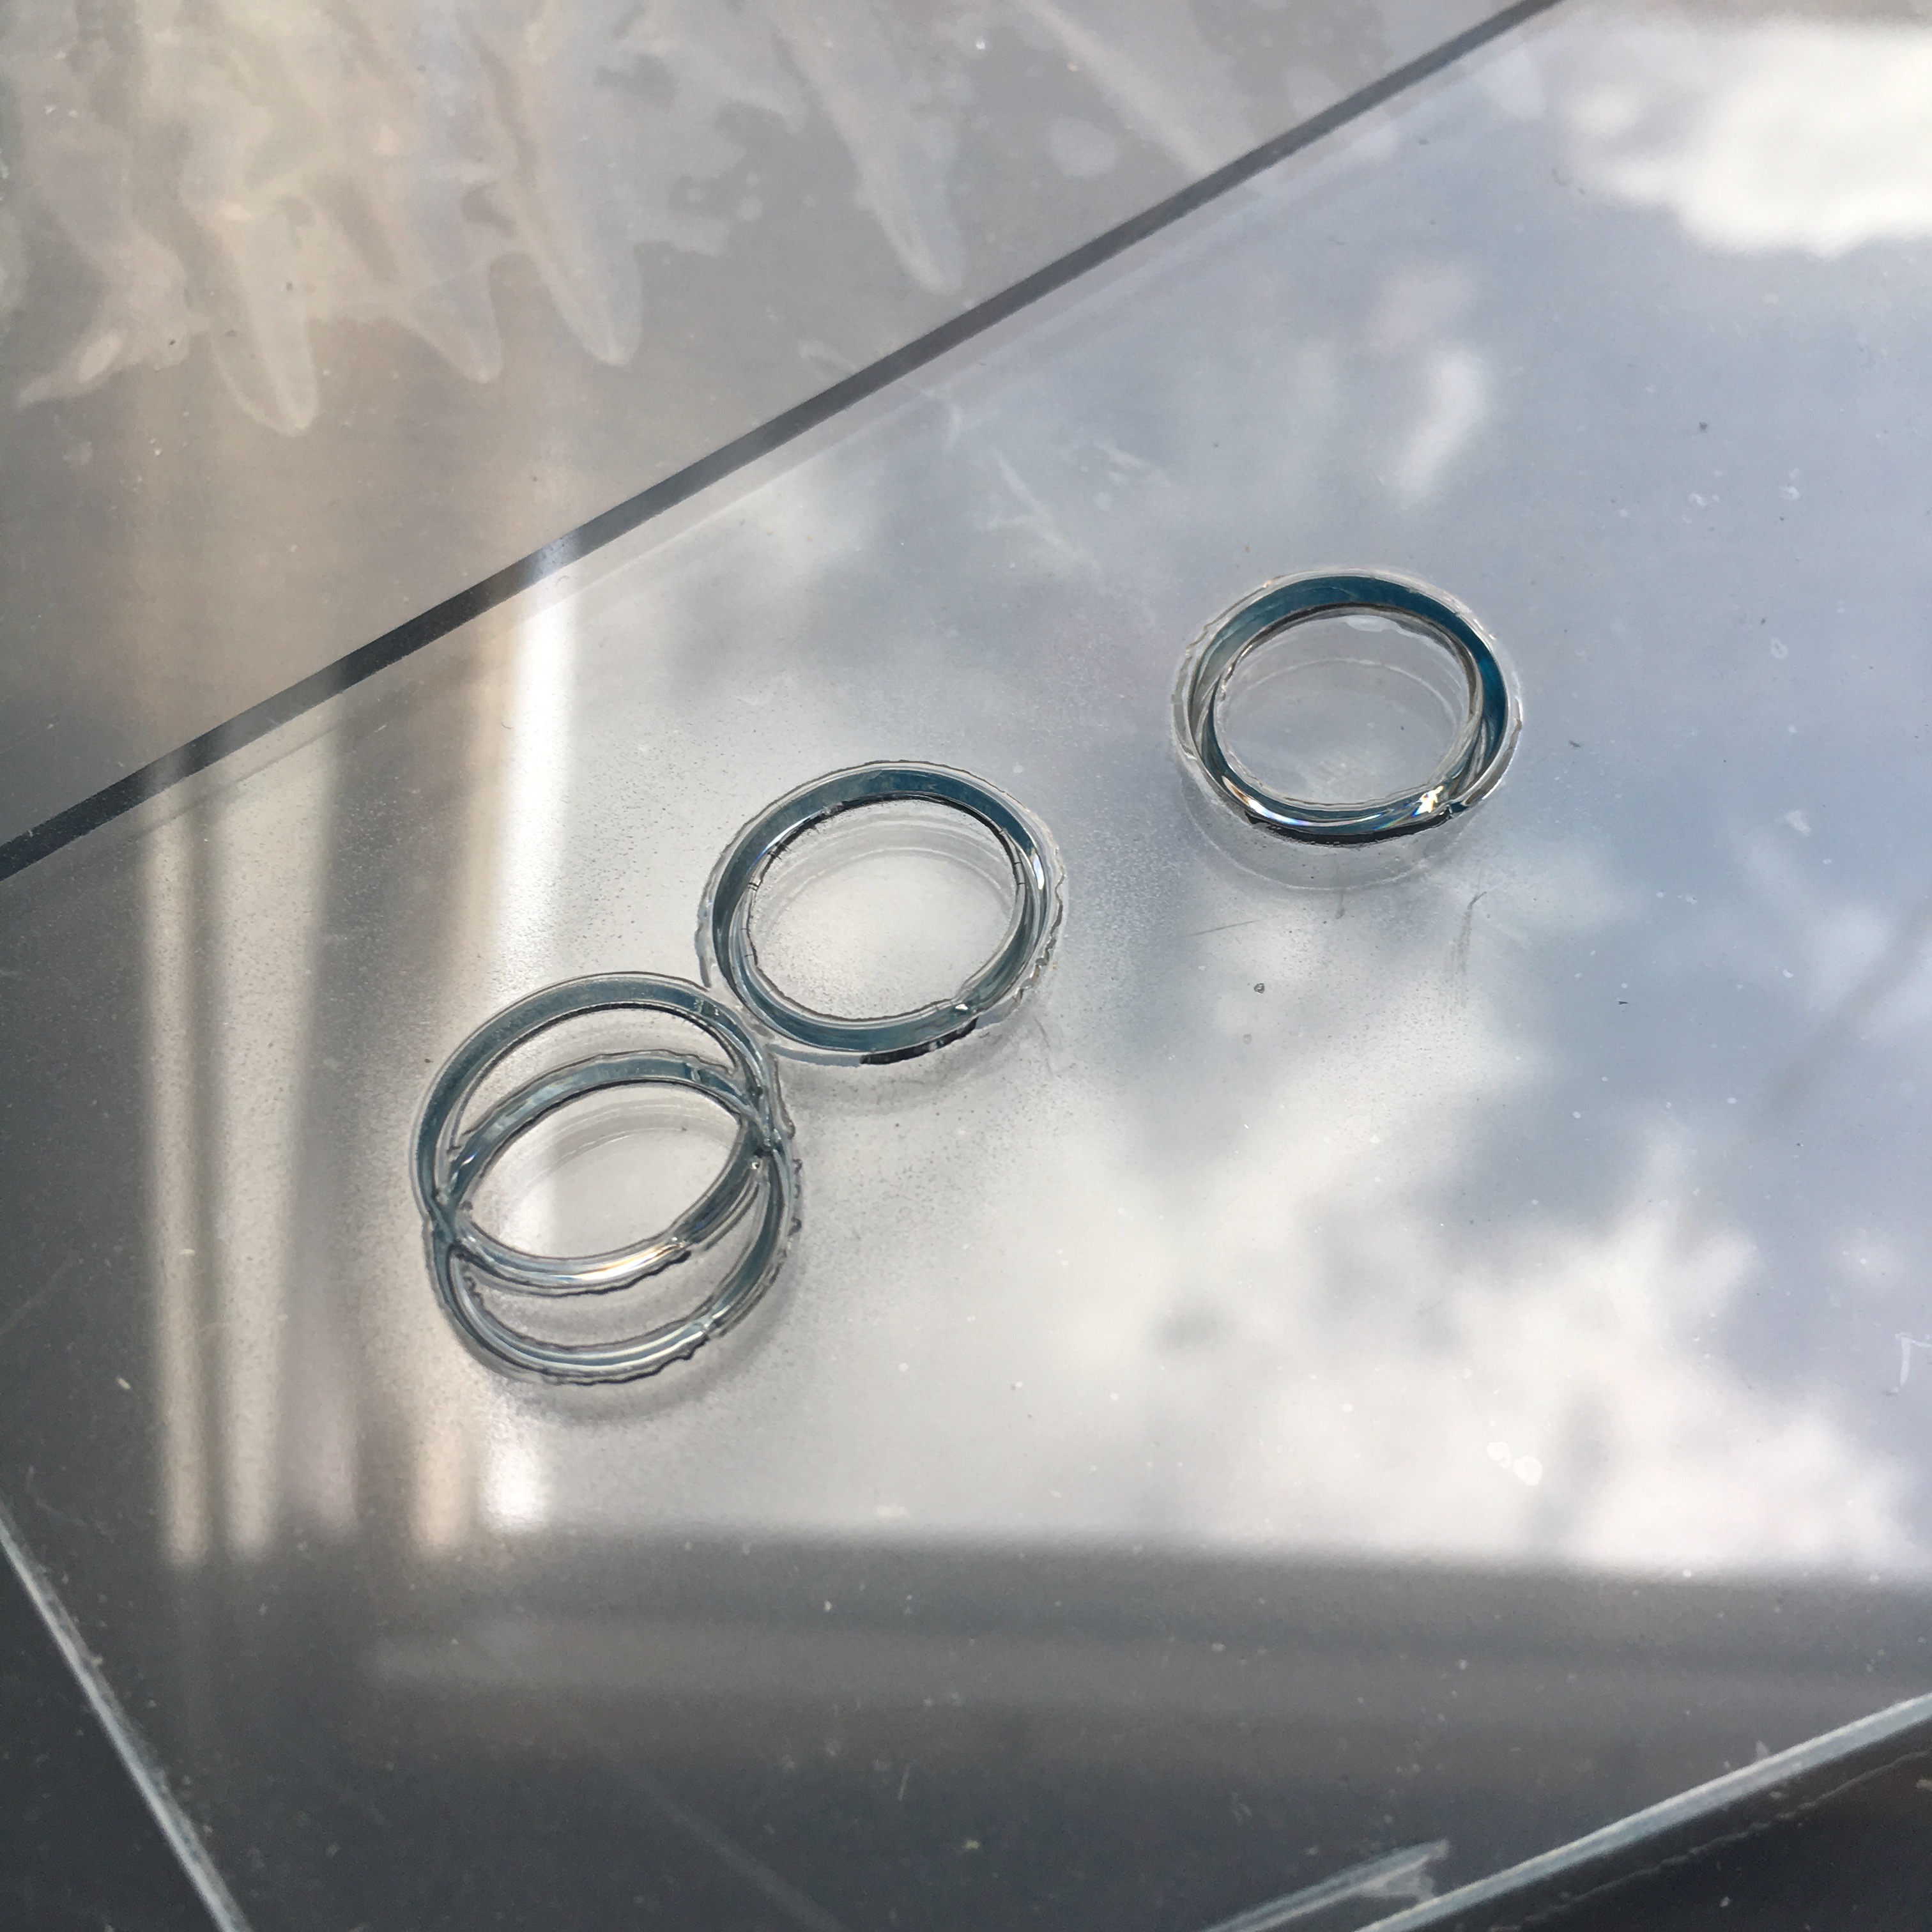
It’s always fascinating to see the physical result of your own design, In this case it’s a bit translucent due to the protective foil.
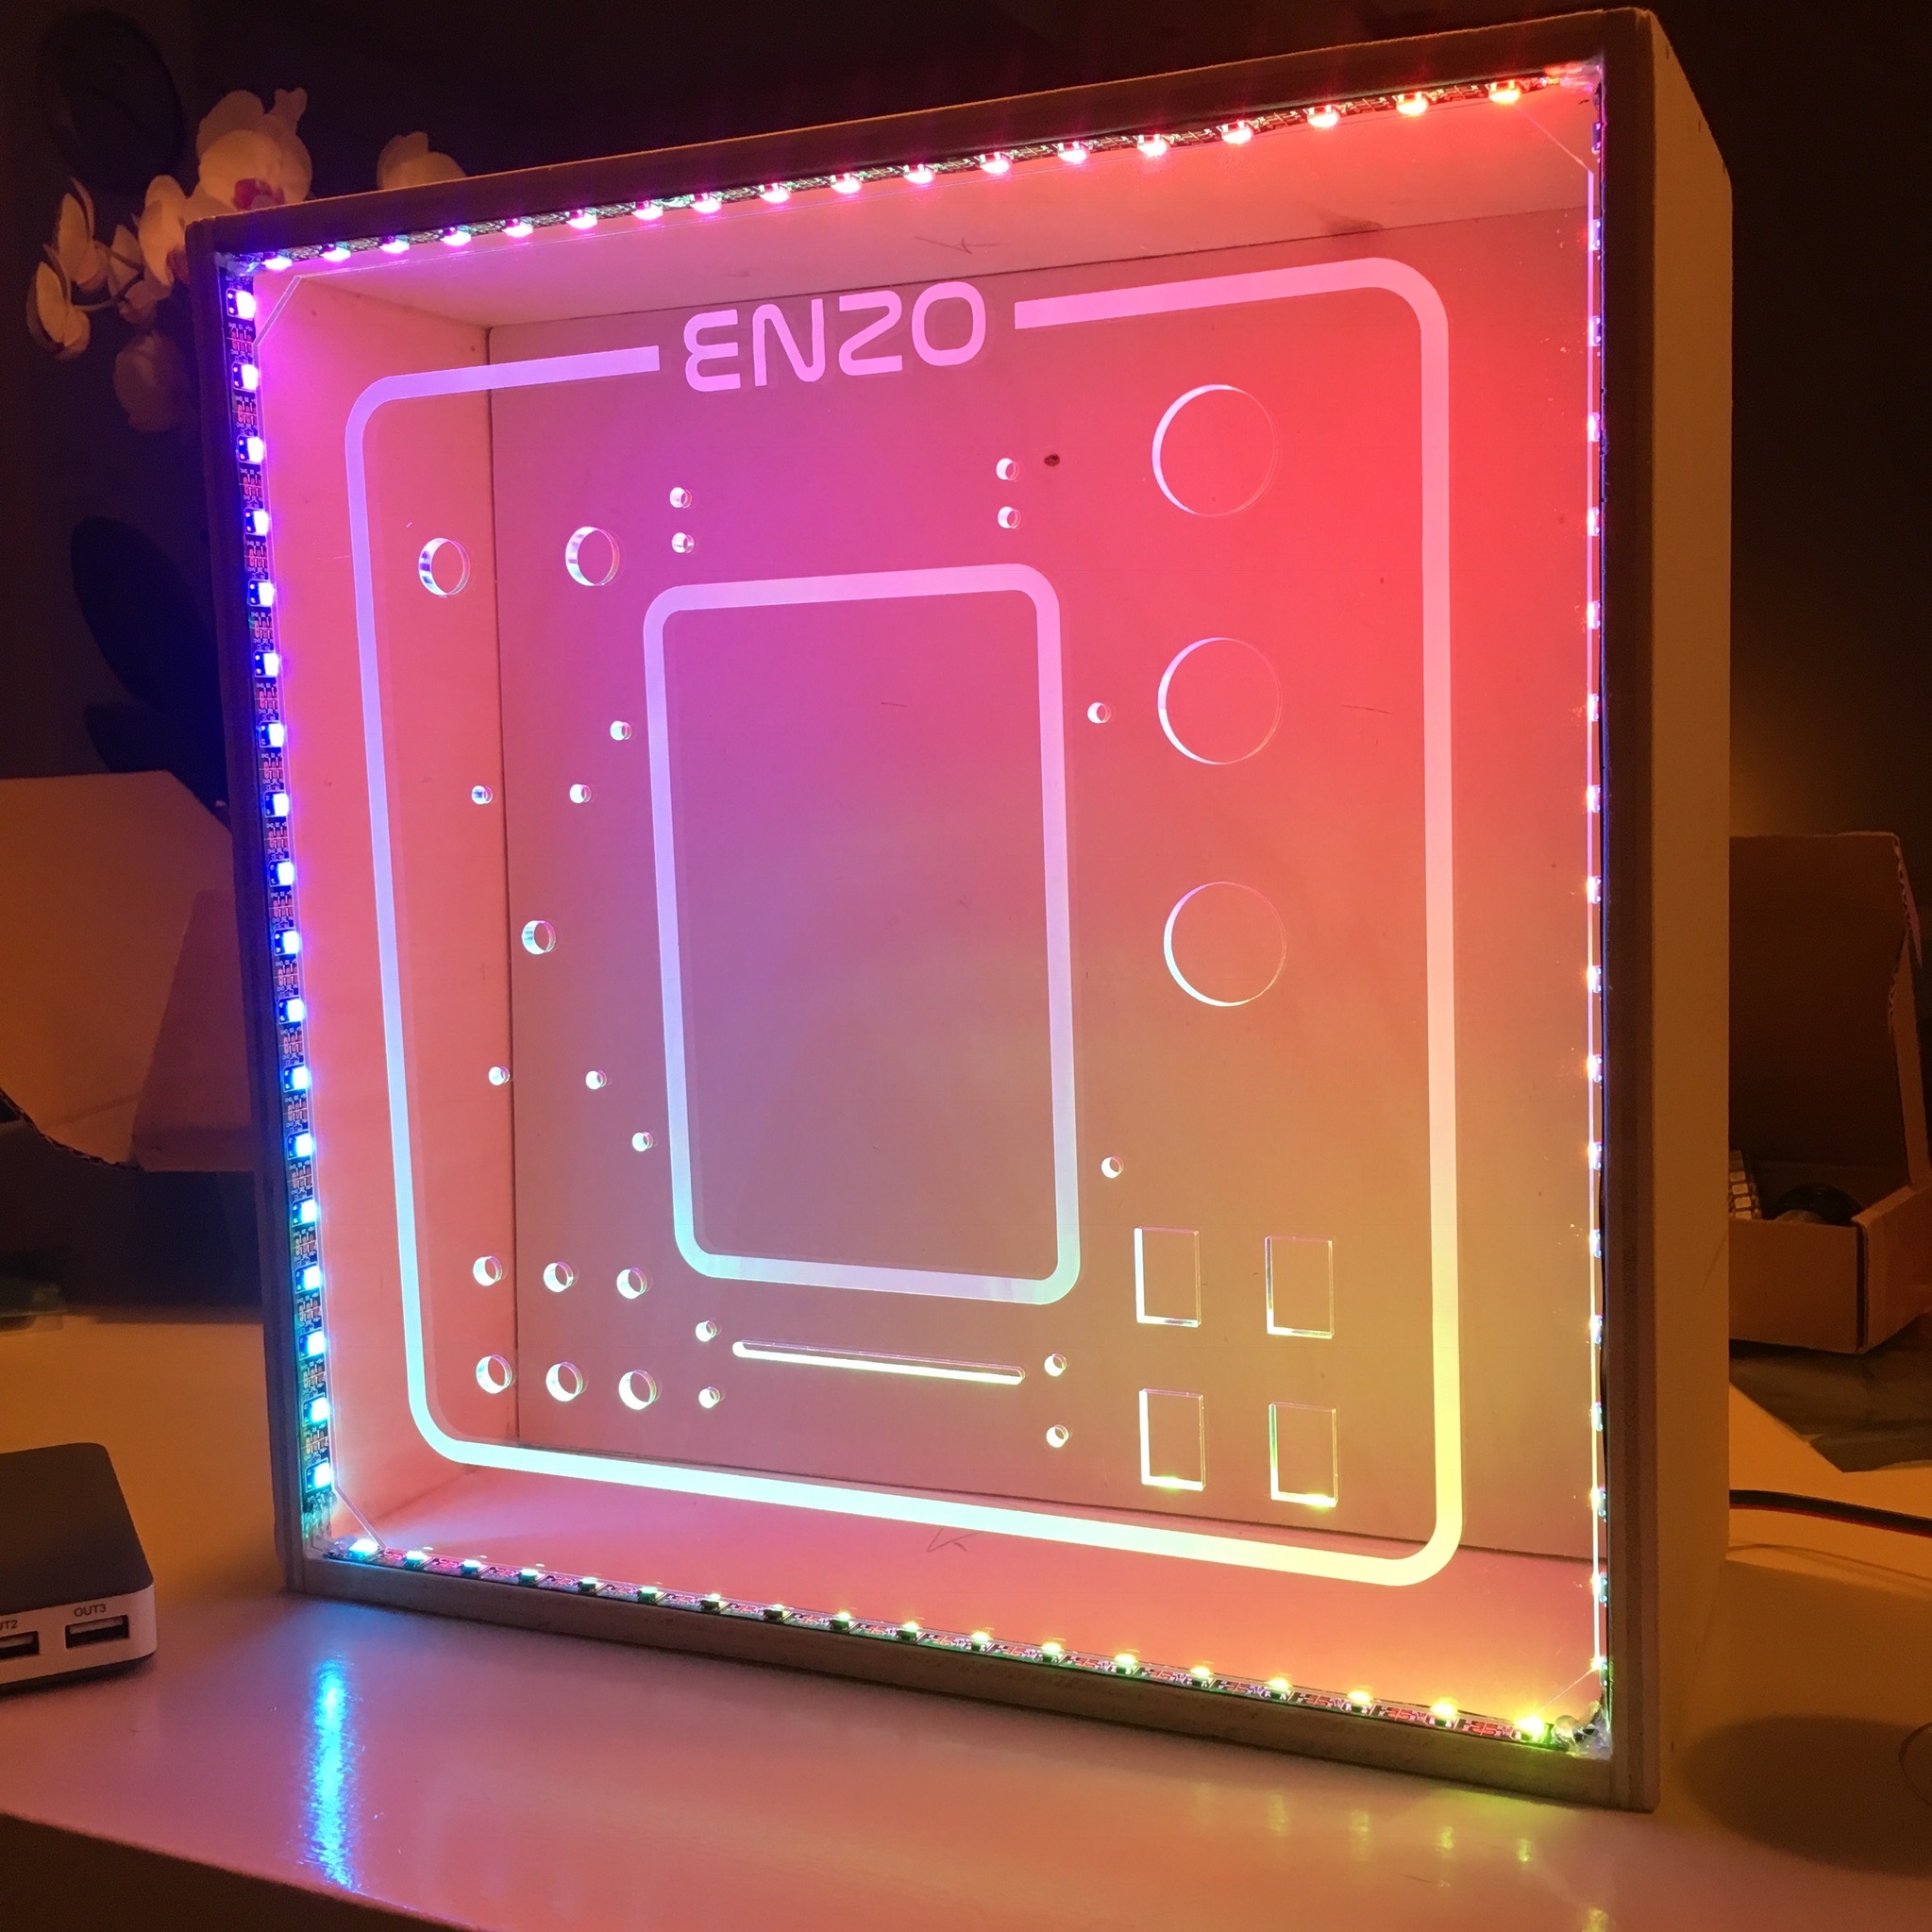
After I received the panels in the mail, and removed the protective foil, I quickly put it in the illuminated box to get a glimpse of the result. It really gives an mesmerizing result!
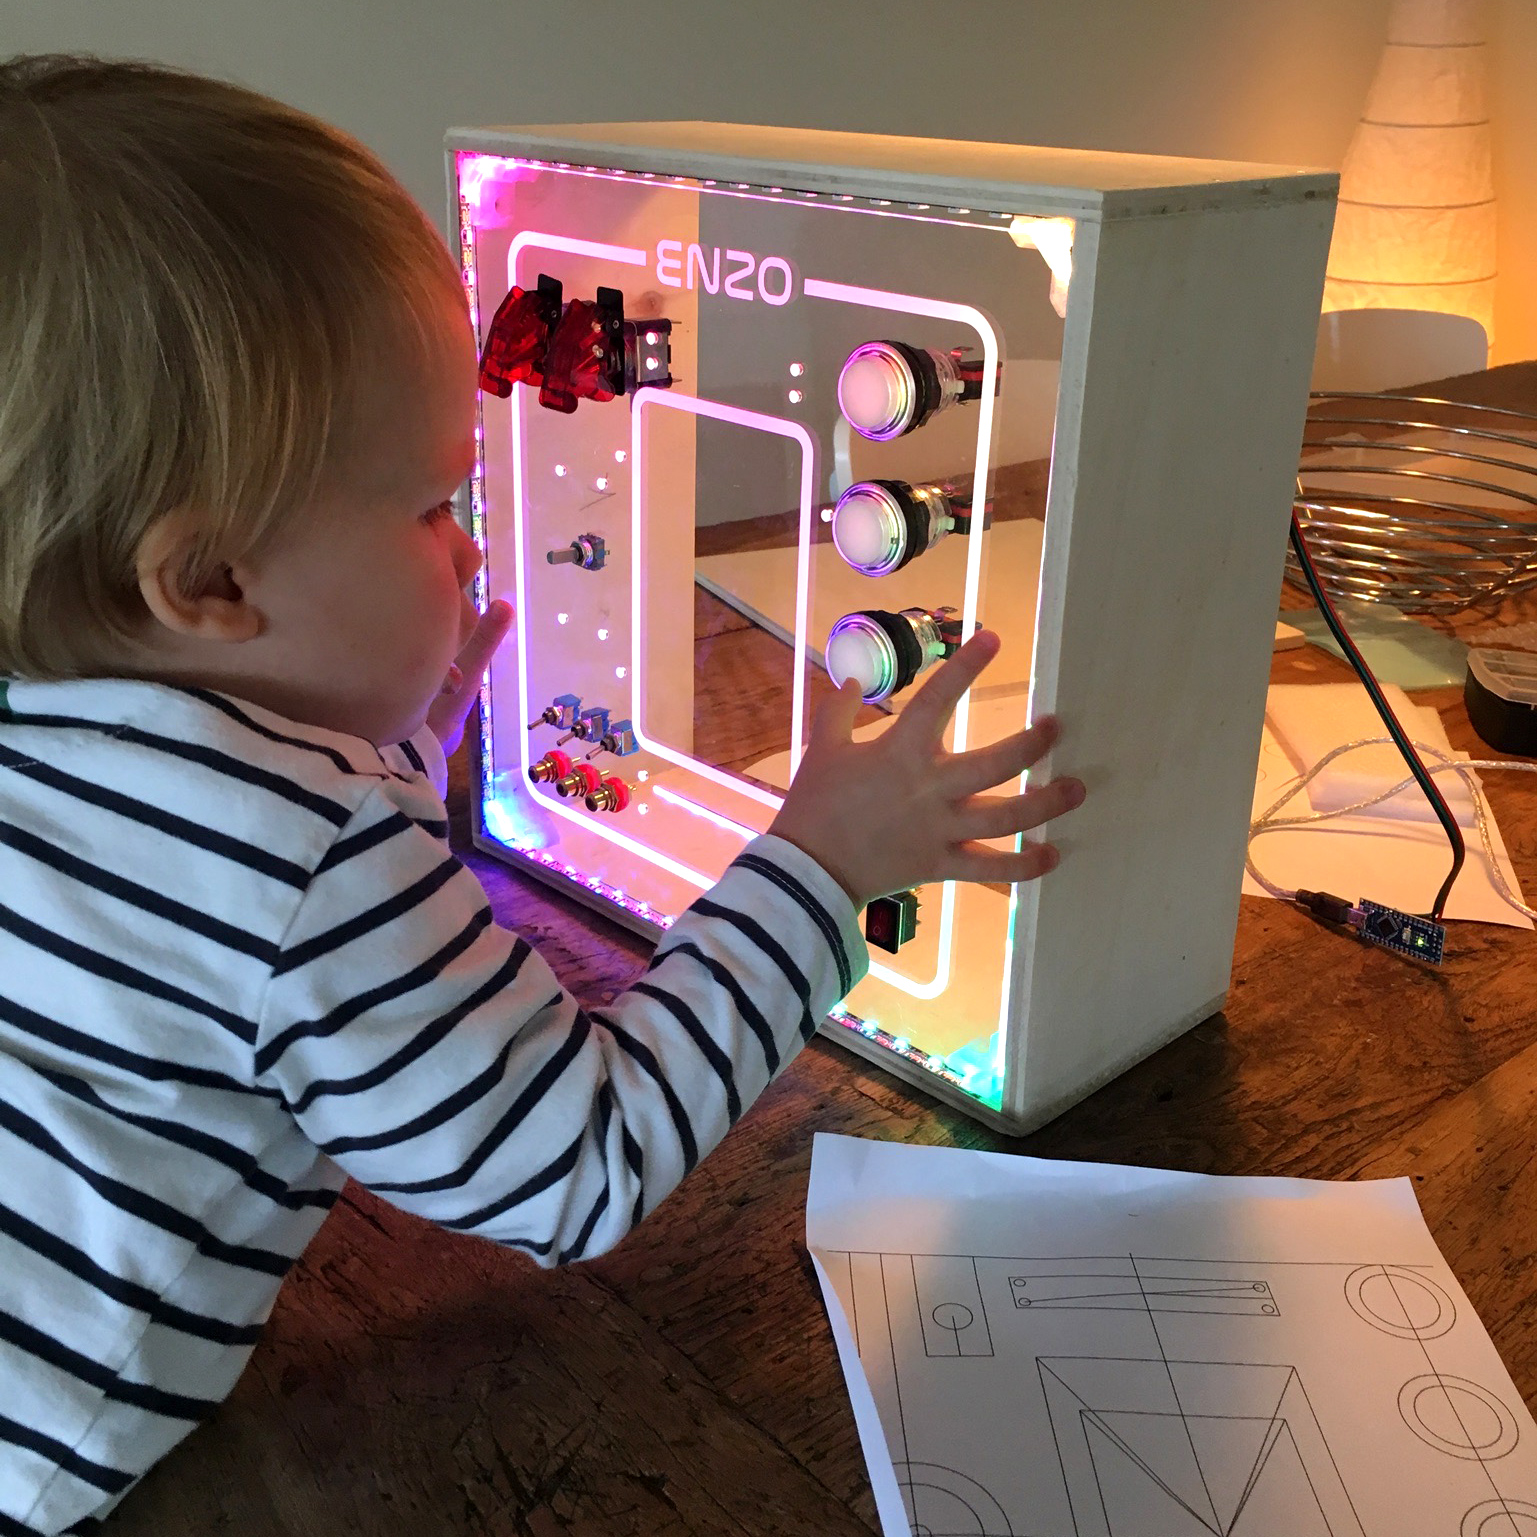
I wasn’t the only one who was mesmerized! Enzo didn’t even give me the time to test fit all the buttons. He’s already in love with his activity board. And we’re just getting started!
Activity Board: Spray Away!