Before I can work on the front panel design of Enzo’s Activity Board, I need to know the exact dimensions. This can be figured out either by using some math, or by simply just measuring it. I choose the latter, but this means I first need to build the box that holds everything in place …
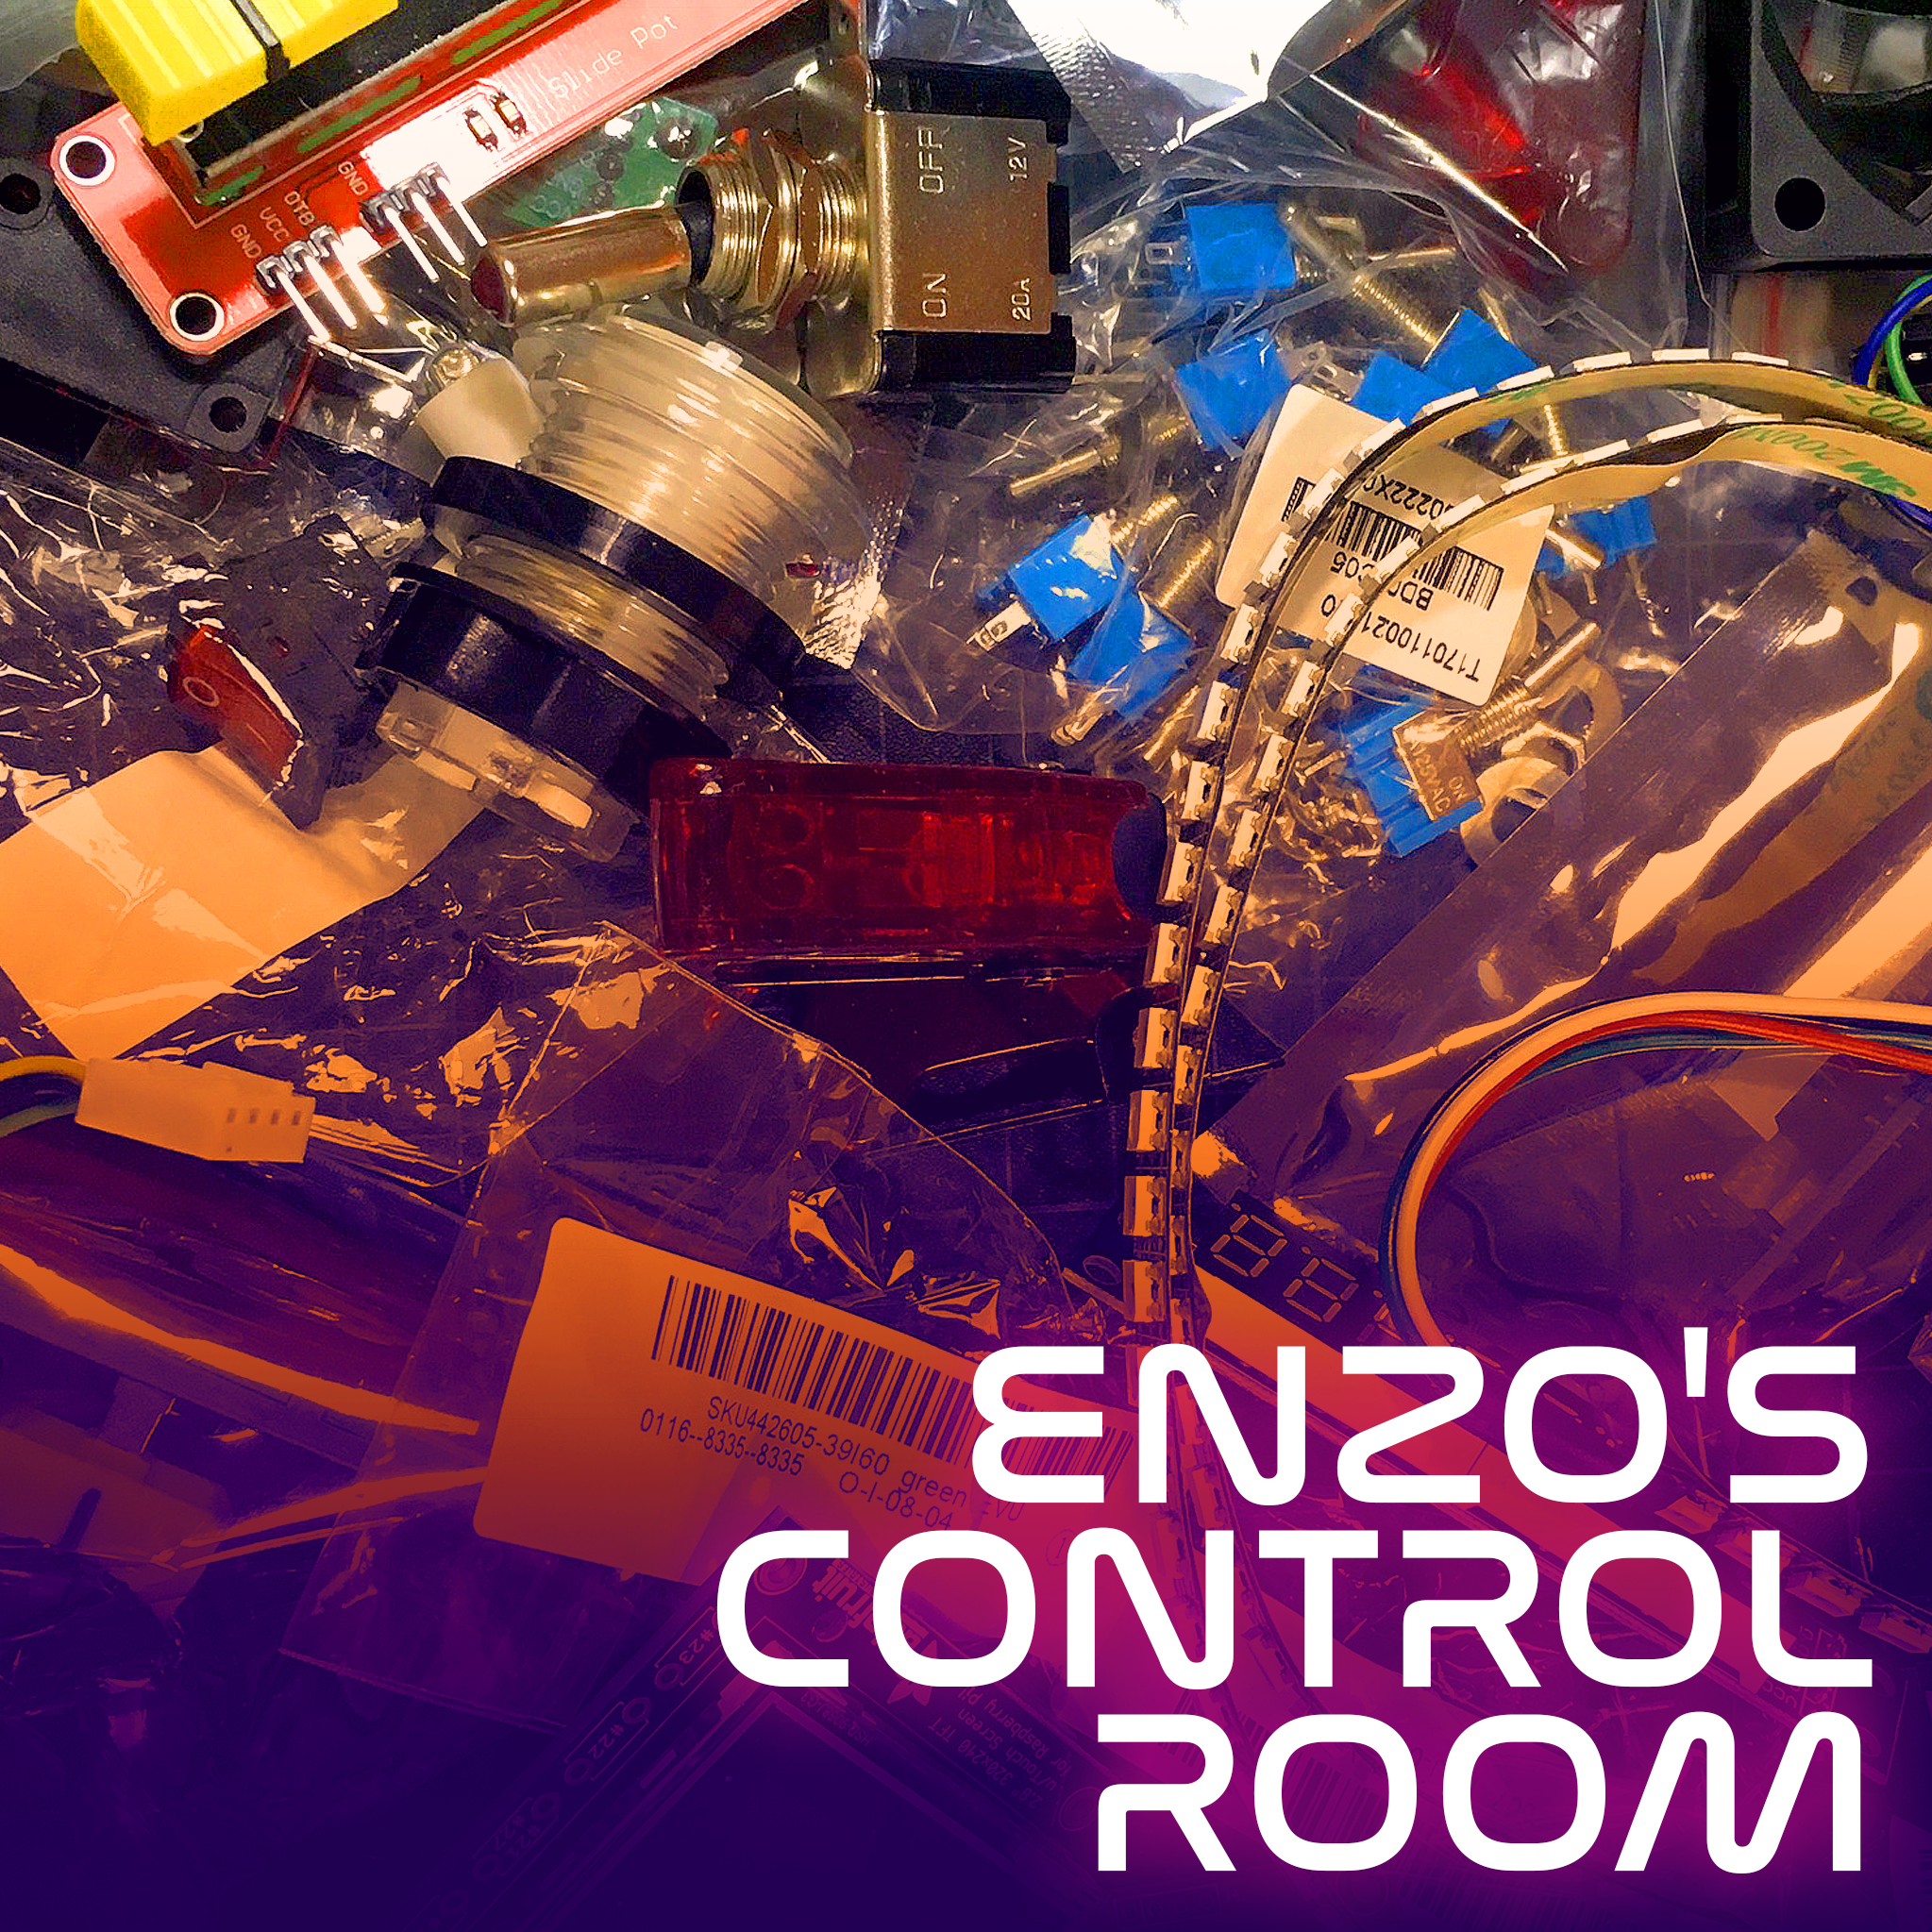
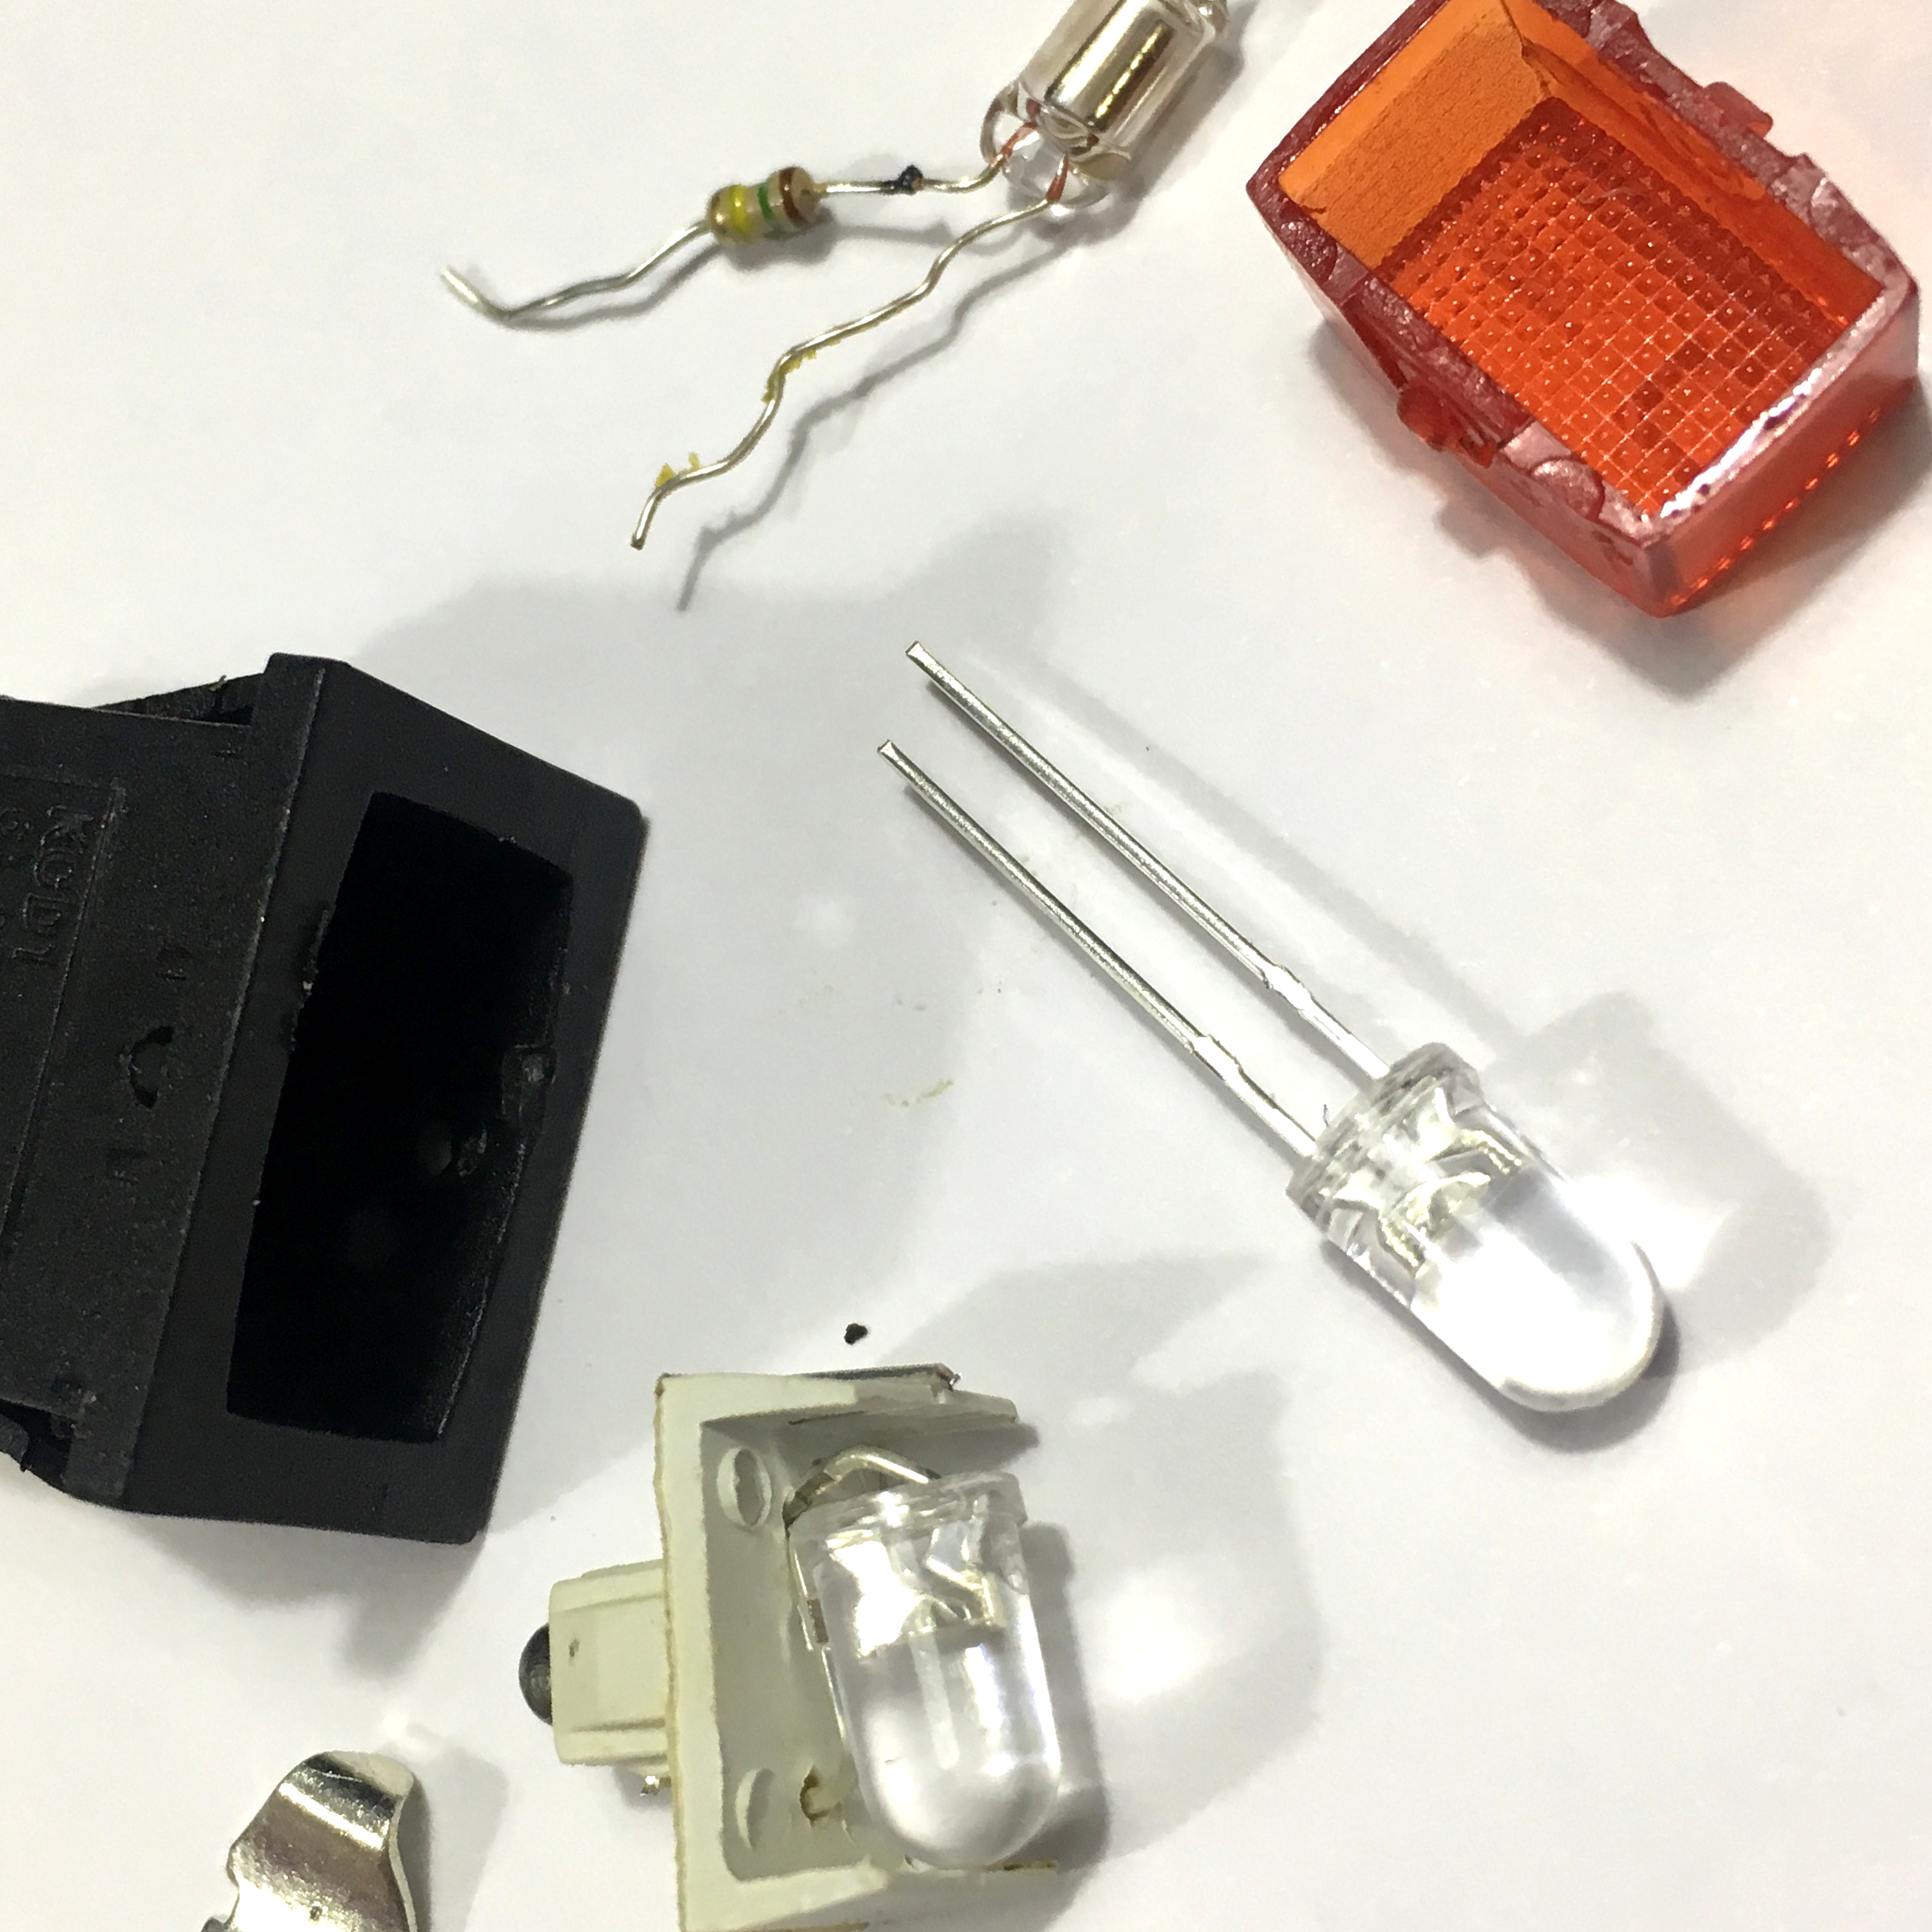
Activity Board: Adjusting the Switches
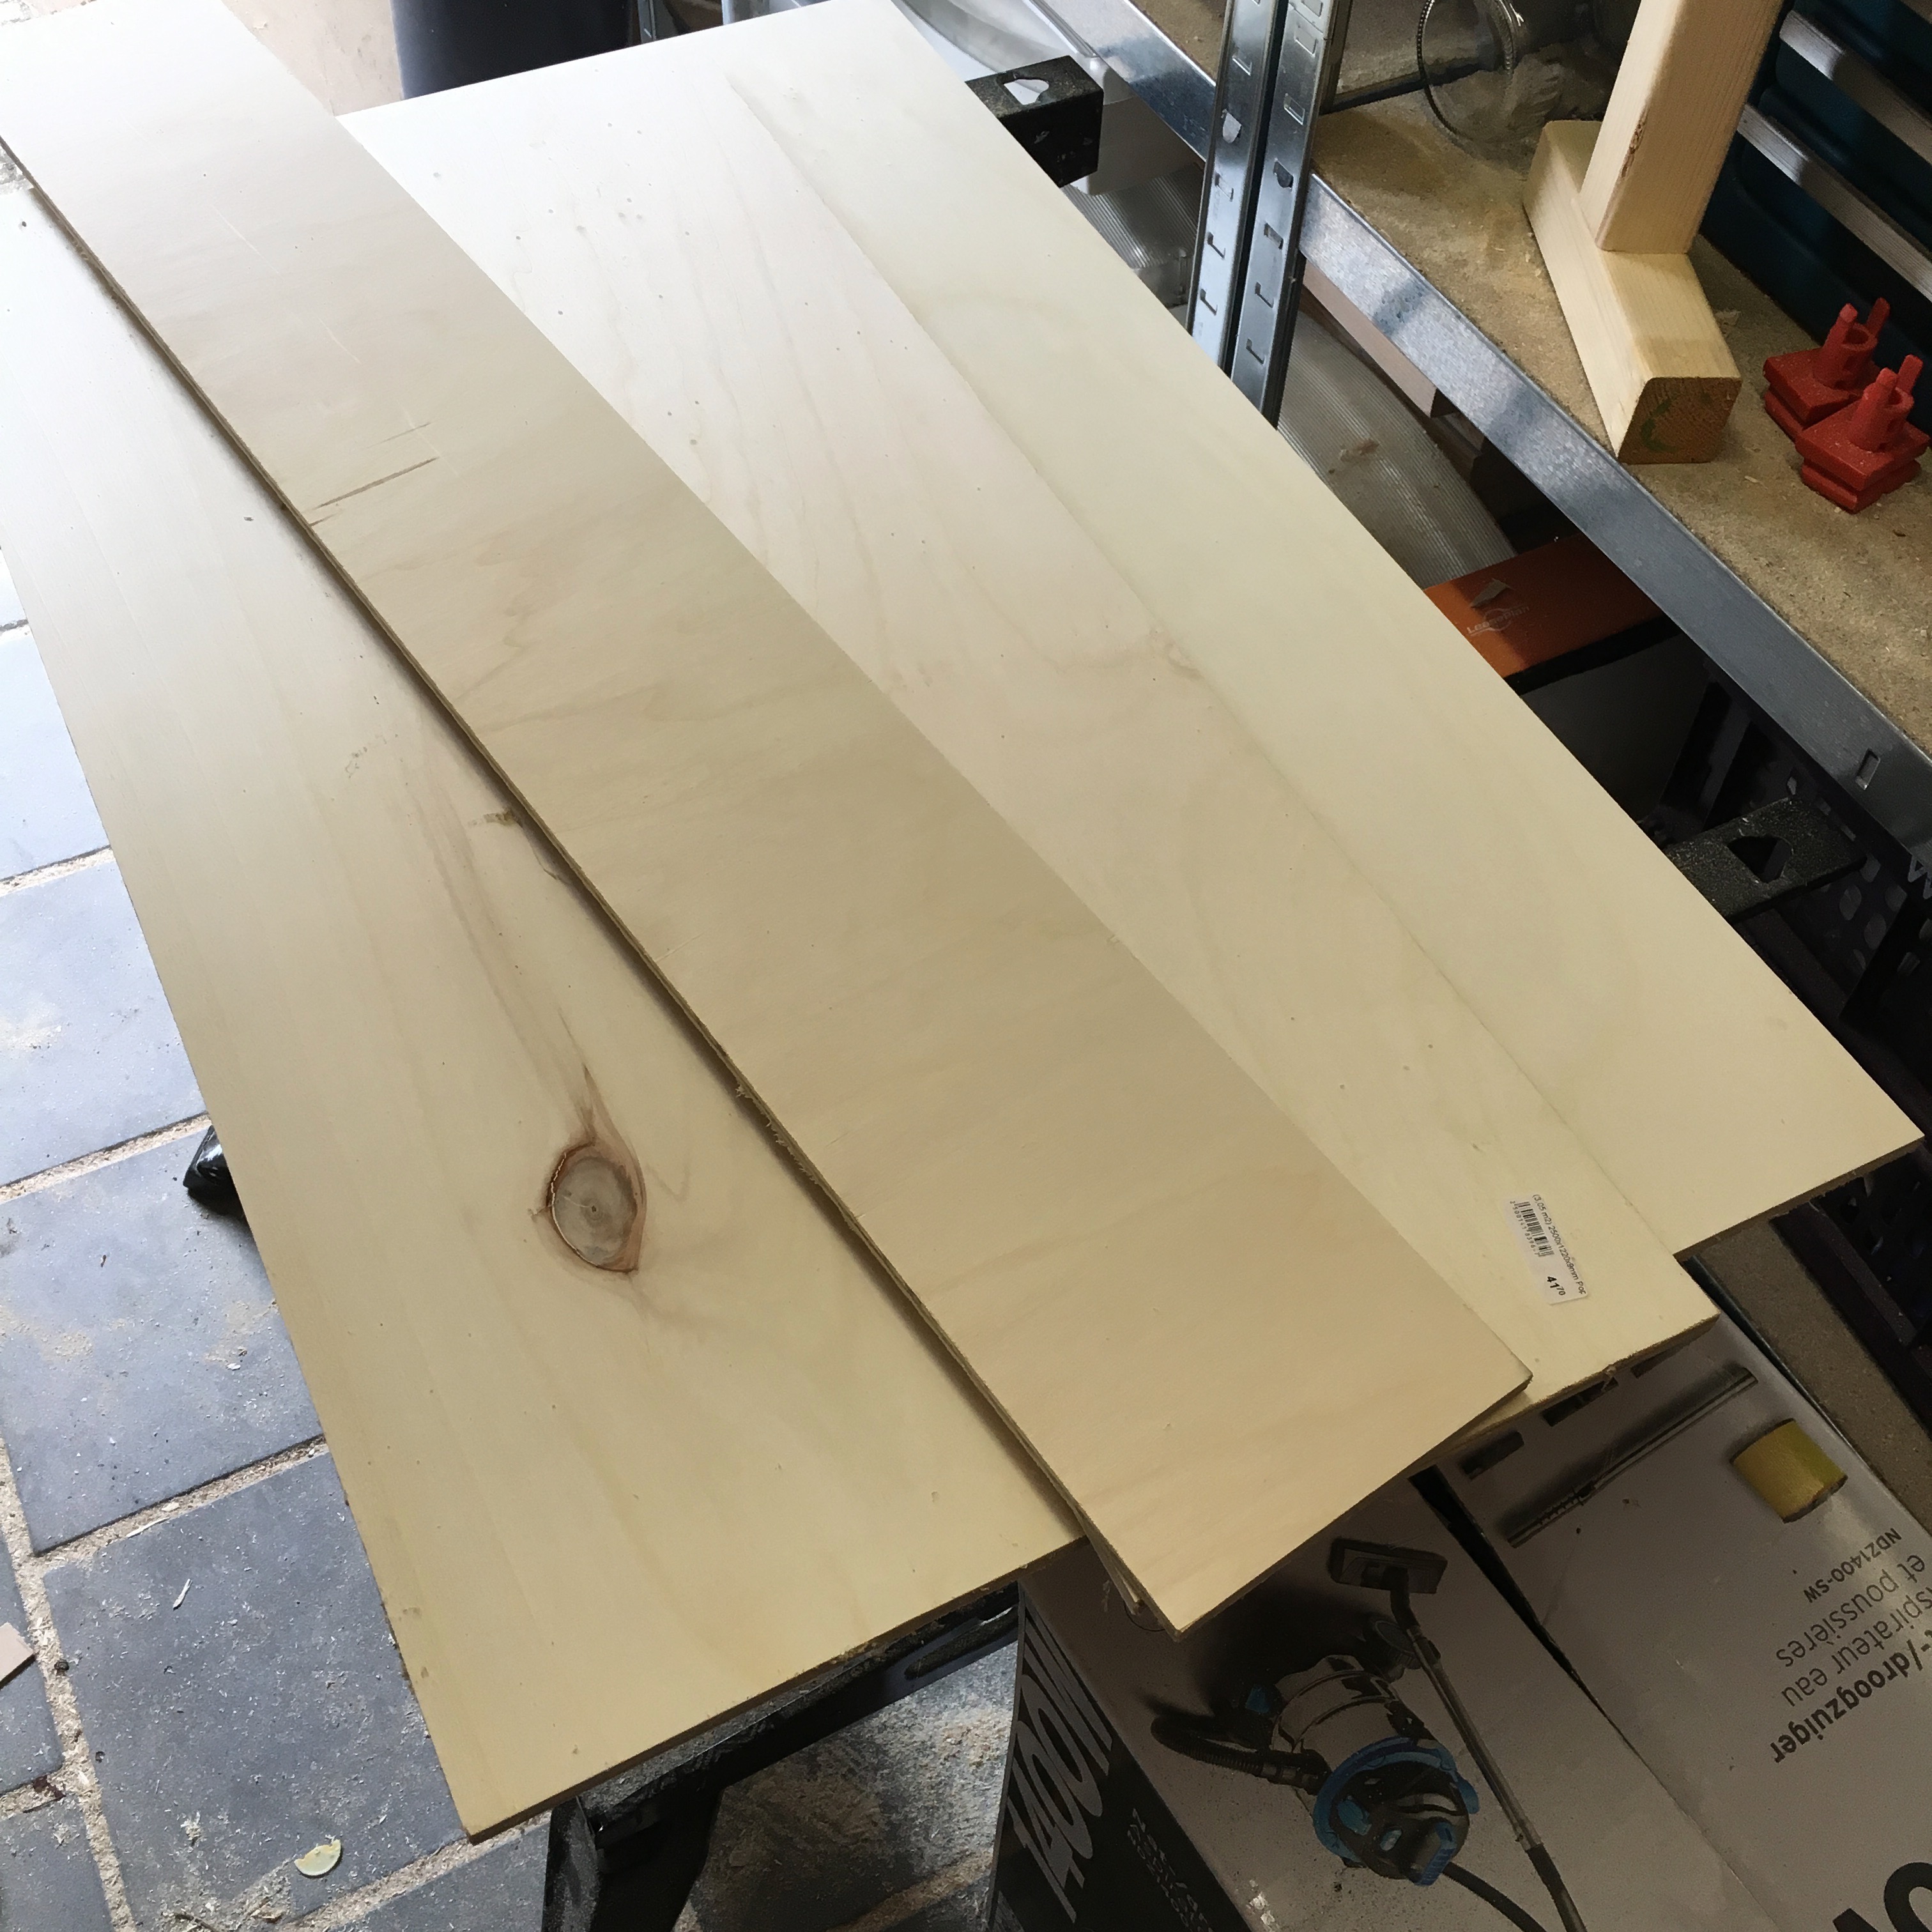
I still had some pieces of 9 mm thick plywood laying around. Since one of the pieces had a depth of 14 cm, that quickly became the desired depth of the box.
As an avid watcher of many woodworking YouTube channels, I knew the best approach would be cutting box joints. But unfortunately I don’t have a table saw, I don’t have a box joint jig and my name isn’t Matthias Wandel.
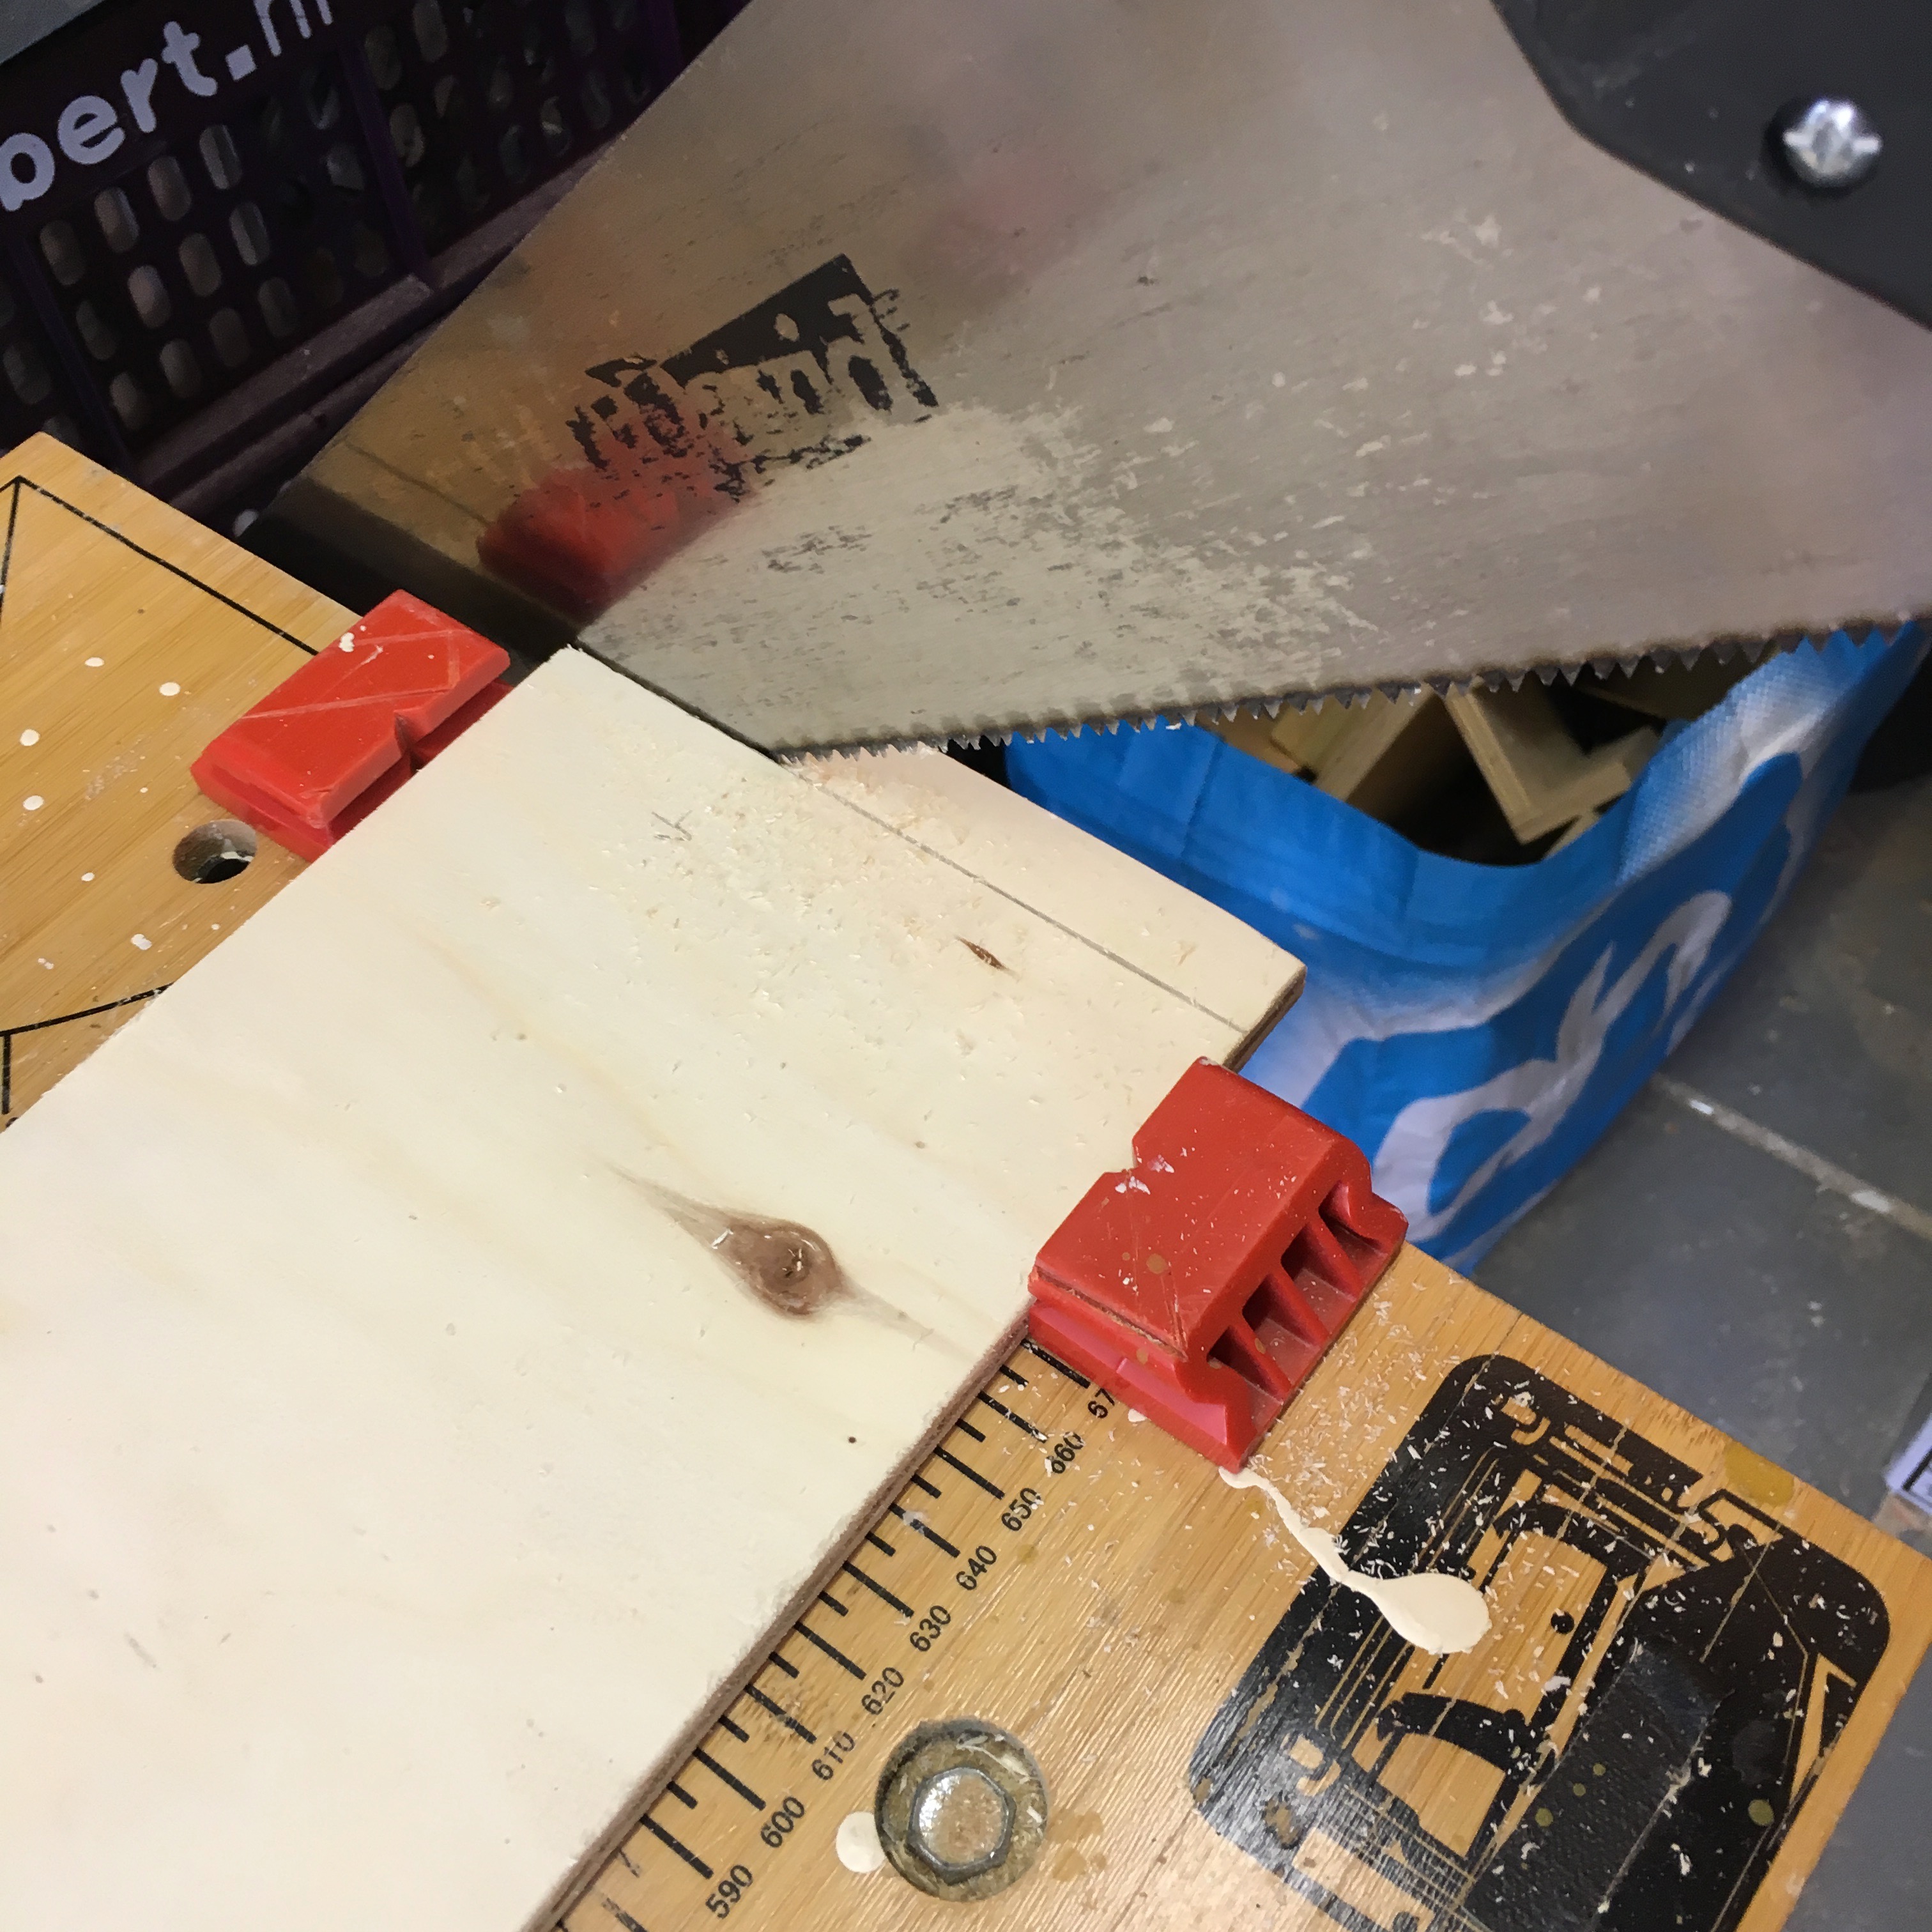
Luckily the old fashioned hand saw did work as well. Cutting a piece to length really isn’t that much of a hassle.
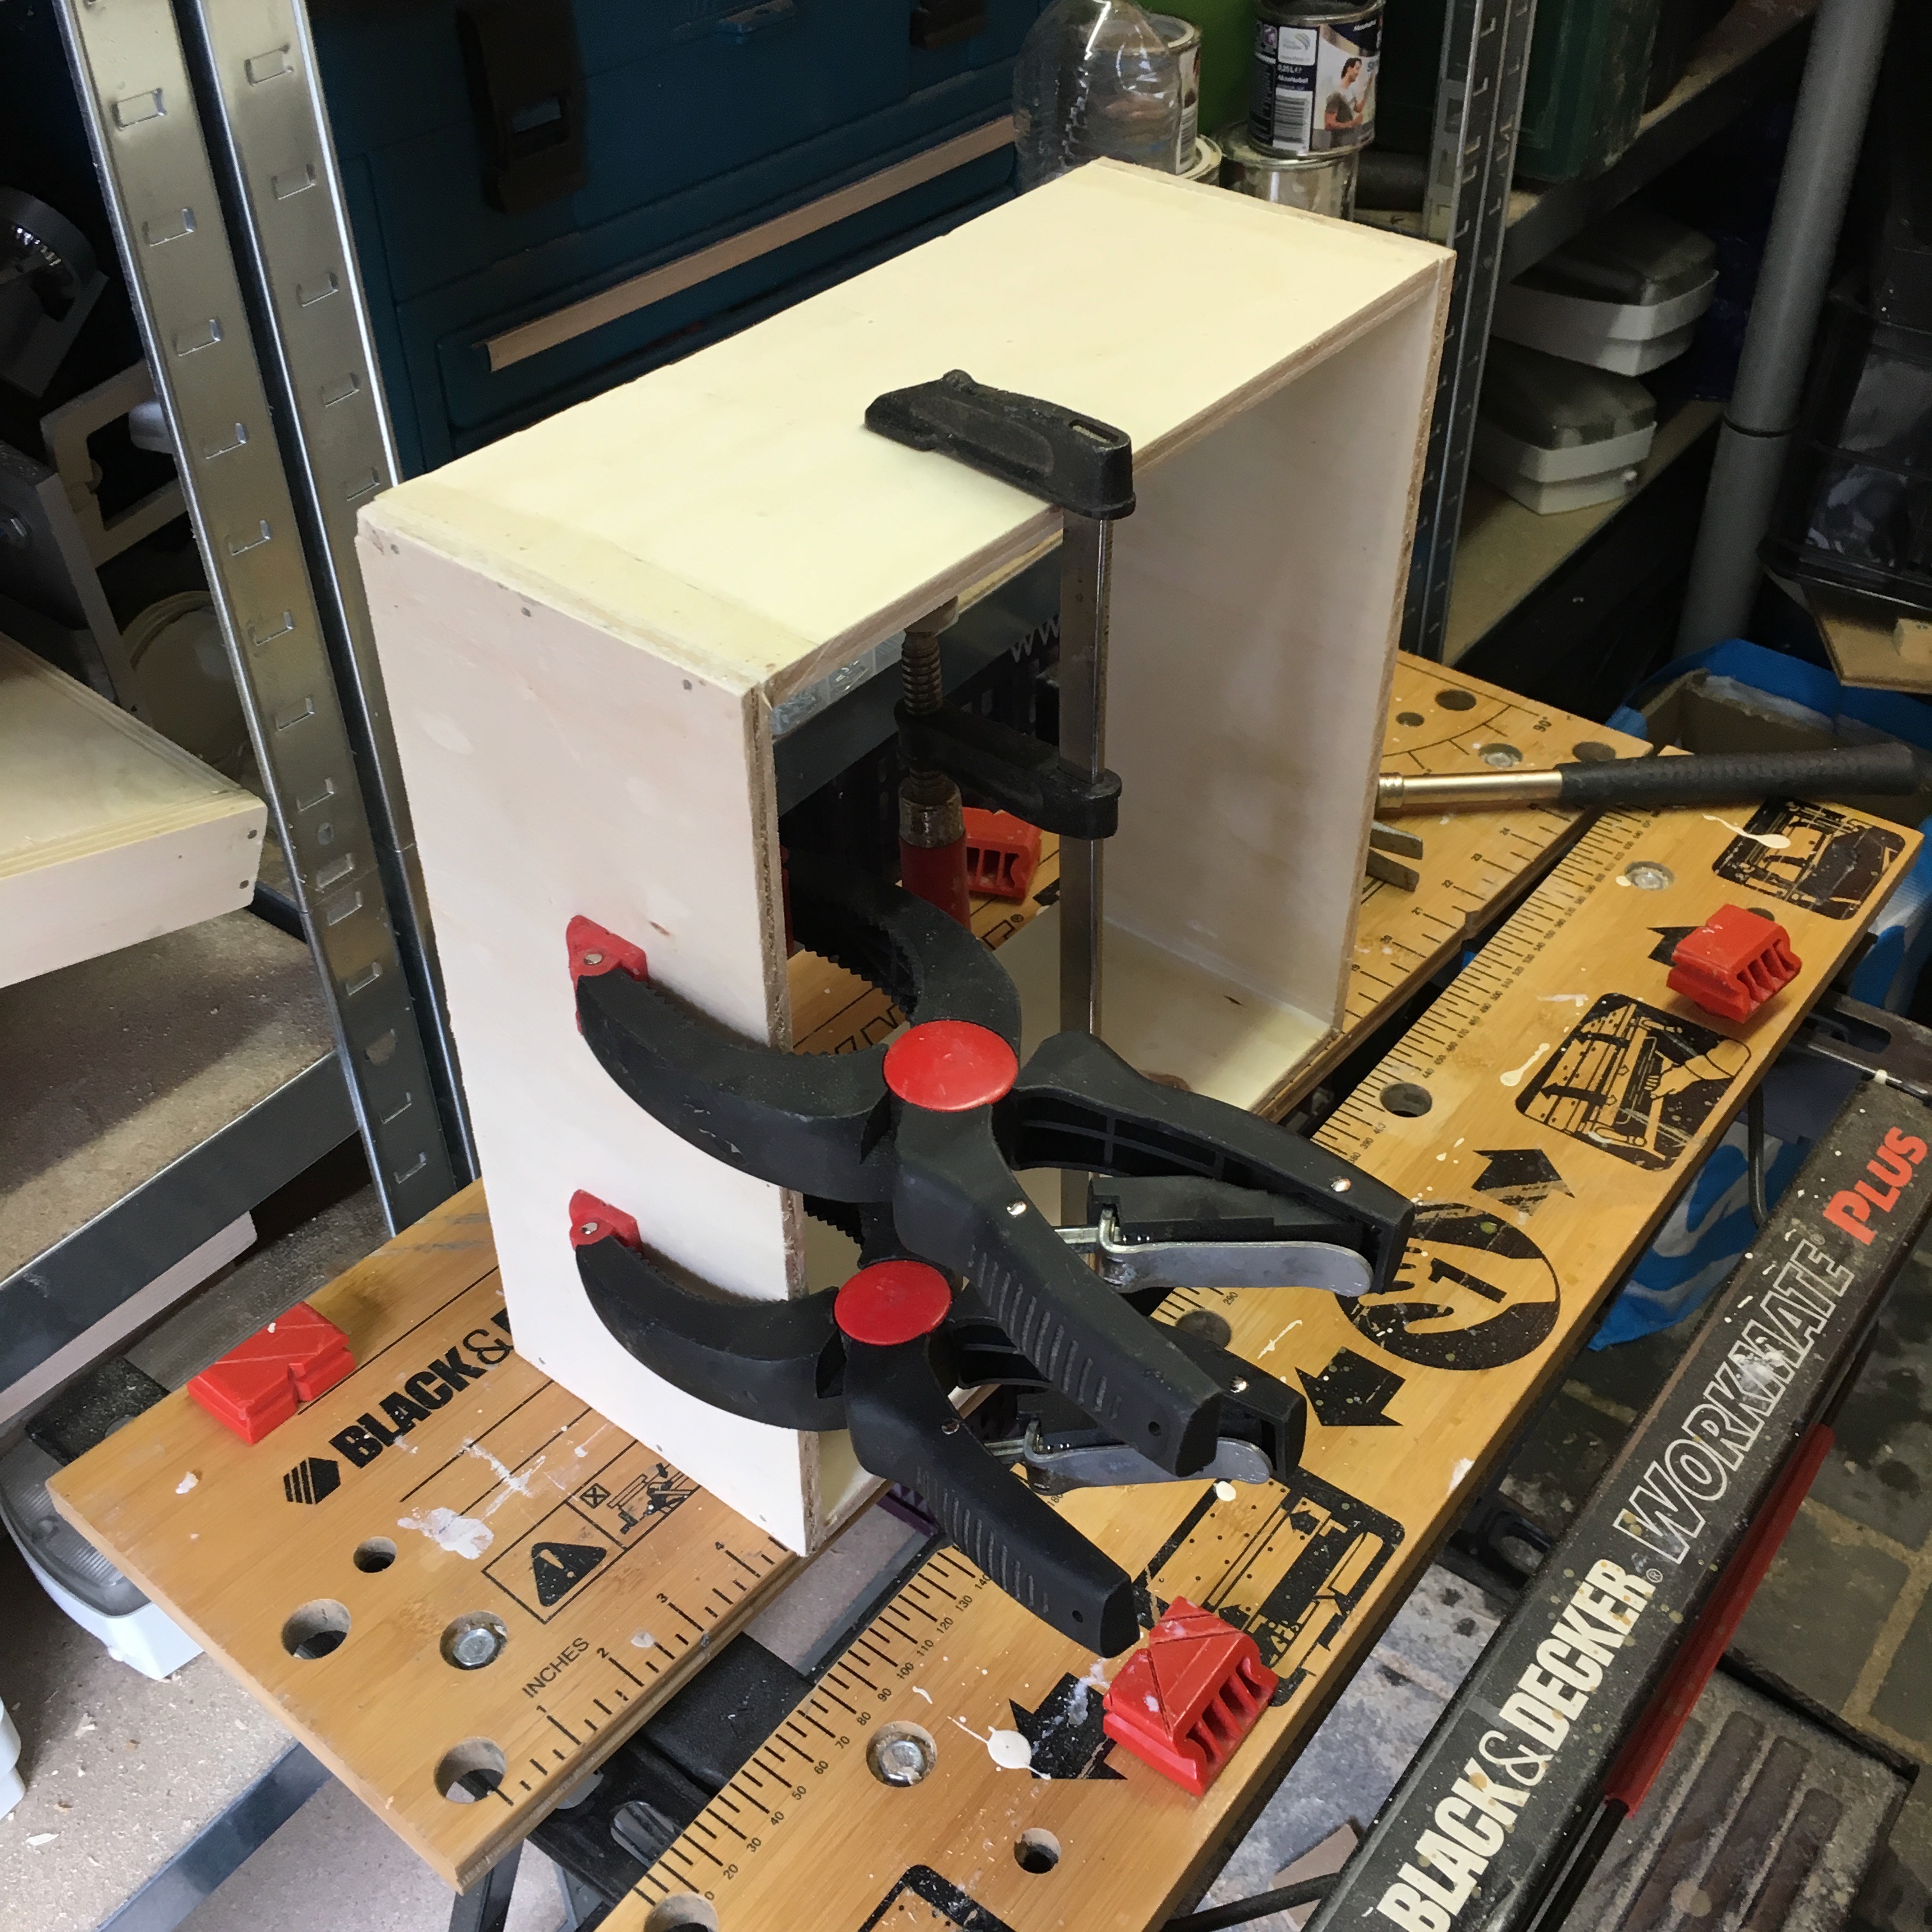
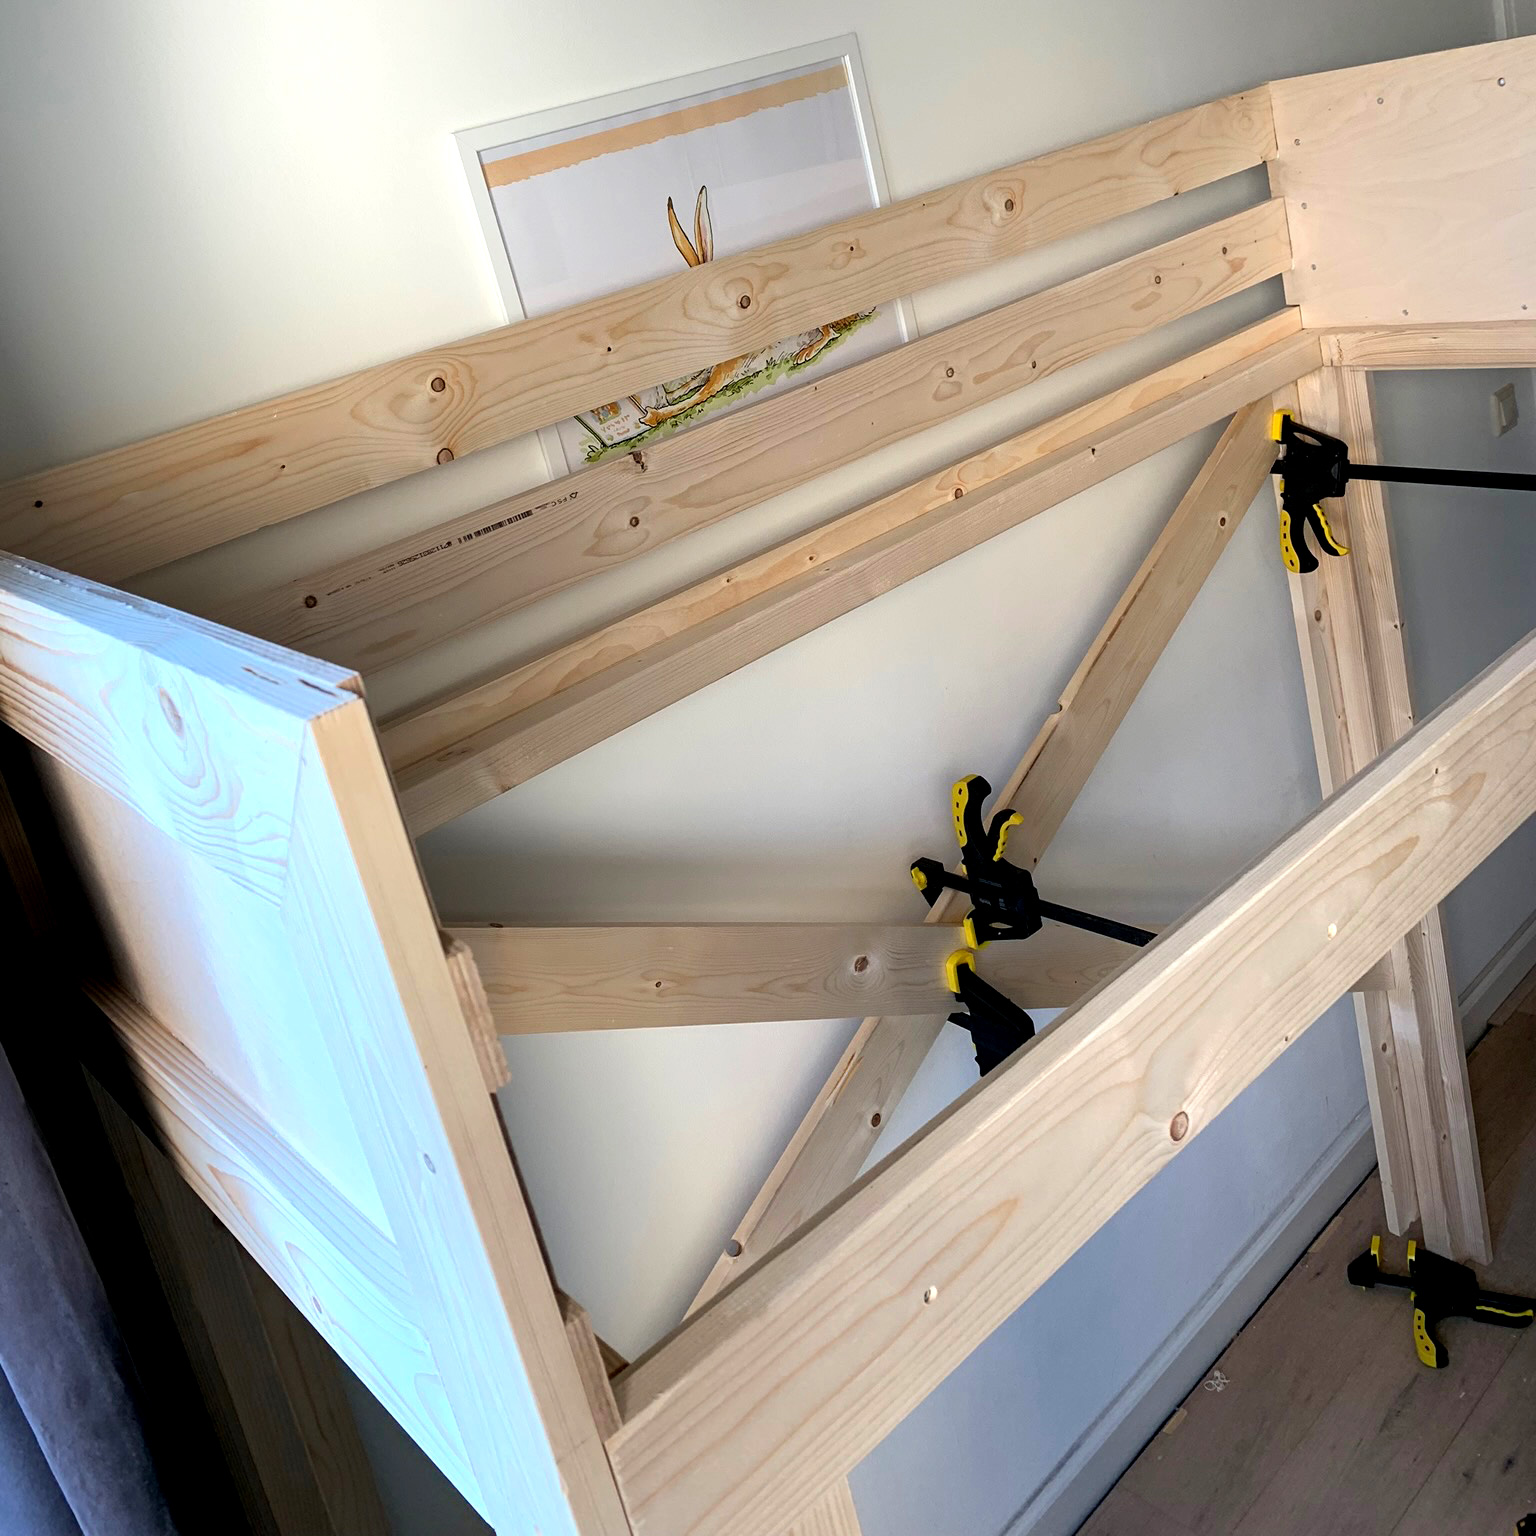
Without all the fancy tools, I opted to go for the nail and glue approach and botched up a simple square box. To quote my father: “Wood filler works wonders!”
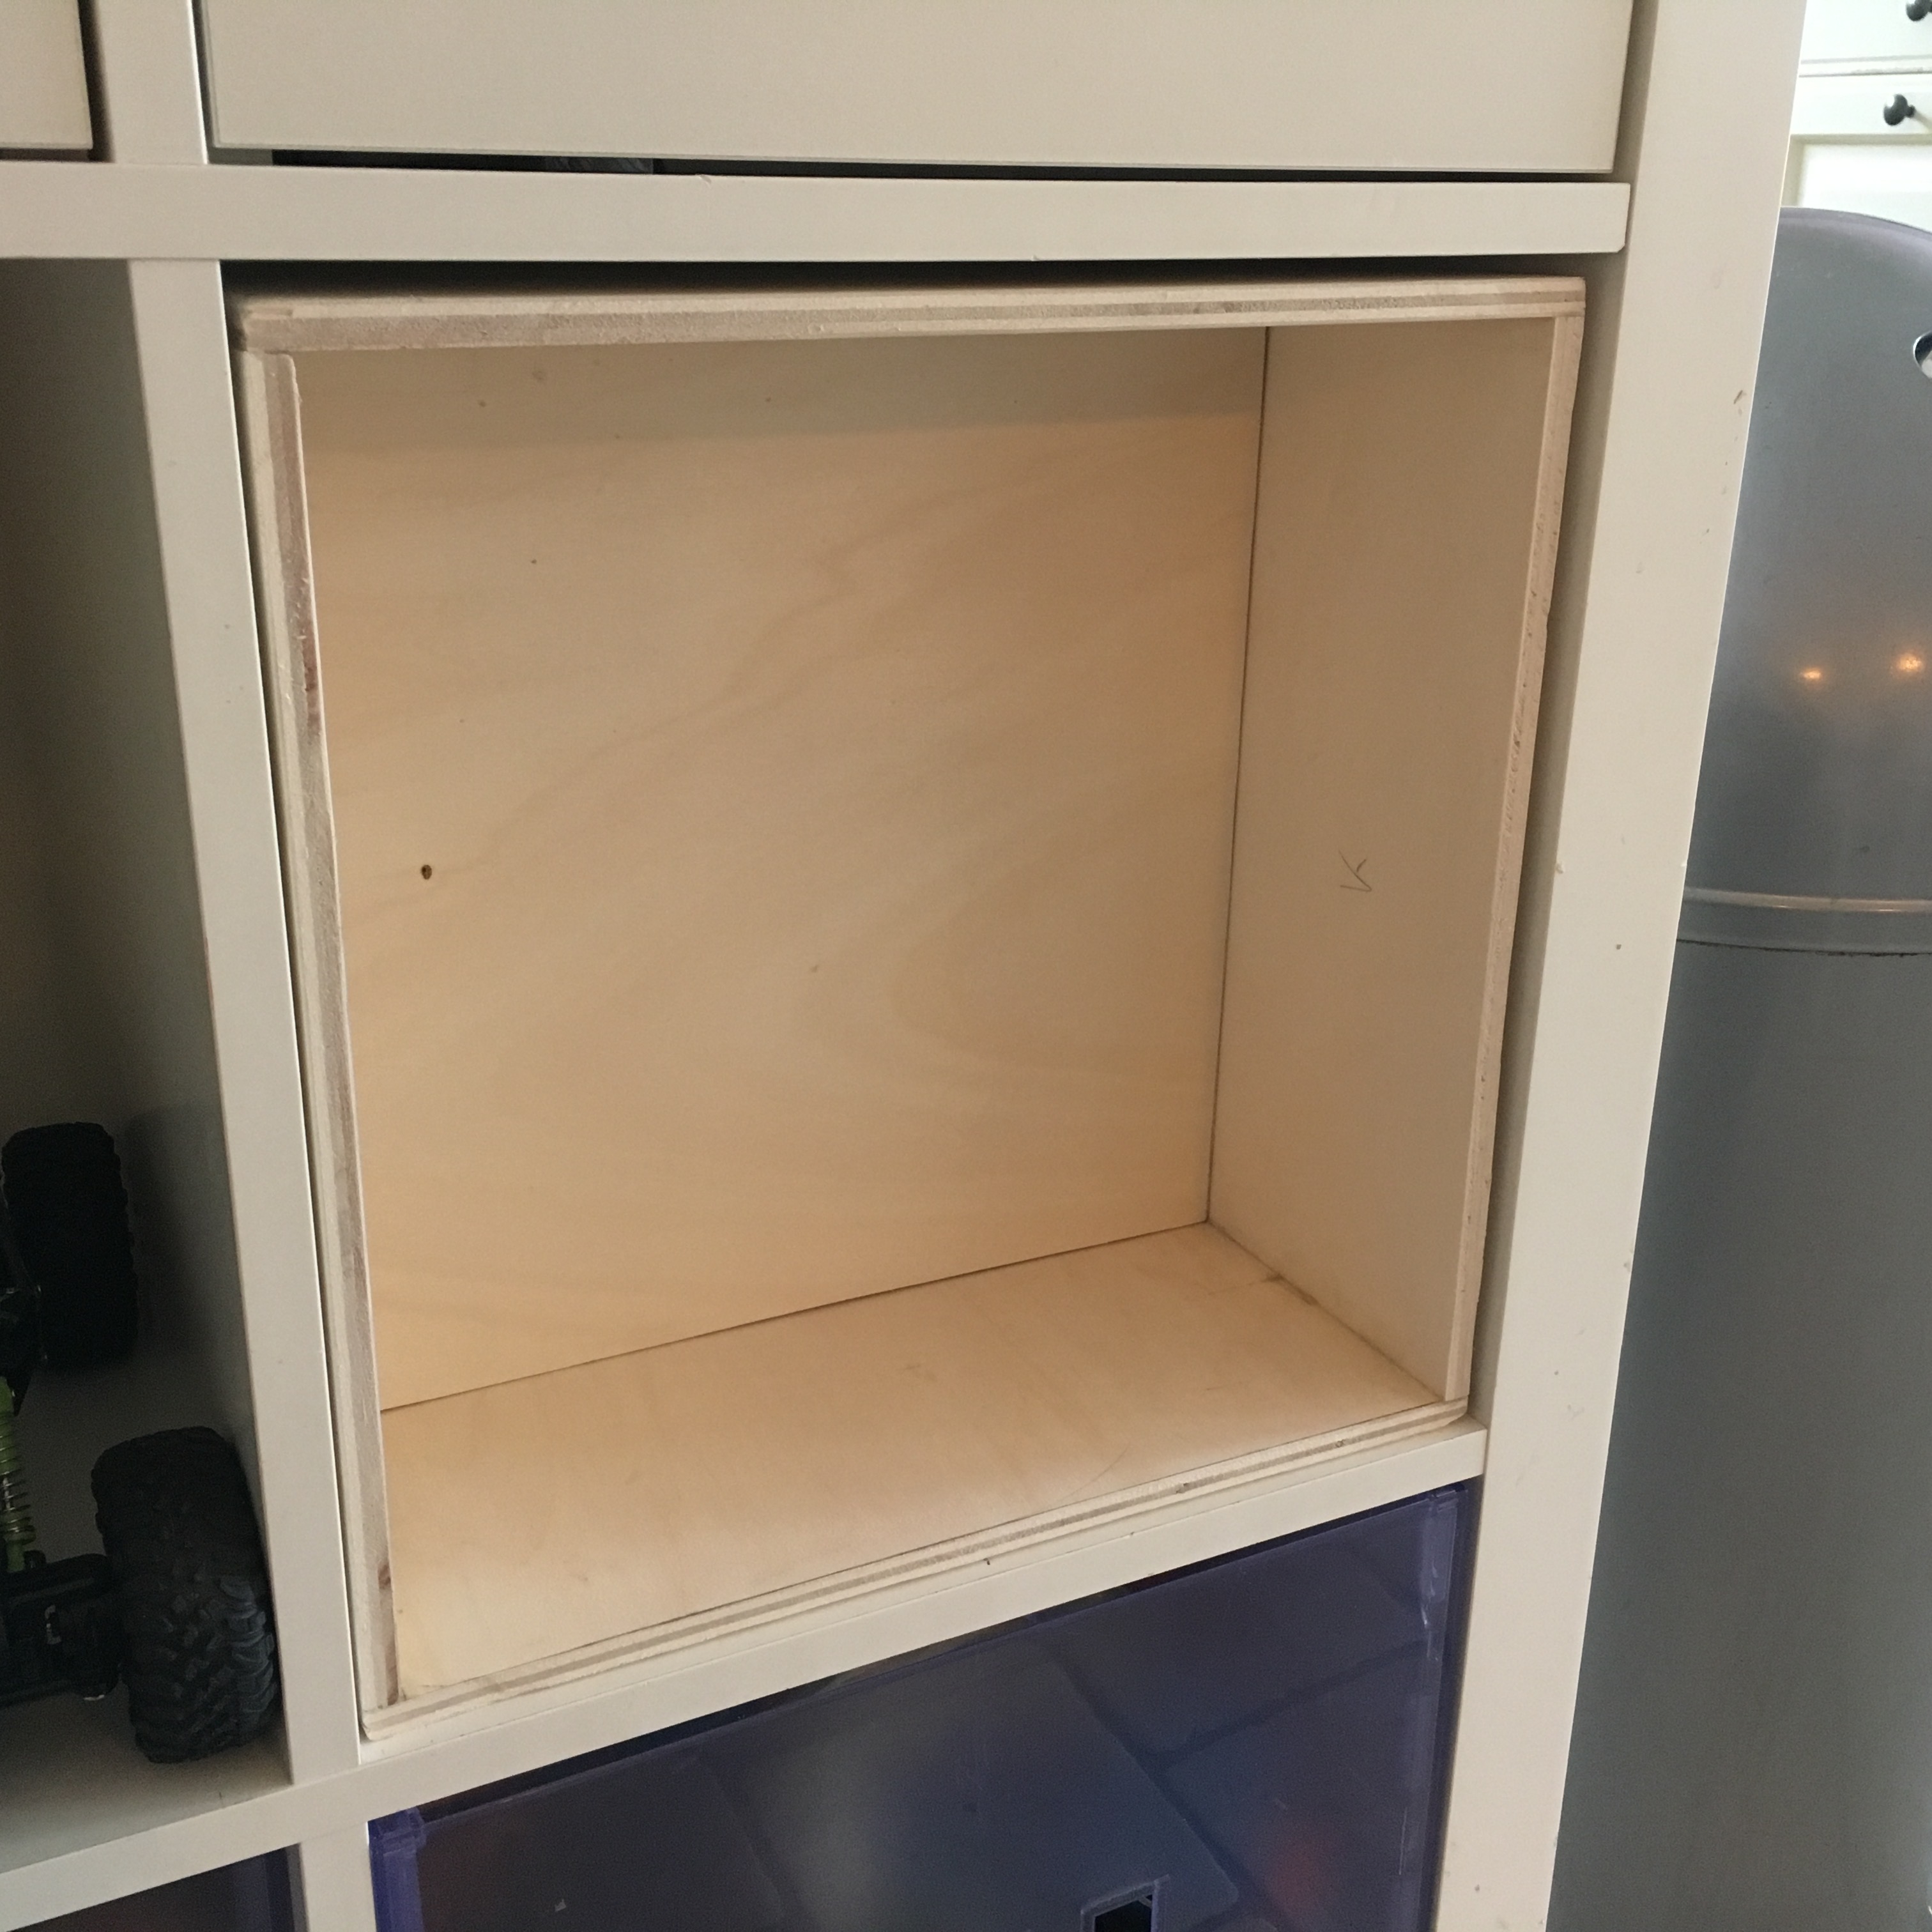
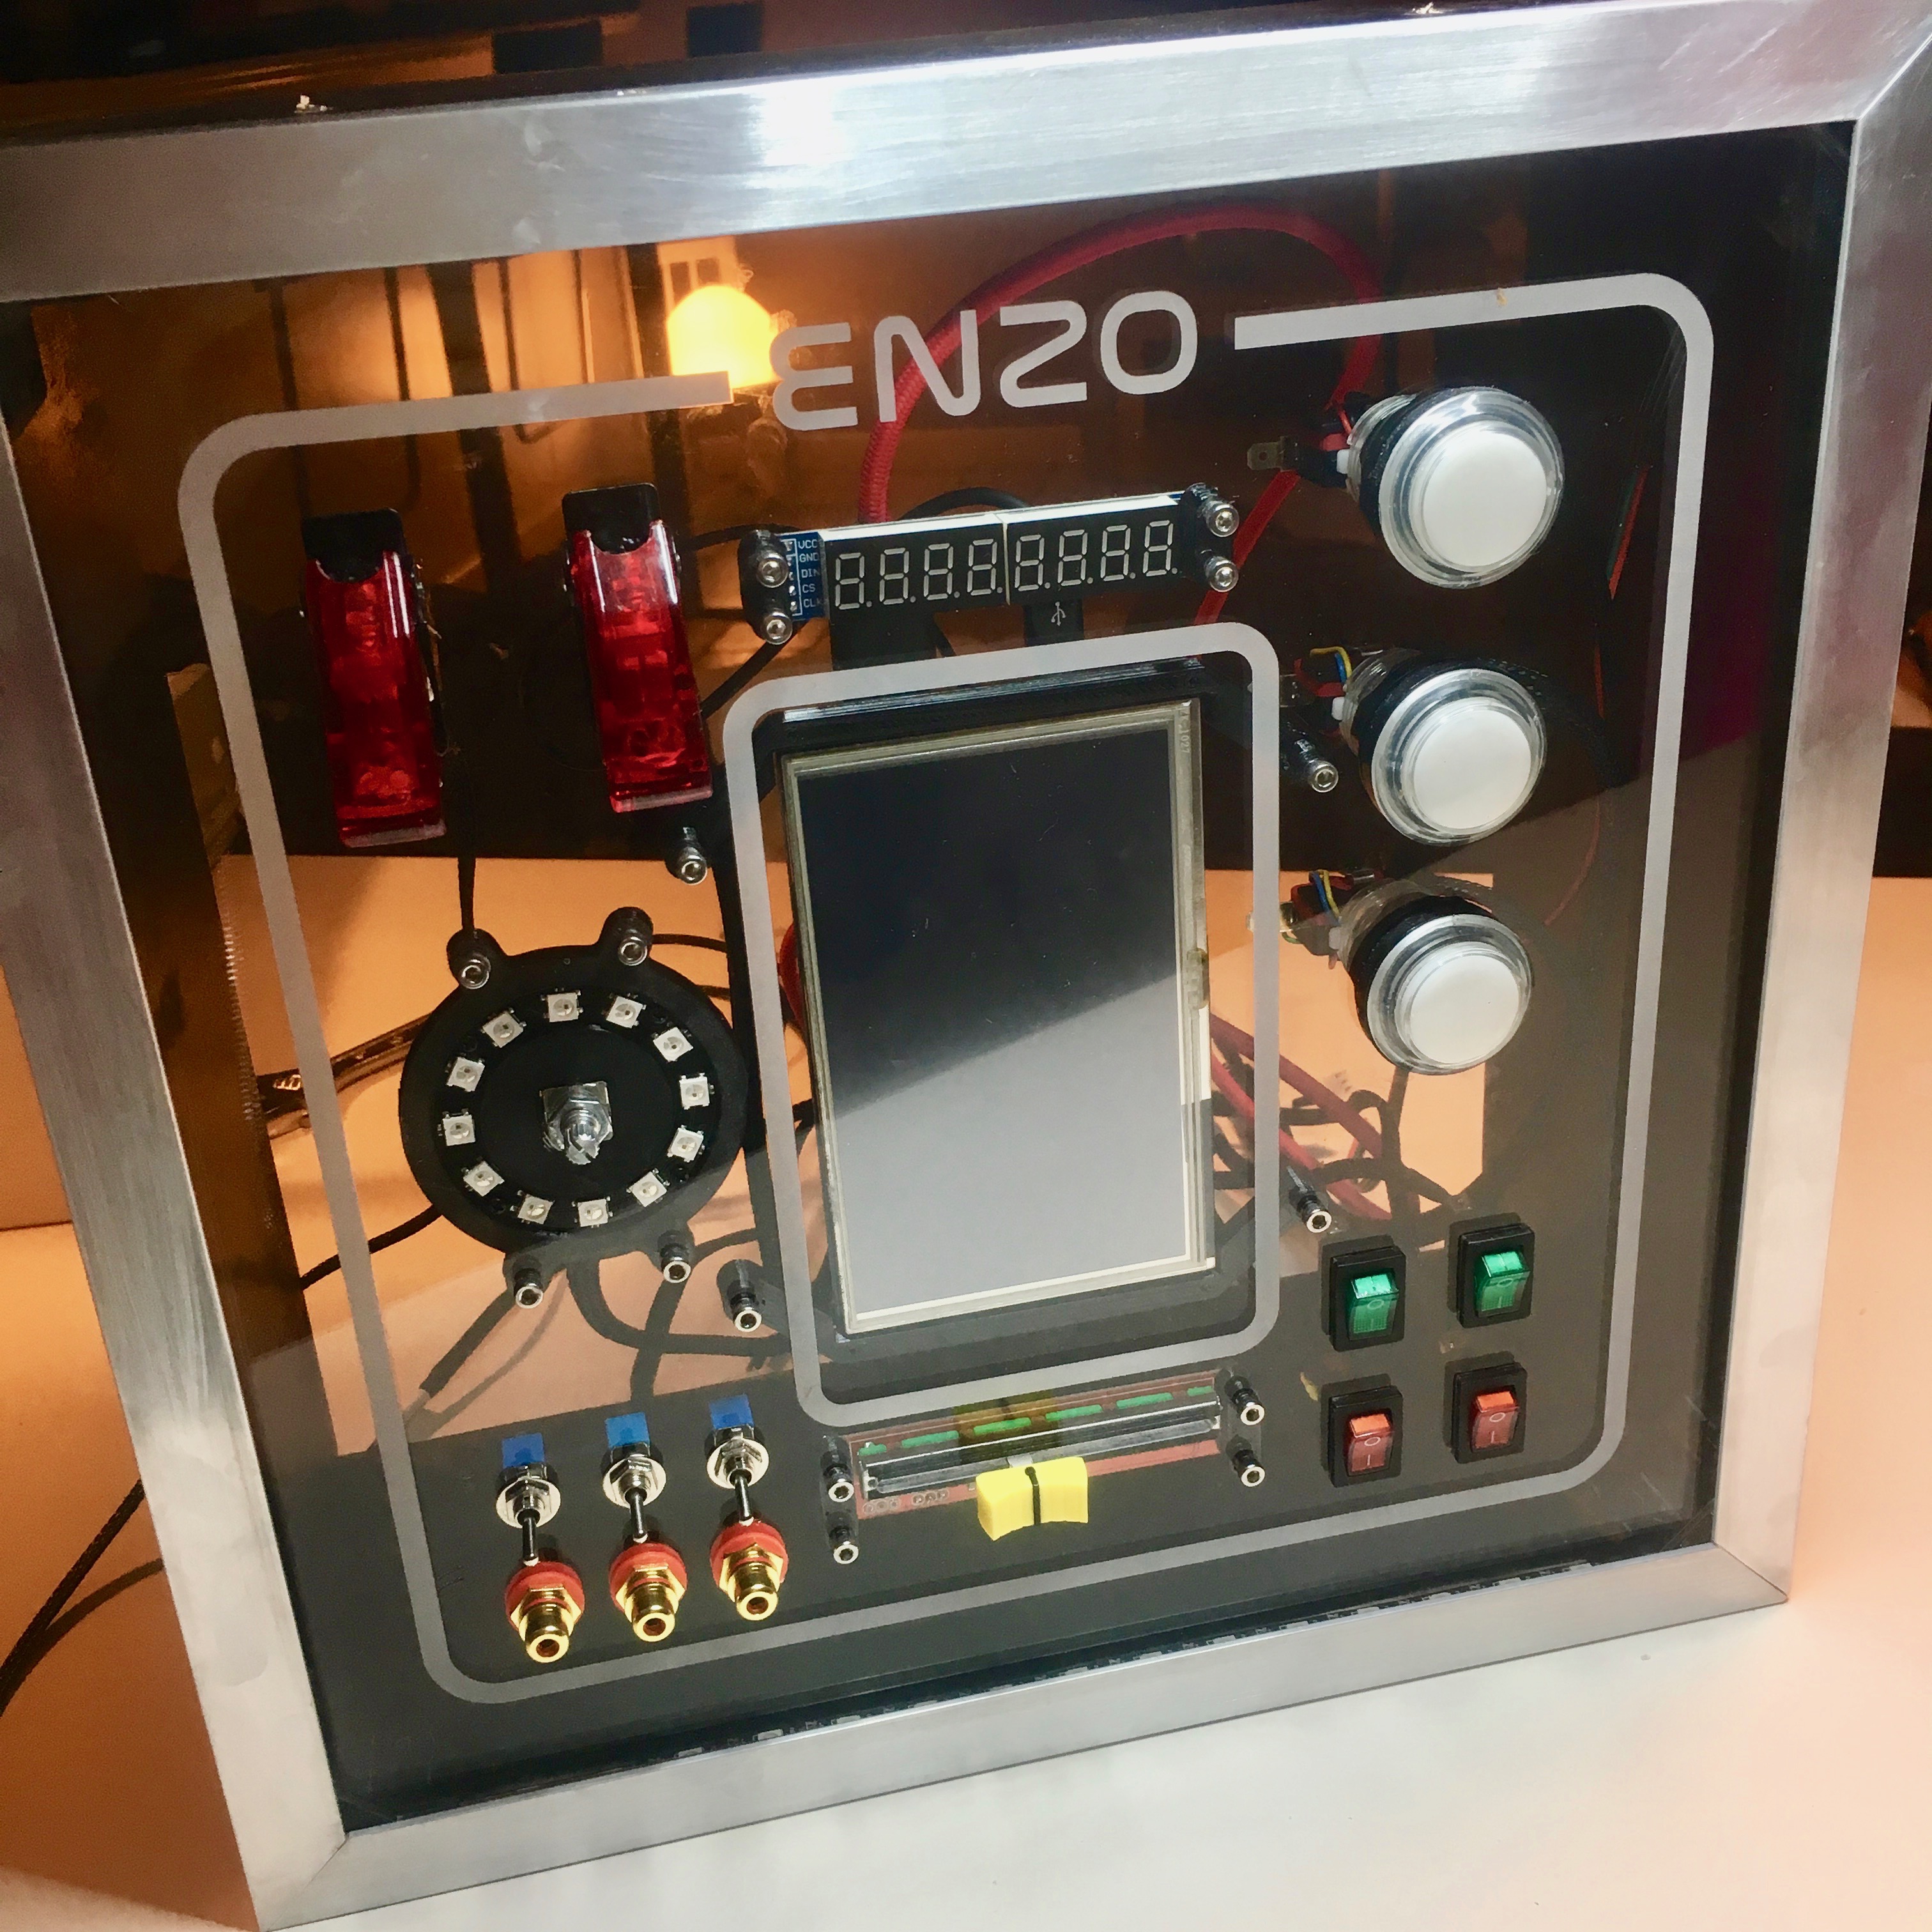
With a sigh of relief it turned out to fit in the Ikea Kallax cabinet. As you can see I have a few millimeters of room left, which is on purpose. I eventually want to finish of the box with an aluminum L-profile.
The back of the box is just a square piece of wood which is currently held in place by friction. It will be the divider between the fancy looking guts, and the ugly looking wiring in the back.
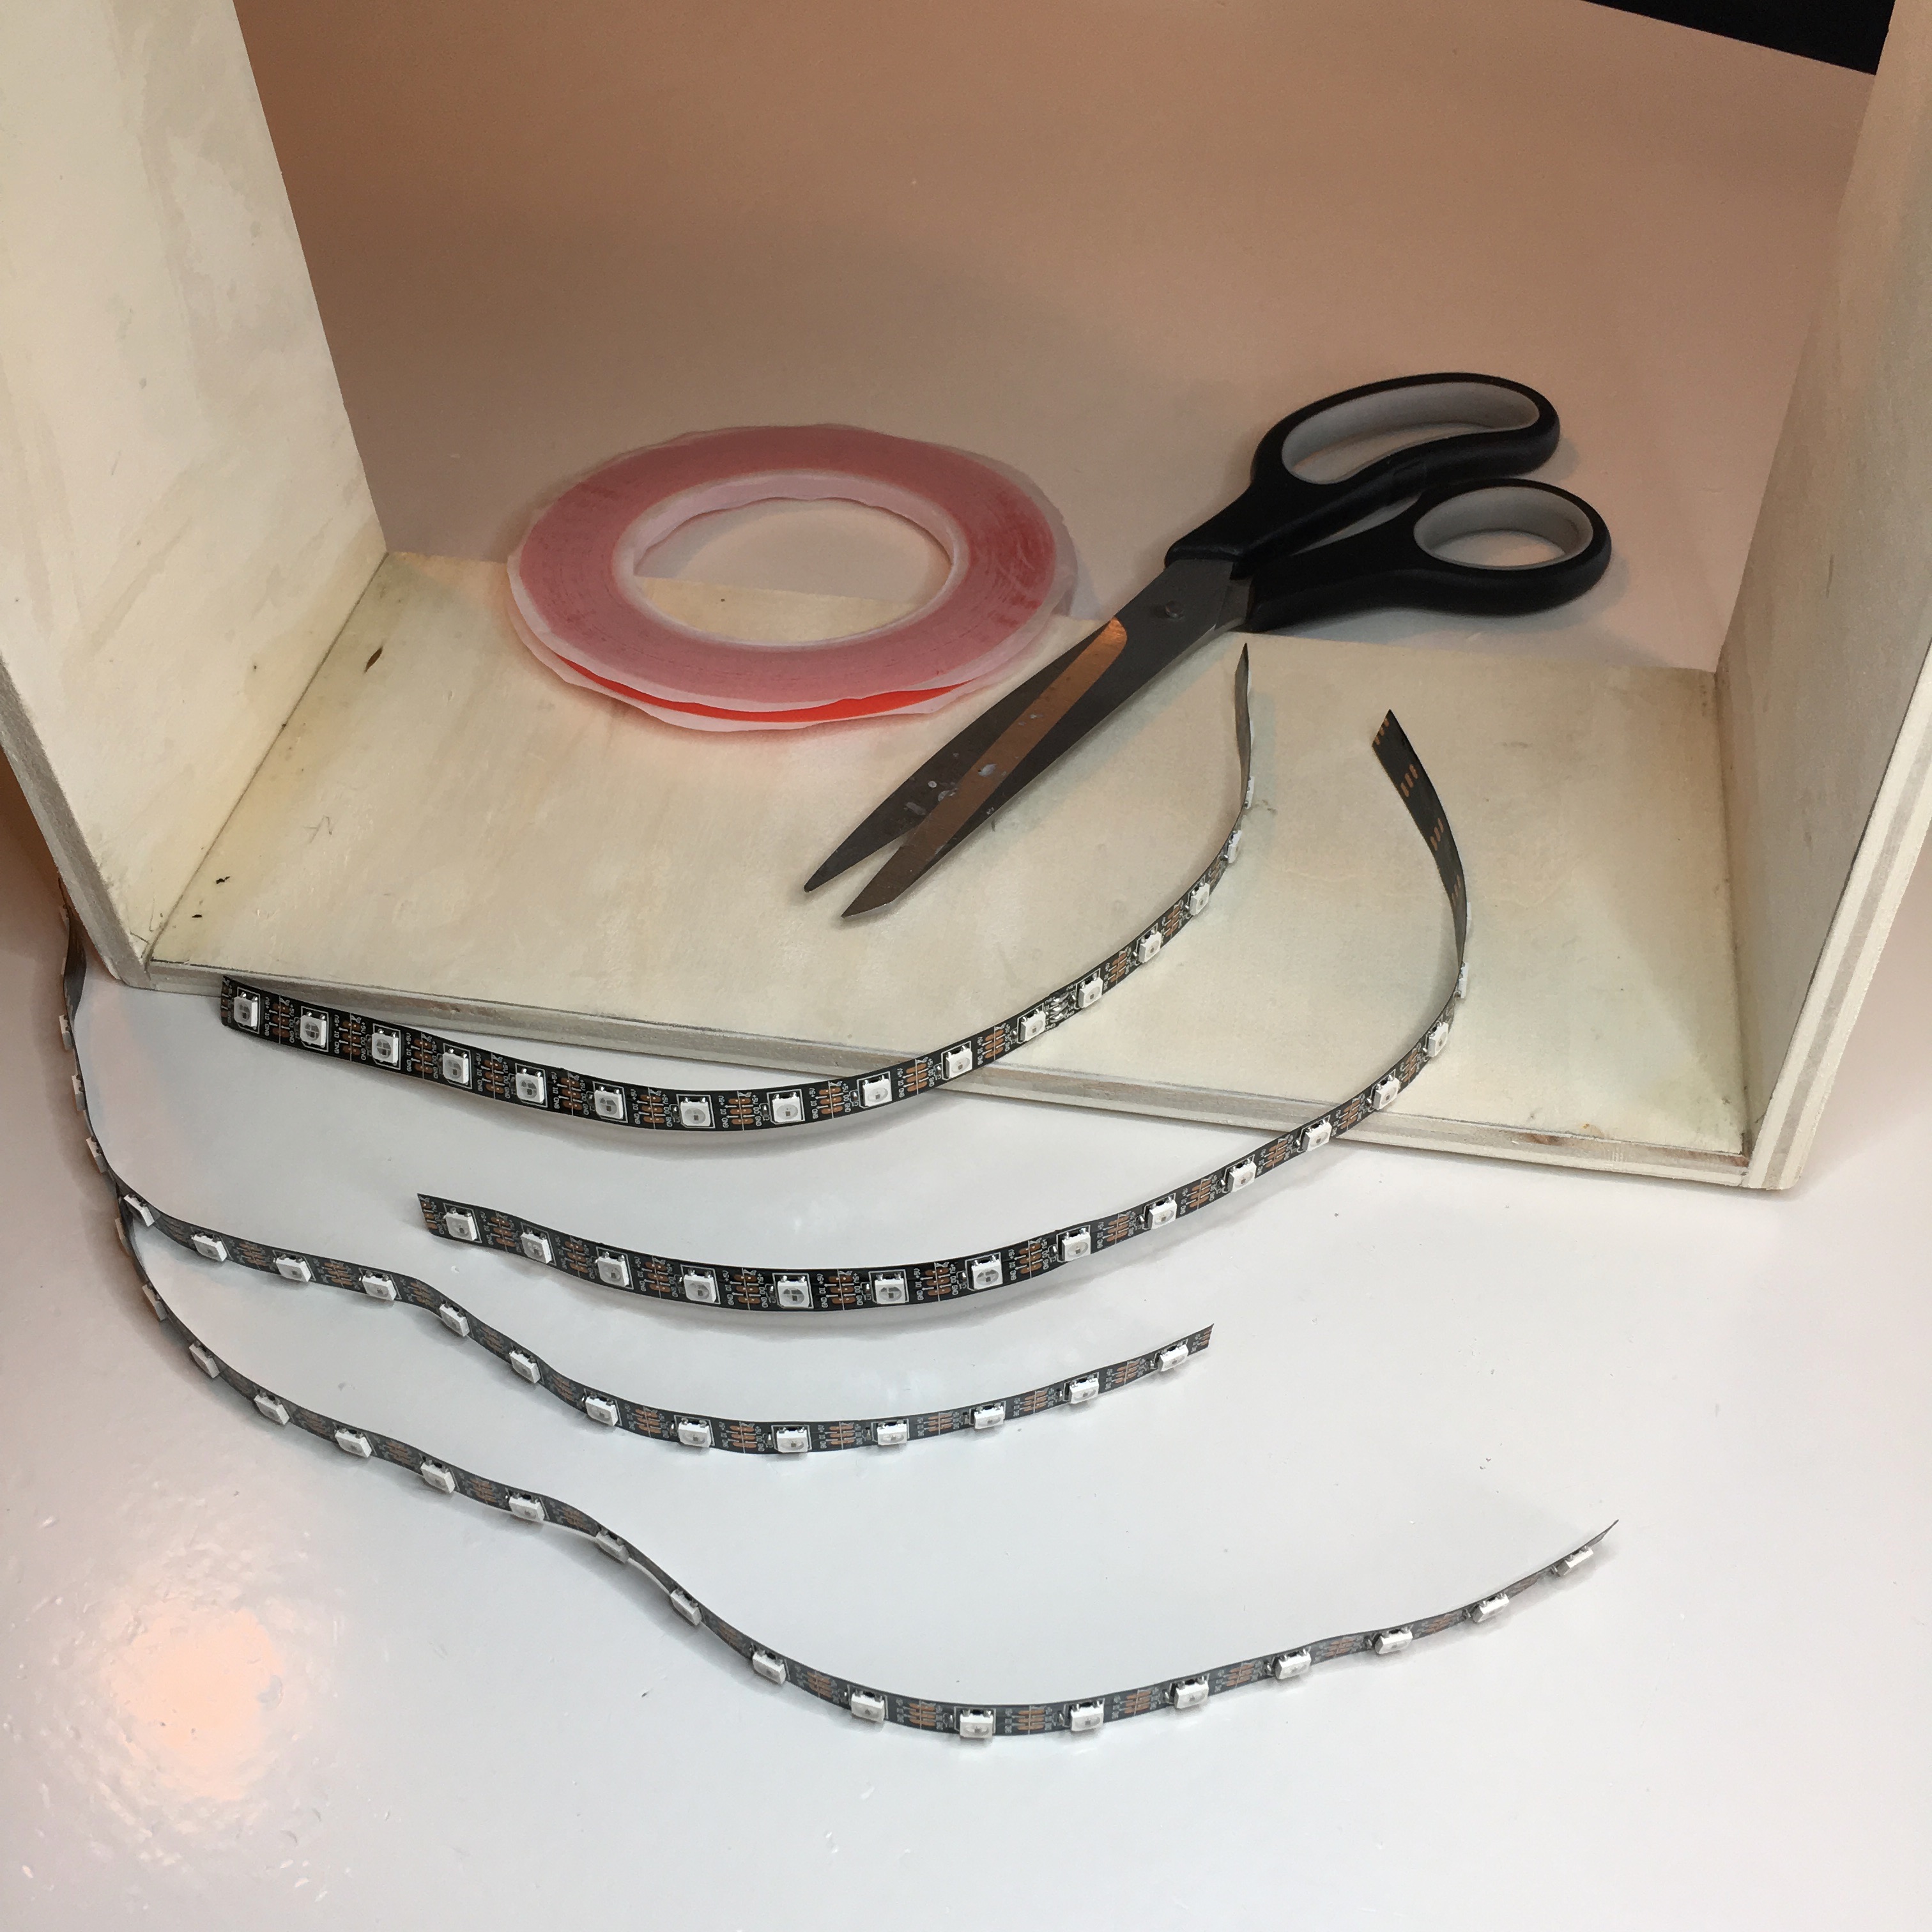
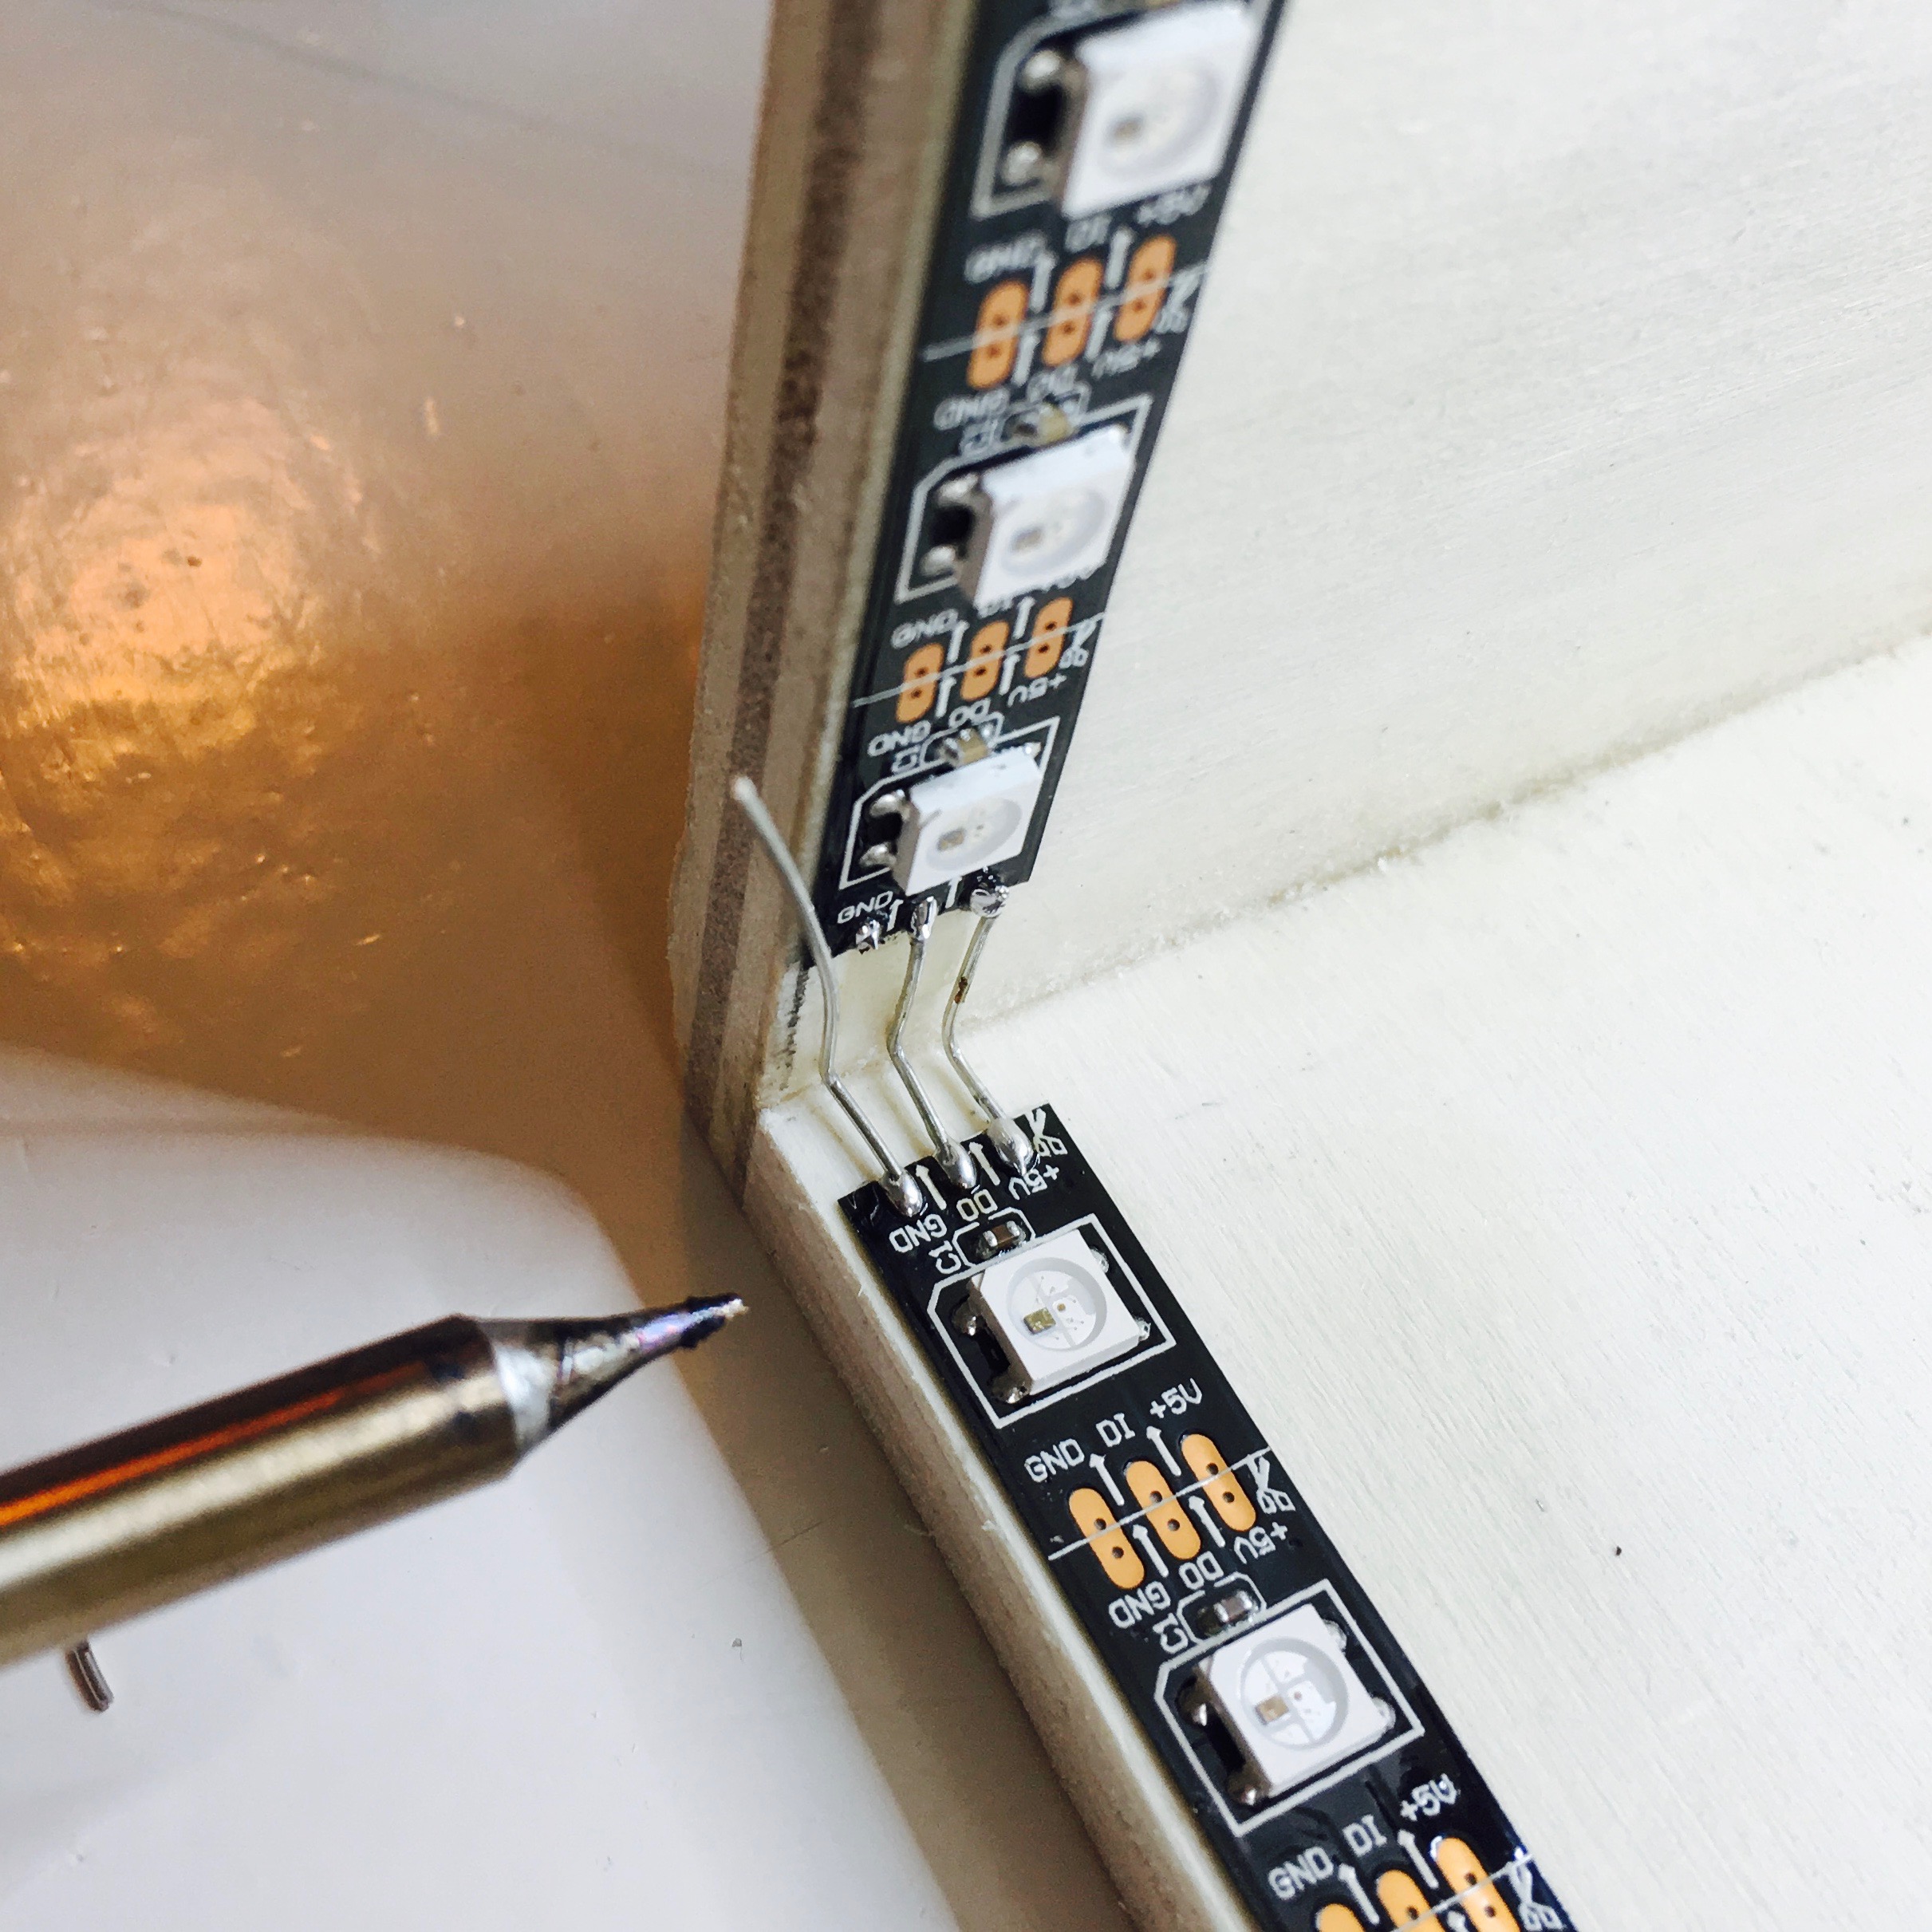
Of course, this box need some magic light effects, so the next step is to add a few NeoPixels. With 4 strips of 18 LED’s and some double sided tape, I went to work.
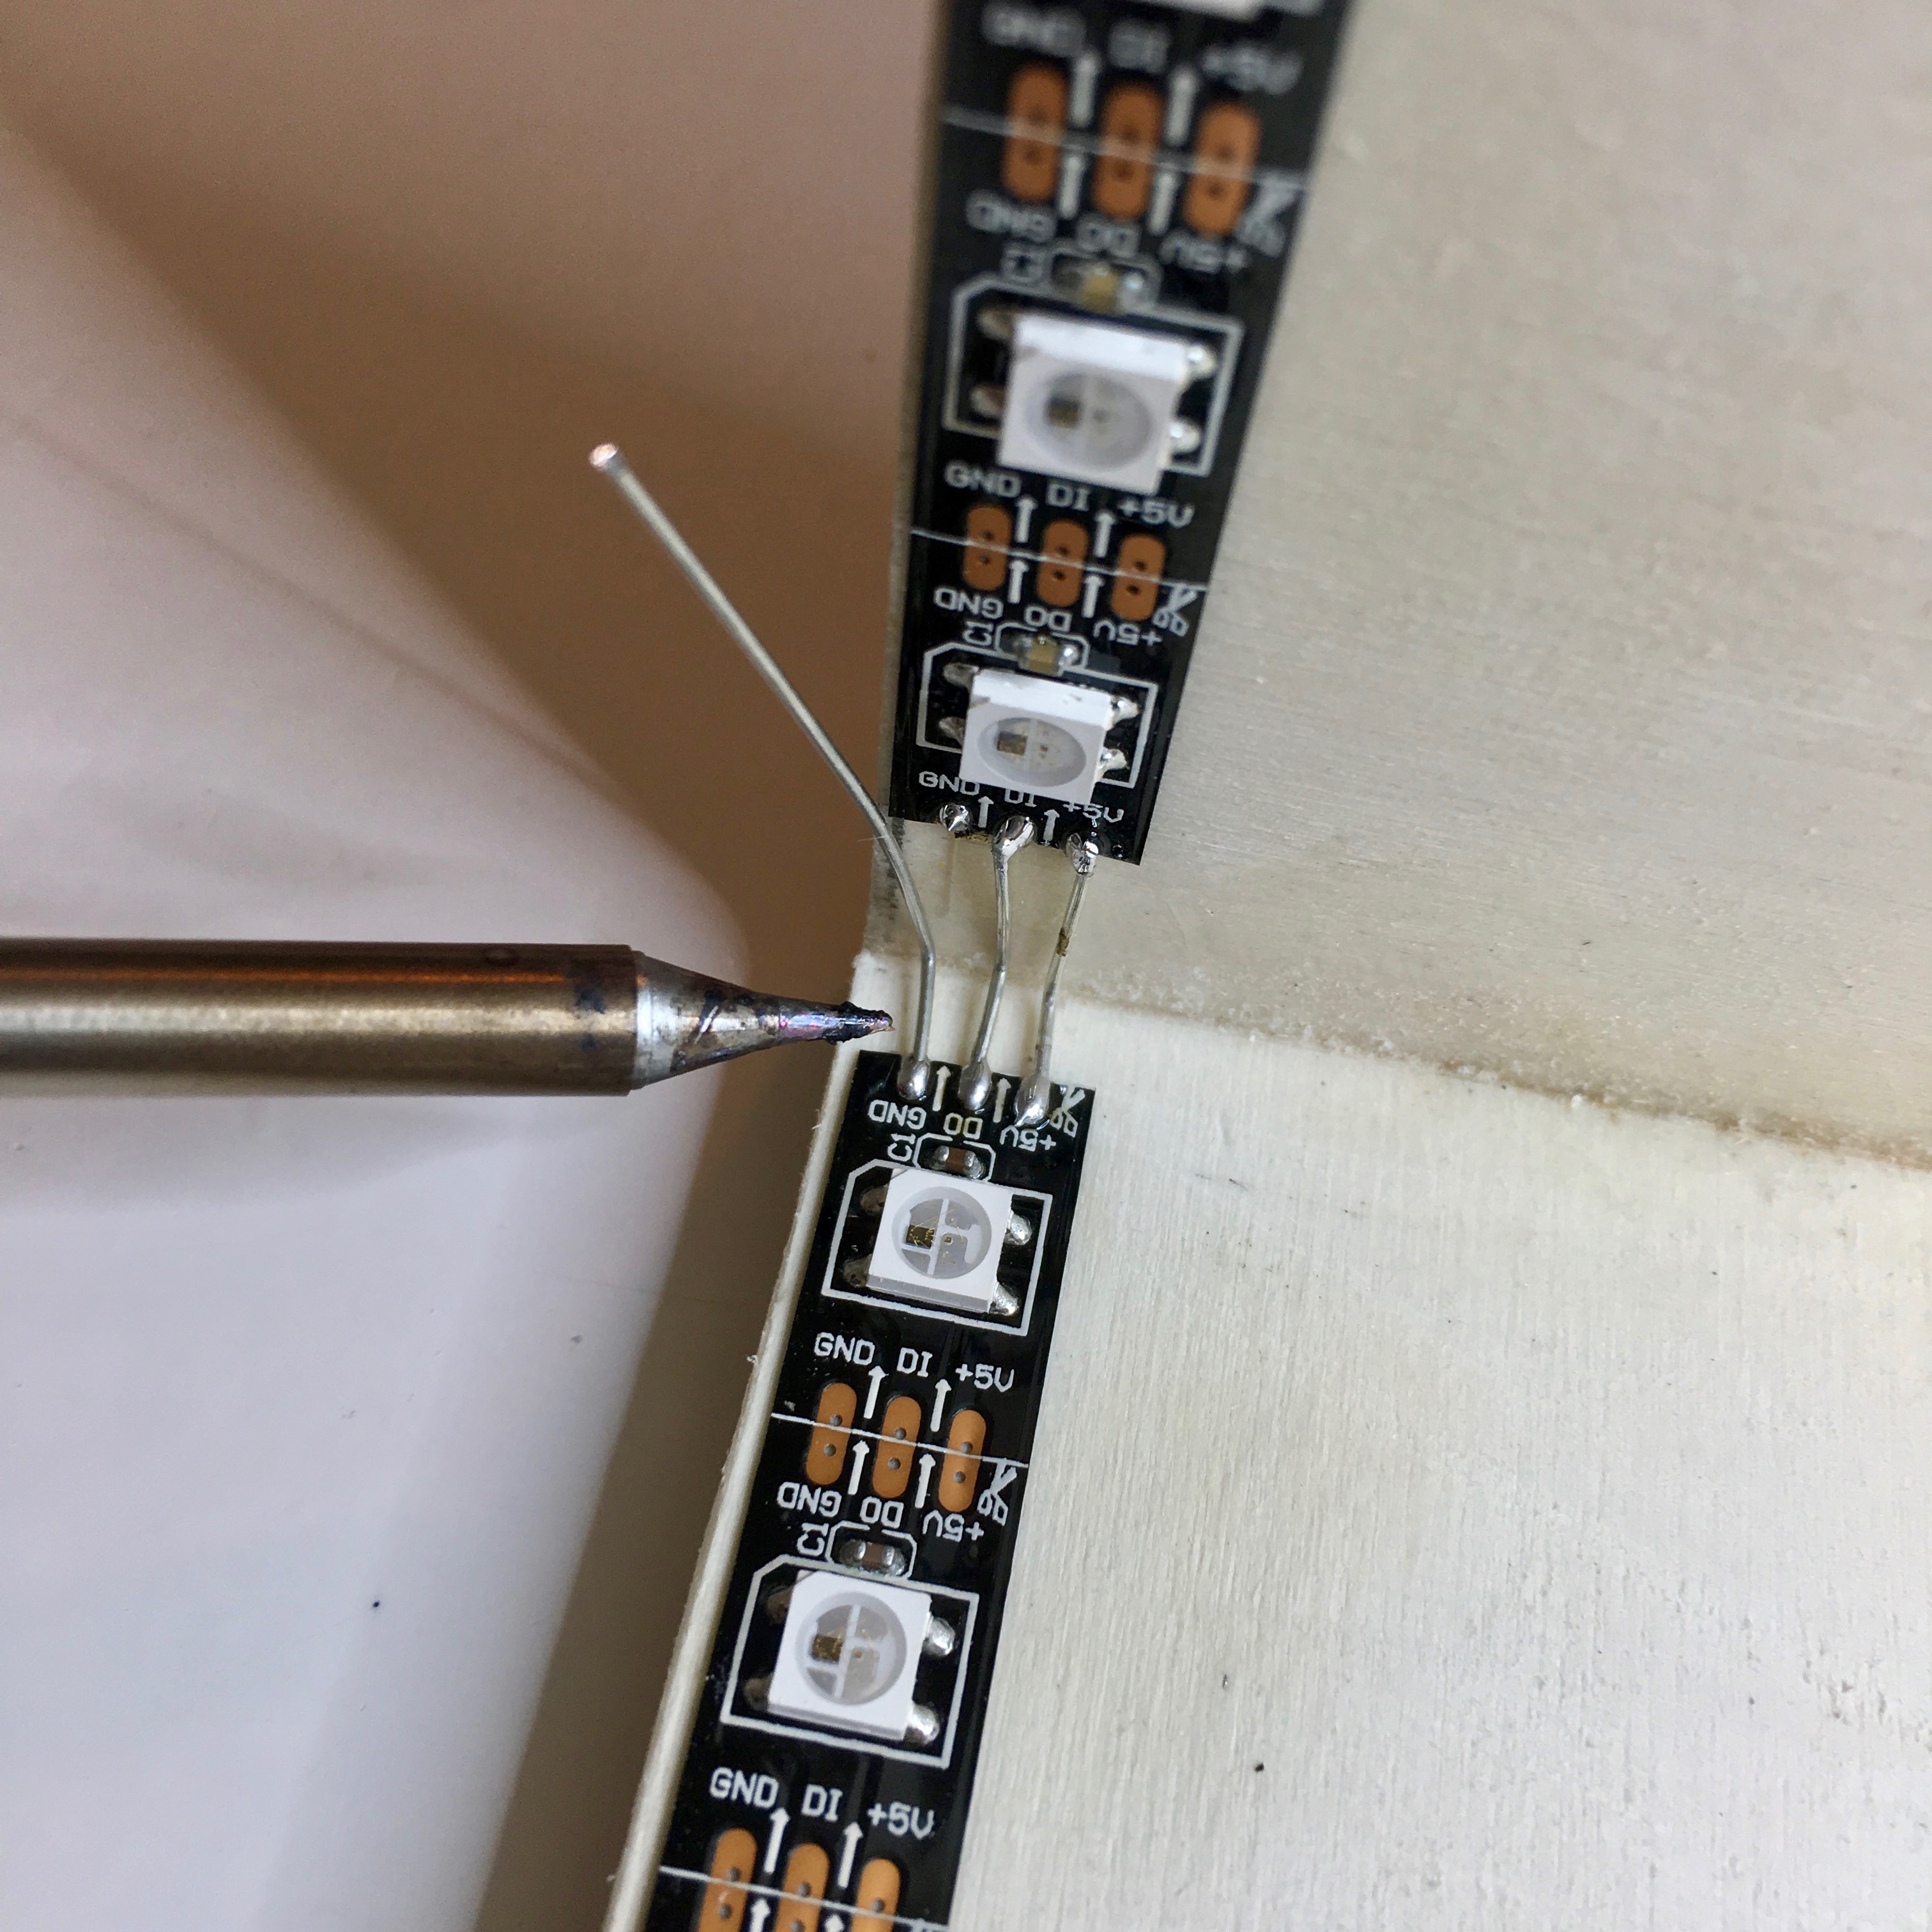
Pieces of solid core wire connect the four strips together. A piece of cake for my beautiful new soldering iron!
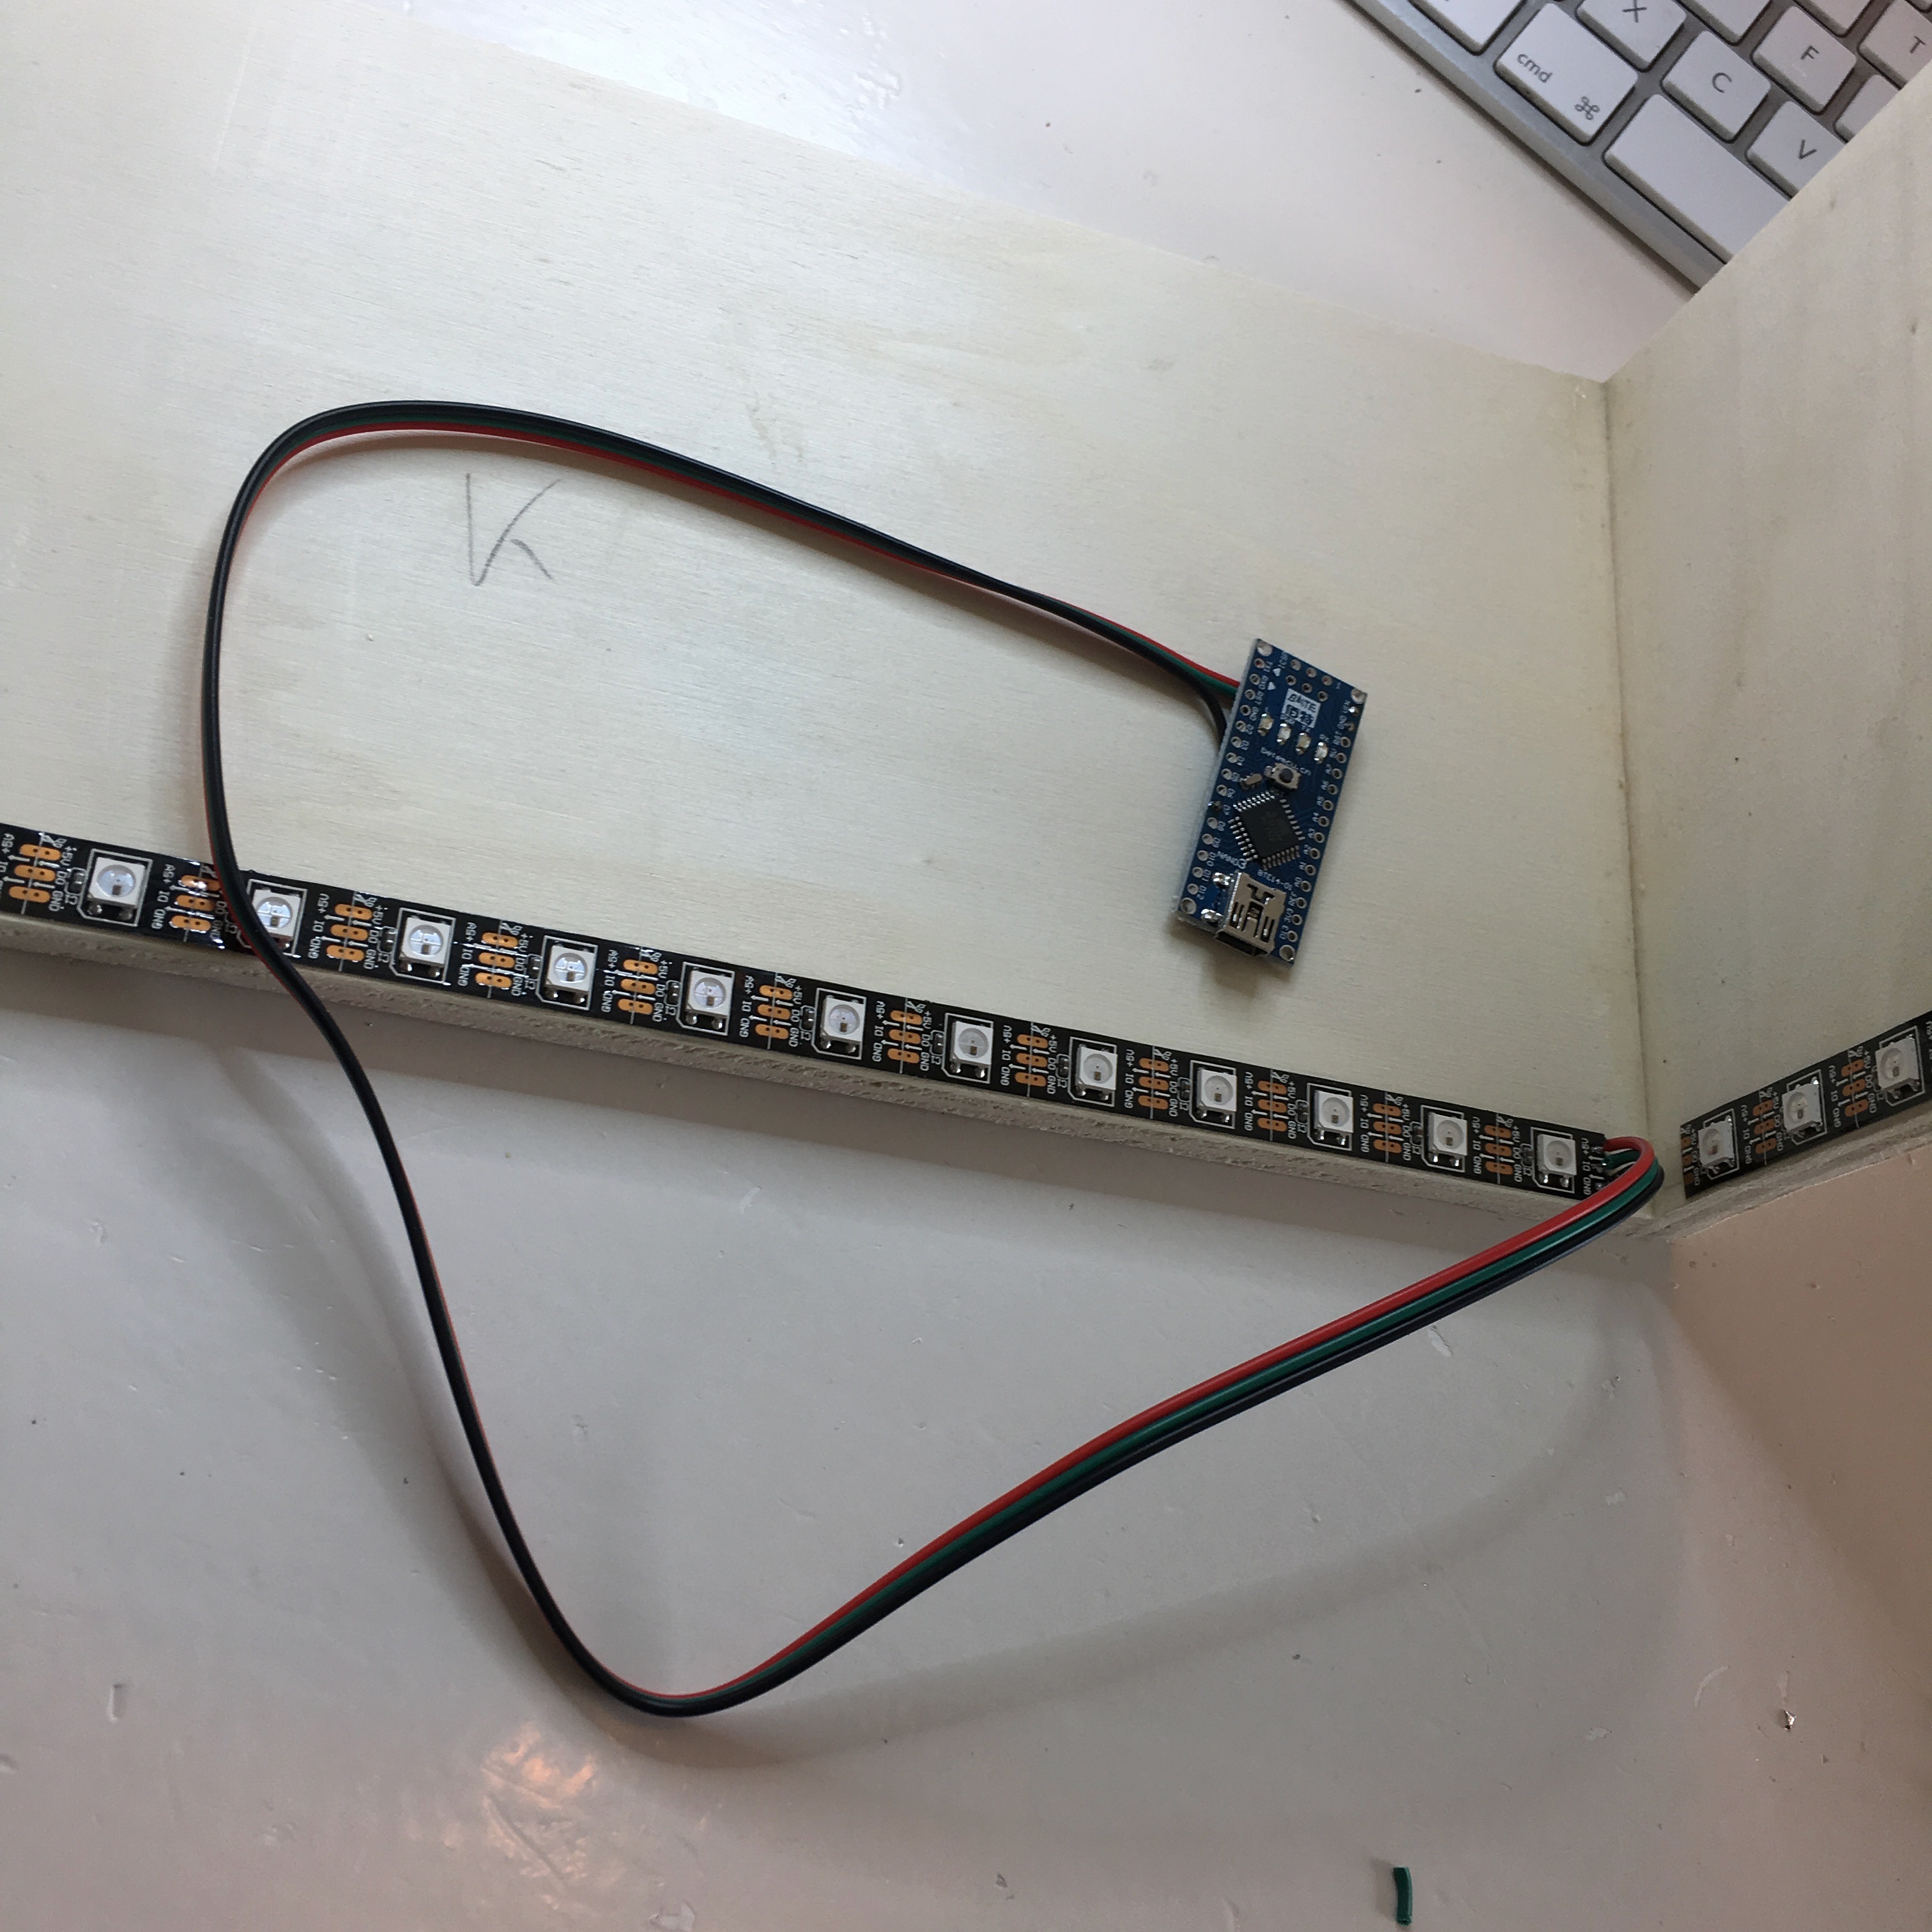
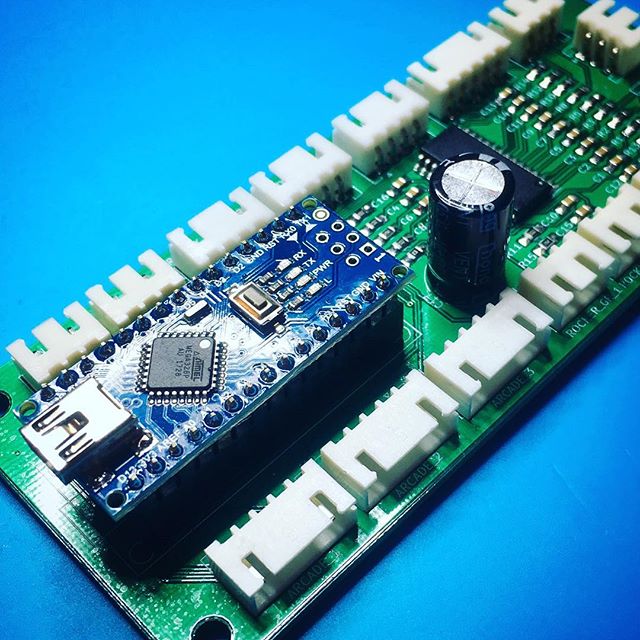
An Arduino Nano is sacrificed for testing the NeoPixels. A little piece of advice here: if you work with NeoPixels, you are advised to add a huge ass capacitor on the power line, and a current limiting resistor on the data line. But since I was a bit impatient to give it a try, I took my chances.
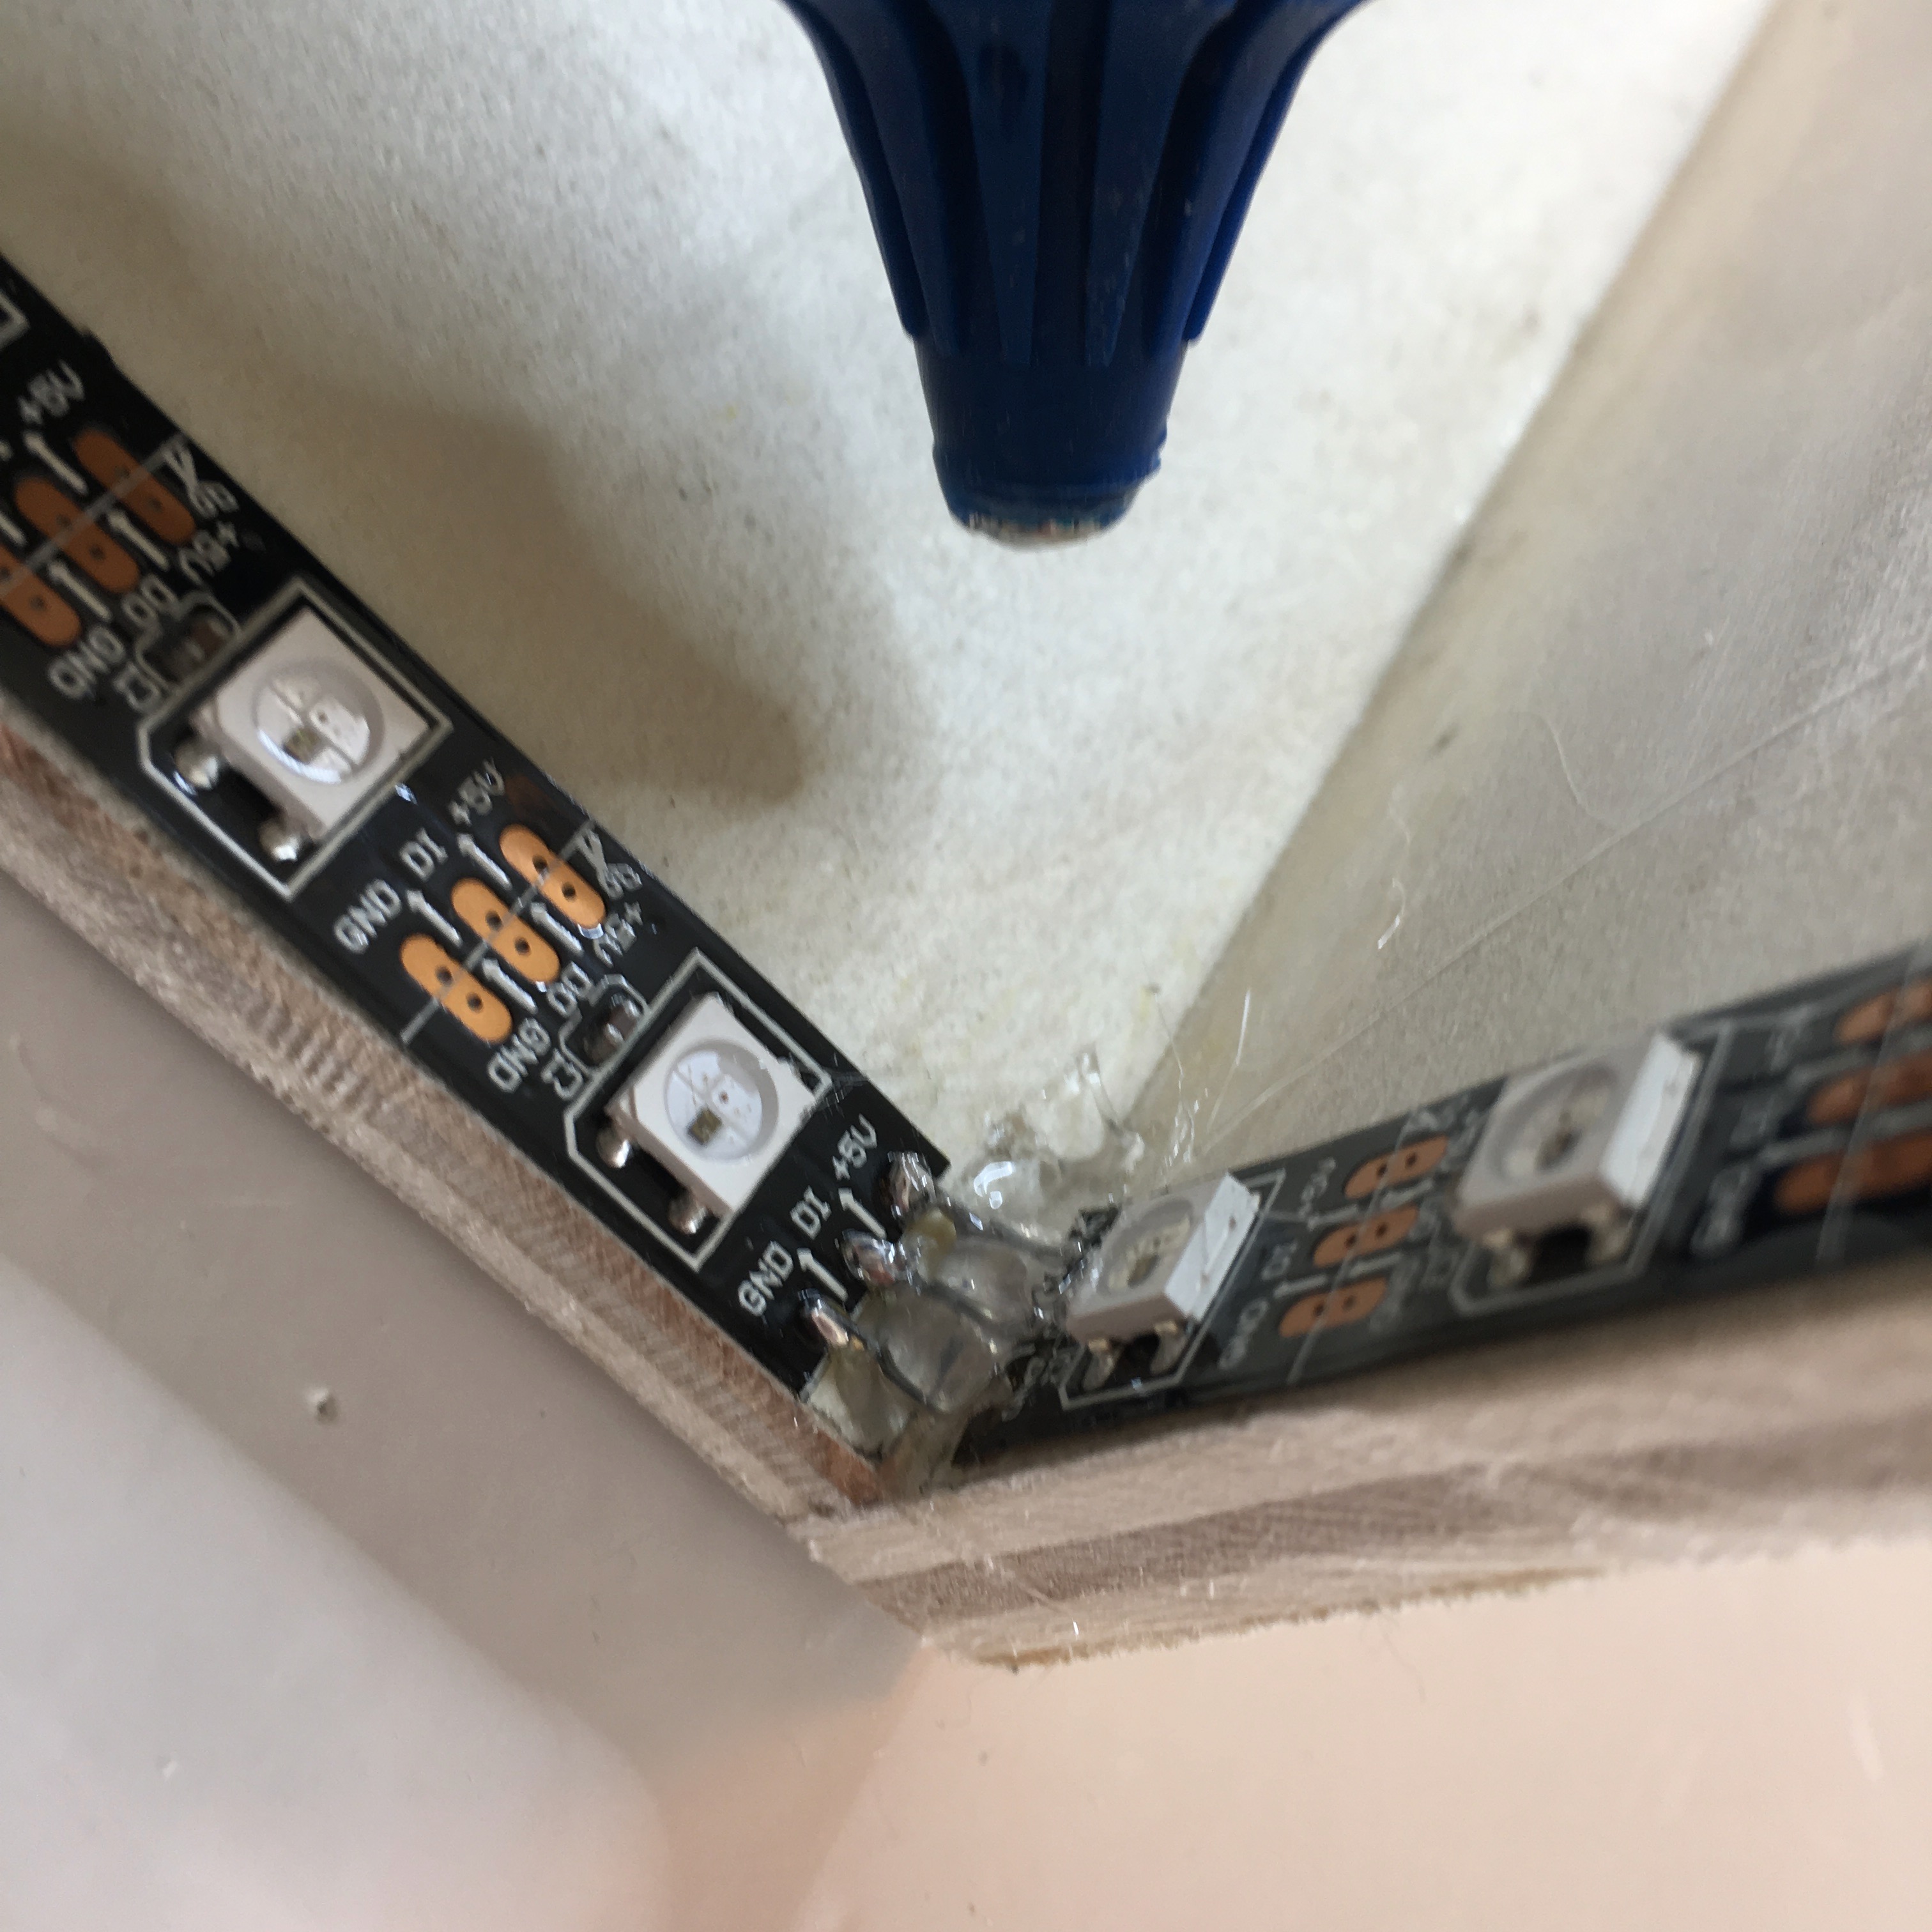
After checking if everything worked as planned, I used a few dabs of hot glue to keep the wires in place, and prevent any possible short circuits.
Even after the hot glue it kept on working. This must be my lucky day!

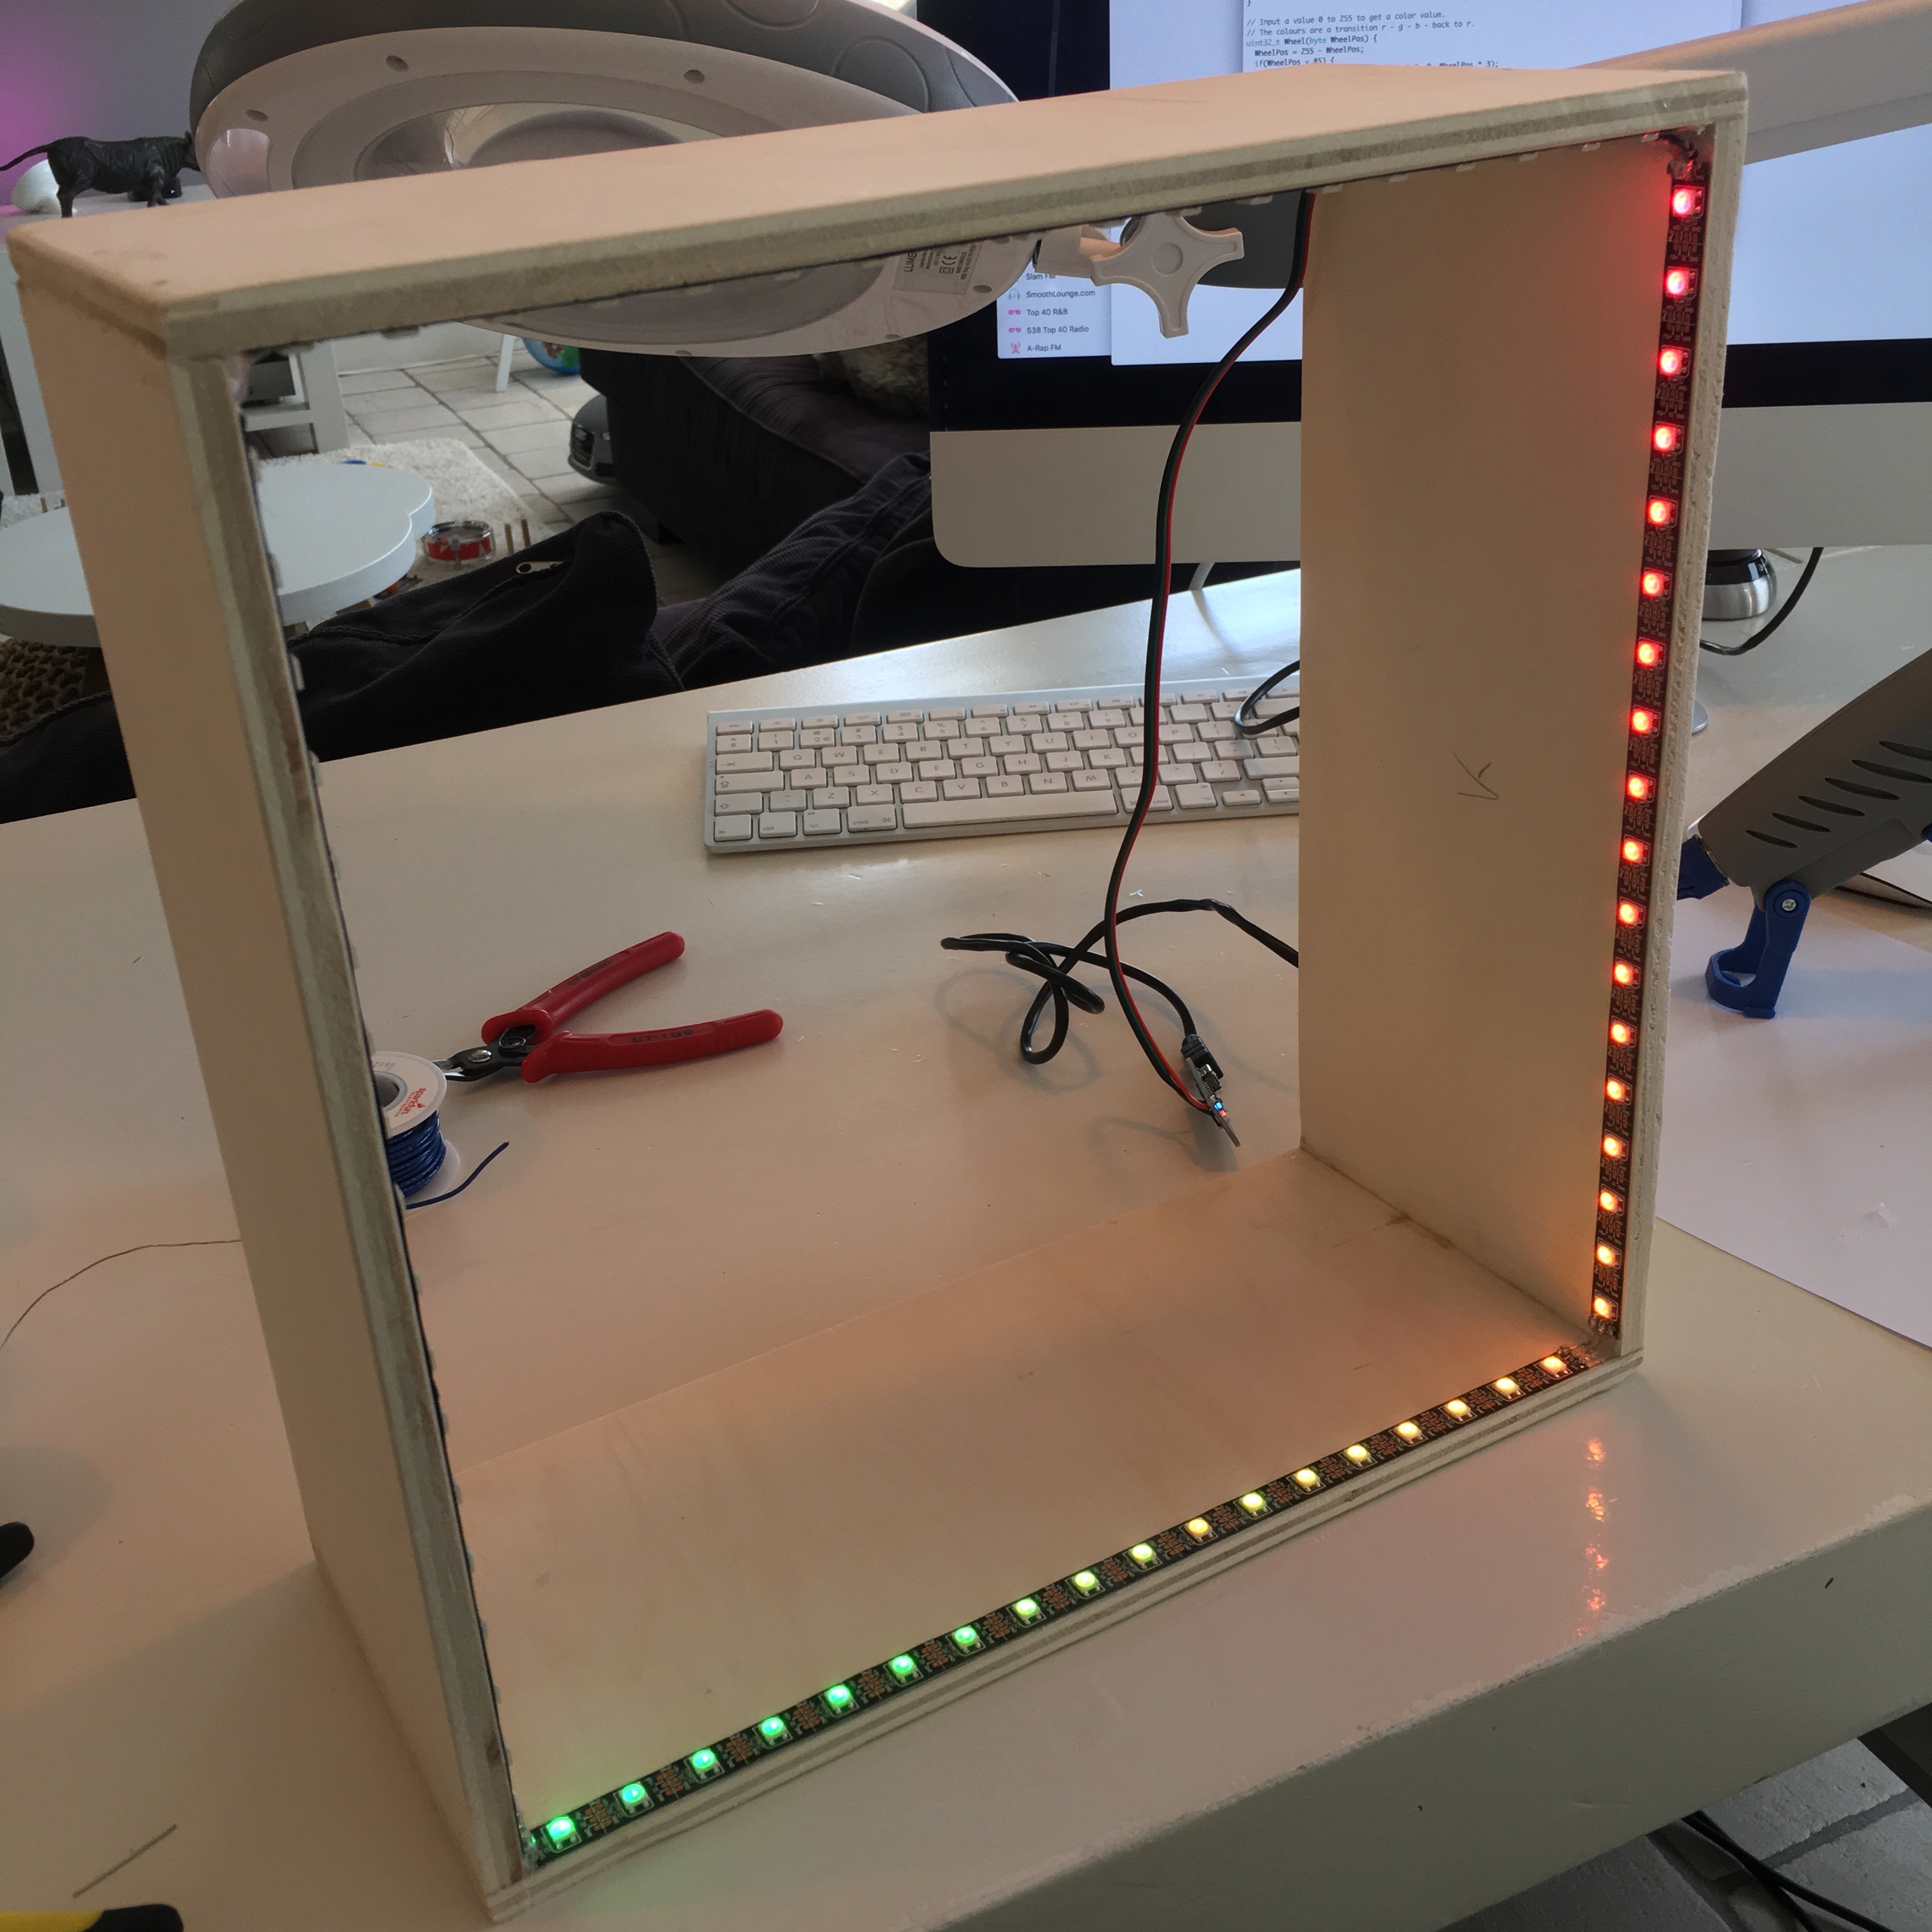
With the back plate temporarily in place, It already starts to look like a fun little magic box. I really can’t wait to see Enzo’s reaction when it’s finished. Somewhere in 2033.
Activity Board: Fire up the Lasers!