With all of my projects that include one or more buttons, I know one thing for sure. The buttons will be extensively tested by my 1,5 year old tinkerer Enzo. My Automatic curtains need to open and closed more than a few times a day, and my robot arm’s test buttons are being pressed repeatedly even while it isn’t powered on. I think the message is clear: he wants his own buttons!
Now I must admit, this project is inspired by the awesome, incomparable Mission Control Desk by Jeff High Smith. But since both my budget, space and time is a bit more restricted, I’m going for a more compact solution.
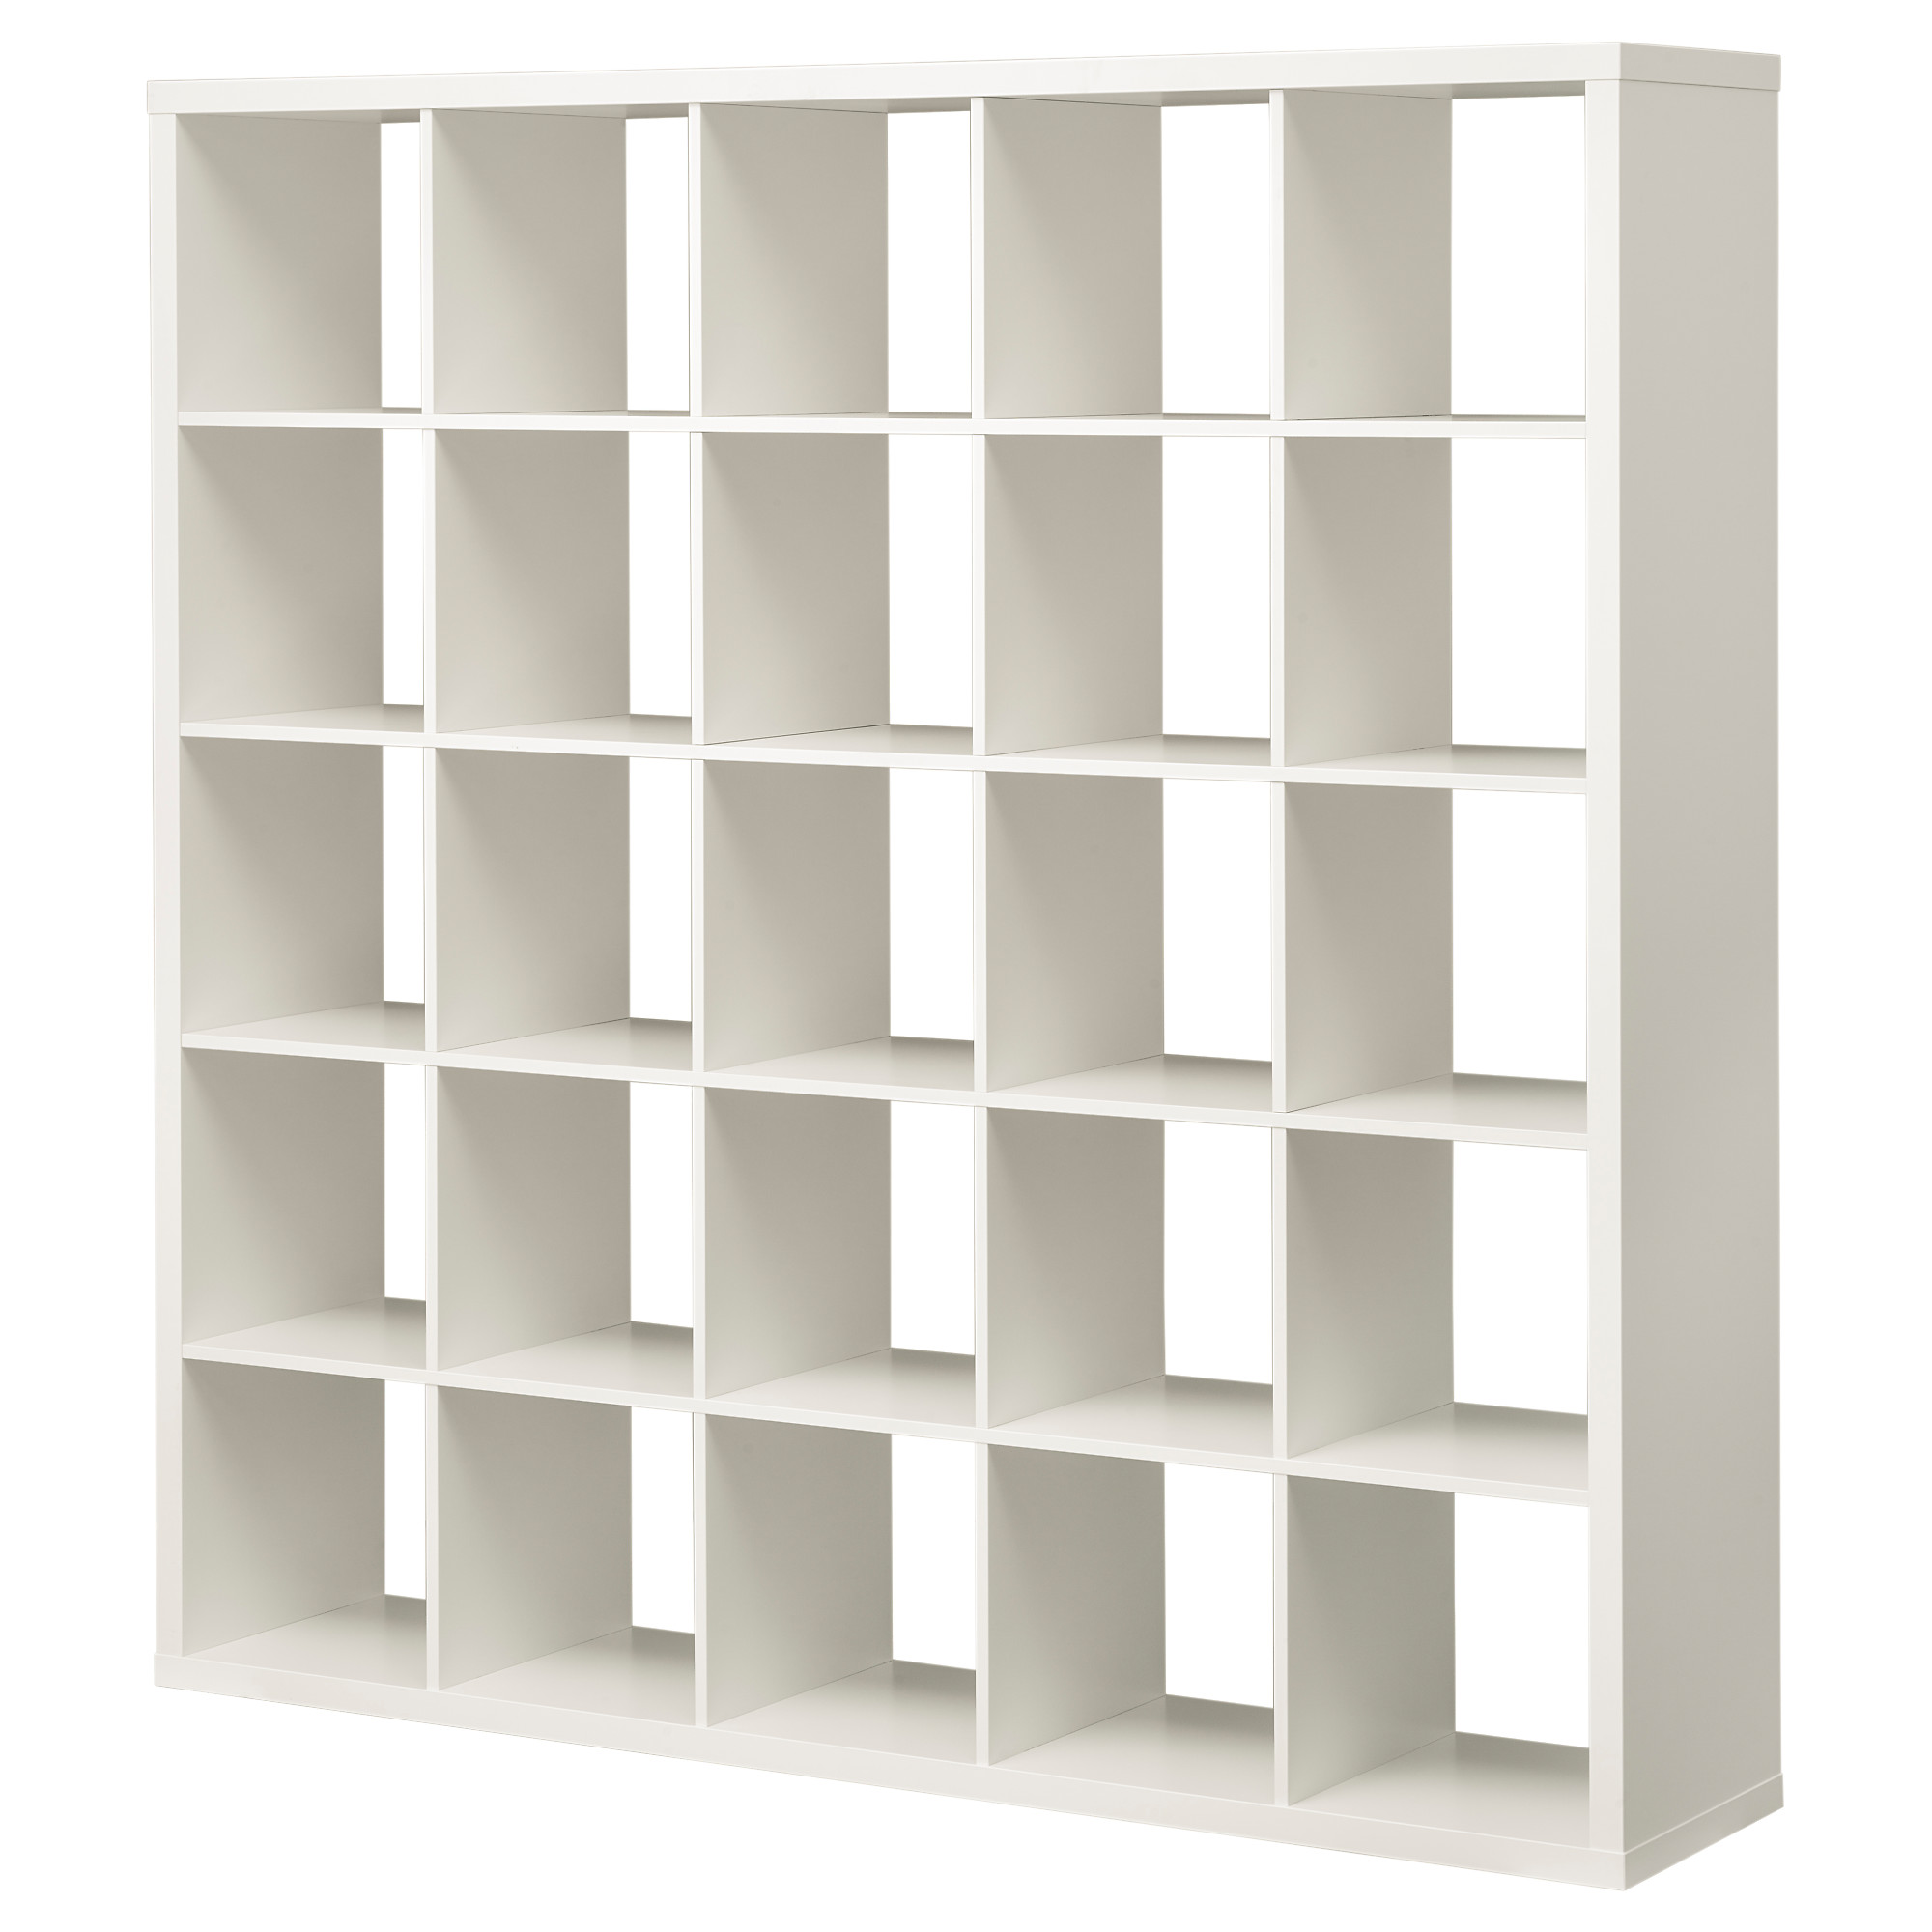
In our living room, we have a Ikea Kallax cabinet with 25 square compartments. My goal is to build a control box, the size of one of these compartments. This way, it has a nice dedicated place in our living room, and doesn’t take up too much space.
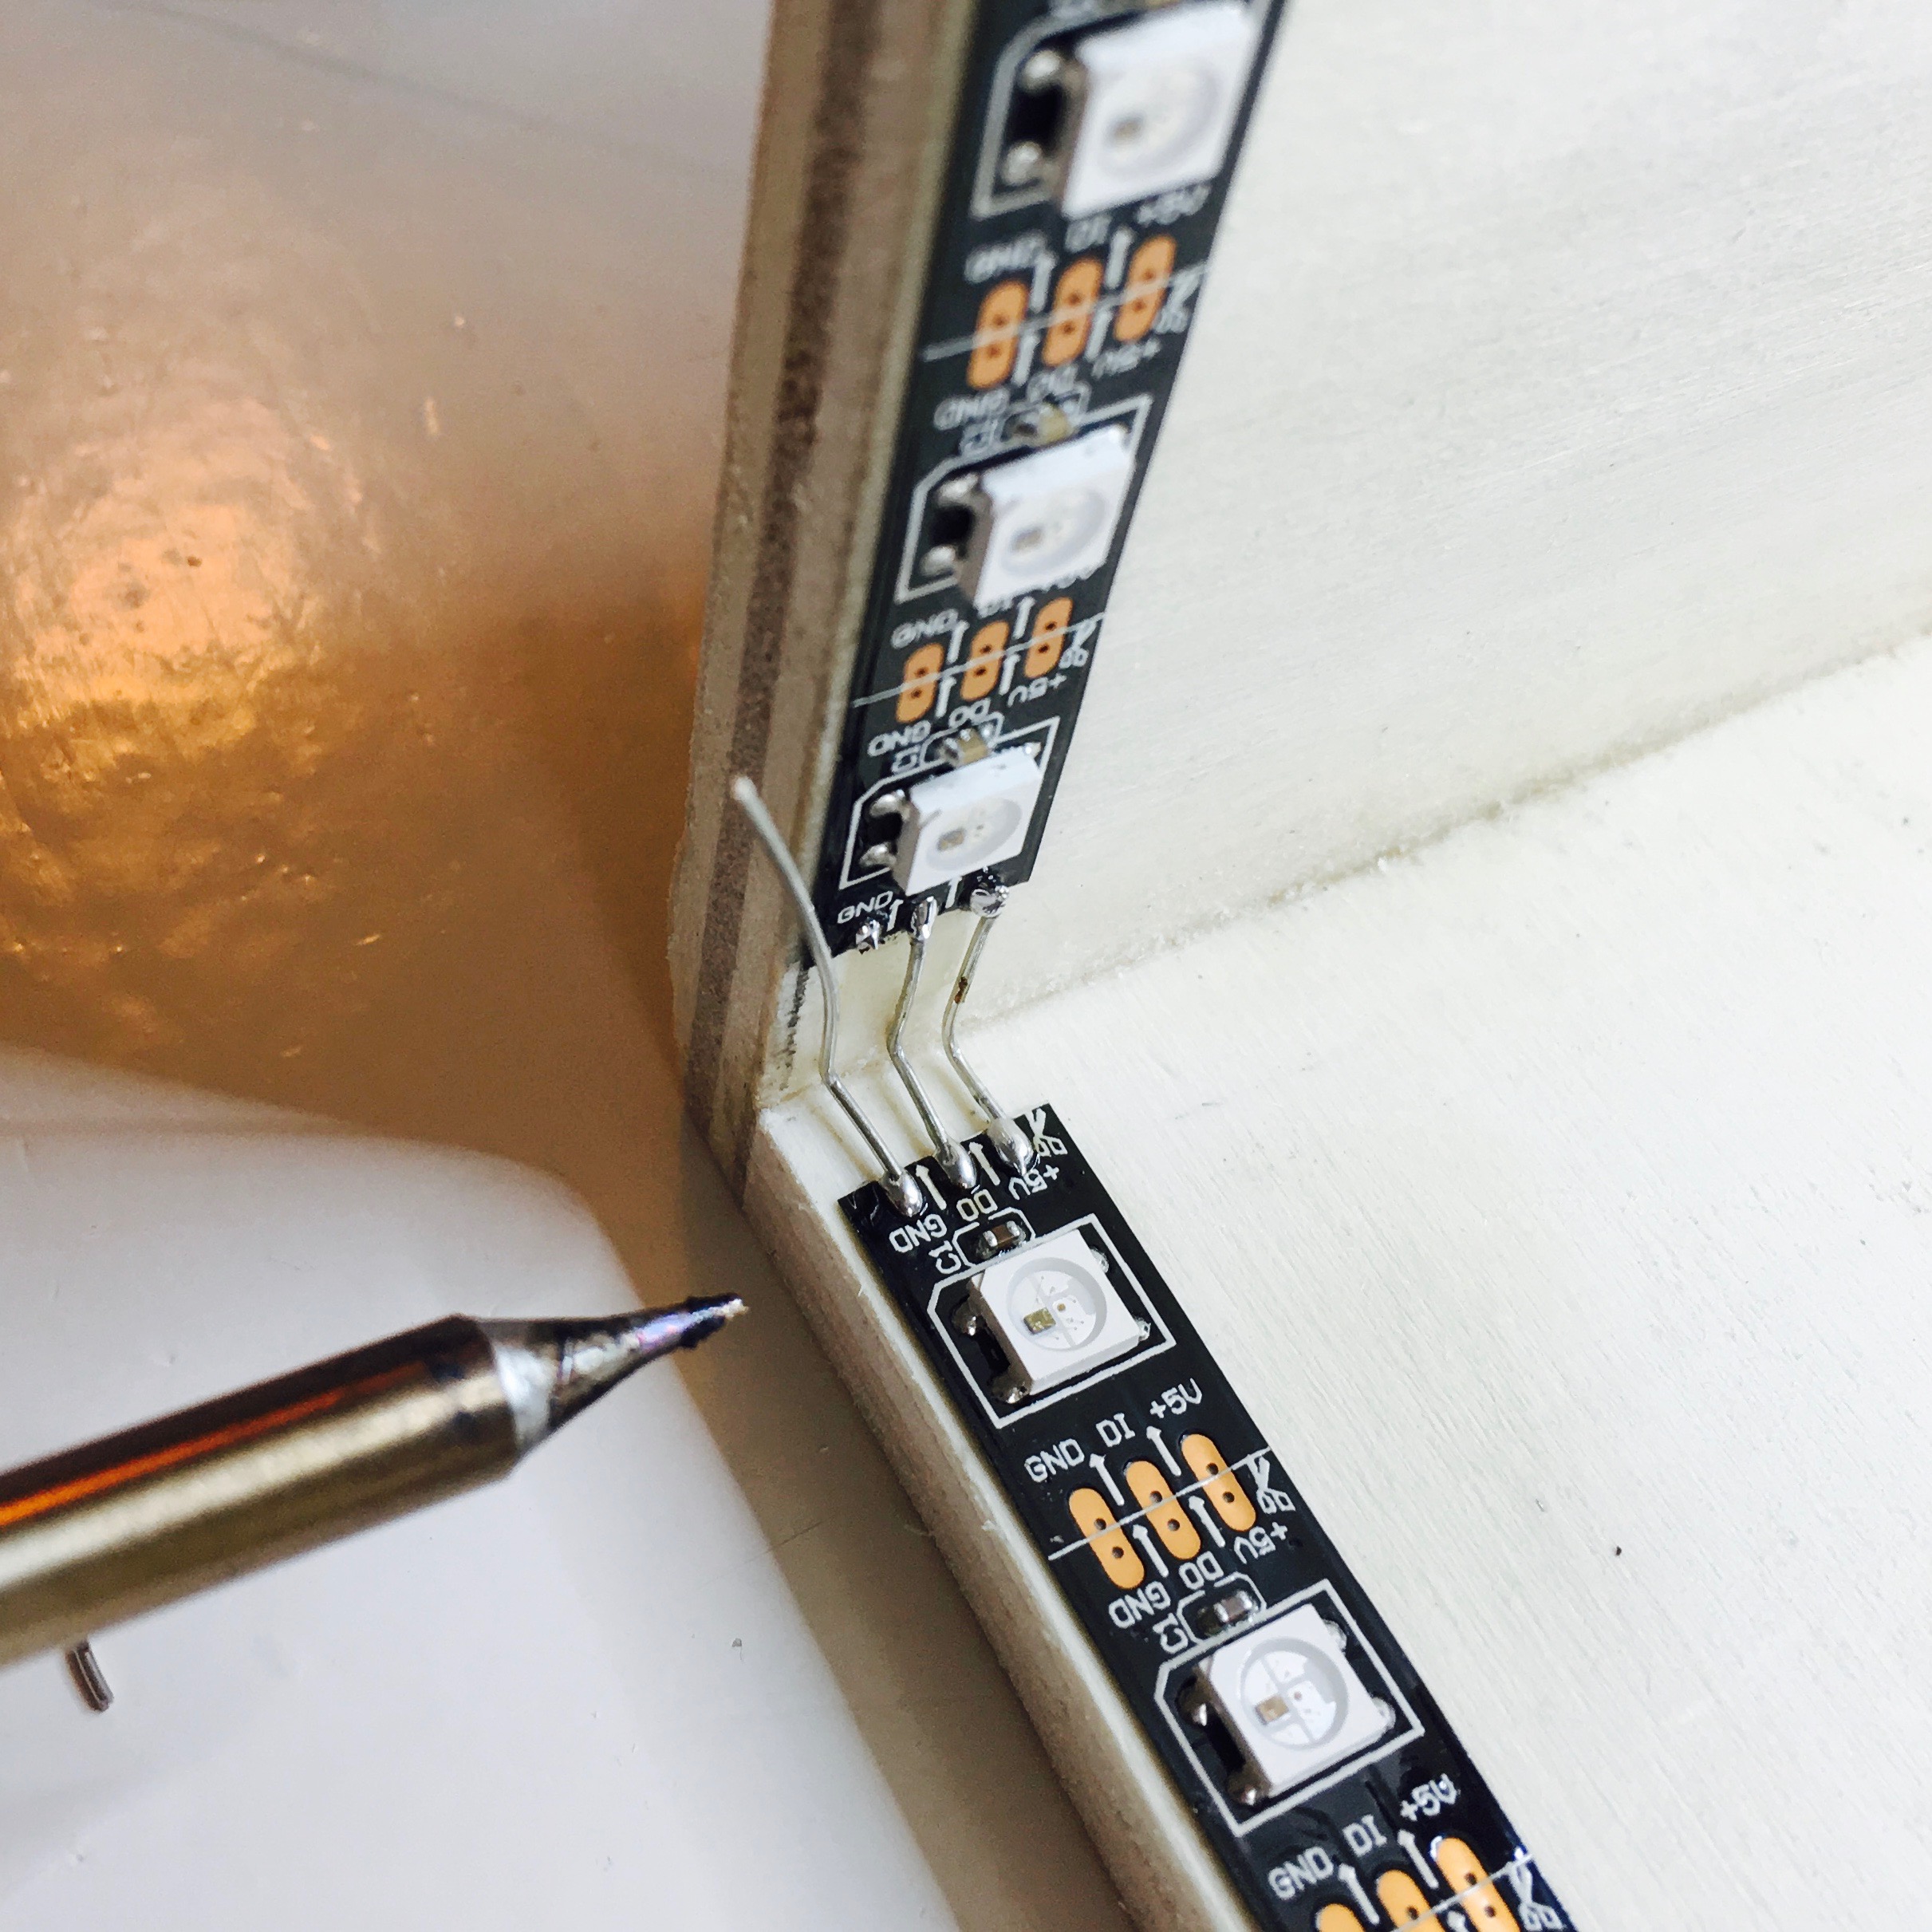
The control box will be made out of plywood. The front, however, will be made of acrylic sheet. In addition to the holes for the controls, the acrylic will be engraved with his name and decorative linings. With the help of some NeoPixel LED’s, I hope to get a cool illumination effect.
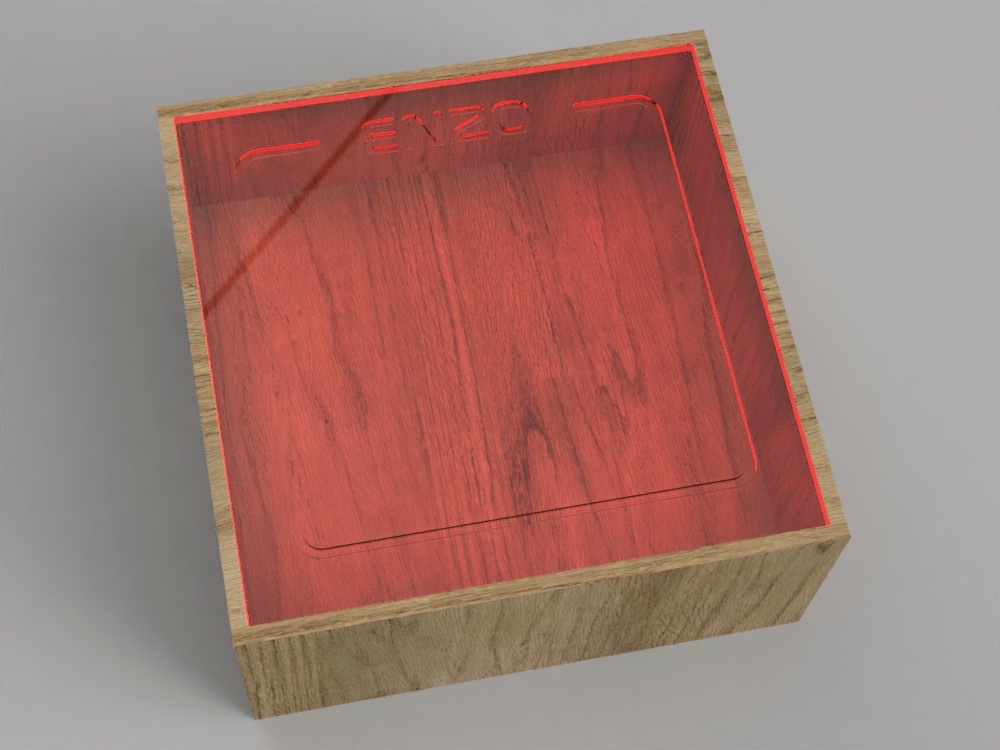
Of course the wood will eventually get a paint job, and the inner backplate will get some cool looking decorations as well.
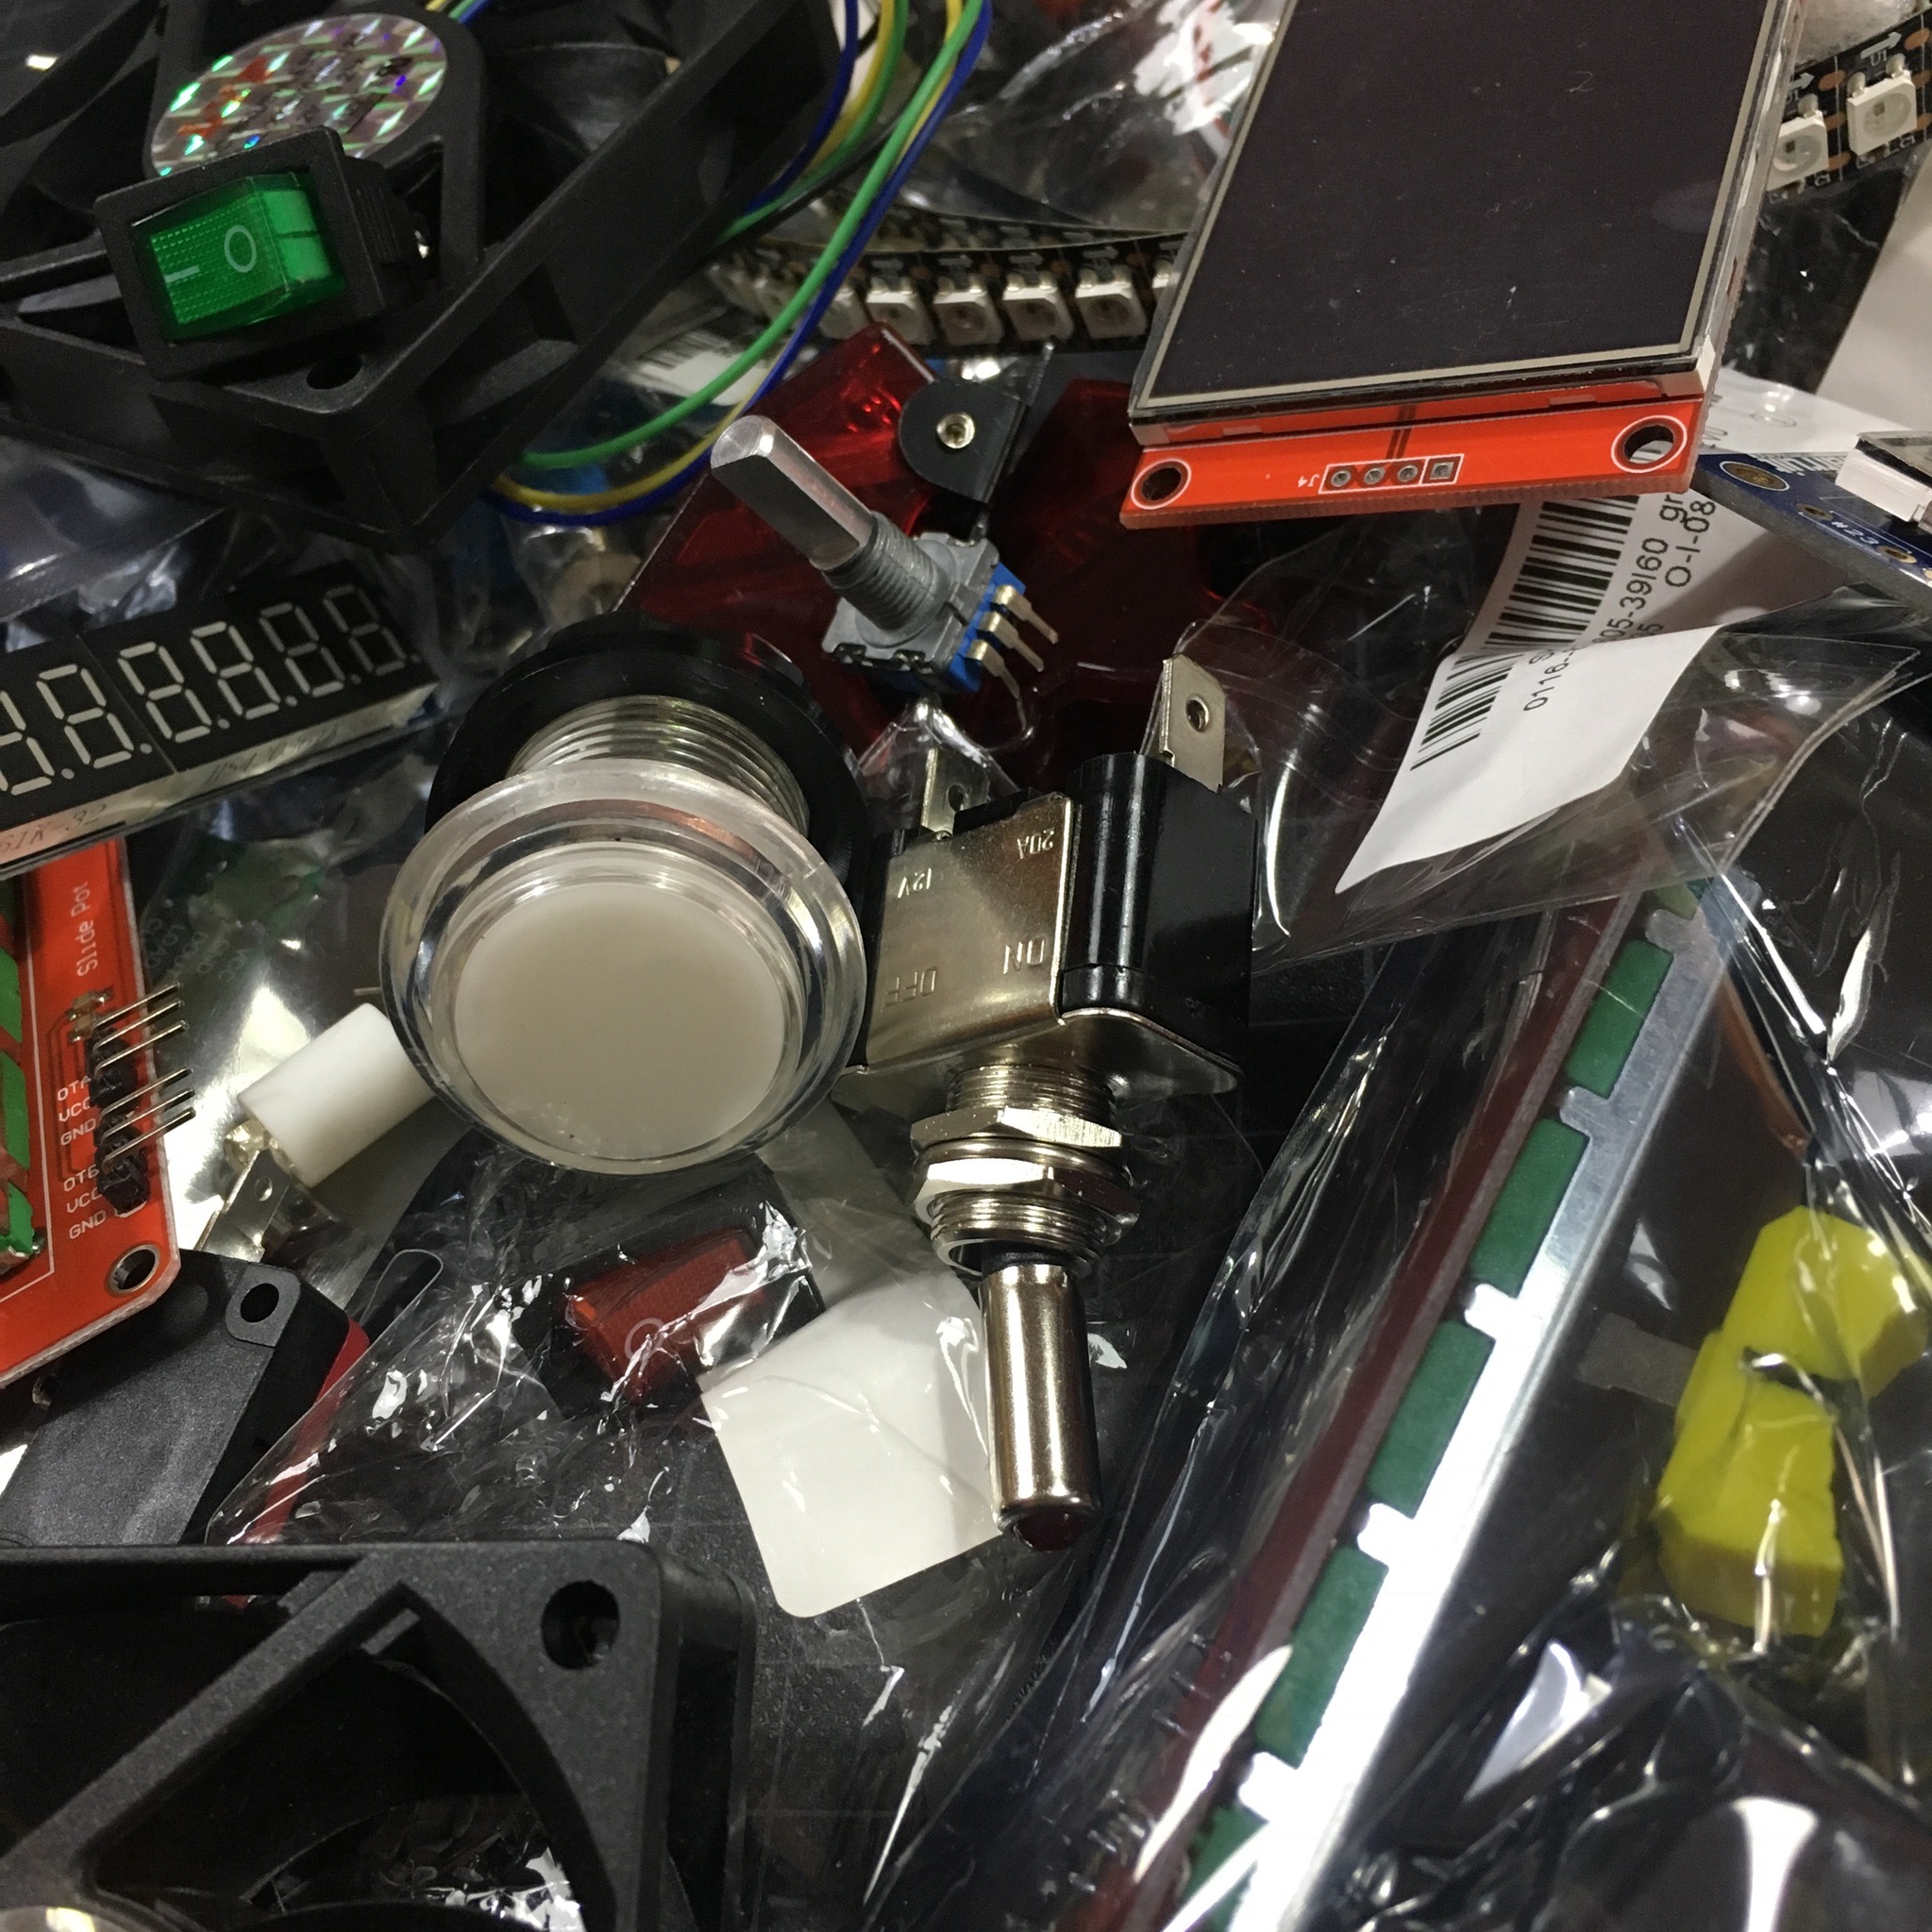
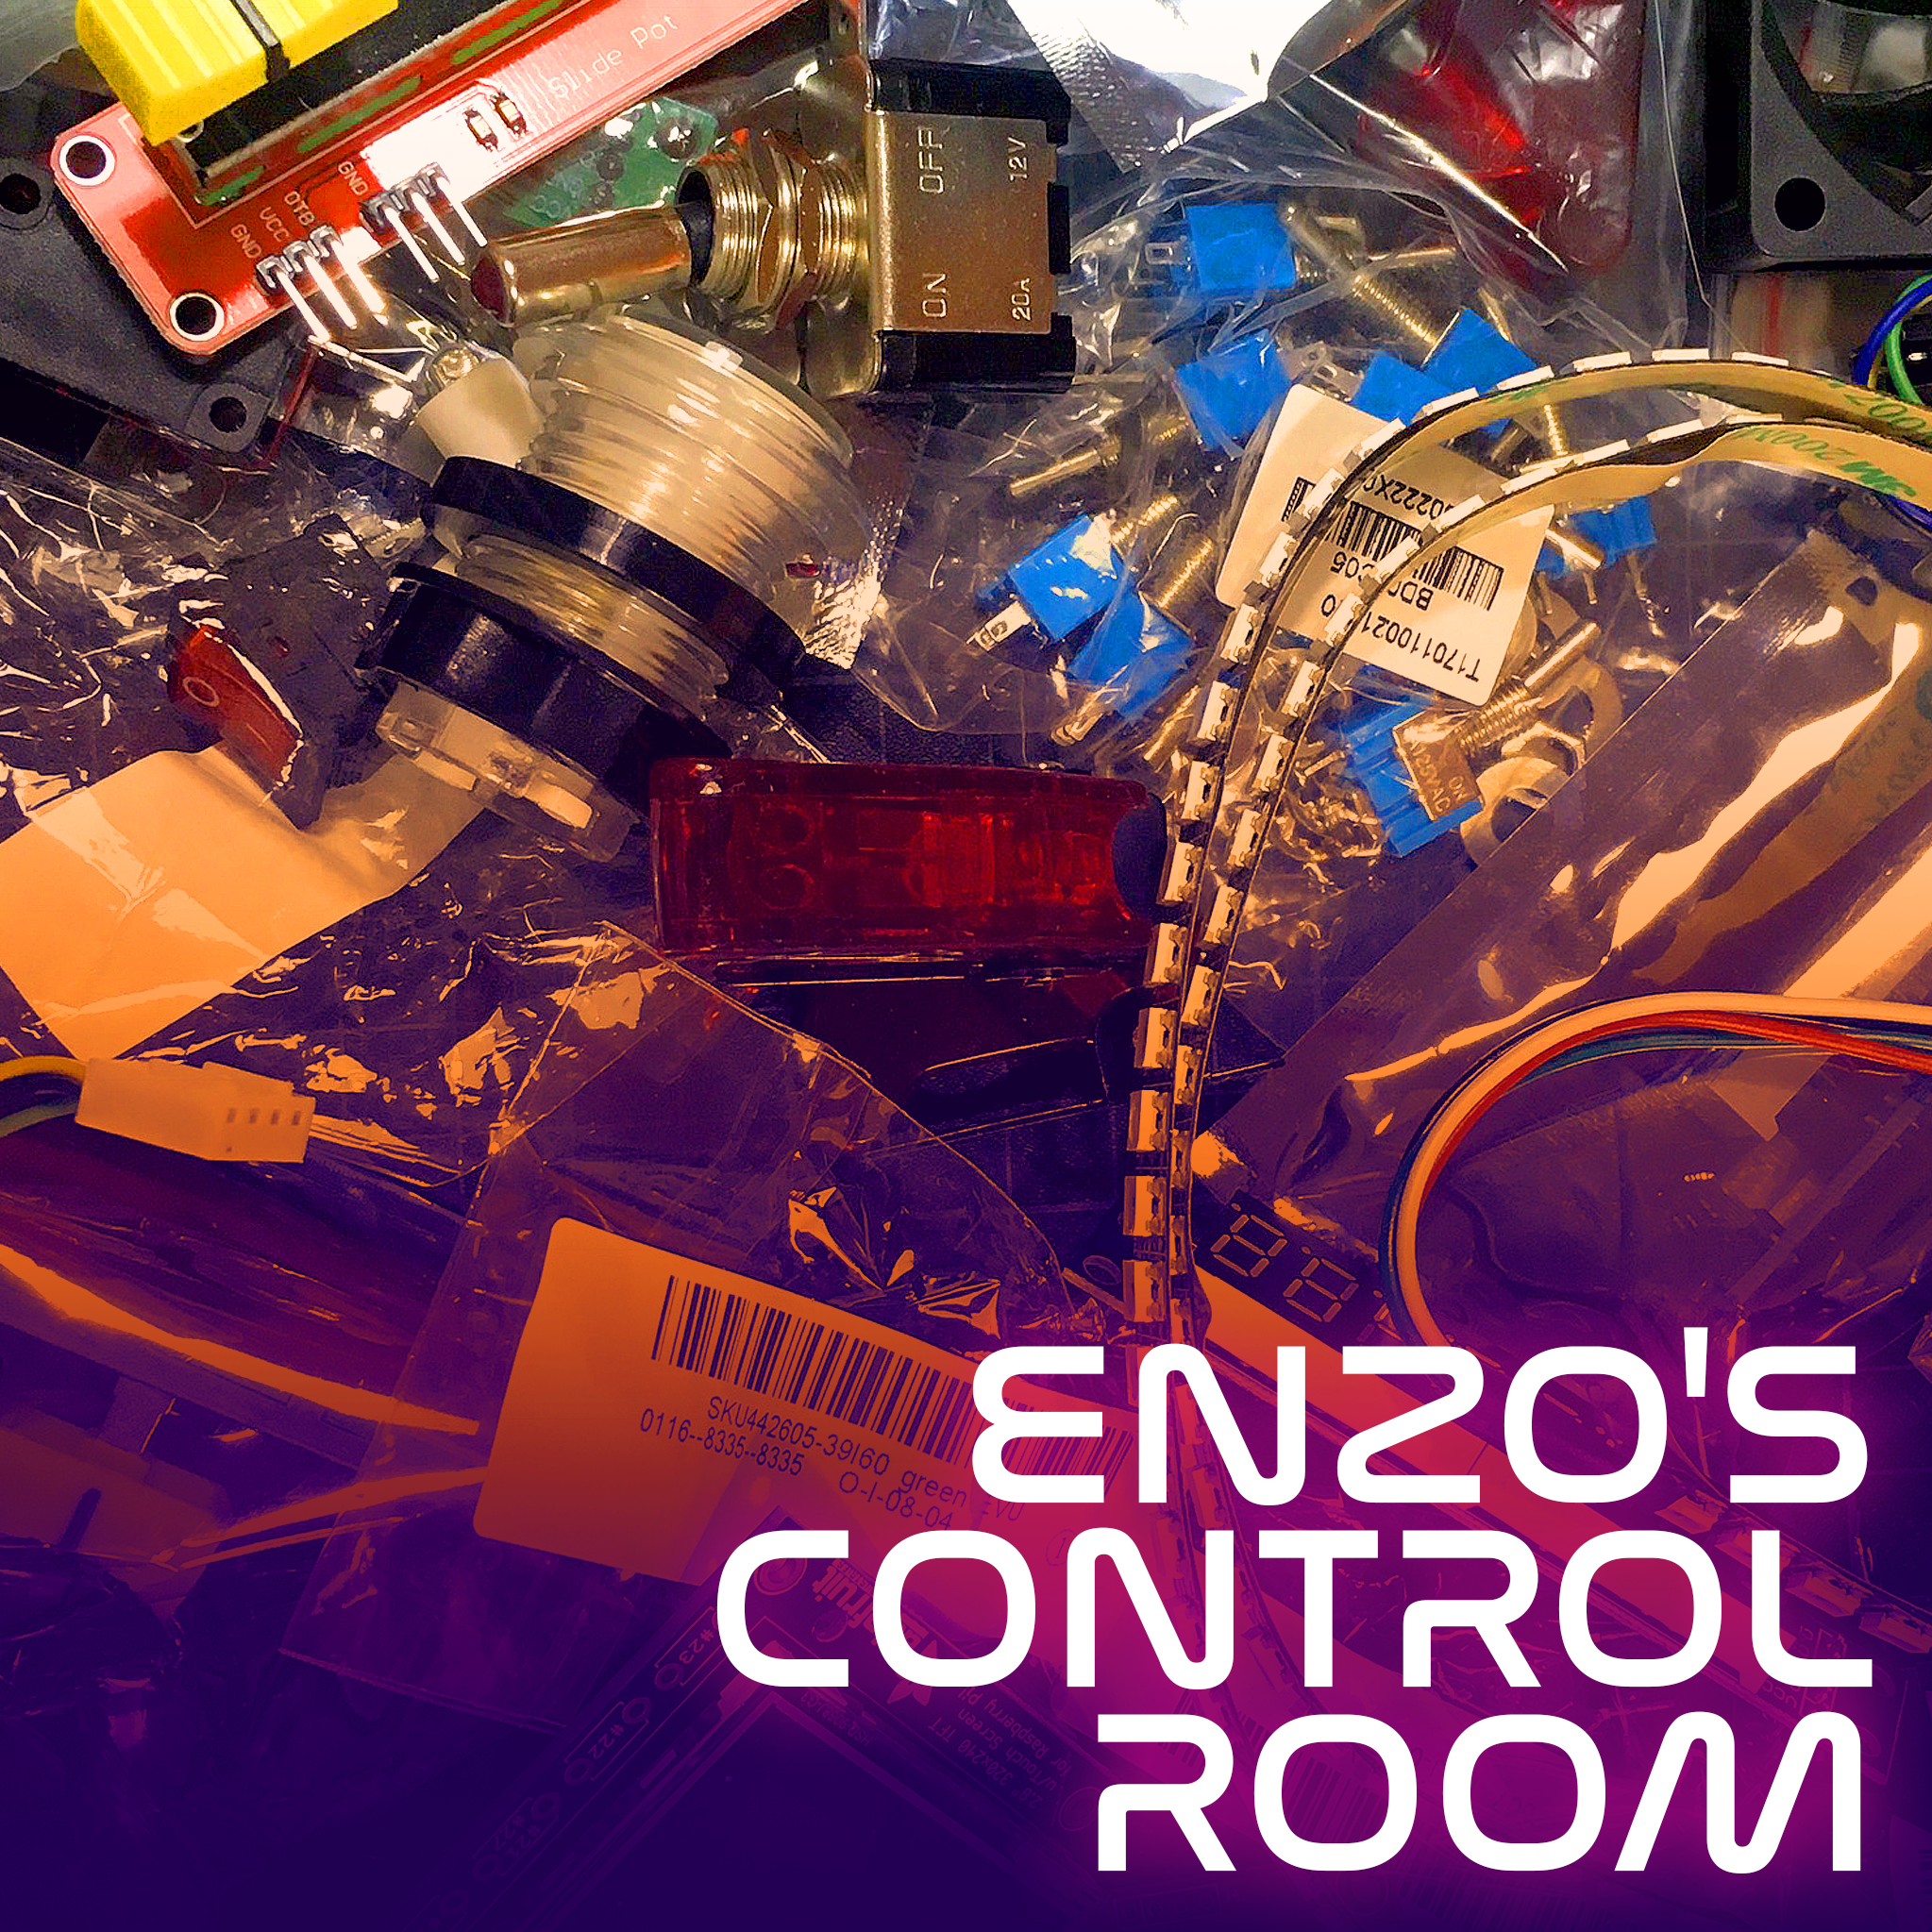
Luckily, my preferred supplier was able to help me source all the necessary parts for this project. It really felt like I was shopping in Charlie’s chocolate factory!
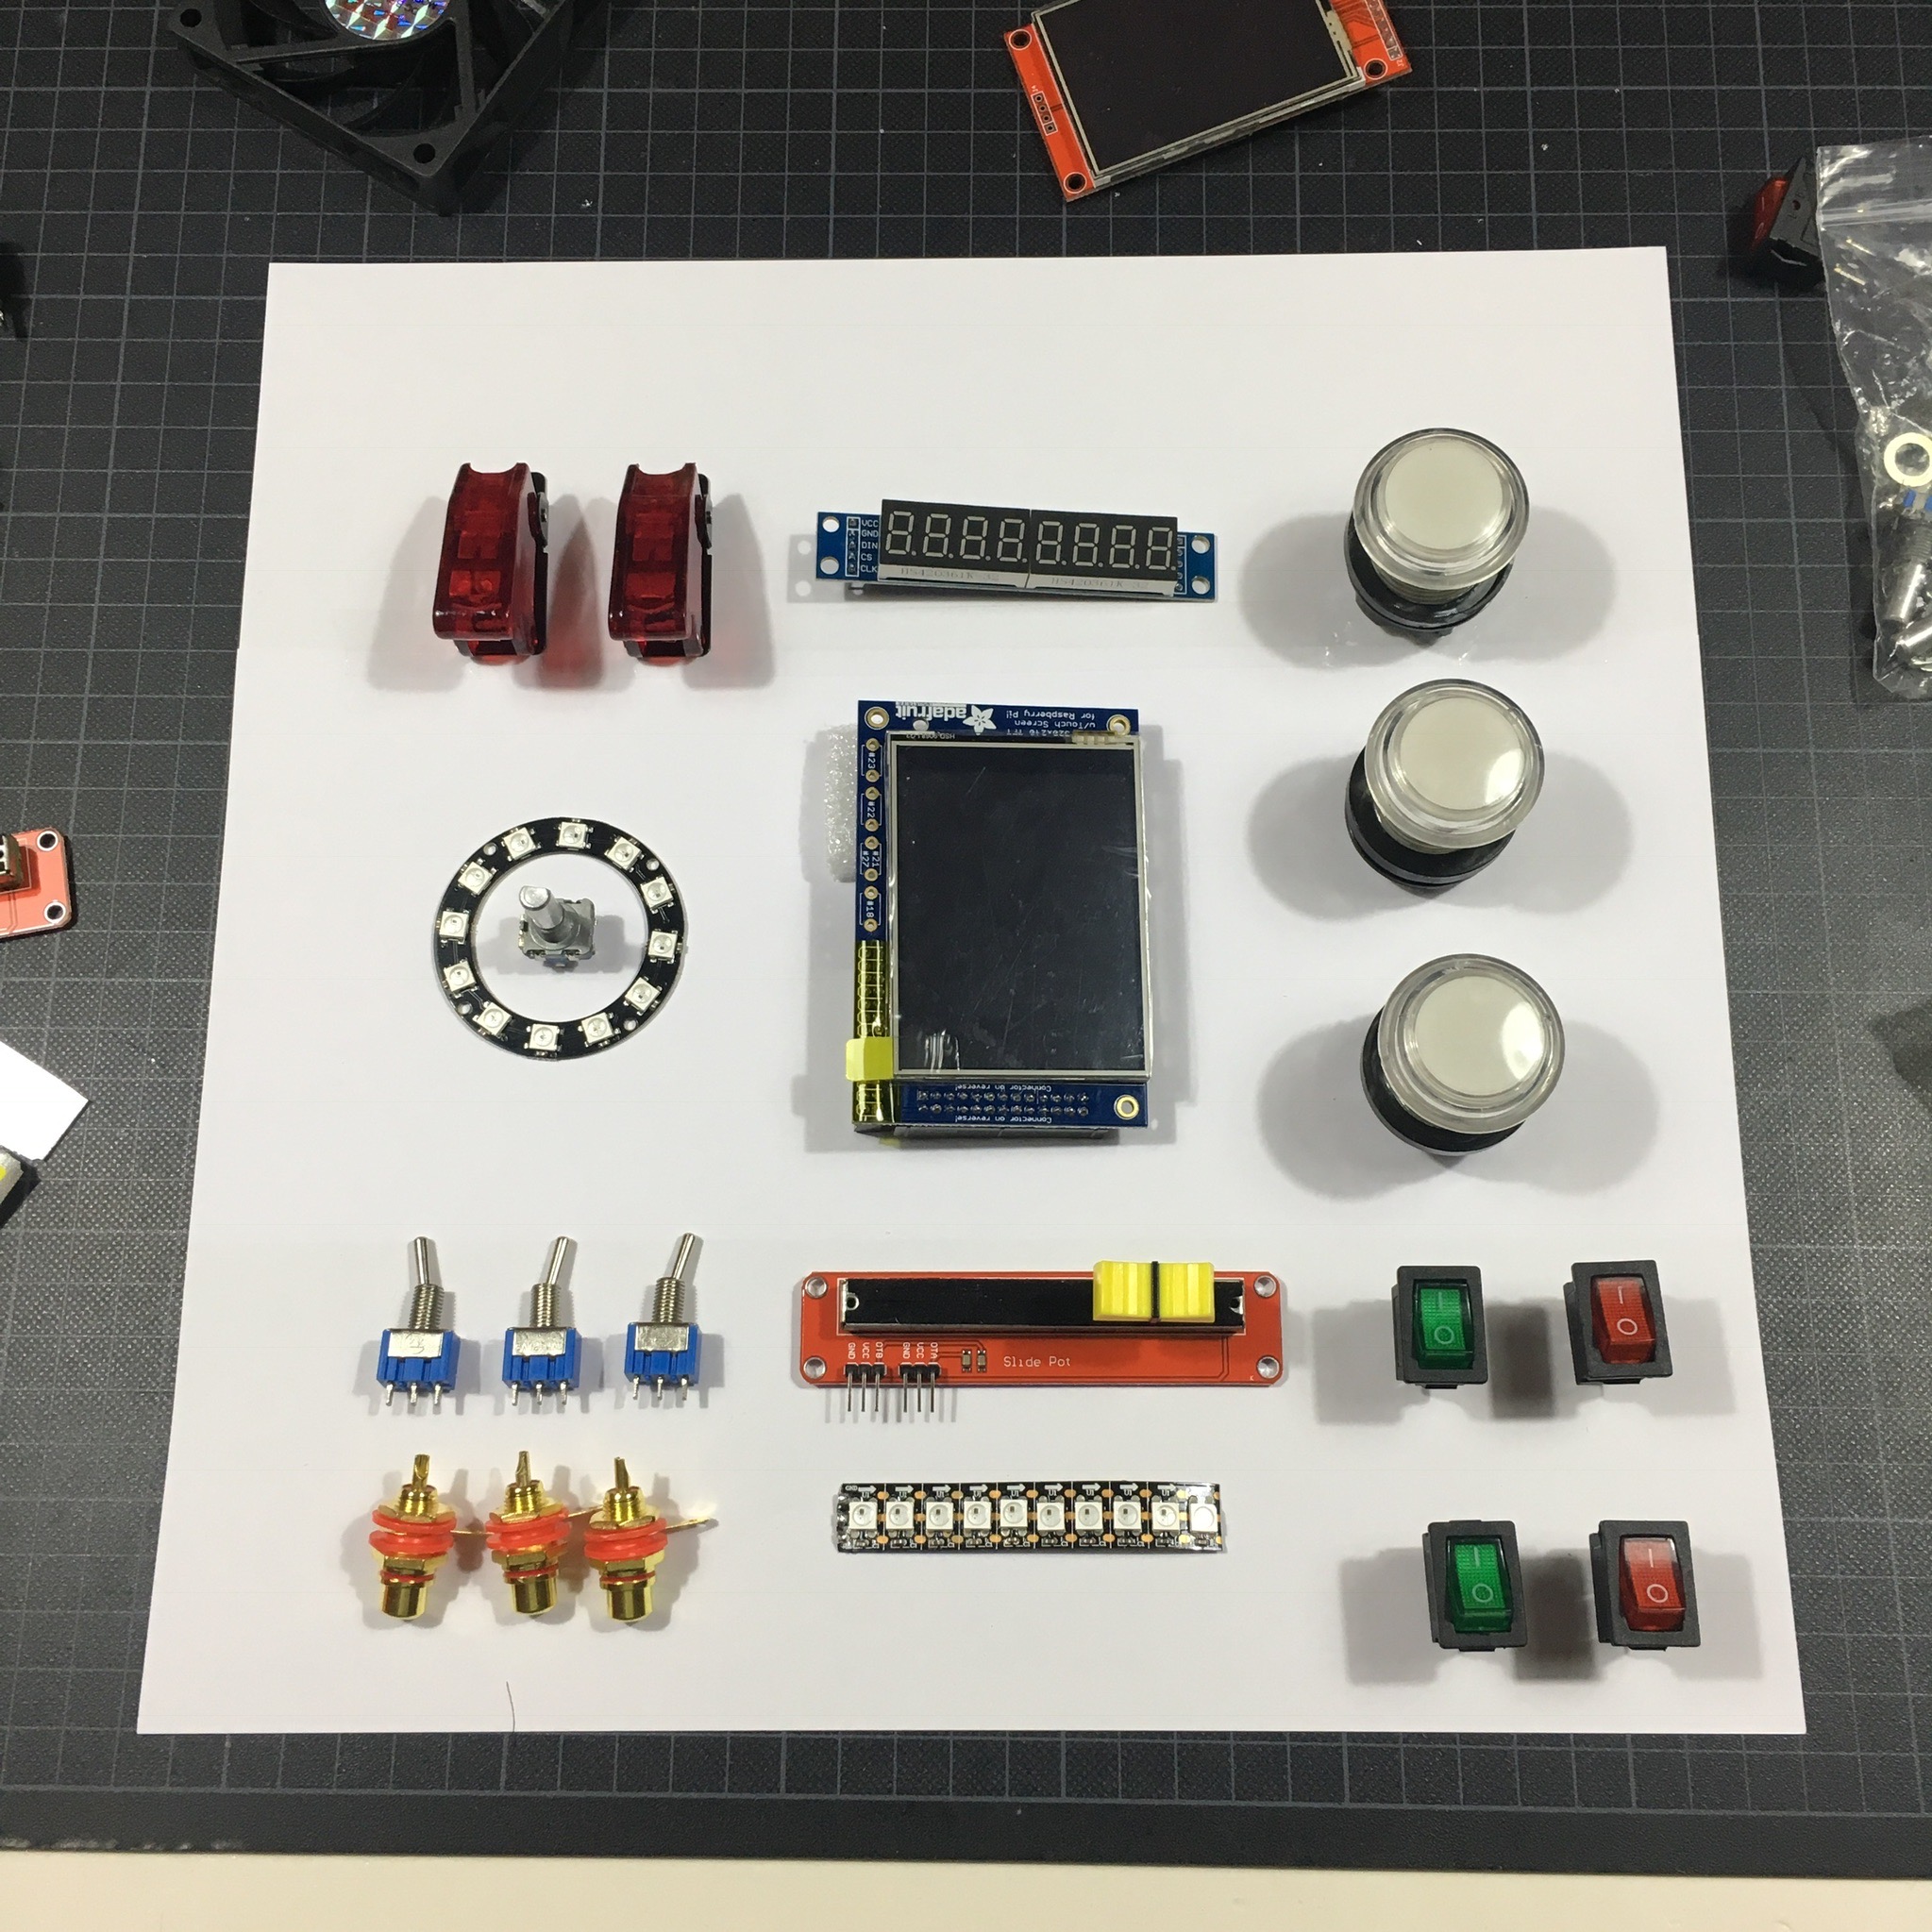
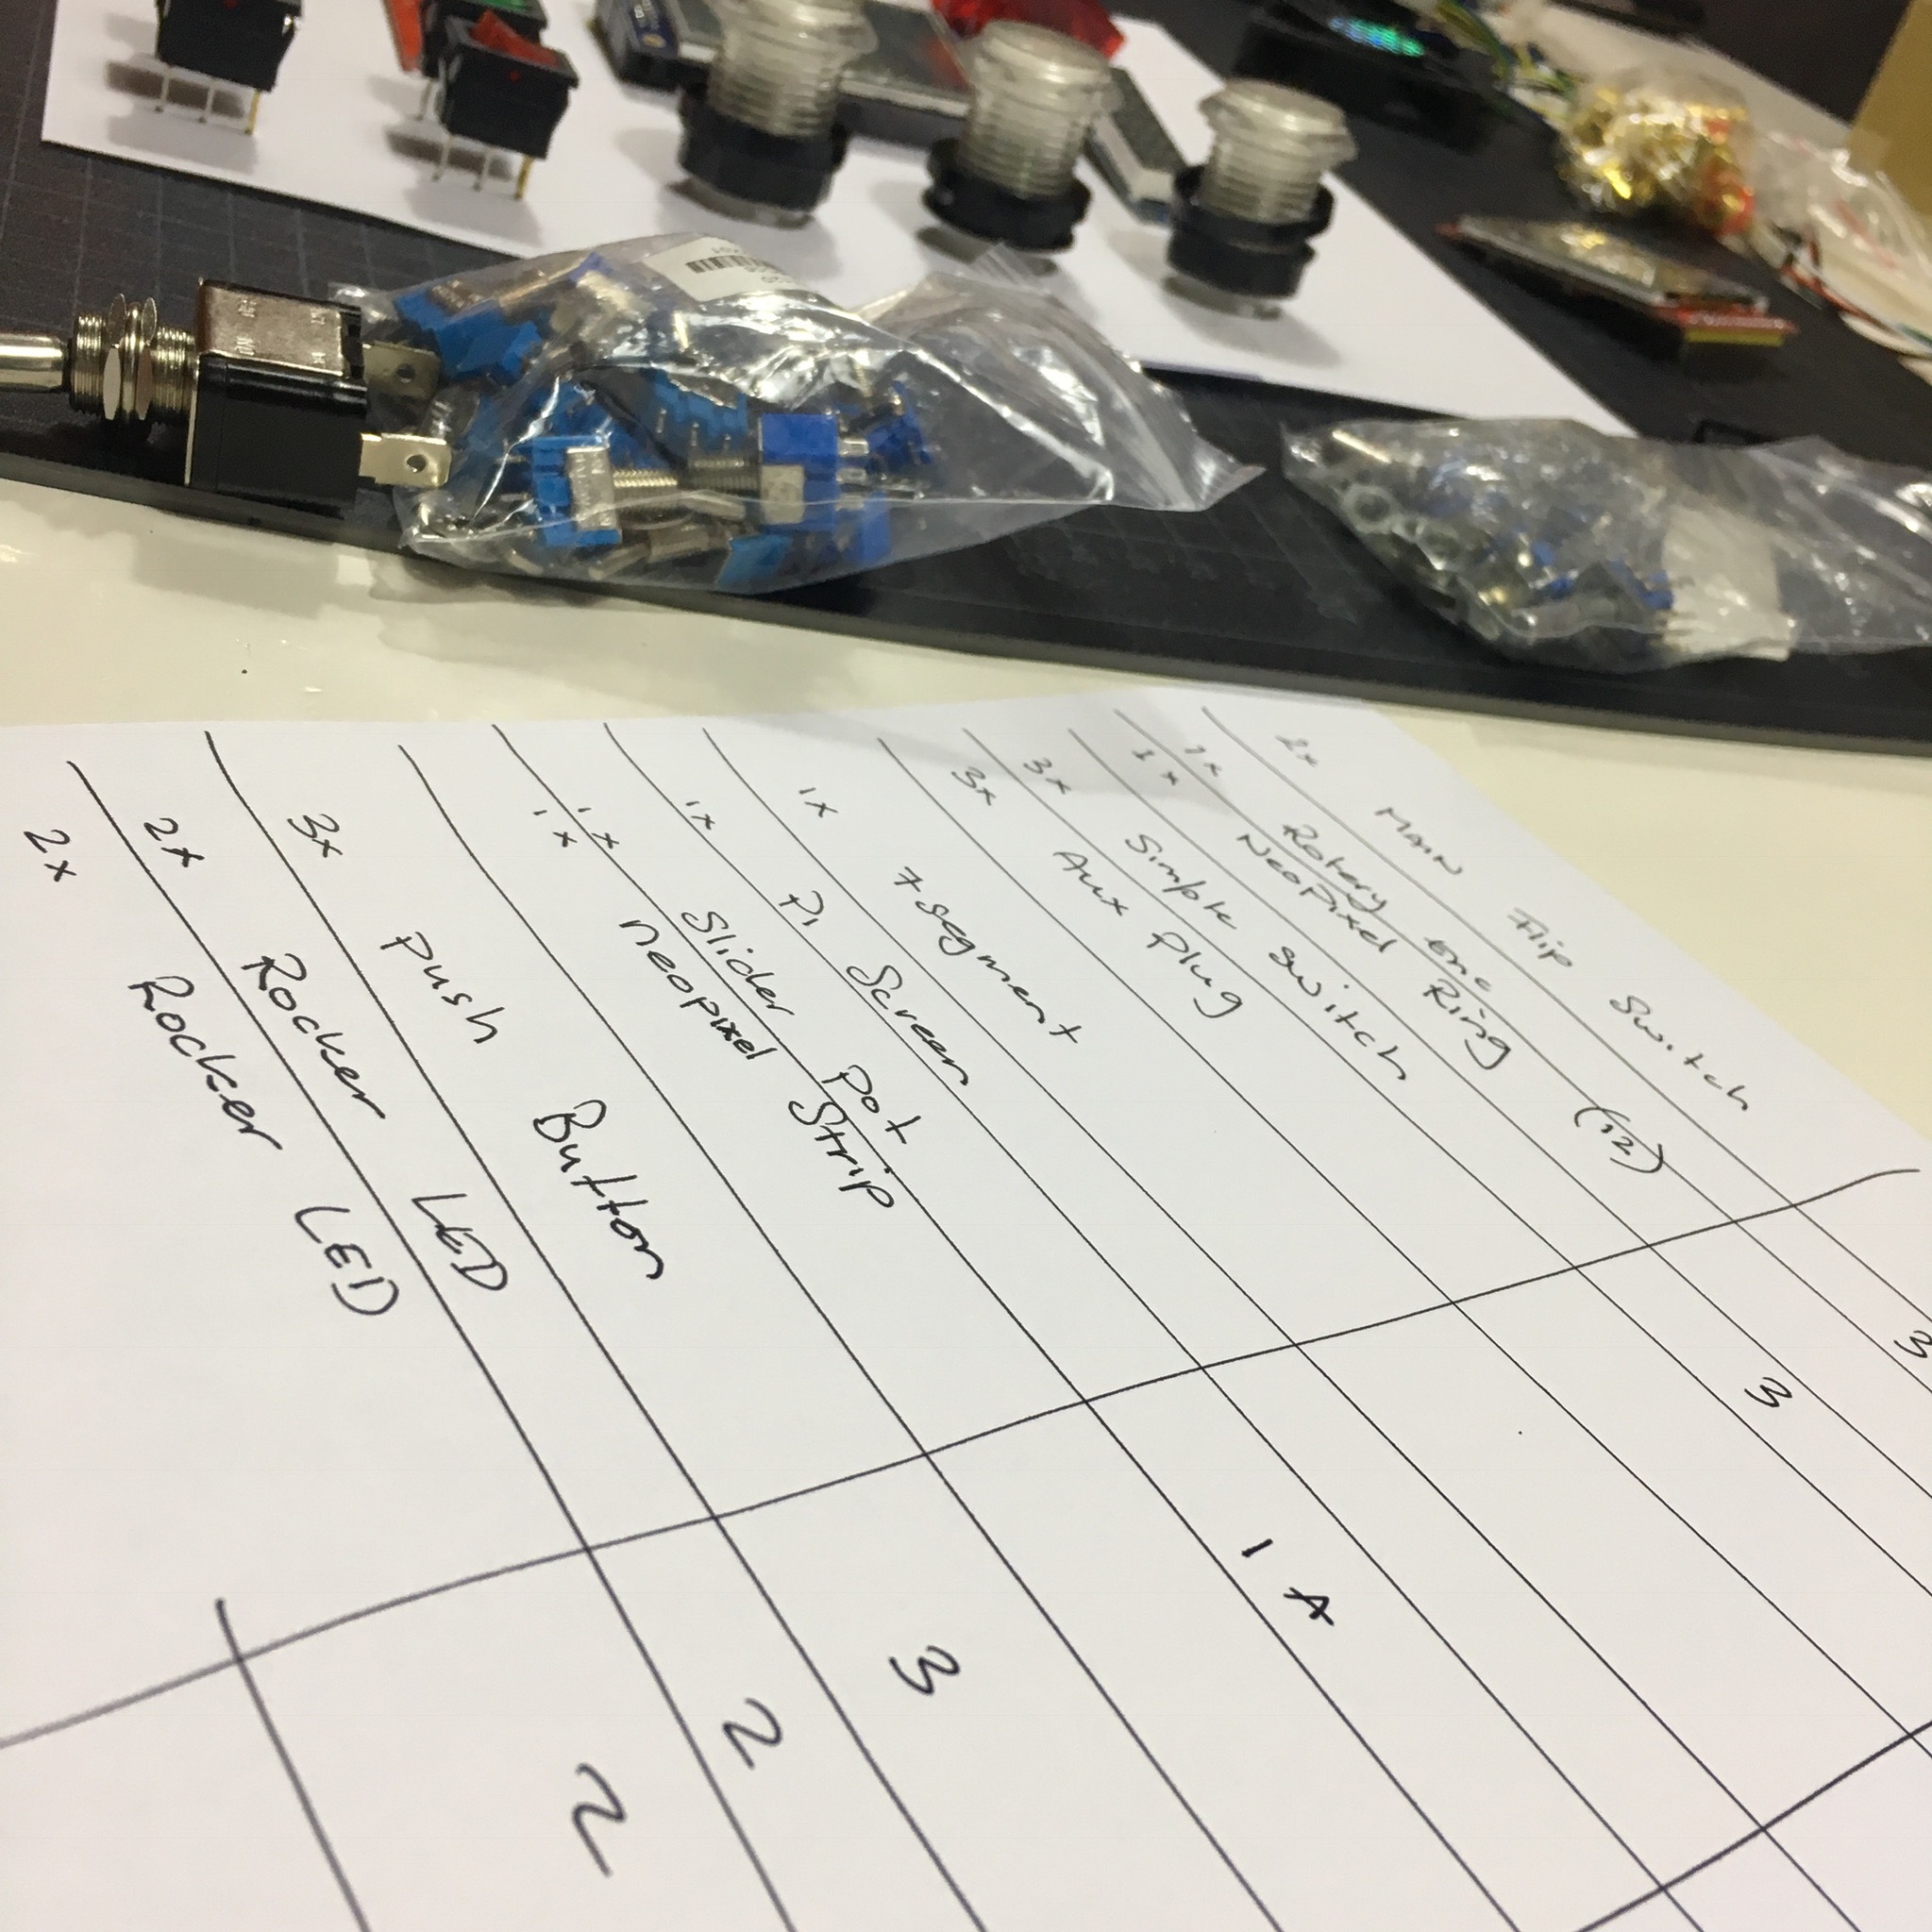
To get an idea of the space I have, I took a piece of paper of the approximate size of the acrylic front and layed out the parts I want to incorporate. And although this composition isn’t set in stone, it really helps me to visualize the end result.
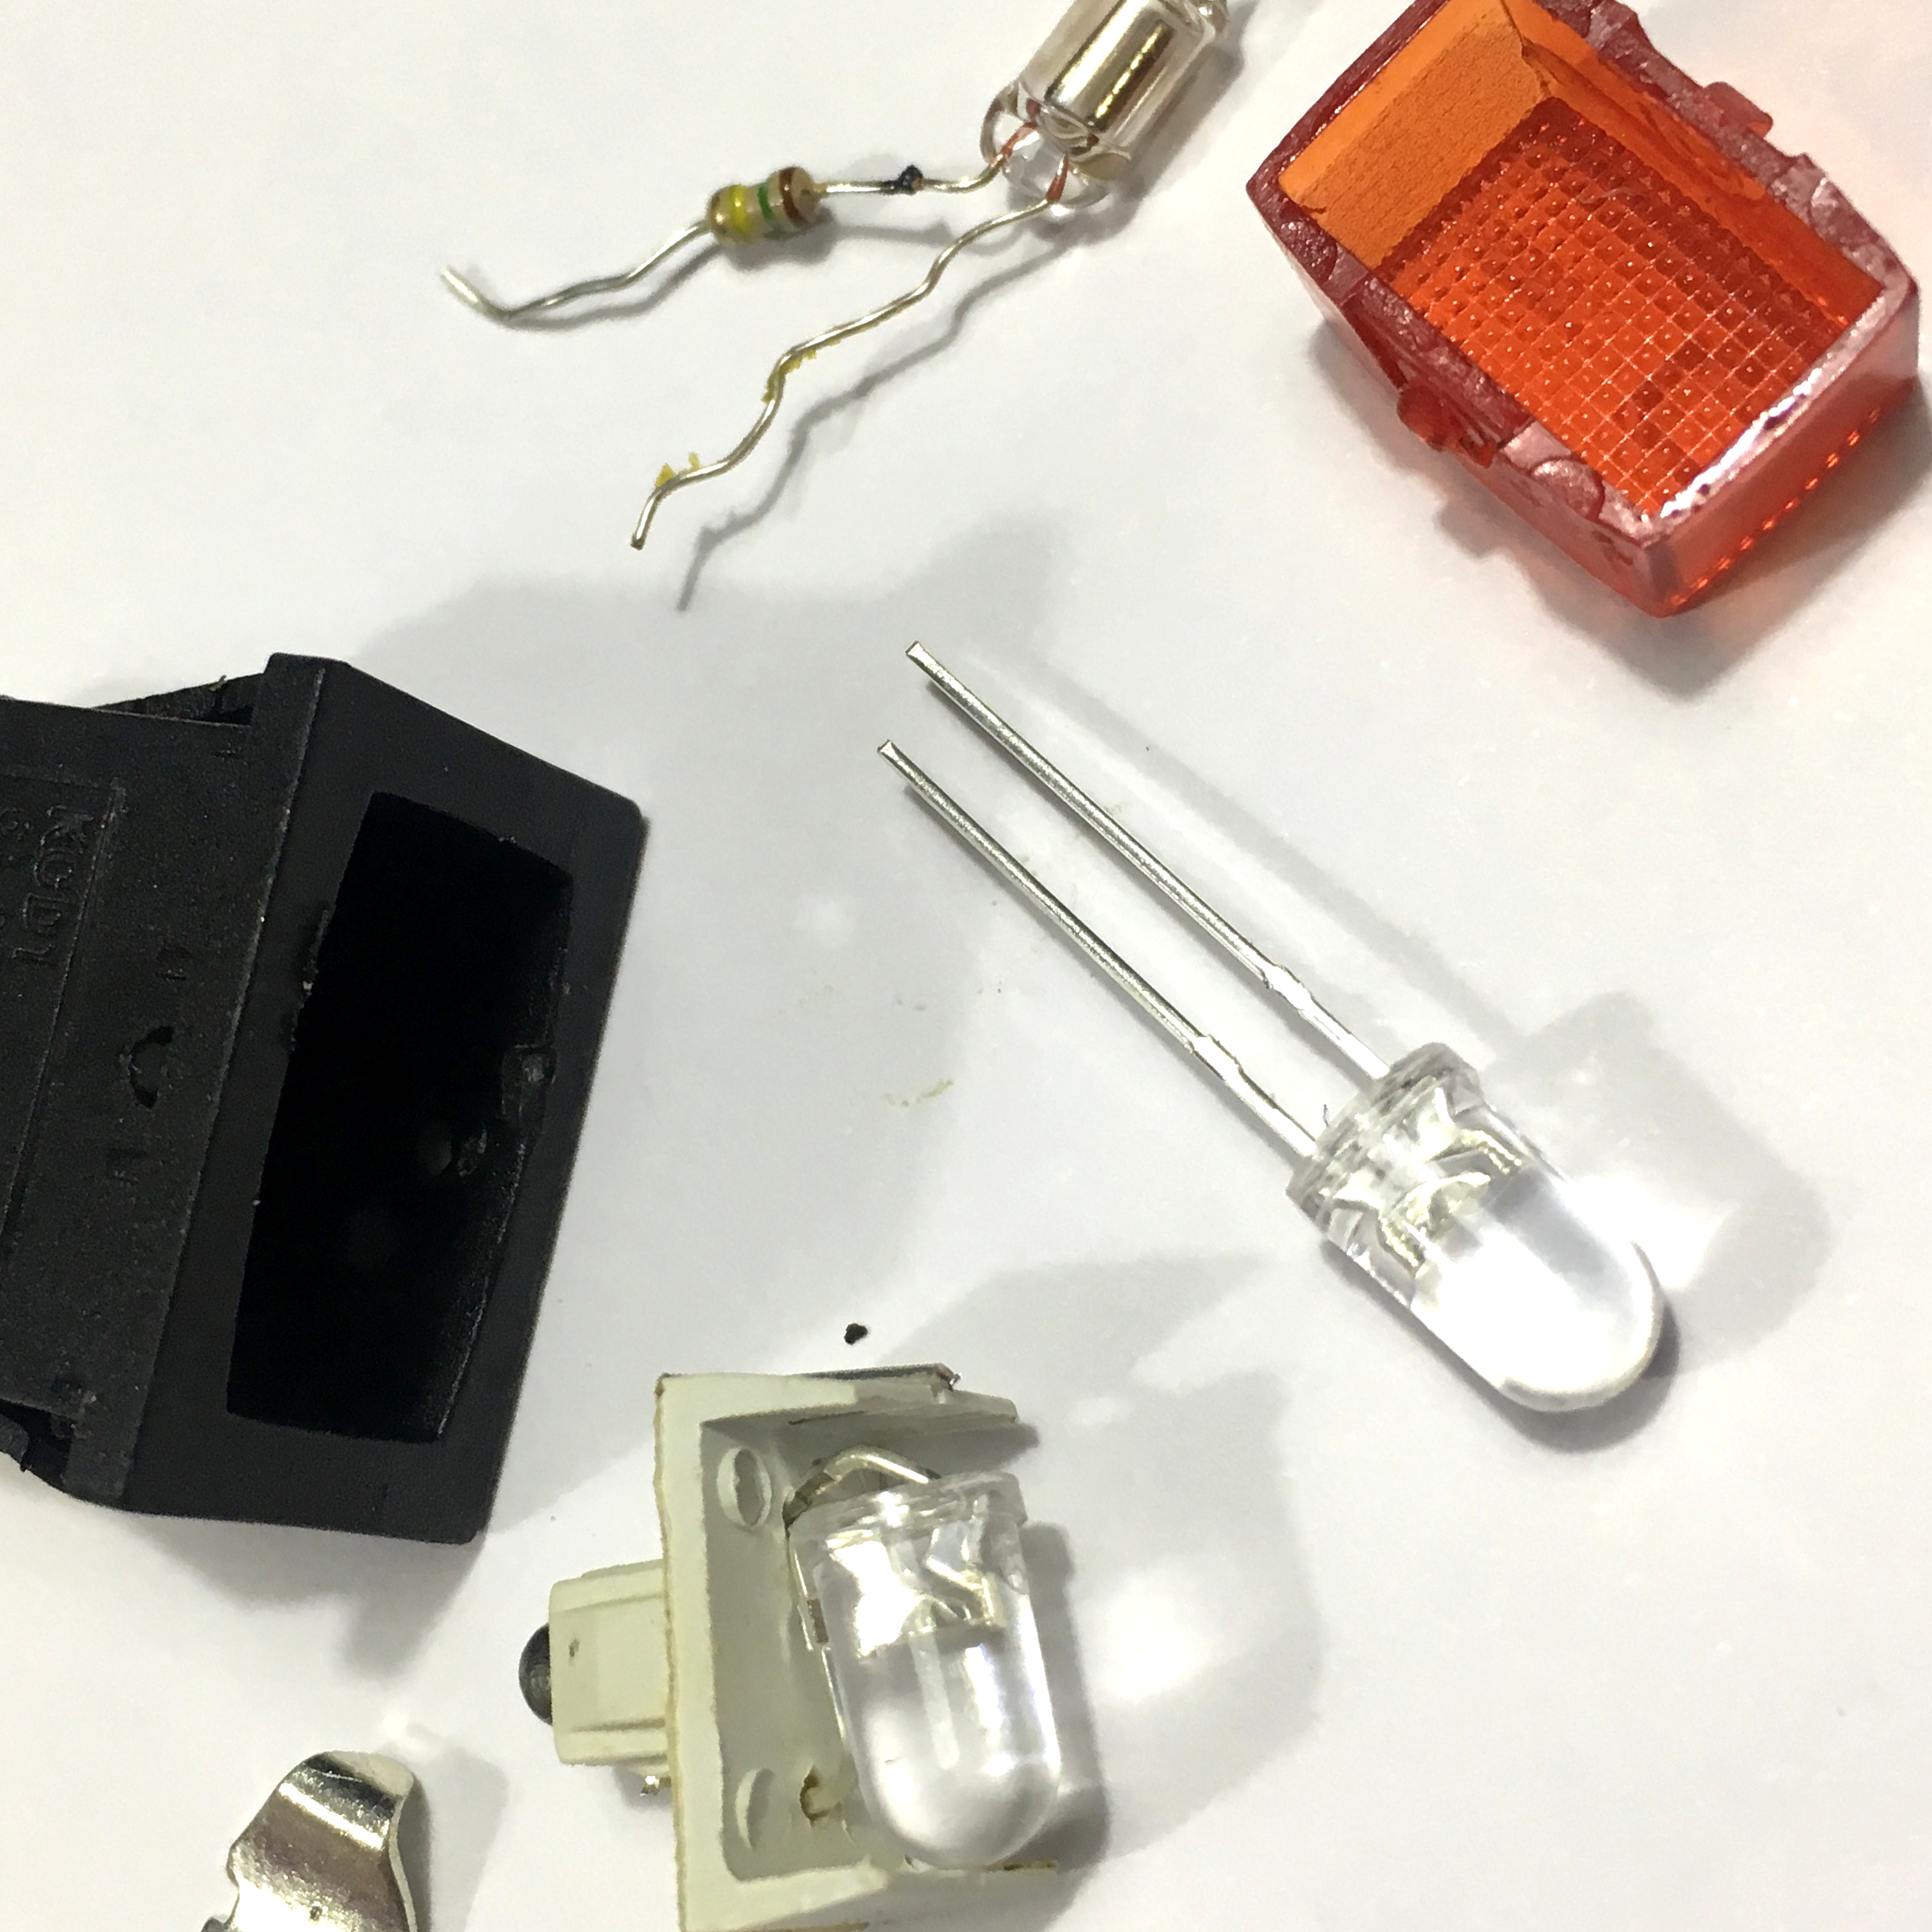
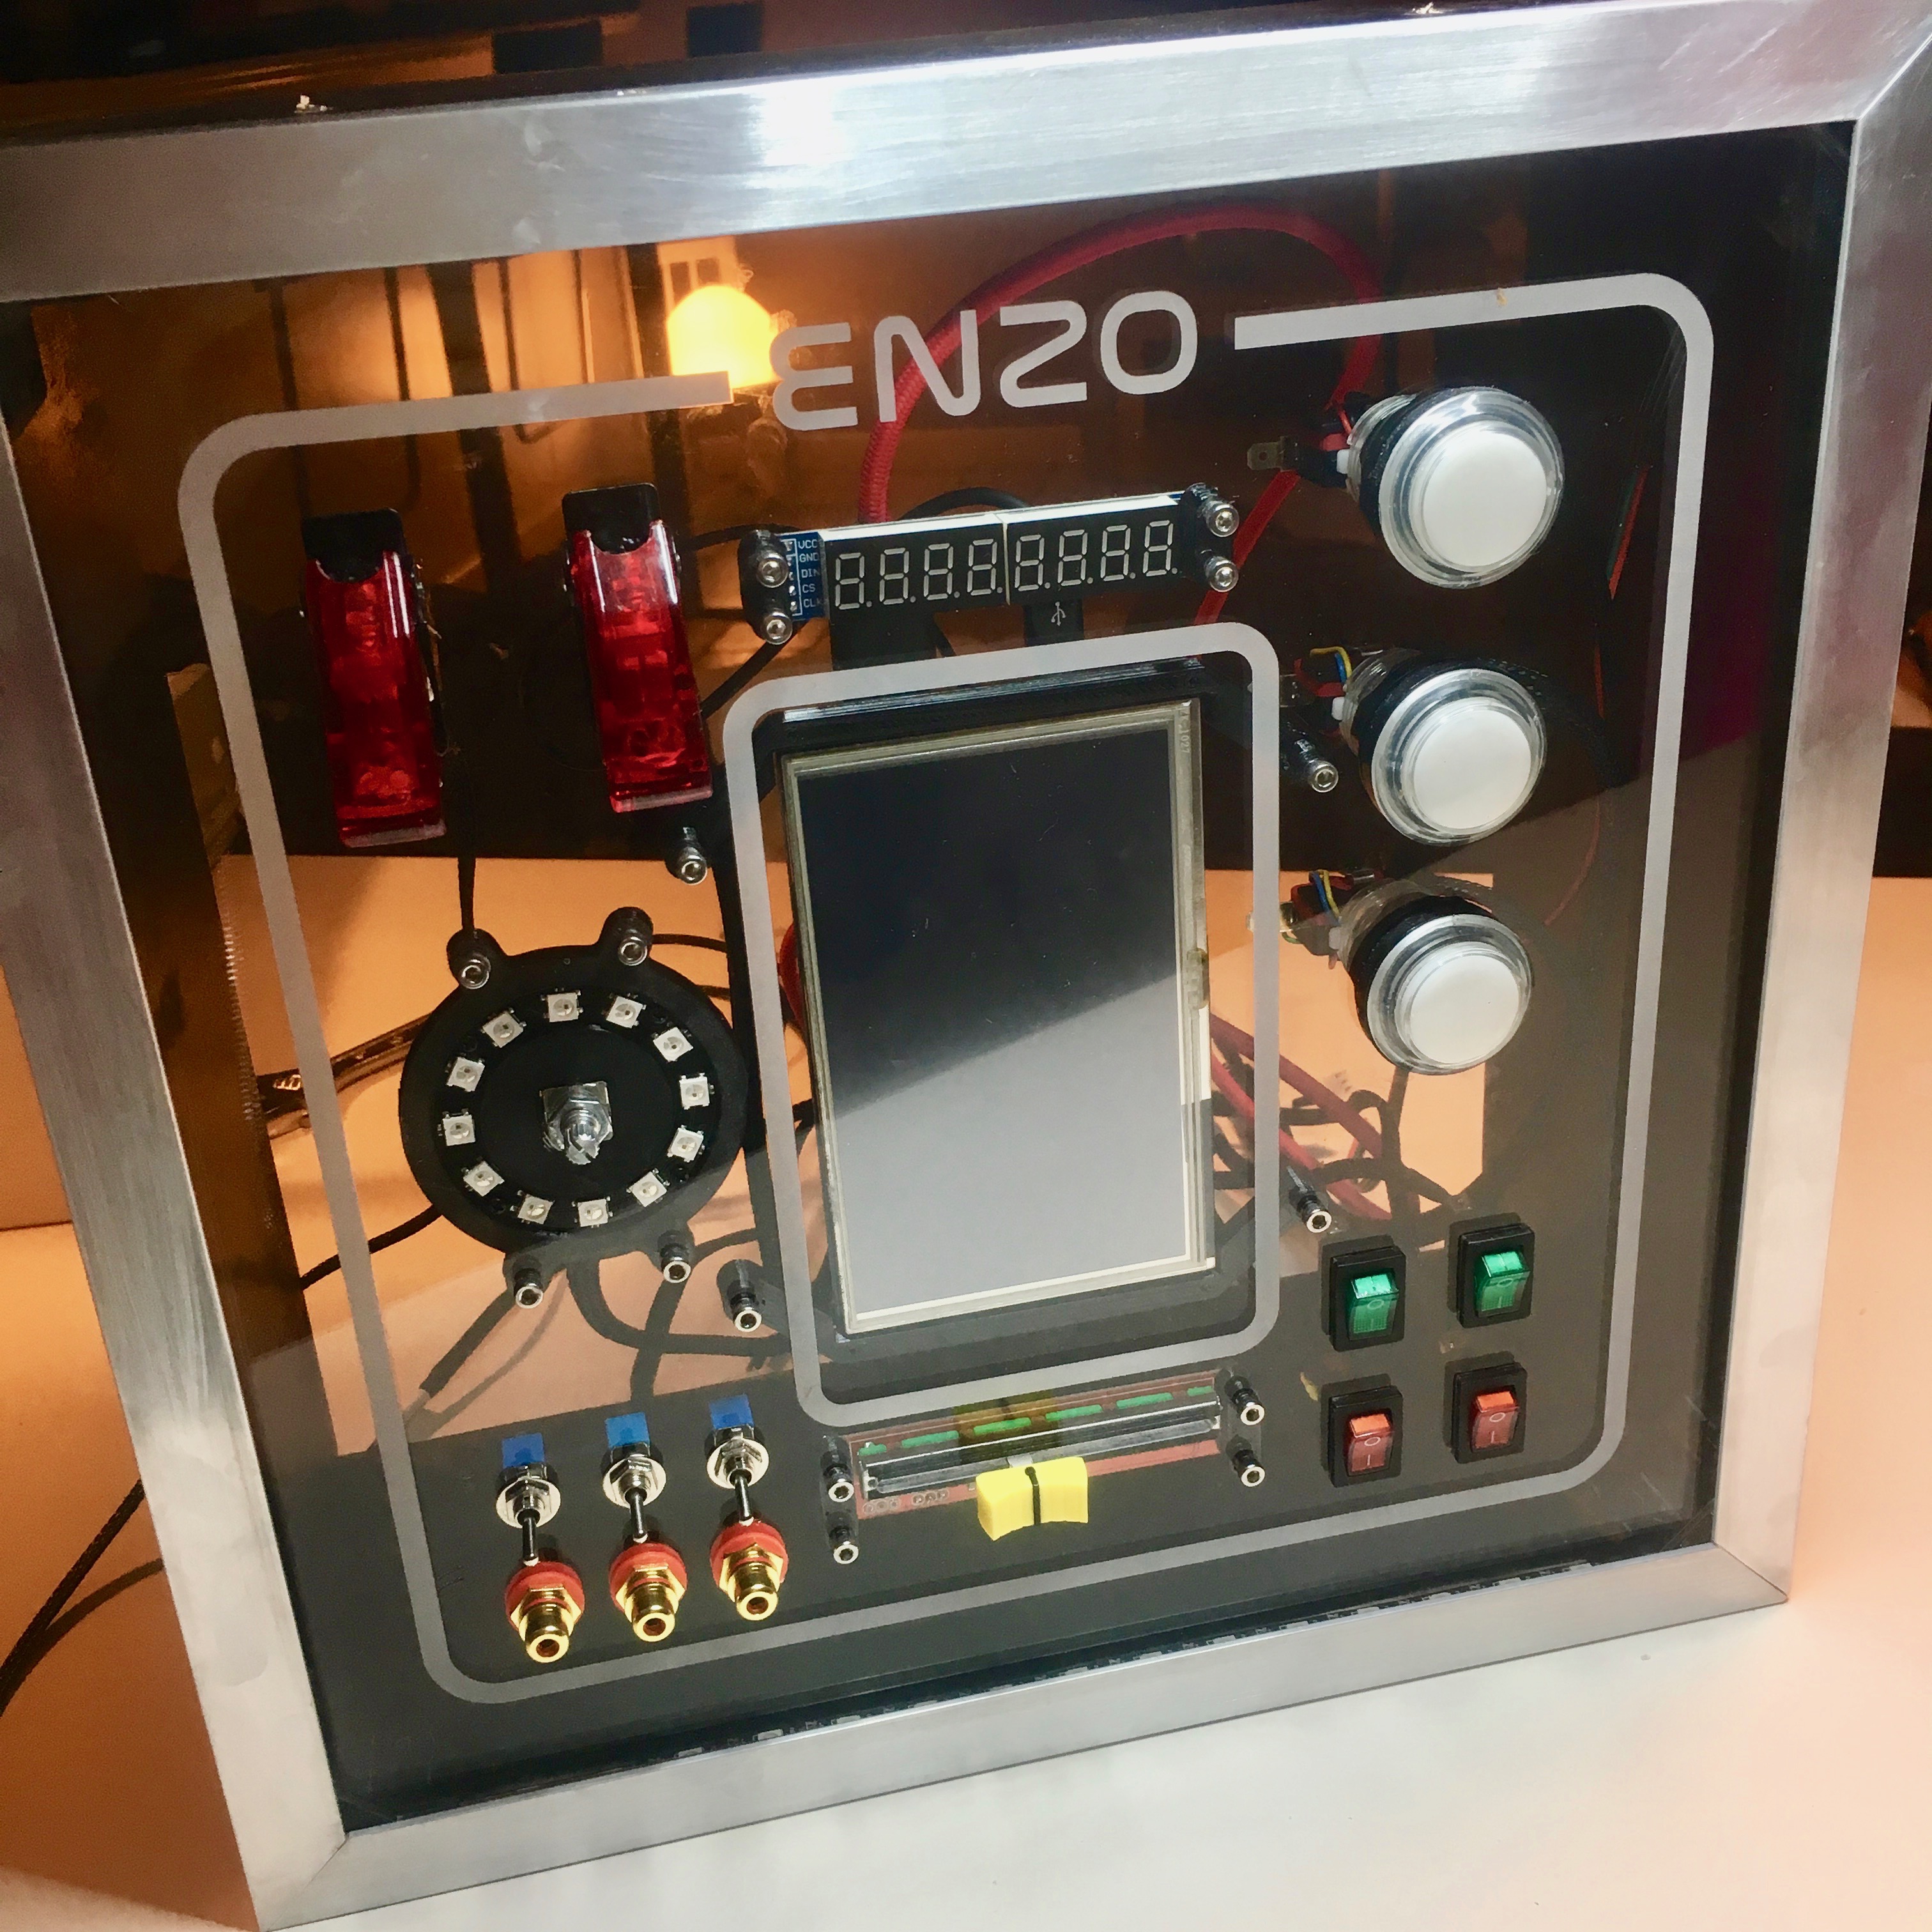
To give you an idea of the parts I want to incorporate, let’s review them left to right, top to bottom:
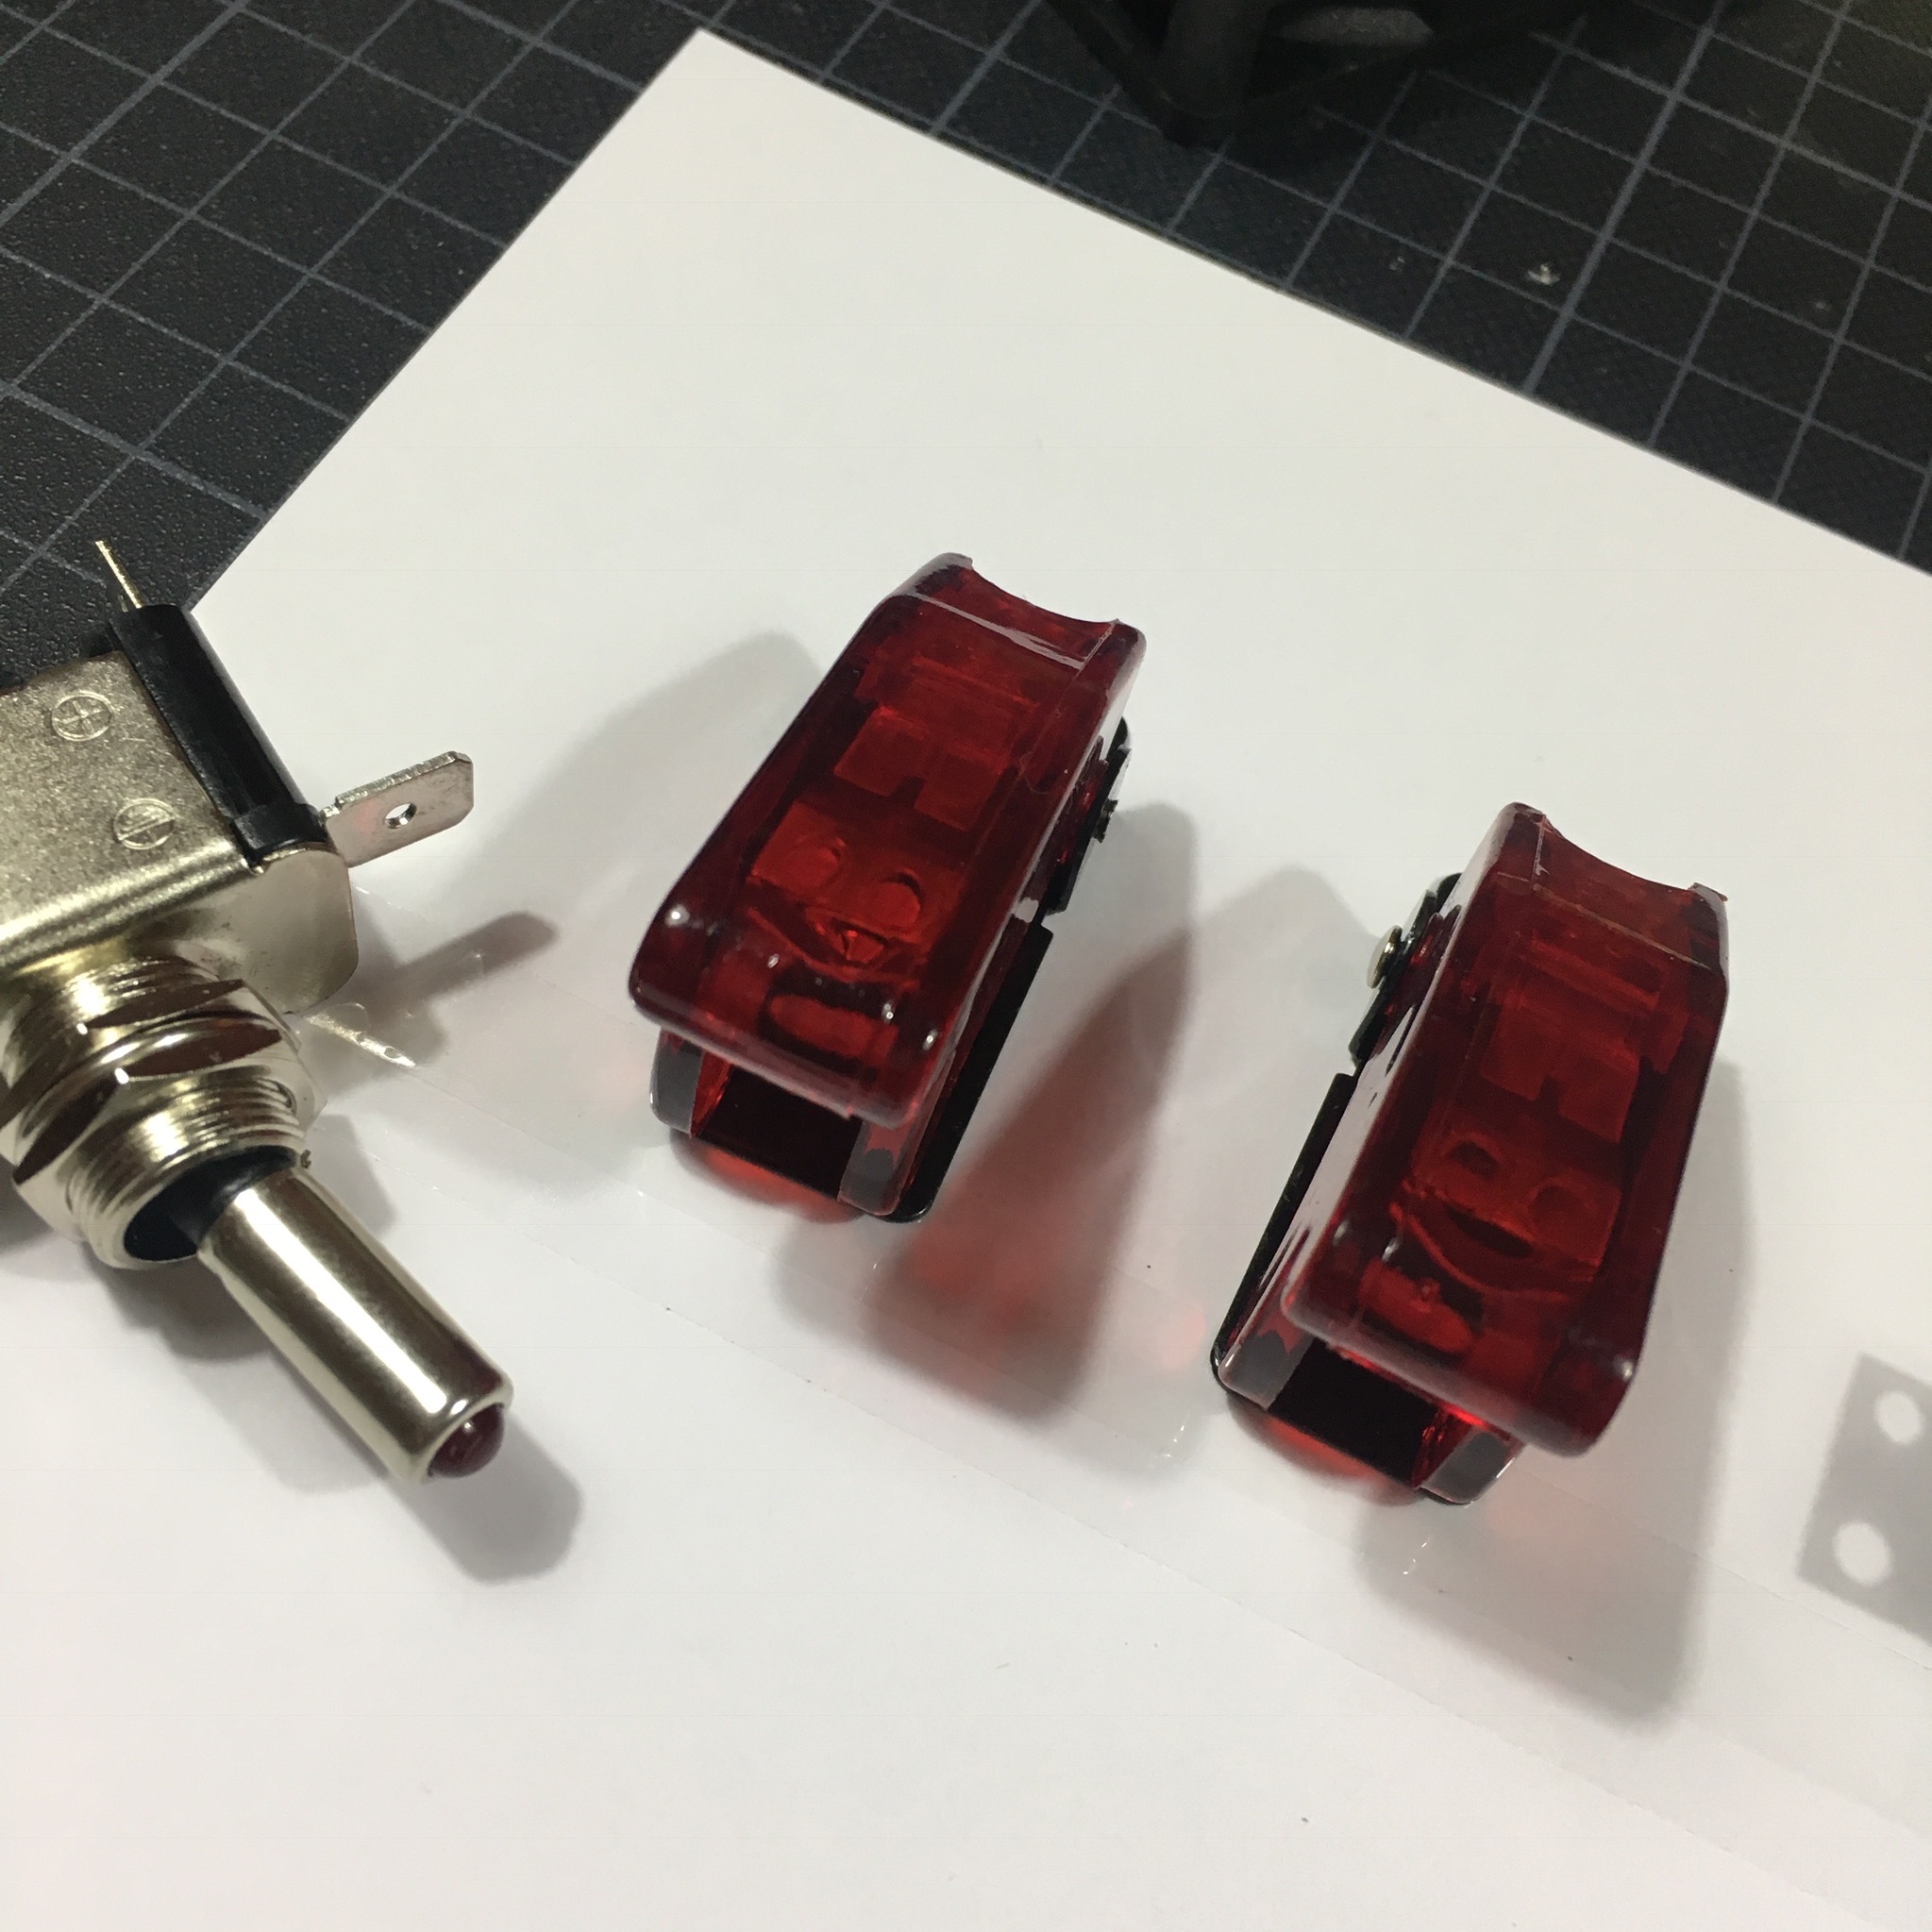
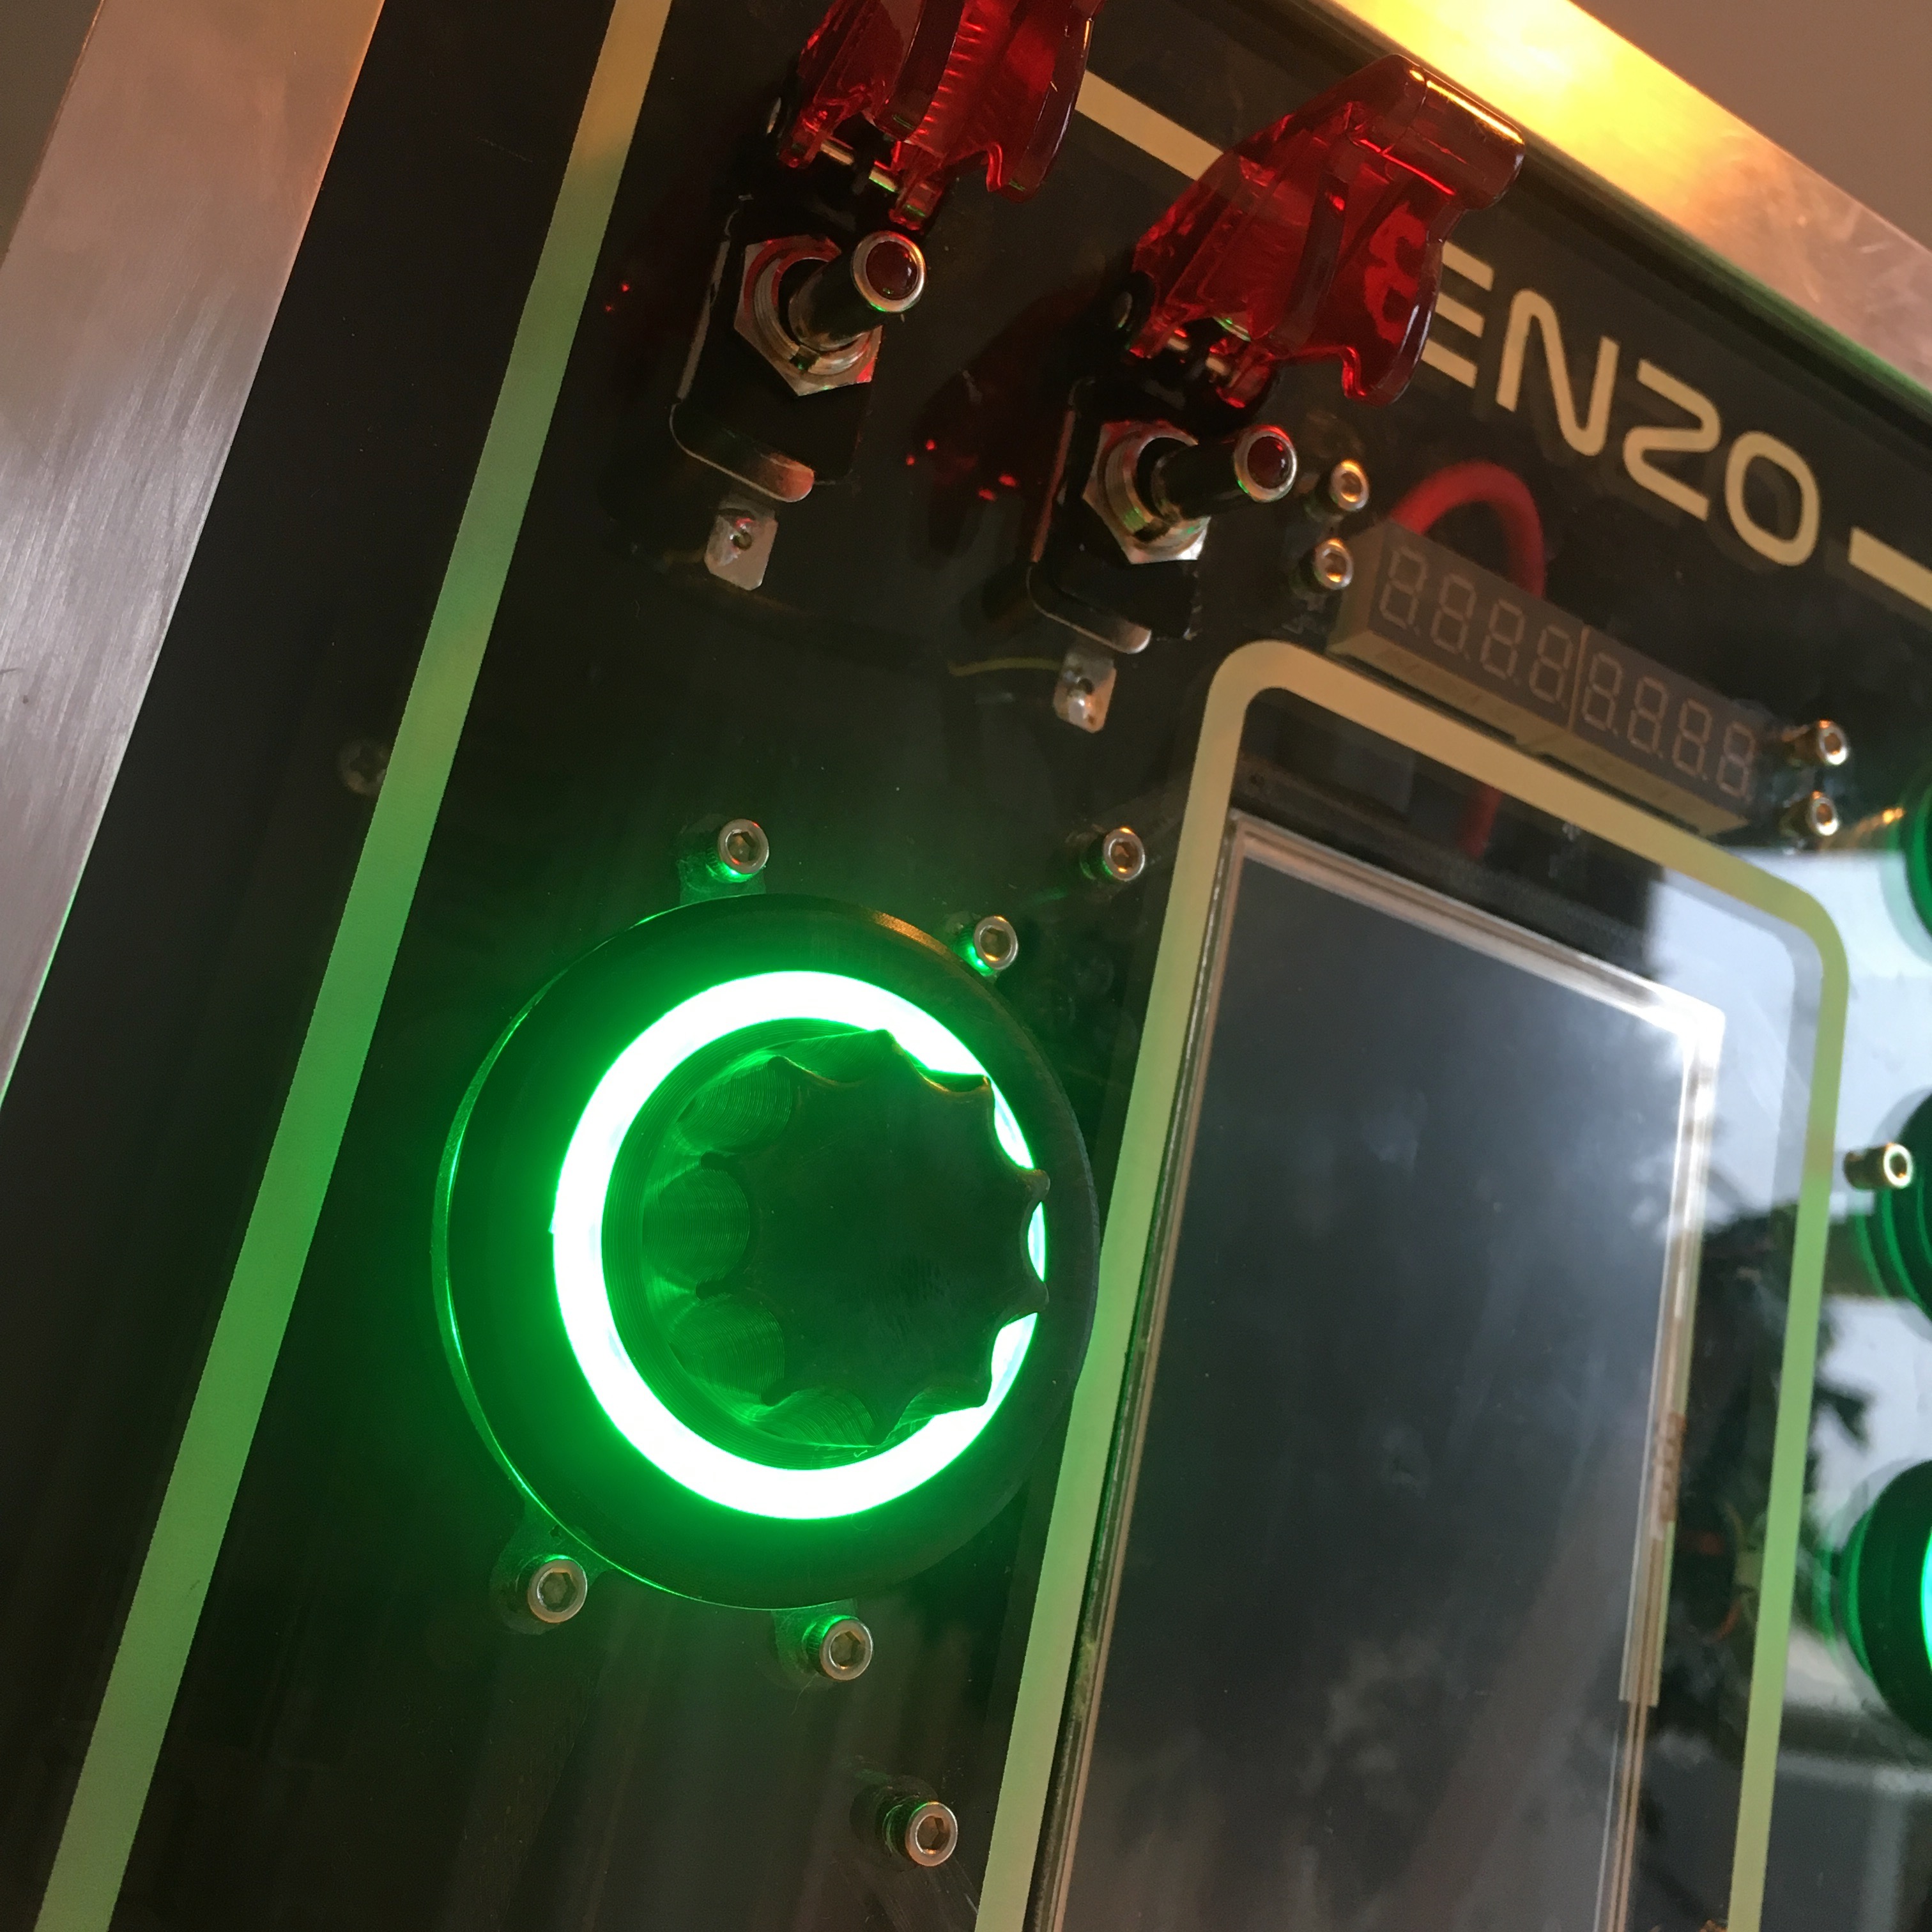
In the top left you see the main toggle switches. These are the big boys! They have an integrated LED and are protected with a spring loaded cover. Enzo better knows what he’s doing when he flips these switches!

Below the big boys, I’ll add a rotary encoder. Unlimited rotation and a button press. Of course, we need to get some visual feedback, so I’ll add a 12 pixel NeoPixel LED ring around it.
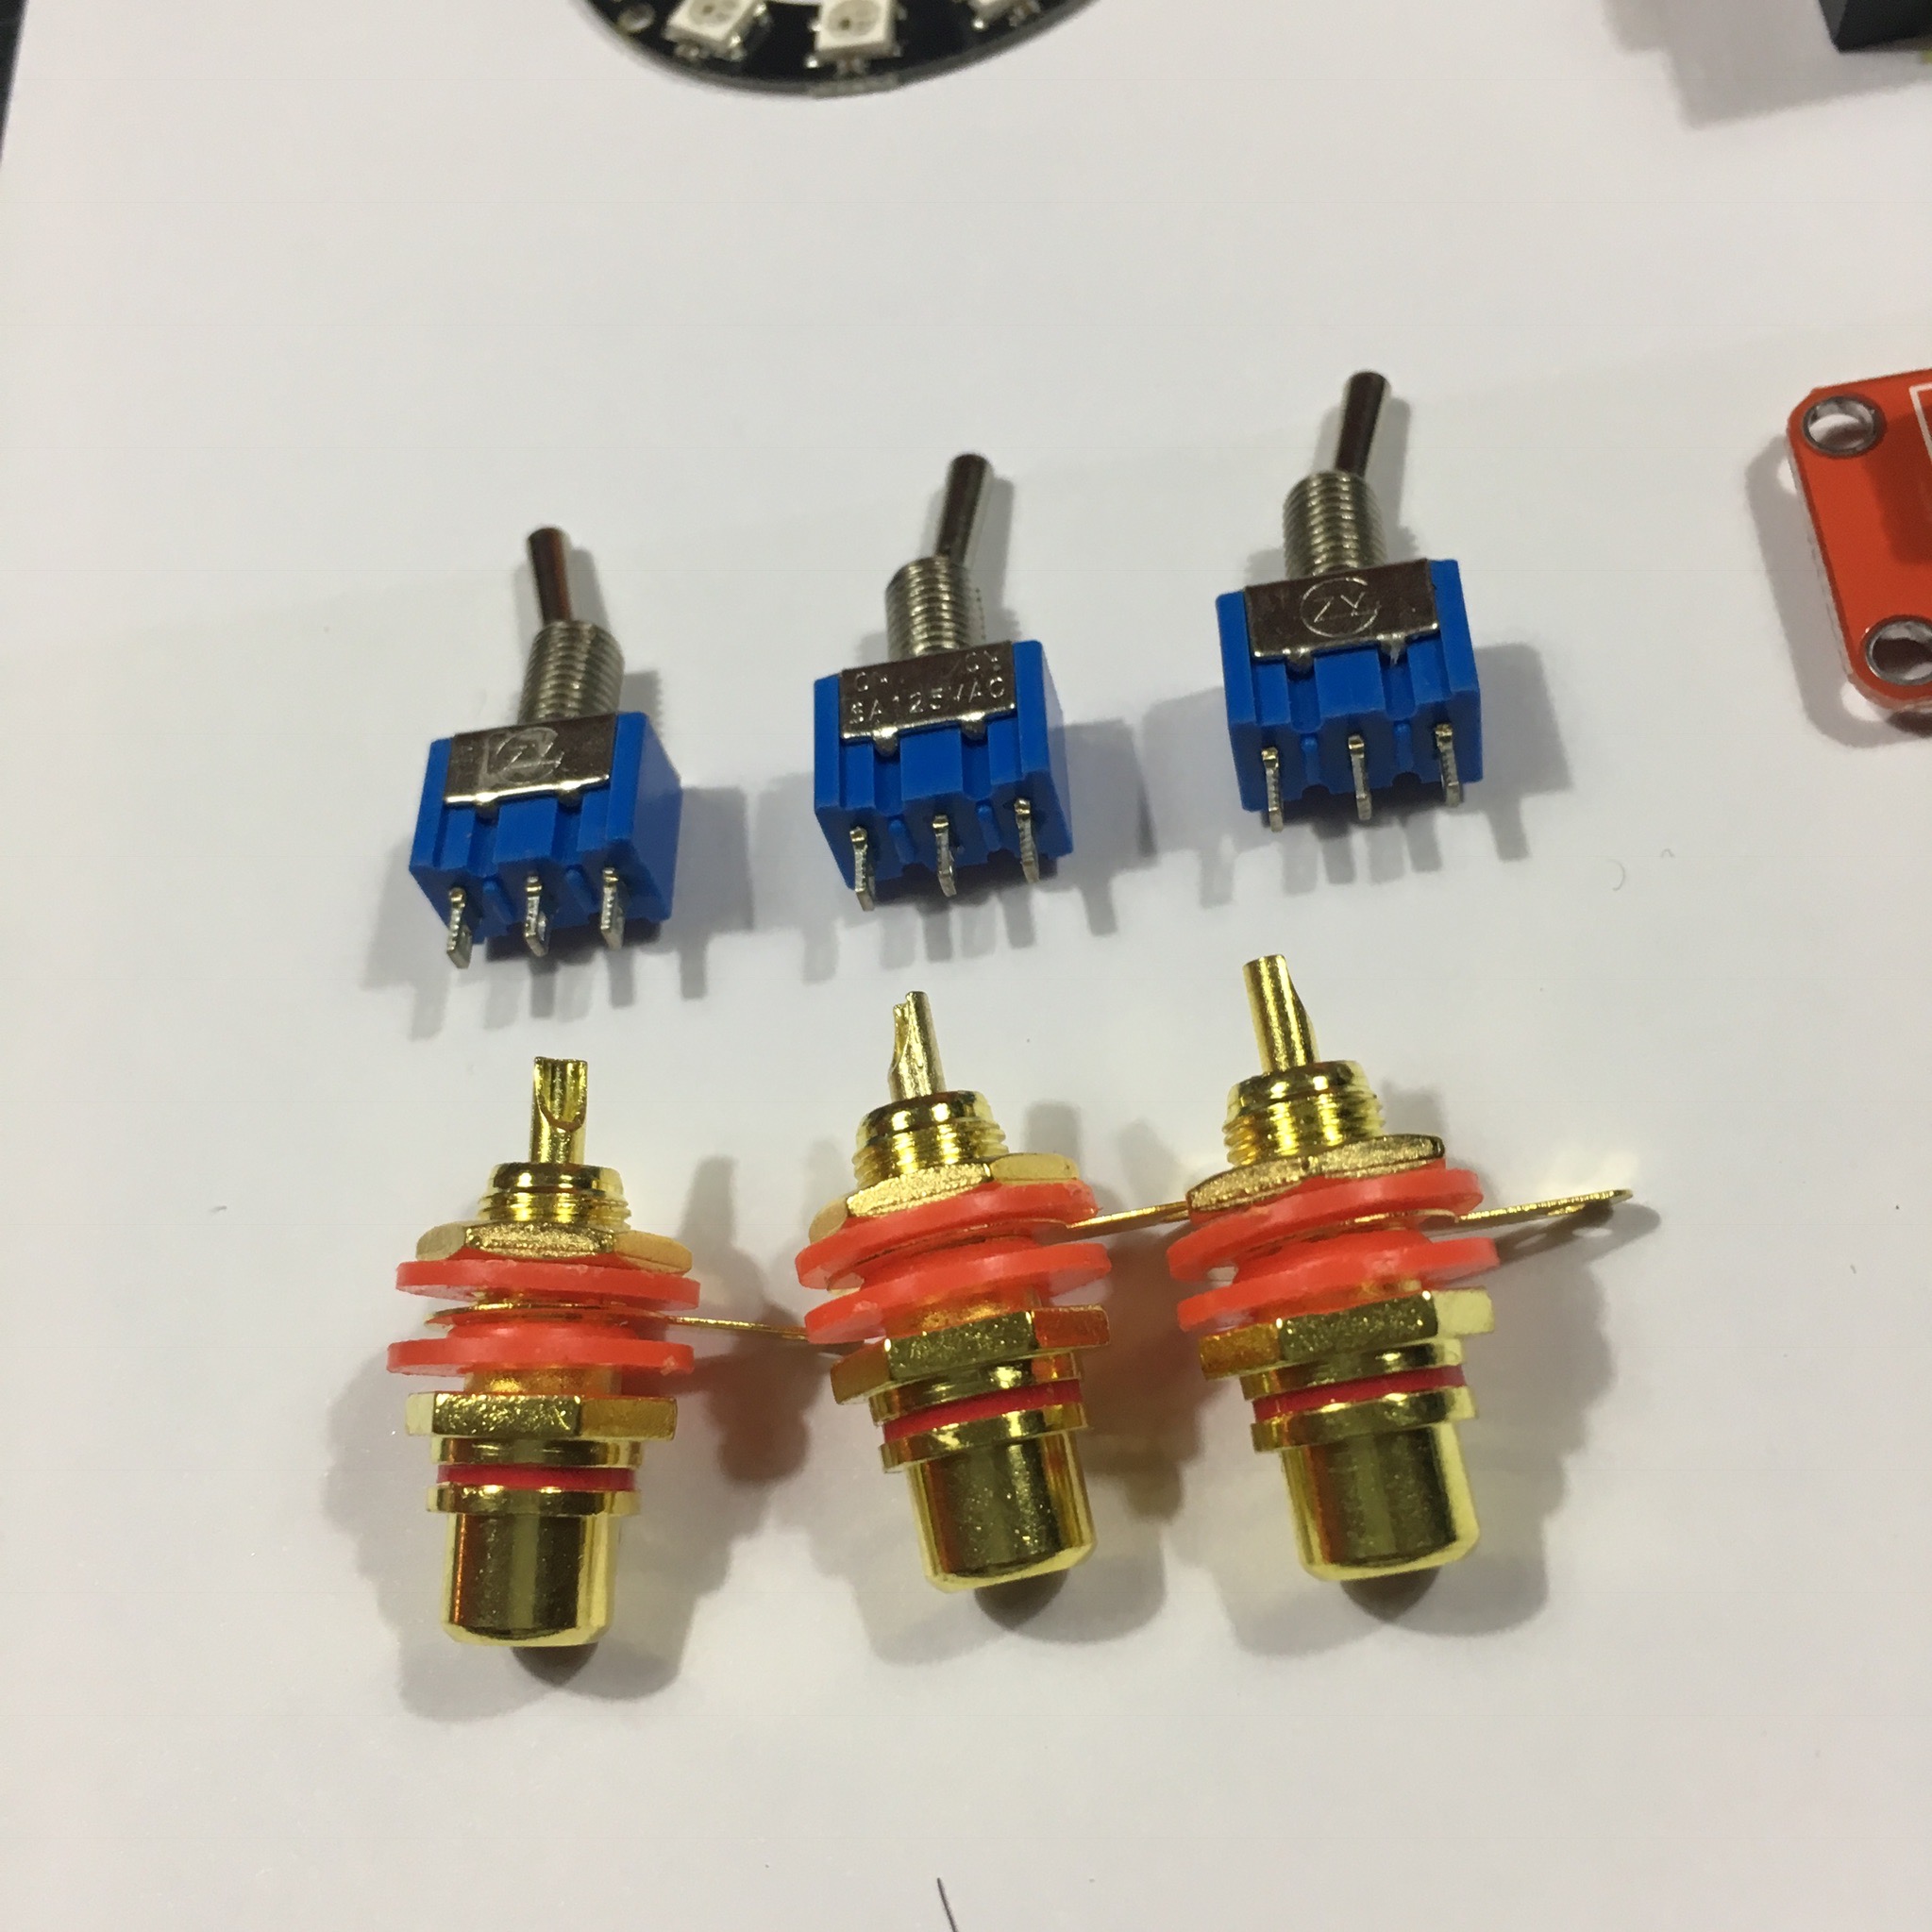
Next up are the simple flip switches. You know, for the casual stuff. In addition to these switches, I’ll add 3 female cinch plugs. I’m not sure if I will make these functional, but adding them won’t hurt anyone.
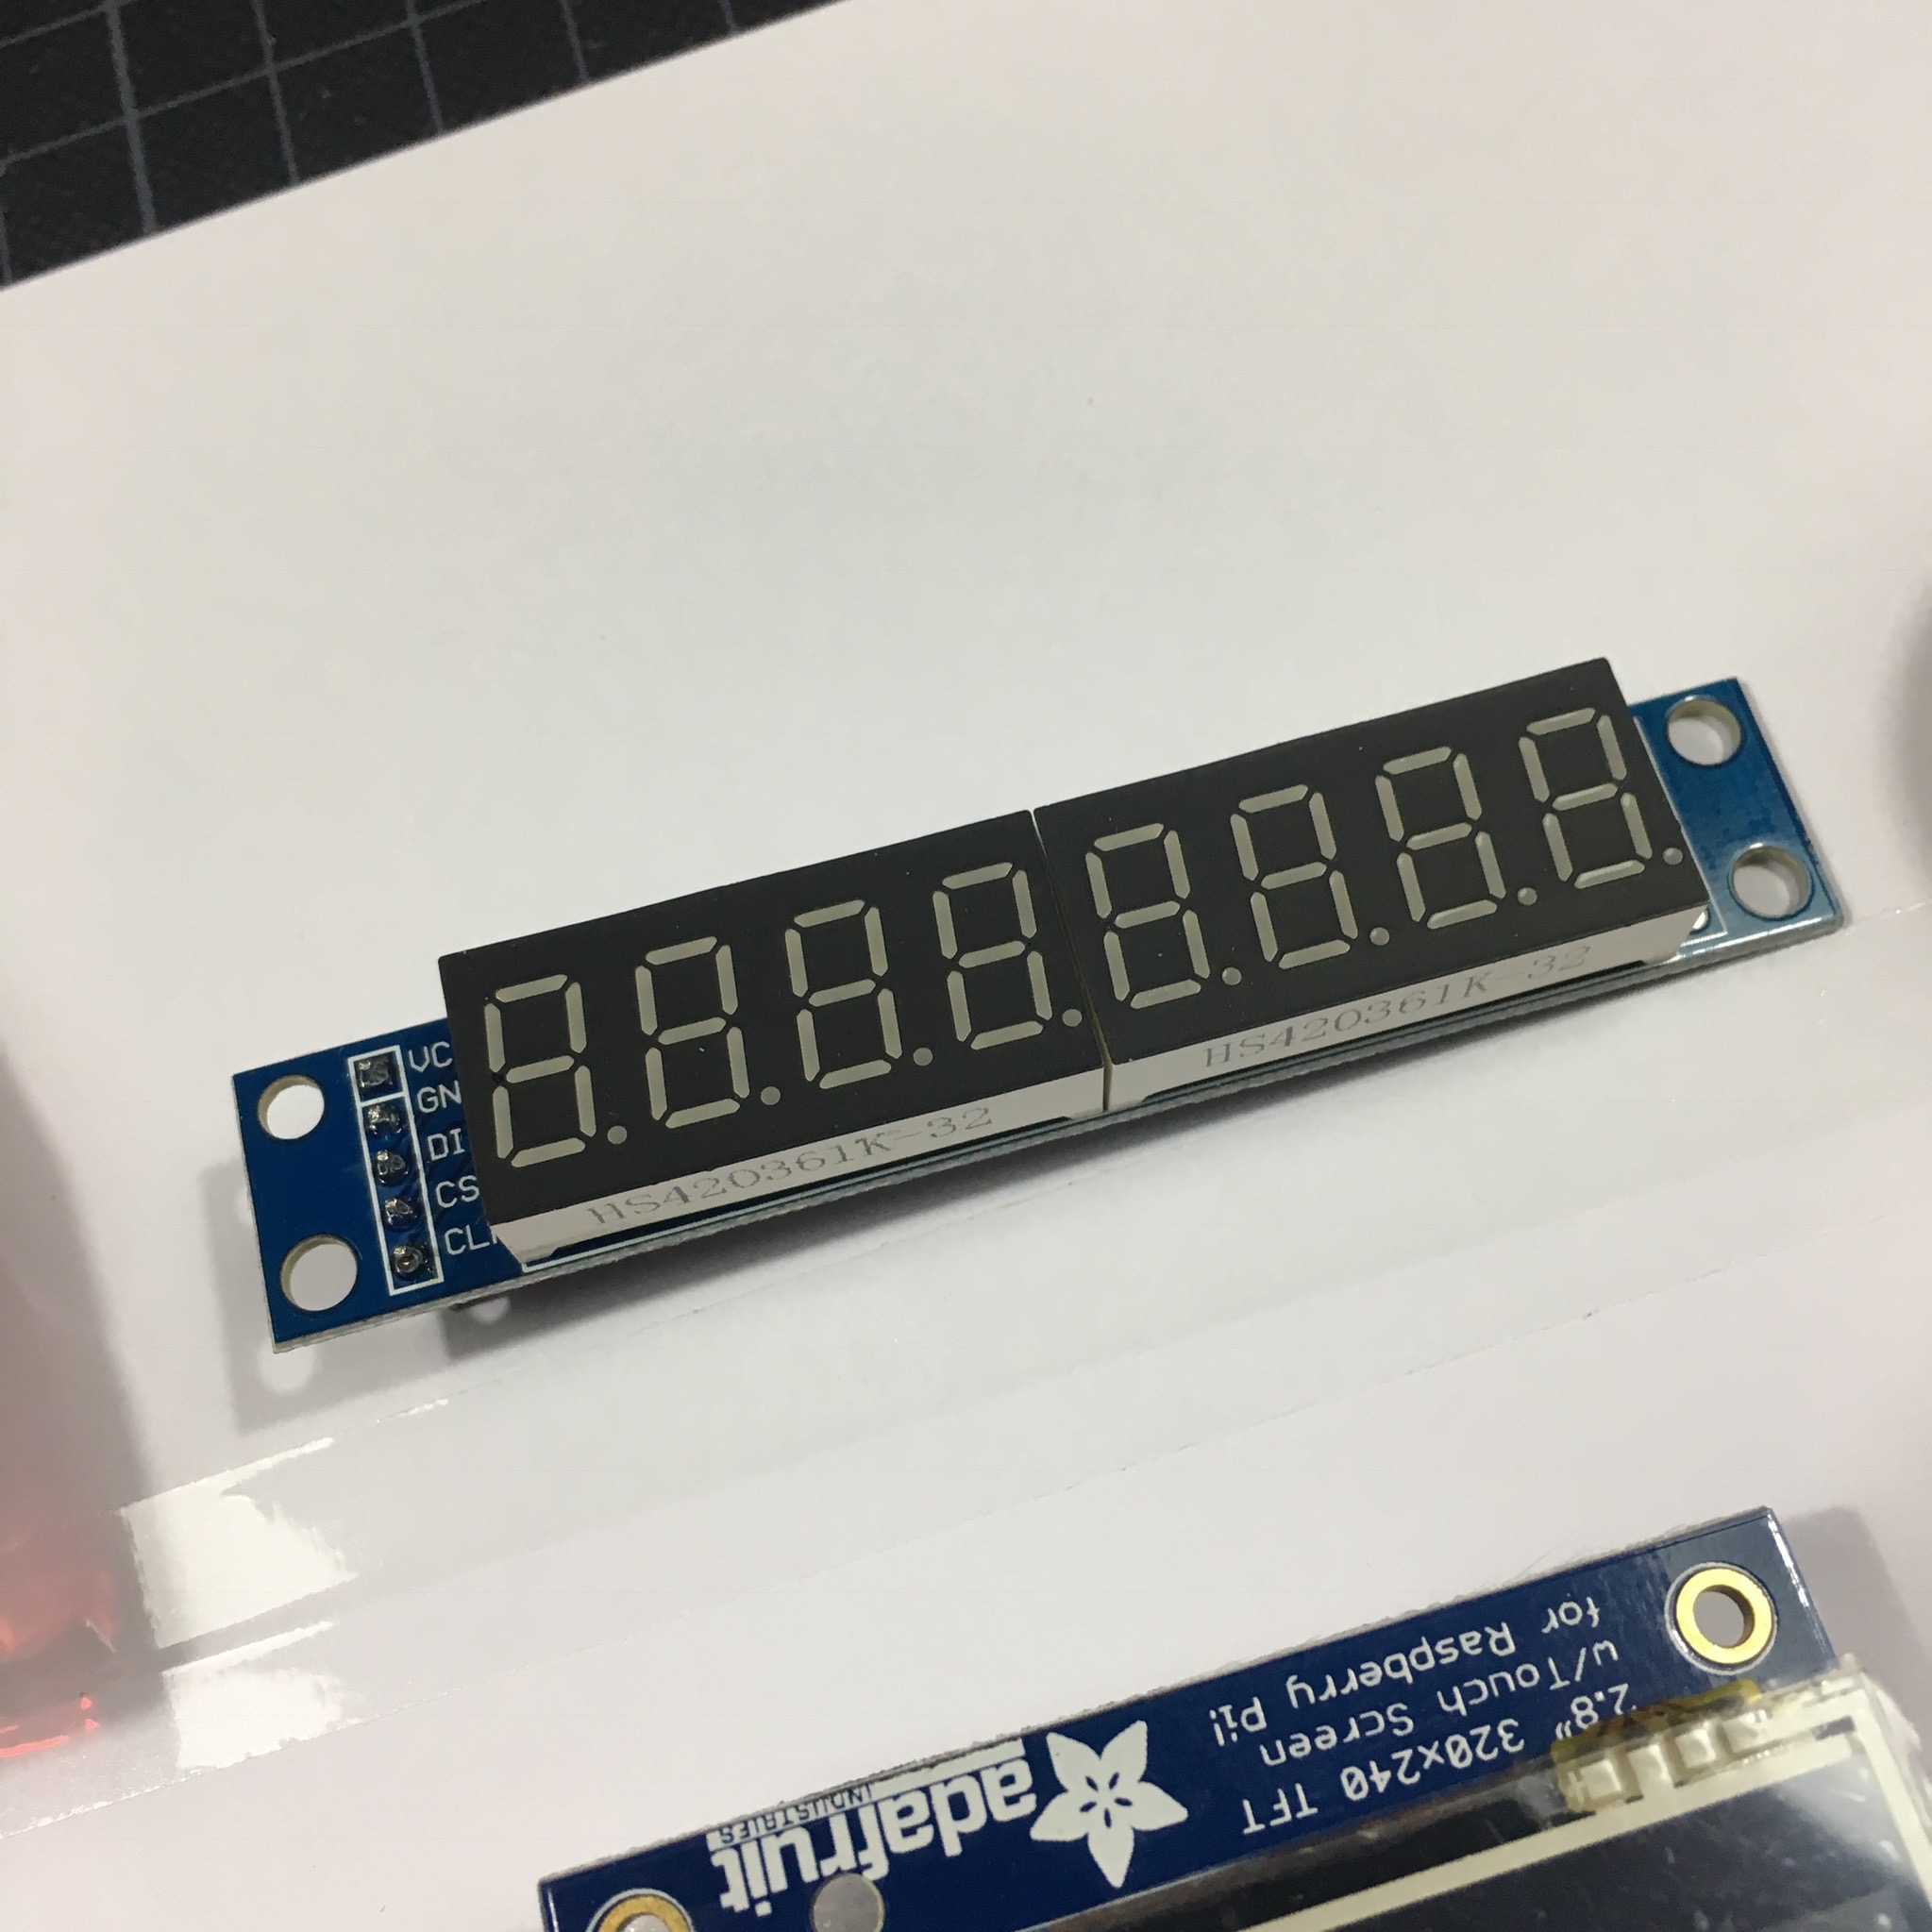
The top middle will be prominently occupied by an 8 digit 7 segment display. Besides the count down to the next nuclear launch, it might be able to countdown to Enzo’s next birthday.
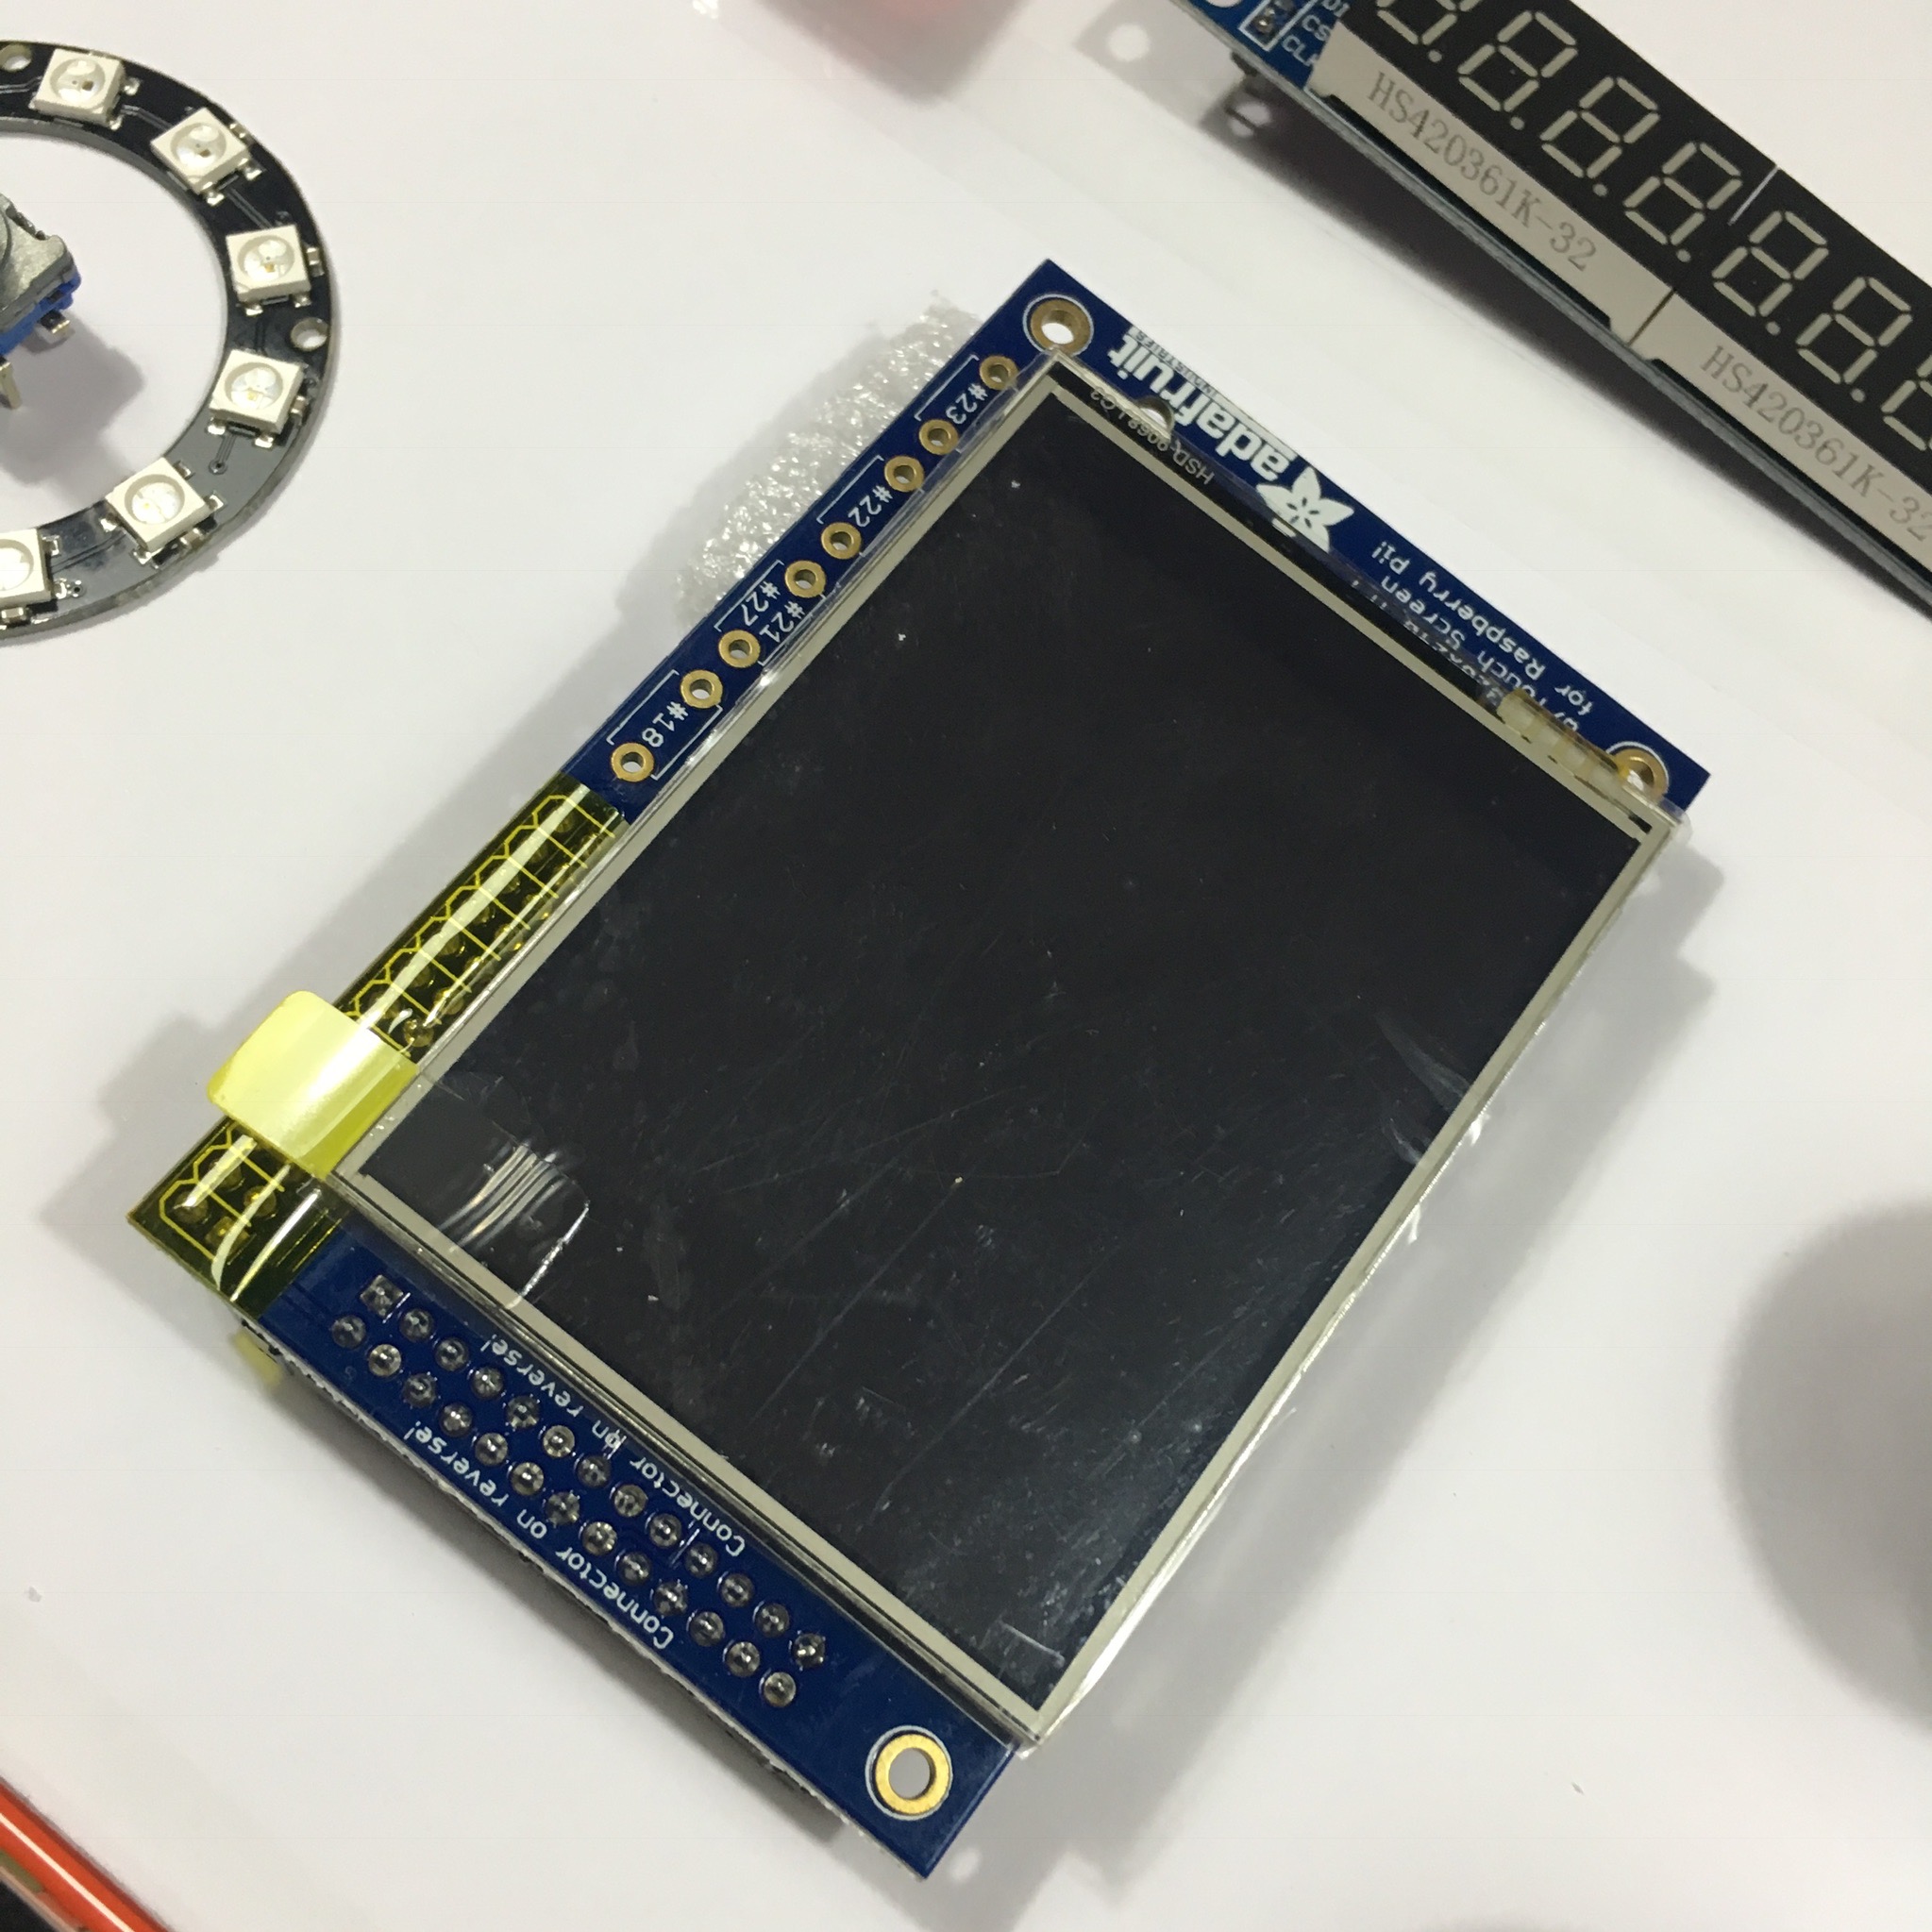
Of course, a real control center has it’s own screen. I’m not sure what I will use to drive it. But this Raspberry Pi screen might be a perfect solution for some serious data representation!

We need some sliding action as well. And this slide pot will make sure Enzo will! Once again, the Neopixels will give the appropriate visual feedback.
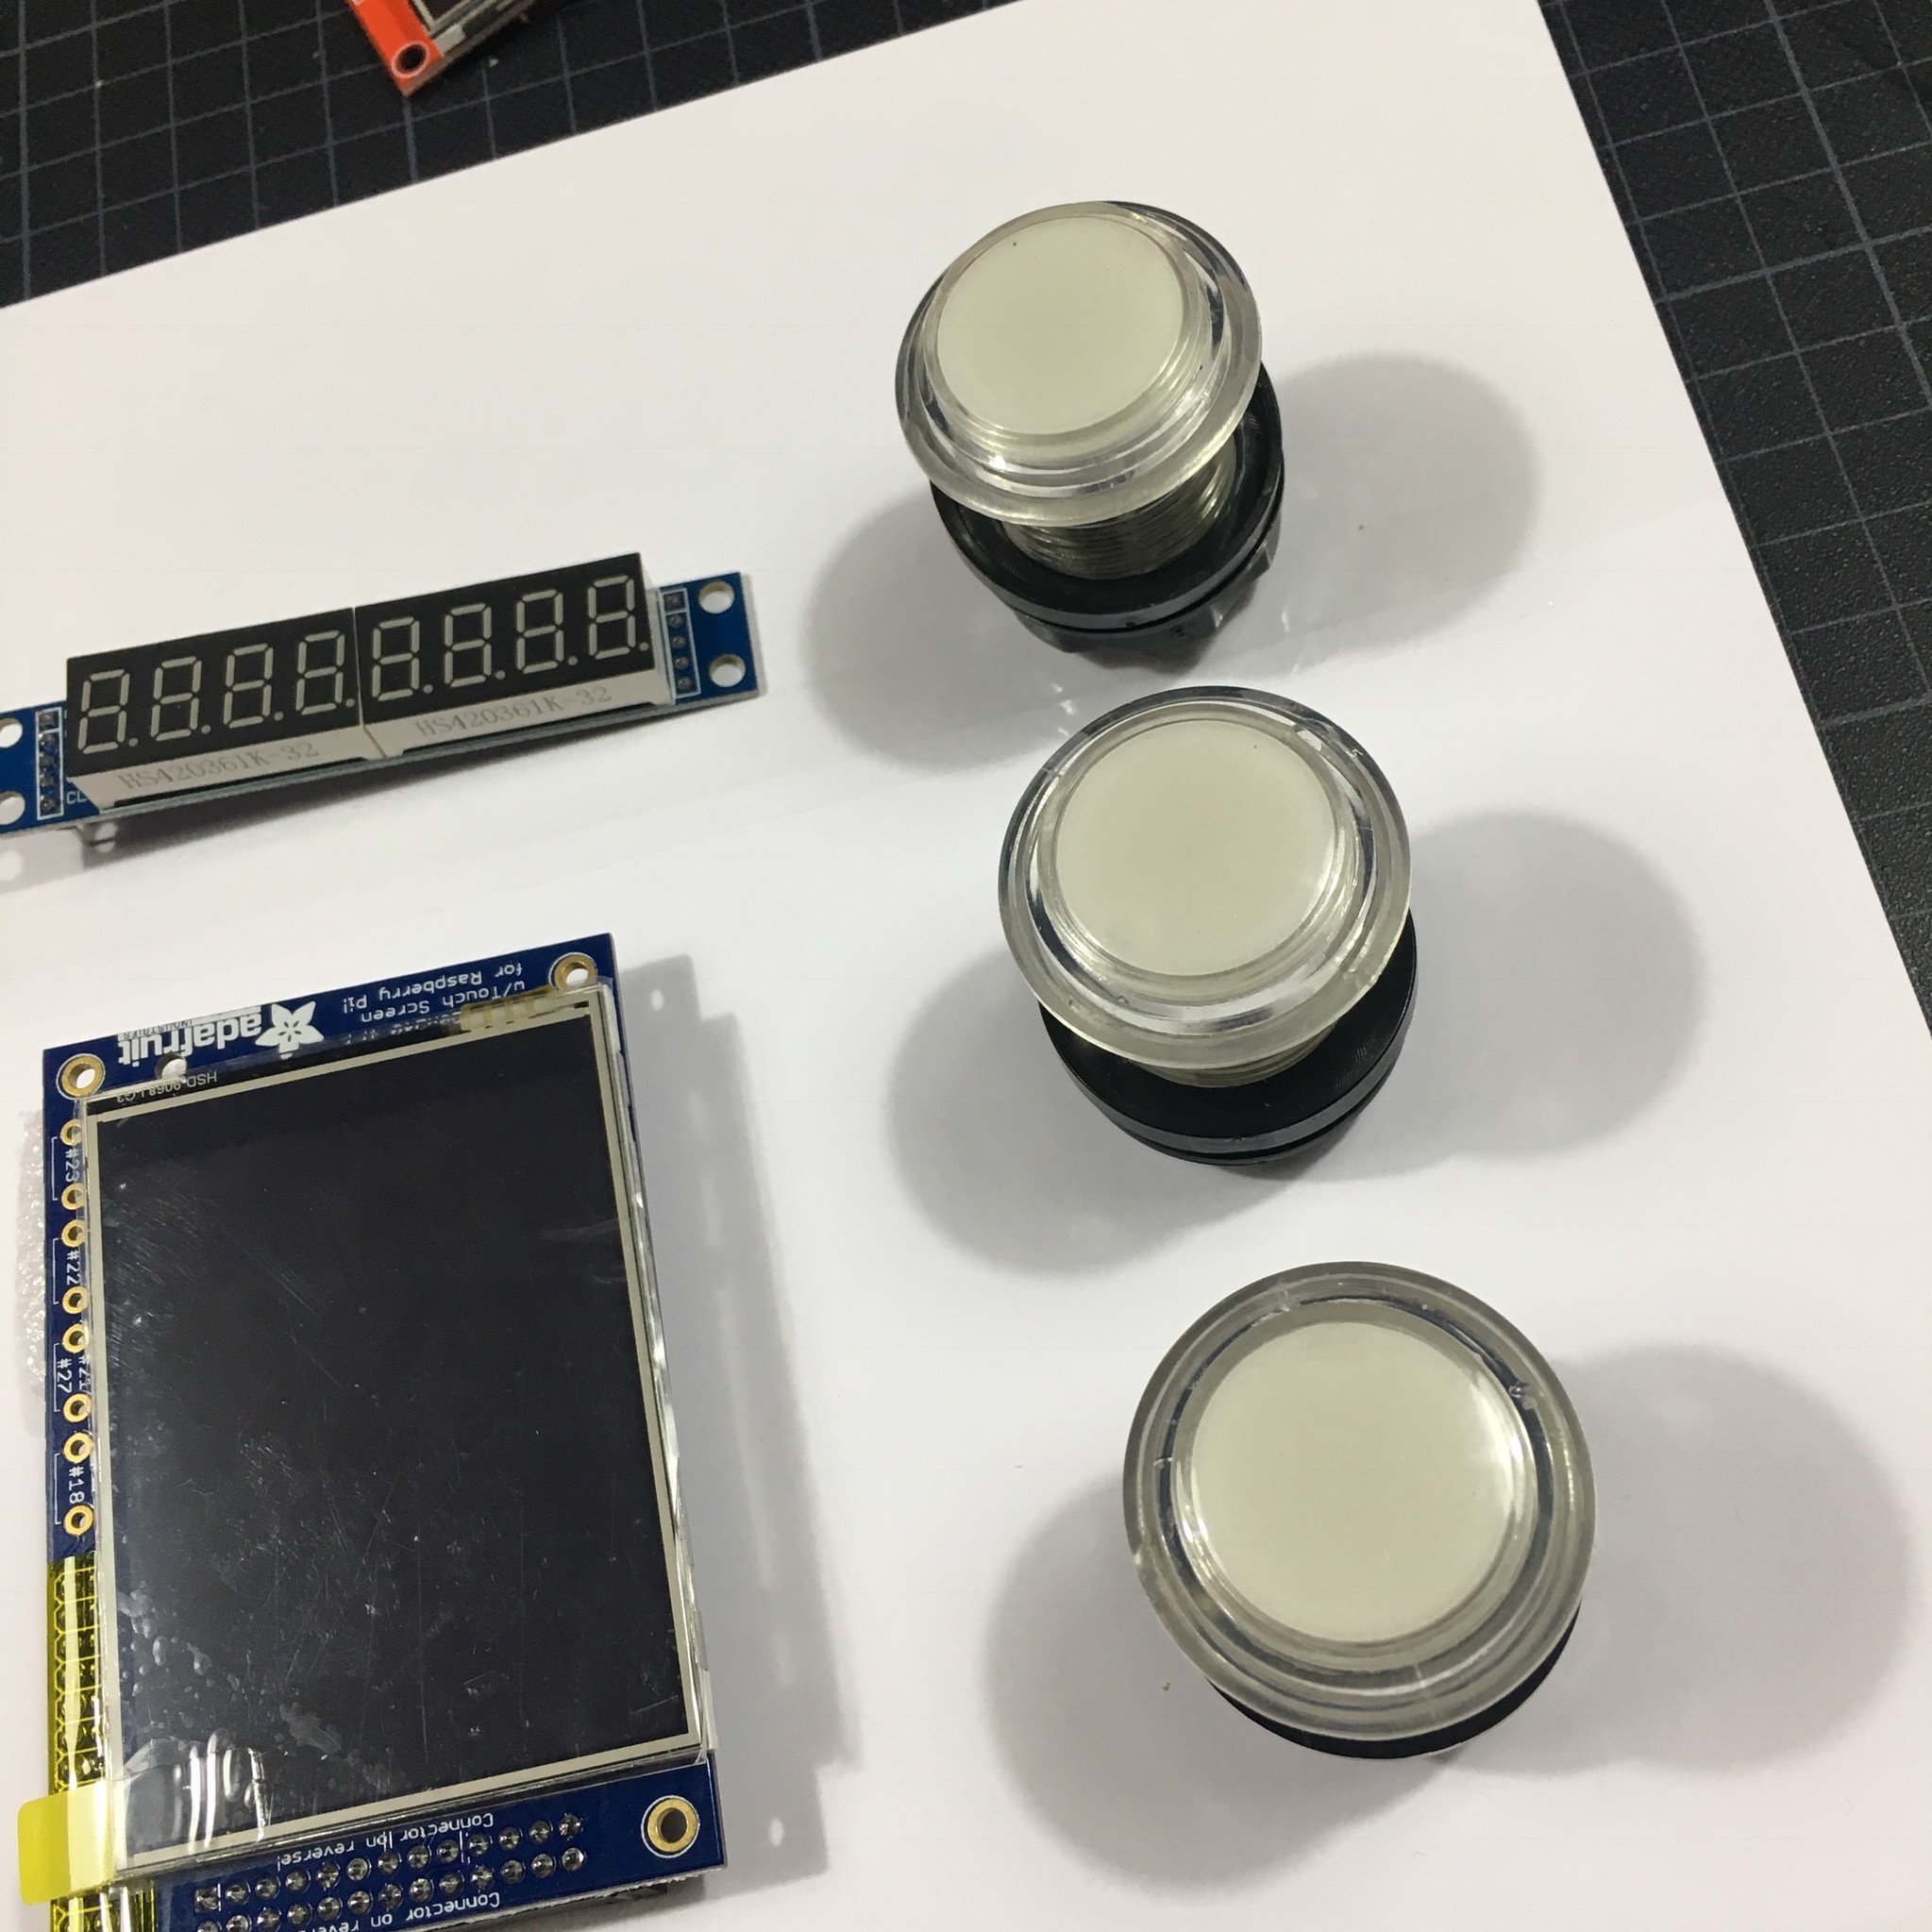
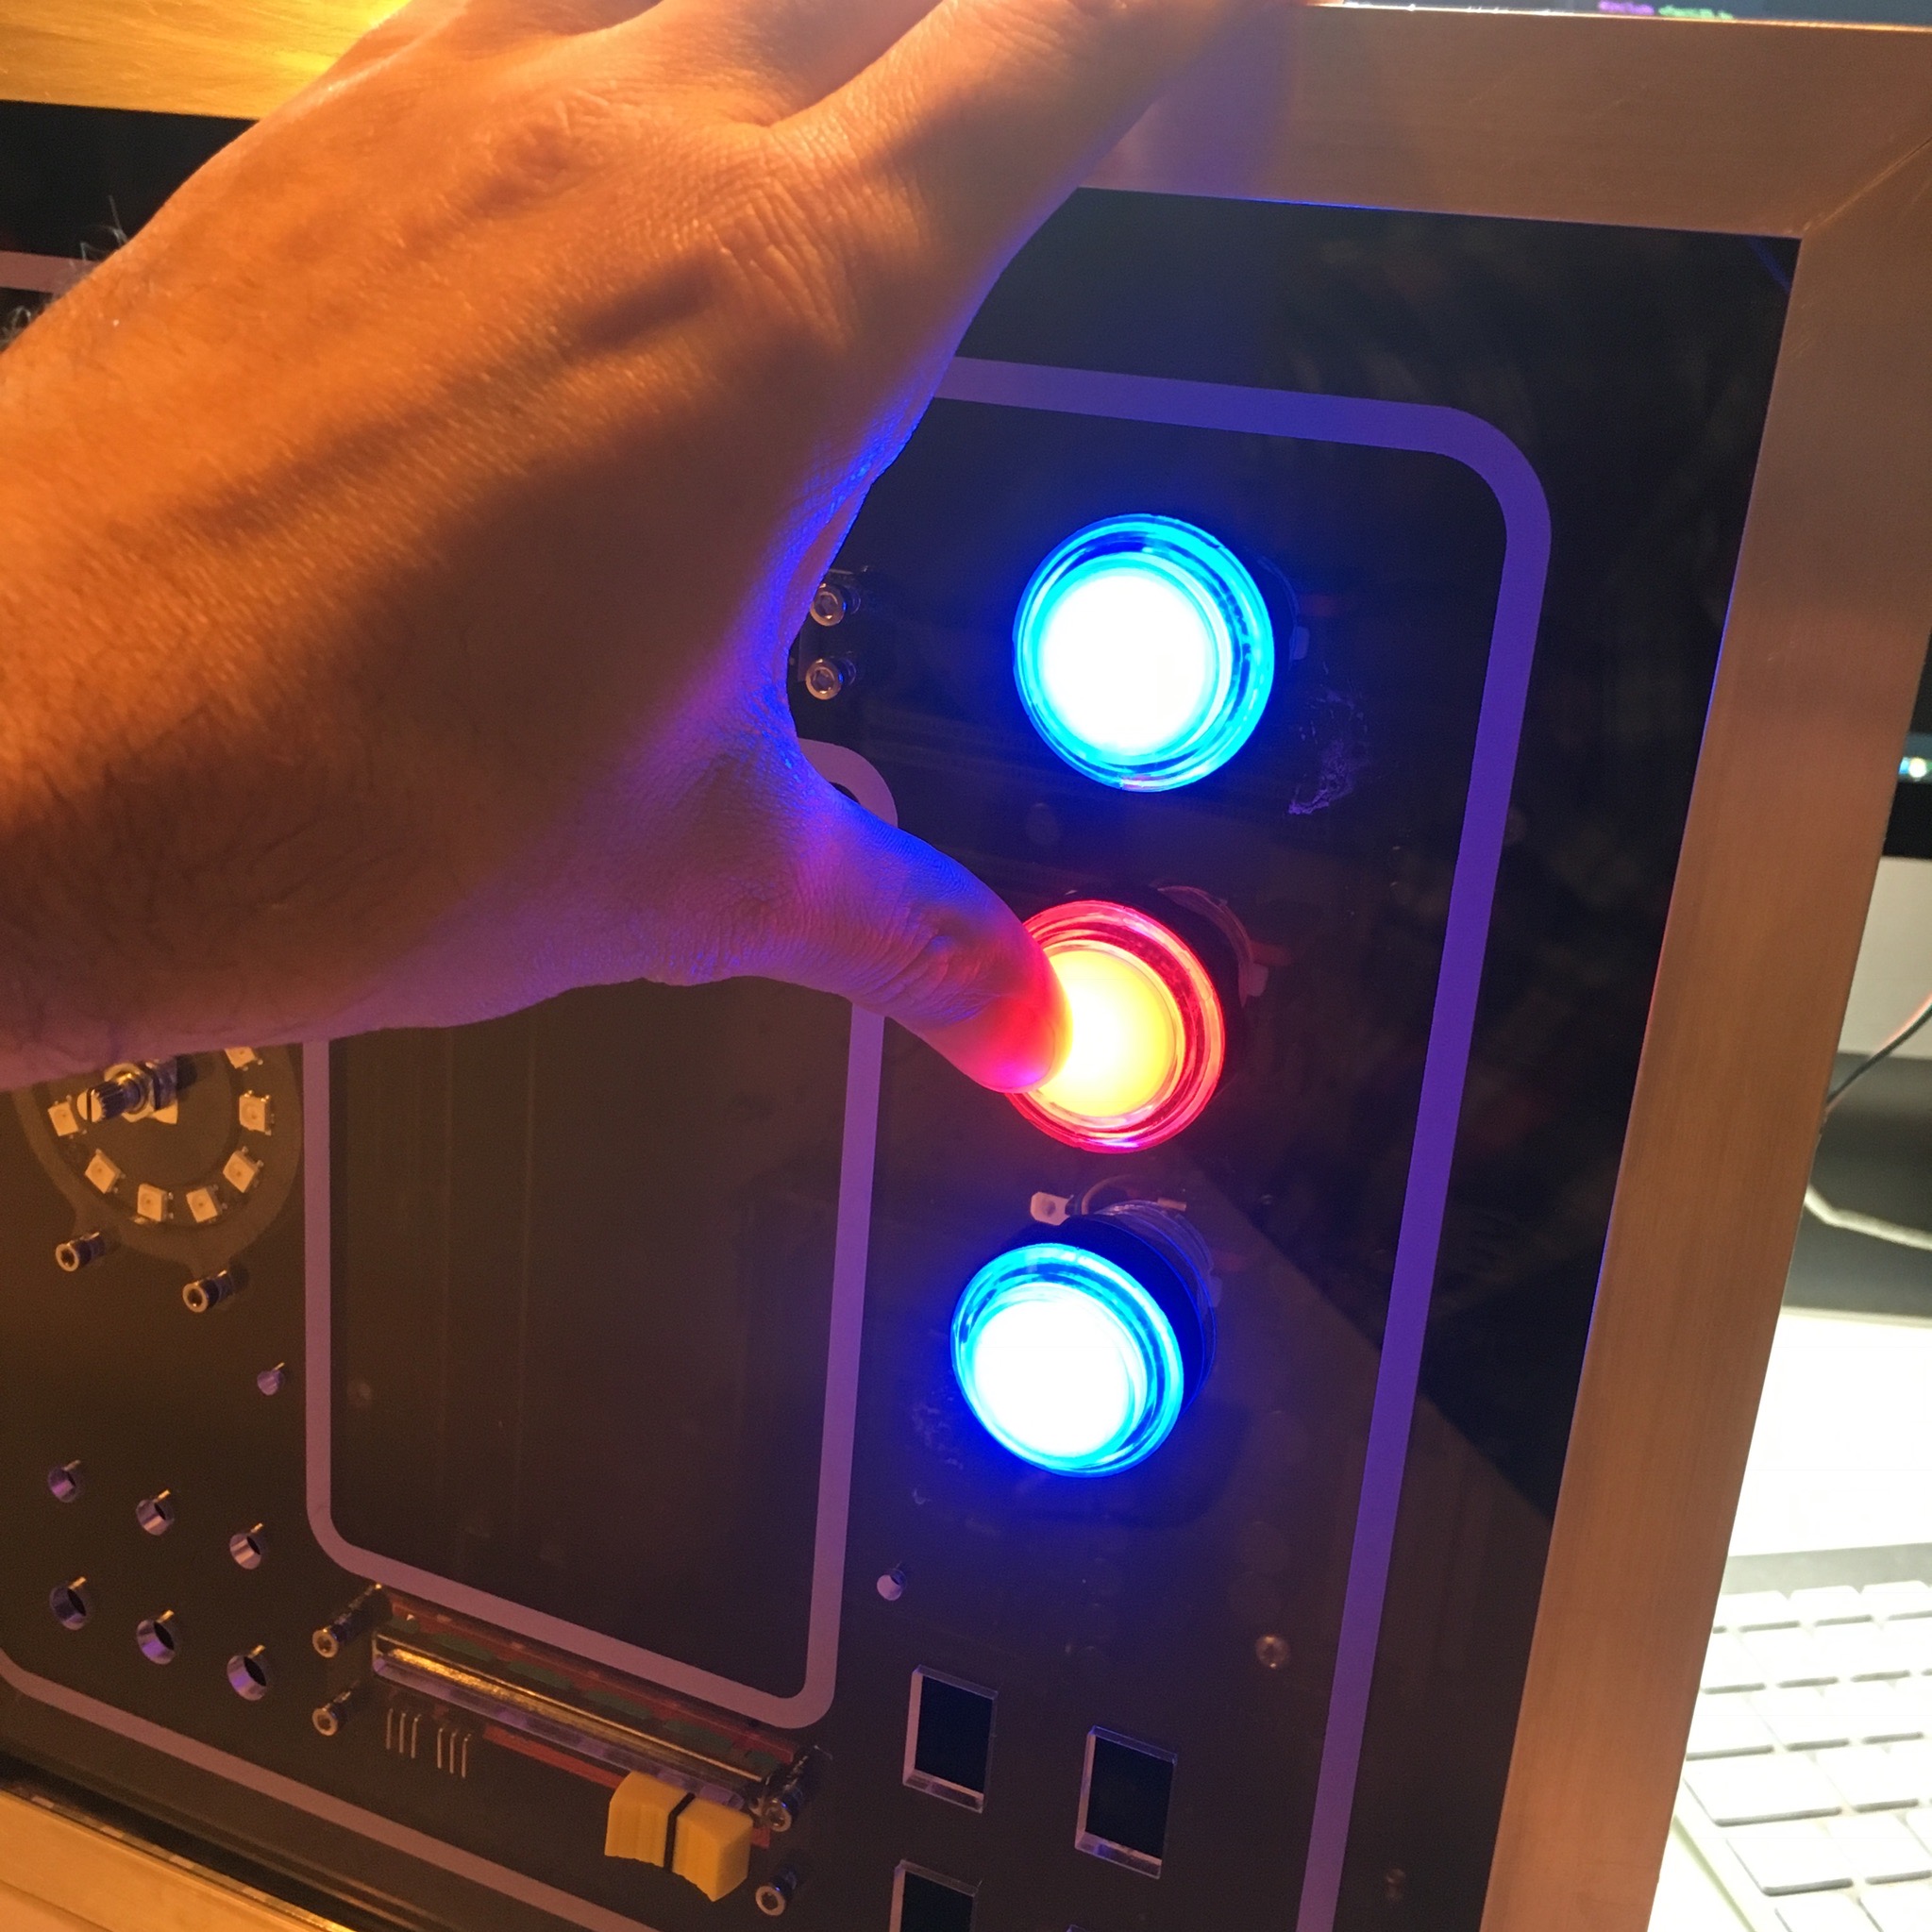
The three big push buttons in the top right are tipped as the main contenders to become Enzo’s favorites. By default they include a white led, but of course these will be replaced by NeoPixels. Allowing me to make them light up in every color possible.

And last but not least. A bunch of rocker switches allow Enzo to turn off the thrusters, enable the backup power supply and engage the flux capacitor.
Of course, building a serious control board needs a lot of well-thought-out planning. How will I drive and handle all the I/O. How will I incorporate the led lights around the acrylic. What will drive the display? And do I need NASA’s approval? A lot of questions to be answered …
And with one of these questions, you can help me! Because as said, the name of my son, Enzo, will be incorporated into the design. But for the fun of it I want this to be an applicable abbreviation. Something like: Electronic Native Zone Operator. If you have a better suggestion, leave a comment down below and reap that eternal fame!
Activity Board: Adjusting the Switches