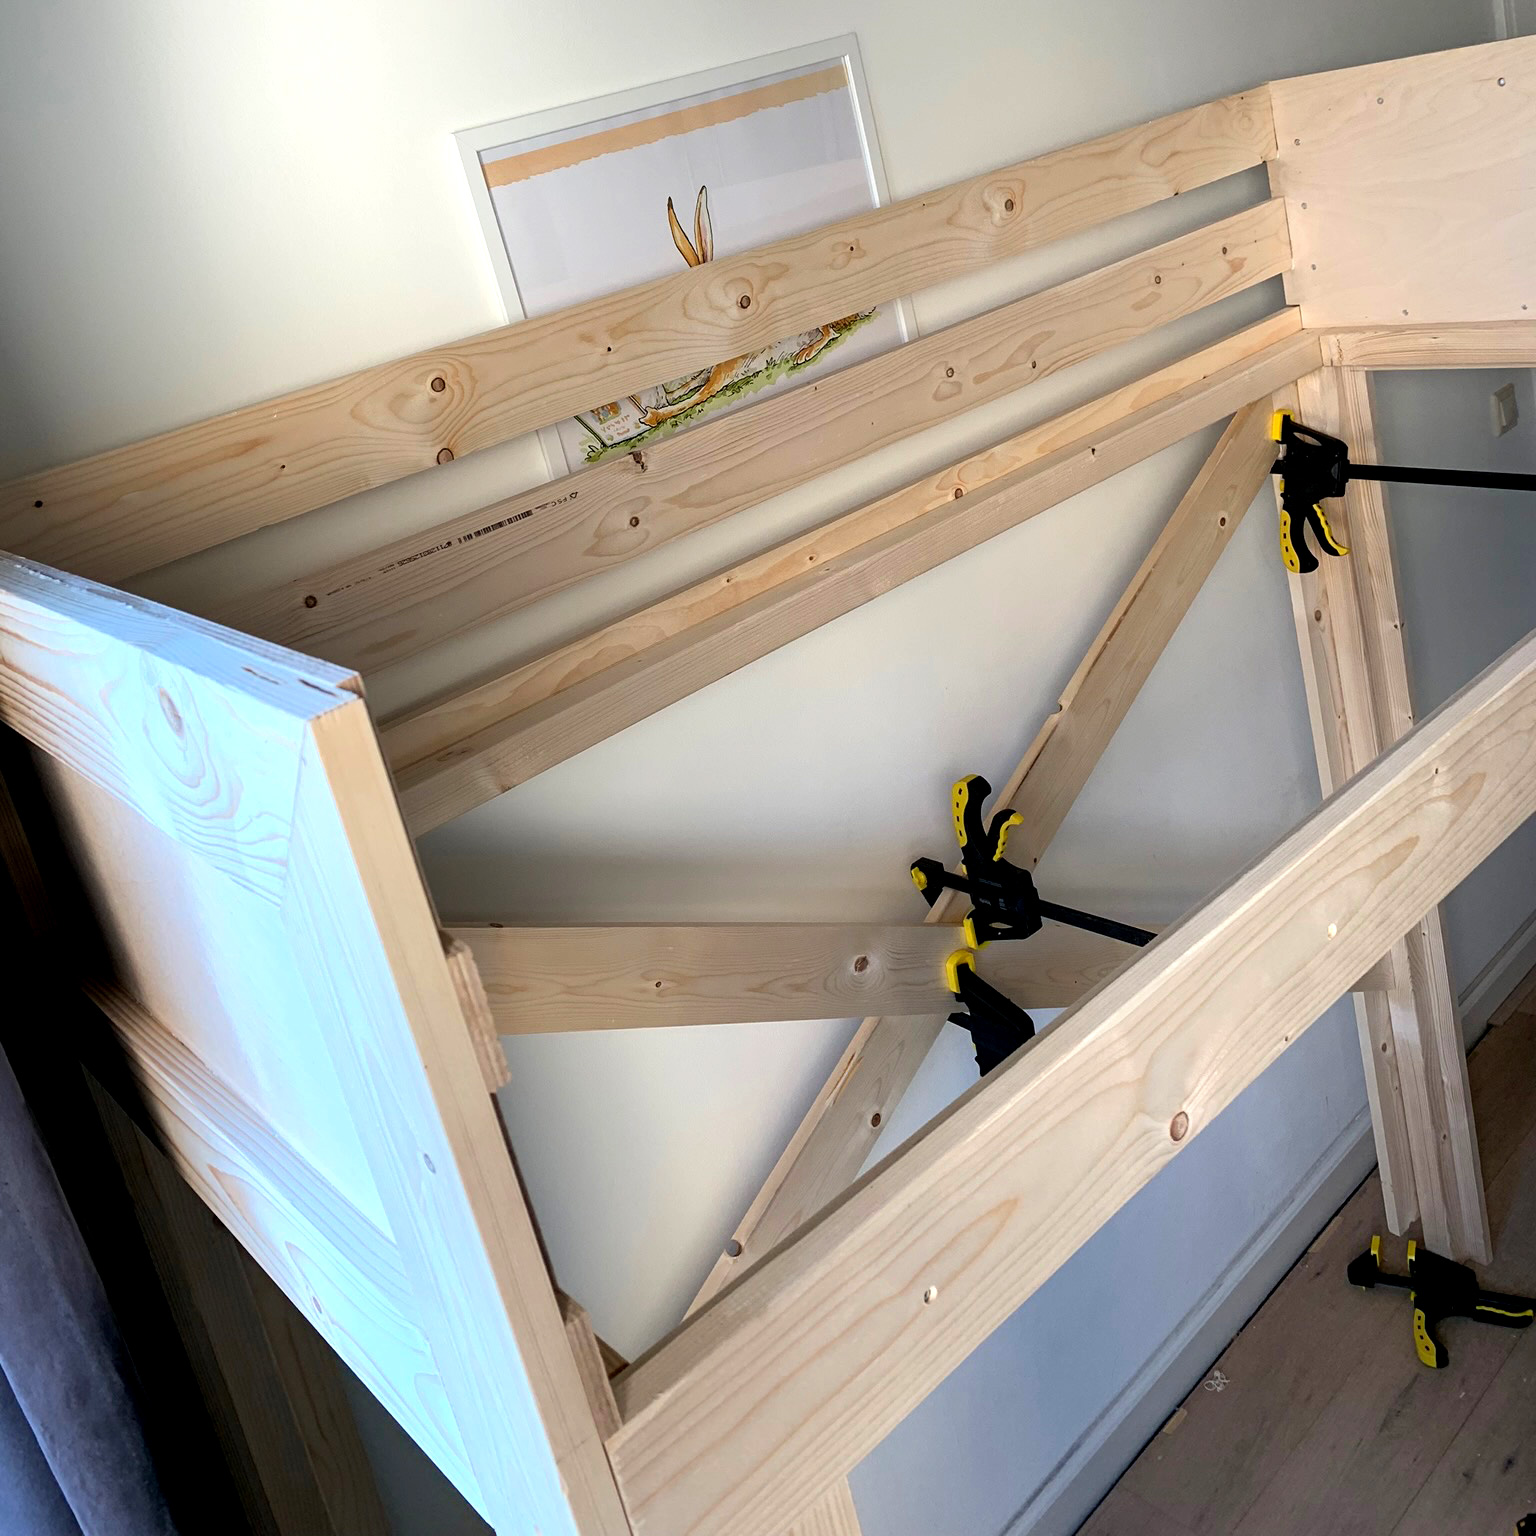
A Place To Sleep
It’s been 10 months since my second son was born. And Since then, he has been sleeping in a crib in our master bed room. And as much as I love him, It was time for him to move out. Out of our bed room at least … Time to built him a place to sleep.
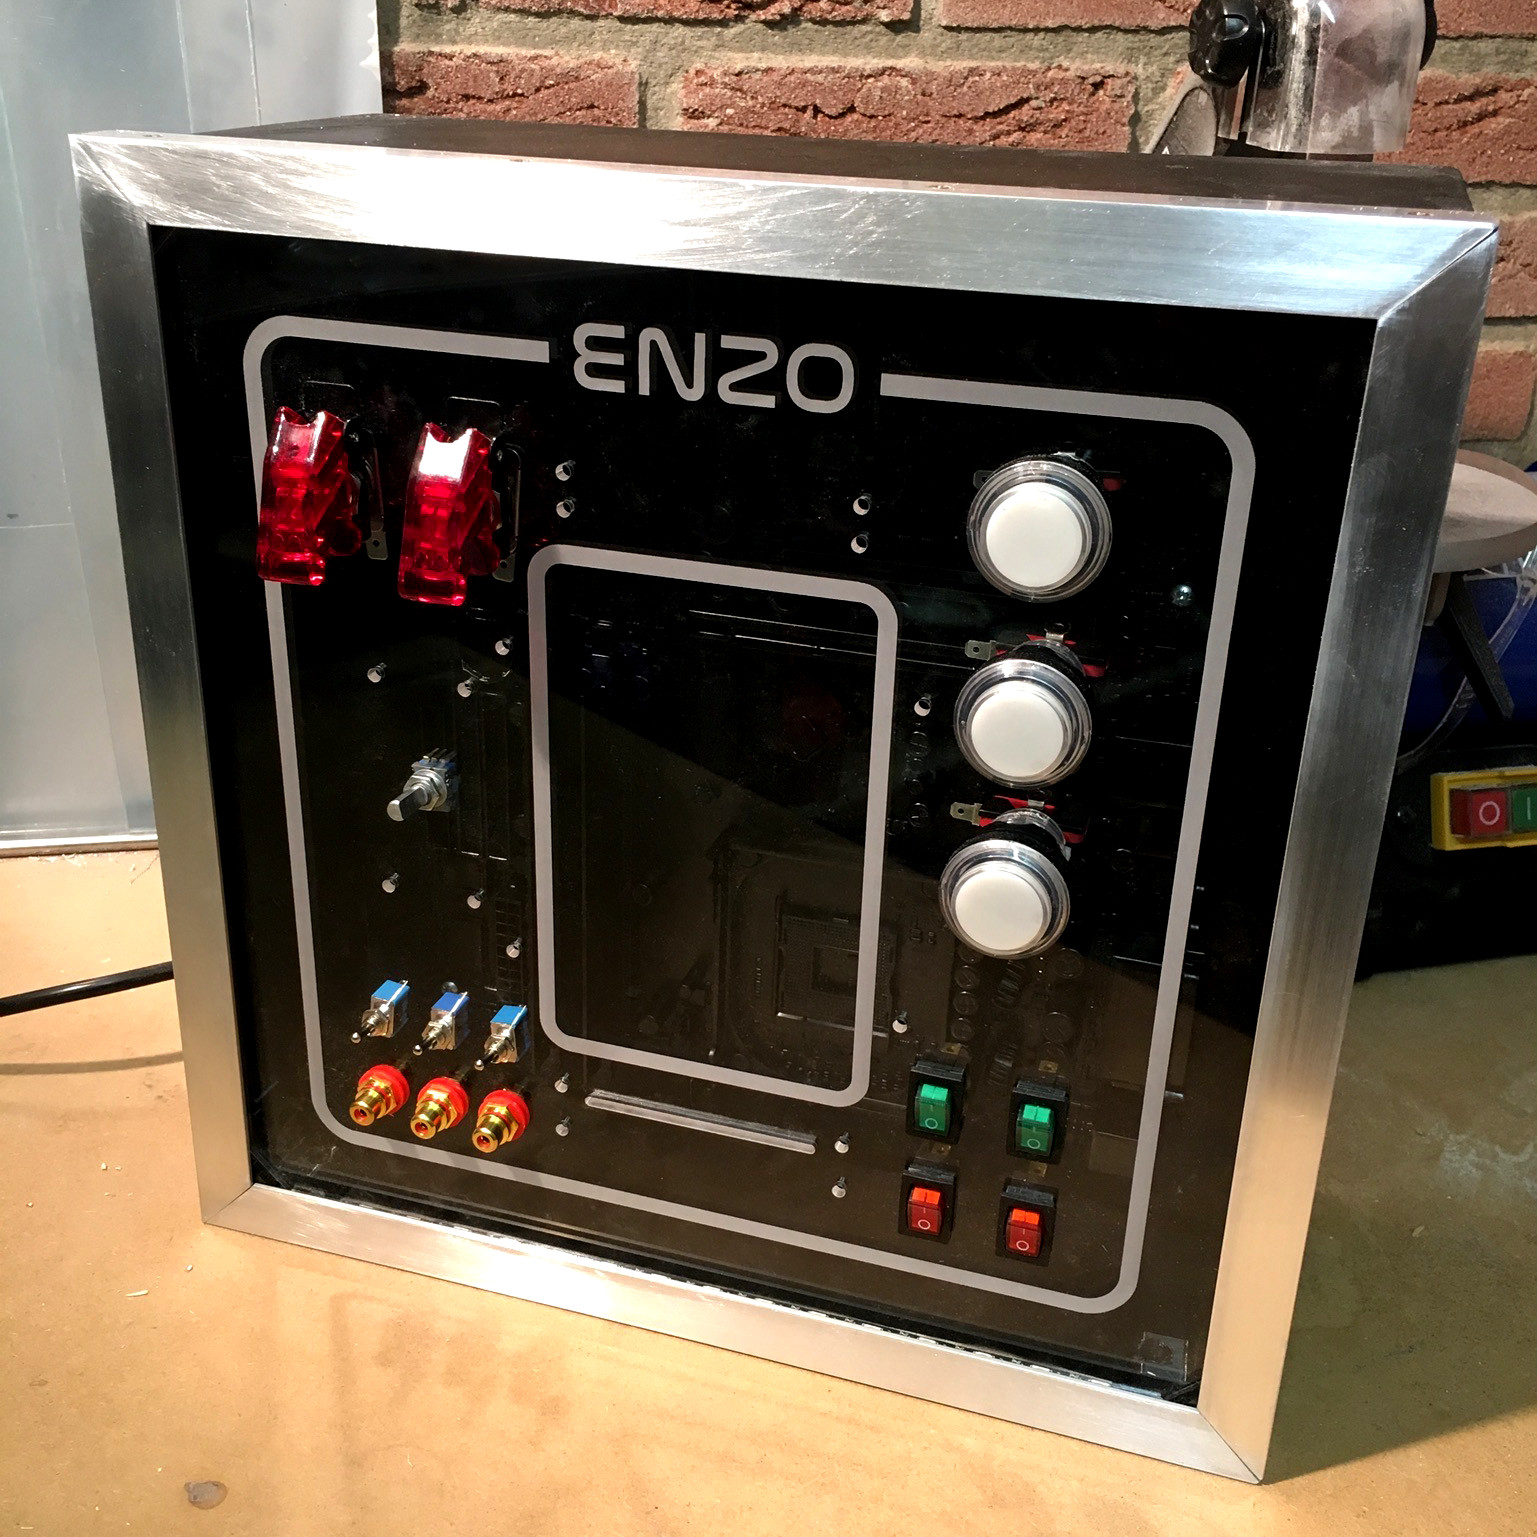
Activity Board:
Spray Away!
After I finished the front panel, and getting an approval of Enzo, the next step in the process of the activity board is finishing the casing. A nice reason for some evenings in the shed.
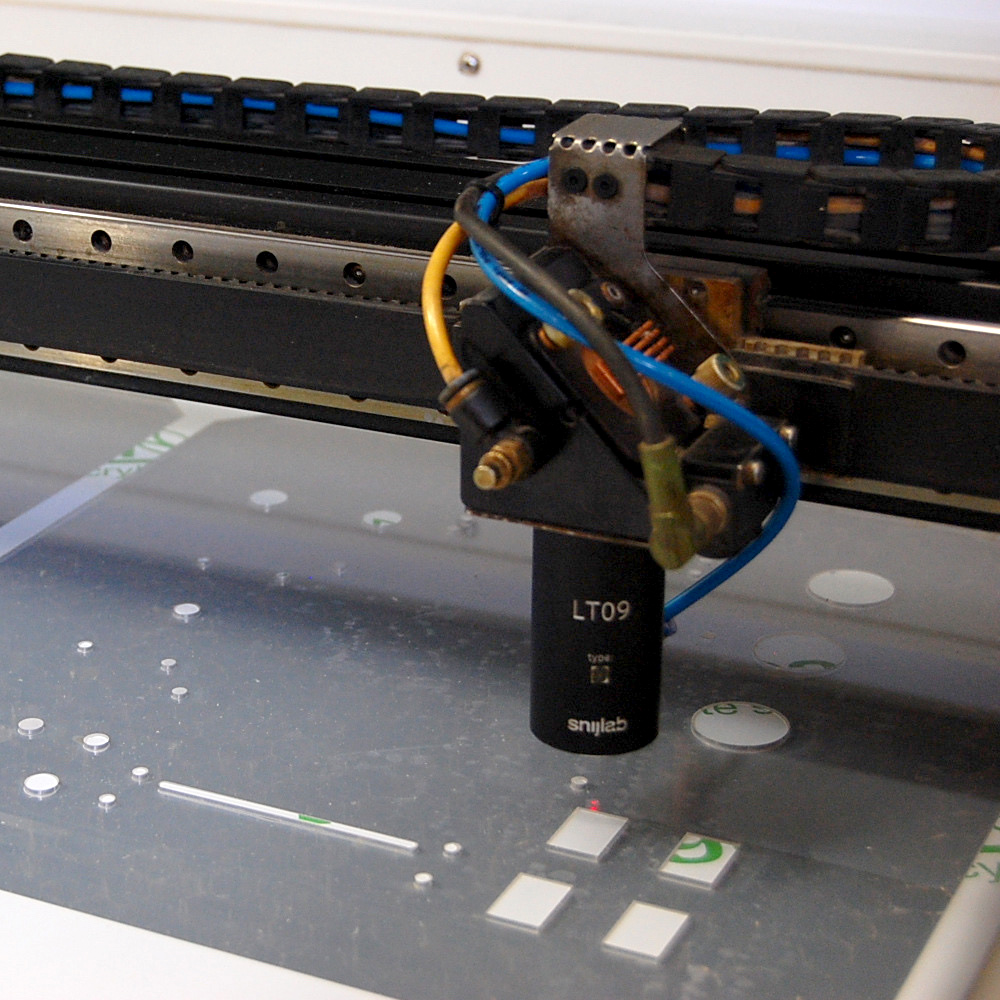
Activity Board:
Fire up the Lasers!
After I finished the box of Enzo's Activity Board, it was time to work on the front panel. And while I expected that this would be a matter of a few days, it turned out to be a bit more complex.
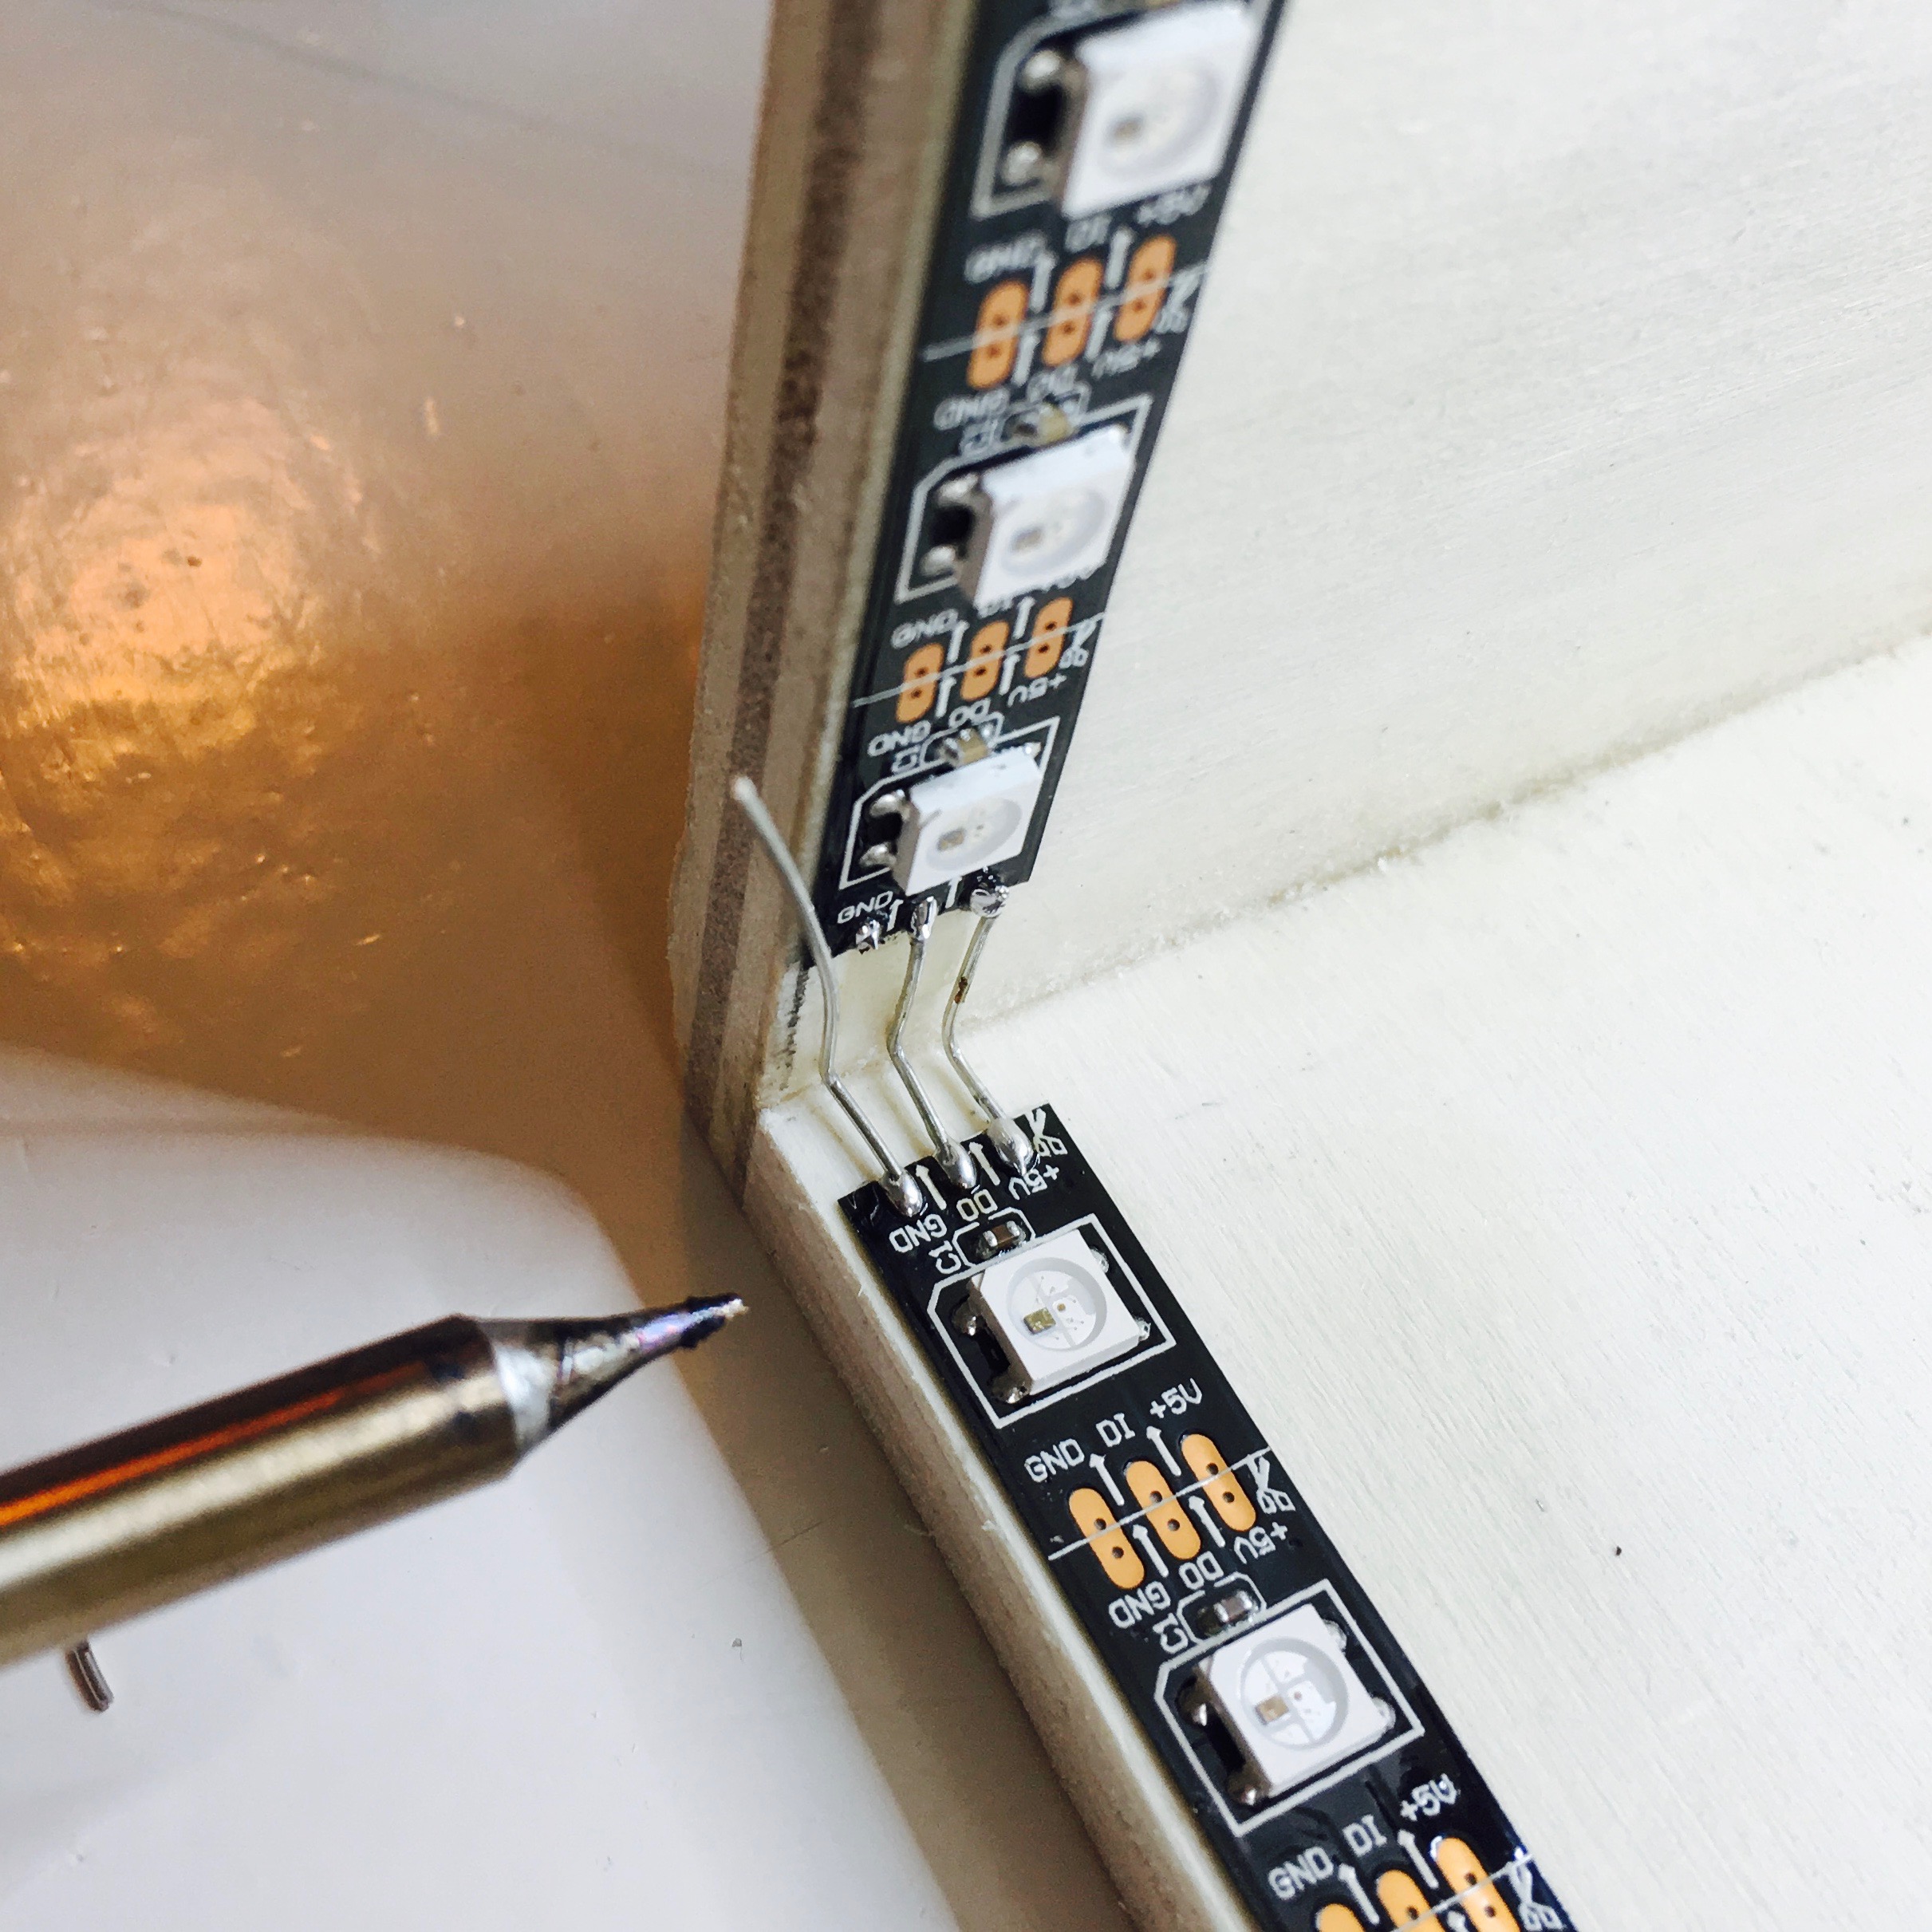
Activity Board:
Building the Box
Before I can work on the front panel design of Enzo’s Activity Board, I need to know the exact dimensions. This can be figured out either by using some math, or by simply just measuring it. I choose the latter, but this means I first need to build the box that holds everything in place …
Activity Board:
Adjusting the Switches
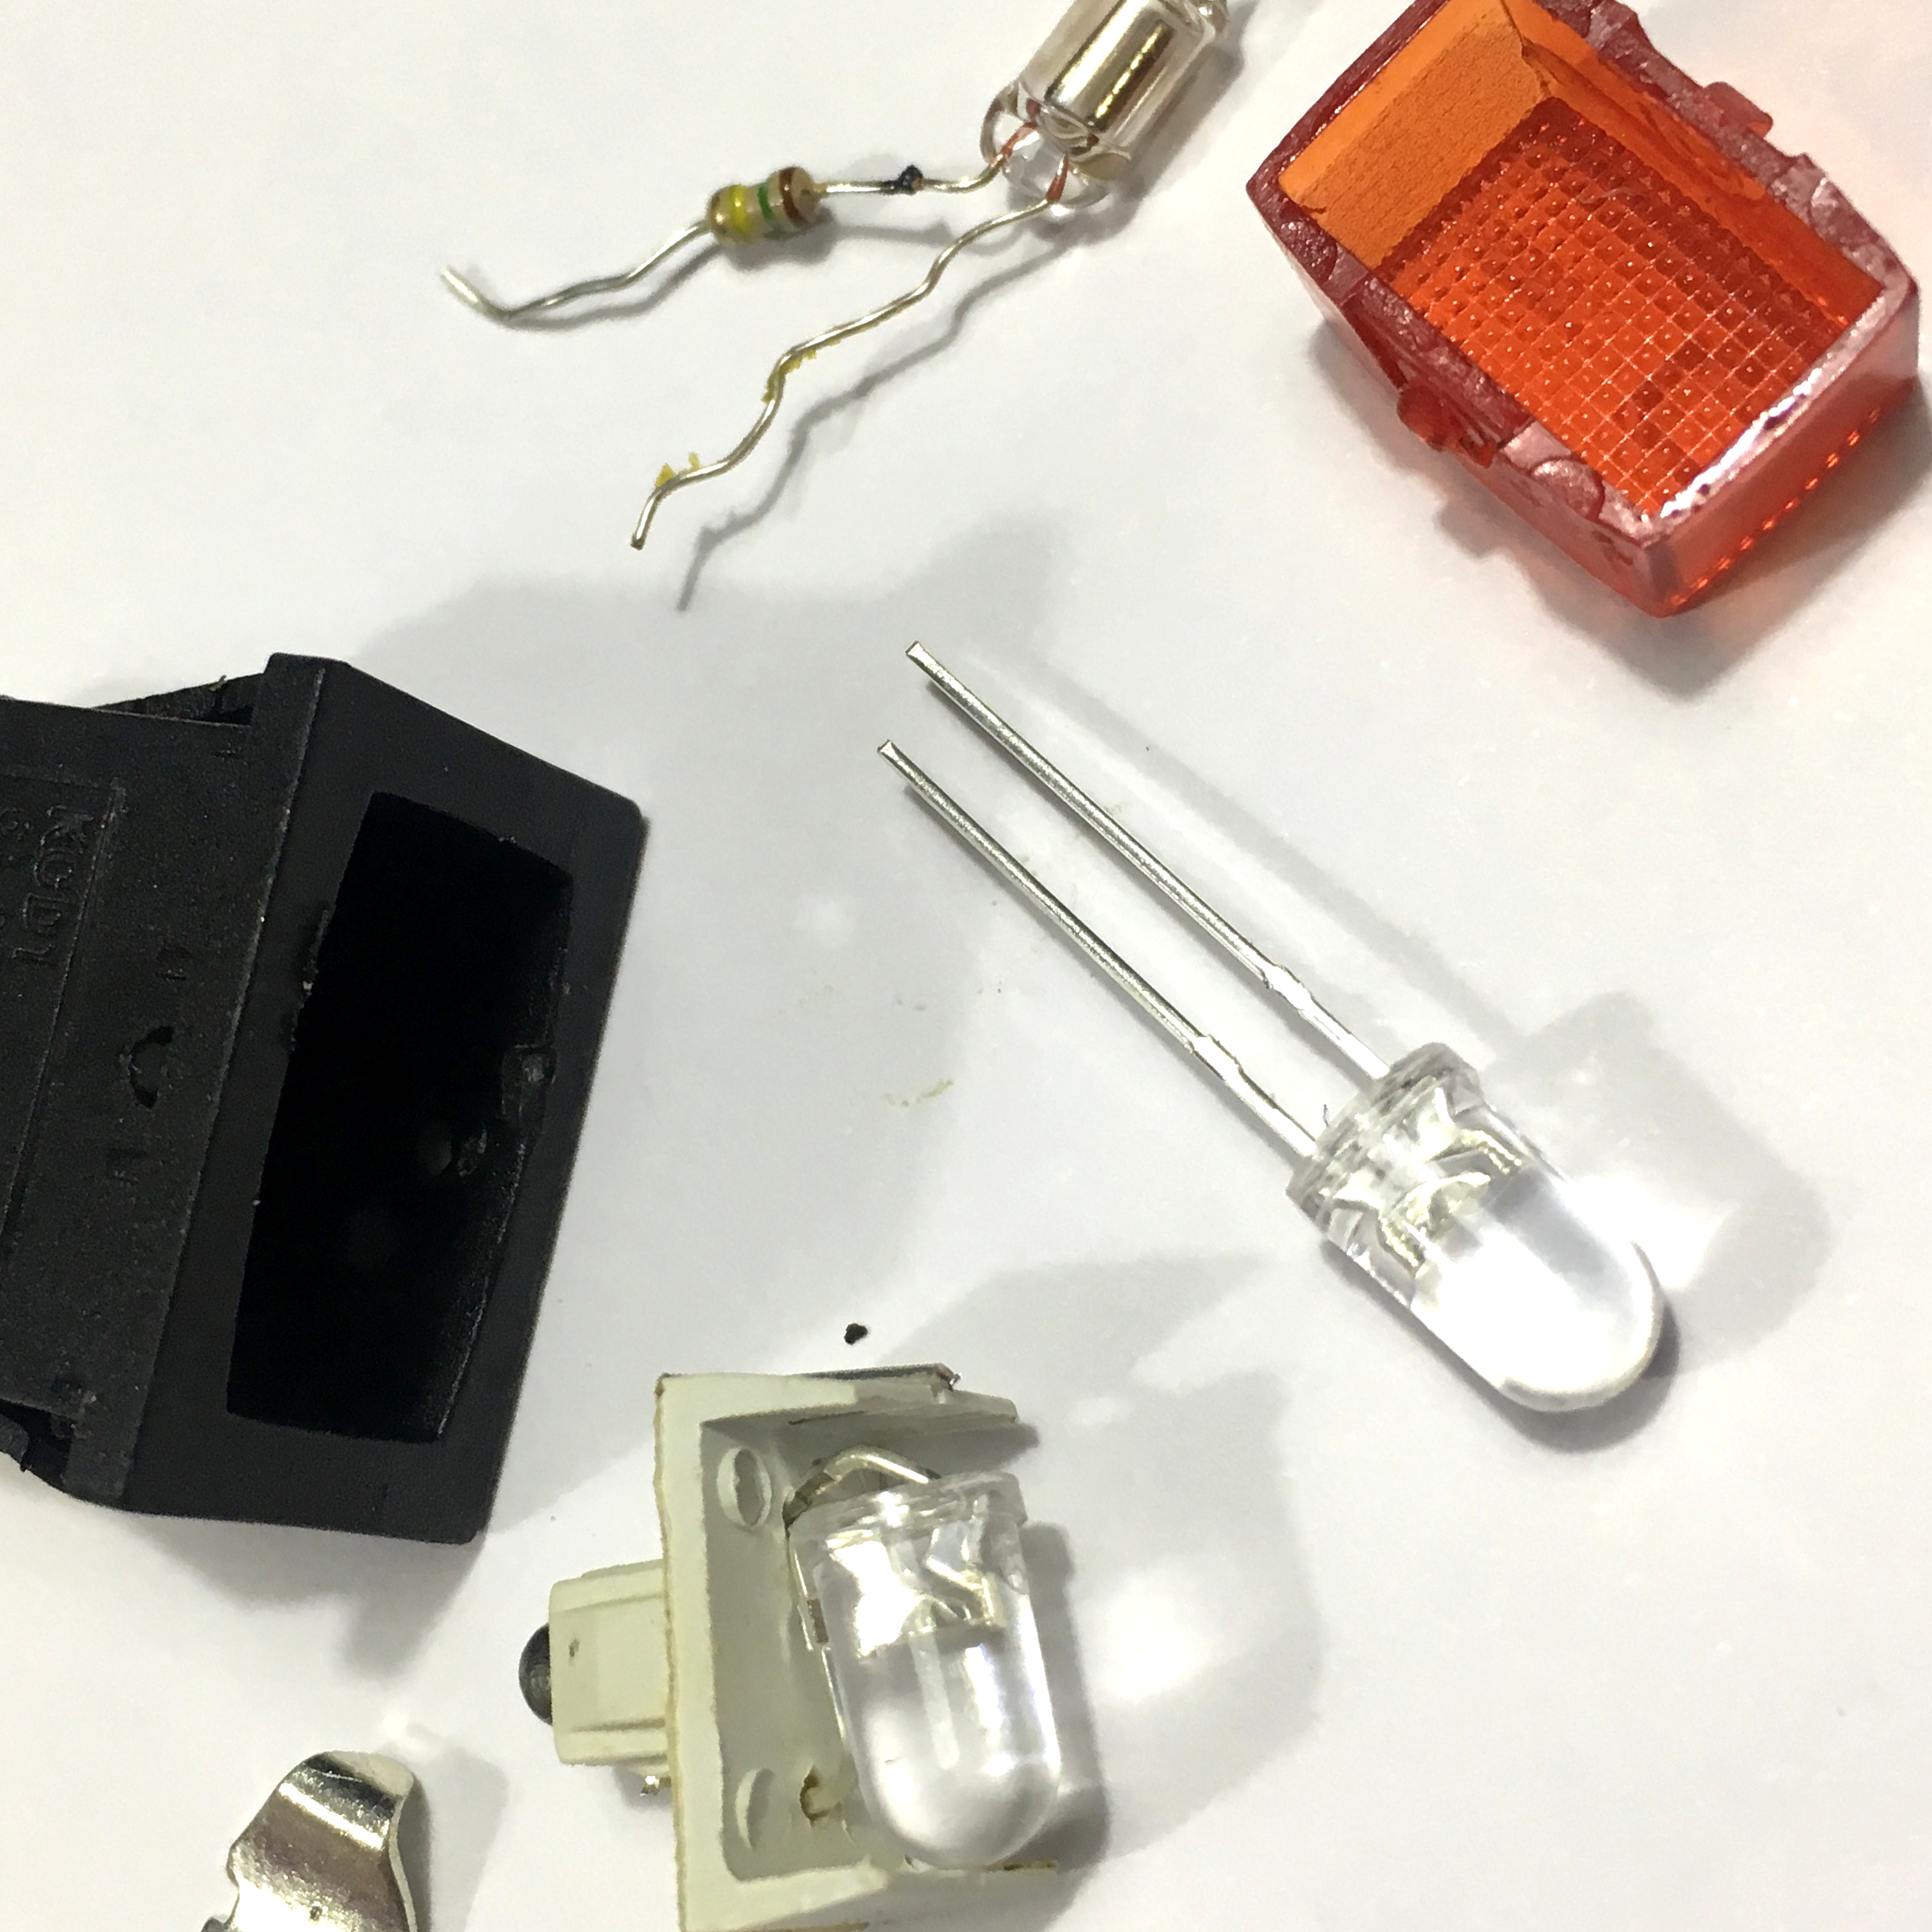
Two weeks ago, I wrote about the Activity Board I’m building for my son. Since I want this panel to use a 5 volt power supply, i needed to tweak some of the buttons I’ll be using.
Activity Board:
Enzo's Control Room
With all of my projects that include one or more buttons, I know one thing for sure. The buttons will be extensively tested by my 1,5 year old tinkerer Enzo. My Automatic curtains need to open and closed more than a few times a day, and my robot arm’s test buttons are being pressed repeatedly even while it isn’t powered on. I think the message is clear: he wants his own buttons!
The Tiny Burglar
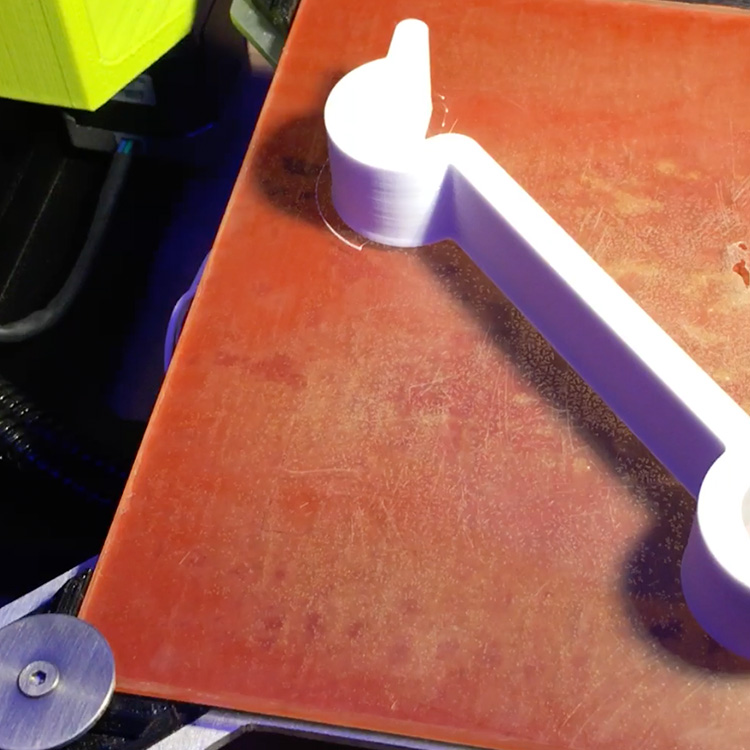
To protect our house against our tiny burglar, I’ve 3D designed and 3D printed a simple burglary prevention system. Disclaimer: it only works for tiny burglars. In stead of blogging about it, I created a two and a half minute video …
3D-parenting
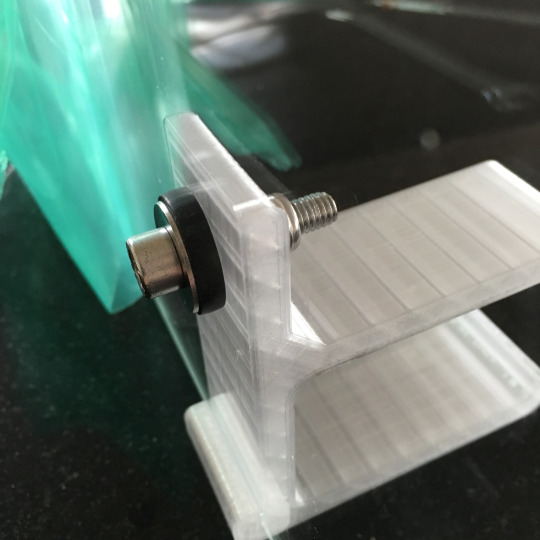
It’s June! Which means two things: it’s getting hotter each day. And my son is 9 months old. Together these facts are a good reason for a nice 3D printing project.