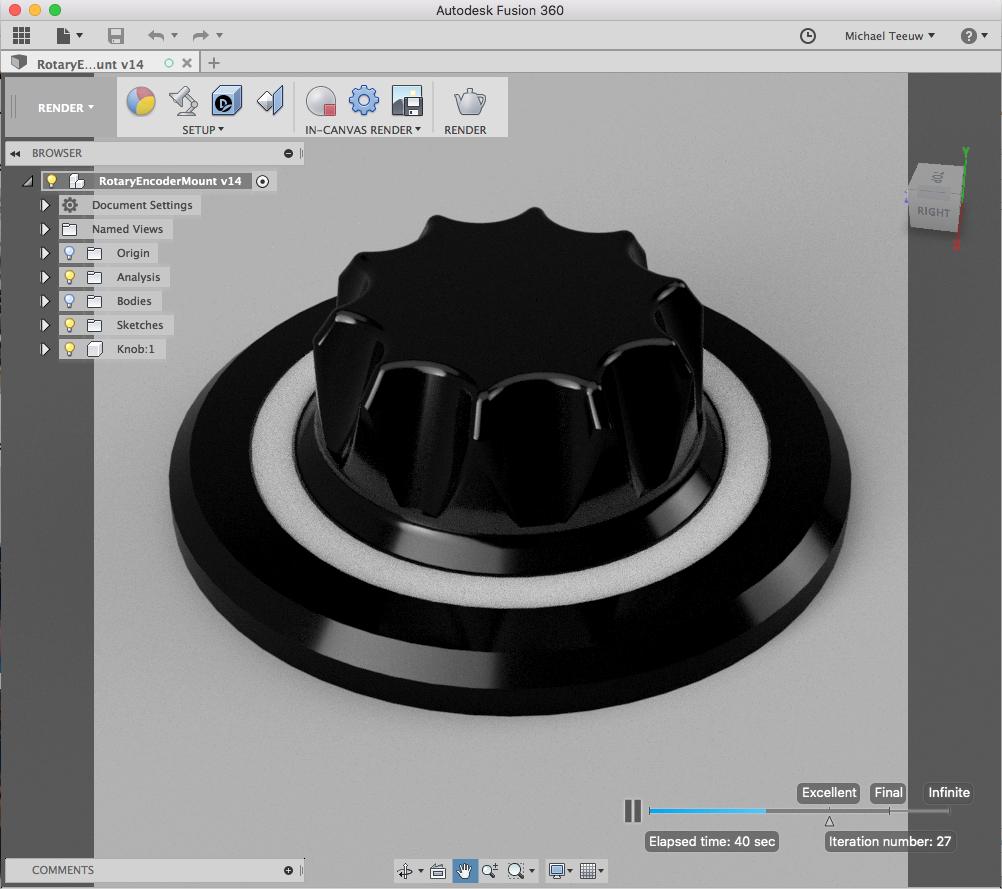
Creating an nice big dial knob for the activity board, isn’t that difficult since I own a 3D printer. But to make it a big more special than the average dial, I wanted to add a nice light effect to the button.
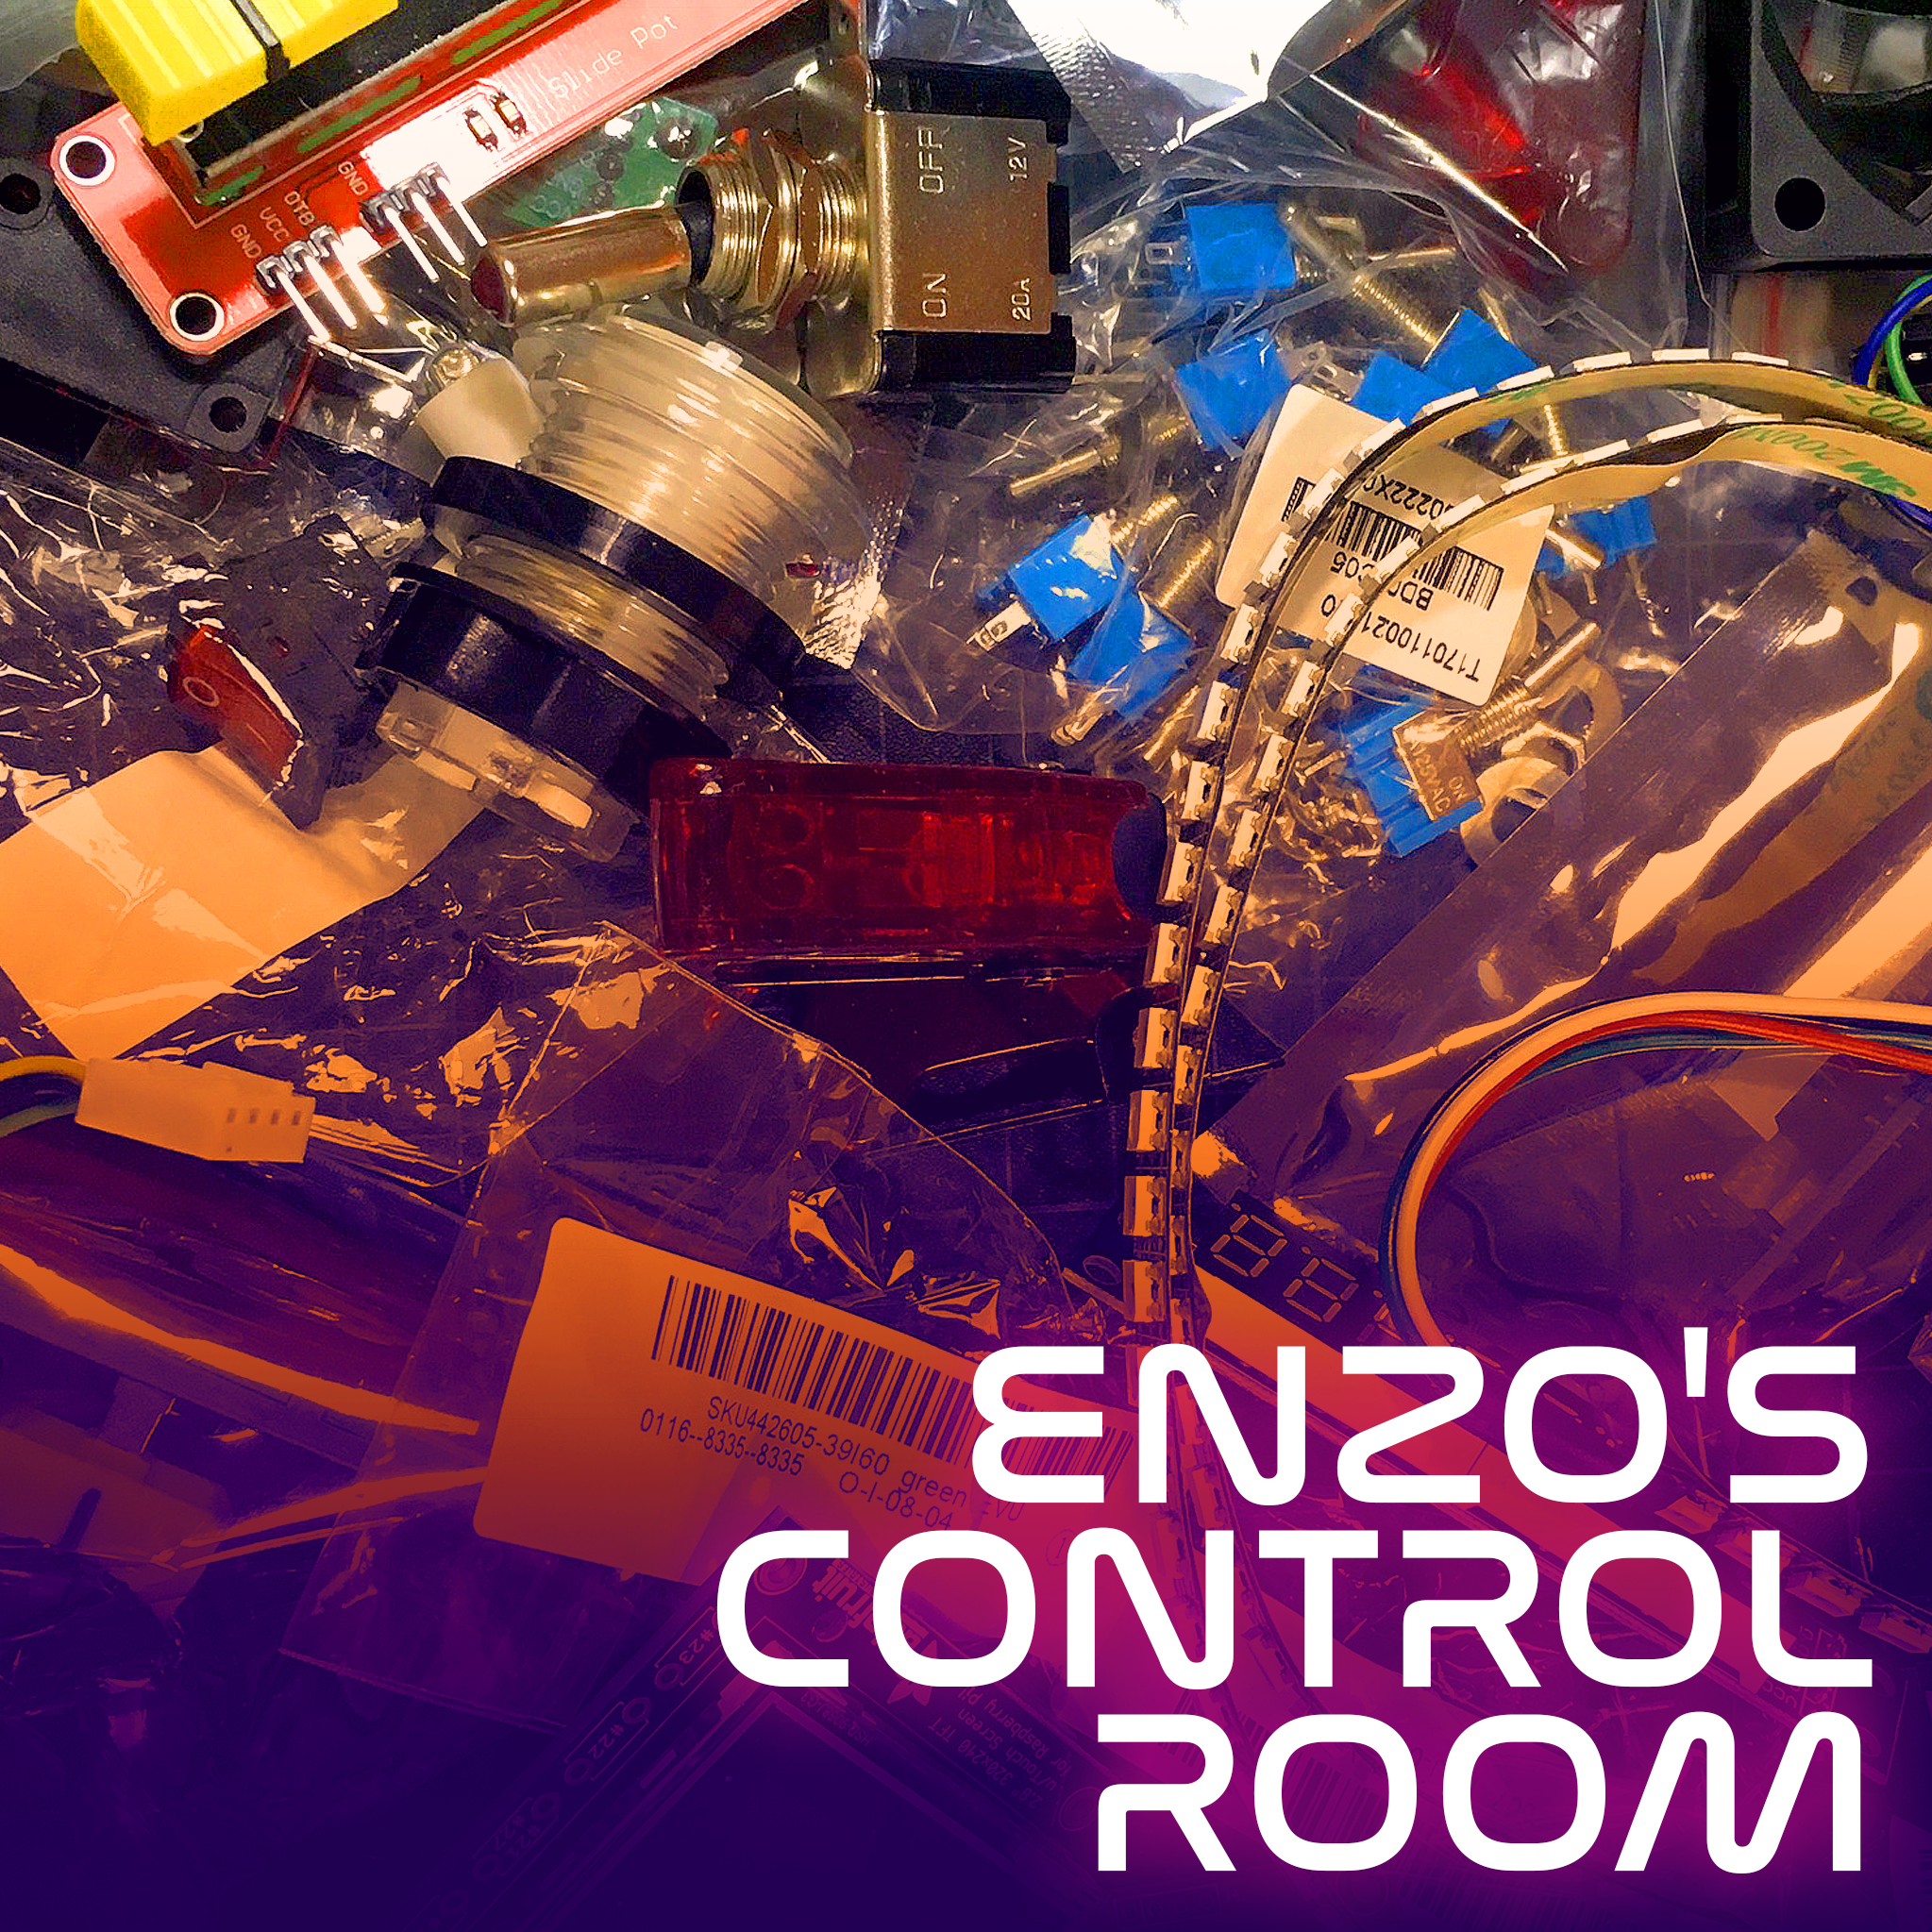
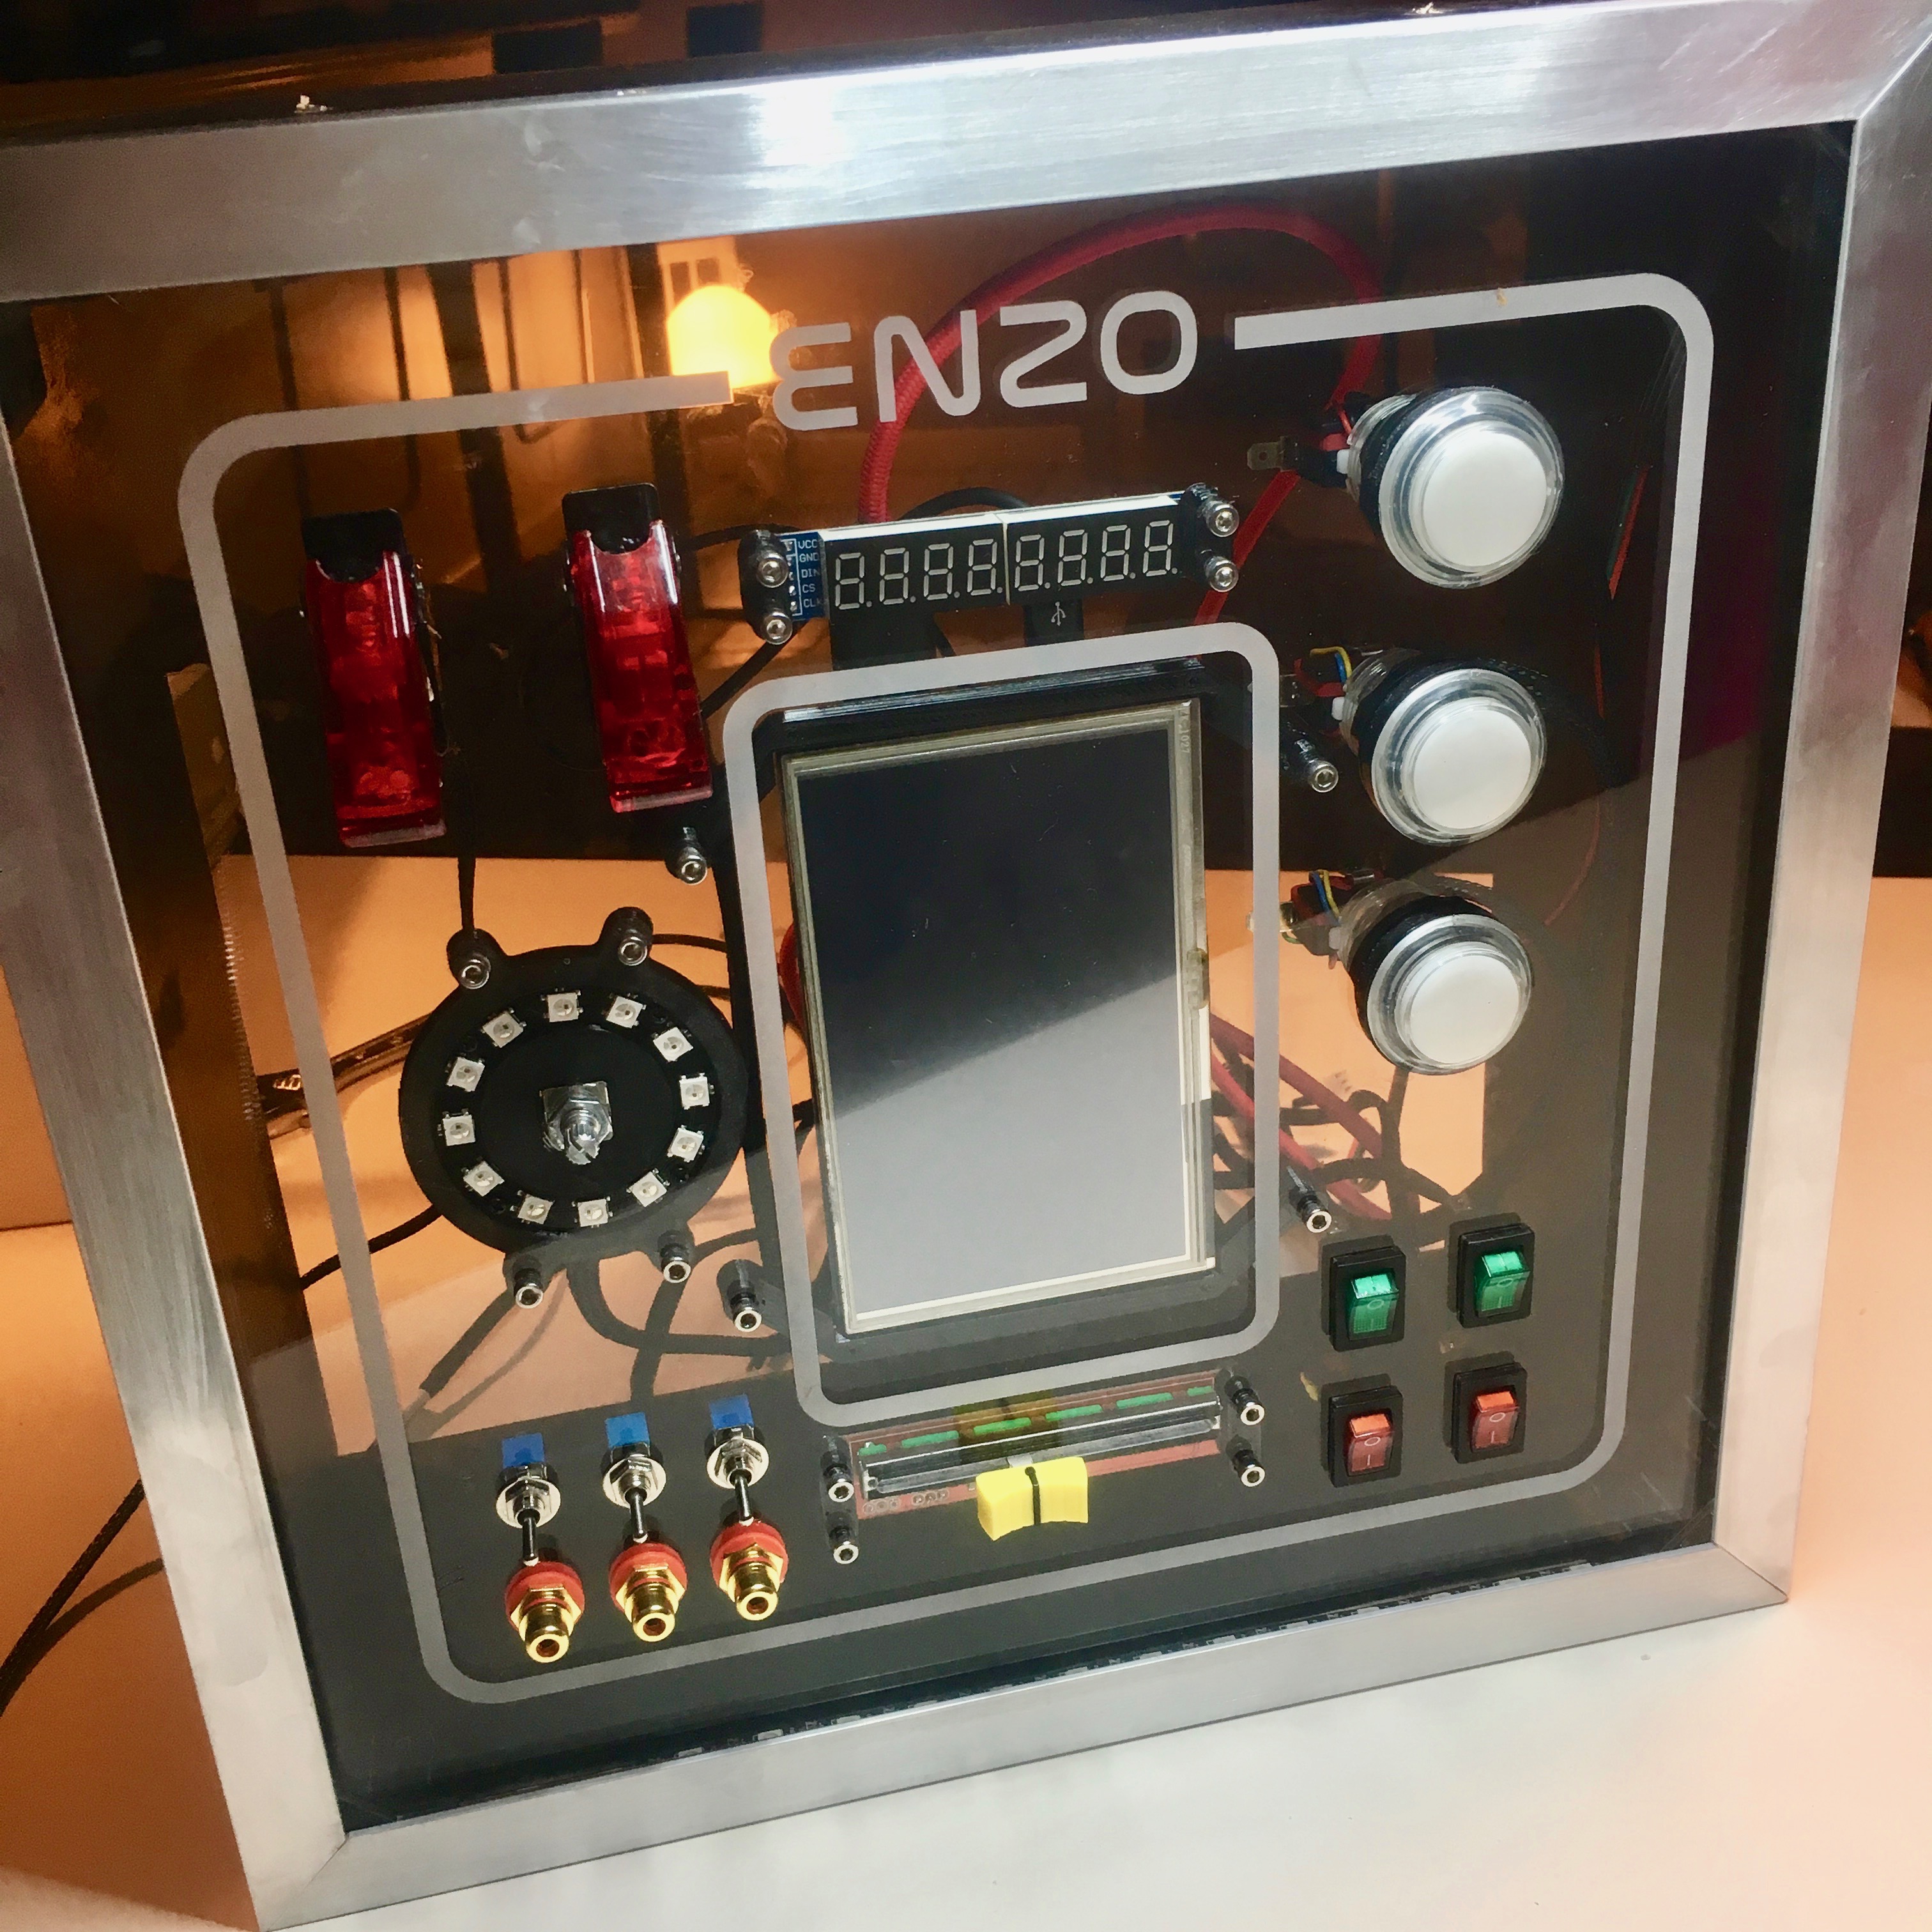
Activity Board: Assembling the panel
I already added a Neopixel ring to the rotary encoder, so adding the light is mostly done. But due to the brightness of the LEDs, a diffuser would make the light effect much more subtle. I nice opportunity to design a 2-material print.
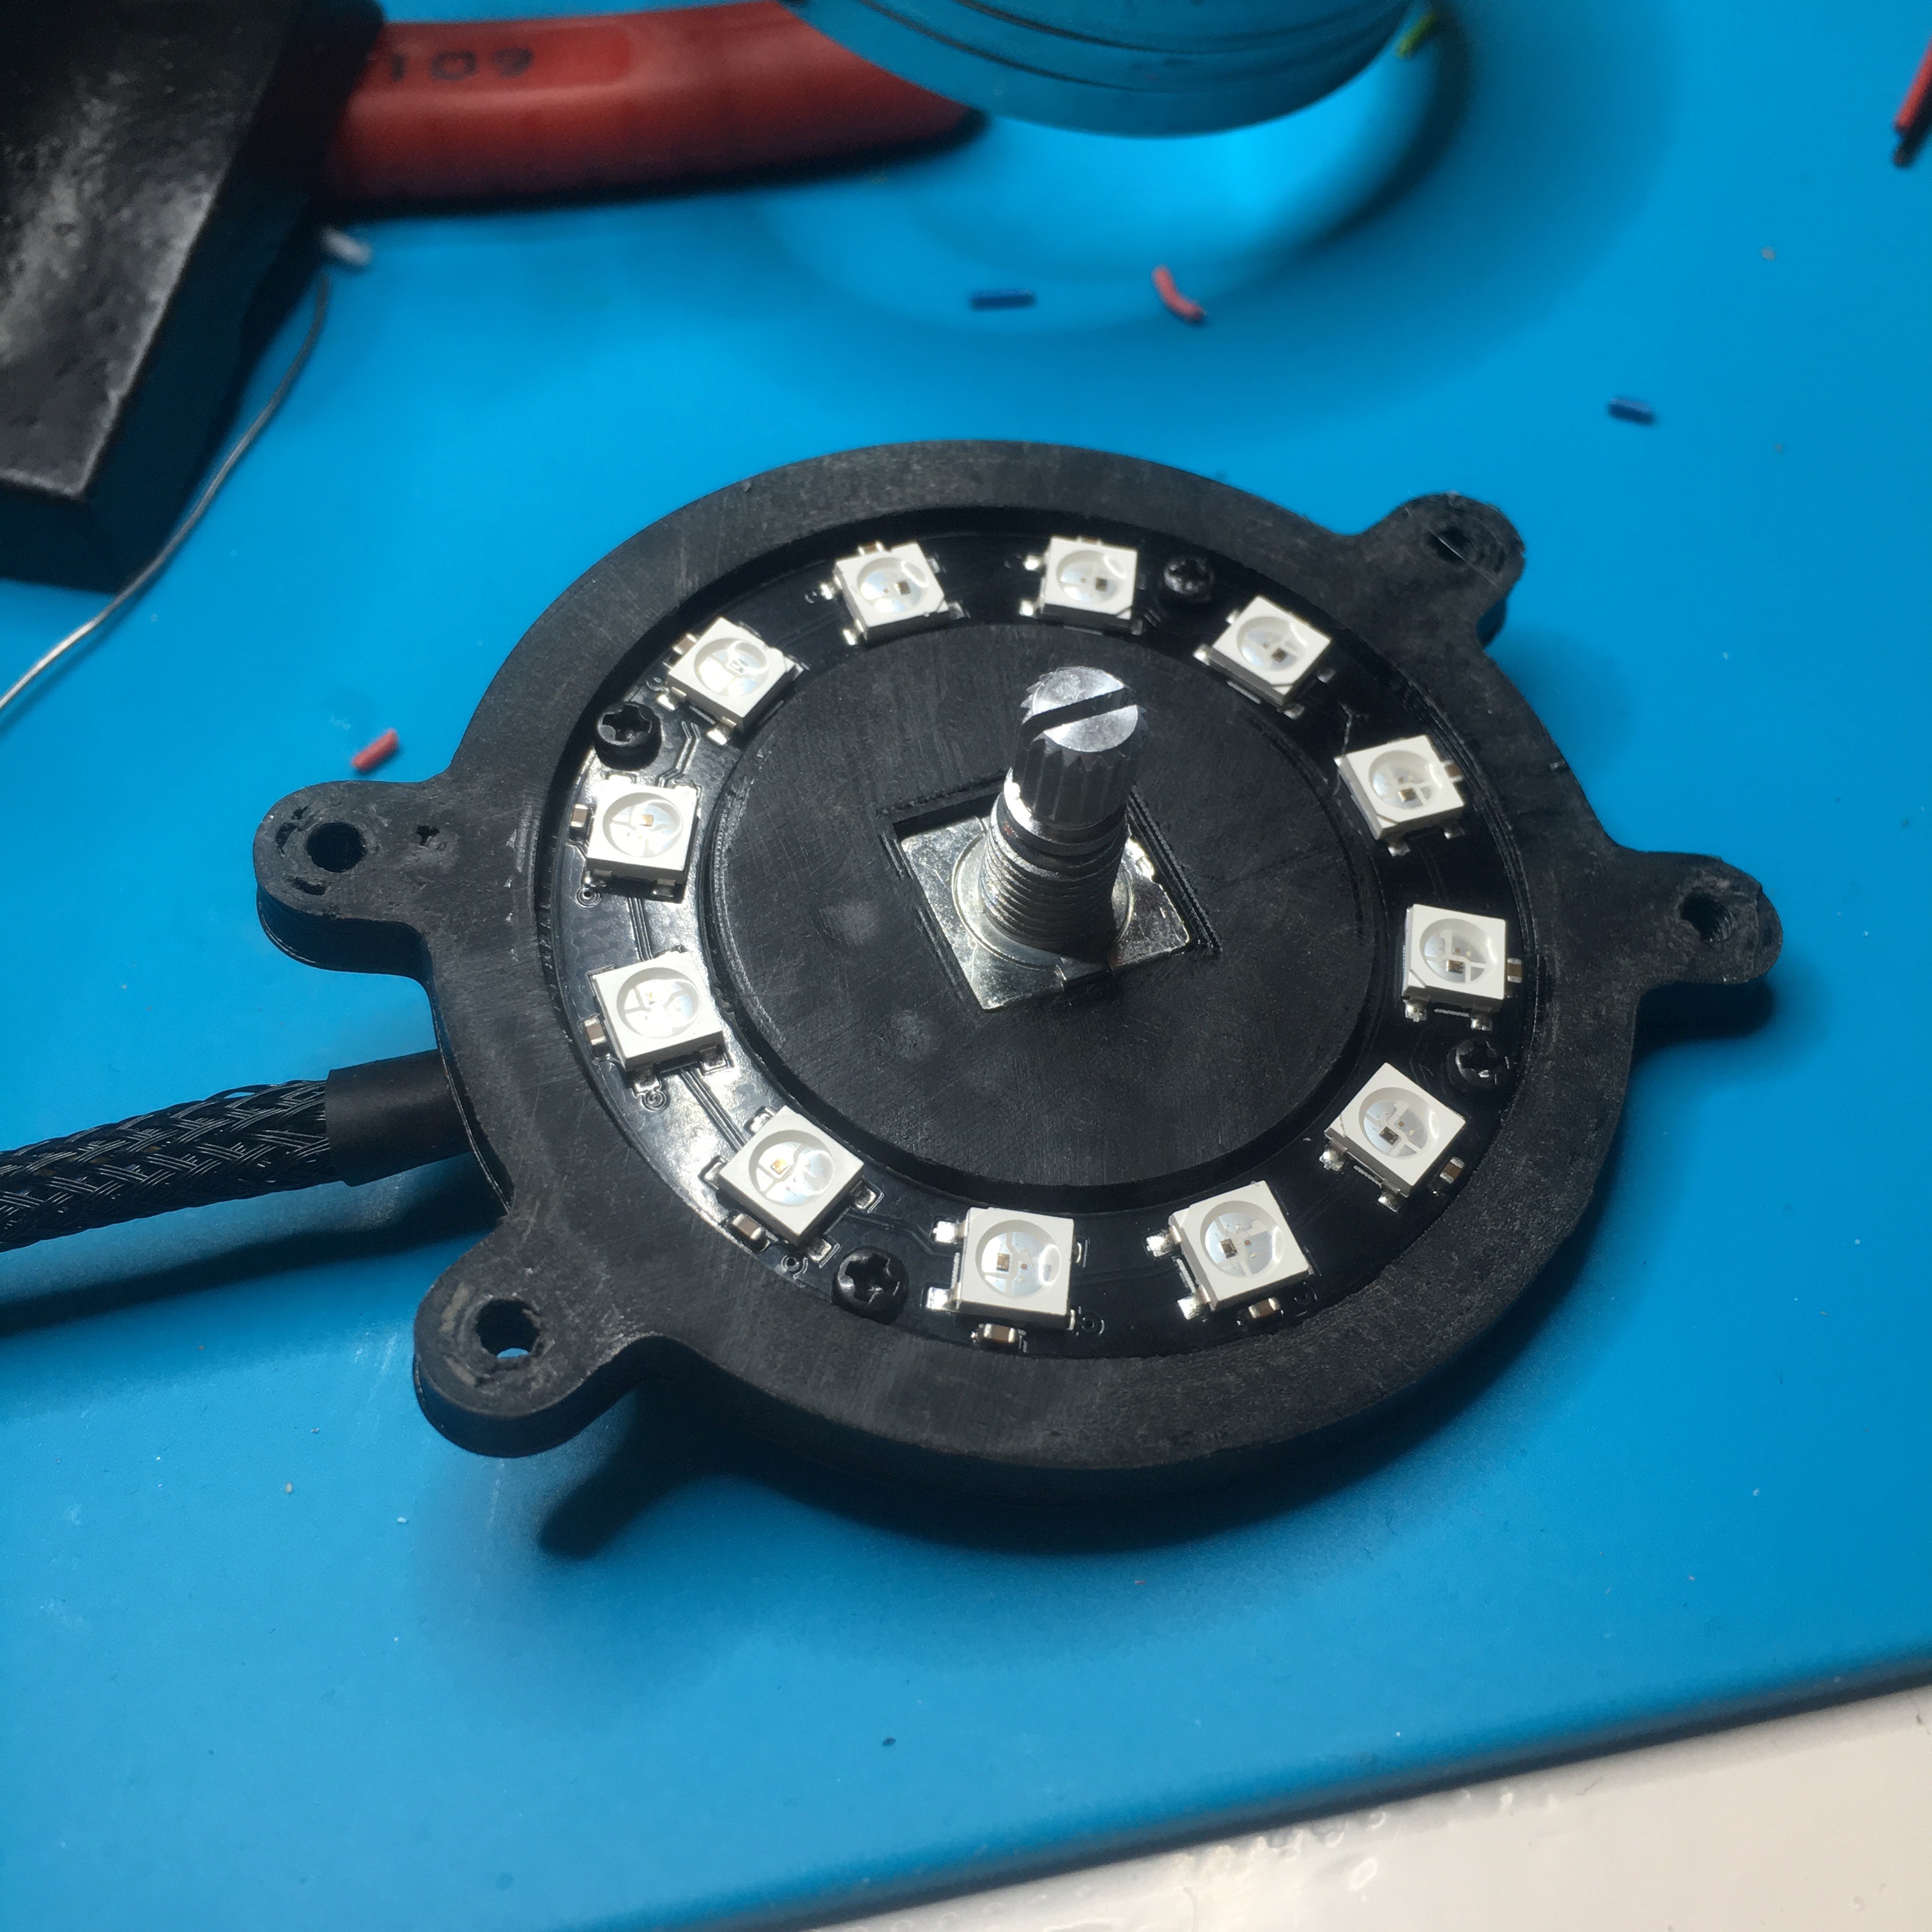
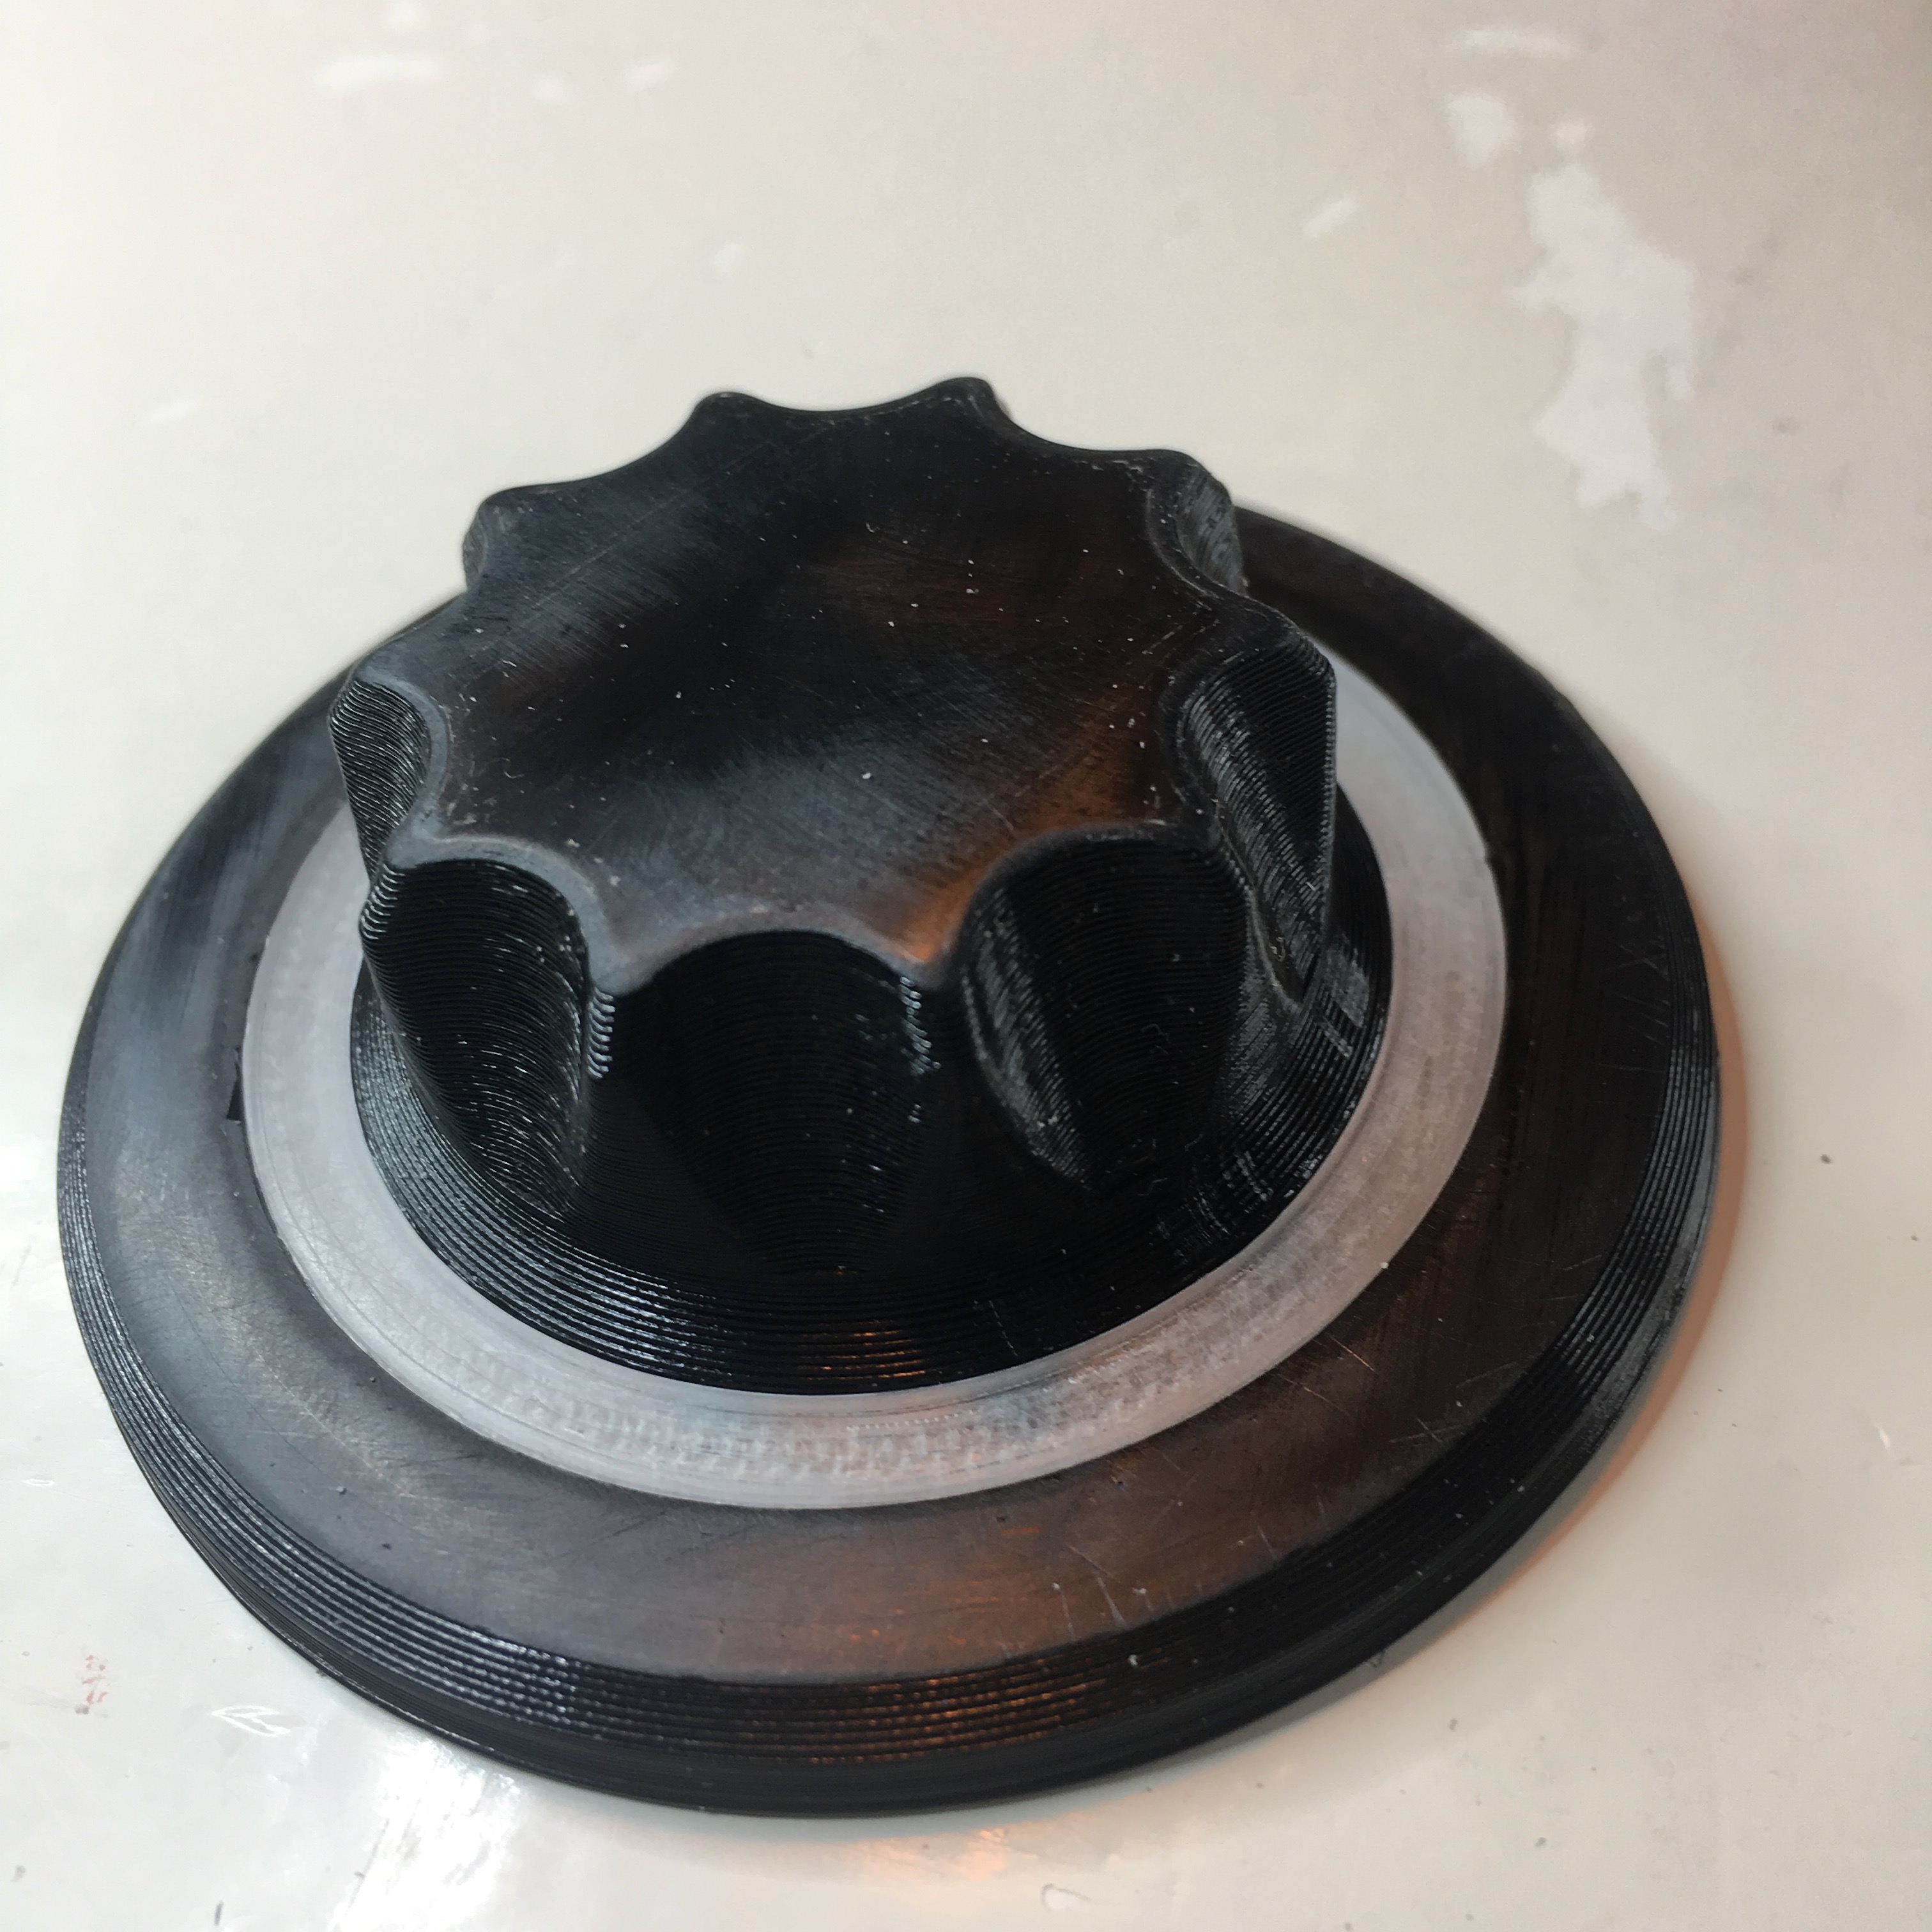
With the help of my good old friend Fusion360, I desinged this old-fashioned dail knob. The diffuser is the exact same size as the Neopixel LED ring. The button has a 20mm height and a total diameter of 6cm.
Because my printer doesn’t include a dual extruder, I need to make two seperate prints. The inner and outer ring in black XT-Copolyester. The diffuser ring in transparent XT-Copolyester. To make sure the will snap together perfectly, I added a small ridge both on the inside and outside of the diffuser ring.

After printing the components, I figured the print surfaces could use some sanding.
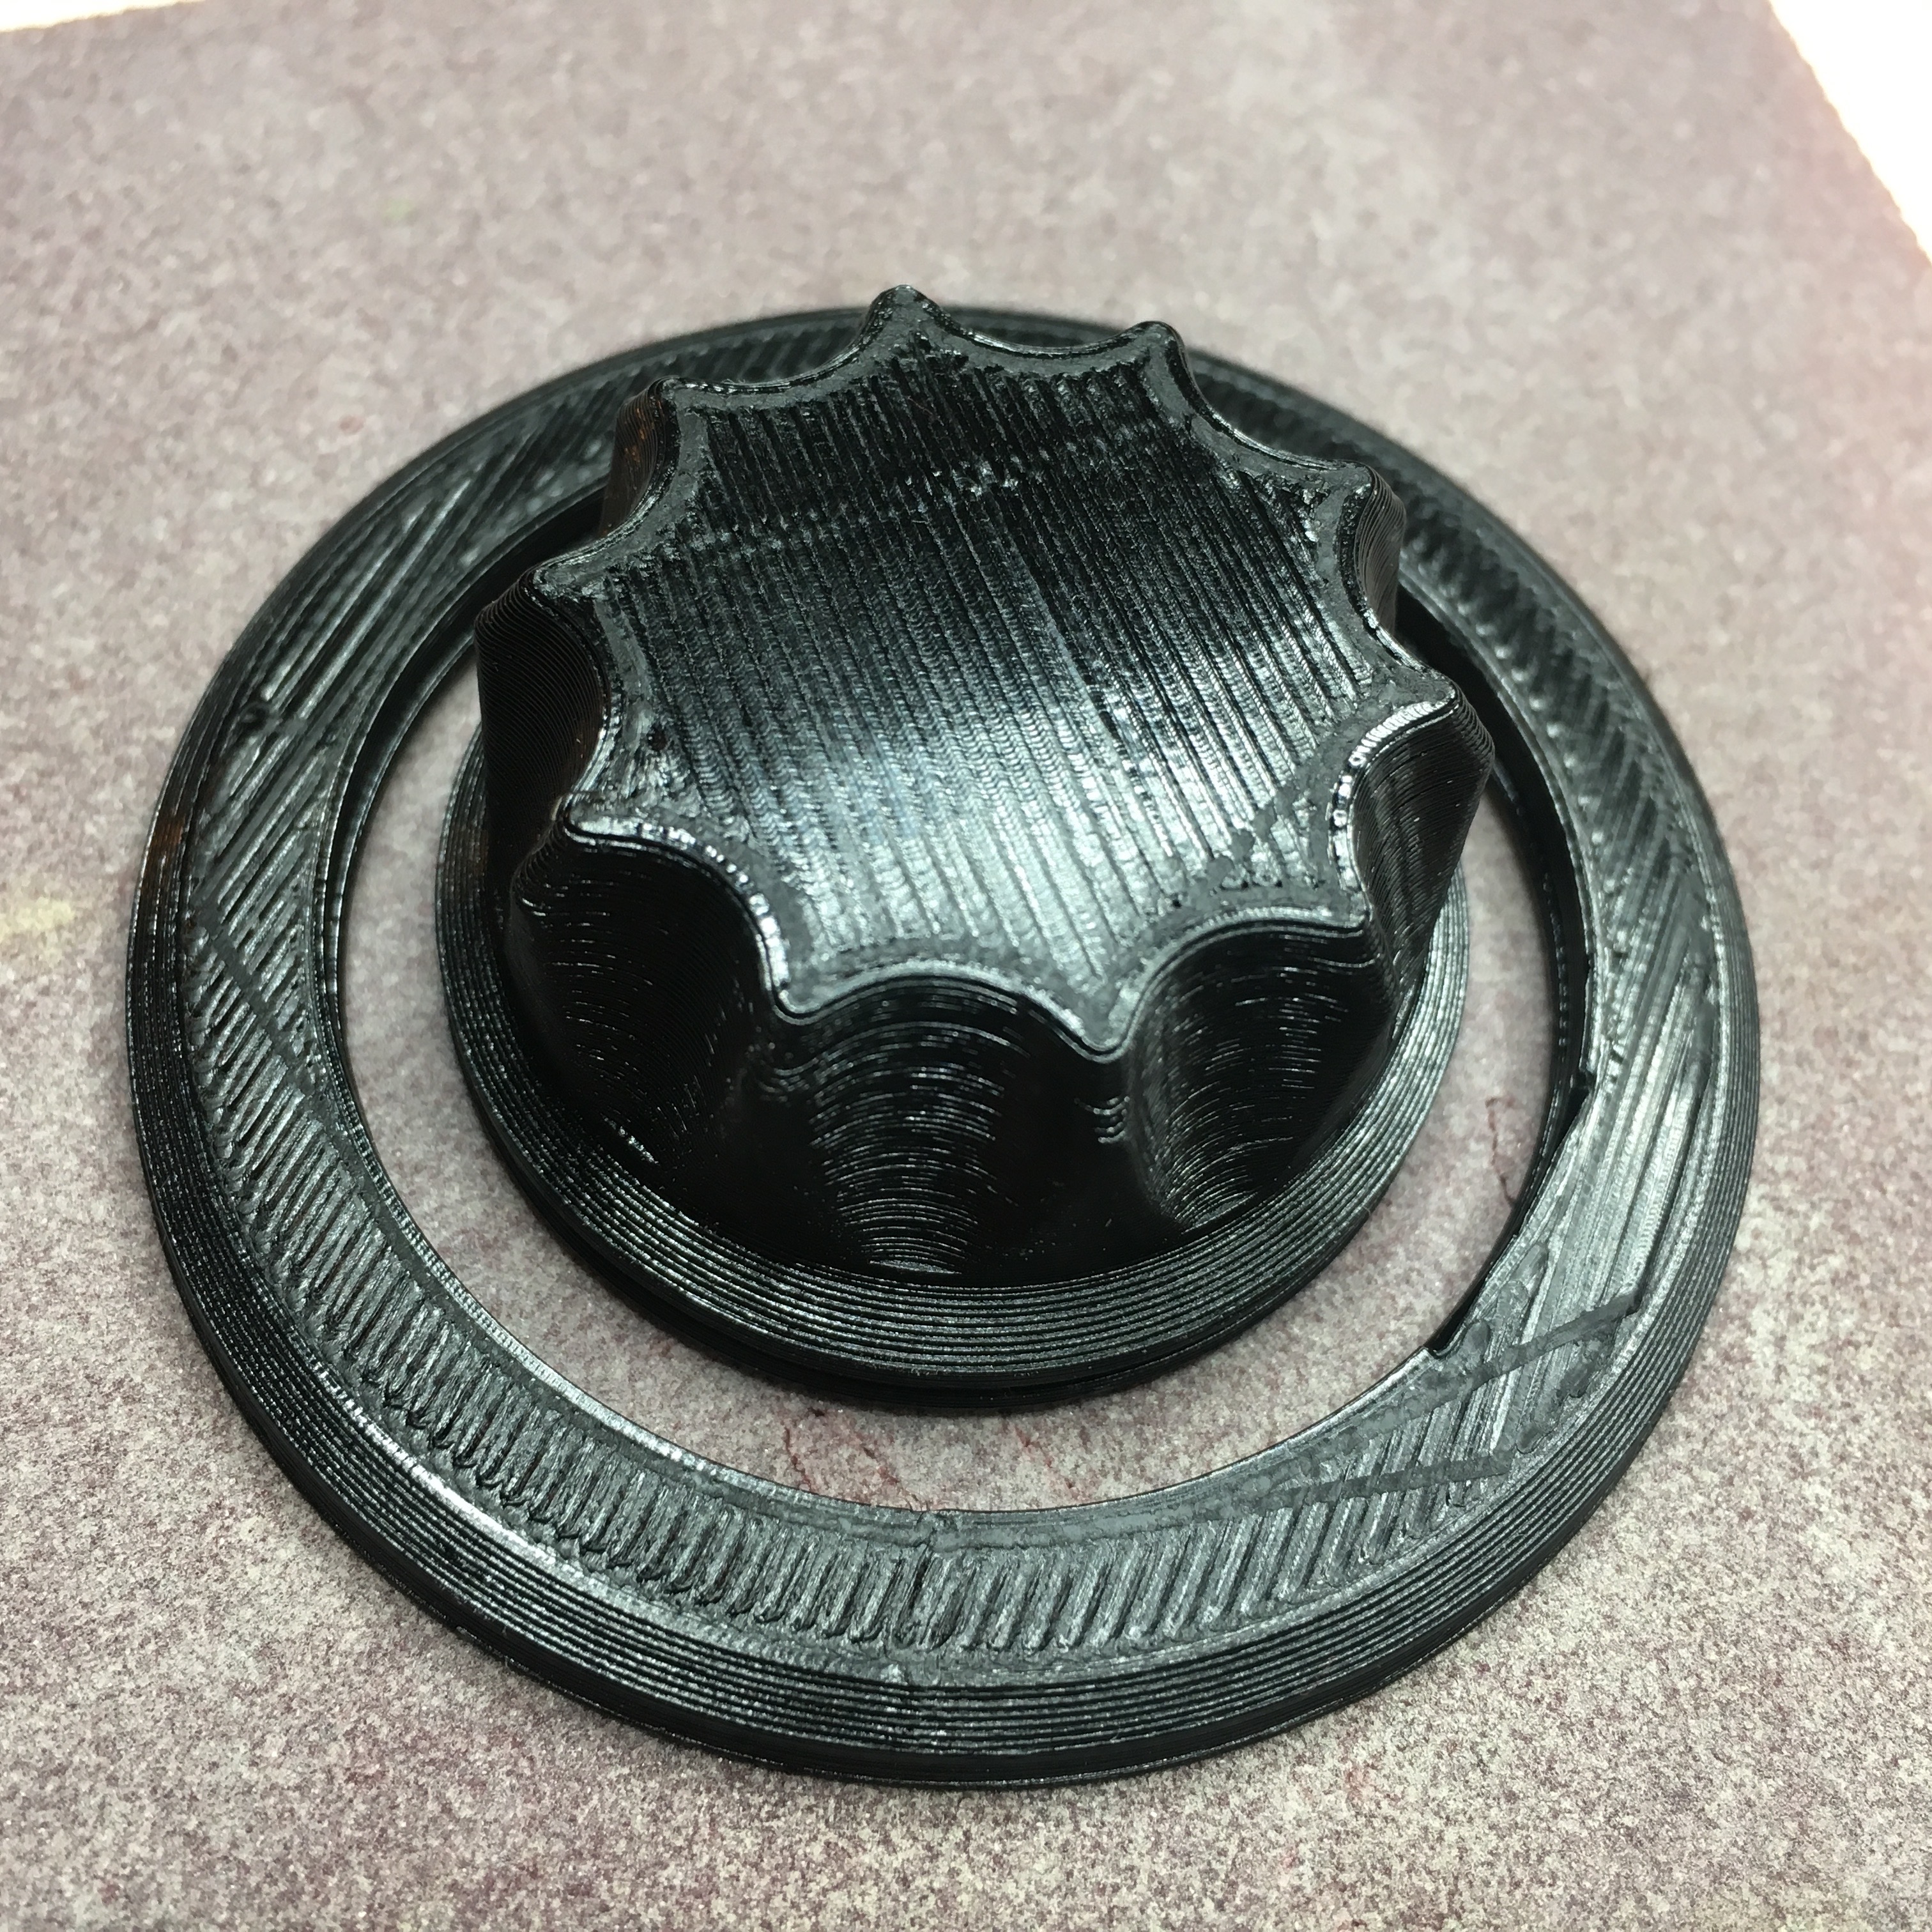
So with the help of some sanding paper, I smoothened all the components. By sanding the diffuser ring, the light diffusion improves as well. I ended up sanding the black parts with a 2000 grid sanding paper.
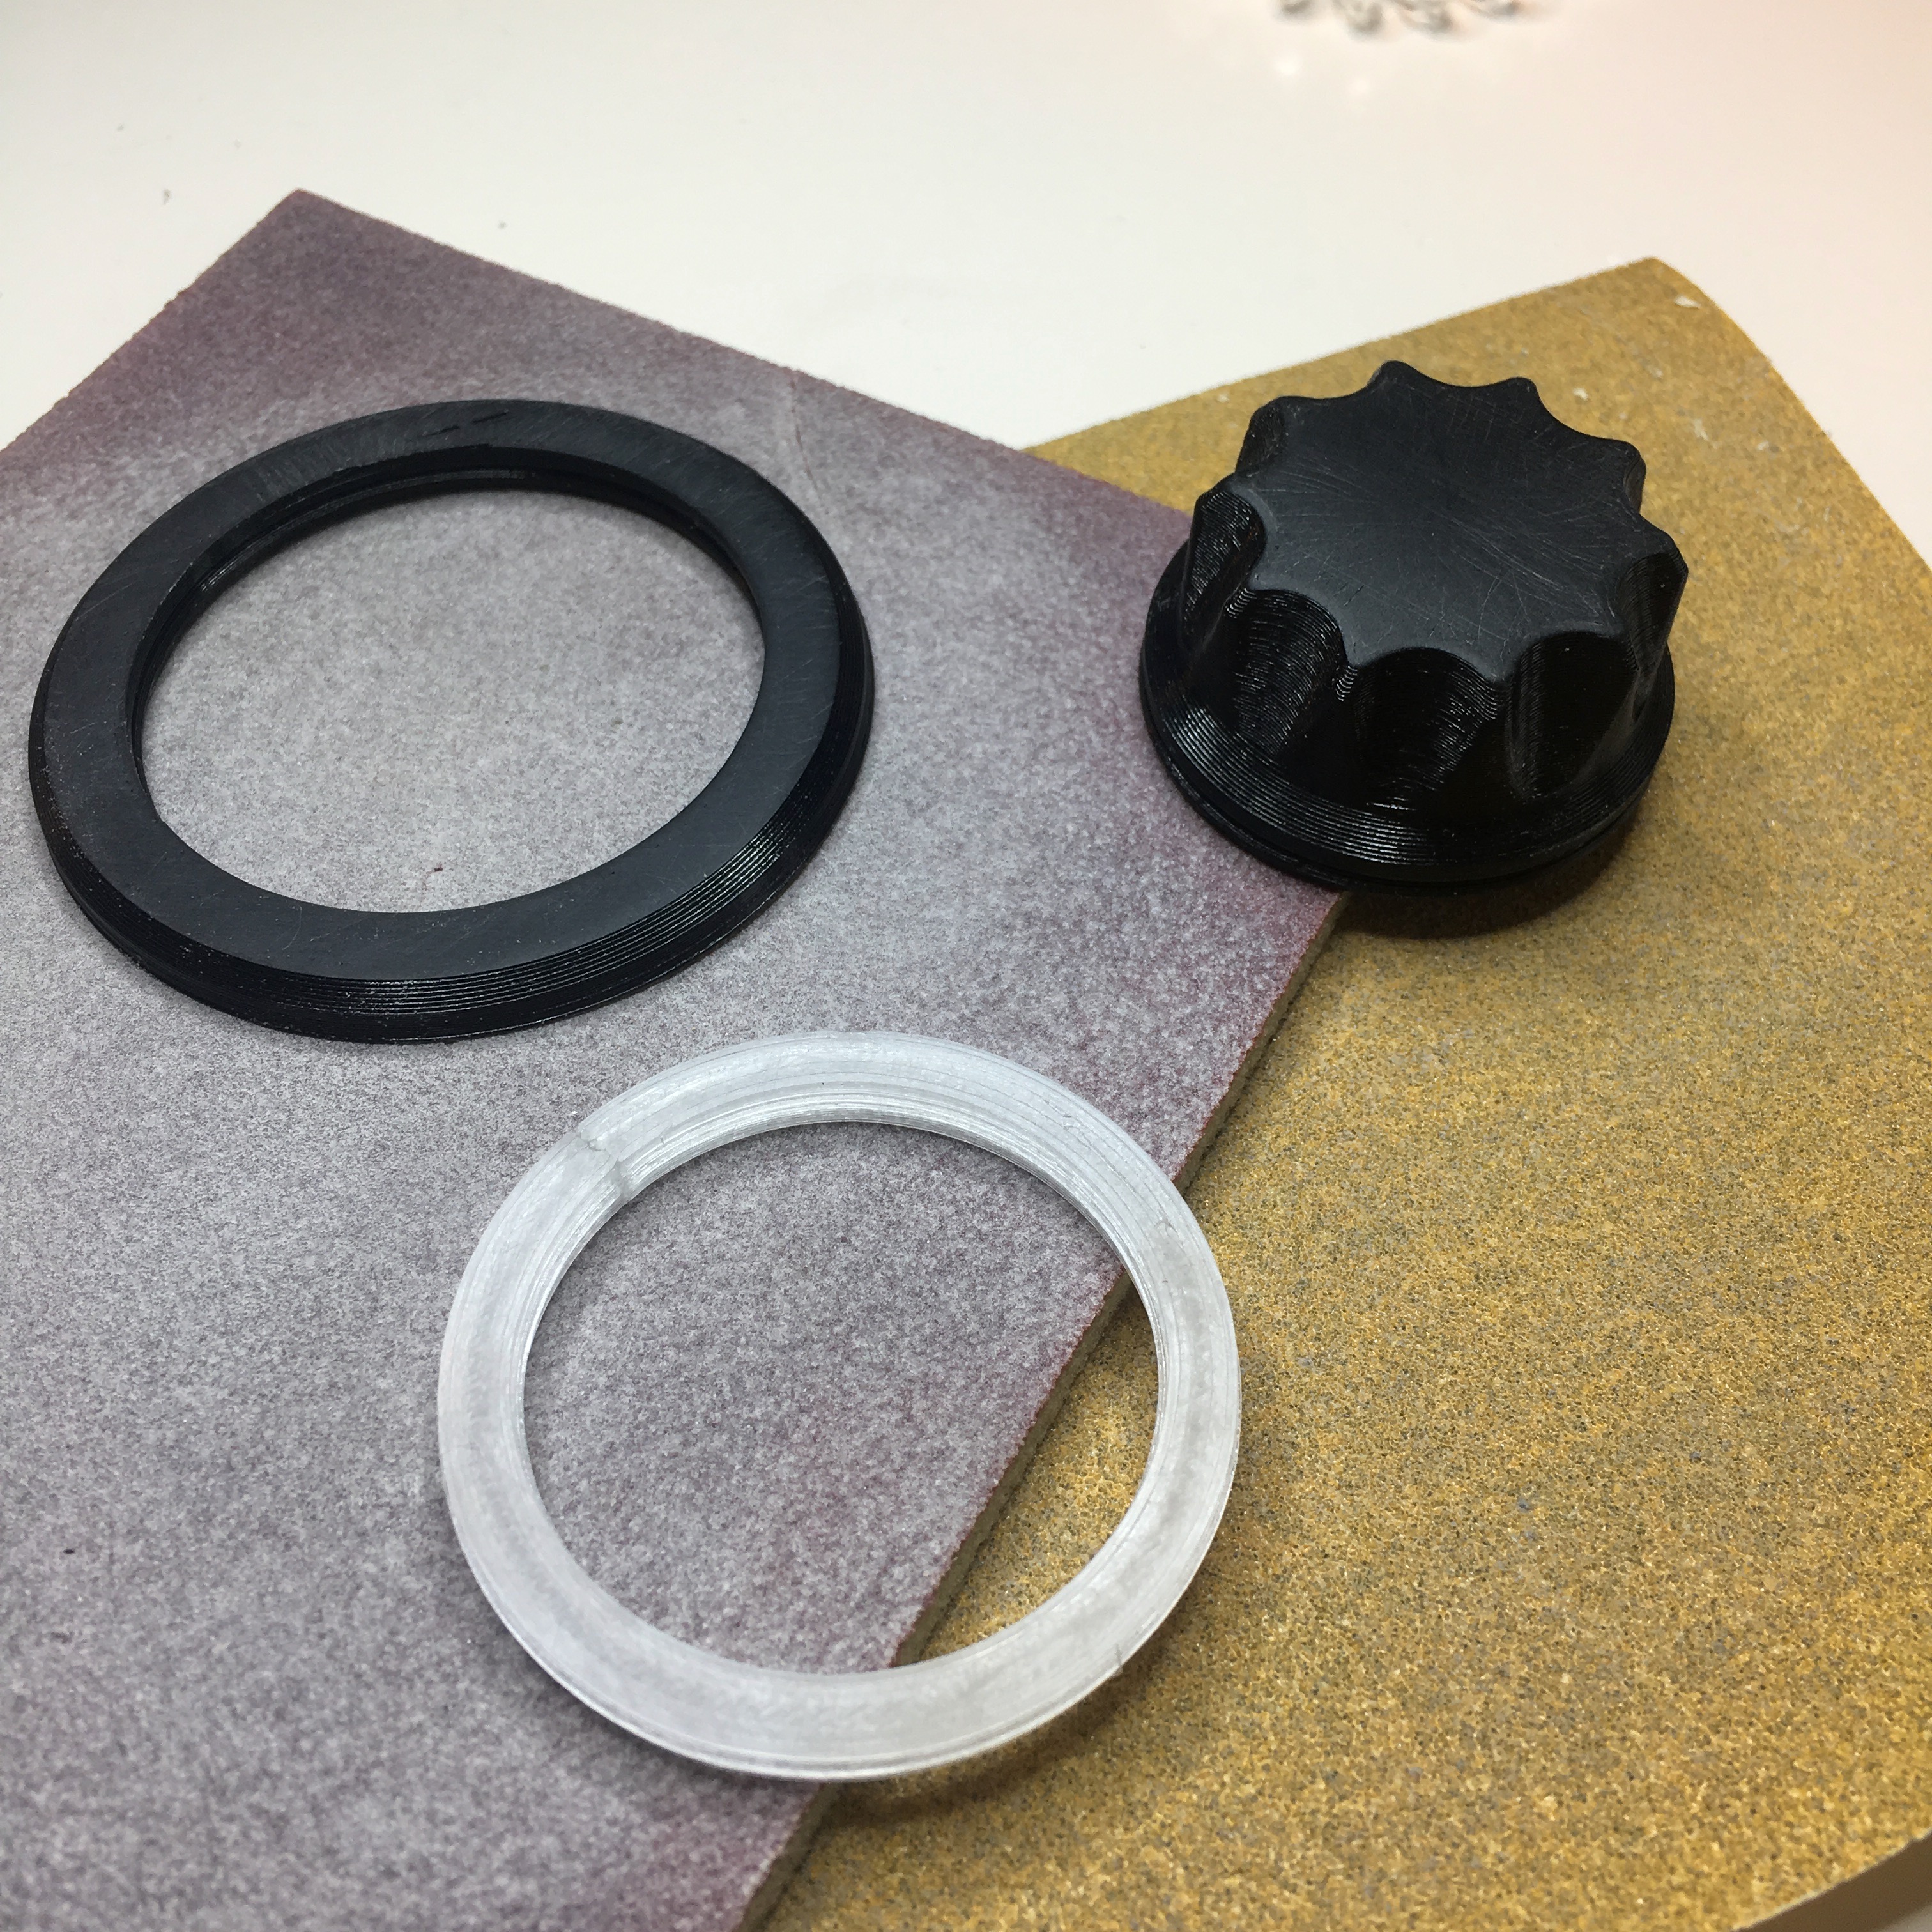
Now it’s time fun part: let’s snap the rings together. Use the force, Michael!
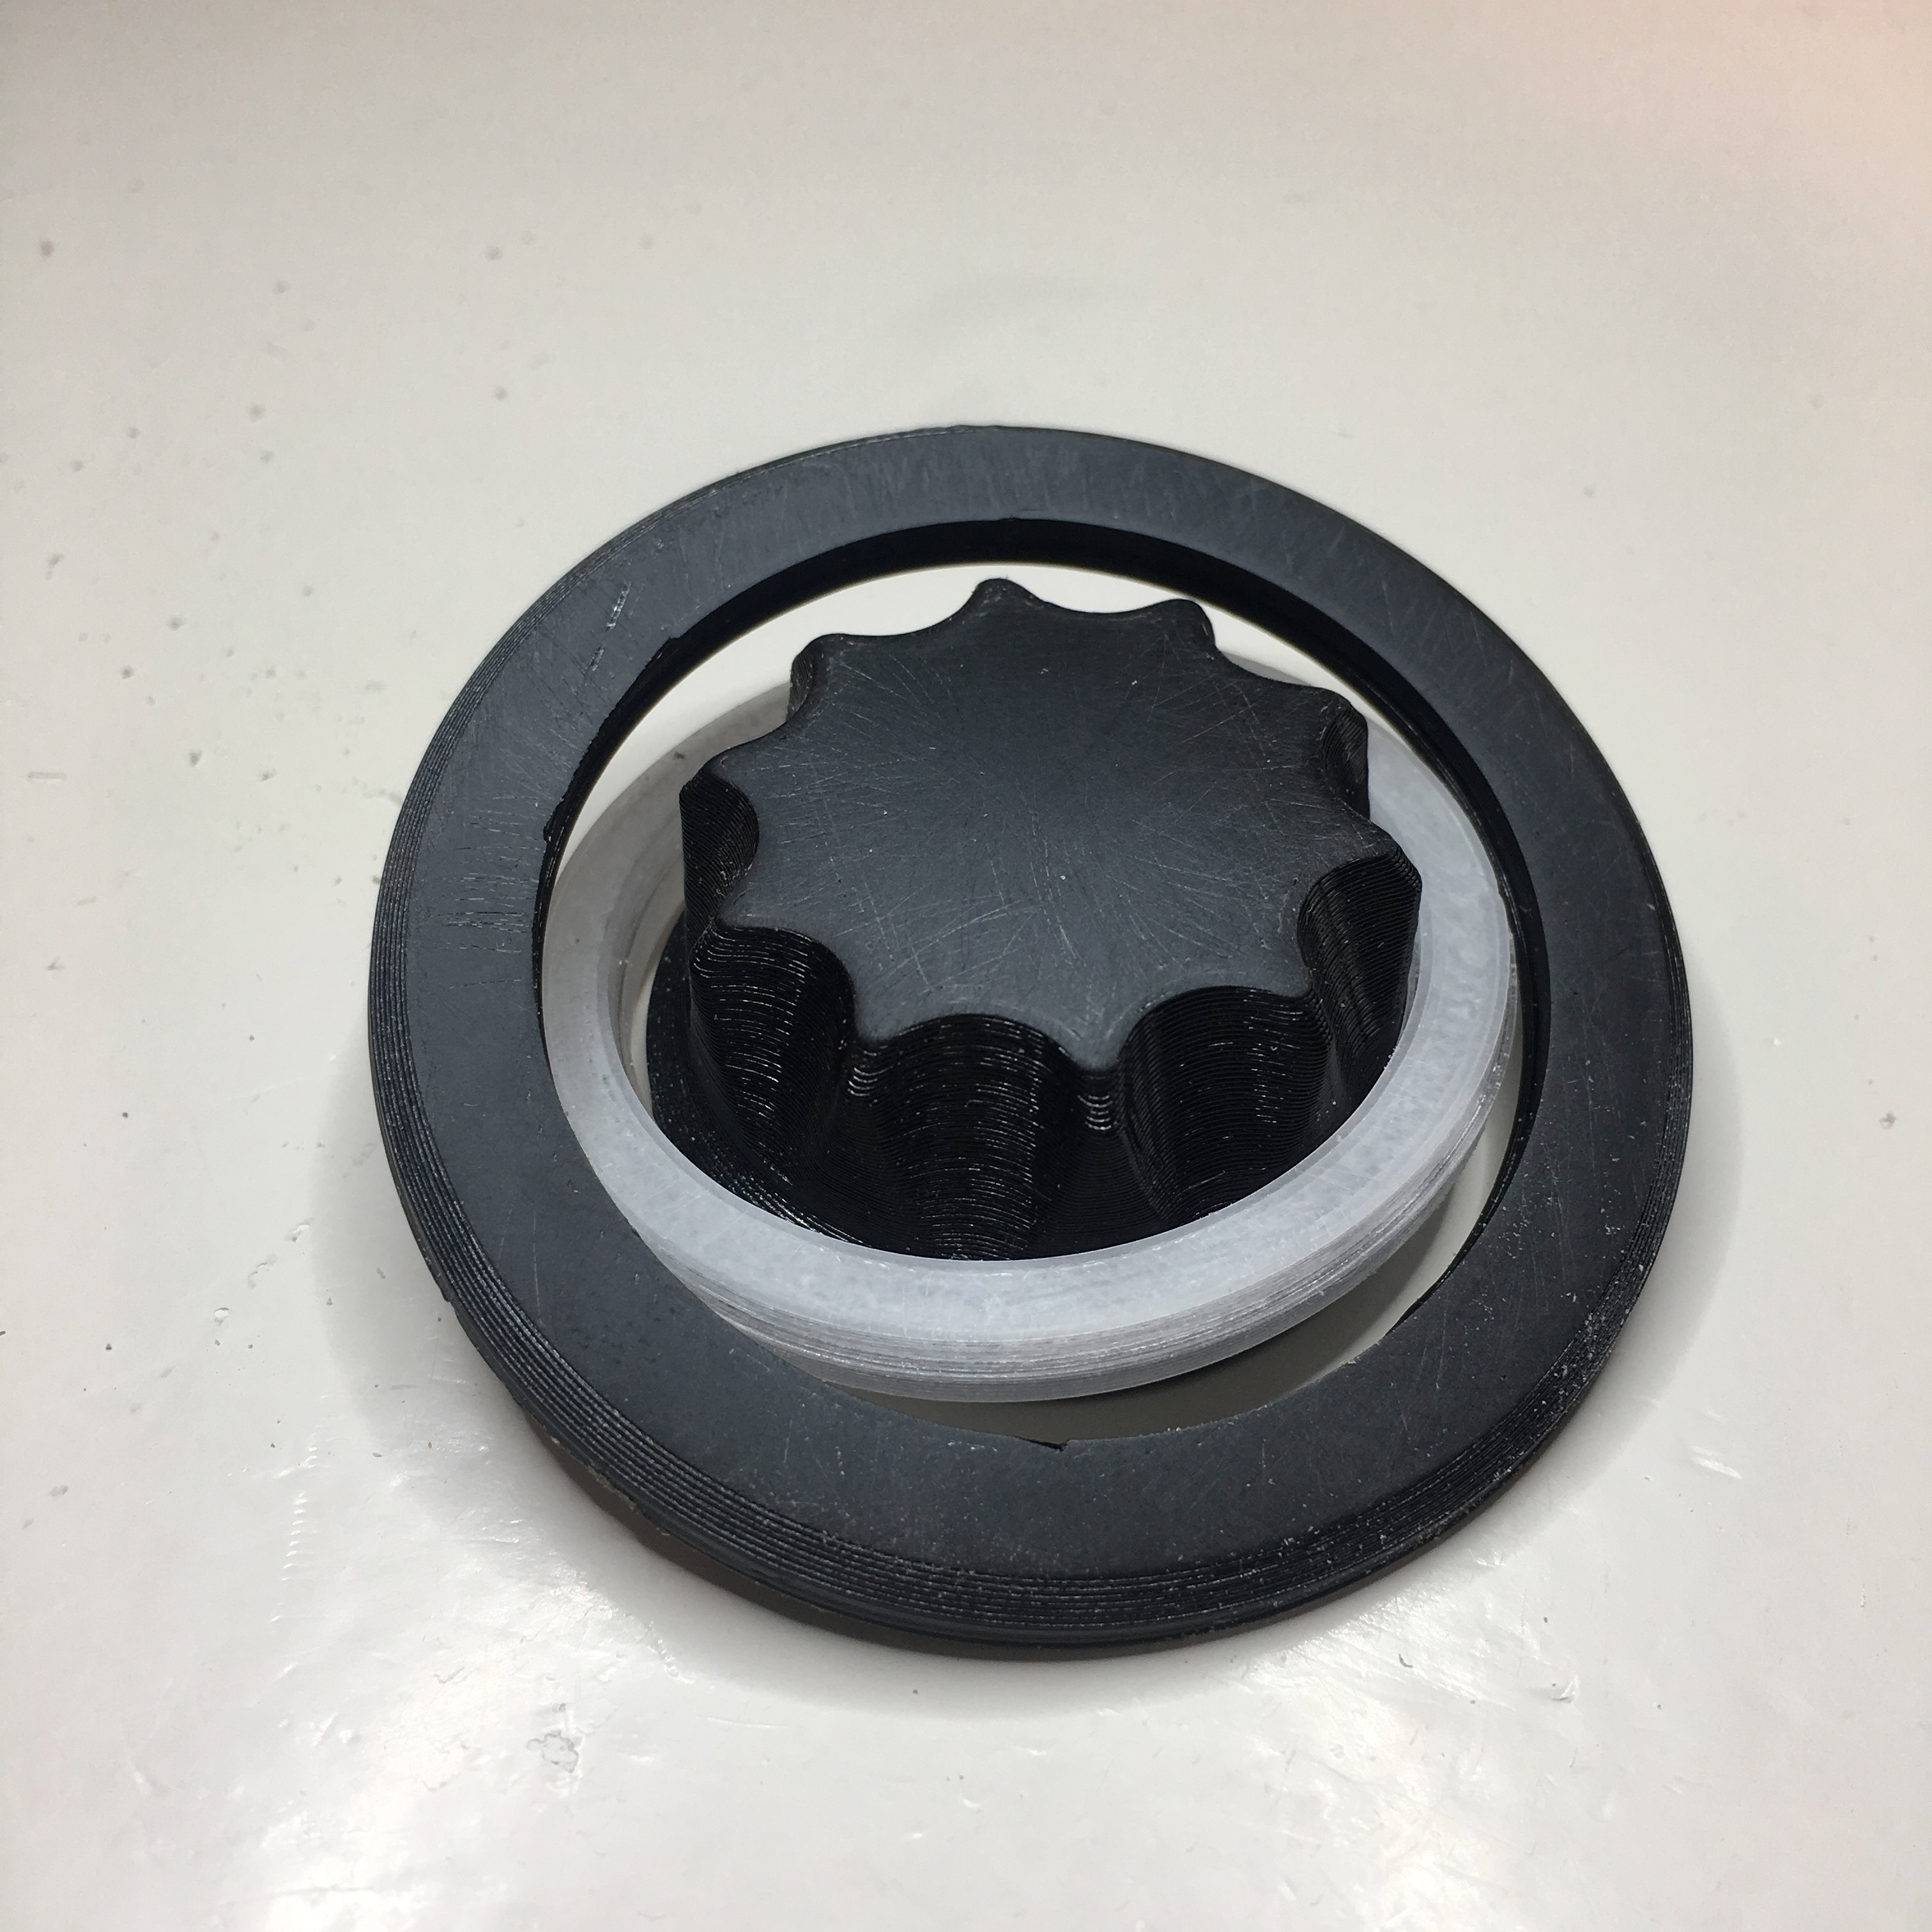
And there you have it! A perfect fit! I must admit this was my second attempt. At first I used a 0.1mm tolerance between the rings. That ended up being too tight (damaging the diffuser ring). 0.25mm turned out to be the perfect tolerance. They fit together perfectly. You can’t even feel the transition between the rings!
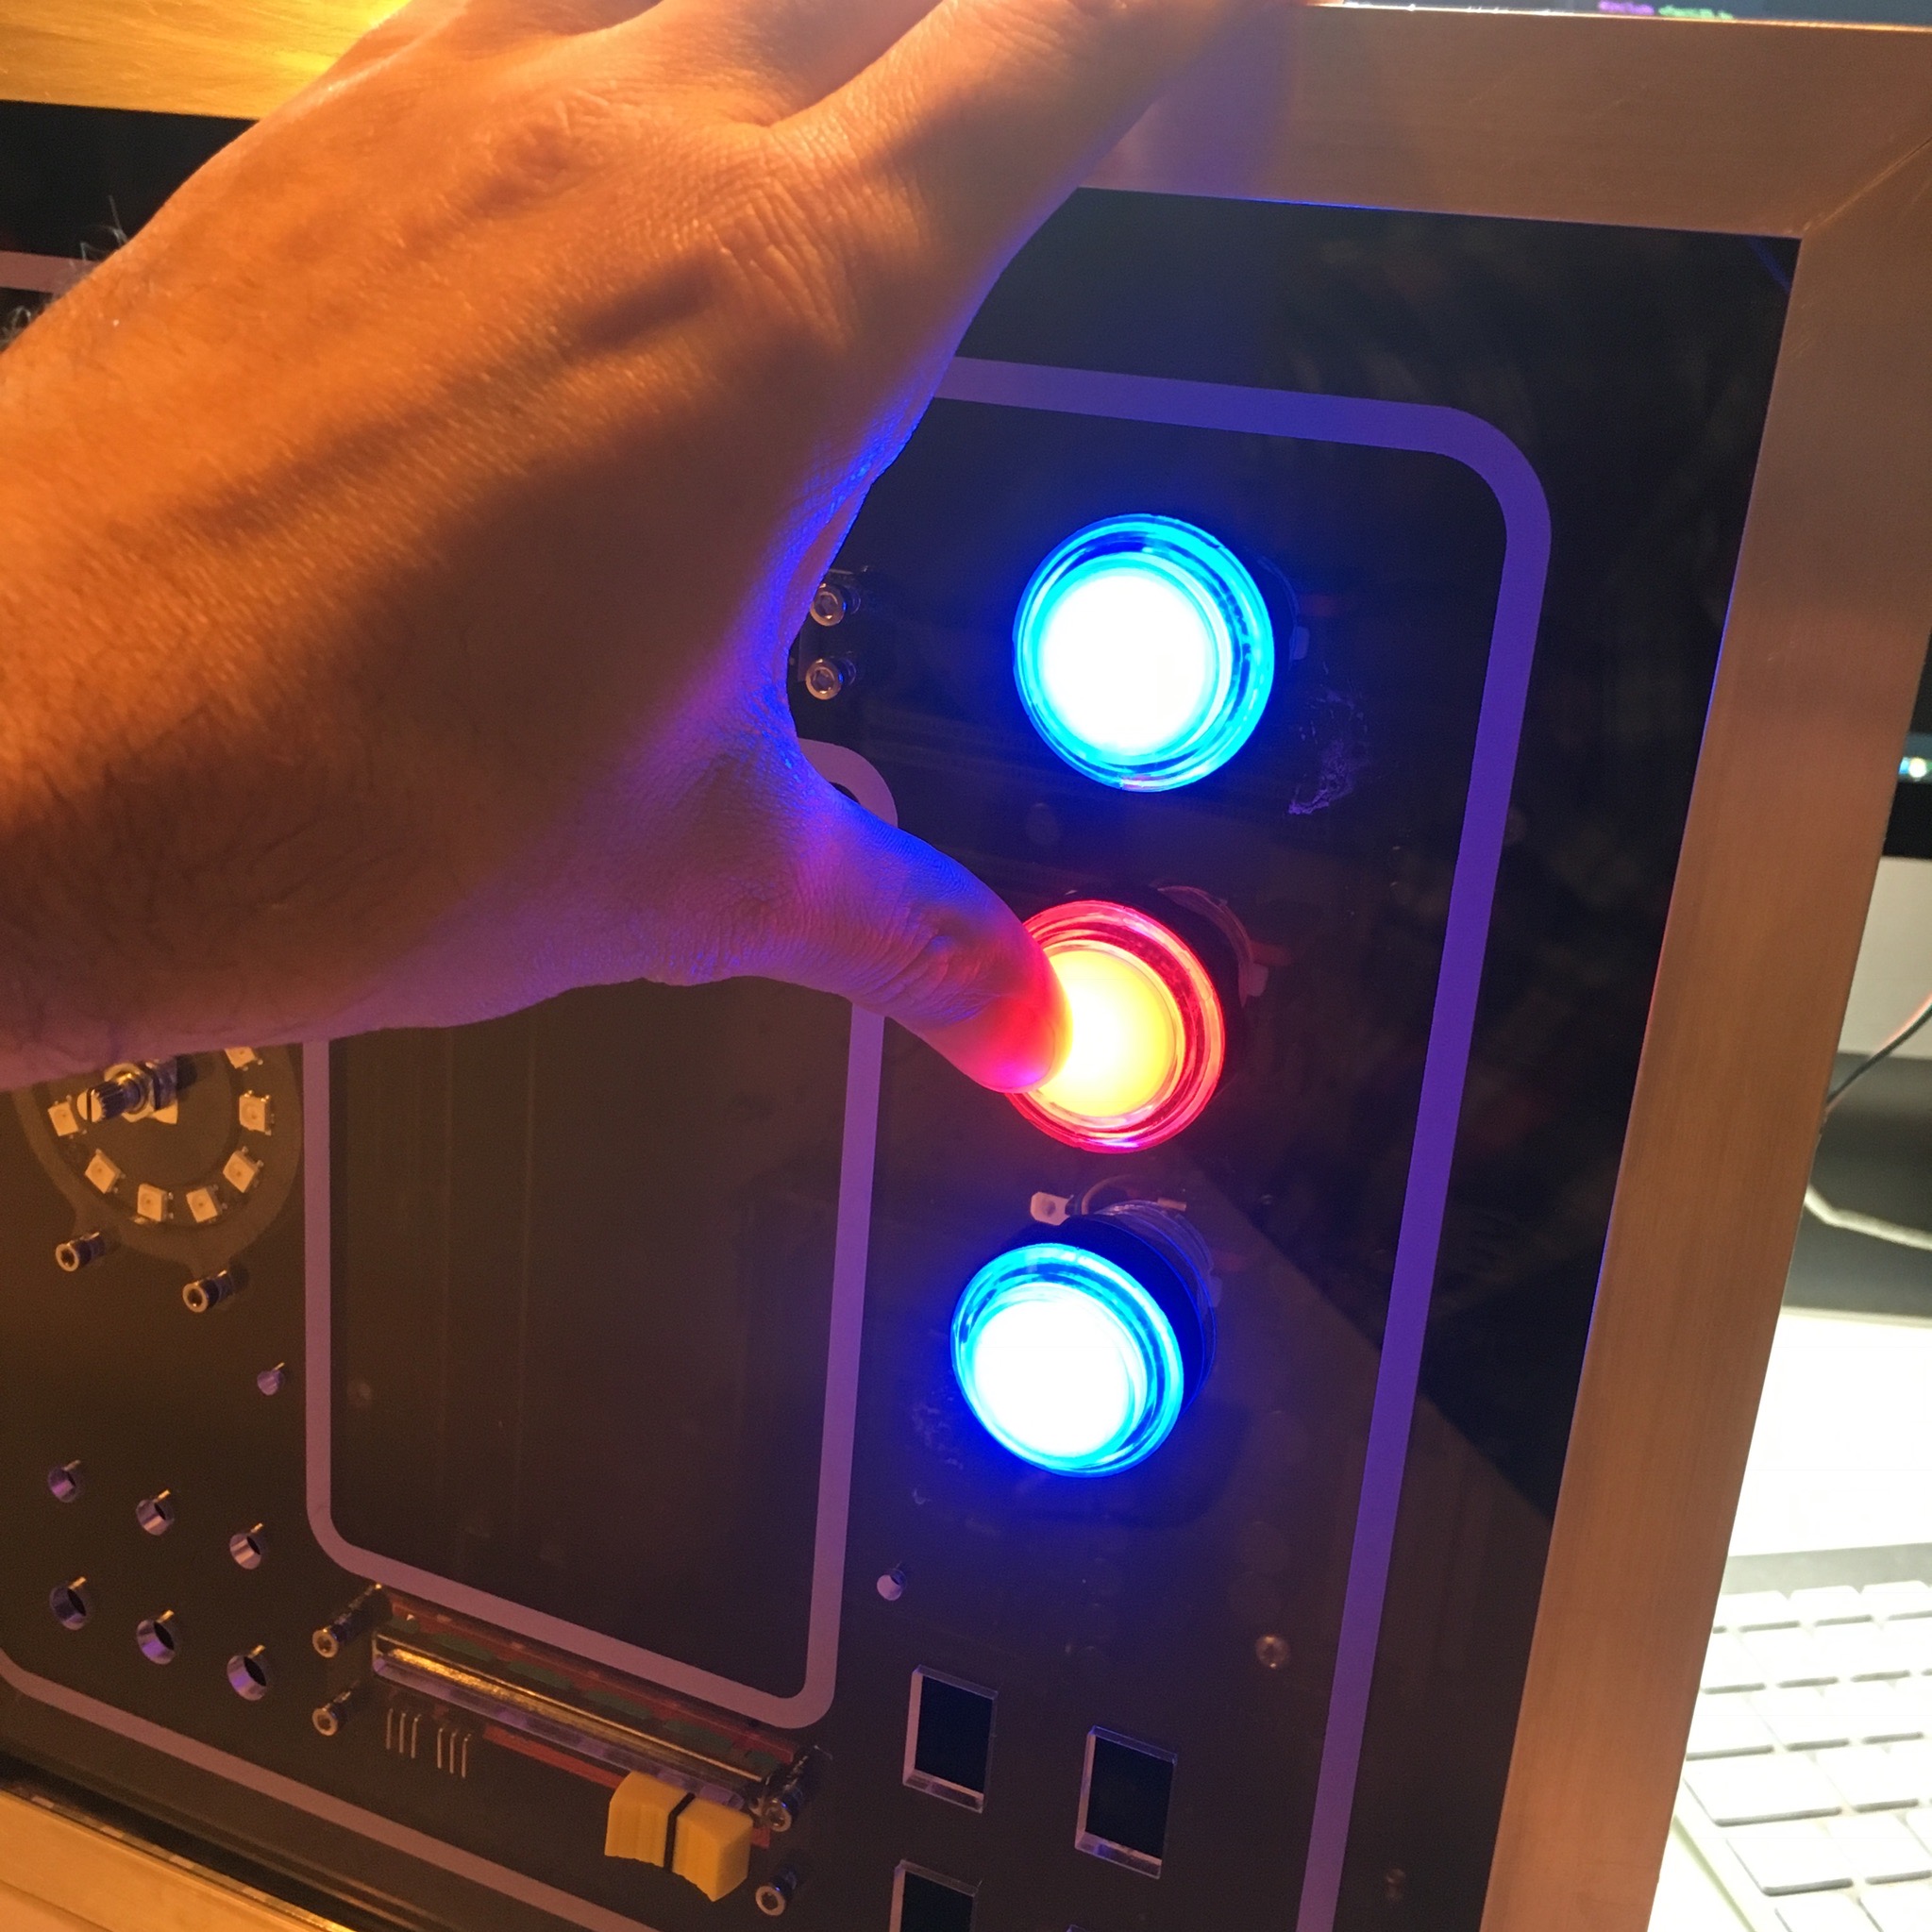
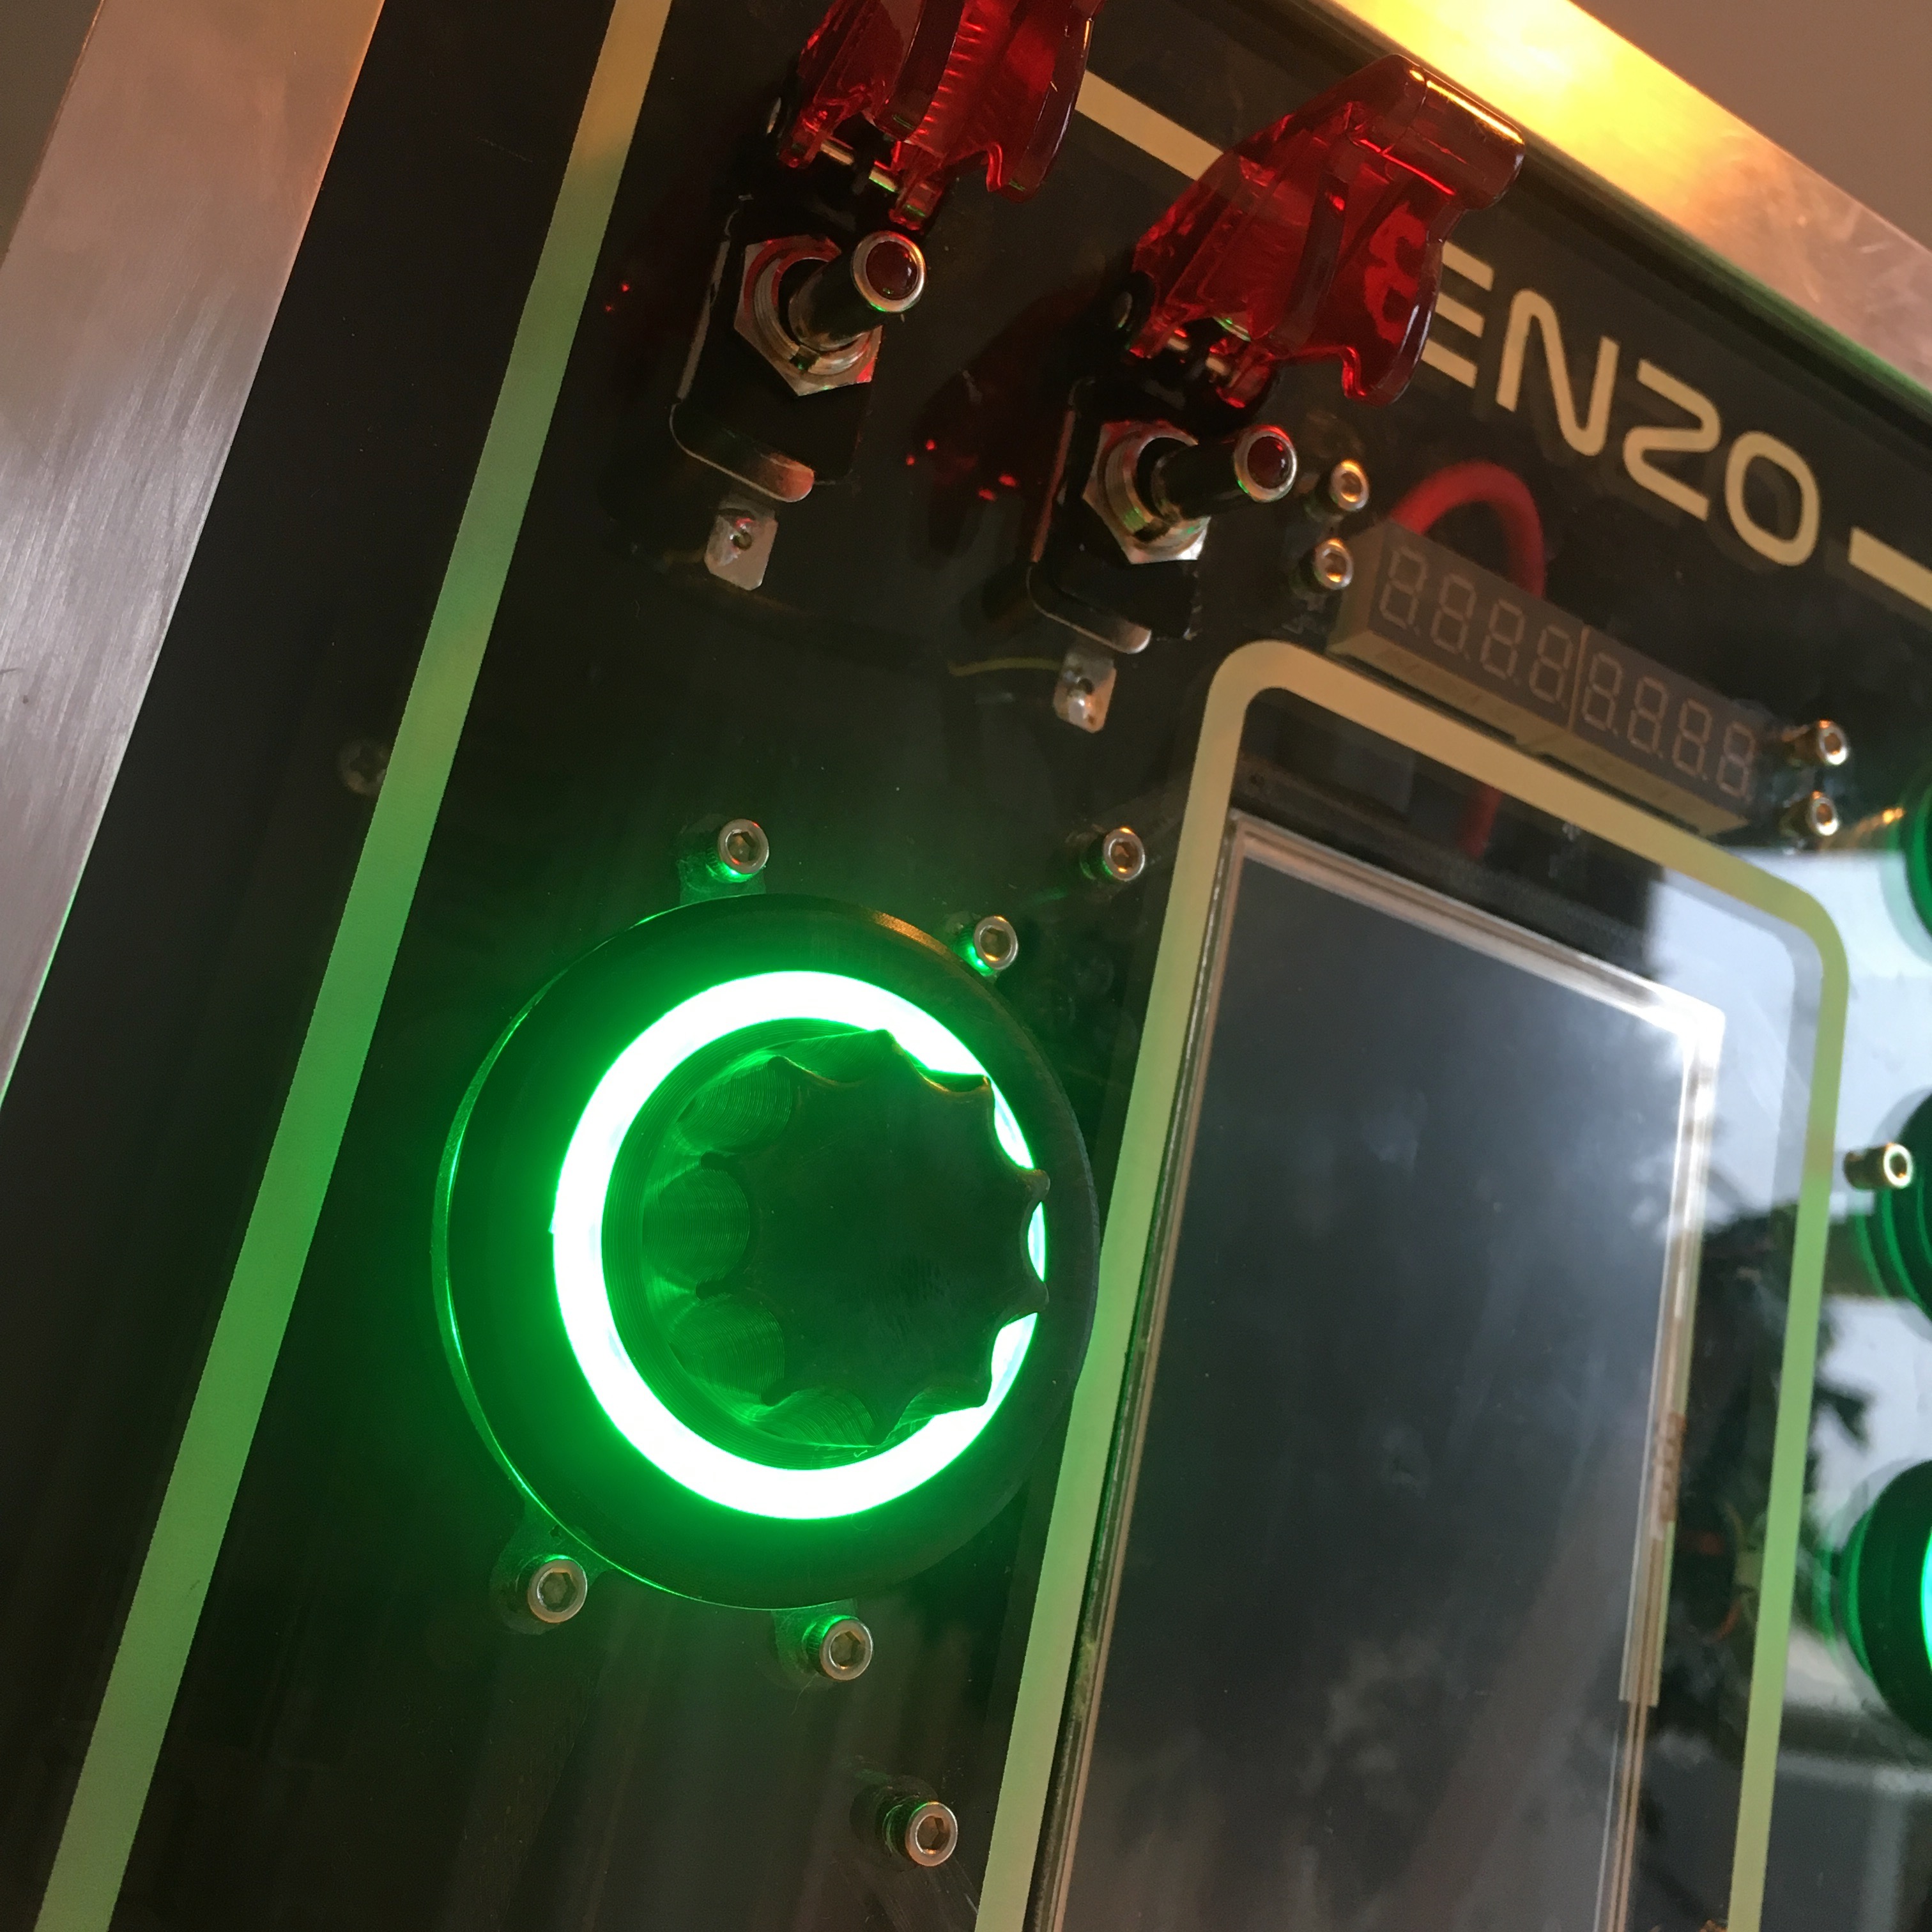
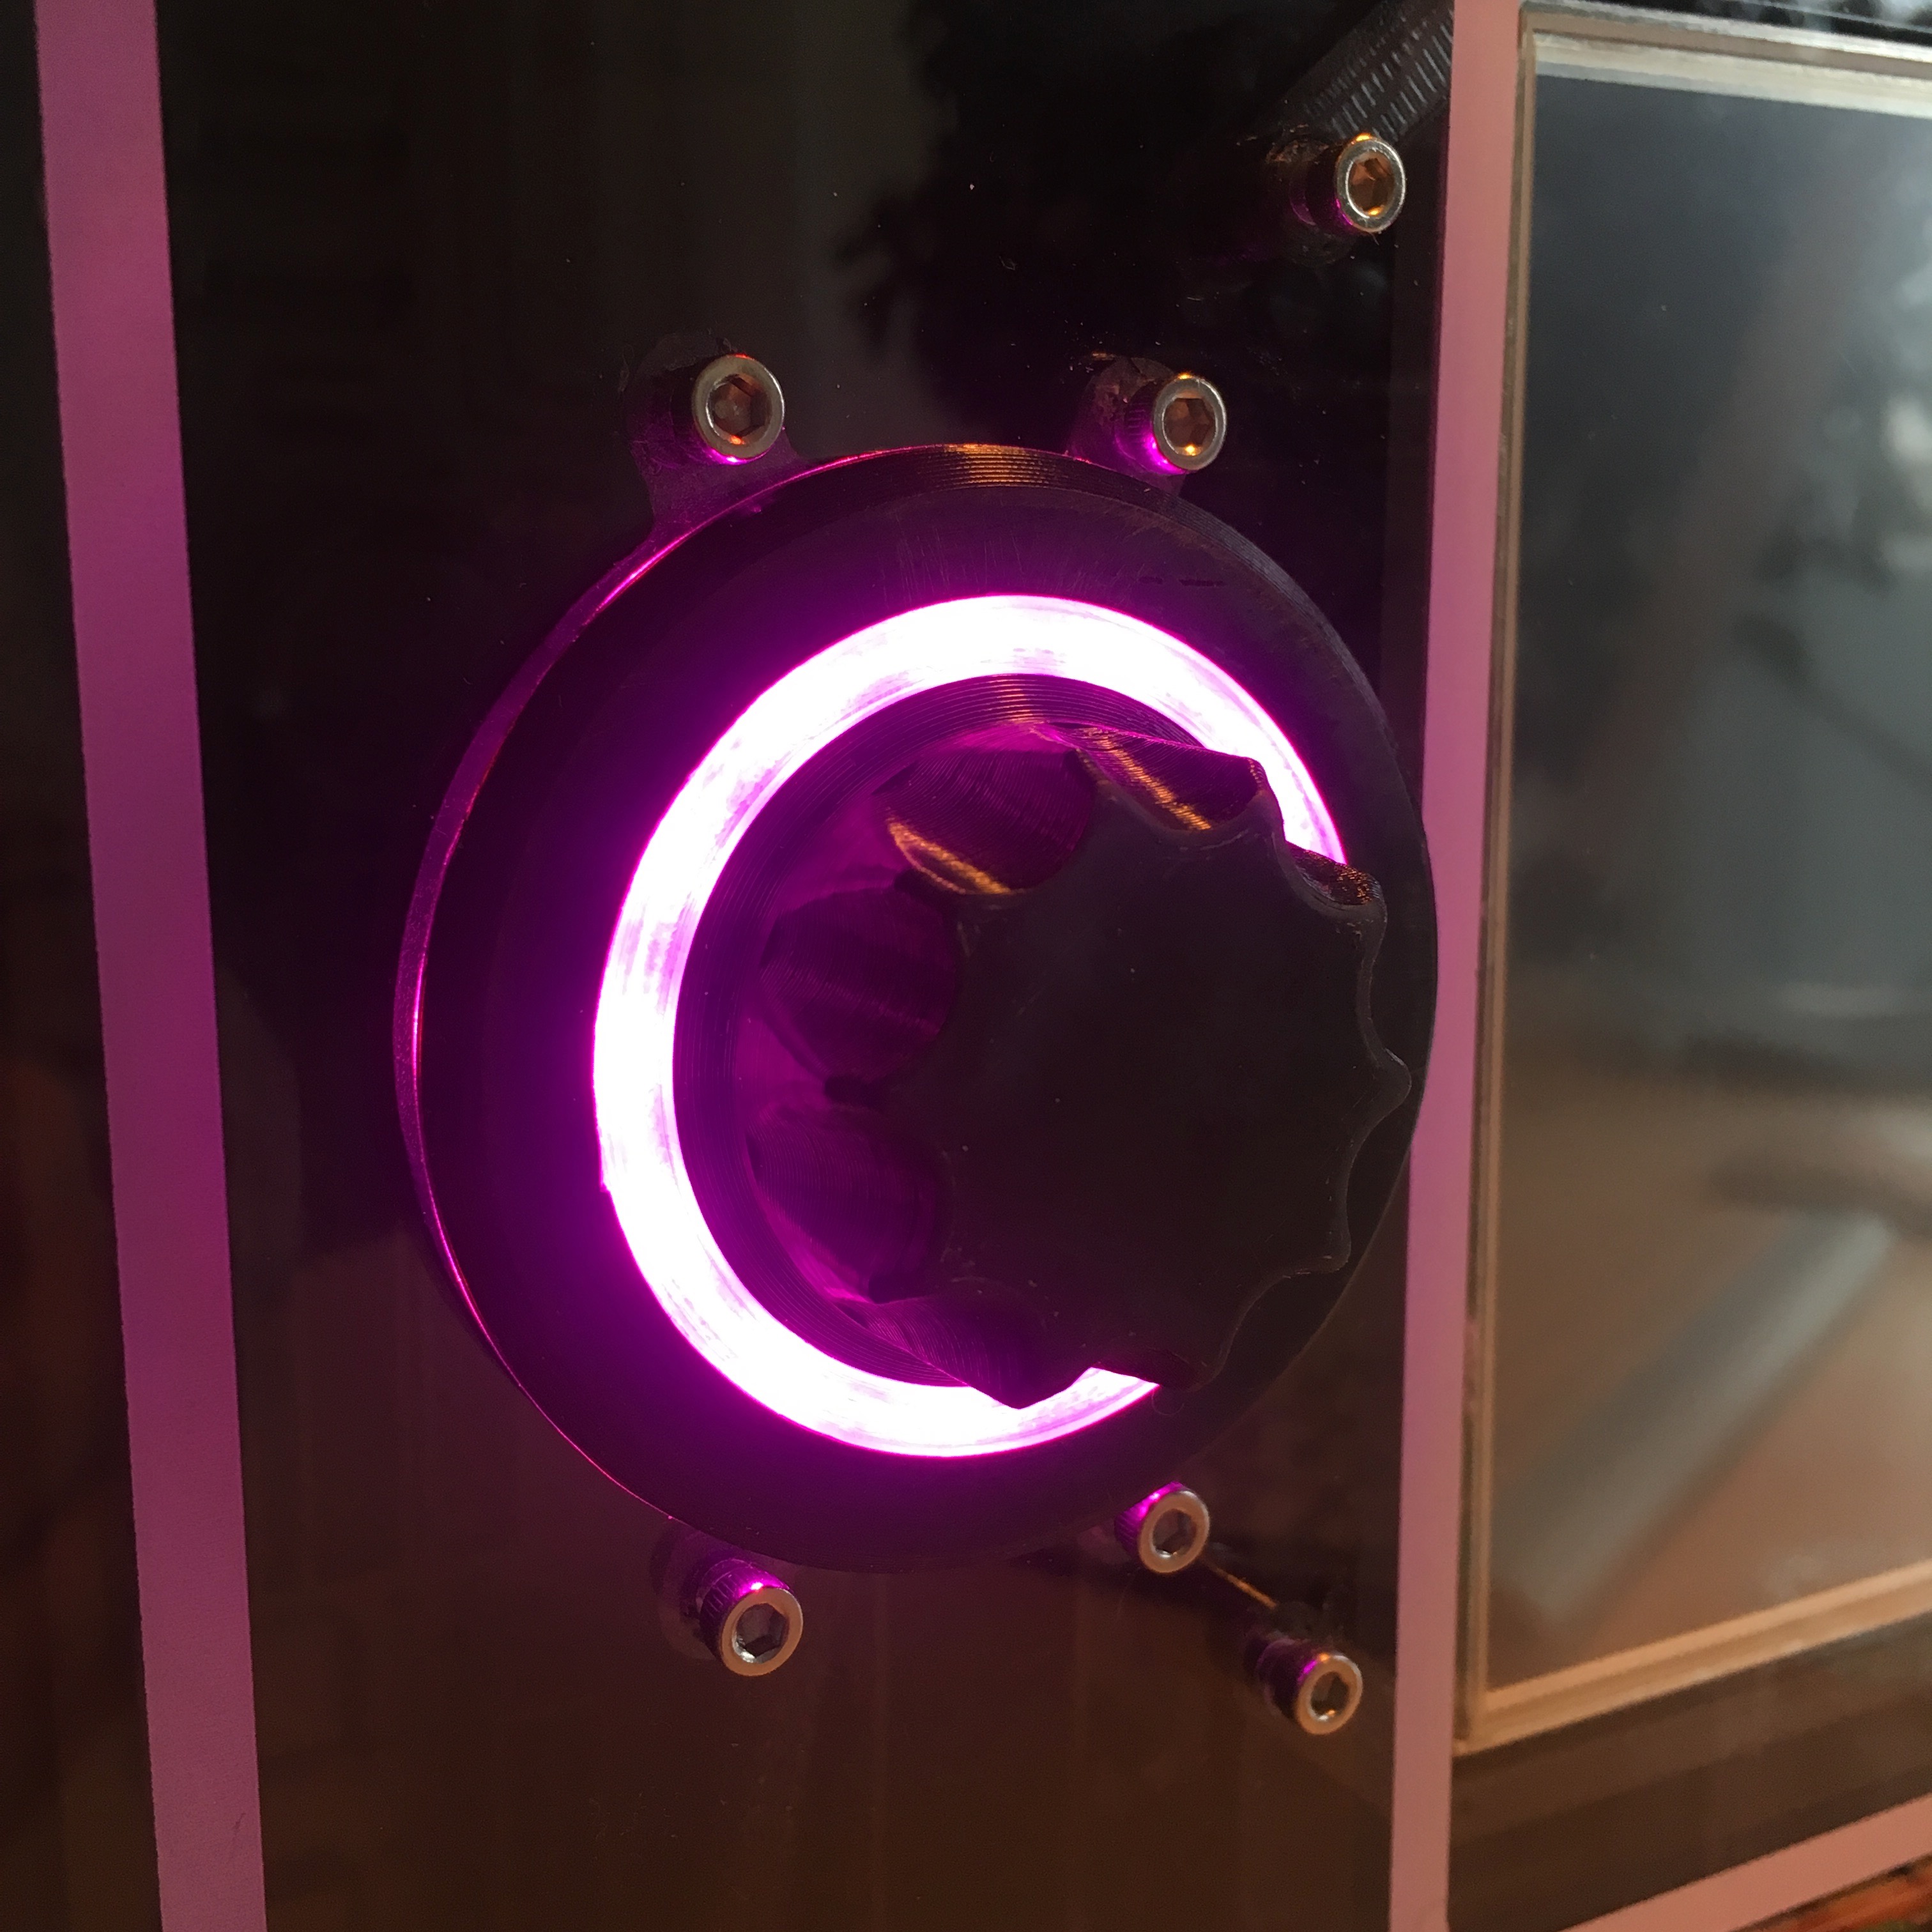
After mounting the knob on the rotary encoder and turning on the LEDs, I was totally in awe of the effect.
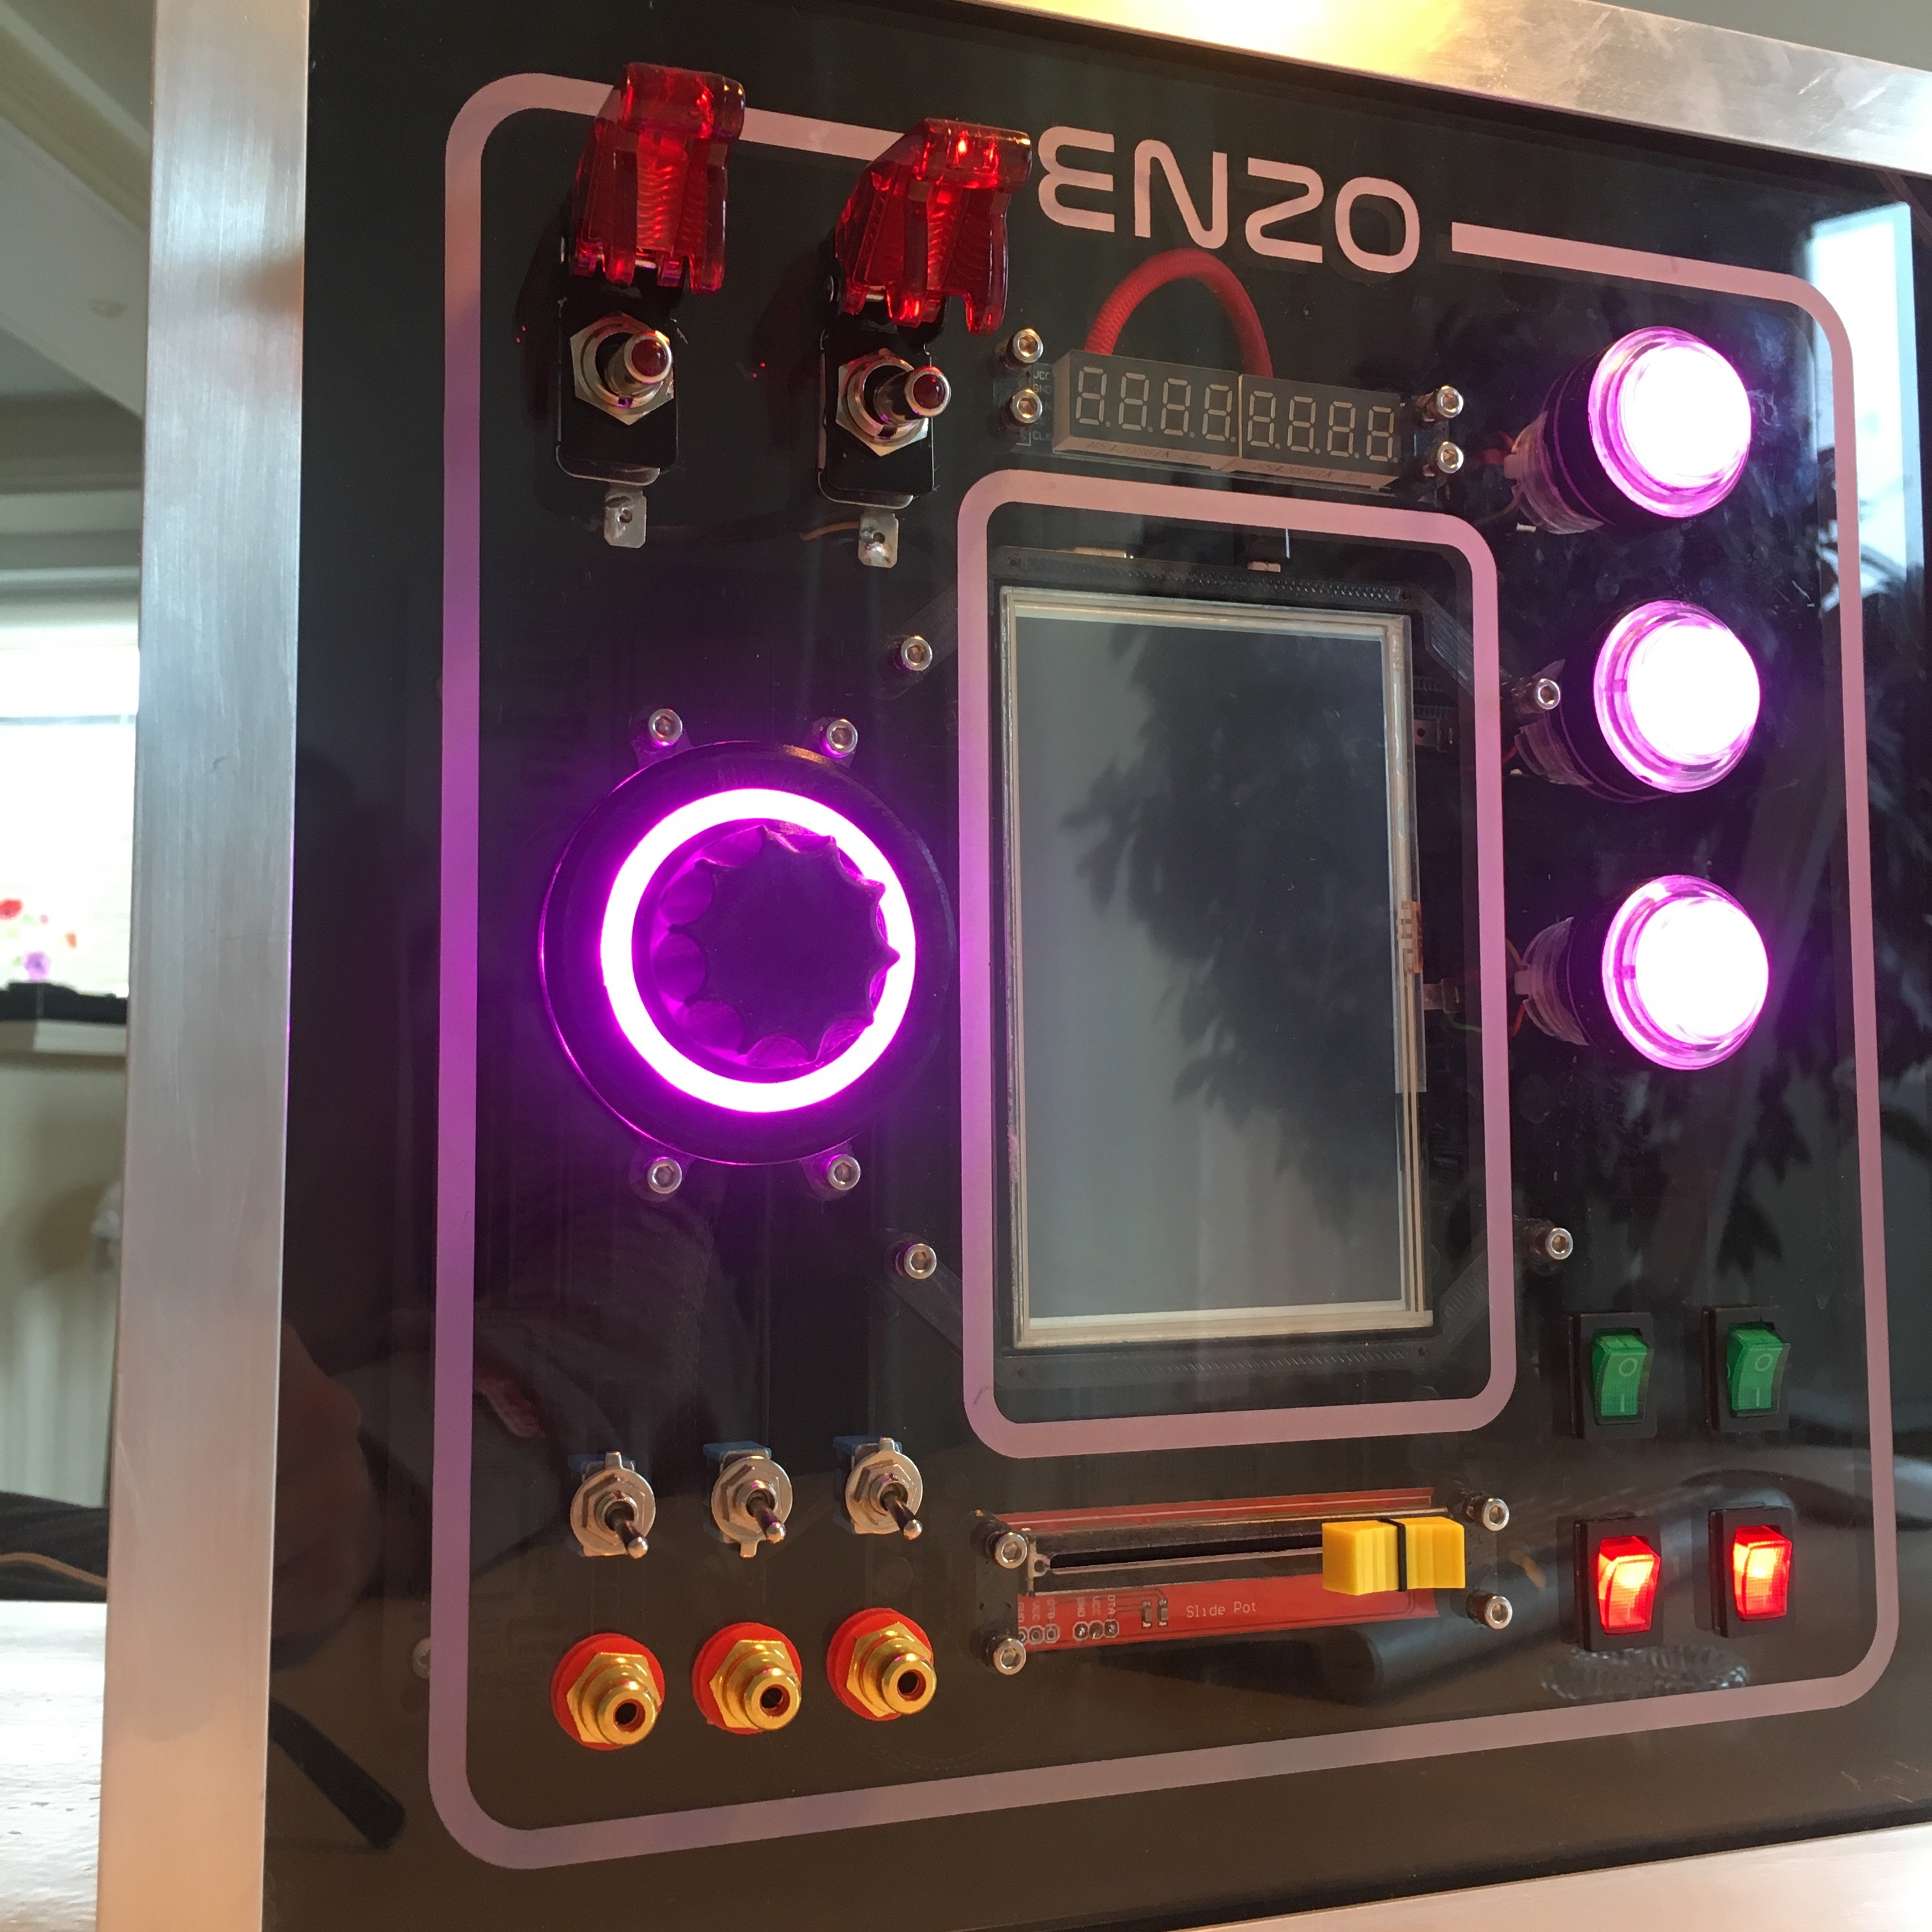
The diffusion is perfect, and the light is still bright enough to give the desired illuminated effect.
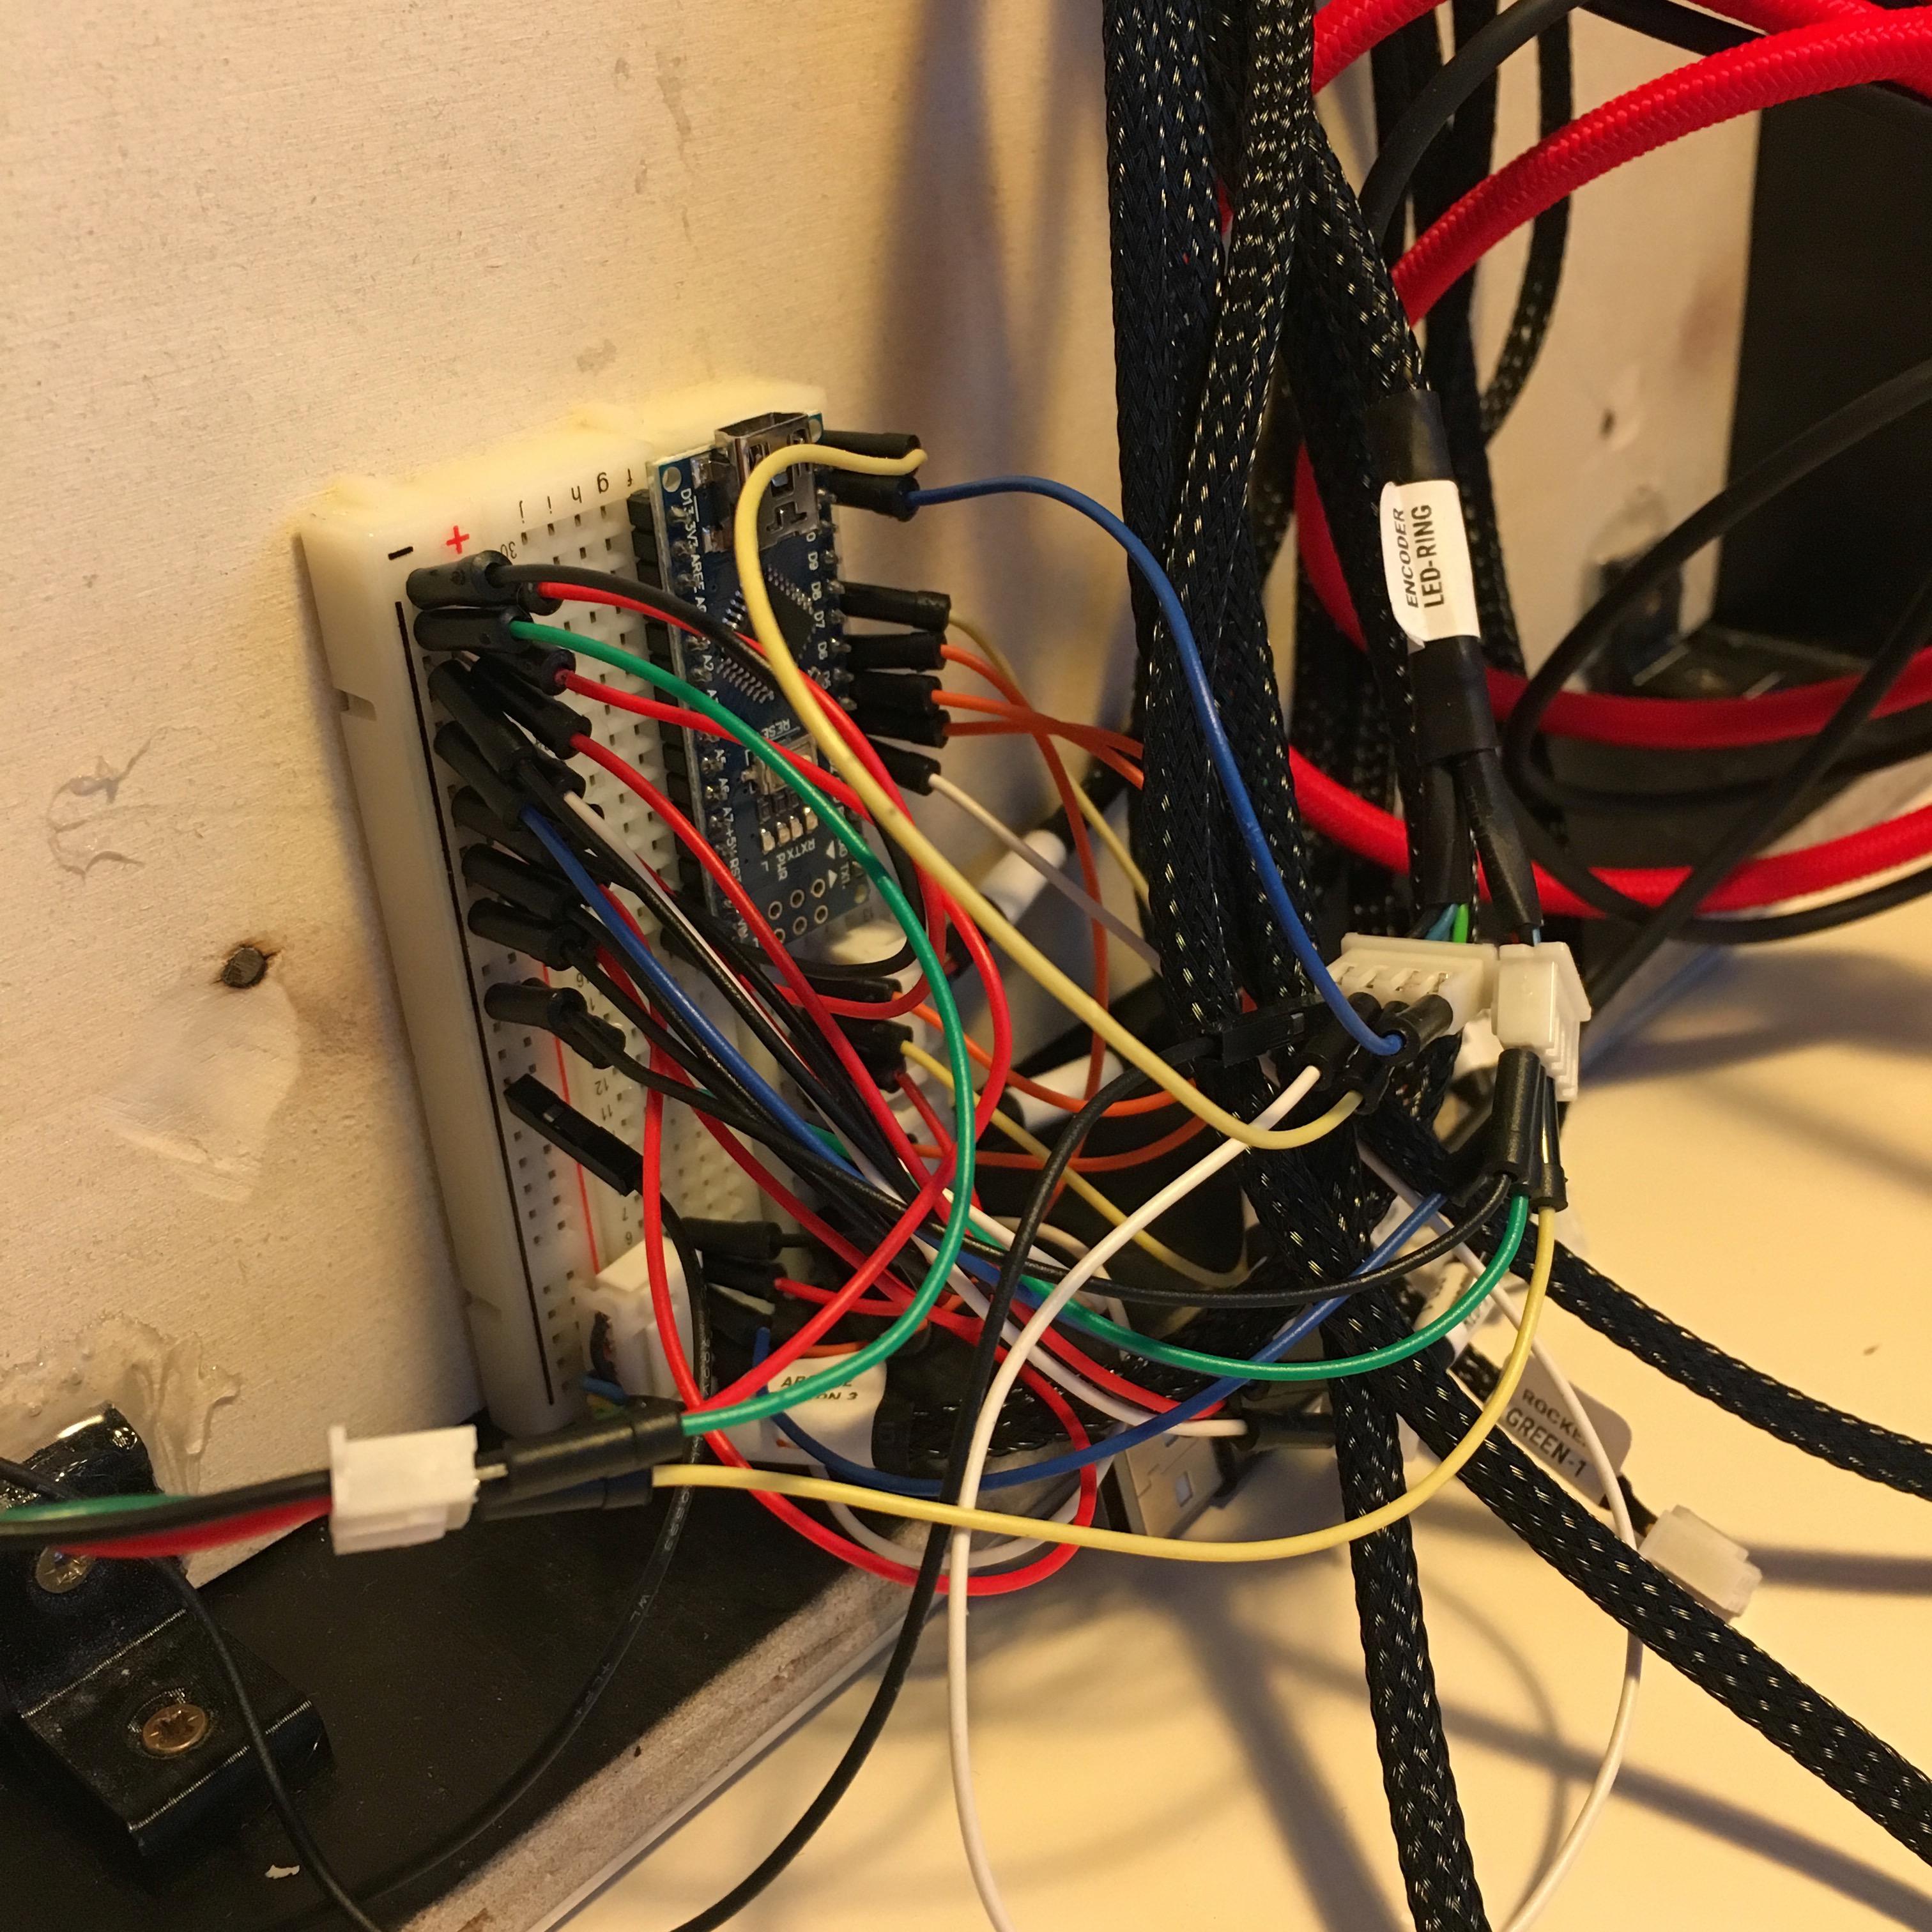
After temporarily wiring up the rotary encoder and adding some test code, it’s time to start playing with the end result. Since the rotary encoder isn’t connected to any debouncing circuitry yet, rotating the button gives some unexpected results. But all in all it really starts to look promising.
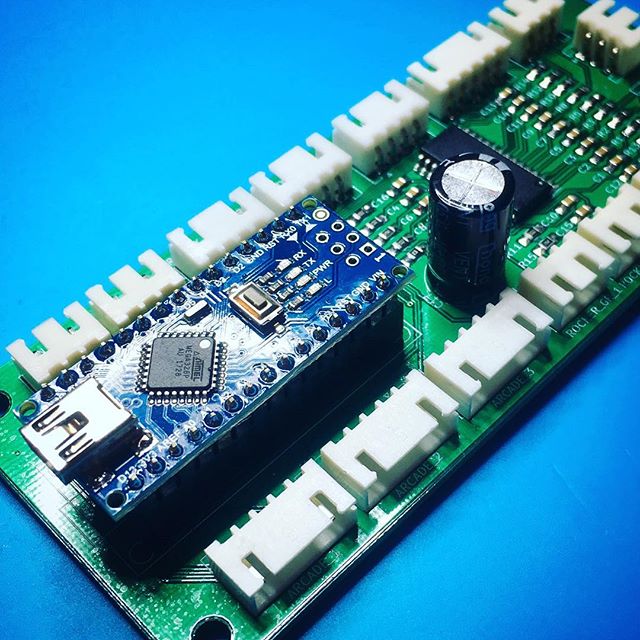
Now, the next step really is inevitable. It’s time to start working on a PCB which replaces this soup of wires.
KiCad! It’s your turn!
Activity Board: Take control!