While I’m still waiting for some Chinese parts to arrive in order to finish my Wifi controlled curtains, I took some time to pick up a totally different project …
While I love the stroller we bought when we were expecting our son Enzo, it isn’t the most practical thing during grocery shopping. Driving both a stroller and a shopping cart is undoable, so I tried building a hybrid solution.
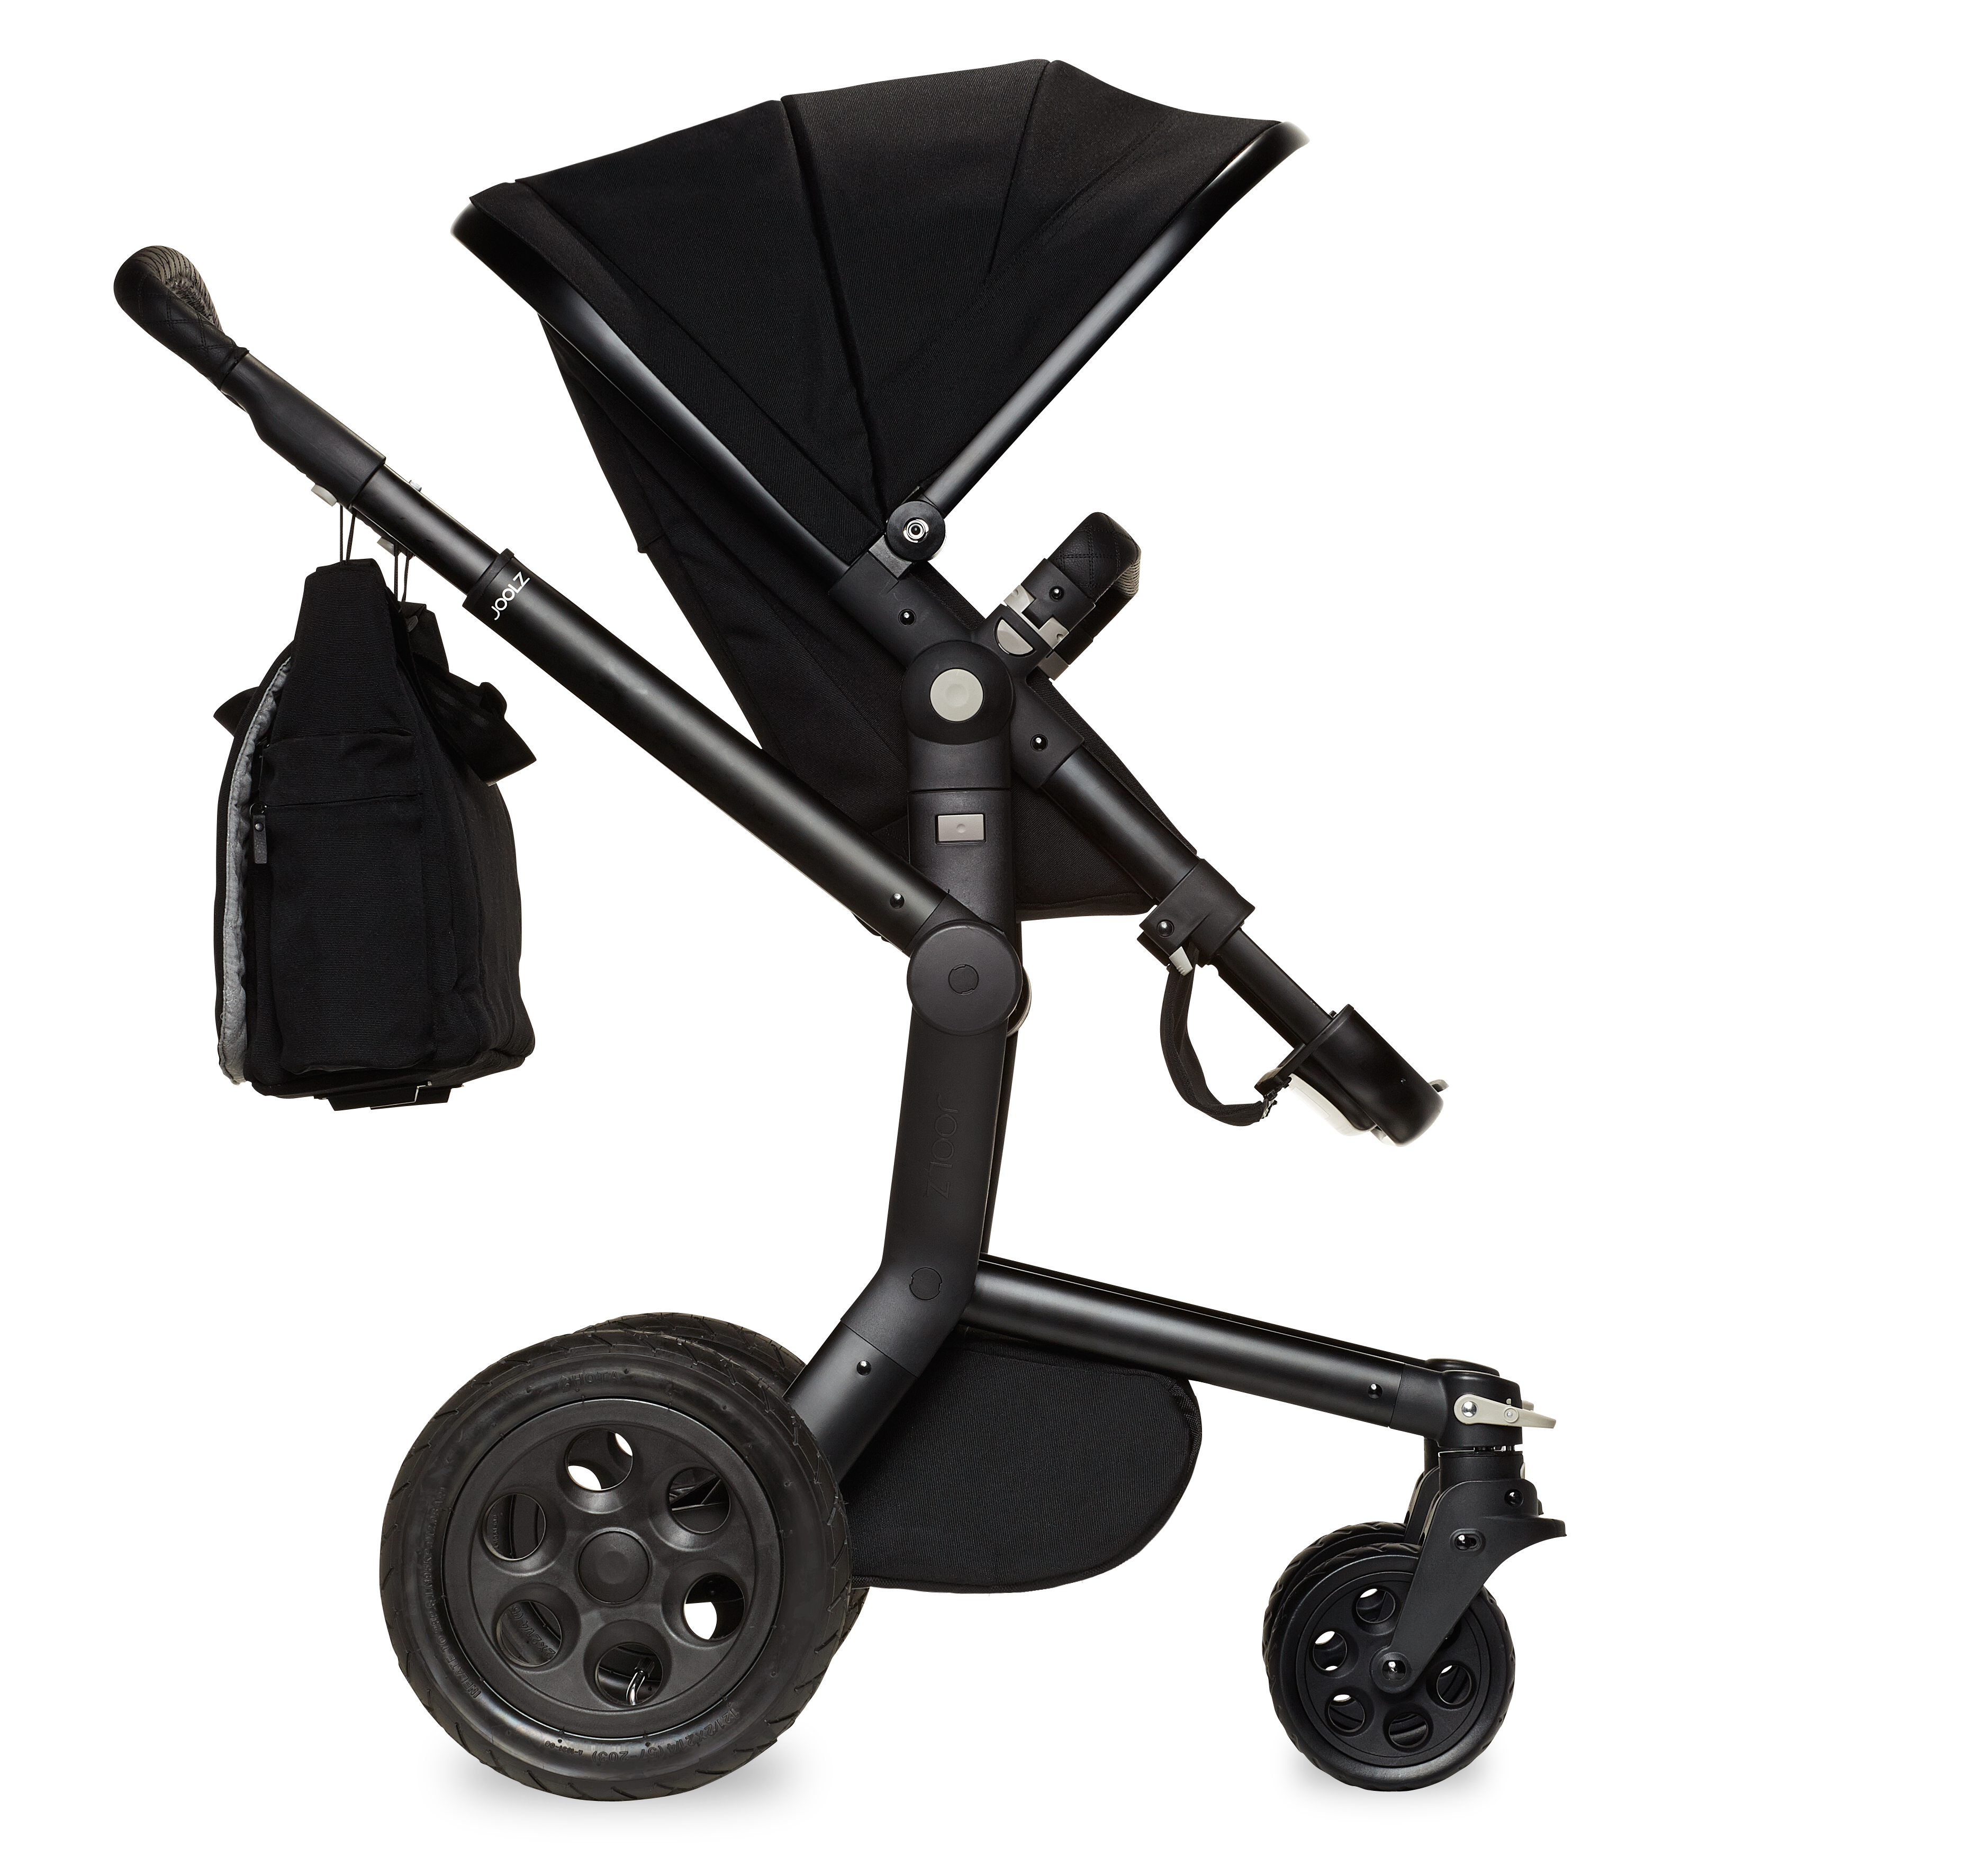
Because we usually have the seating in the reversed position, there is a lot of space for a crate above the front wheels: the perfect place to maintain the stability (and thus the safety) of the stroller.
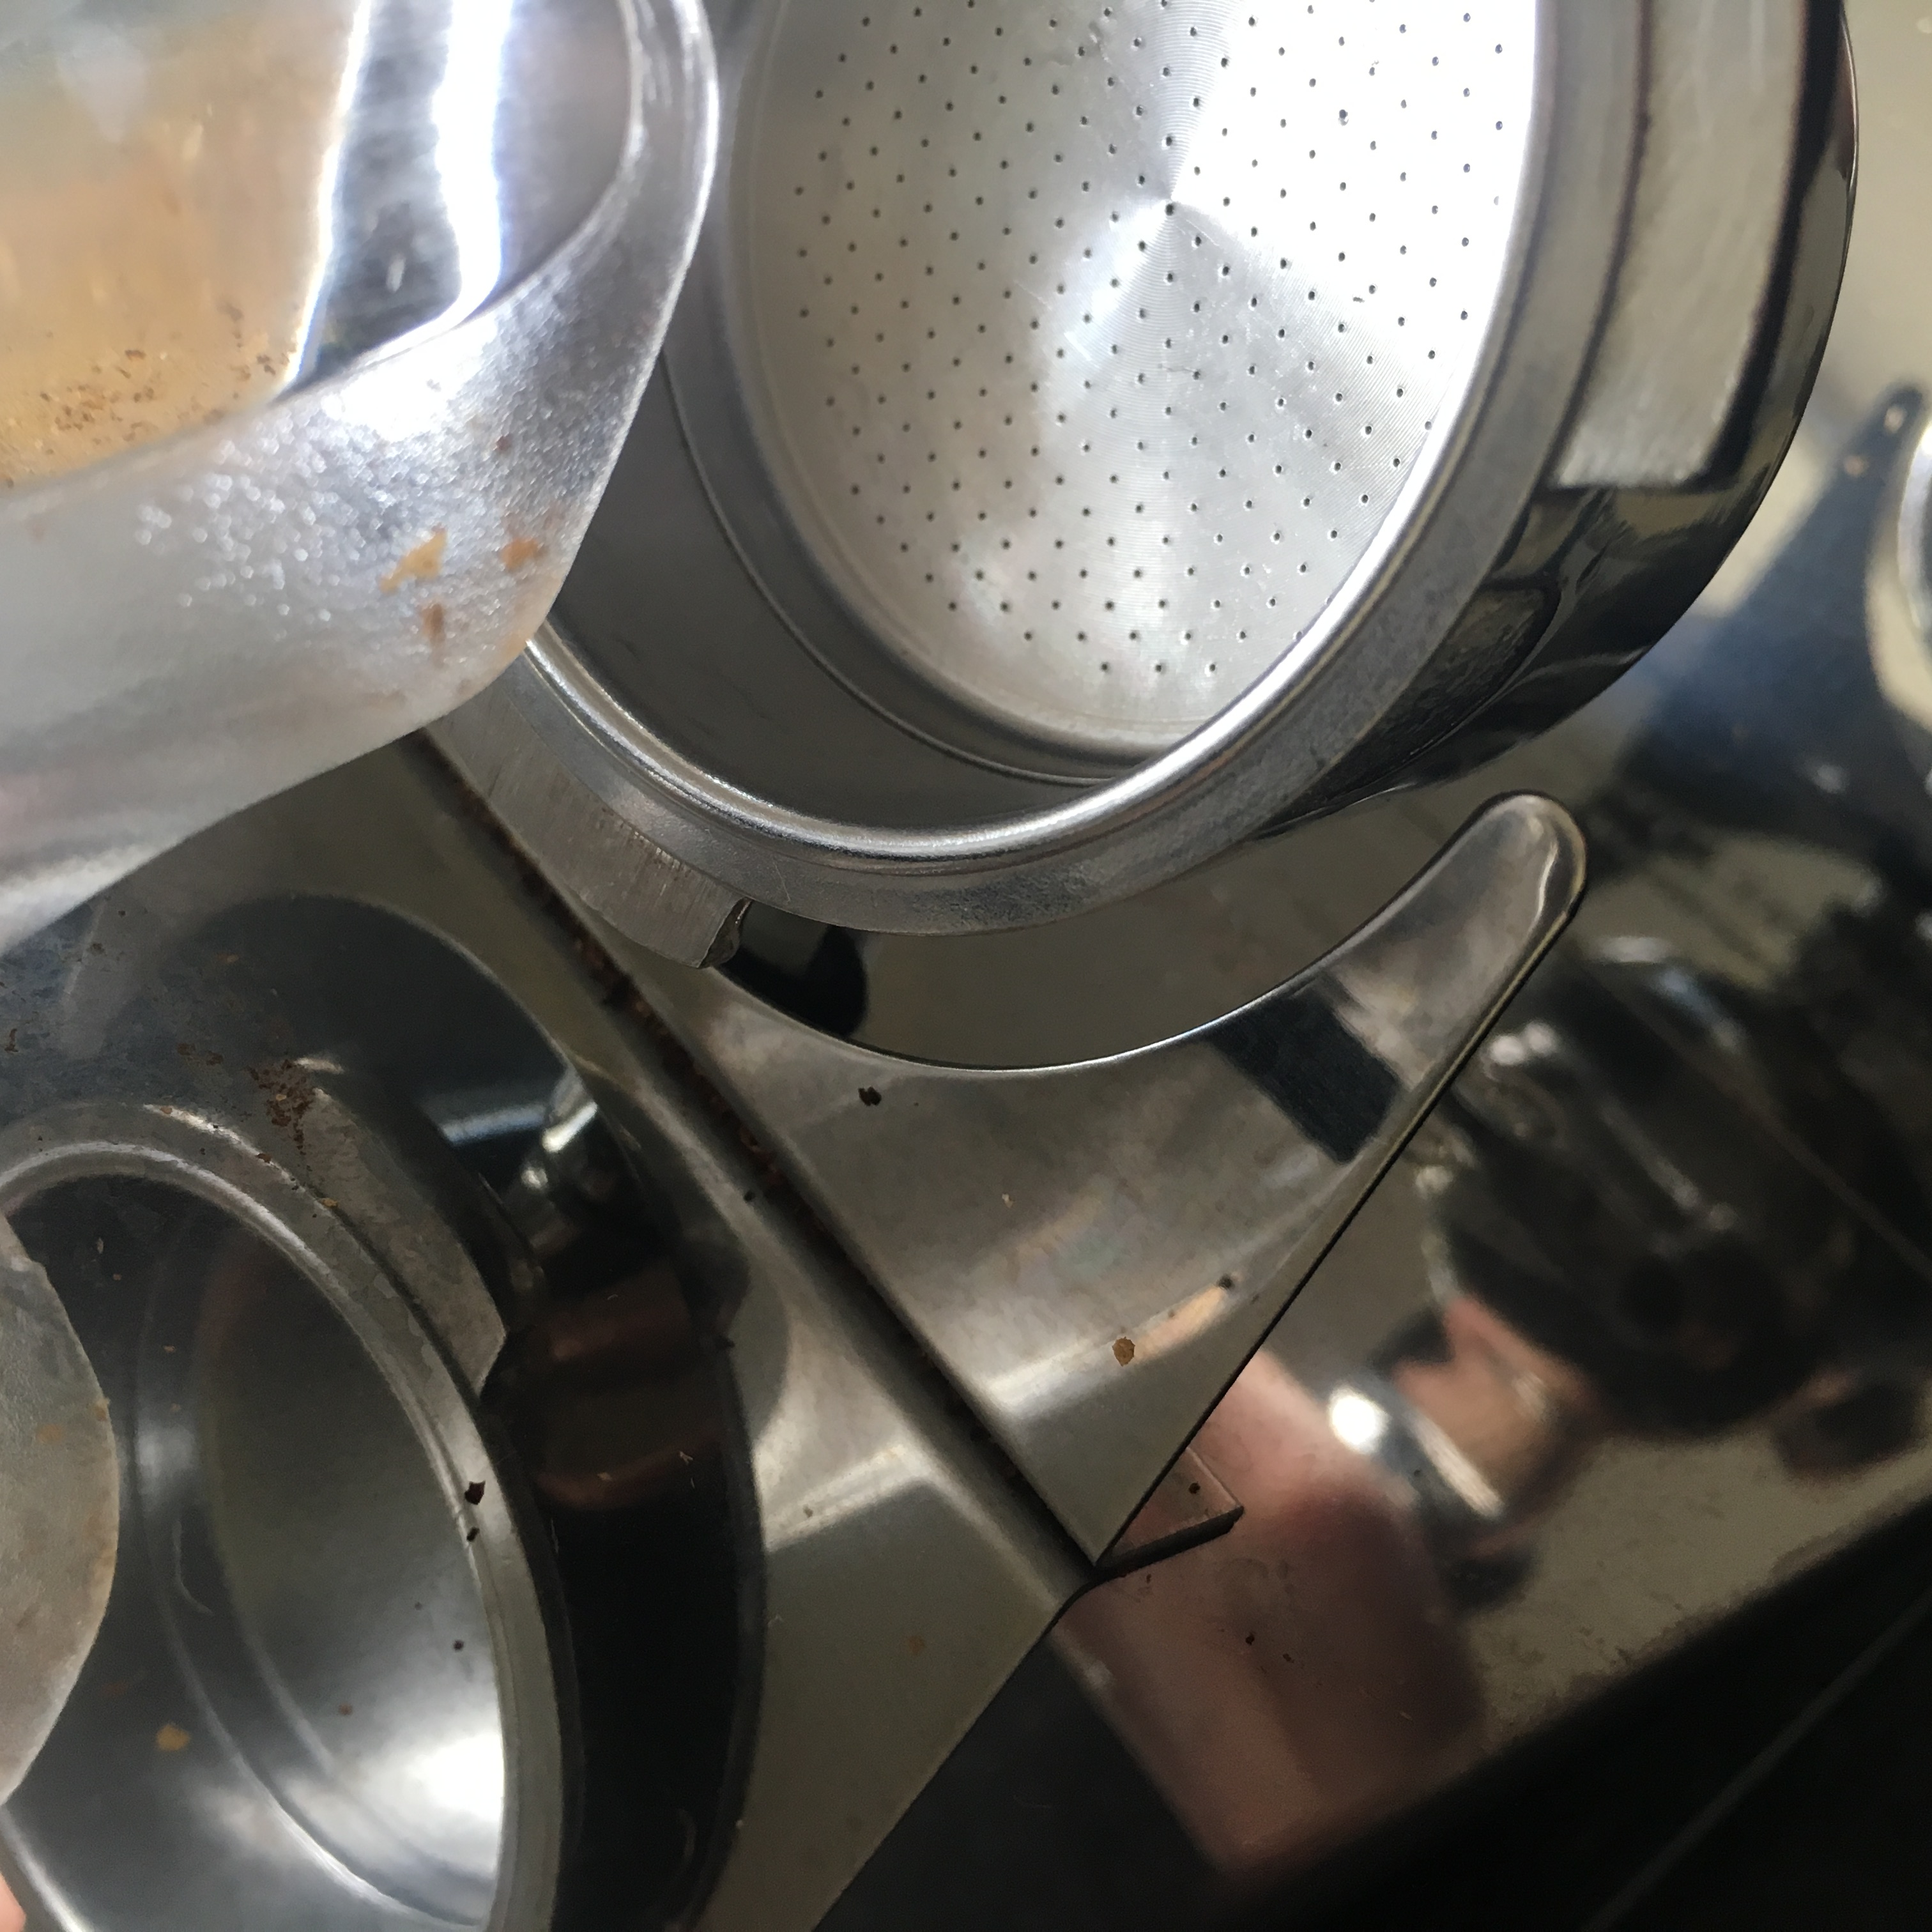
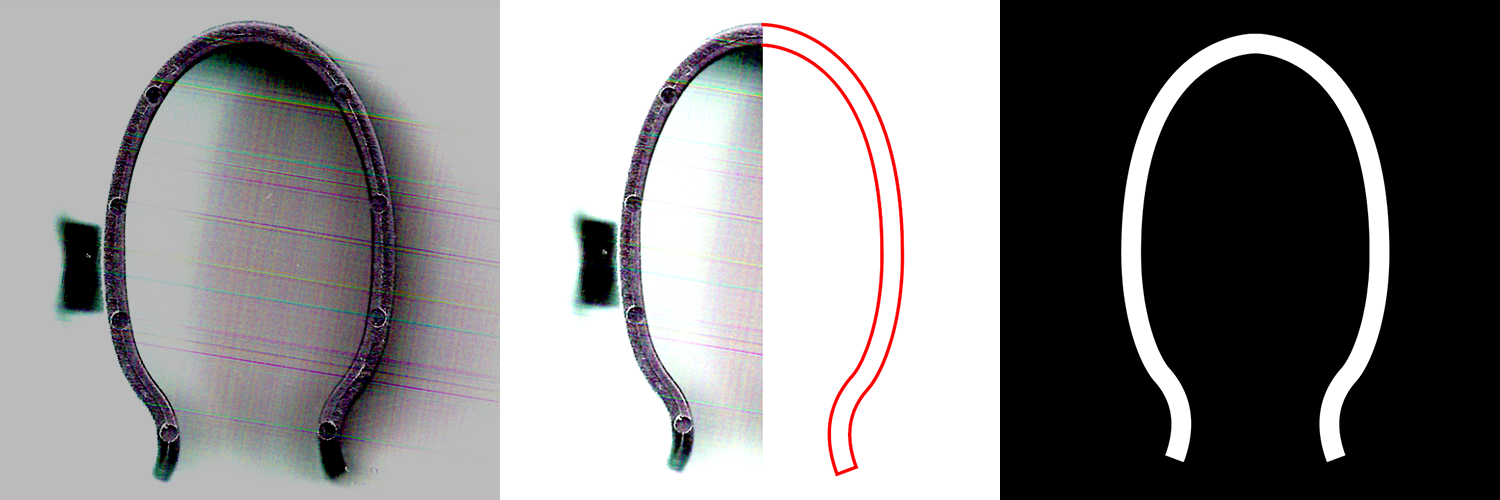
To make sure I can easily add and remove the crate, I wanted to print some mounting brackets that I can snap on to the stroller’s frame. To get the right contour of the frame, I used the stroller’s snap on hooks as a template.
By putting the hook under my scanner and using Illustrator to (manually) trace the countours, I was able to create a 2d representation of the contour of the stroller’s frame.
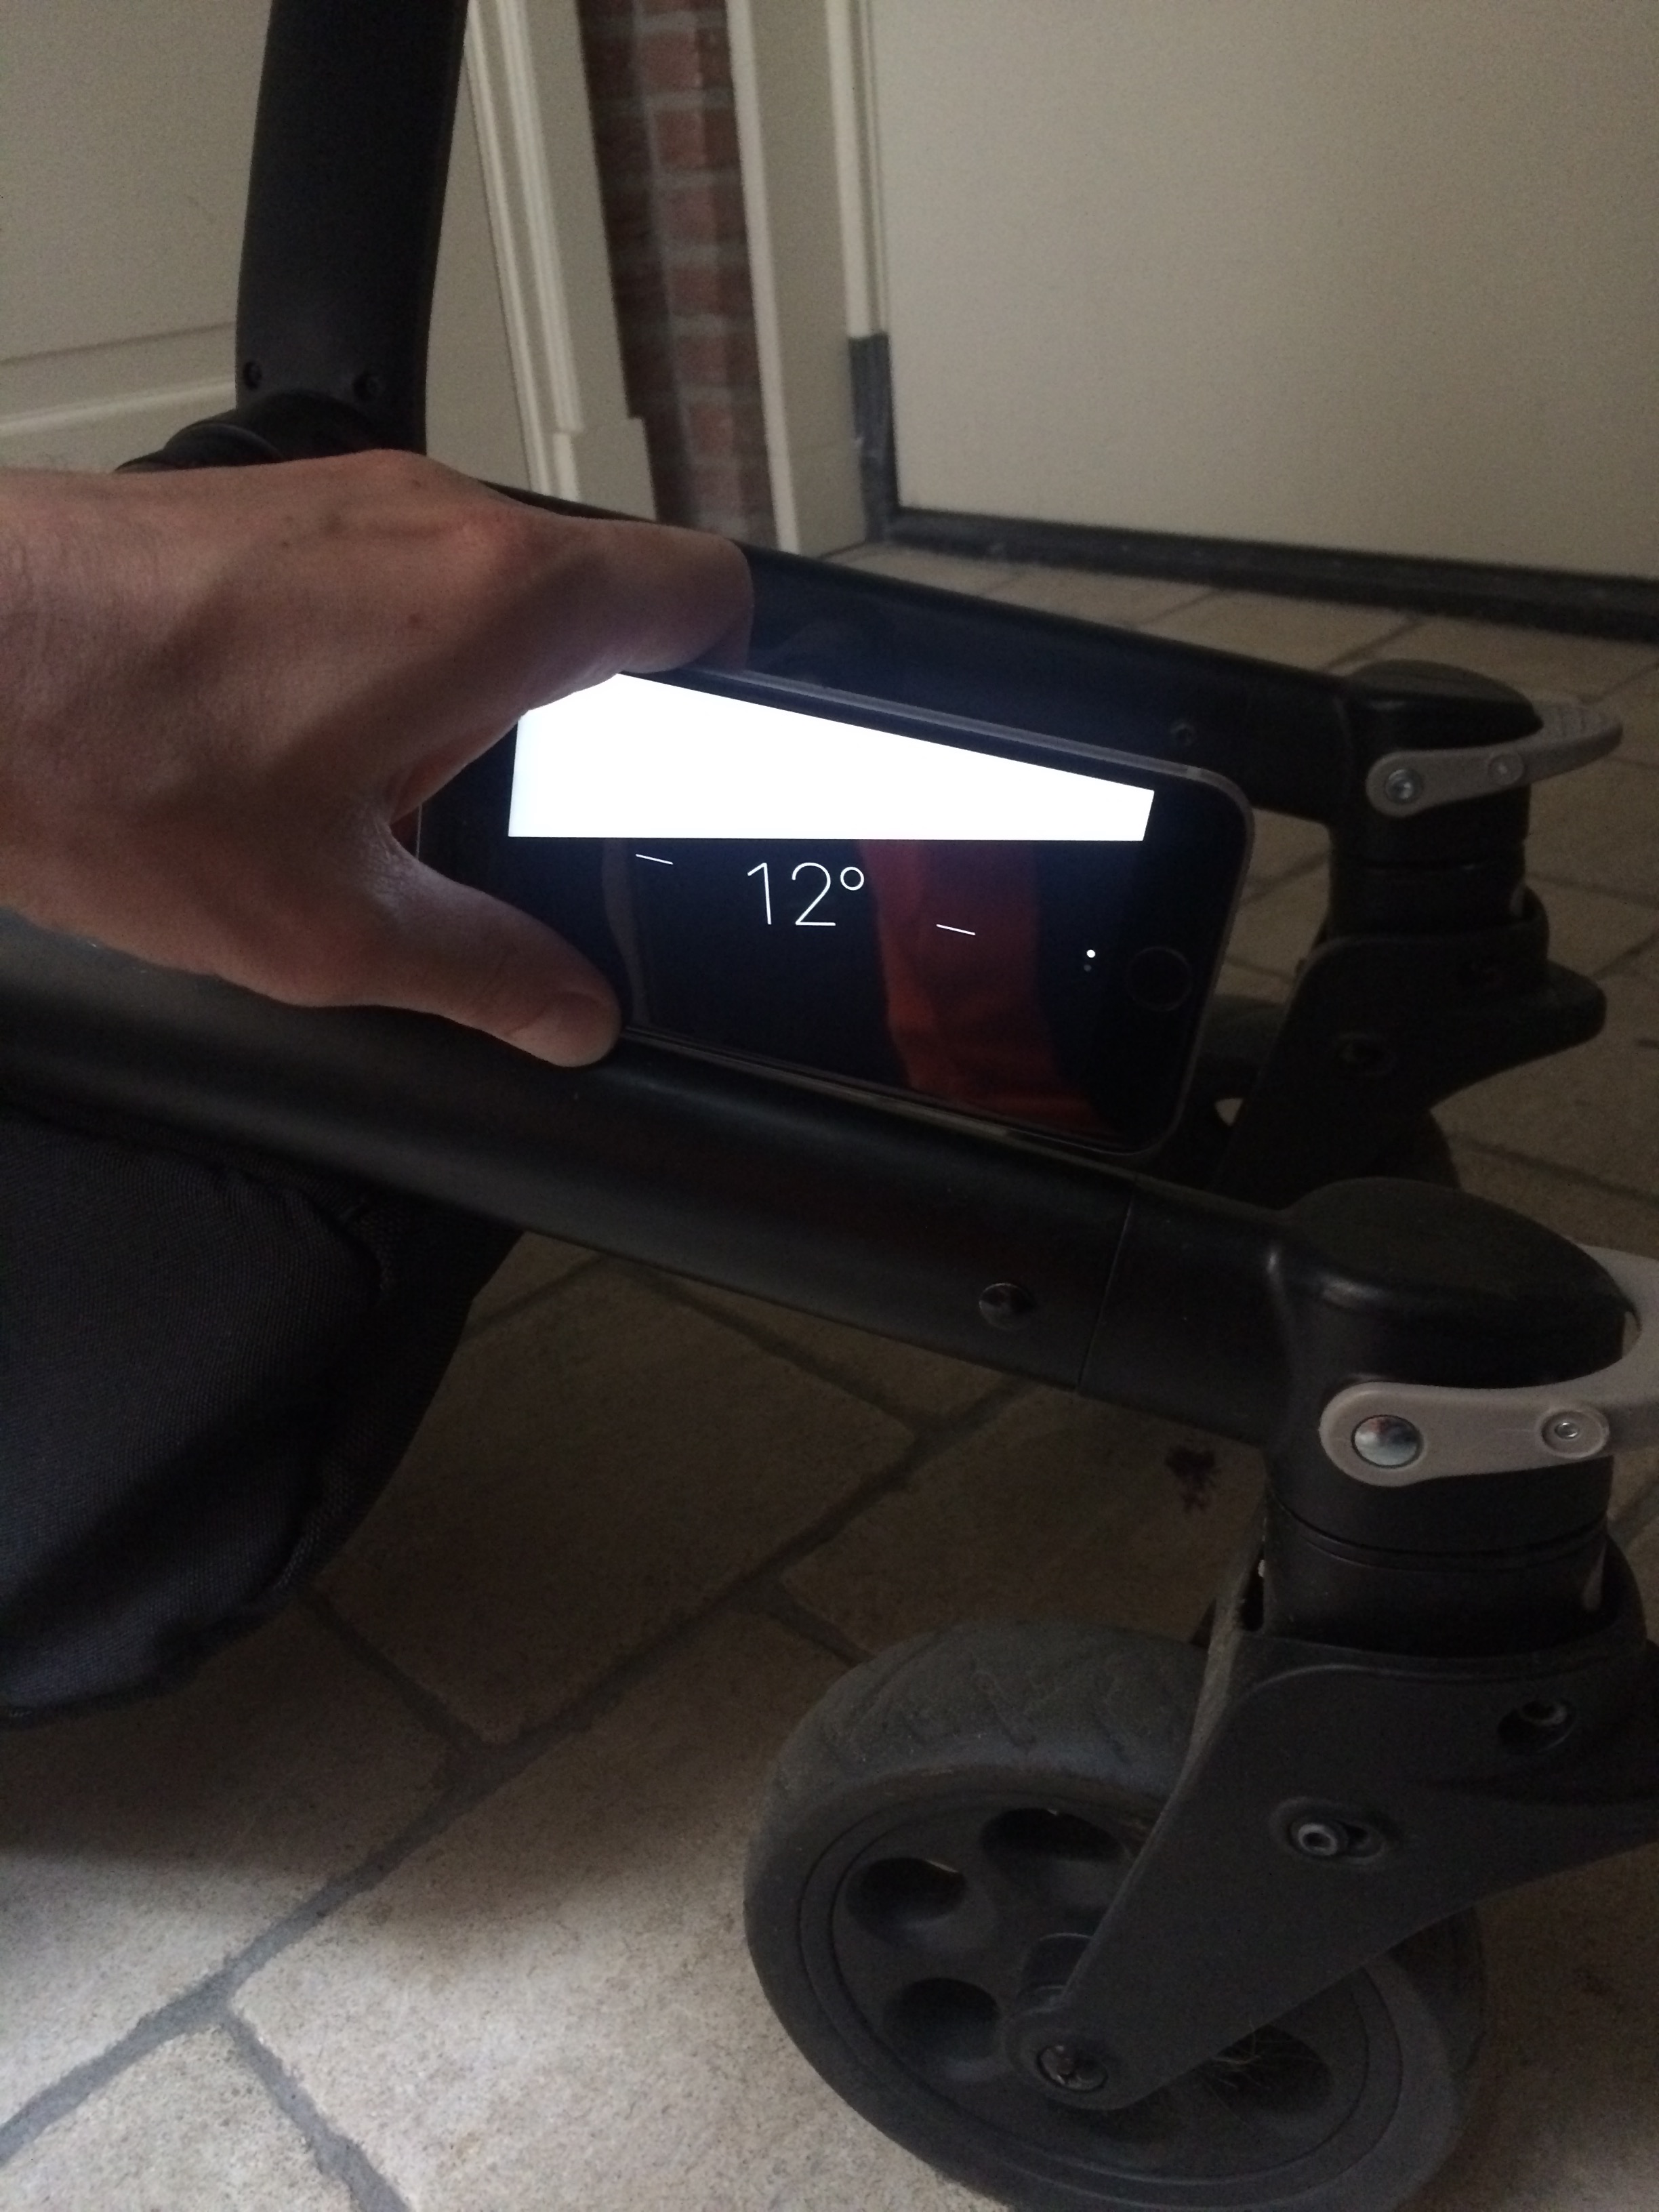
But since the bracked will be snapped on to the angled part of the frame, I need to keep this angle into consideration when designing the bracket. By using my iPhone’s spirit level, I could easily figure out the right angle to use in my design.
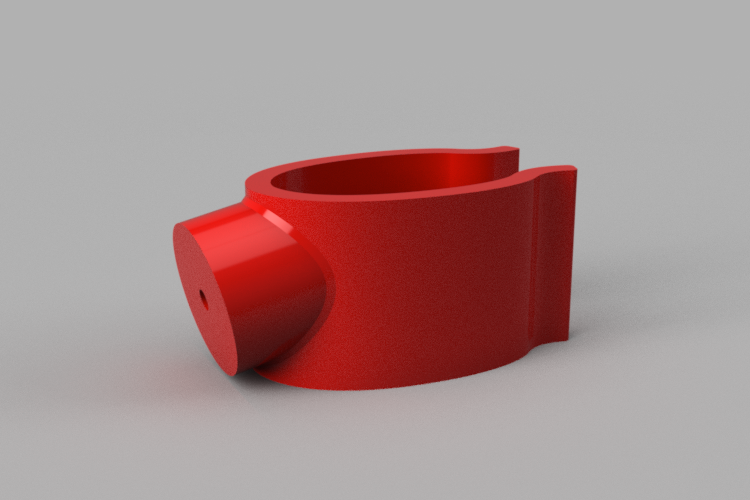
And with both the contour as well as the angle figured out, It was time to fire up my favourite 3d modeling tool: Fusion 360
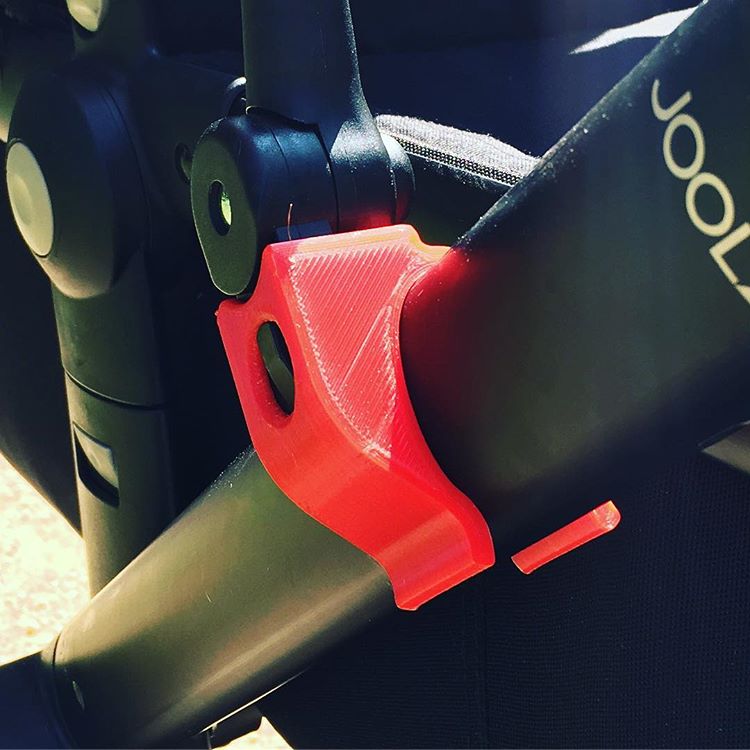
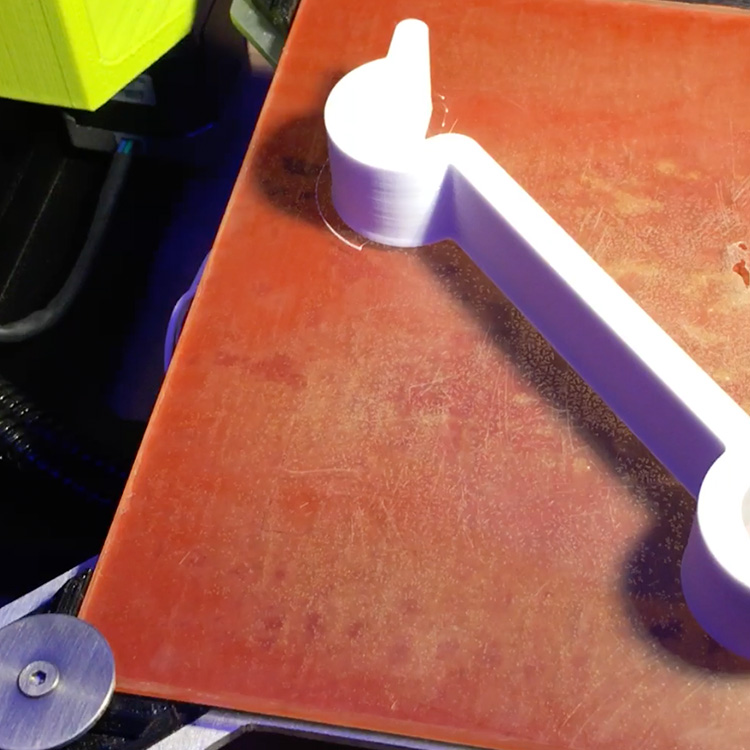
The end results of a 15 minutes of modeling looked like this.
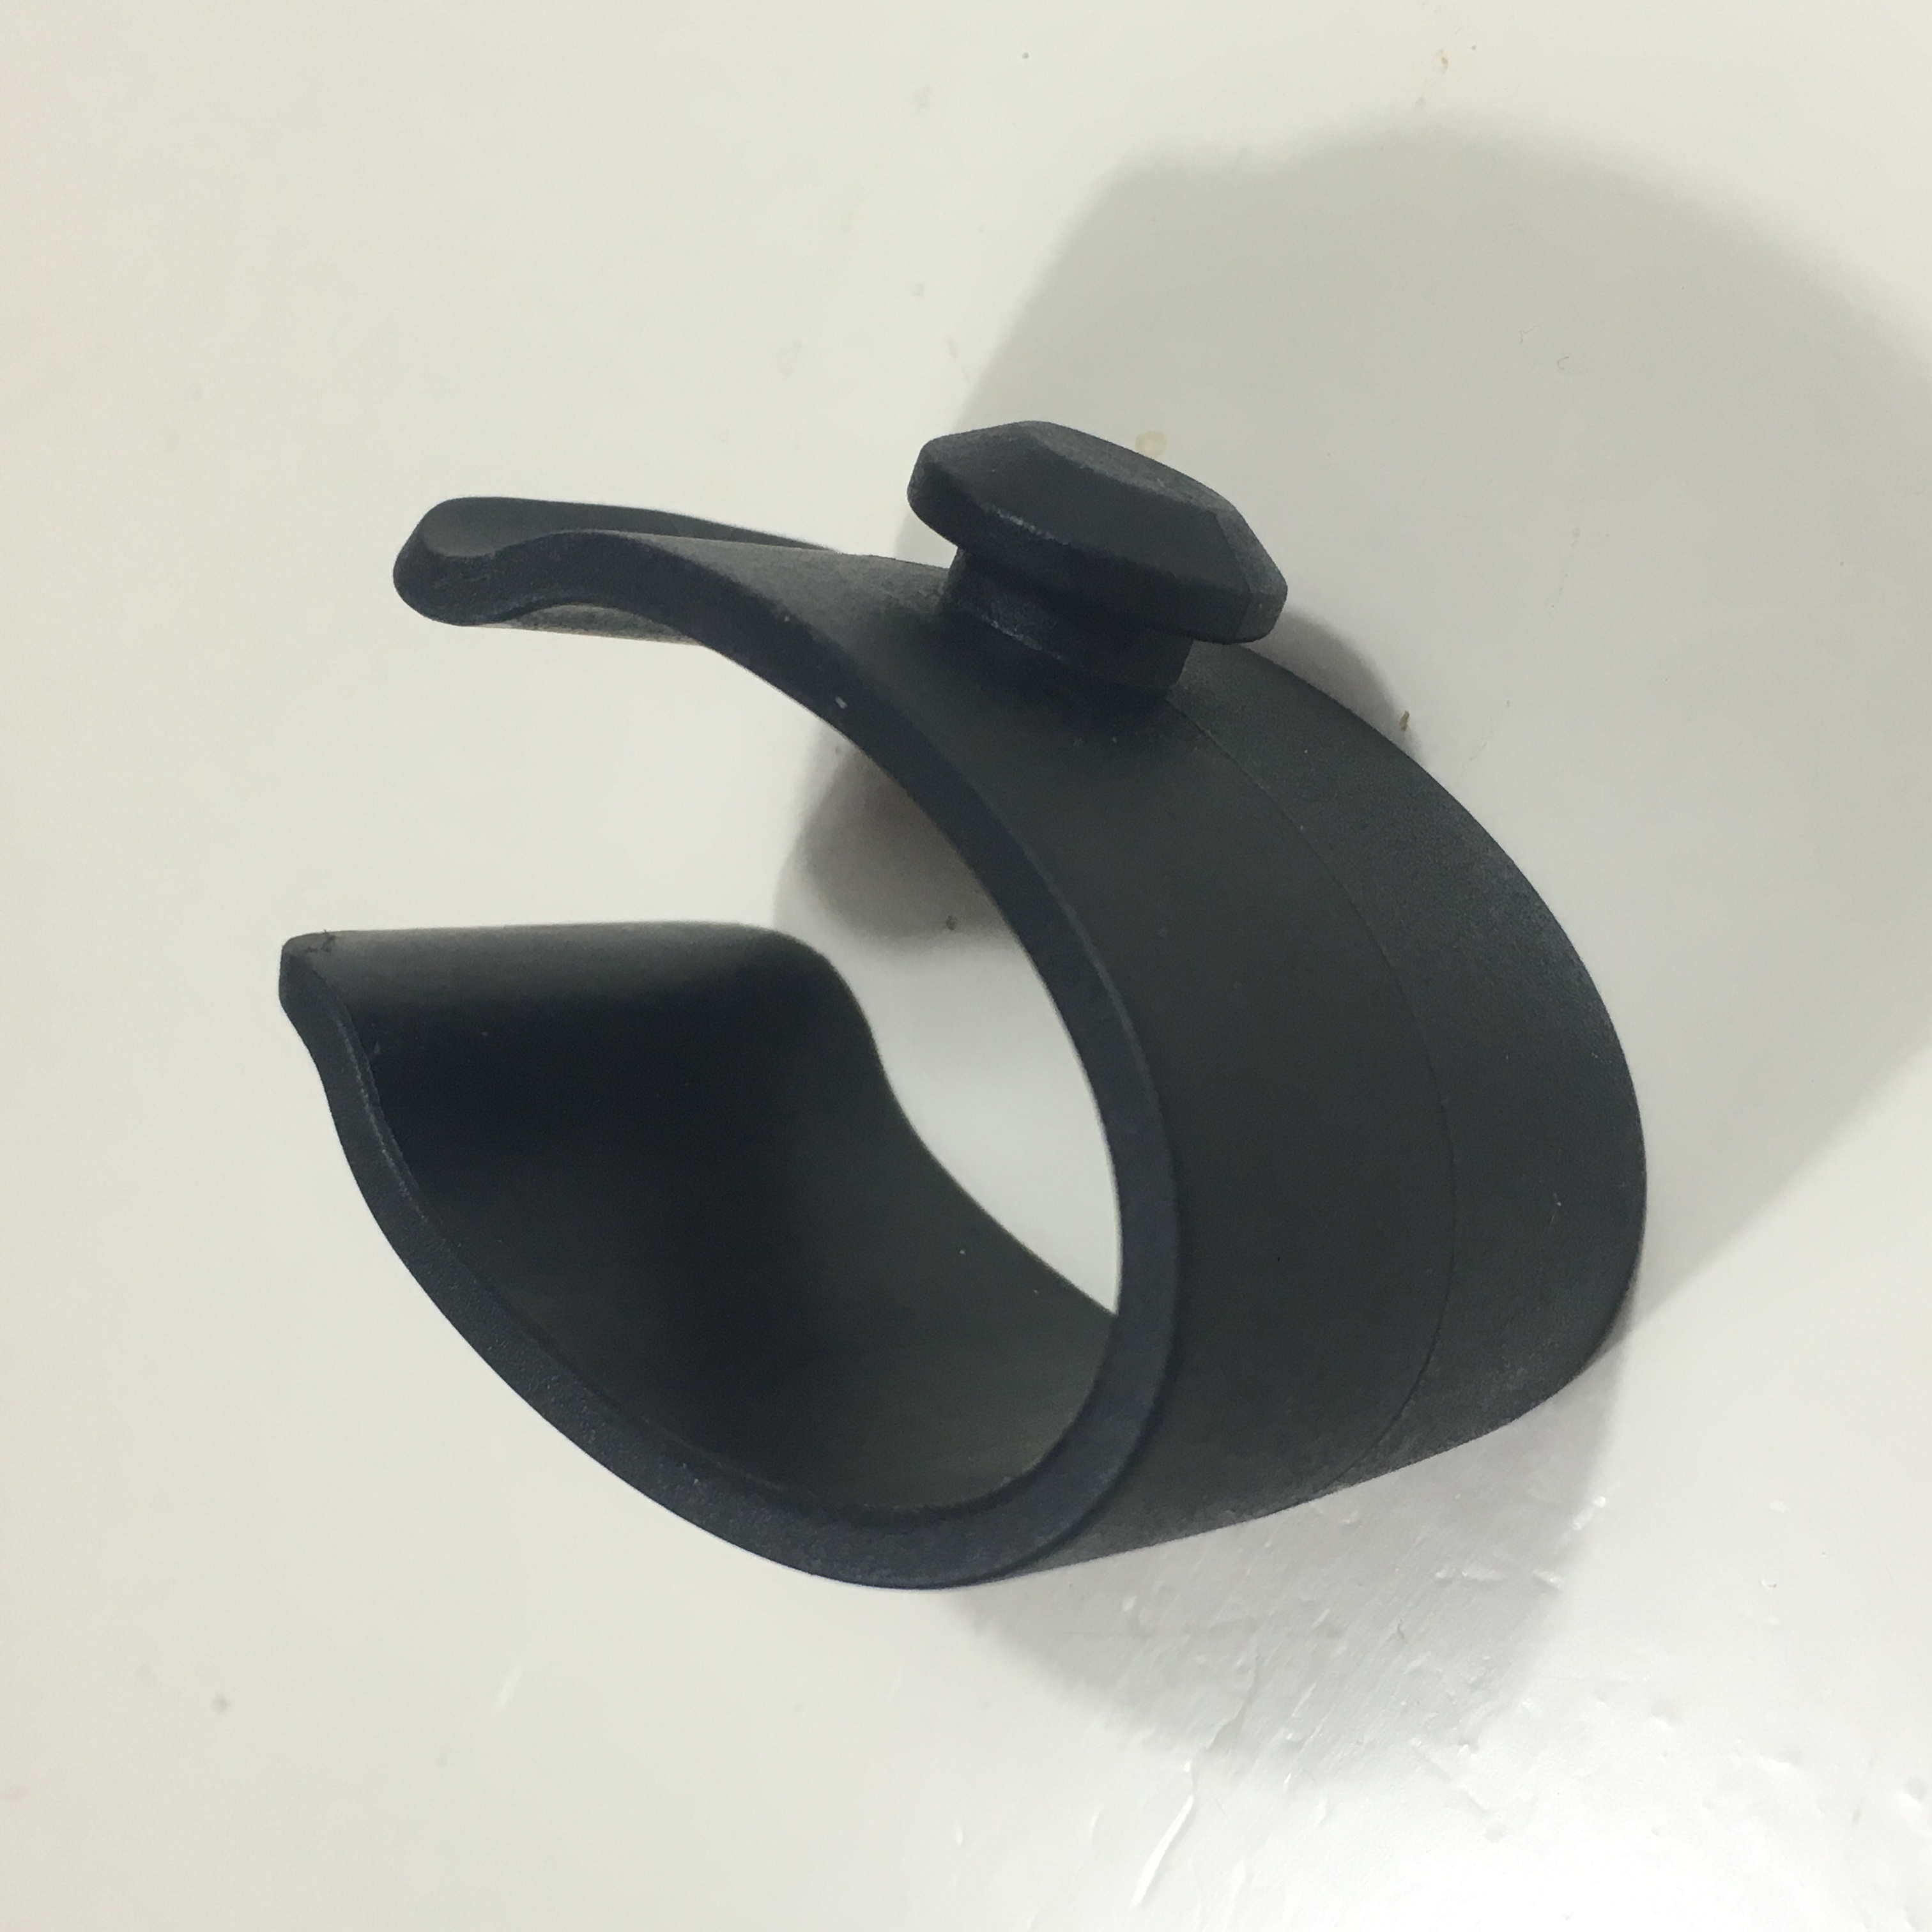
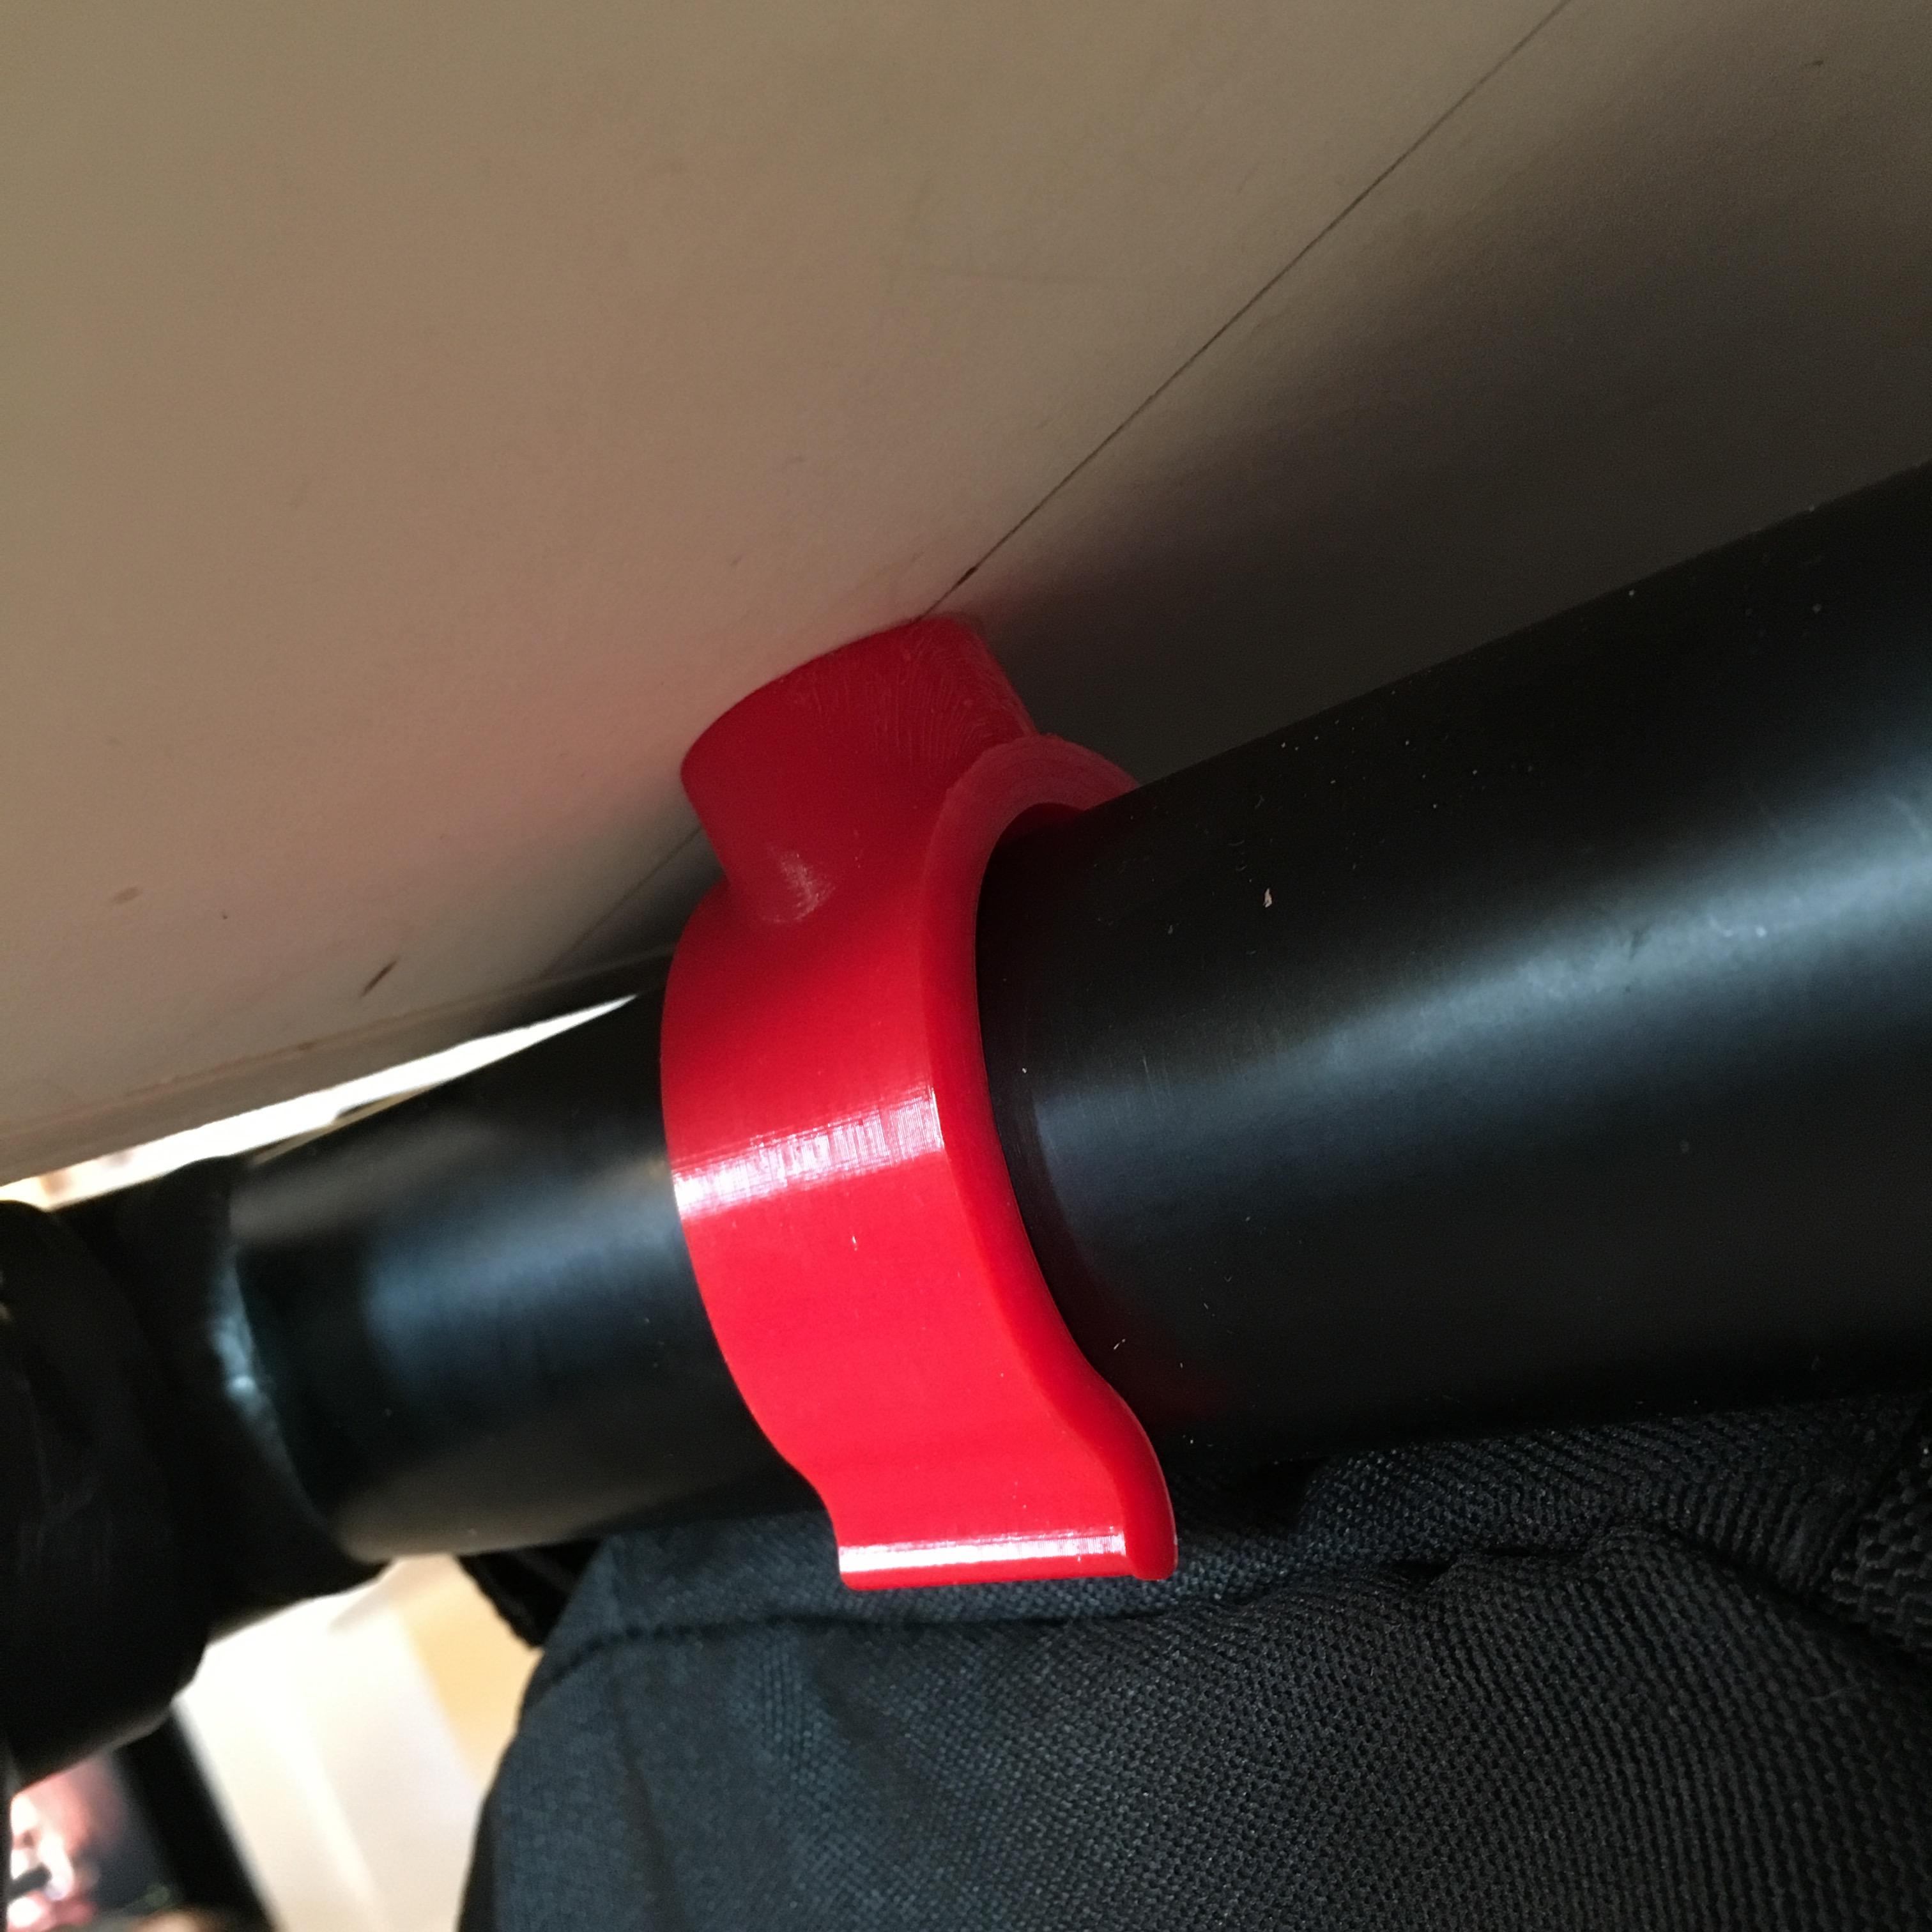
After swapping it upside down (to get better print results), I fired up my Lulzbot Mini printer using ColorFabb’s XT Co-Polyester.

I snapped on to the strollers frame perfectly!
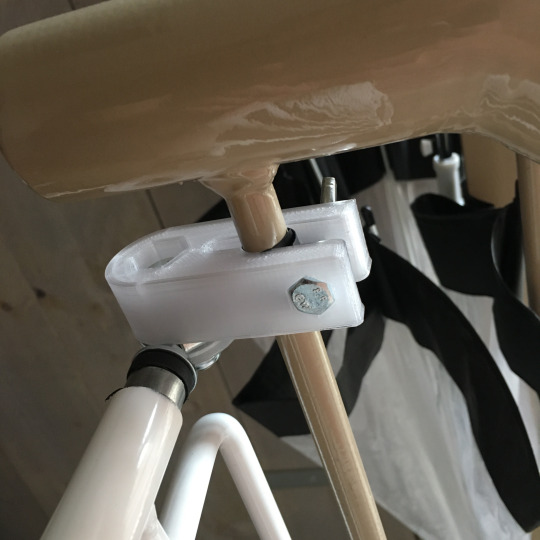
Now, with a few pieces of scrap plywood and a little bit of carpentry (of which I should have taken way more pictures …), i’ve managed to make a nice crate holder.
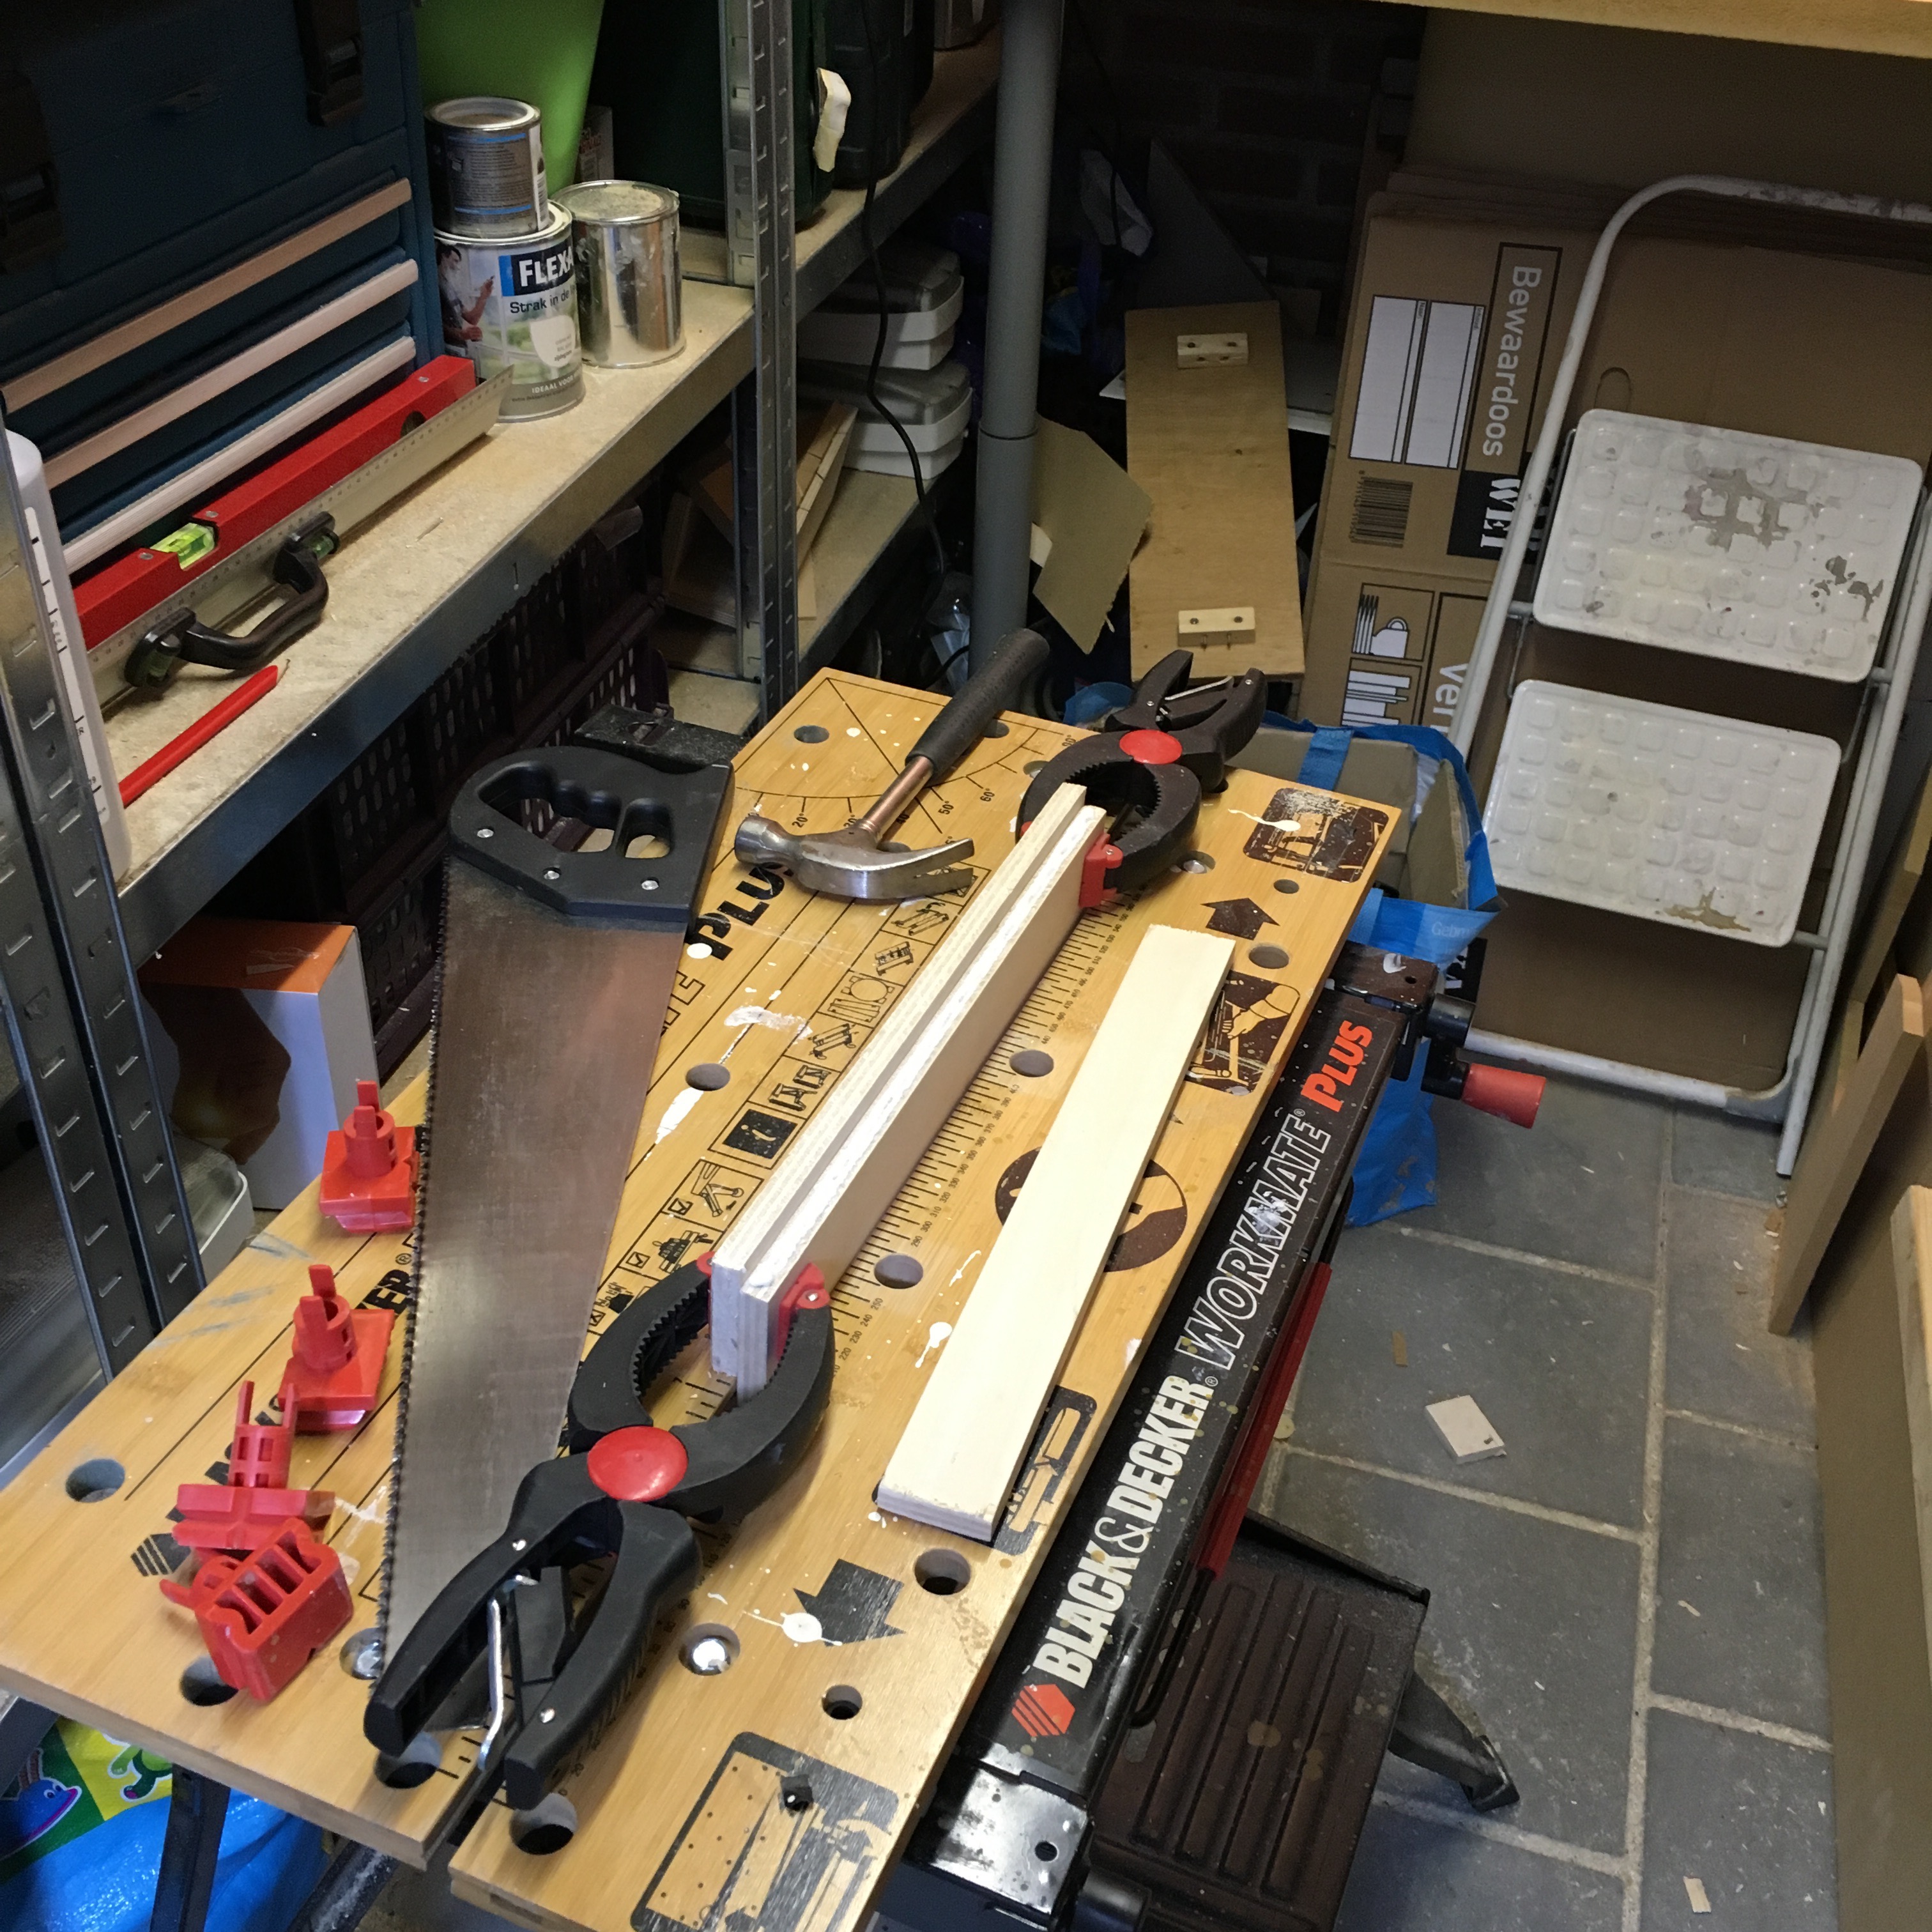
It could sure use some black paint, but that’s something I’ll do in the very distant future …
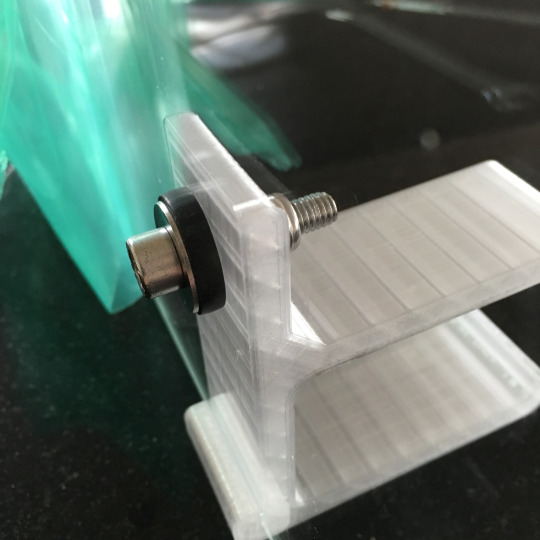
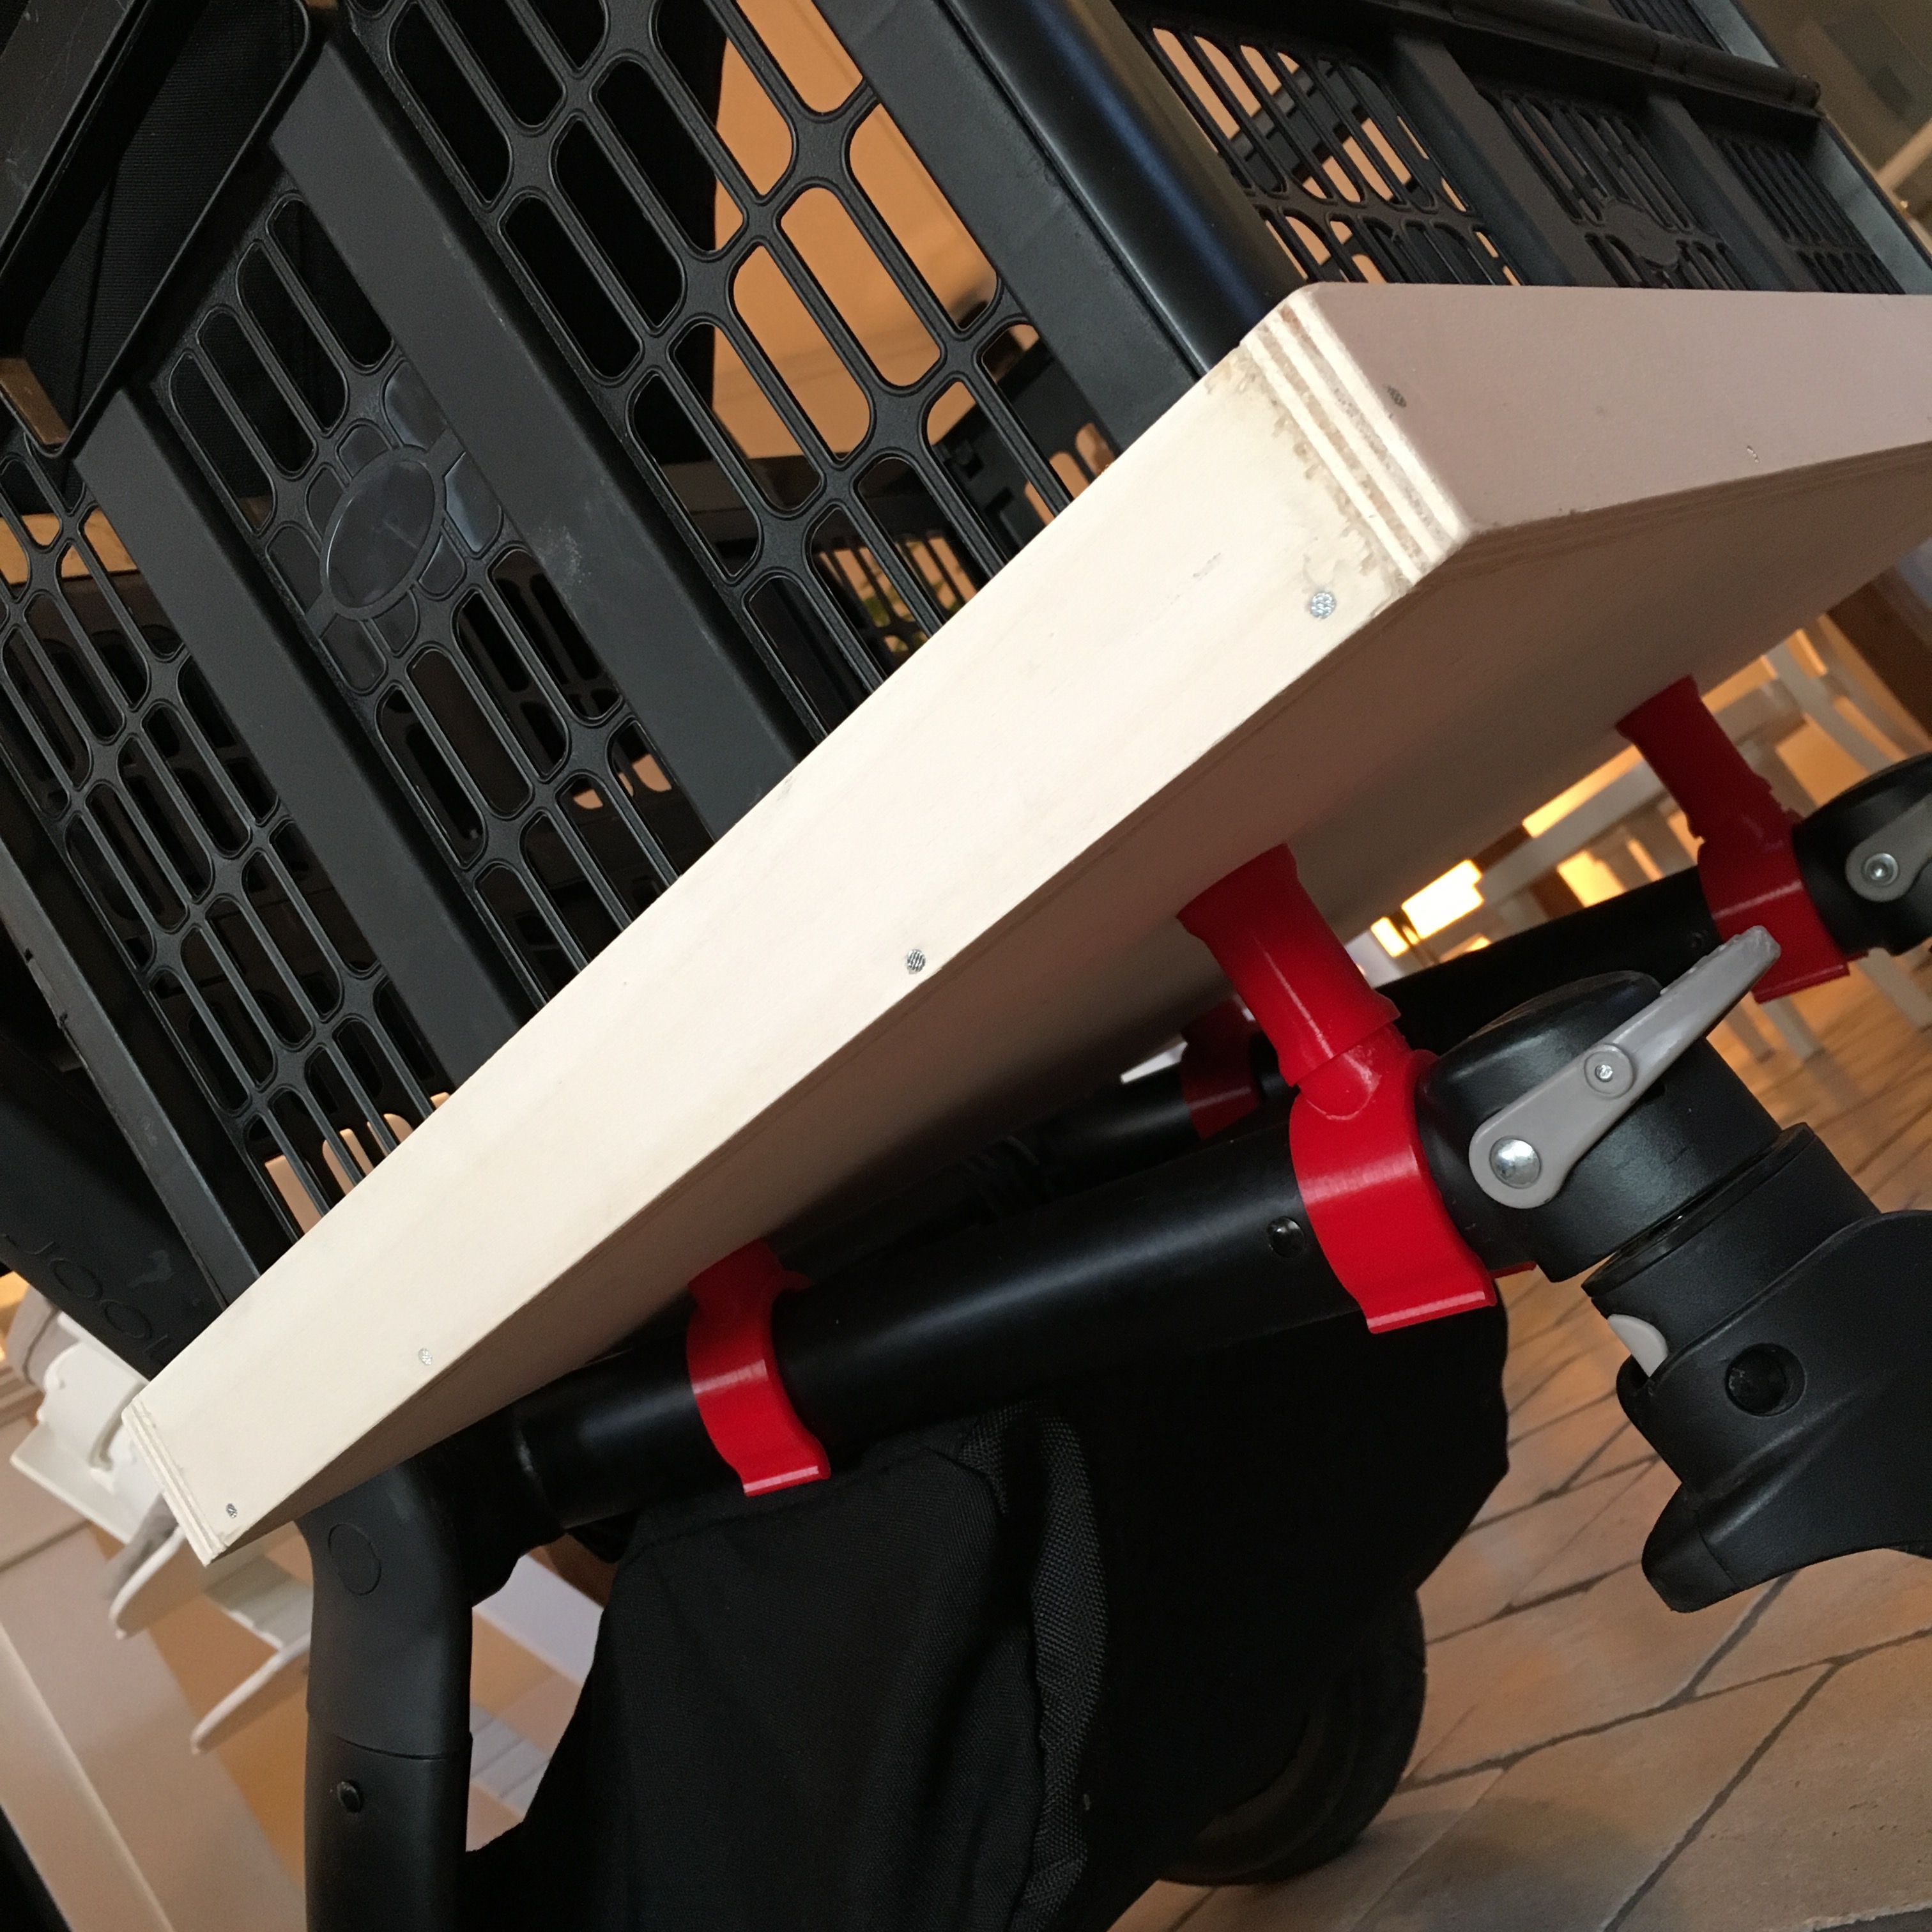
Because of the angled frame, I needed to print two spacers to put between the front brackets and the crate holder. And to make sure those are on the right lenght, I used some magic mathematics. The result? 4.25 cm.
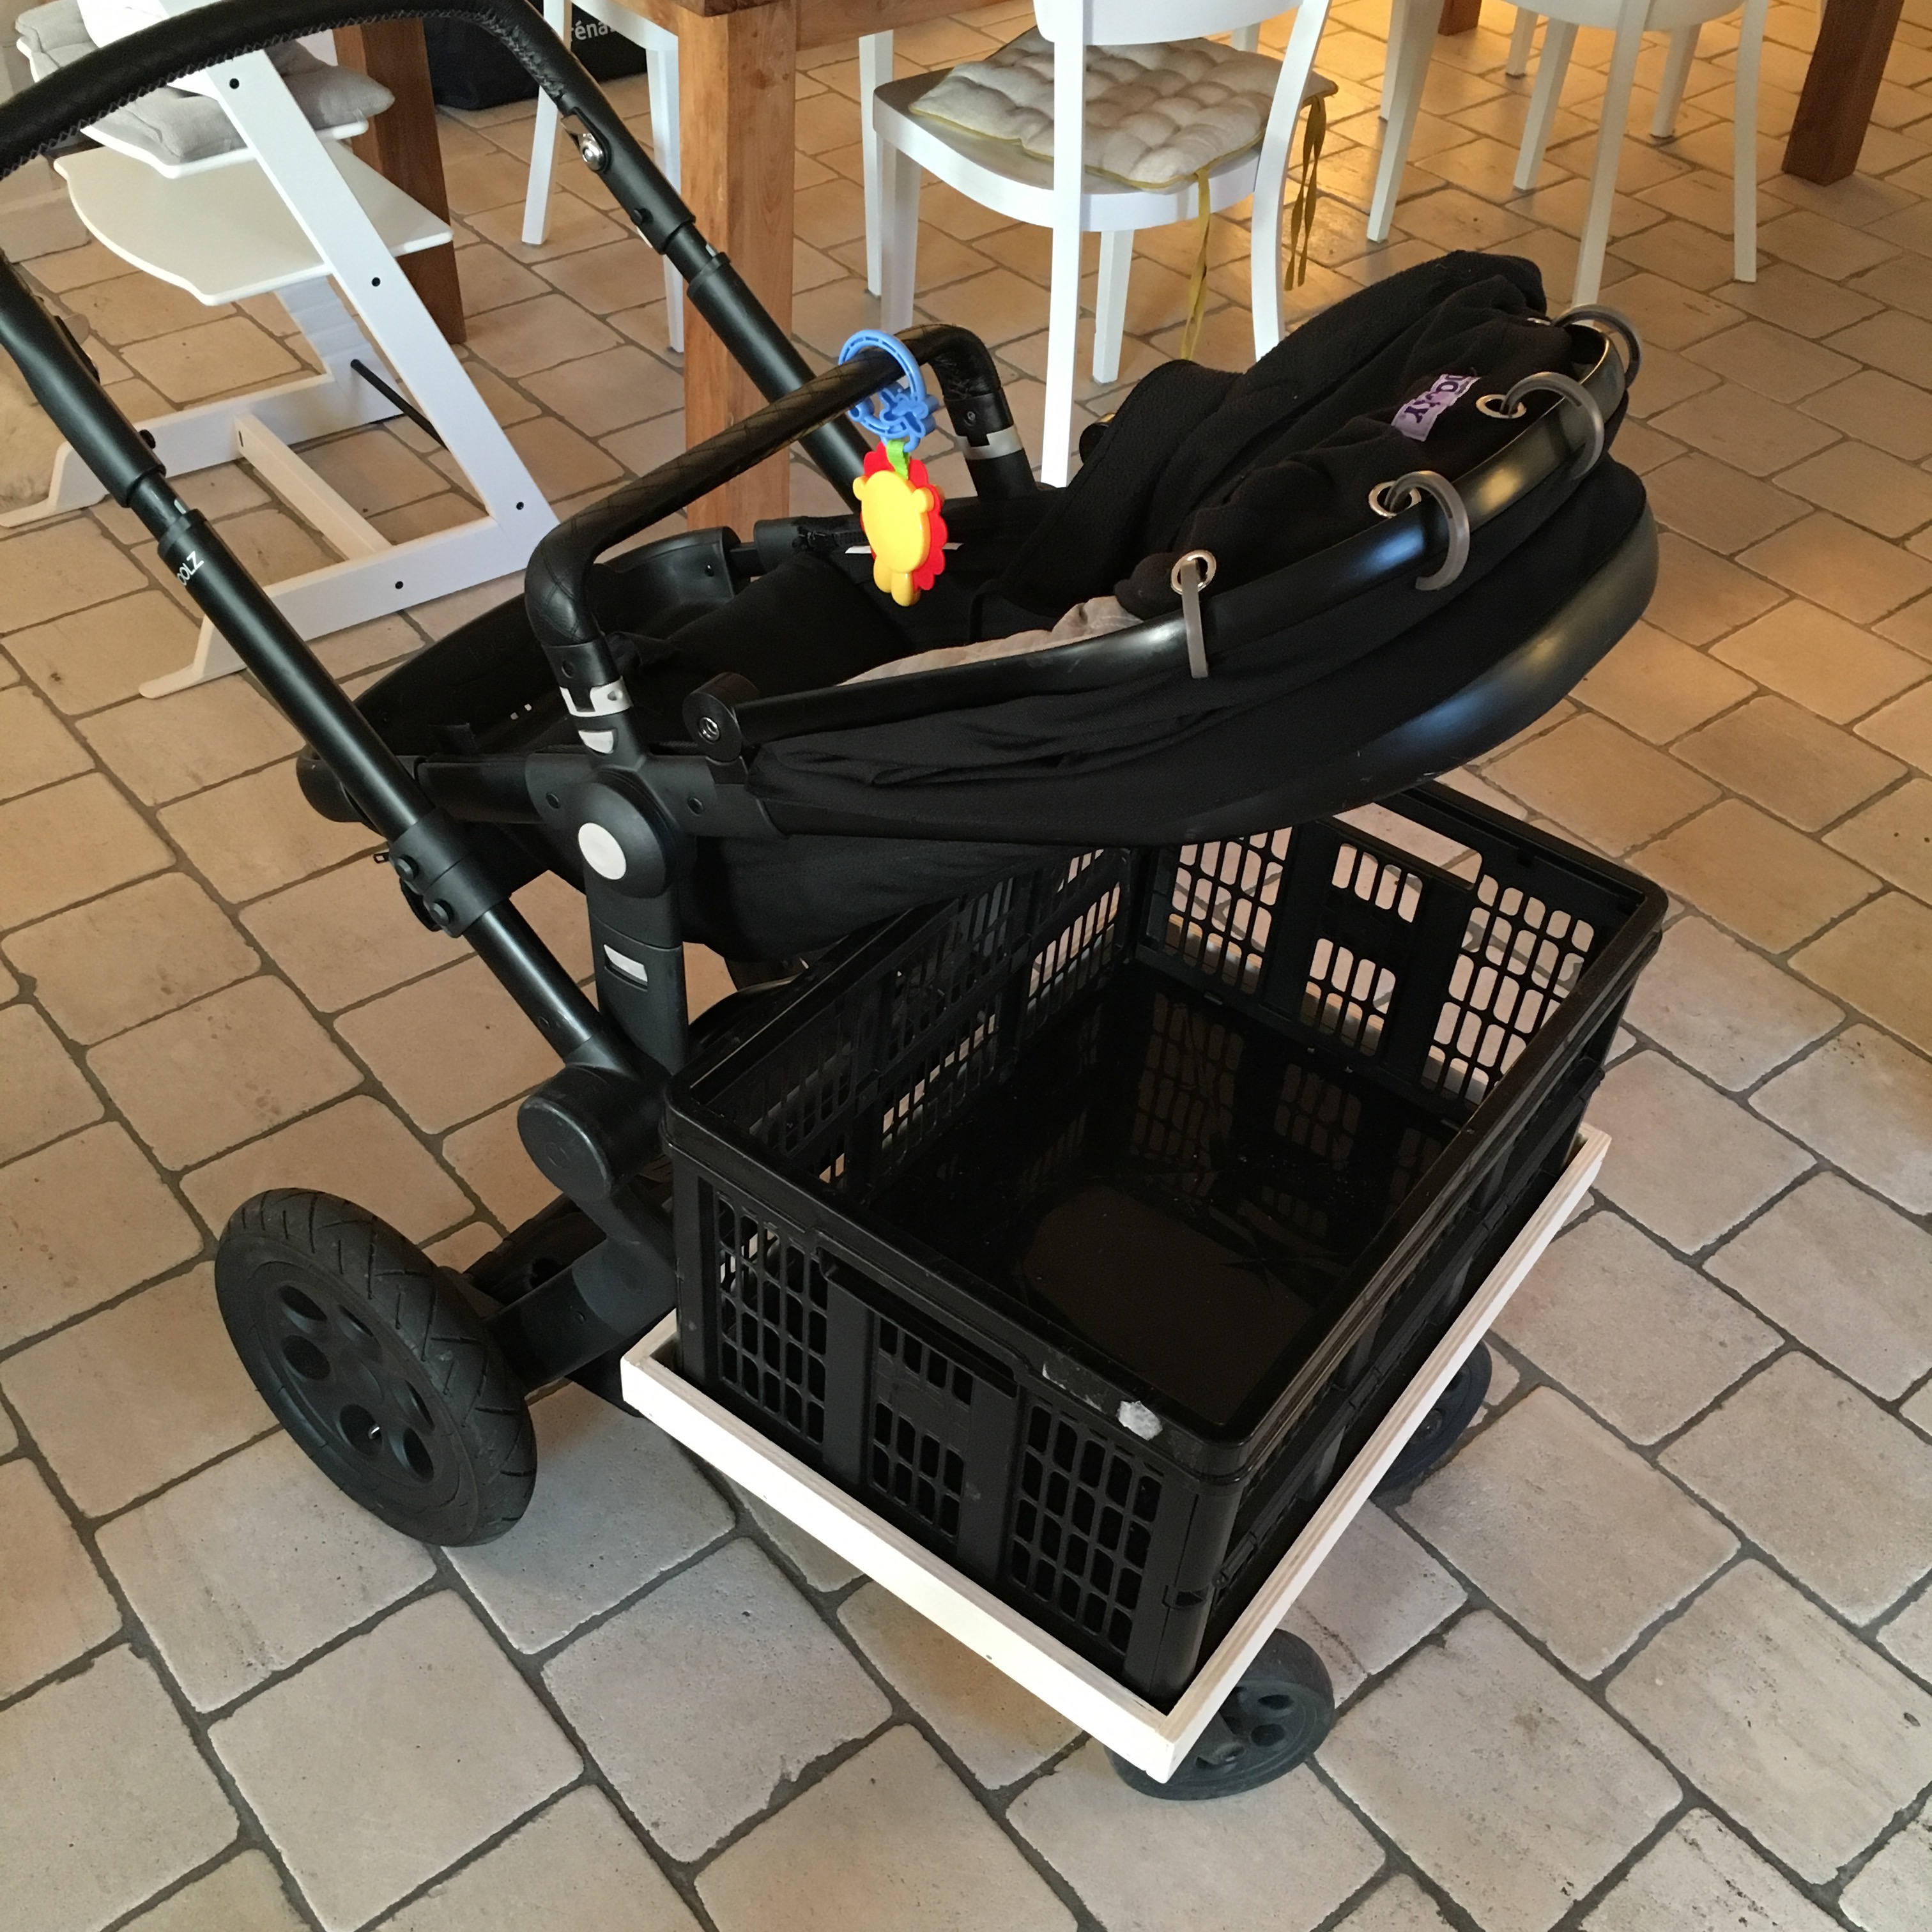
And with the spacers in place, It was time to go for a spin!
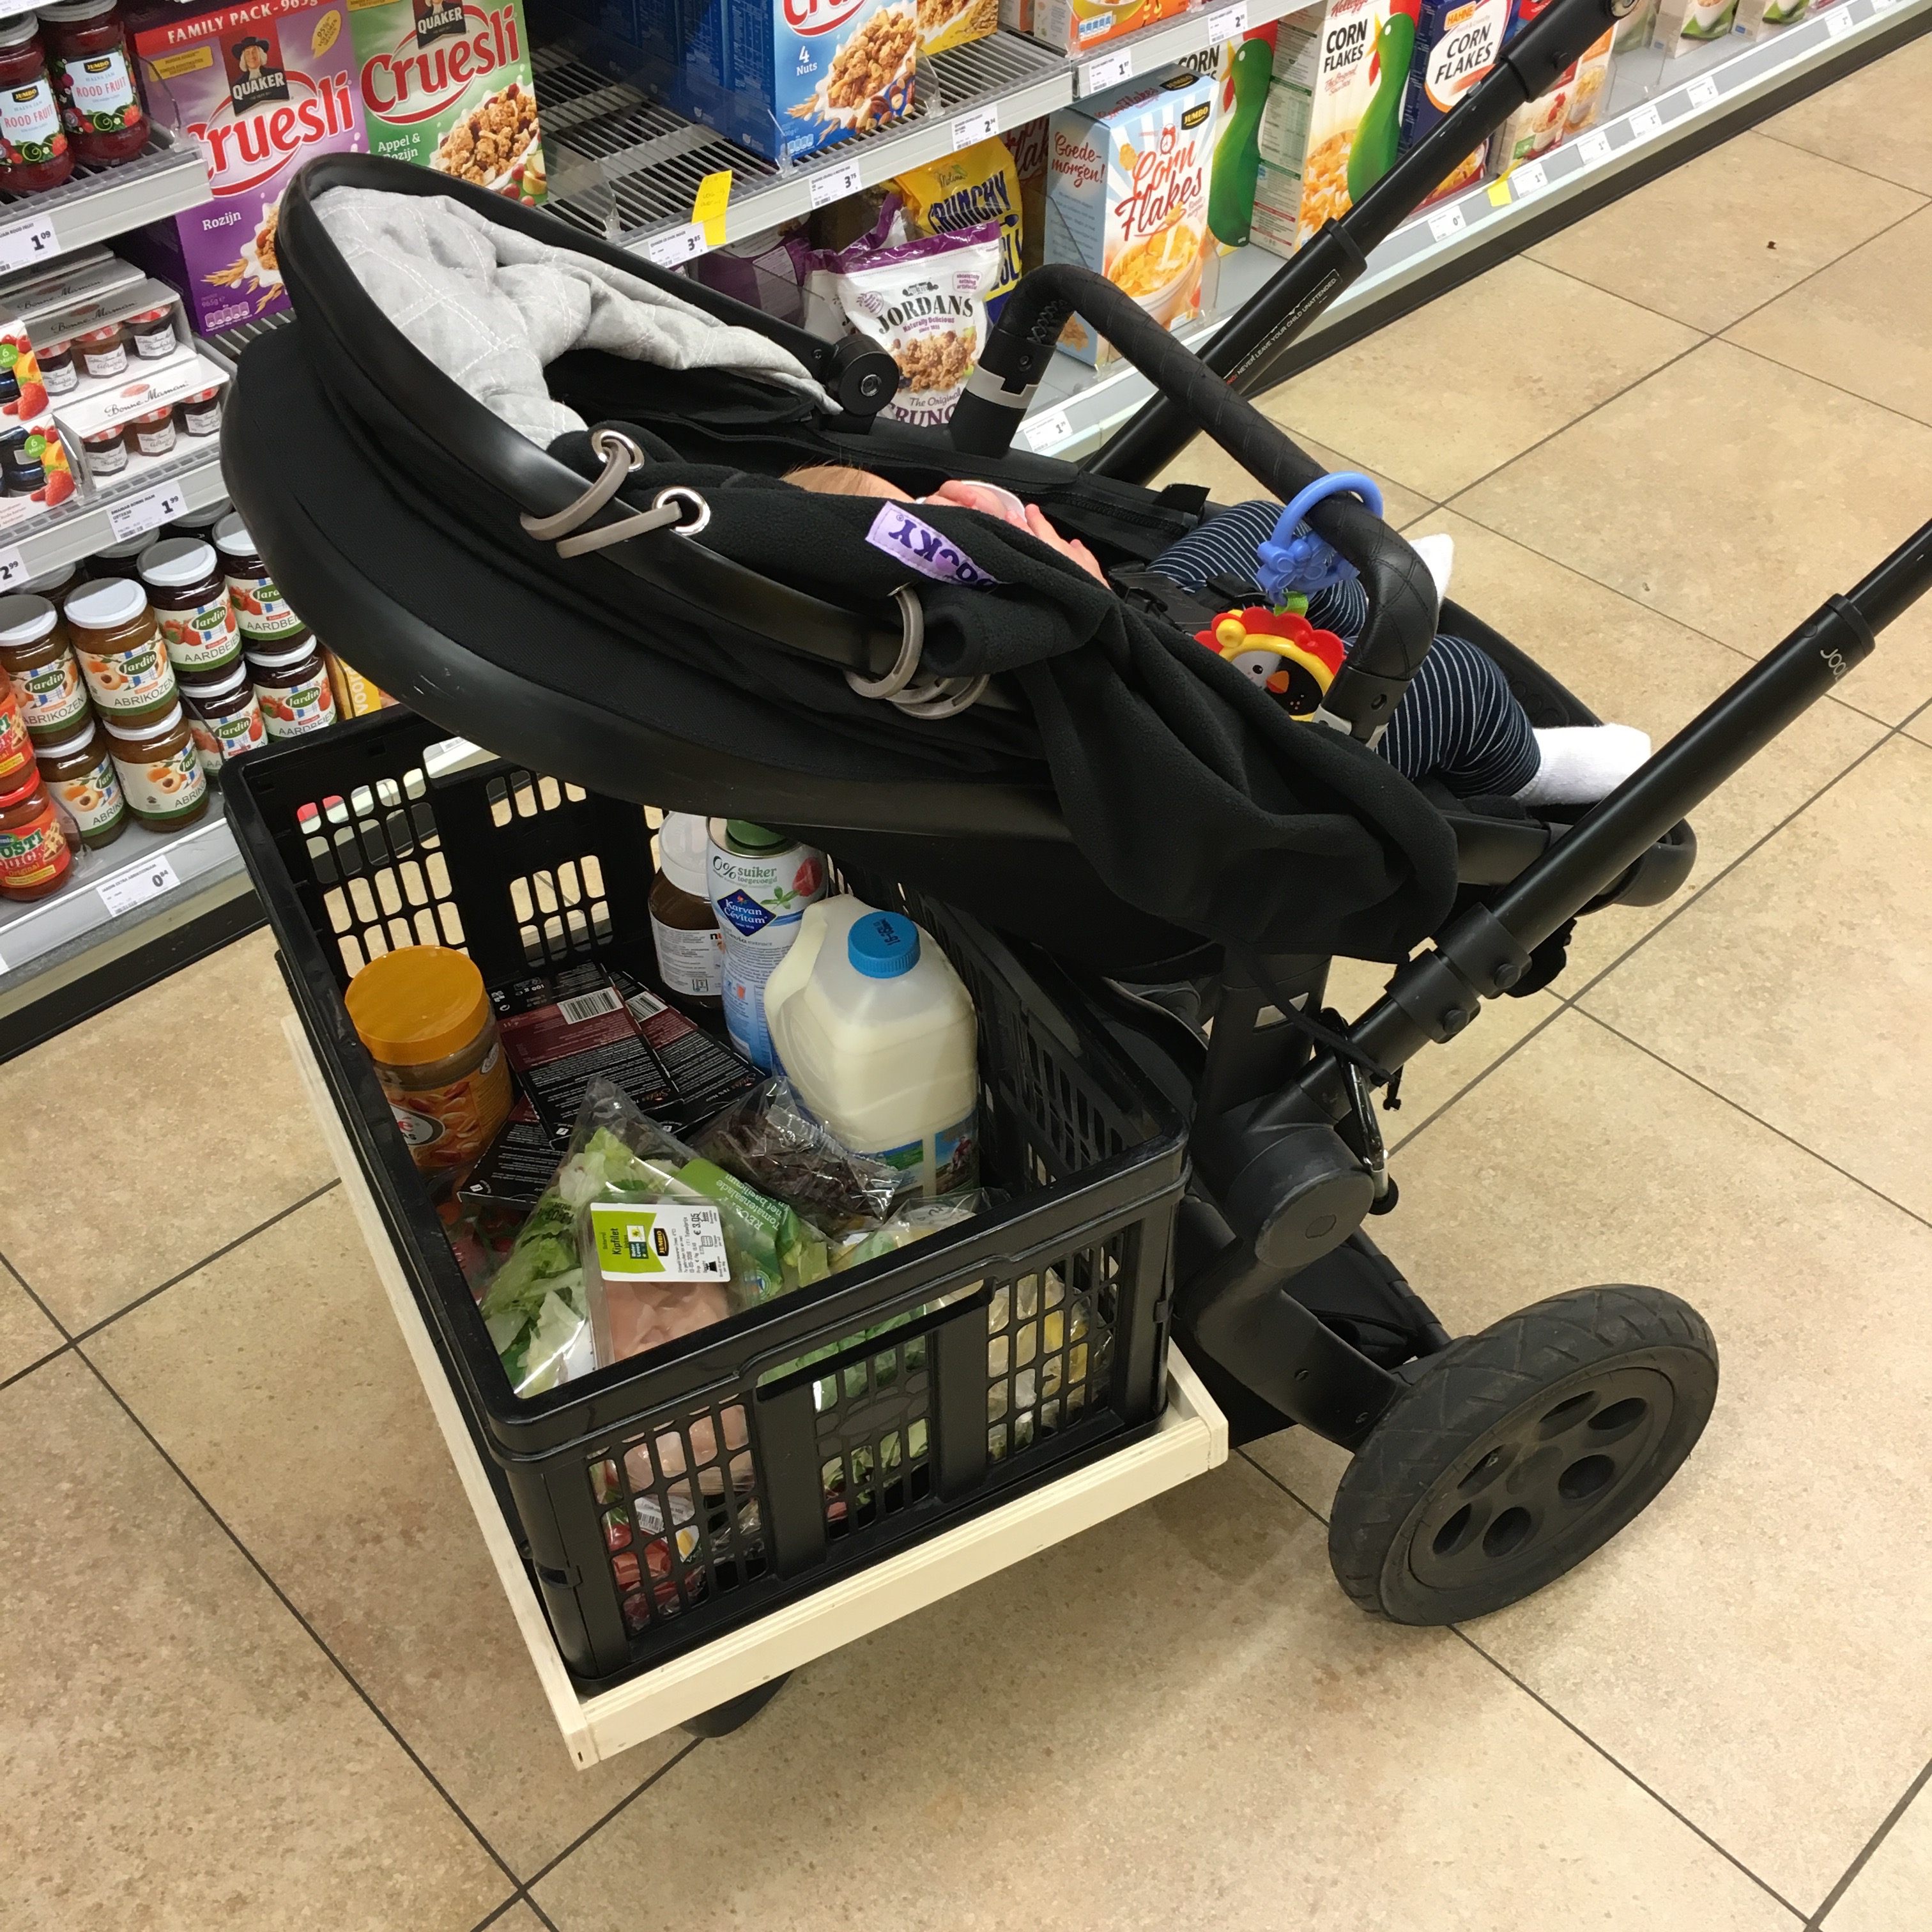
The end result? A crate full of groceries, a son with a pimped stroller and a happy girlfriend (because for once, I did the groceries without grumbling).
And me? I’m just very happy my parts for my curtains just arrived!

Want to pimp your own Joolz ride? Download the STL files here.