With the fully operating hardware, it is finally time to start working on the real firmware for my automatic curtain motor controllers. The current firmware is quickly thrown together and contains a few annoying bugs which need to be solved. To make the development process a bit easier, I made a small development unit, allowing me to test and debug my software without the need of closing and opening my real curtains.
Automatic Curtains: The most permanent temporary solution.
In the past few weeks I’ve already put a lot of this test unit on my Instagram account, but I figured some of my readers might be interested in a little bit more detail.
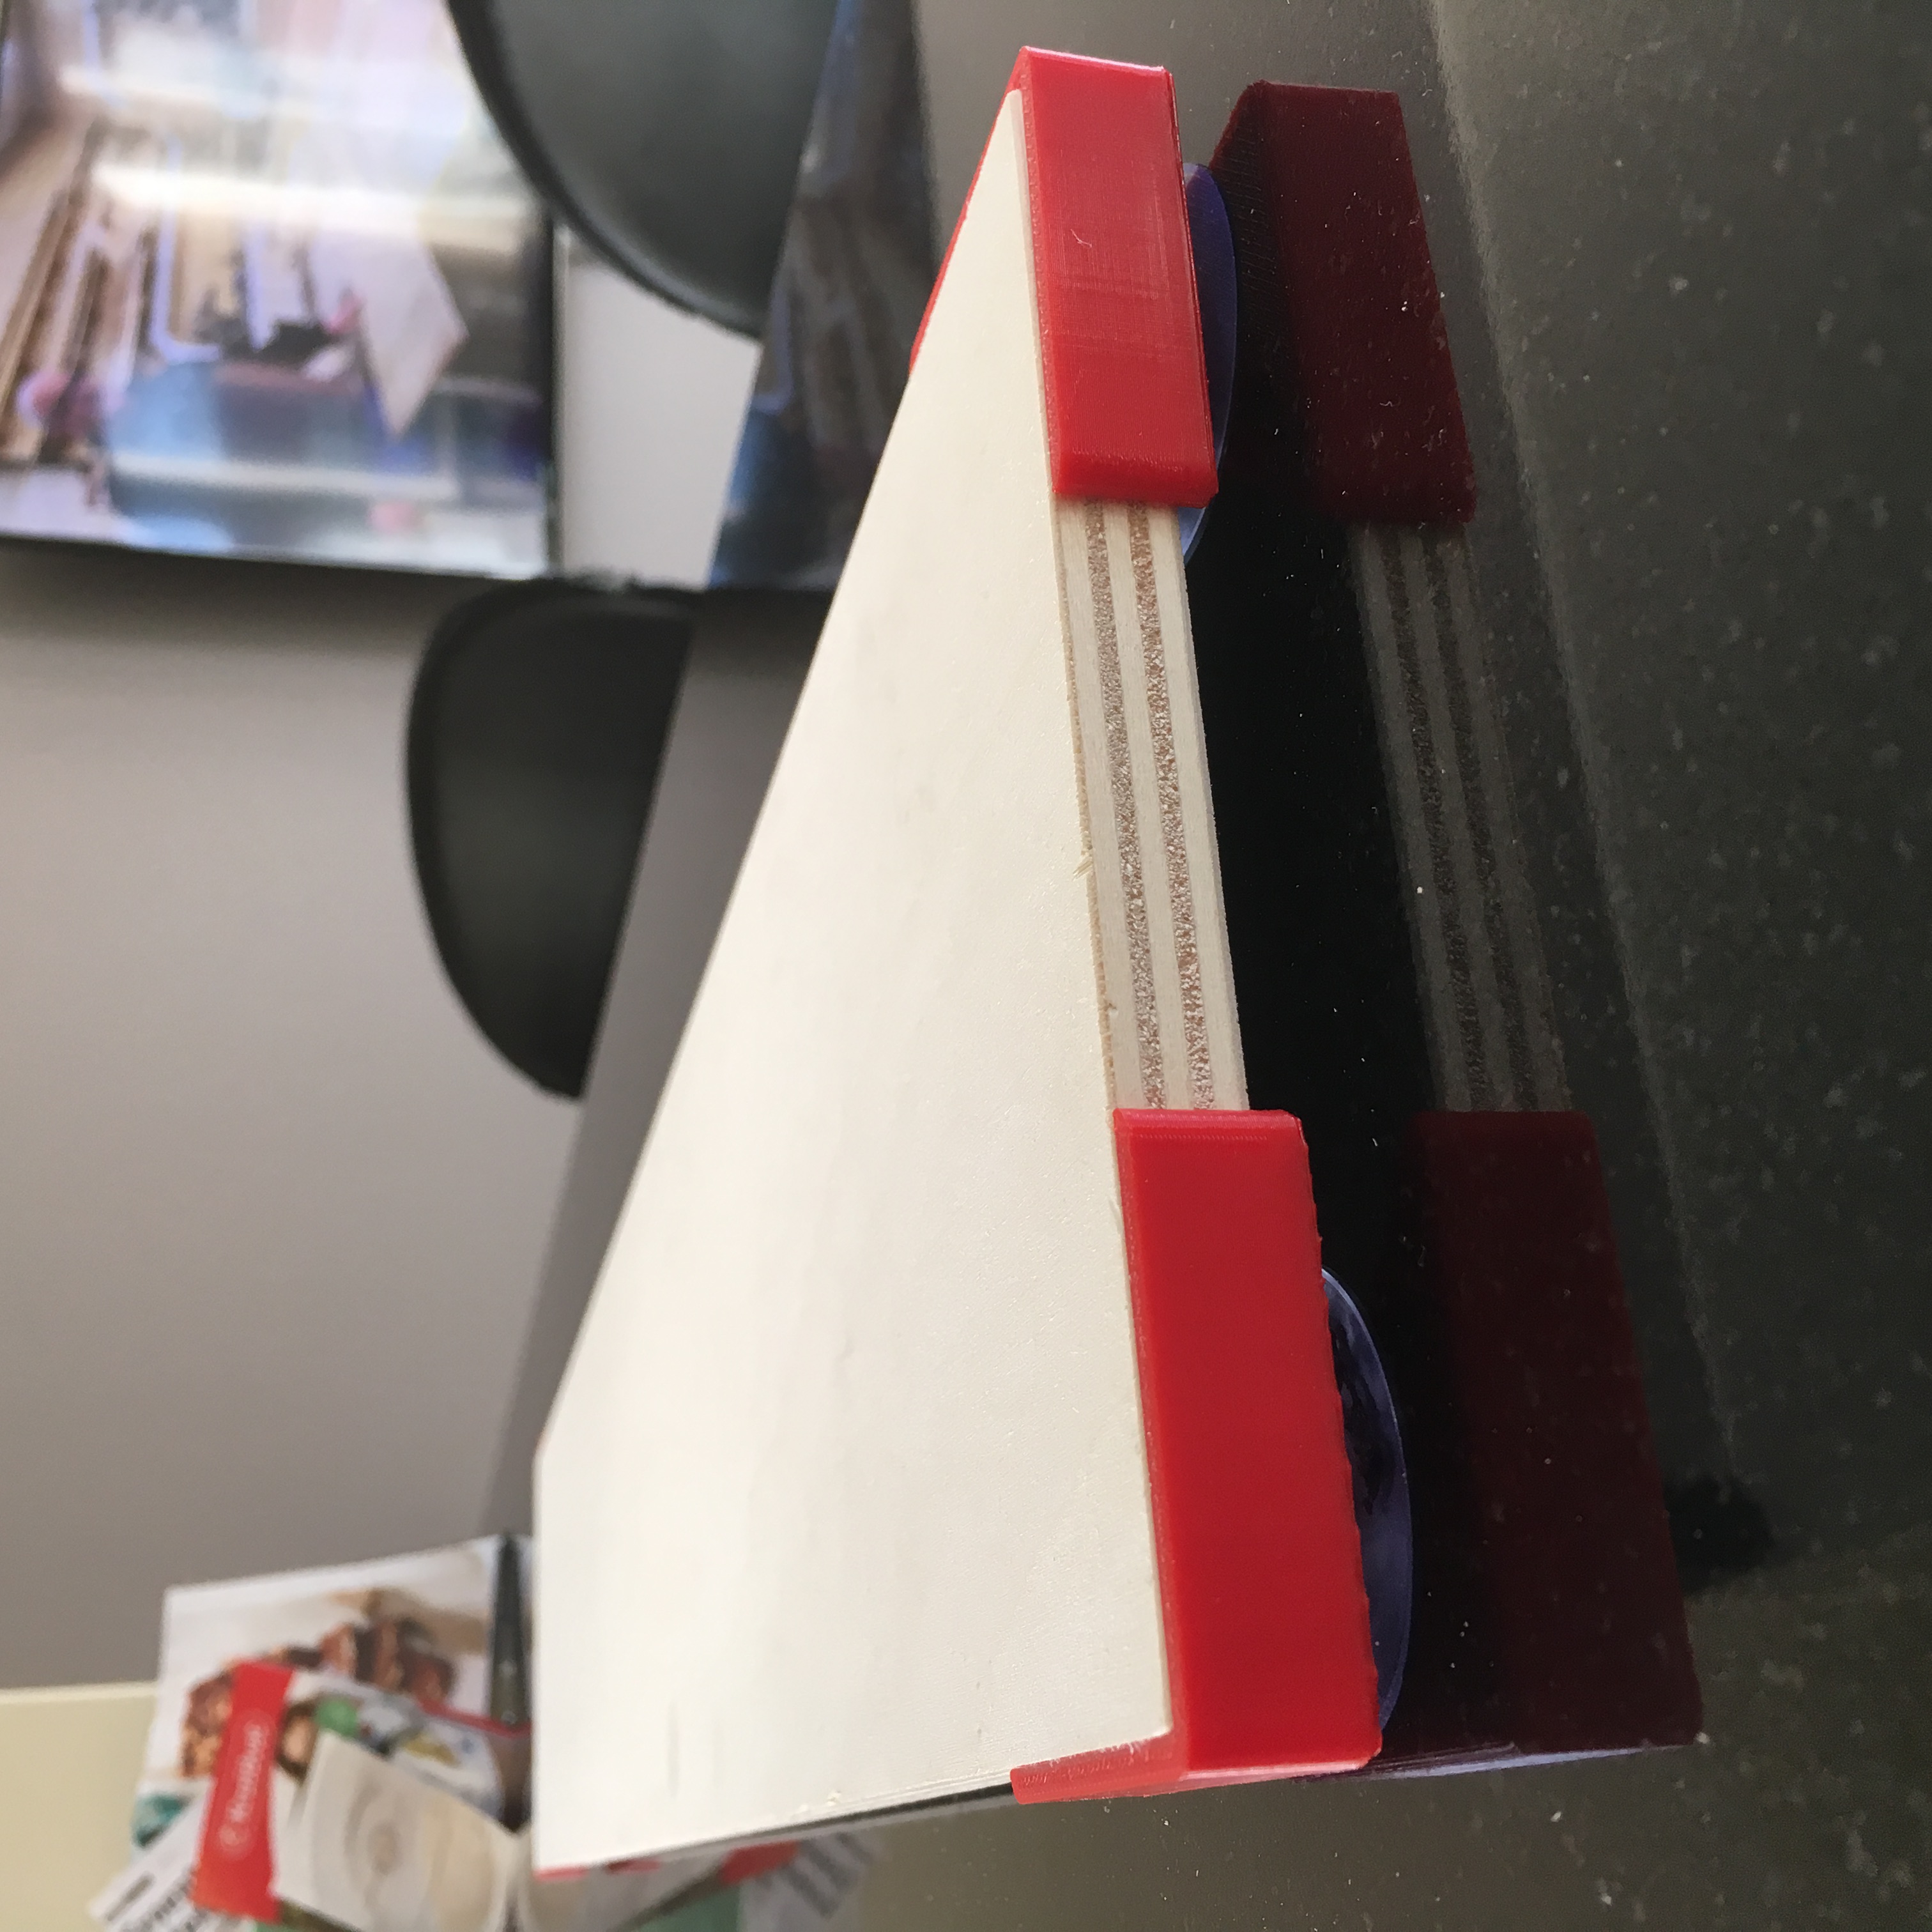
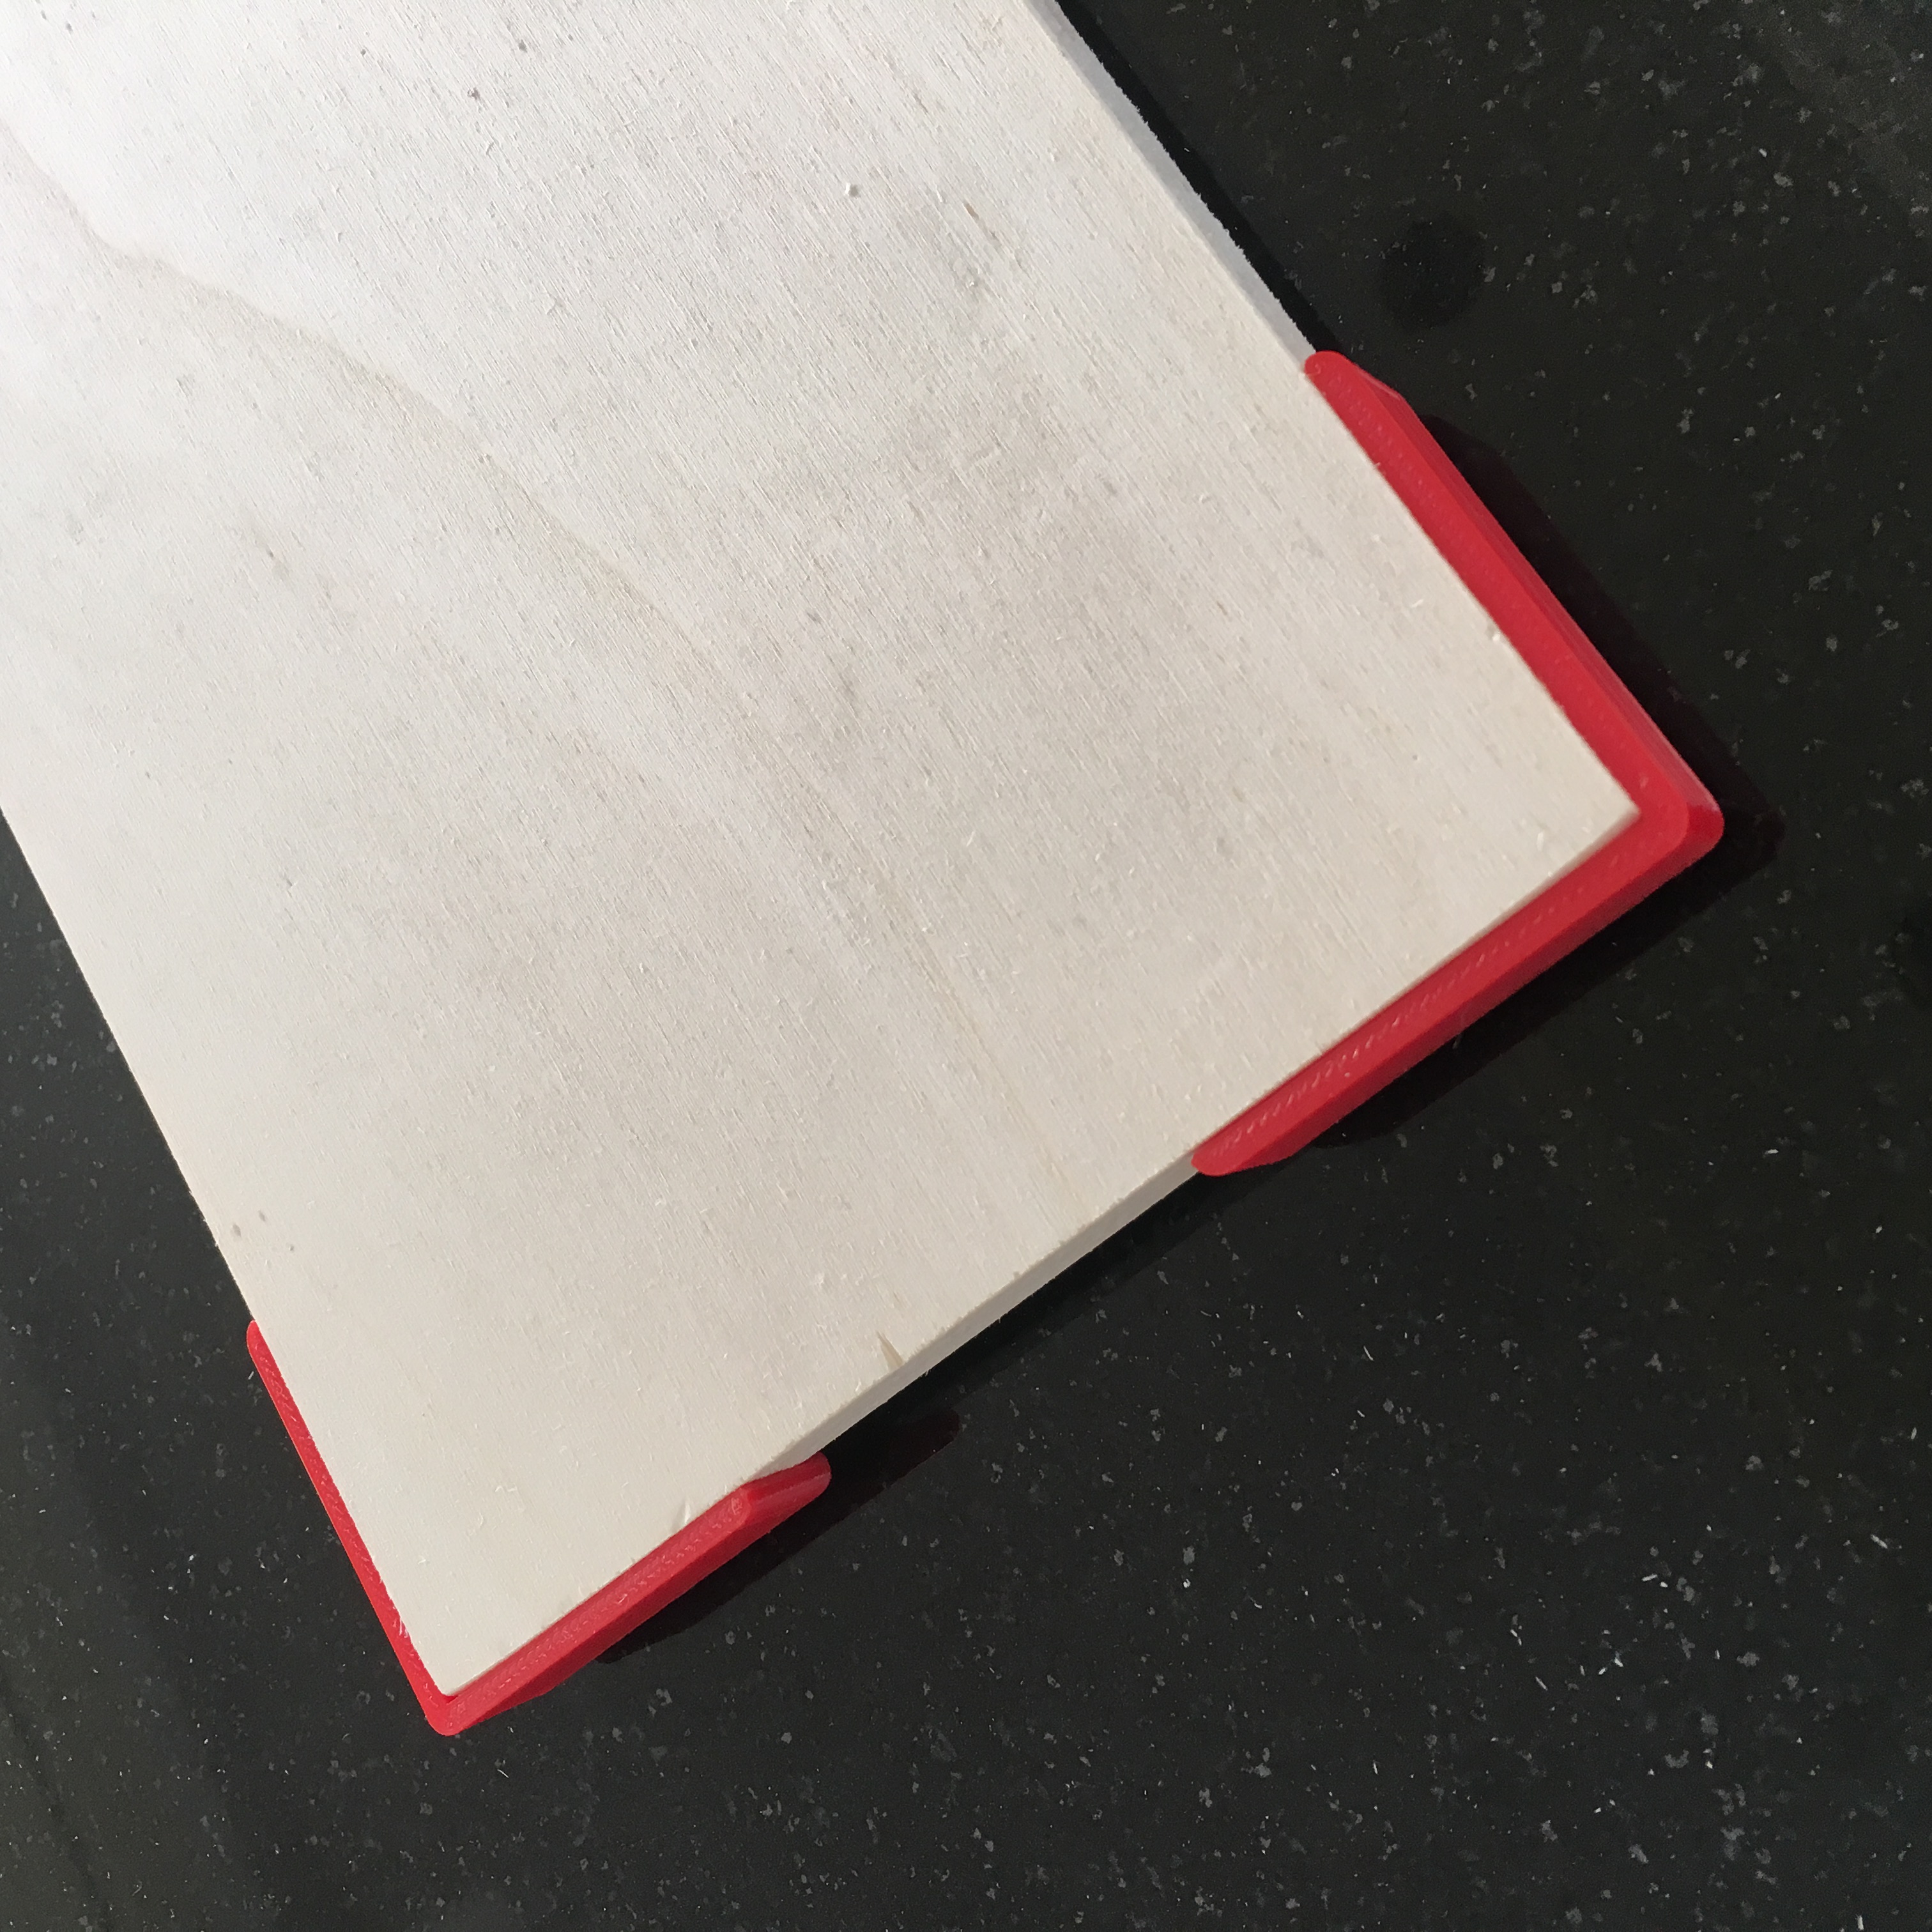
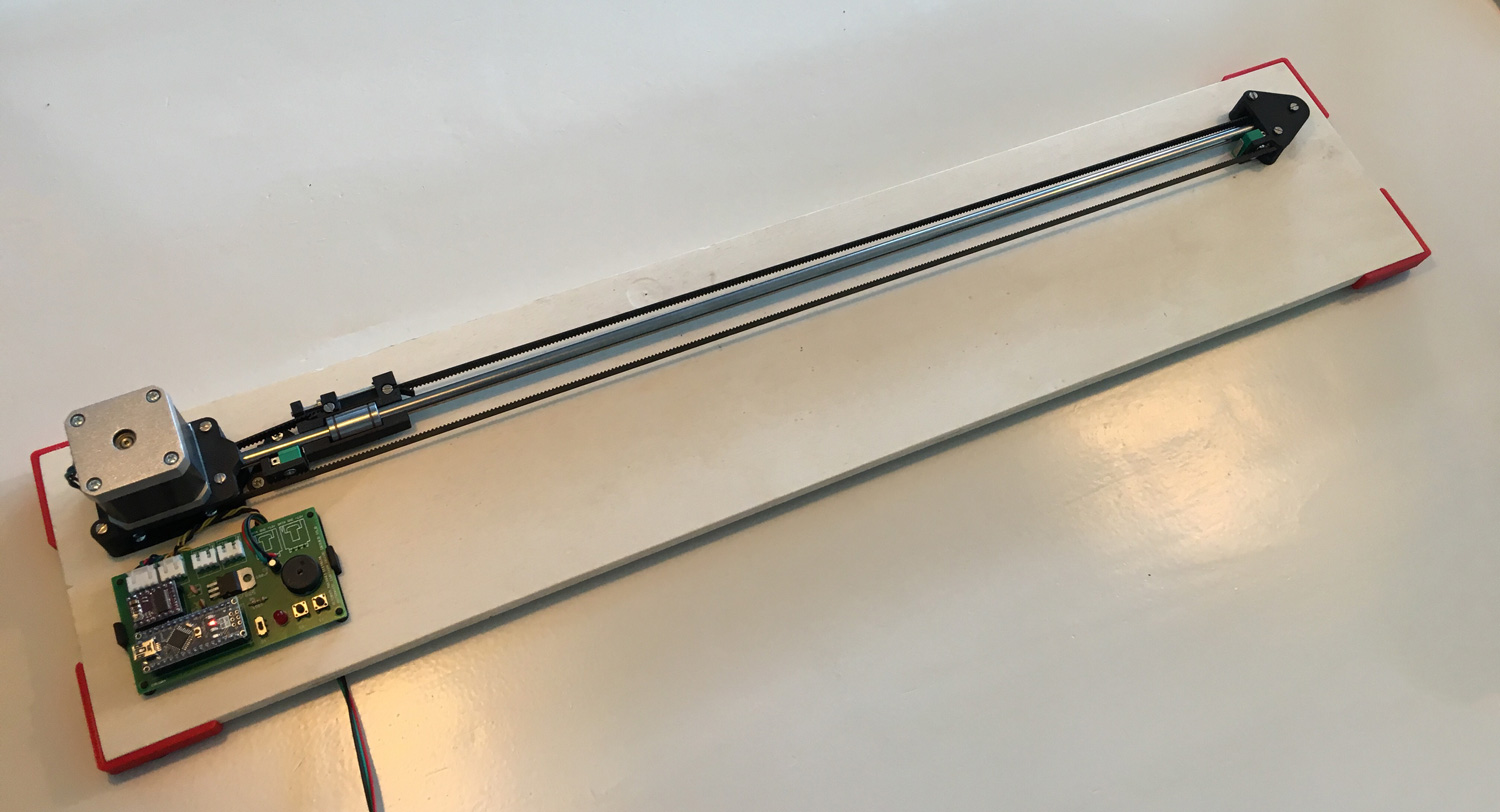
The test unit will be based on a 75 cm long piece of plywood. To make it look a bit more professional, to allow me to run some wires on the bottom and just for the sake of 3D printing, I design some standoffs to mount on the corner of the plywood. Once again, I used my favorite 3D drawing tool, Fusion 360.
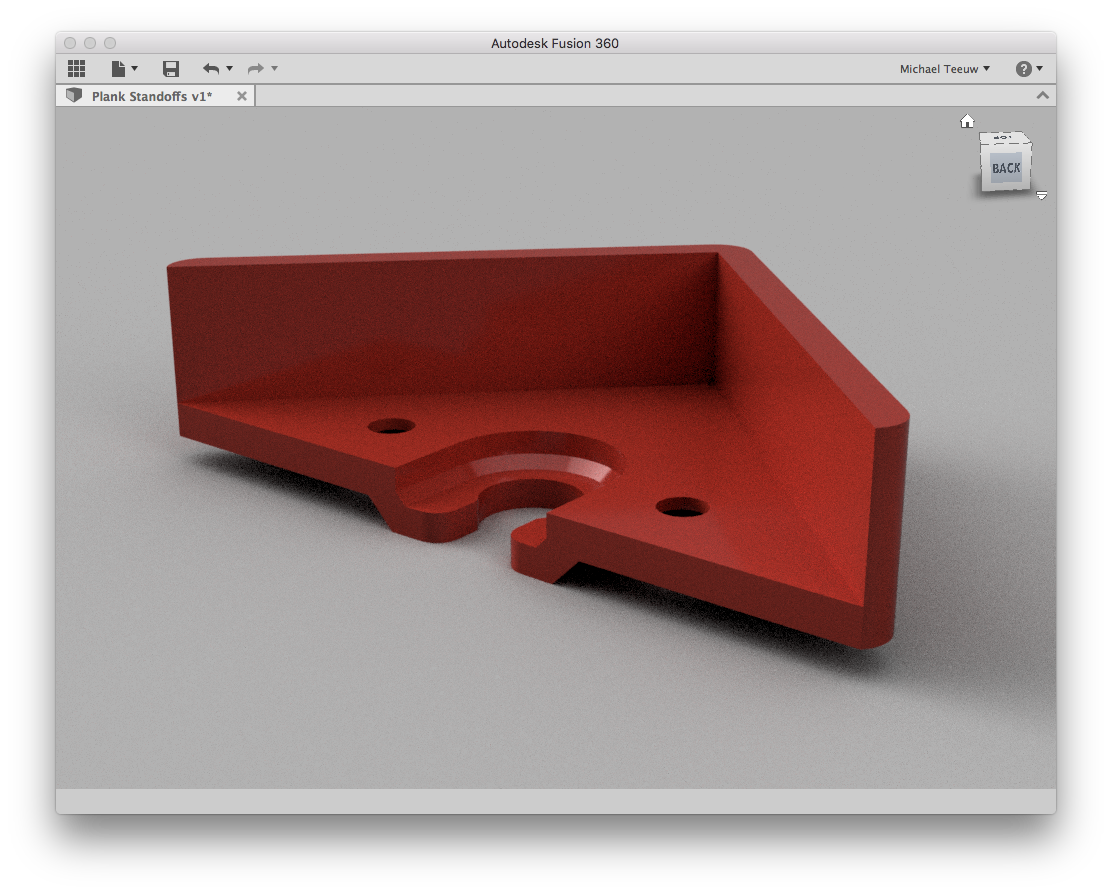
The standoffs allow me to mount suction cups (i still had laying around) to the bottom of the test unit, keeping everything firmly placed on my desk while testing. Was this necessary? Absolutely not, but boy, does it make the base look cool!
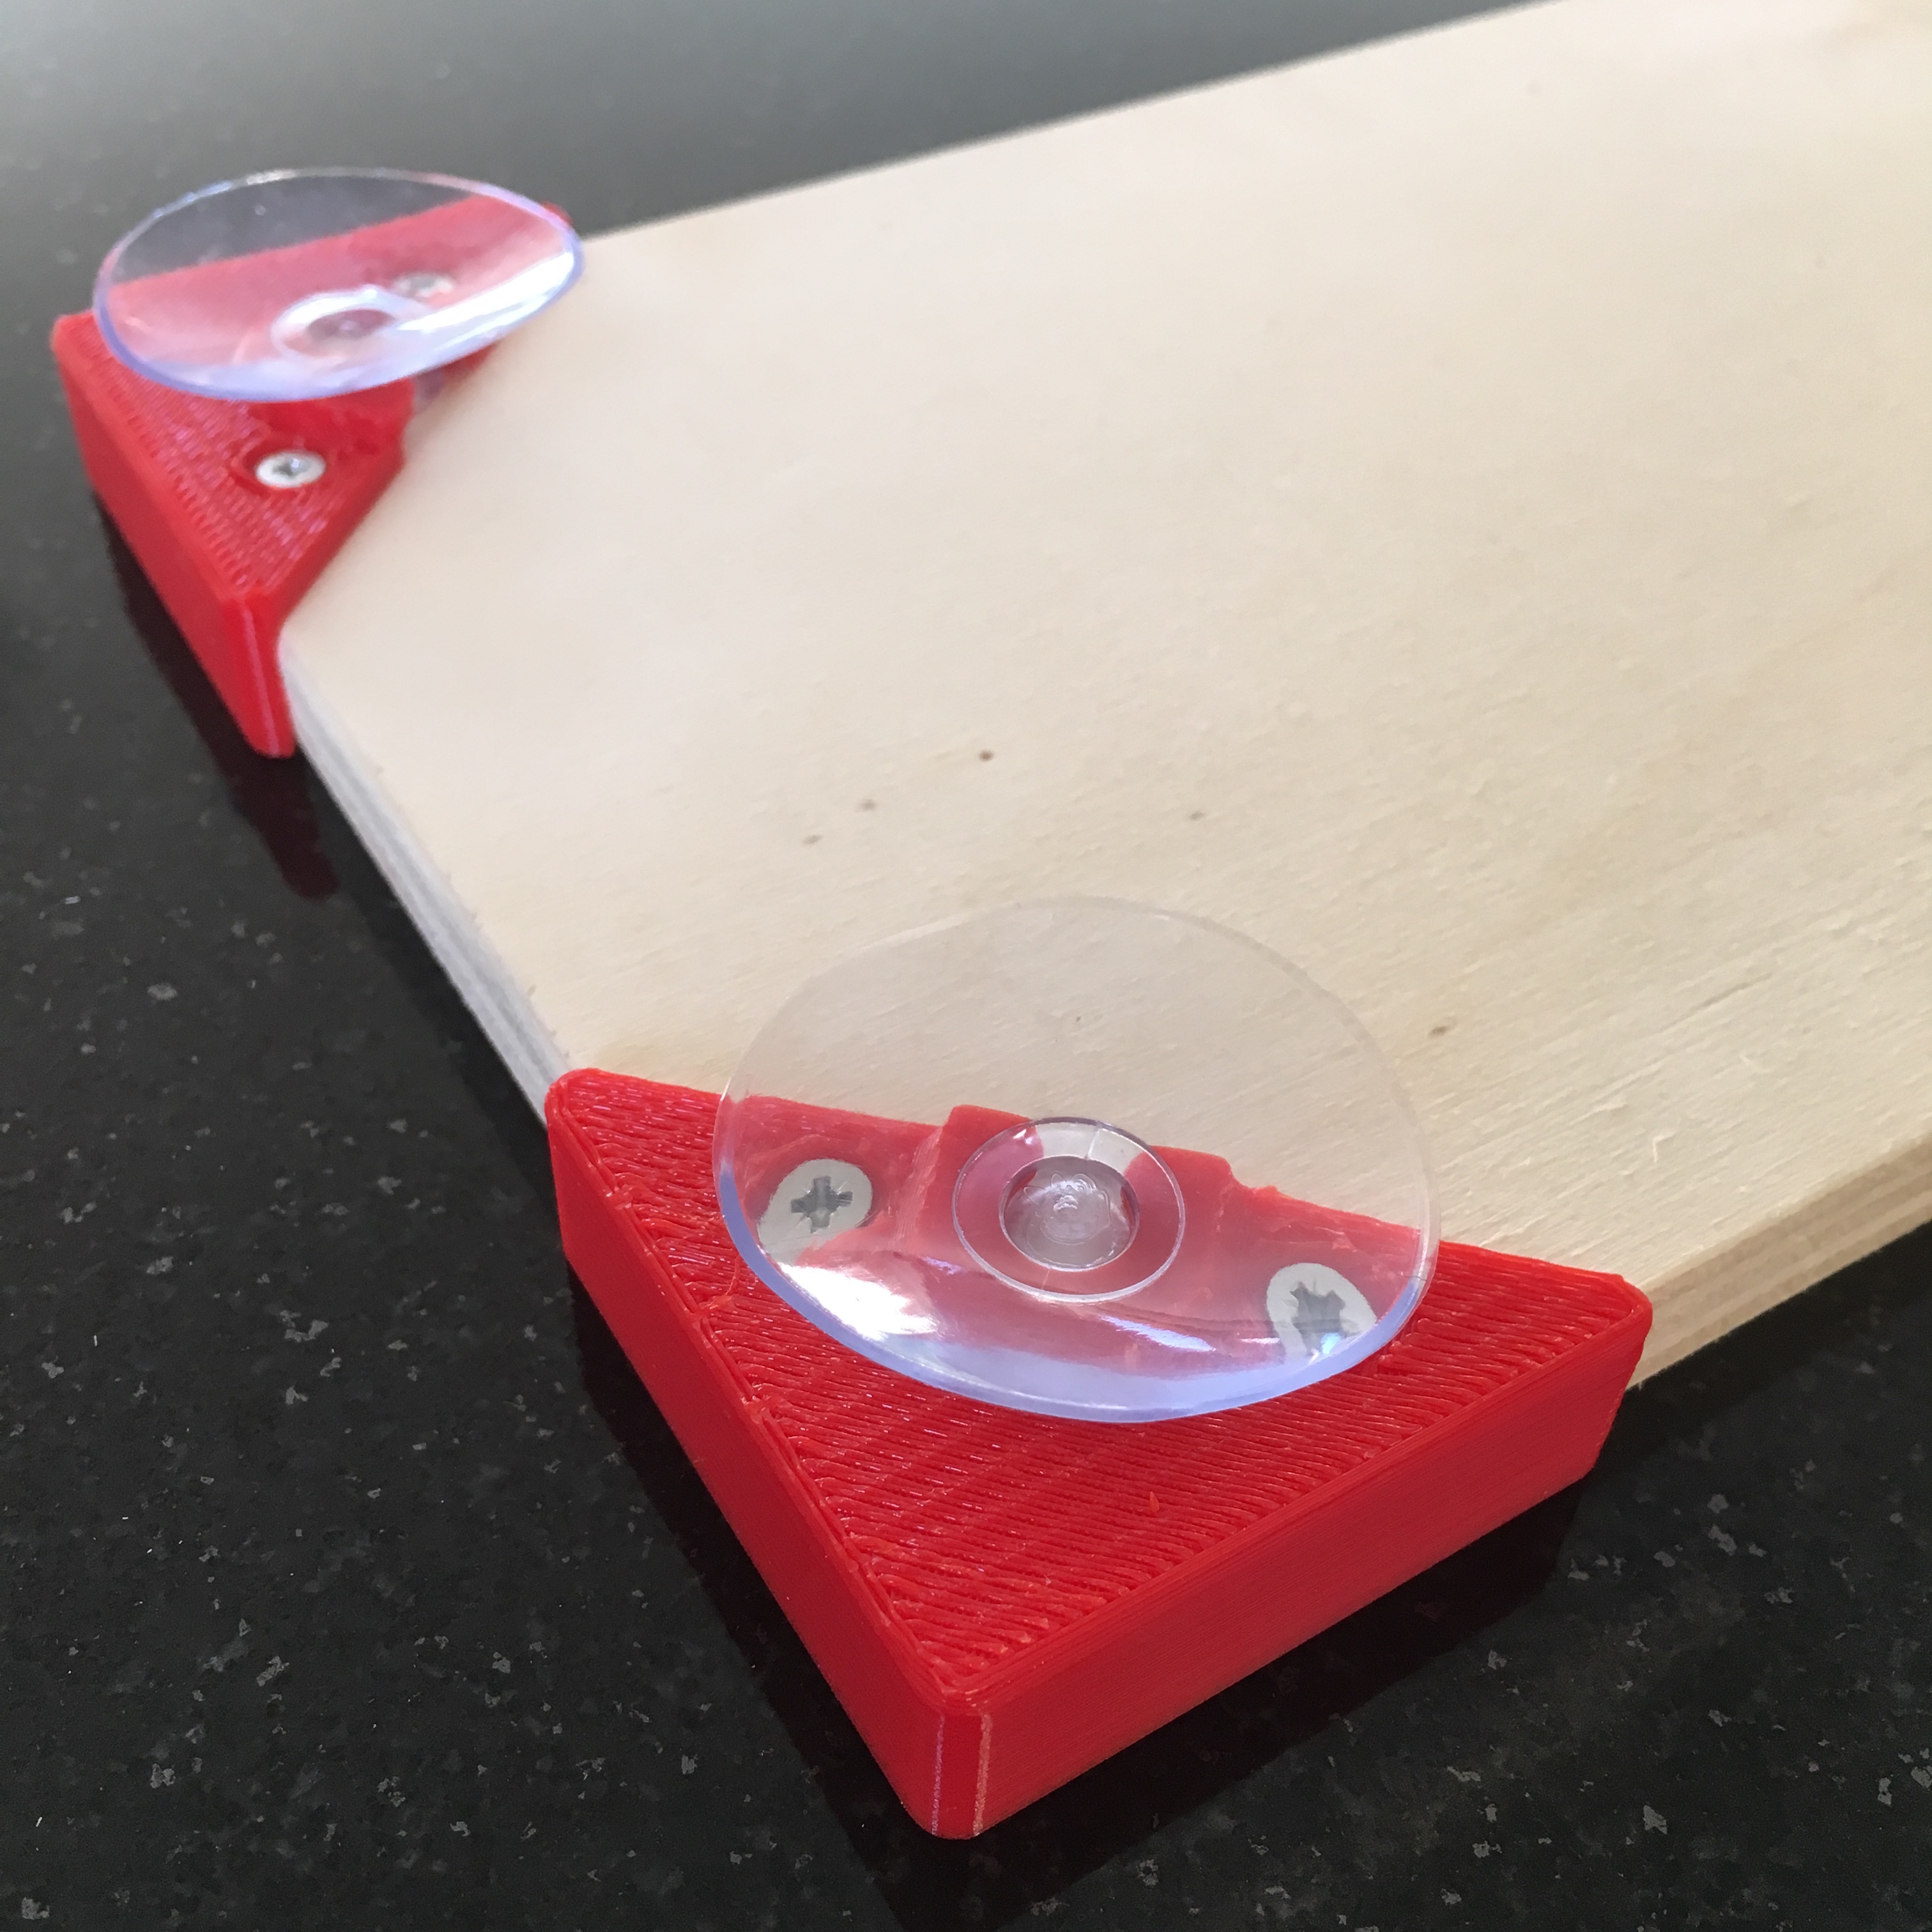
The sexy red ColorFabb XT gives you the impression you’re really in a professional testing environment. All safe guards are up. Put your helmet on while programming, please!
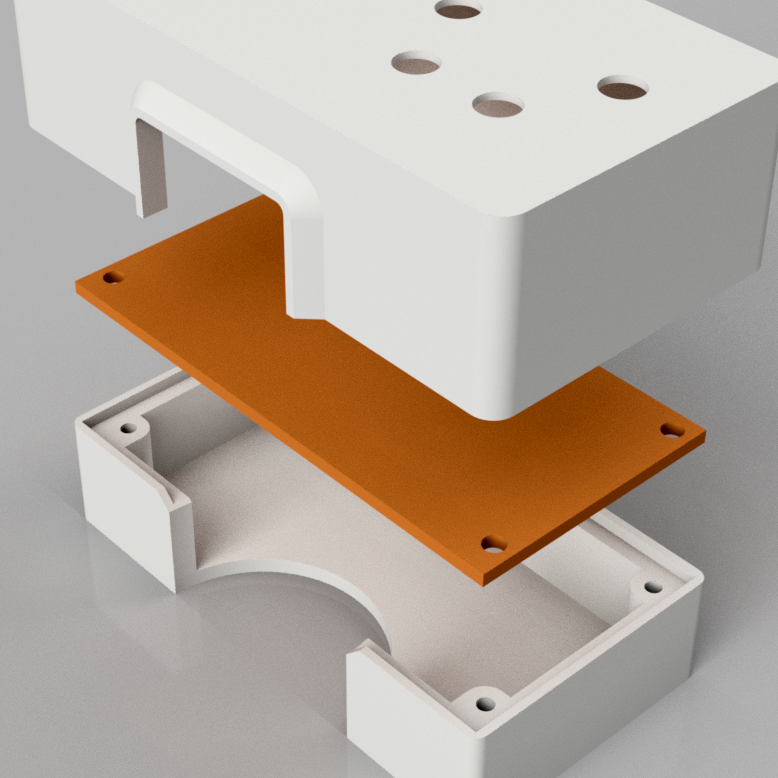
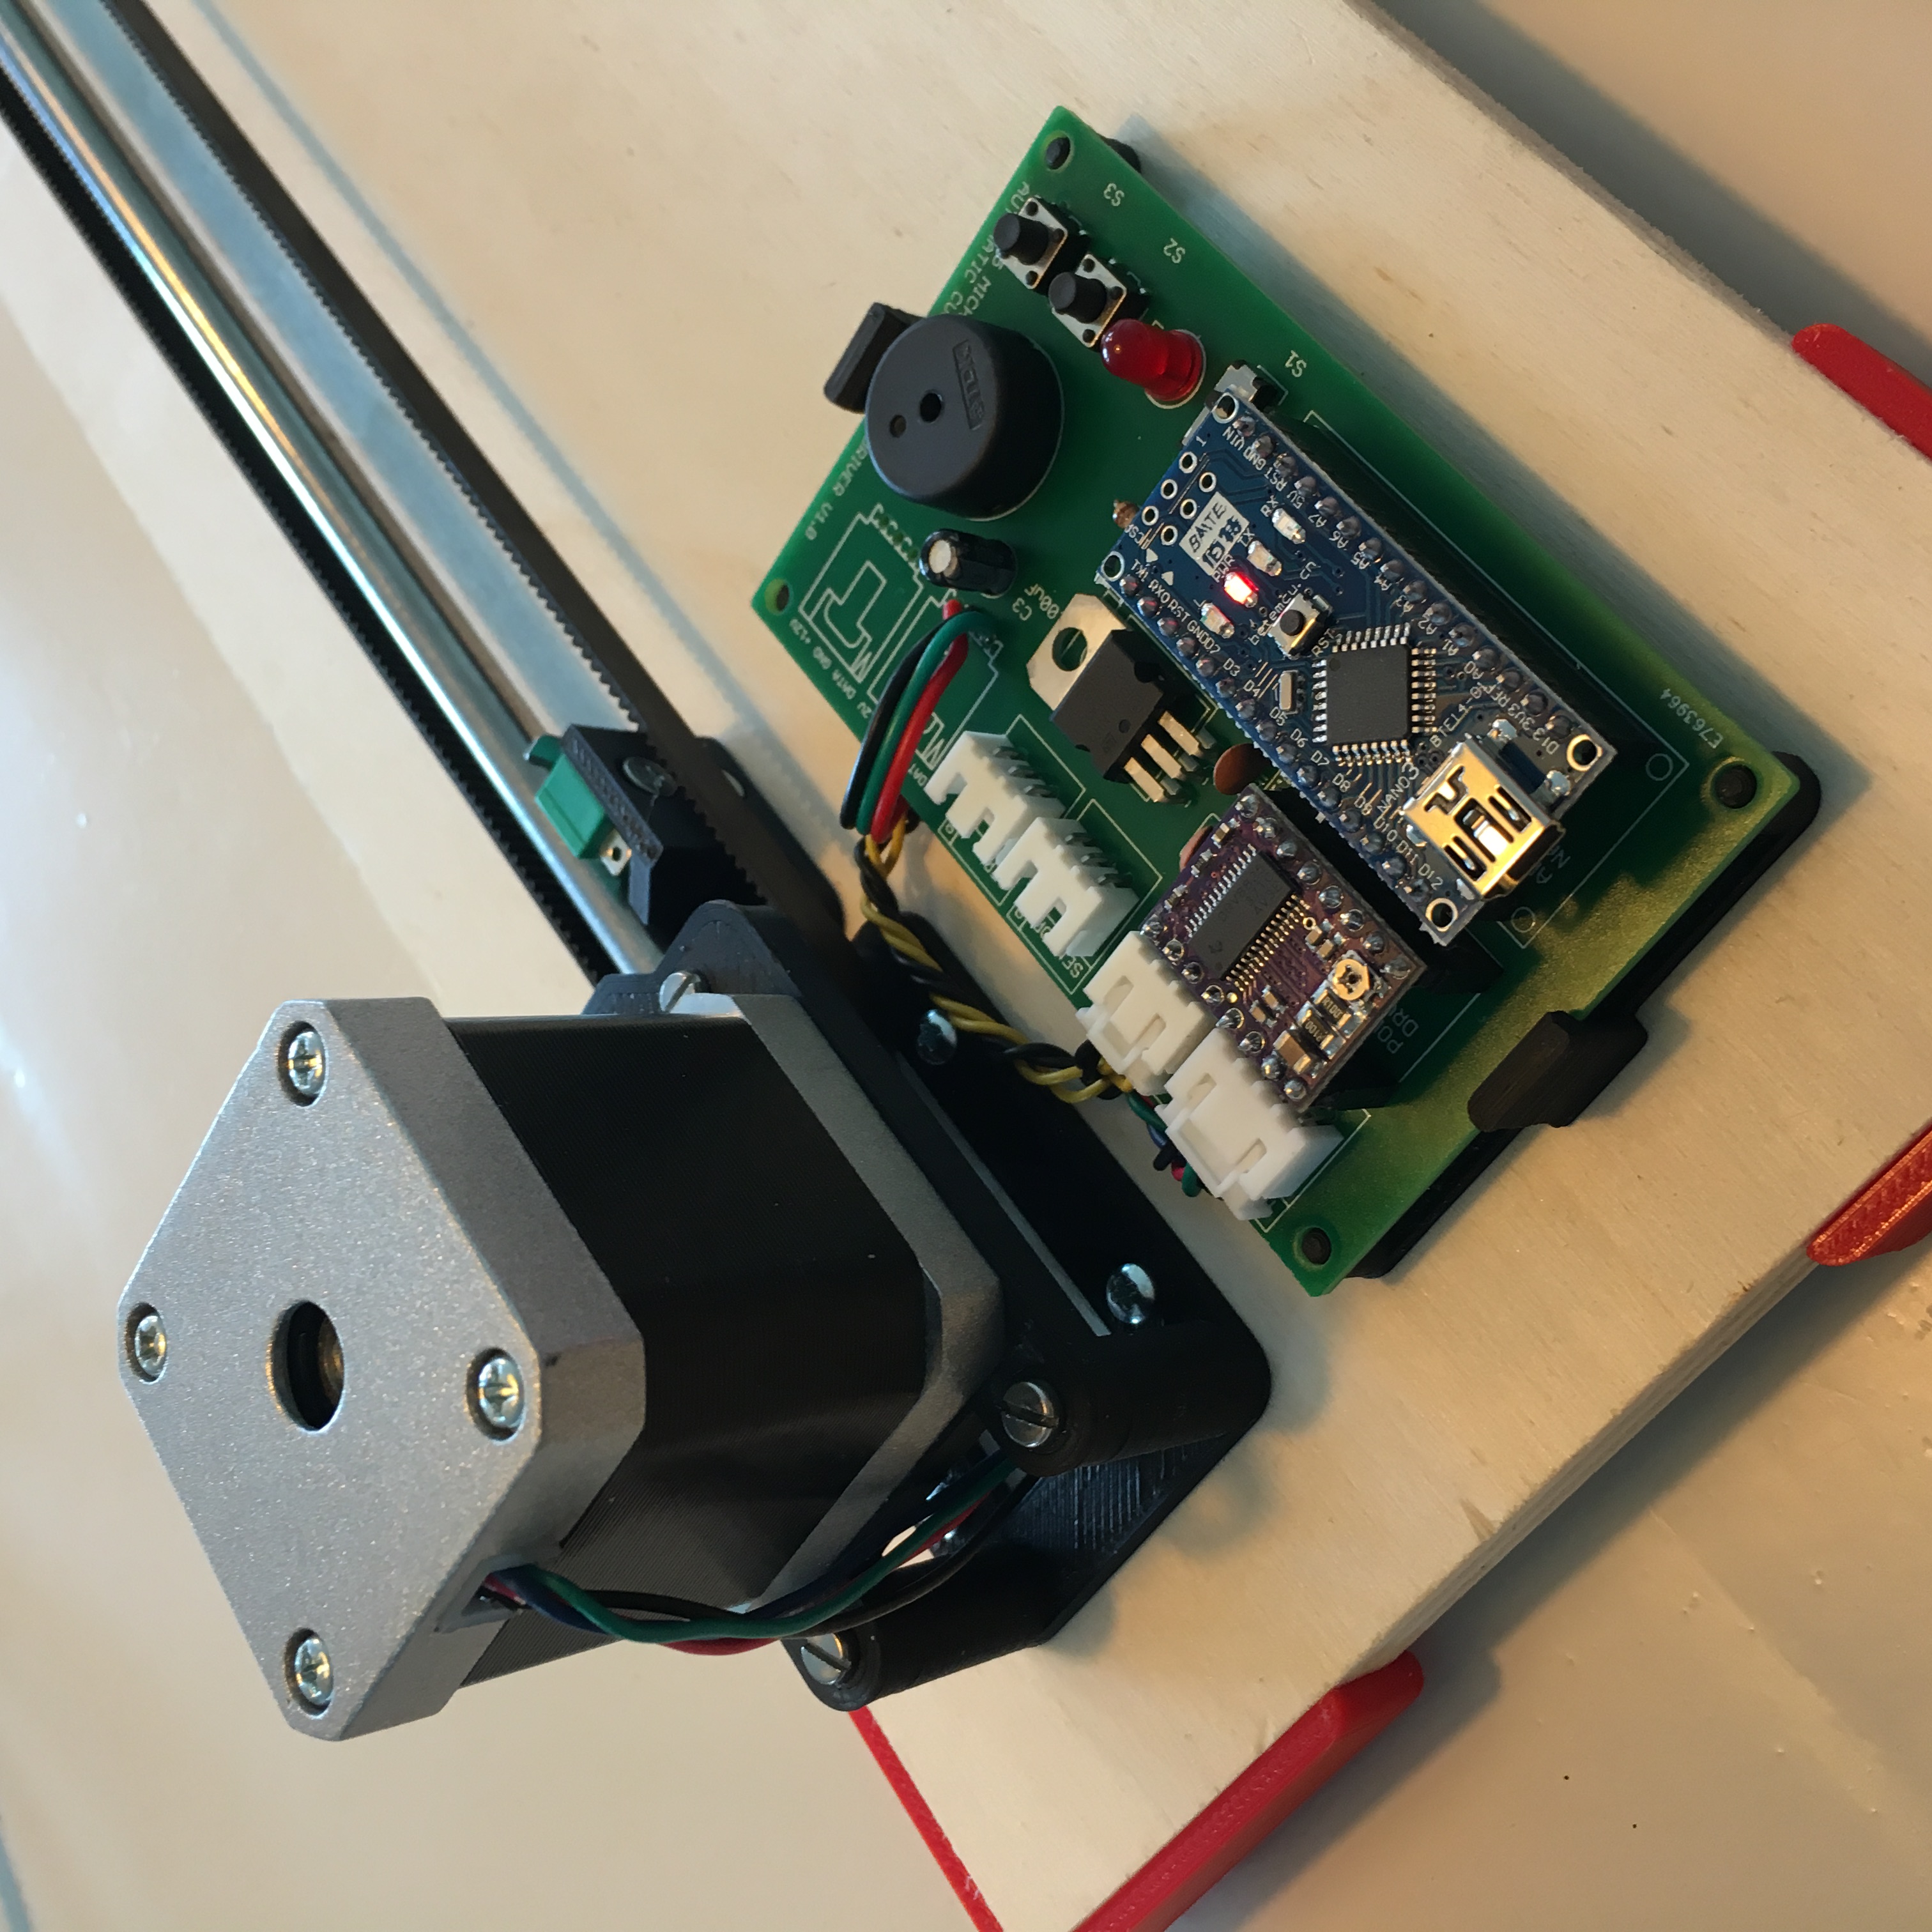
For the 5th time, I built up the mechanical part of my automatic curtain system. I finally became skillful in putting every washer on the right place without any cussing, and within an hour or so I managed to get everything ready for the electronics to be mounted.
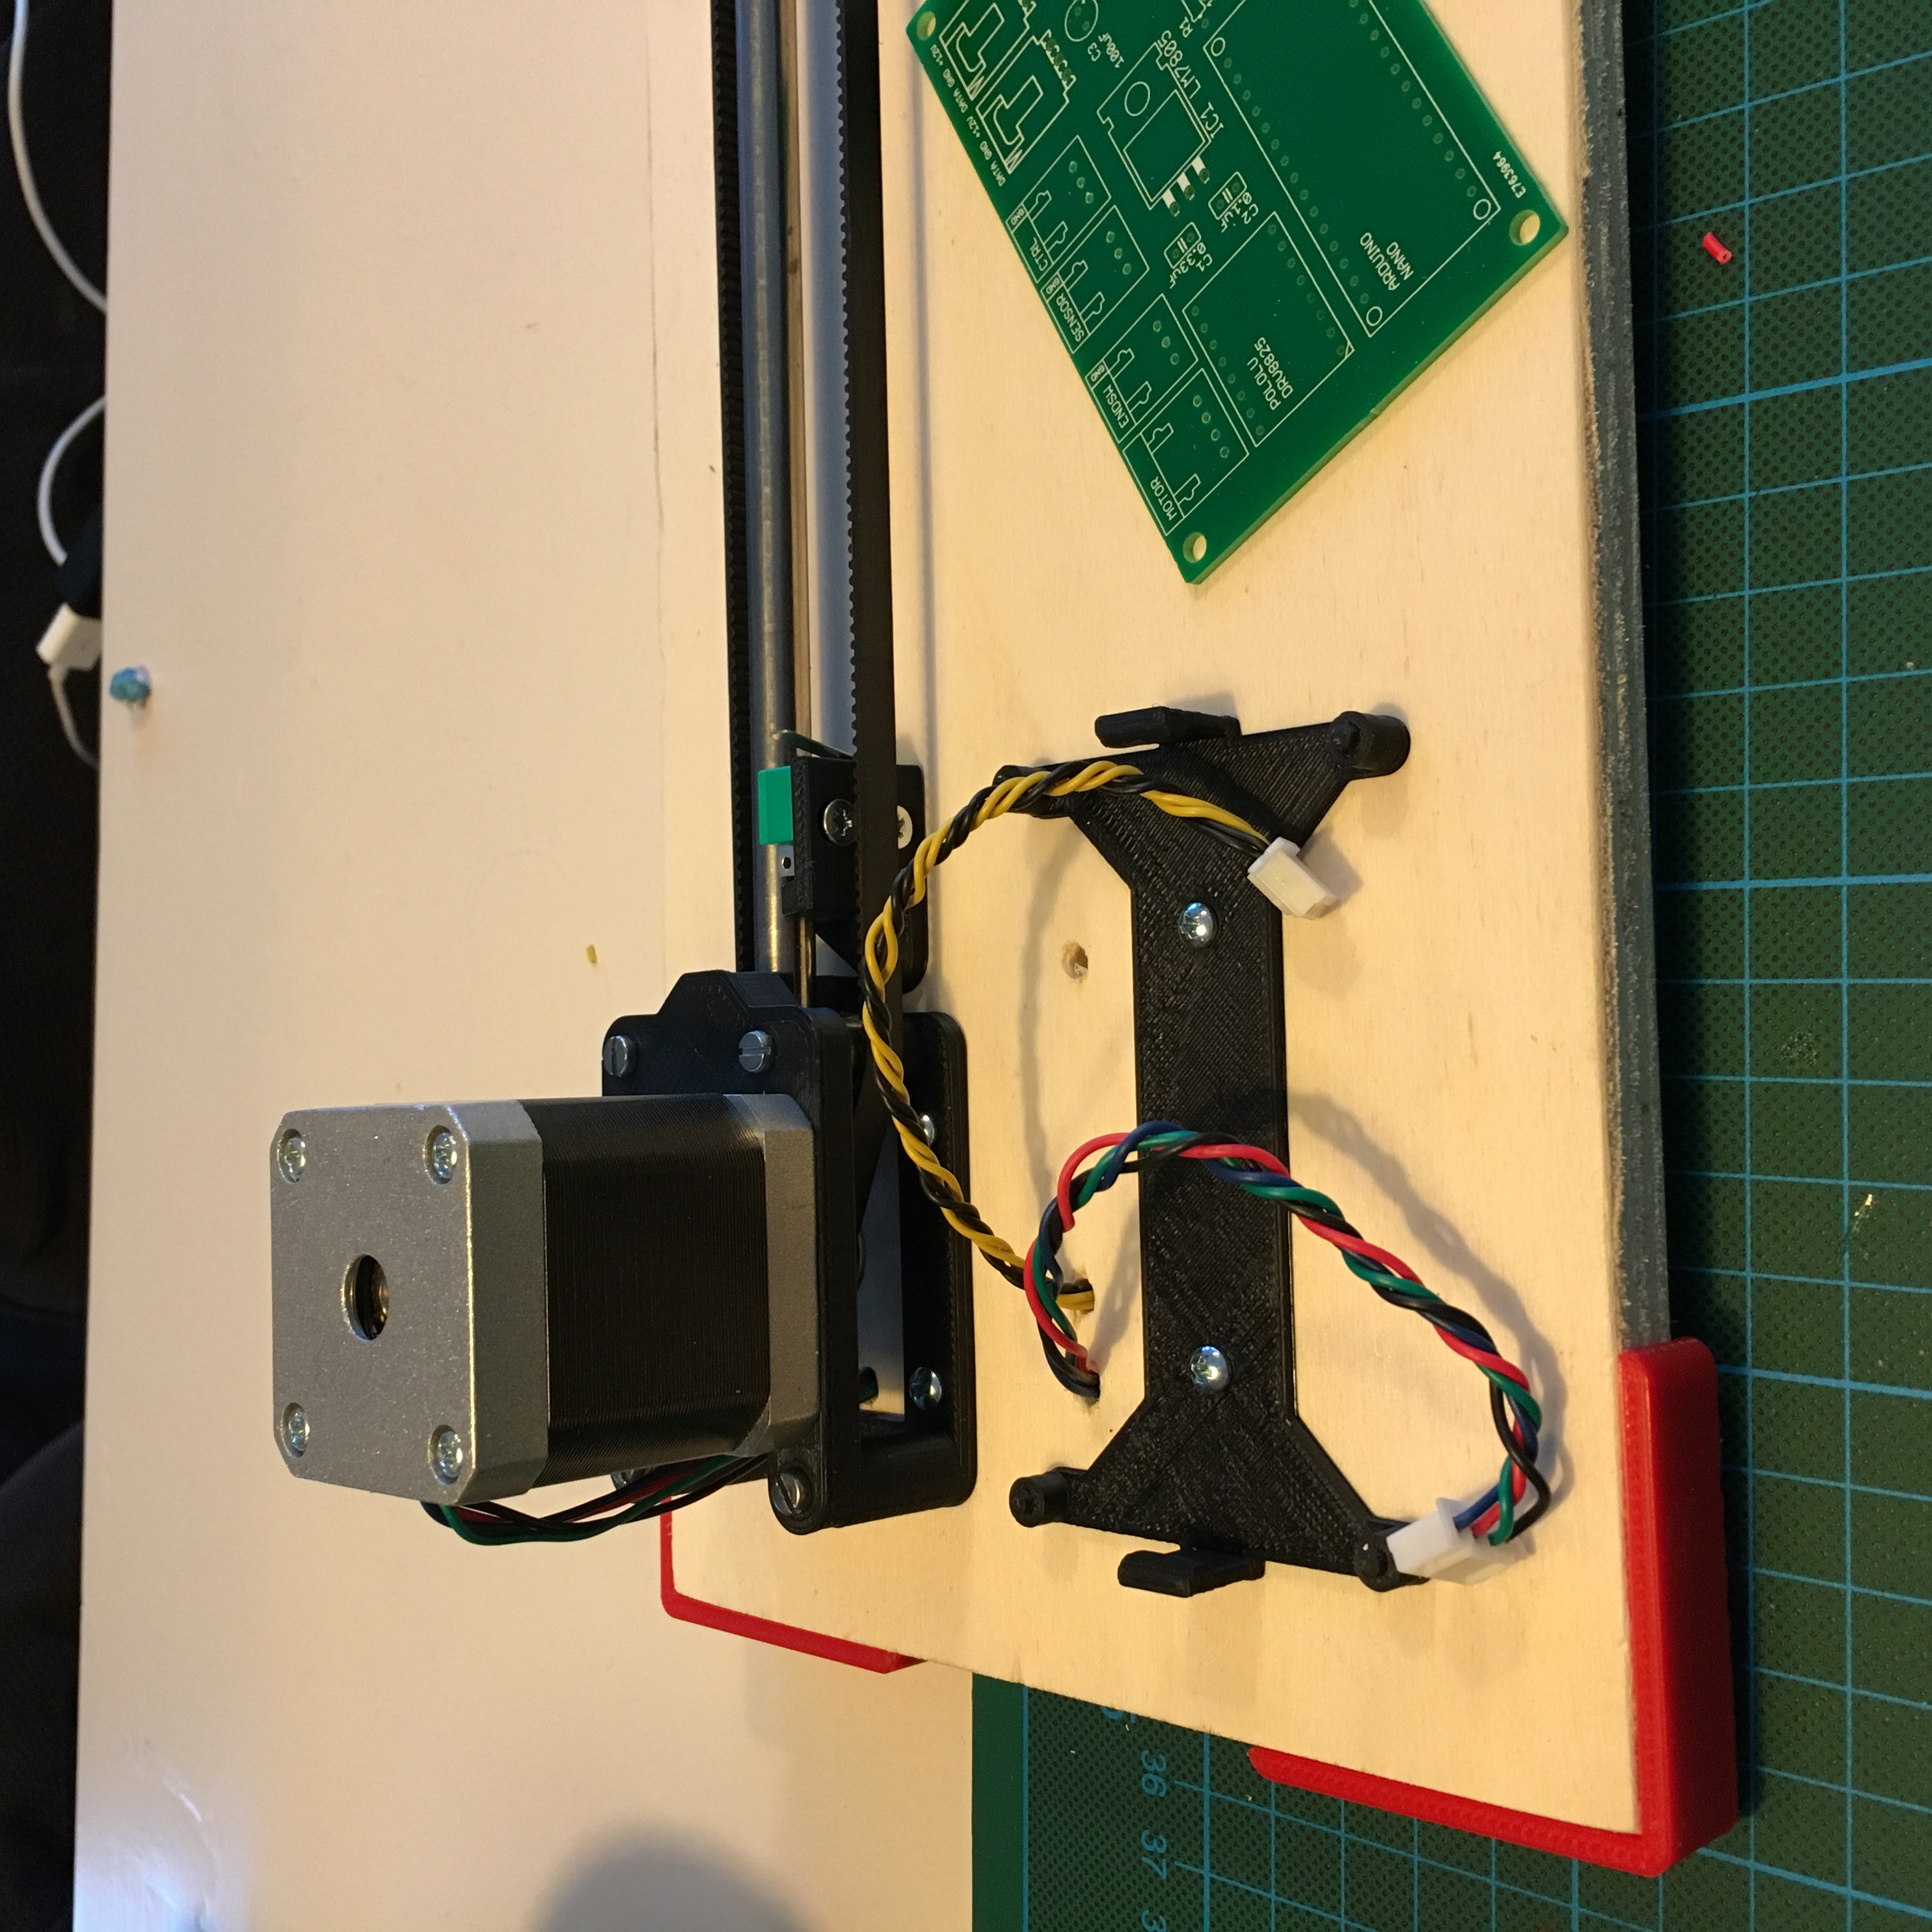
Luckily I had most of the necessary parts still laying around, besides a few connectors. So after inhaling some leaded unhealthy smoke I finished my 5th motor controller and snapped it right into place. Ready it be programmed with the new Firmware!
The end result is an easy to work with, firmly mounted test unit. With a lot of room for additional electronics like the WiFi controller.
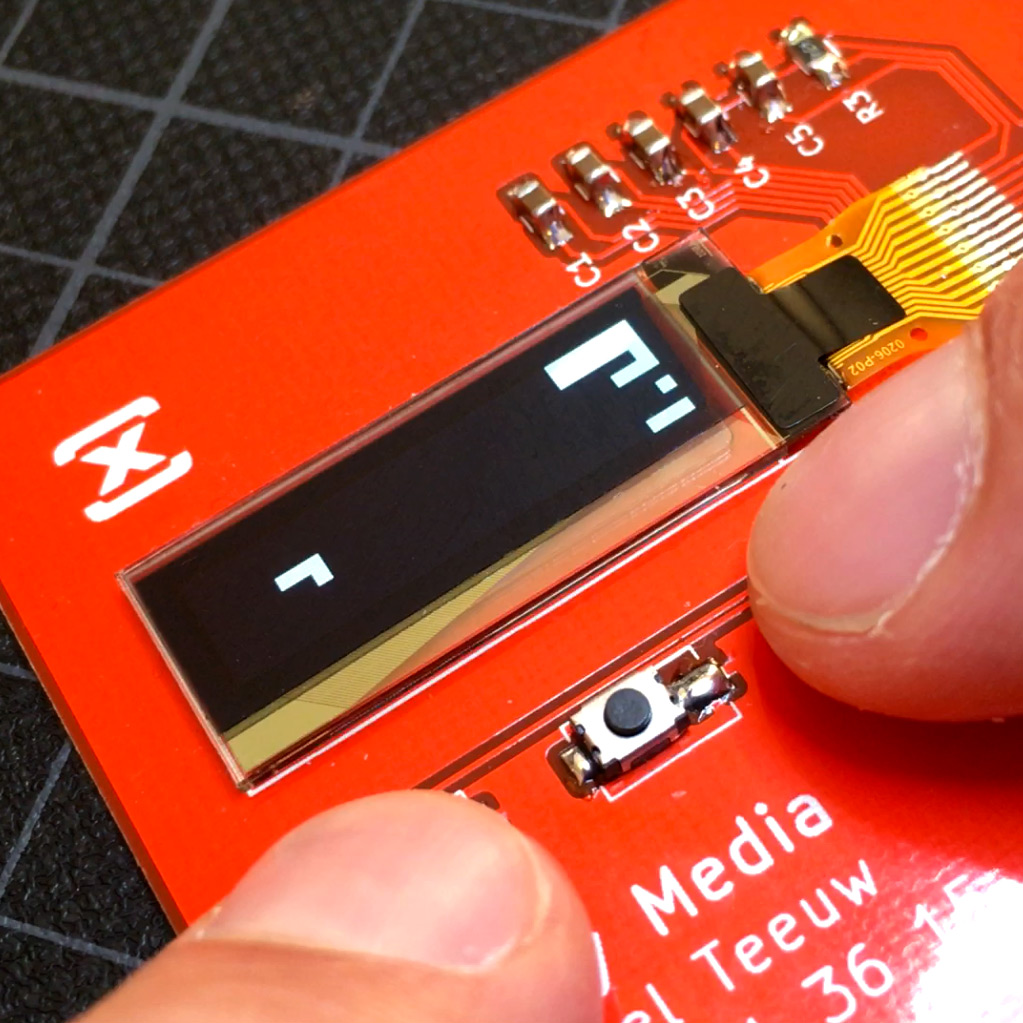
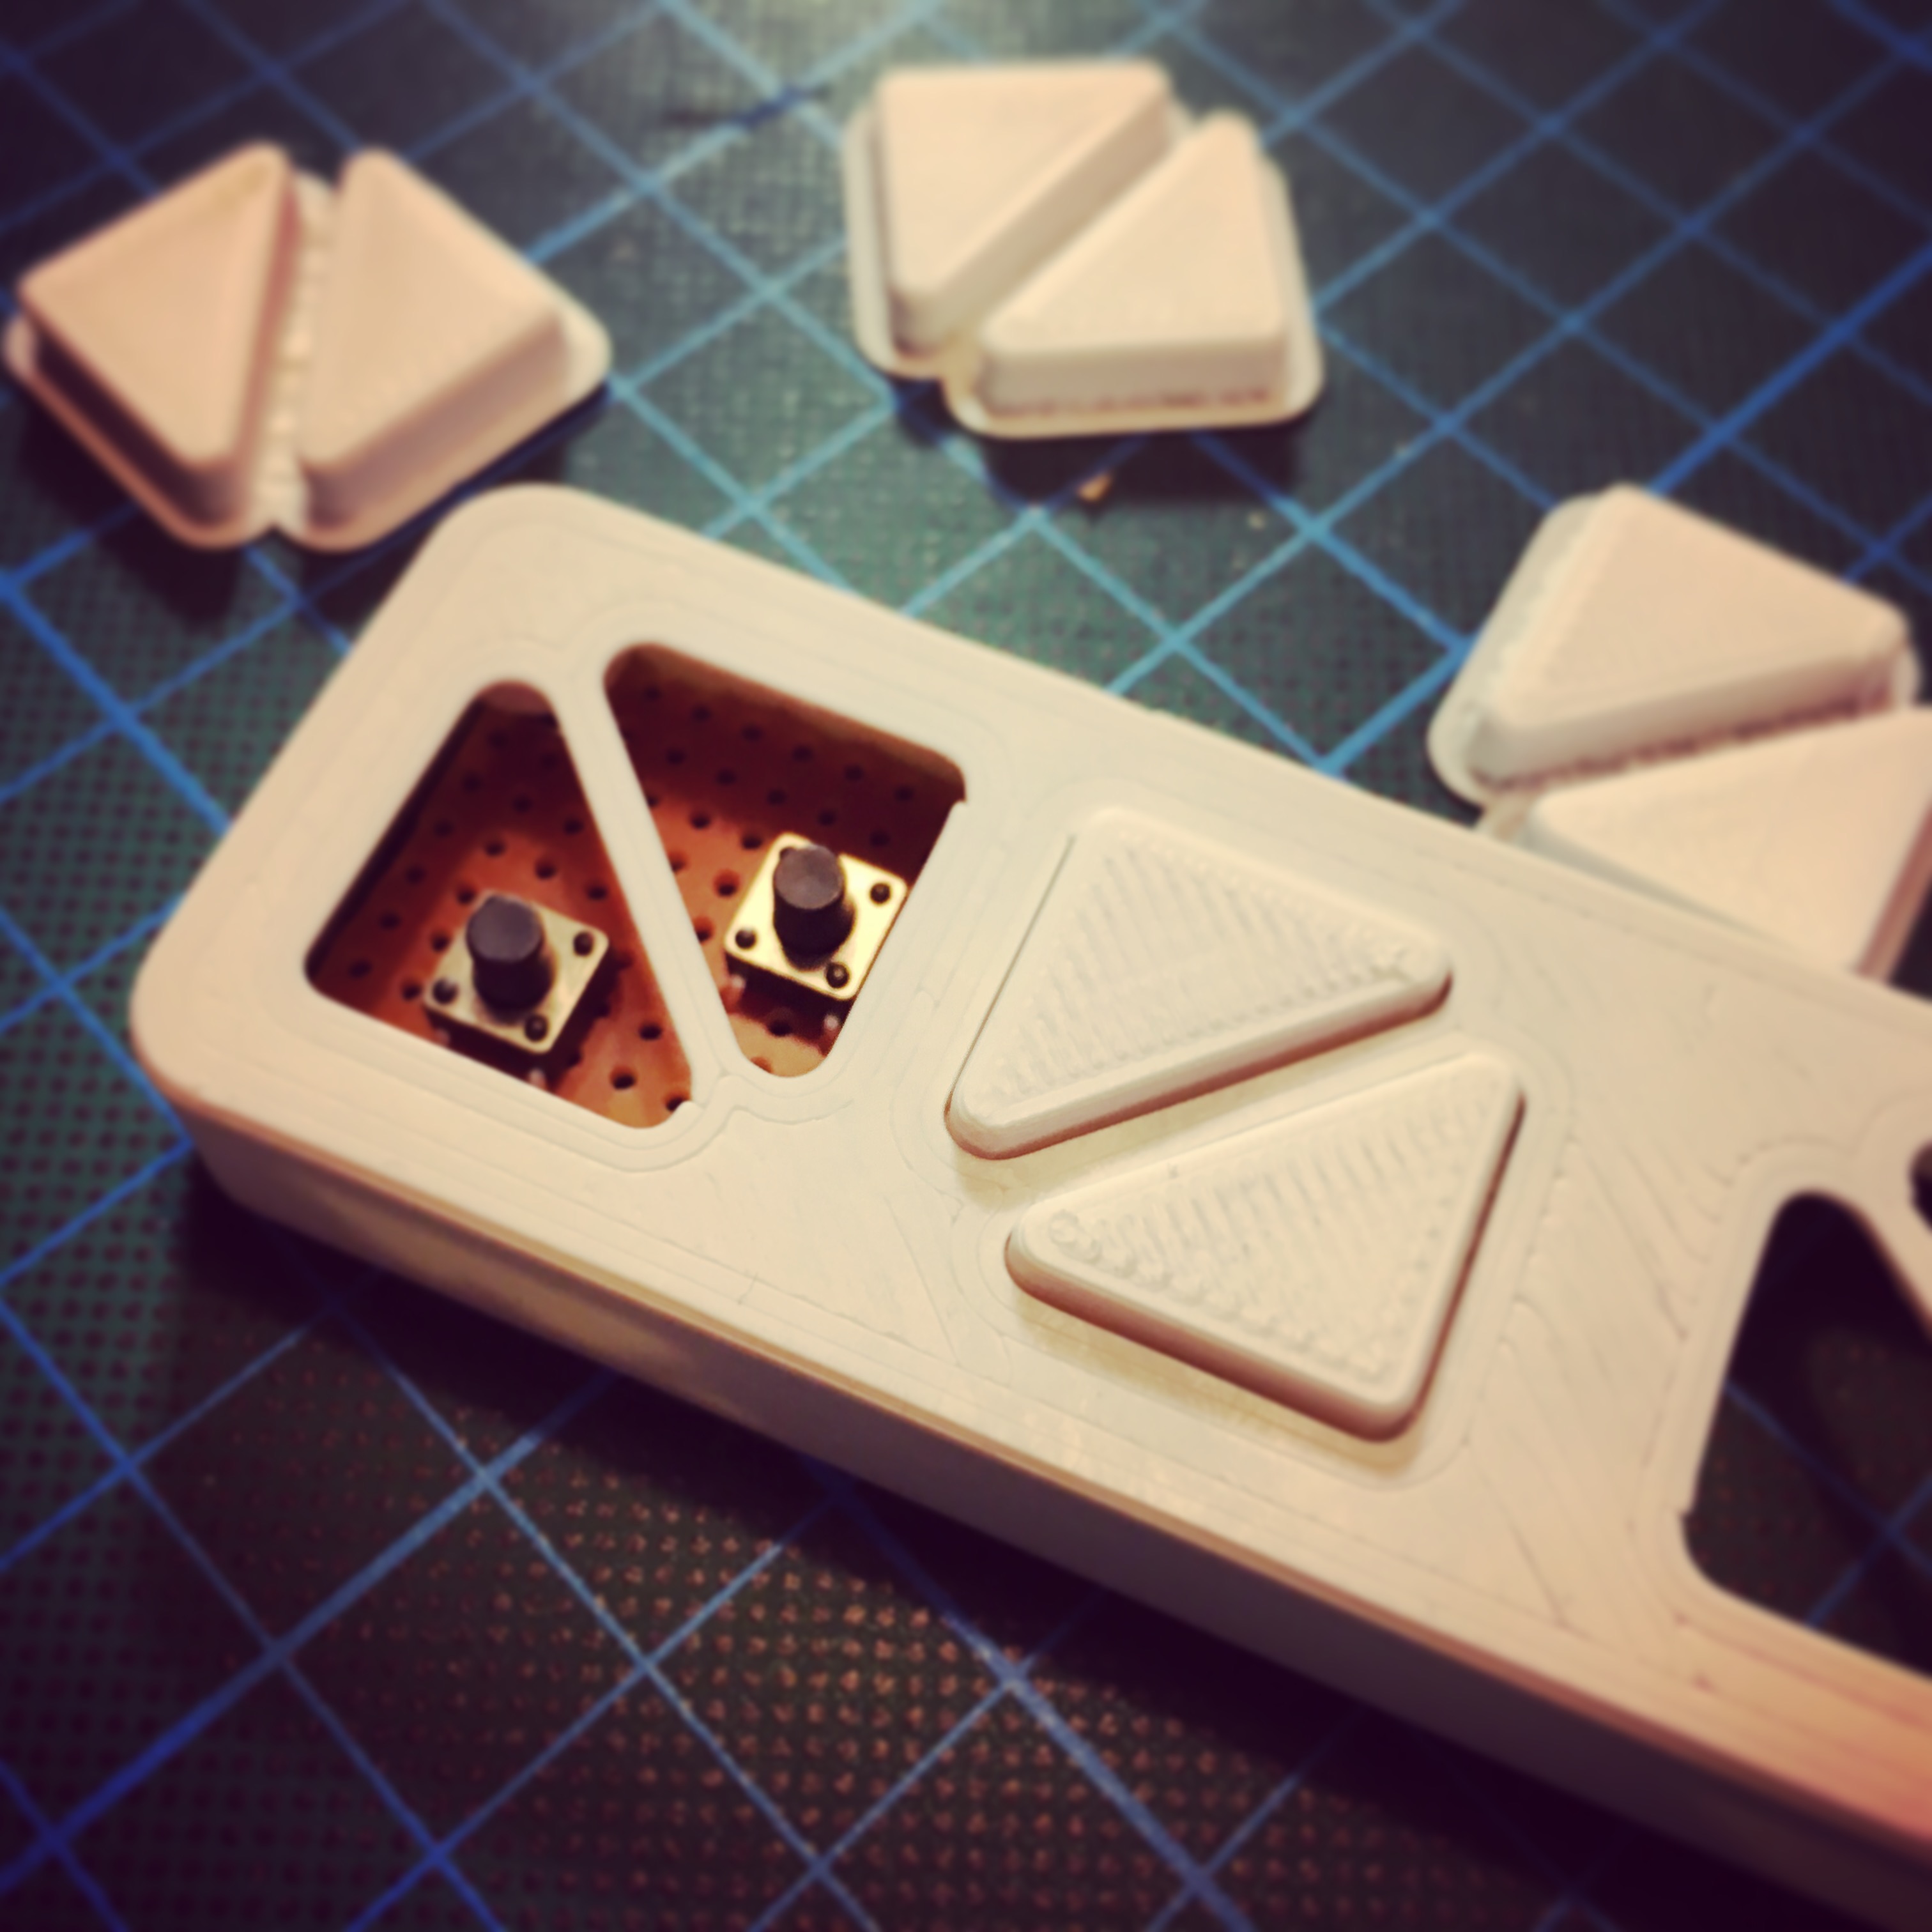
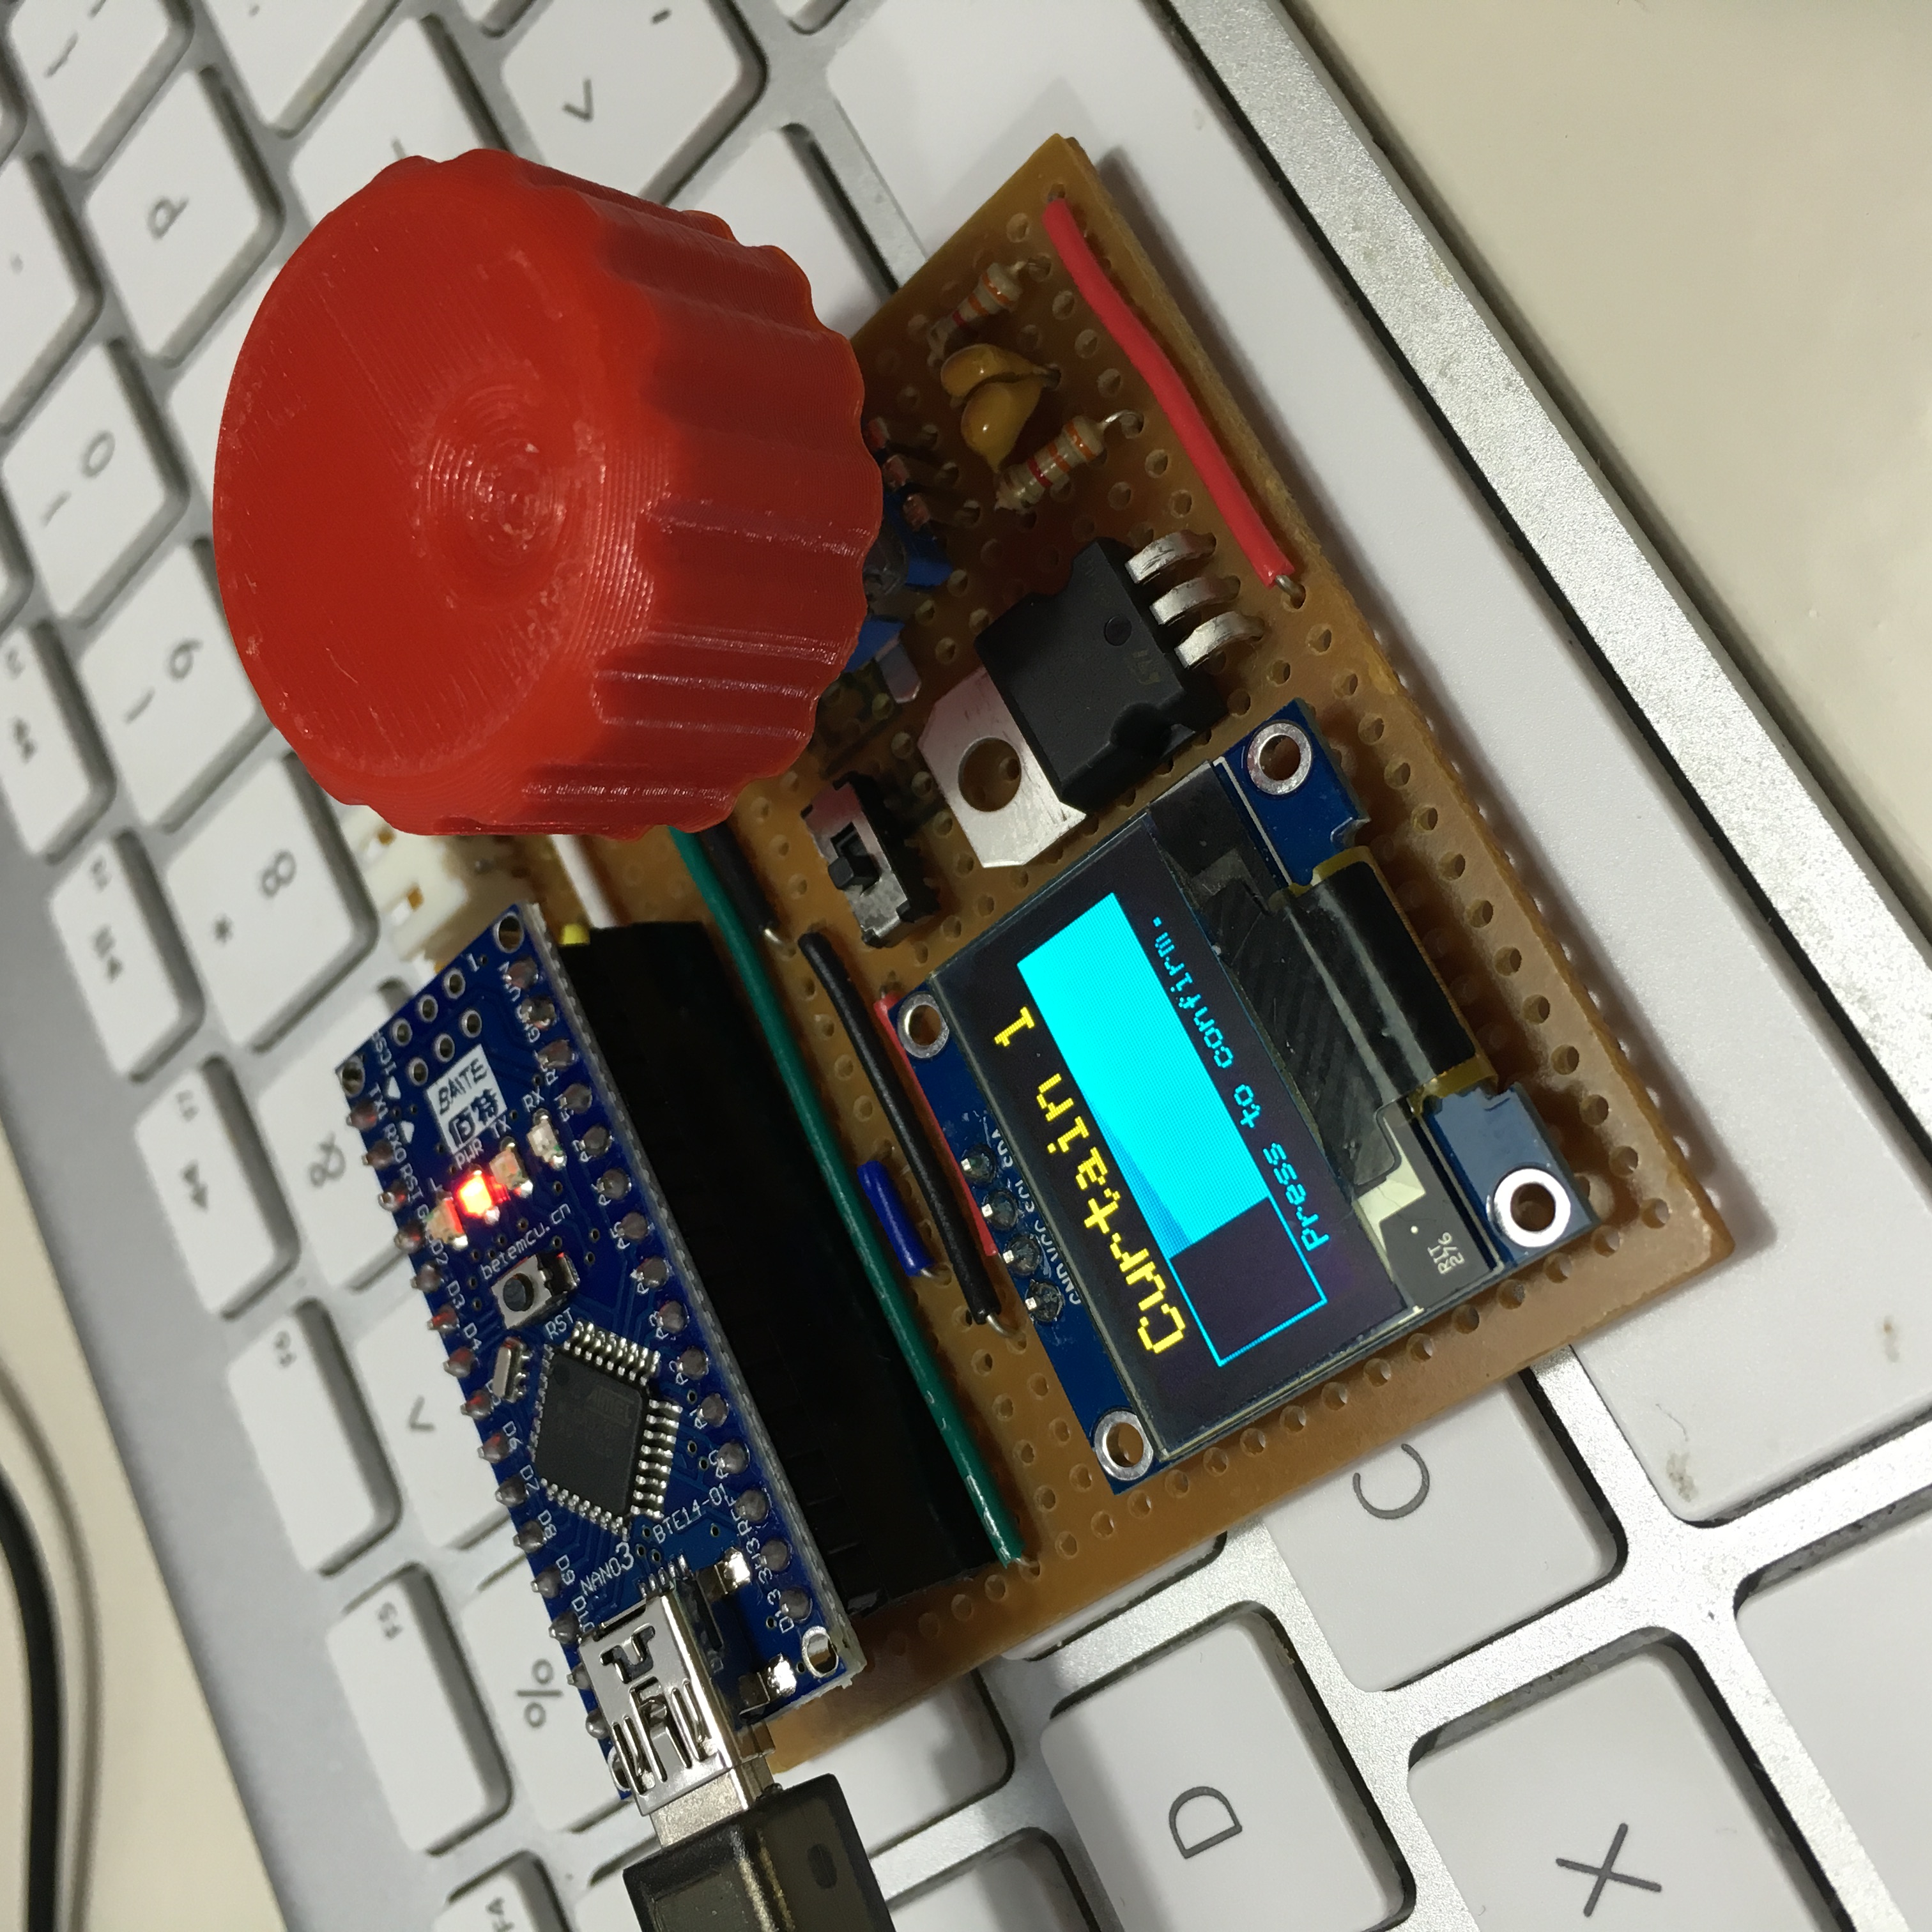
Because I need to test the communication between the motor unit and a WiFi controller, I quickly threw together a small control unit. I already did this once before, but the Arduino Nano makes it much more convenient to program. The communication test unit contains a LM7805 voltage regulator, allowing me to directly connect the unit to my motor controllers.
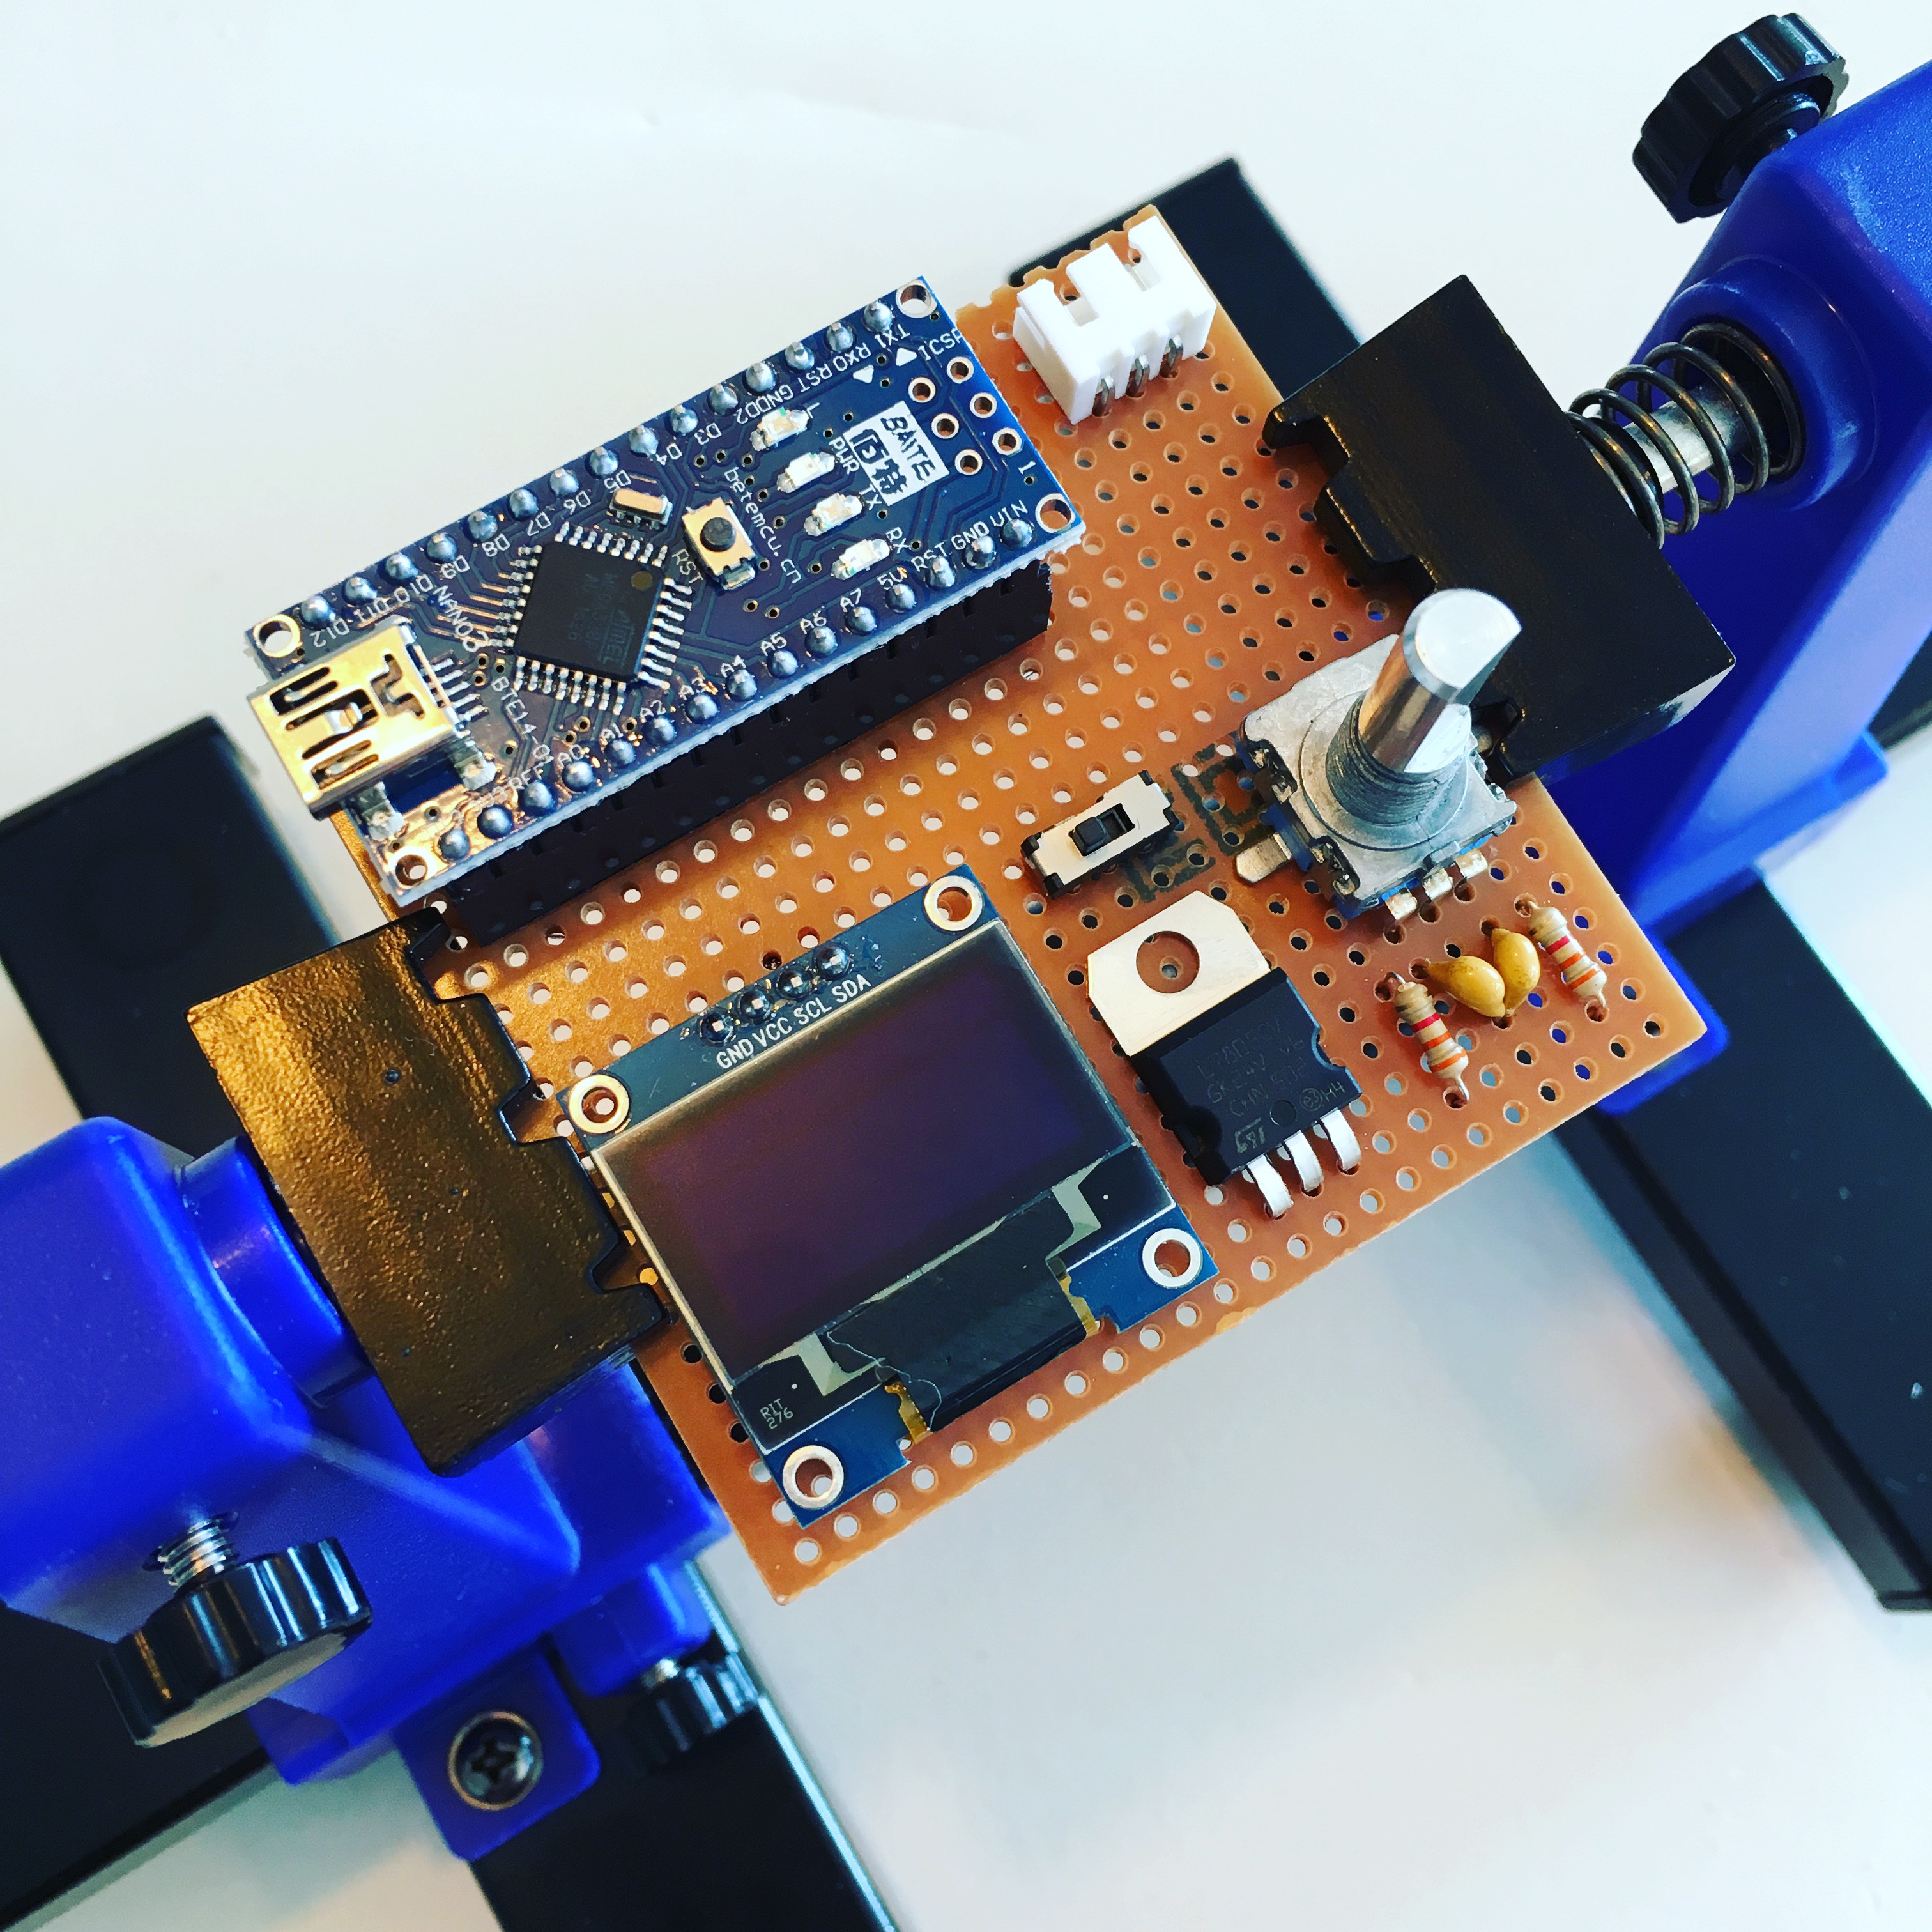
The on-board rotary encoder once again gave me a reason to fire up my Lulzbot Mini 3D printer. It needed an over-designed knob!
Time for the software part …
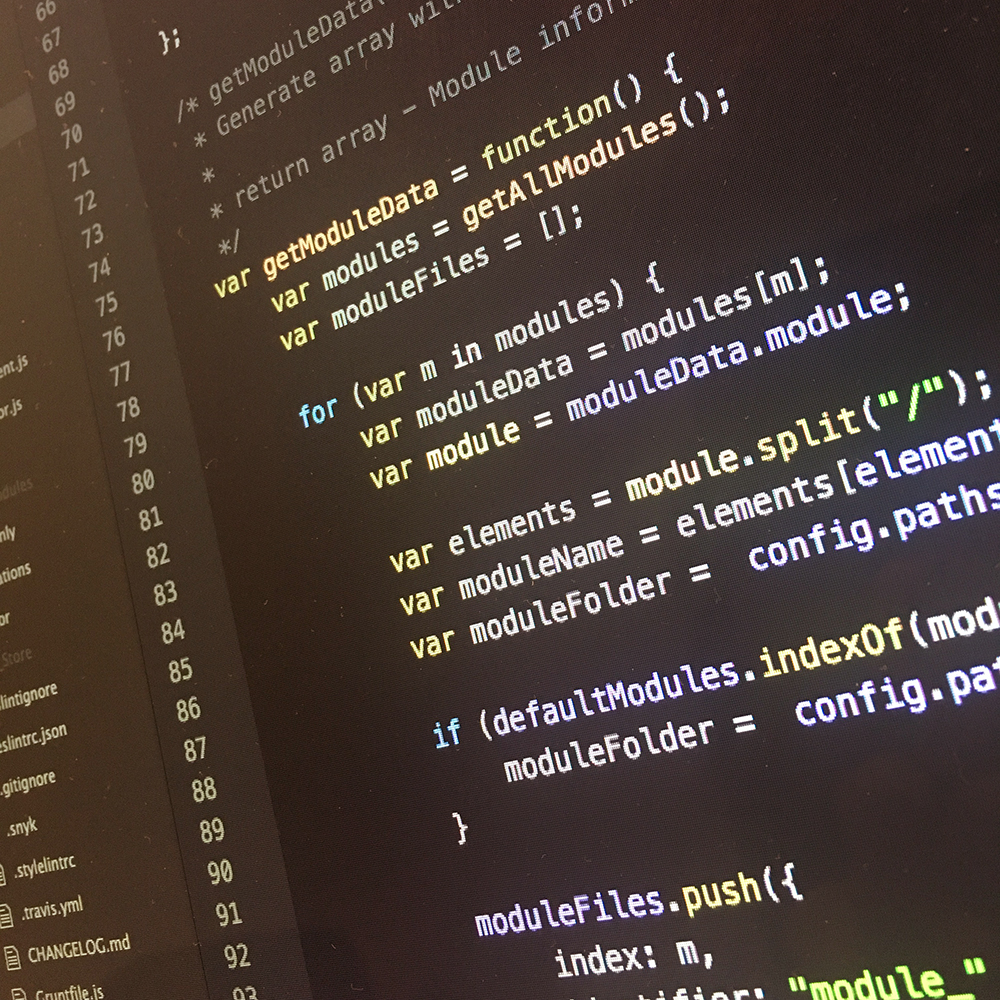
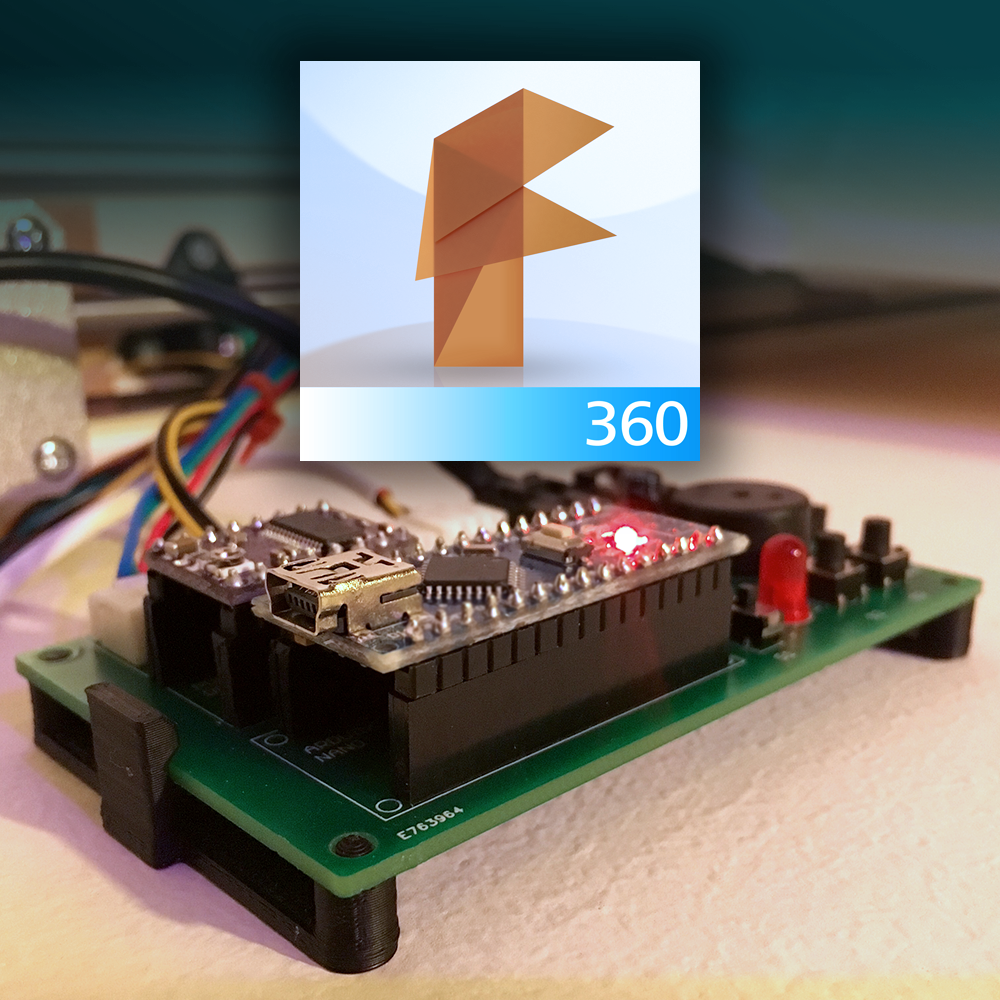
The first version of the software was made using the Arduino IDE. But because I wanted to use a more object oriented approach, I decided to go for the tools that allow me to structure my project a bit better: PlatformIO. An open source ecosystem for IoT development.
With its awesome IDE (based on the powerful GitHub Atom editor), I am able to quickly setup a organized file structure.
And with all these tools in place, I could finally start the coding. After a few hours of struggling, I’ve managed to get the stepper motor running smoothly, without blocking the main run loop.
I will save the full walkthrough of the code for later, but if you are curious for the current state of the code, feel free to snoop around in the Automatic Curtain GitHub Repository.
Automatic Curtains: Shields Up!