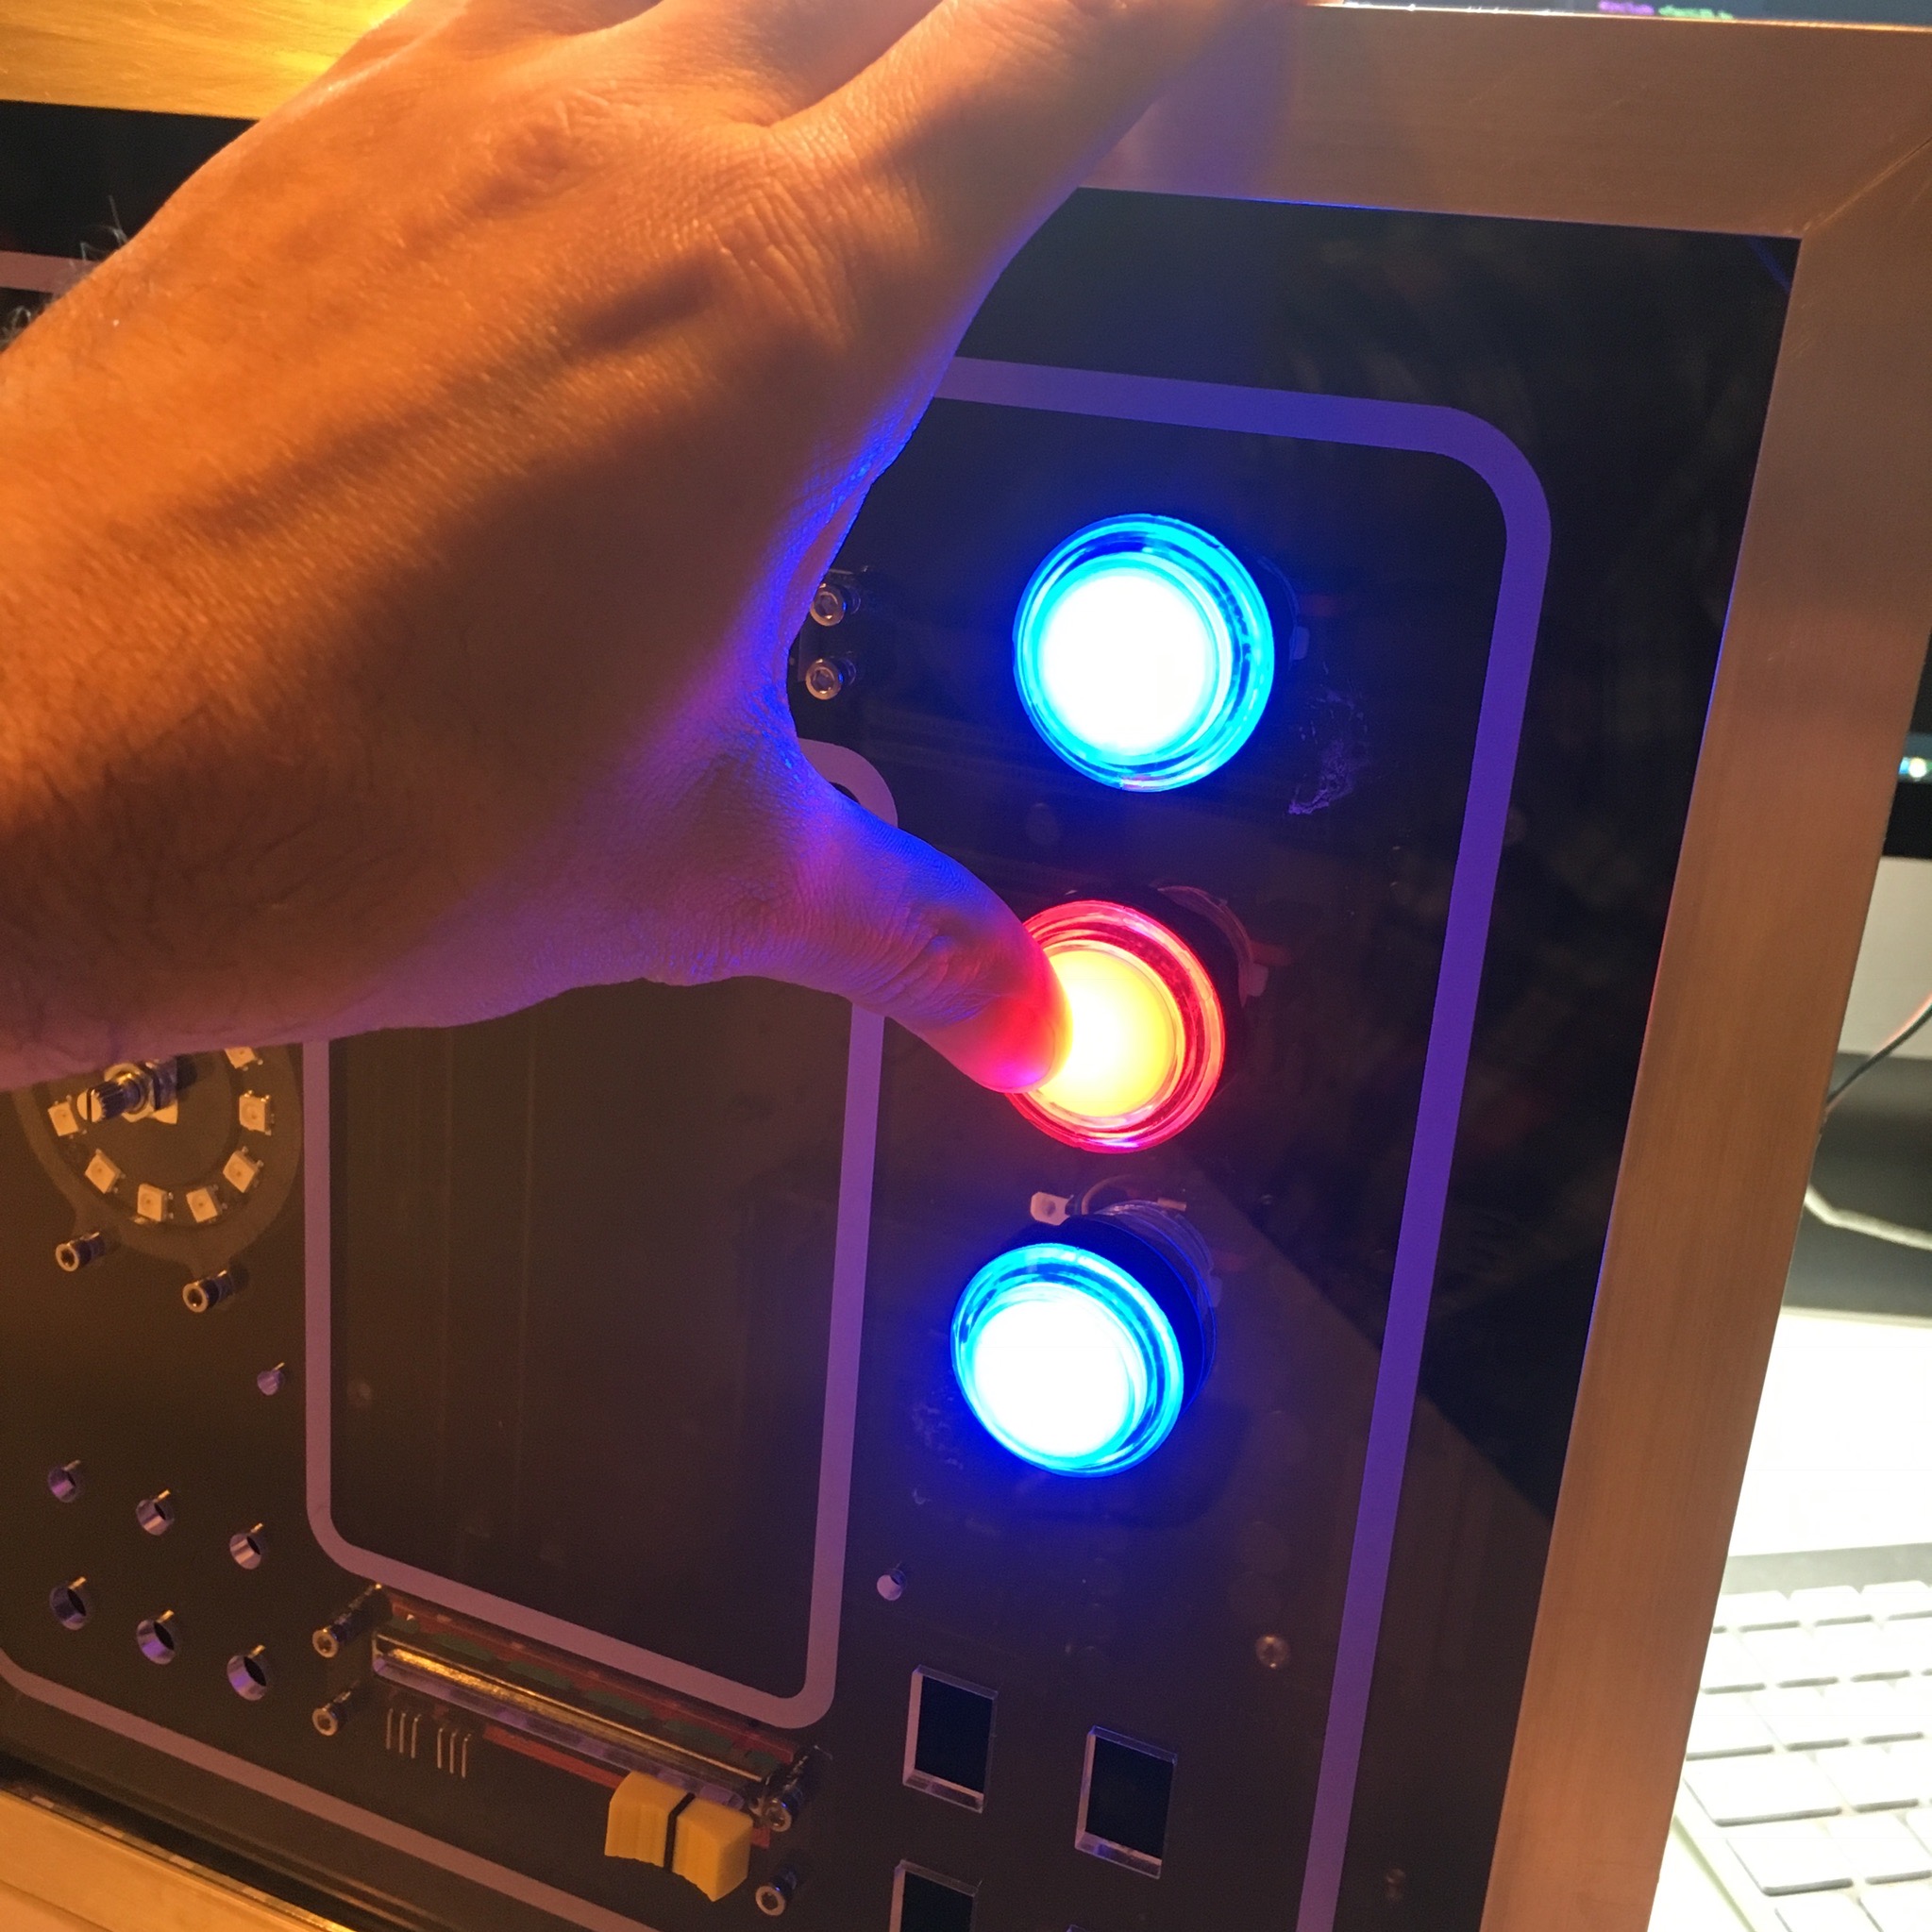
I’m a huge coffee addict. As for many of us, coffee is the core ingredient for my projects. And since I like quality coffee we own a manually operated espresso machine. If the grind is perfect, and you use the ideal brewing time, the coffee will be able to fuel any project. But how to measure the perfect brewing time? The Ridiculous Kitchen Timer™ to the rescue!
The perfect brewing time for an espresso shot is 24 ~ 27 seconds. For our machine and taste, it turns out 26 seconds is the sweet spot. Now of course we could use a stopwatch or an Ikea kitchen timer to measure that time. But where’s the fun in that? Let’s build our own solution!
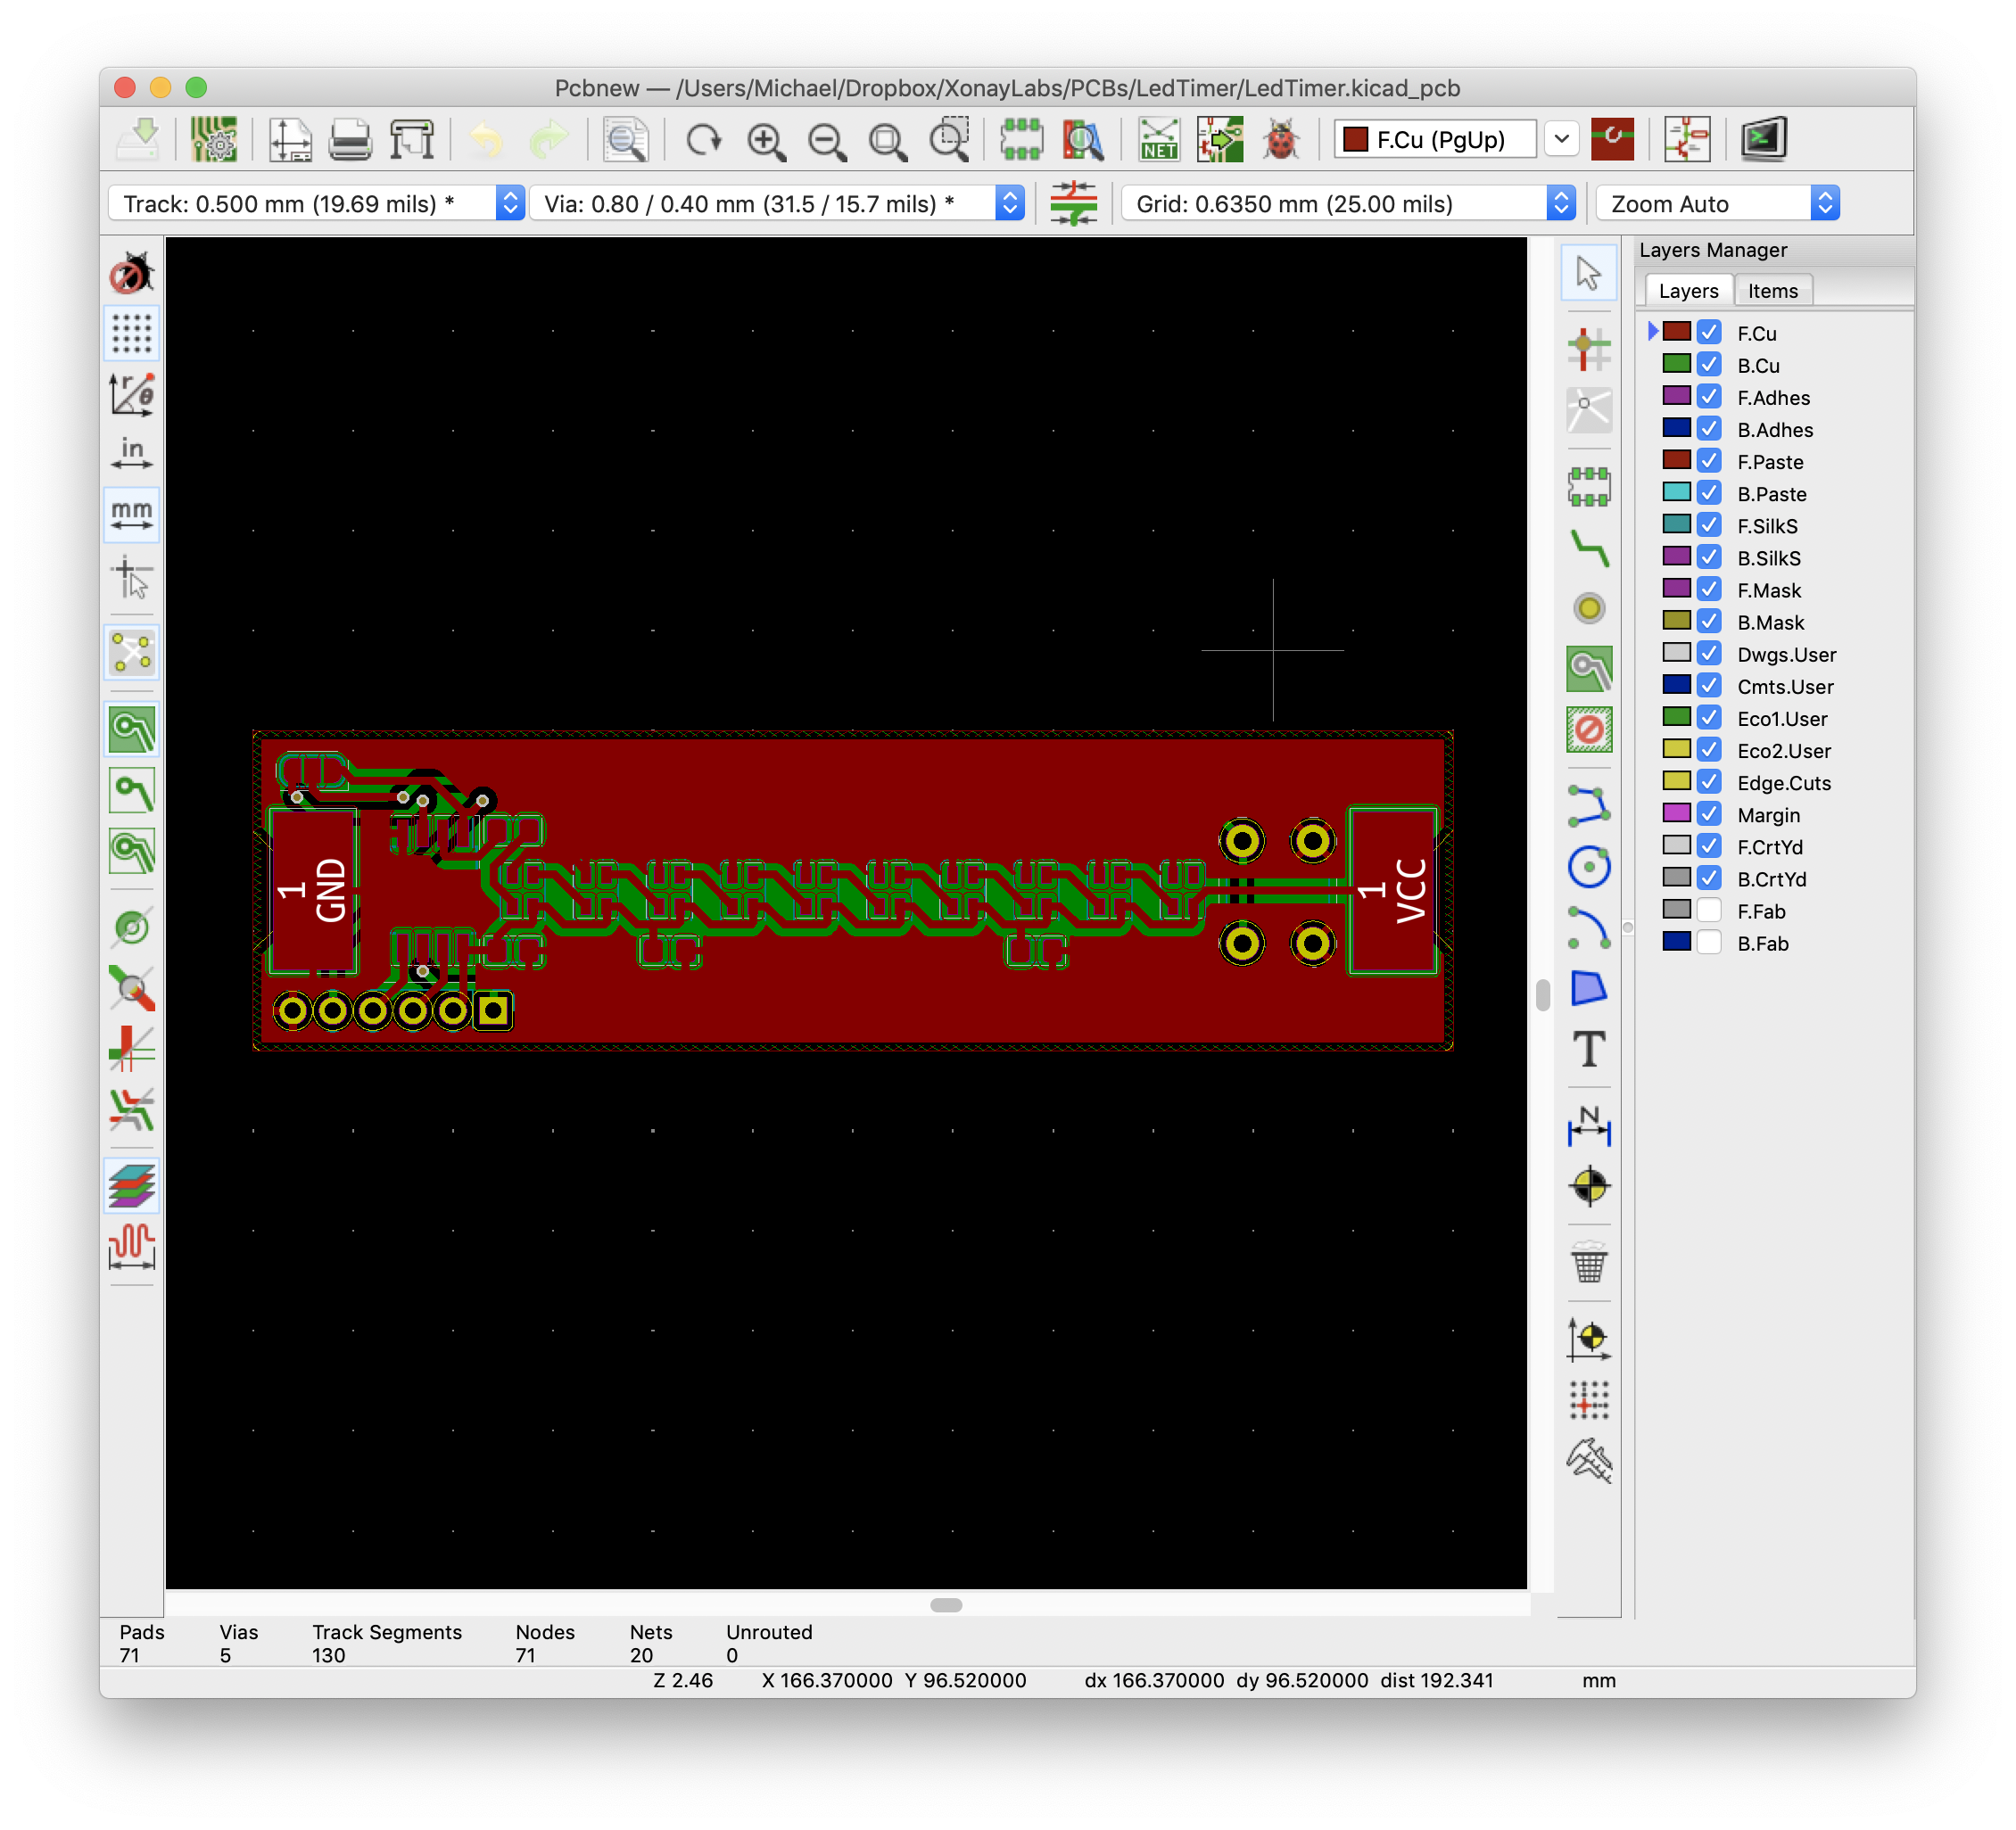
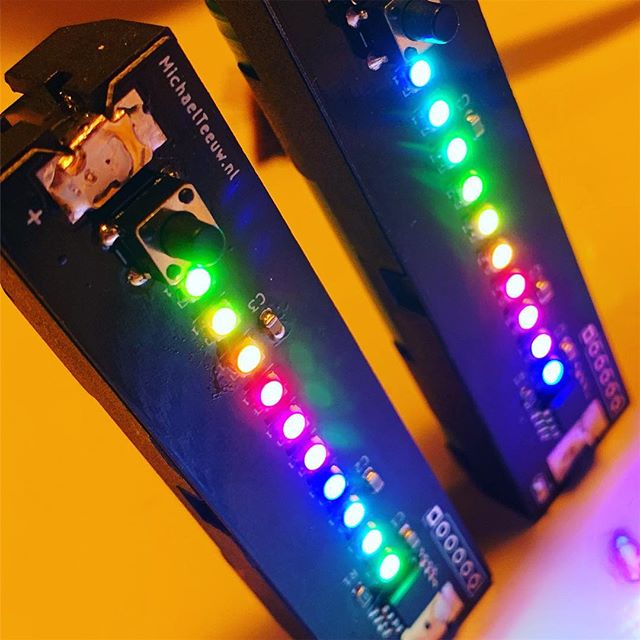
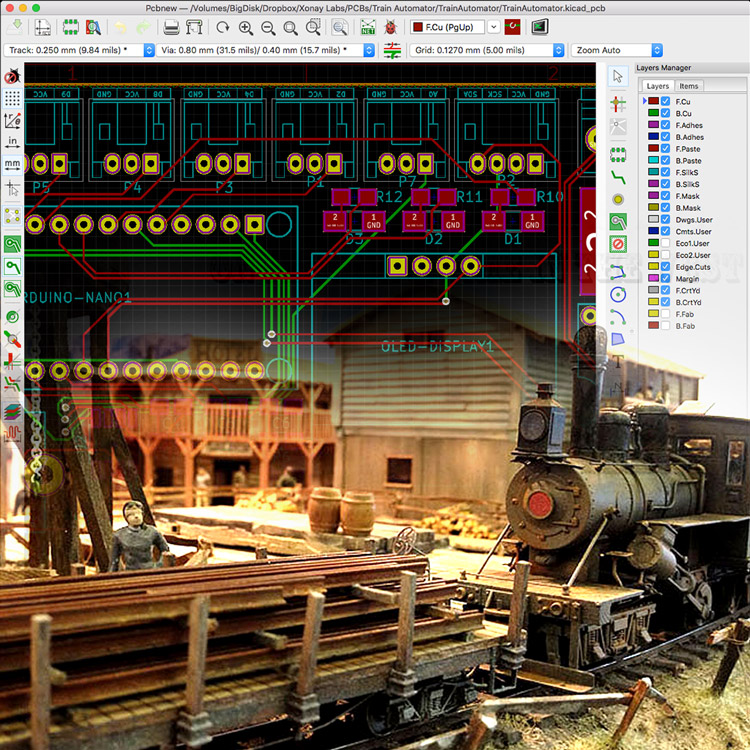
With the help of KiCad I designed a PCB which accommodates 10 SK6805-2427 LEDs. These are the 2.4mm x 2.7mm version of the well know WS2812 (Neopixel) LEDs. To control these LEDs I use an ATTiny85 microcontroller.

After trowing in some capacitors and a simple button to start the timer, the PCB files were ready to be sent off to China.
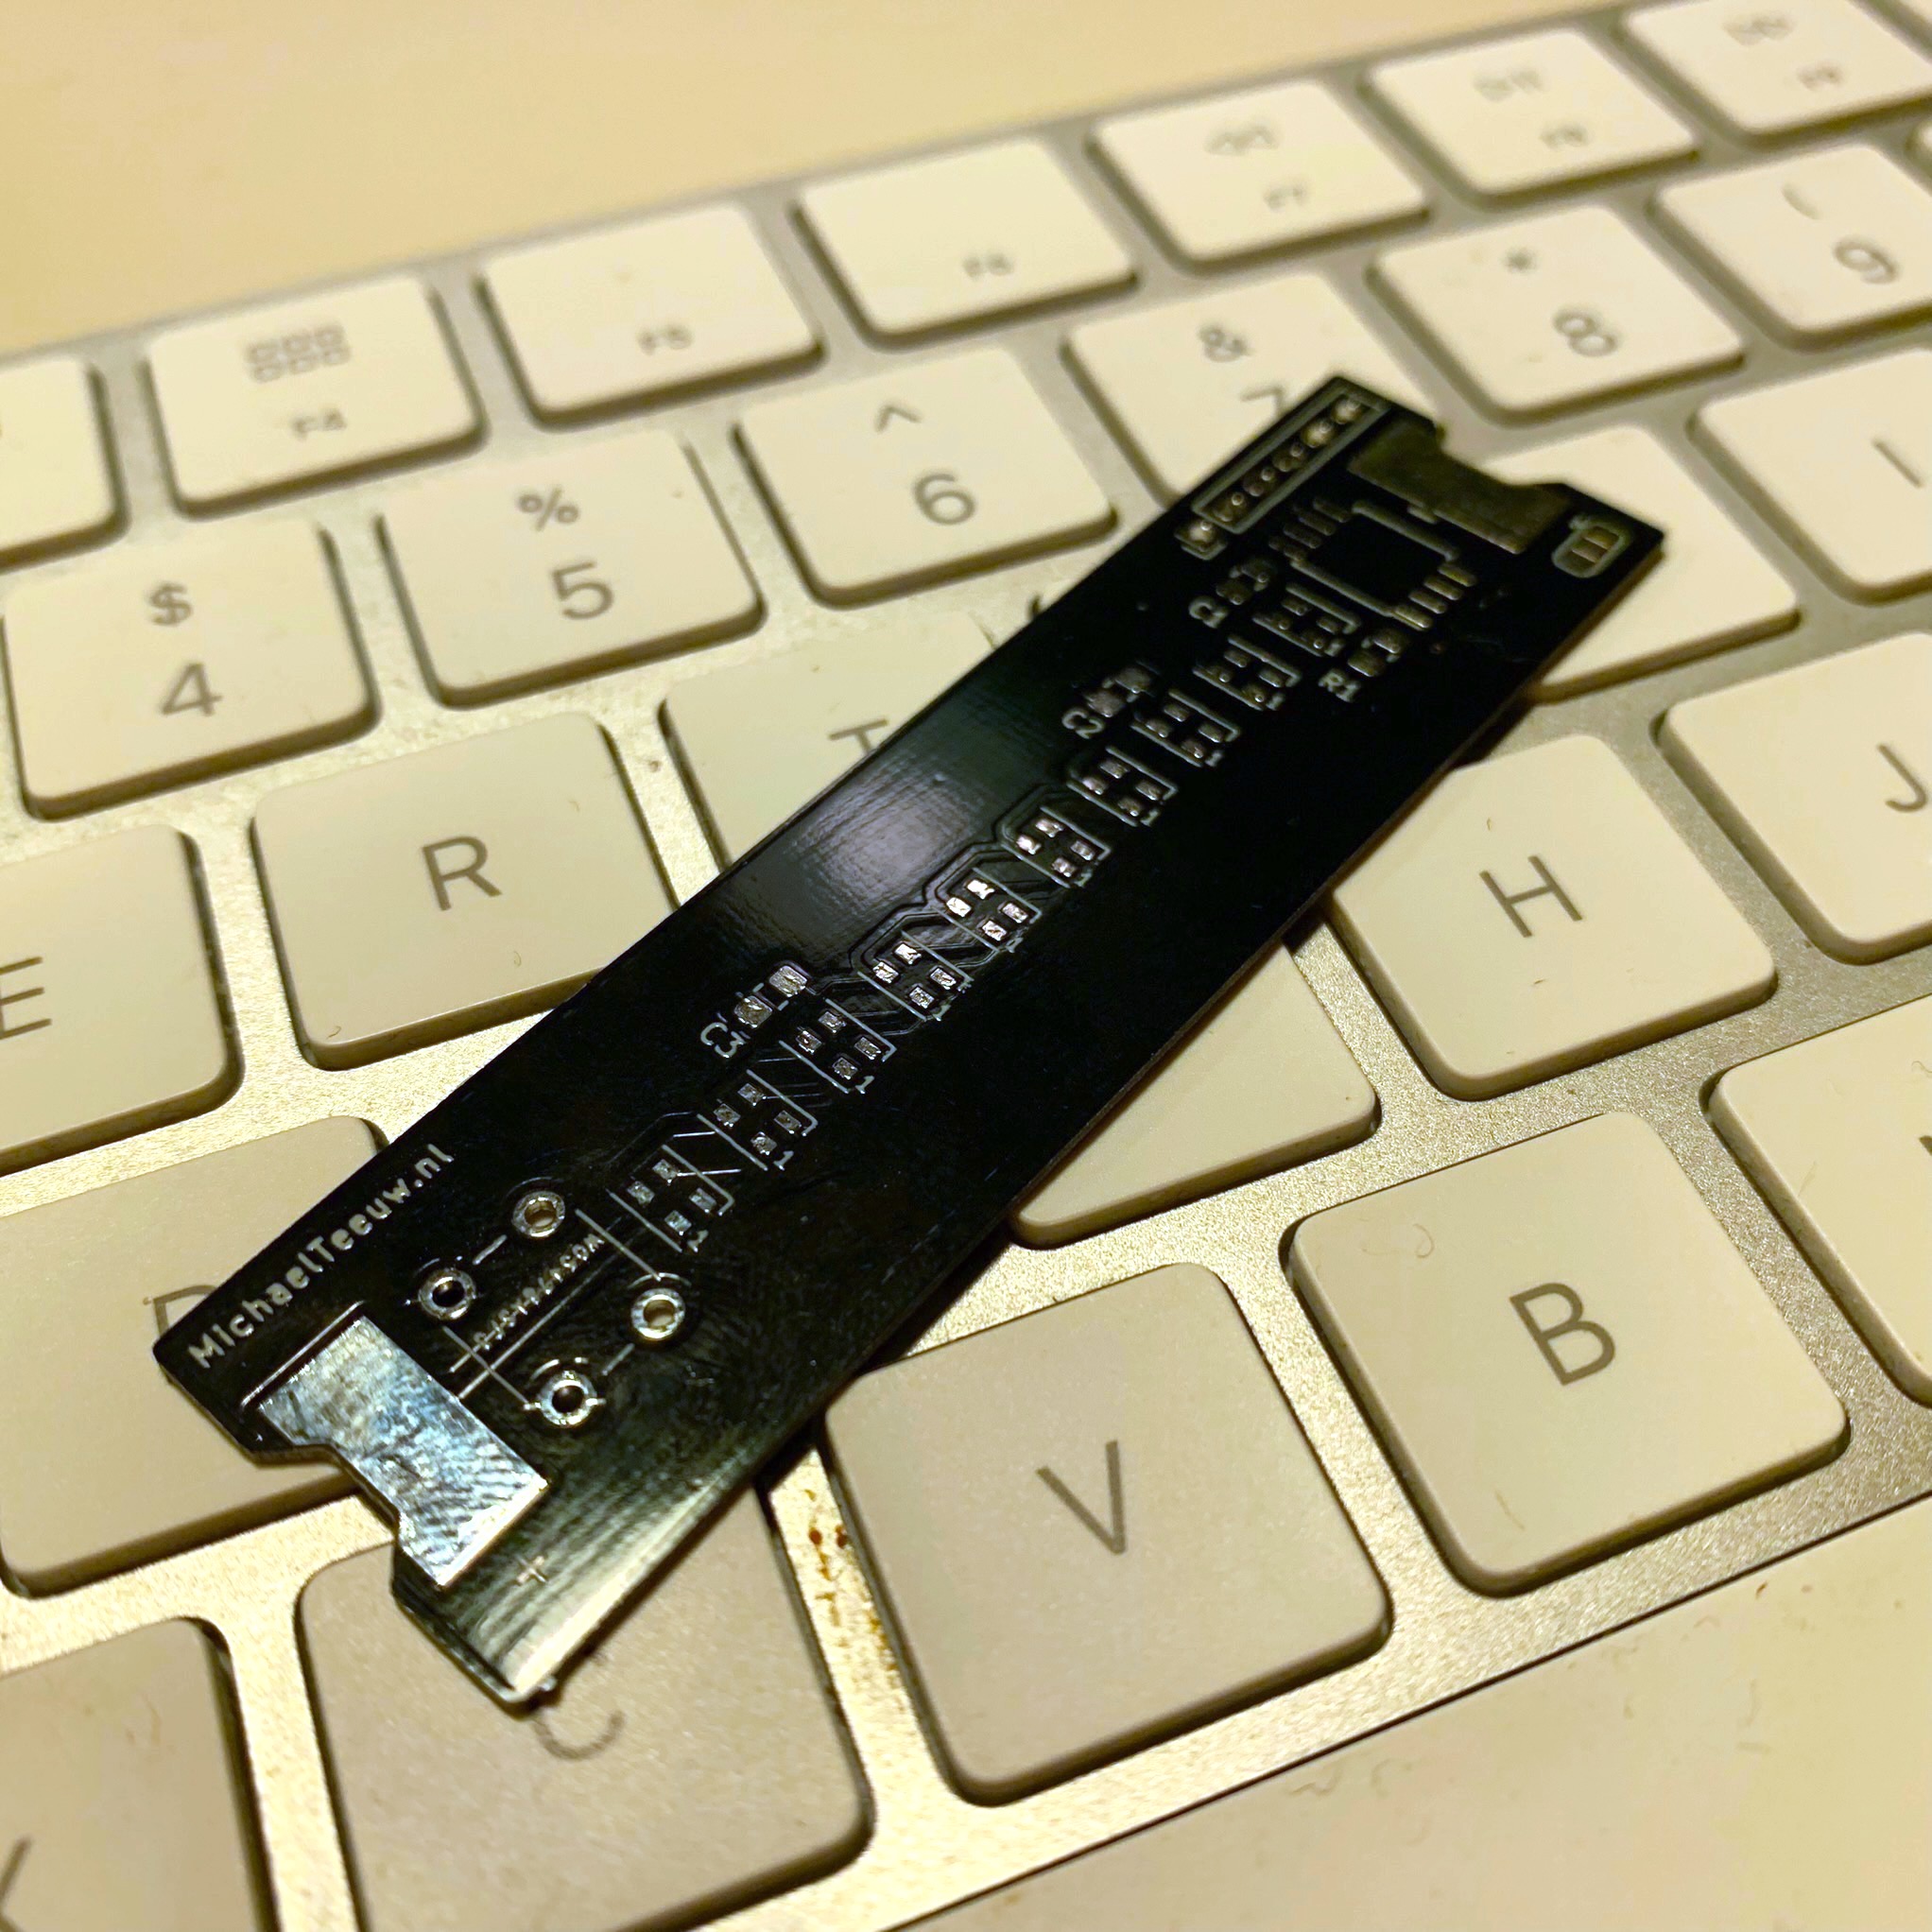
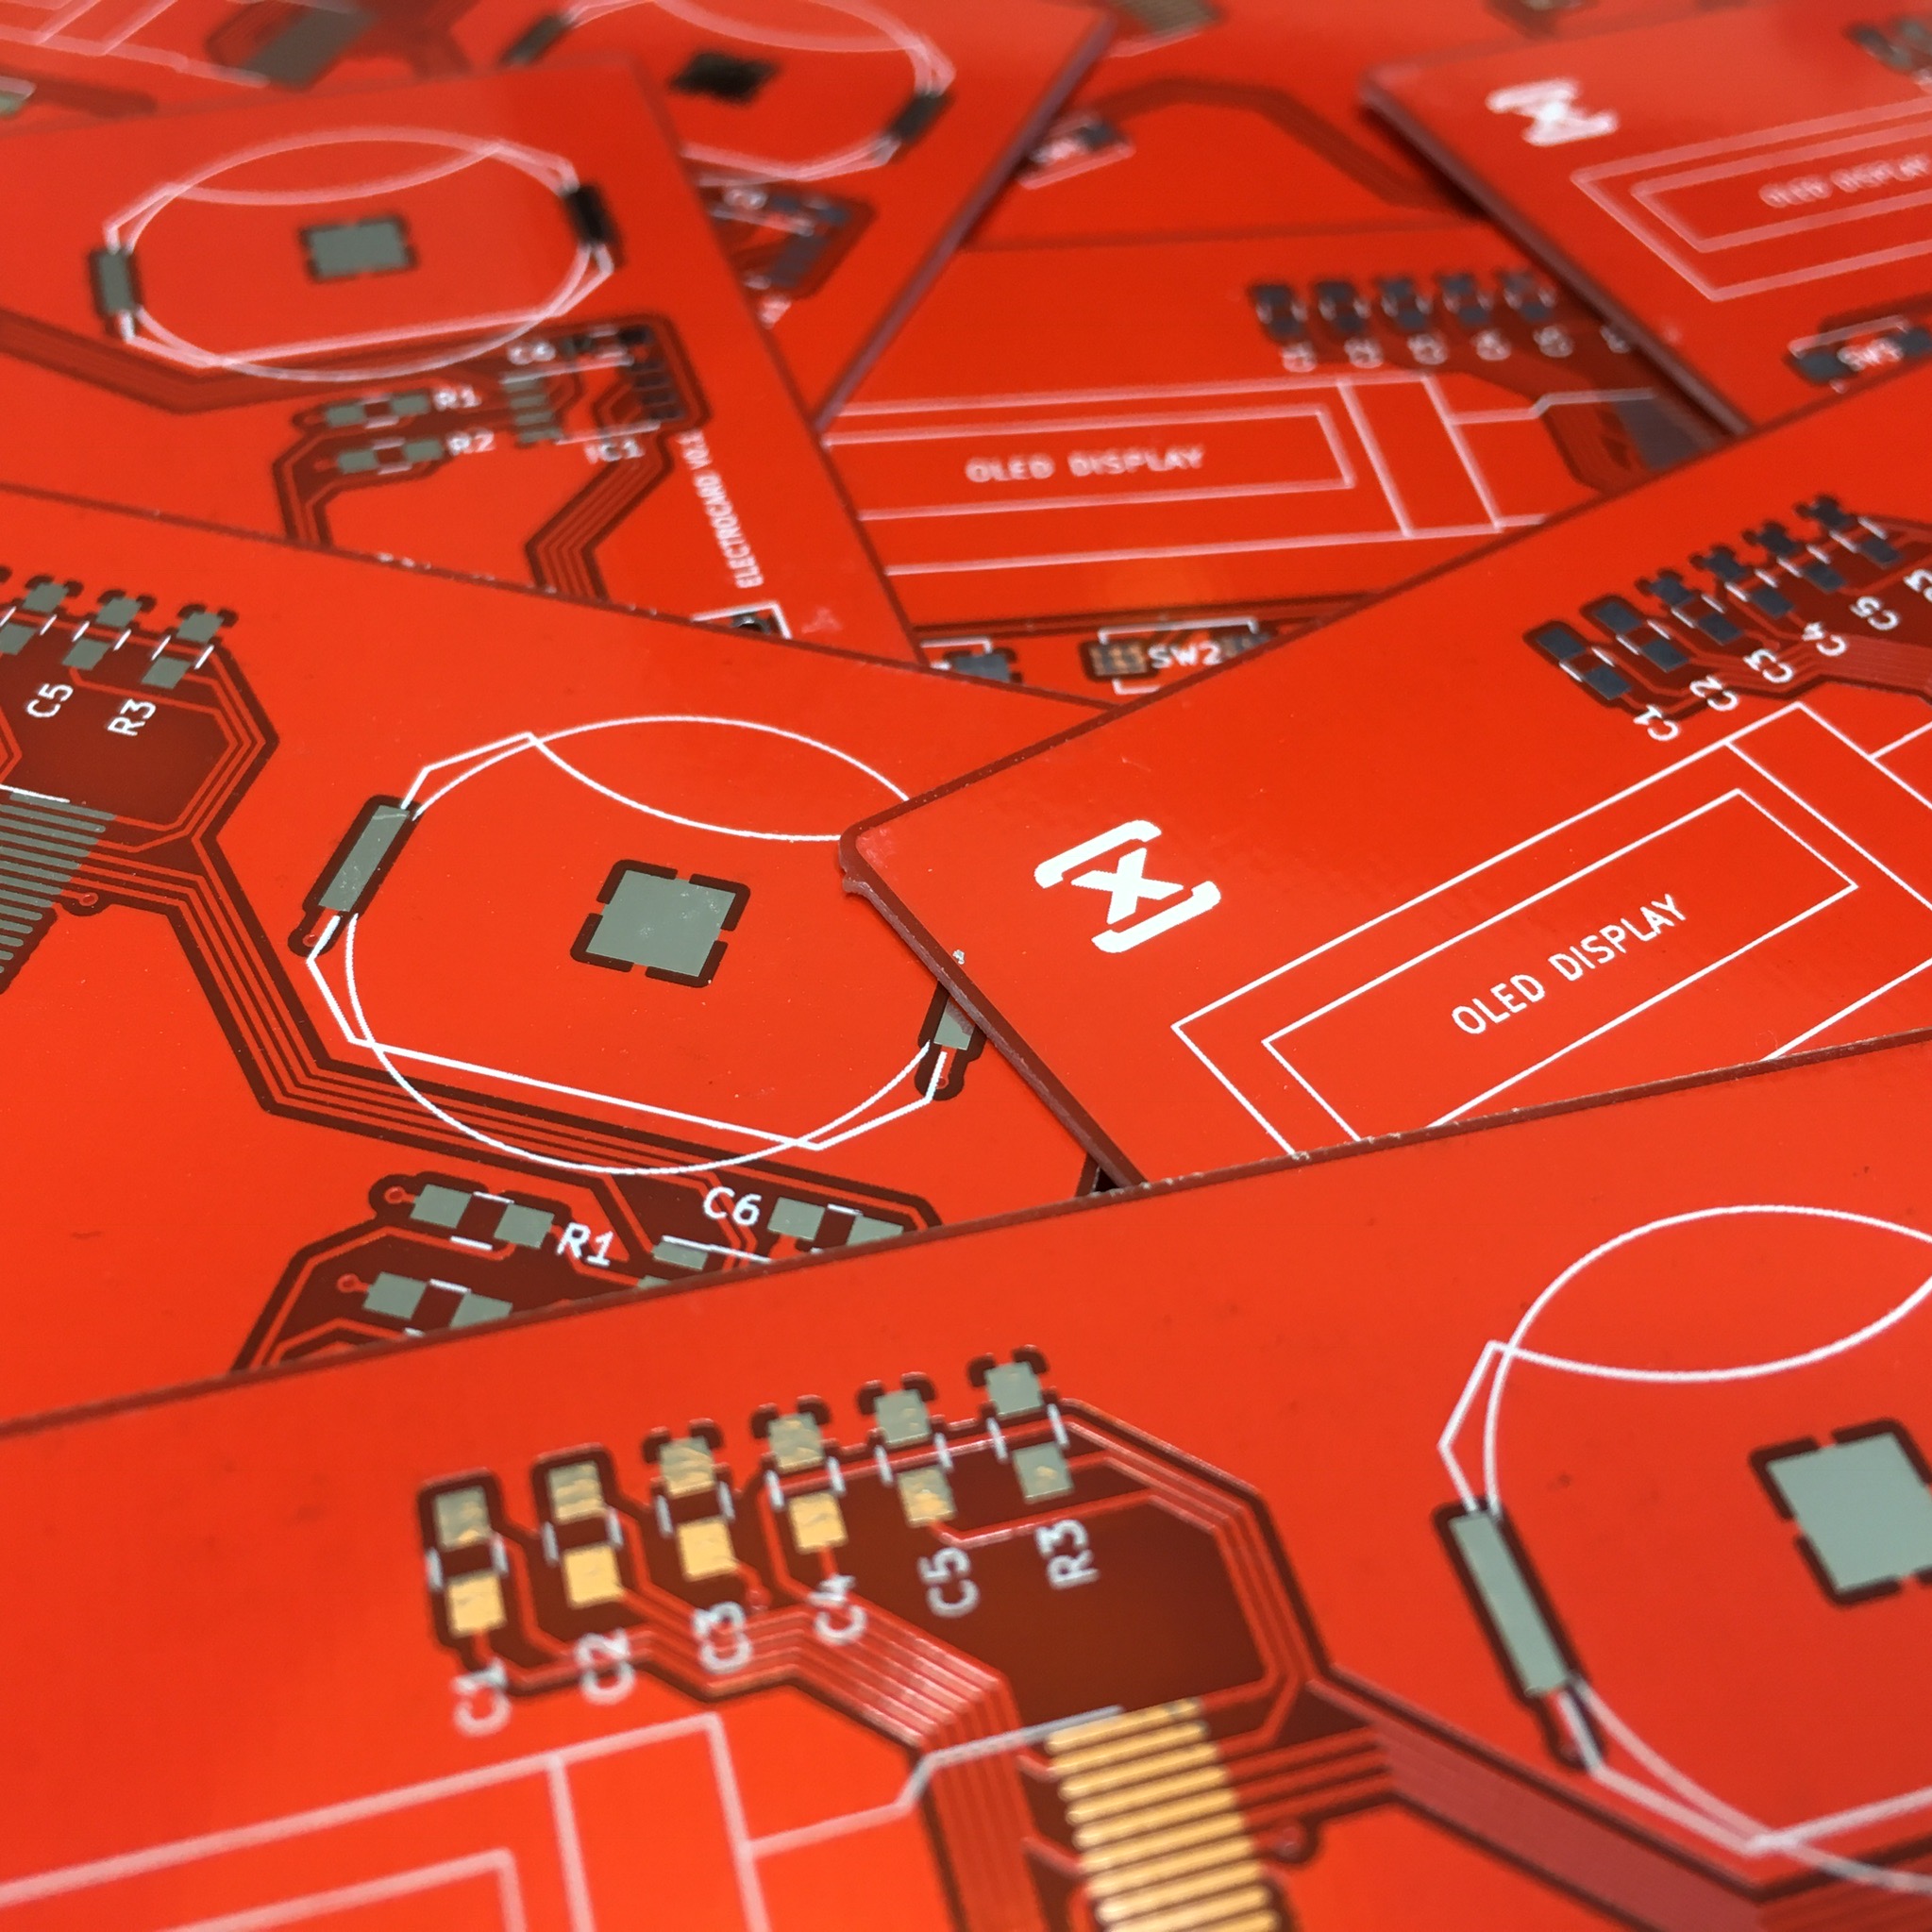
4 days later 5 of these black beauties arrived in my mail. The delivery costs were approximately 6 times as high as the PCBs, but hey, perfect coffee is important!
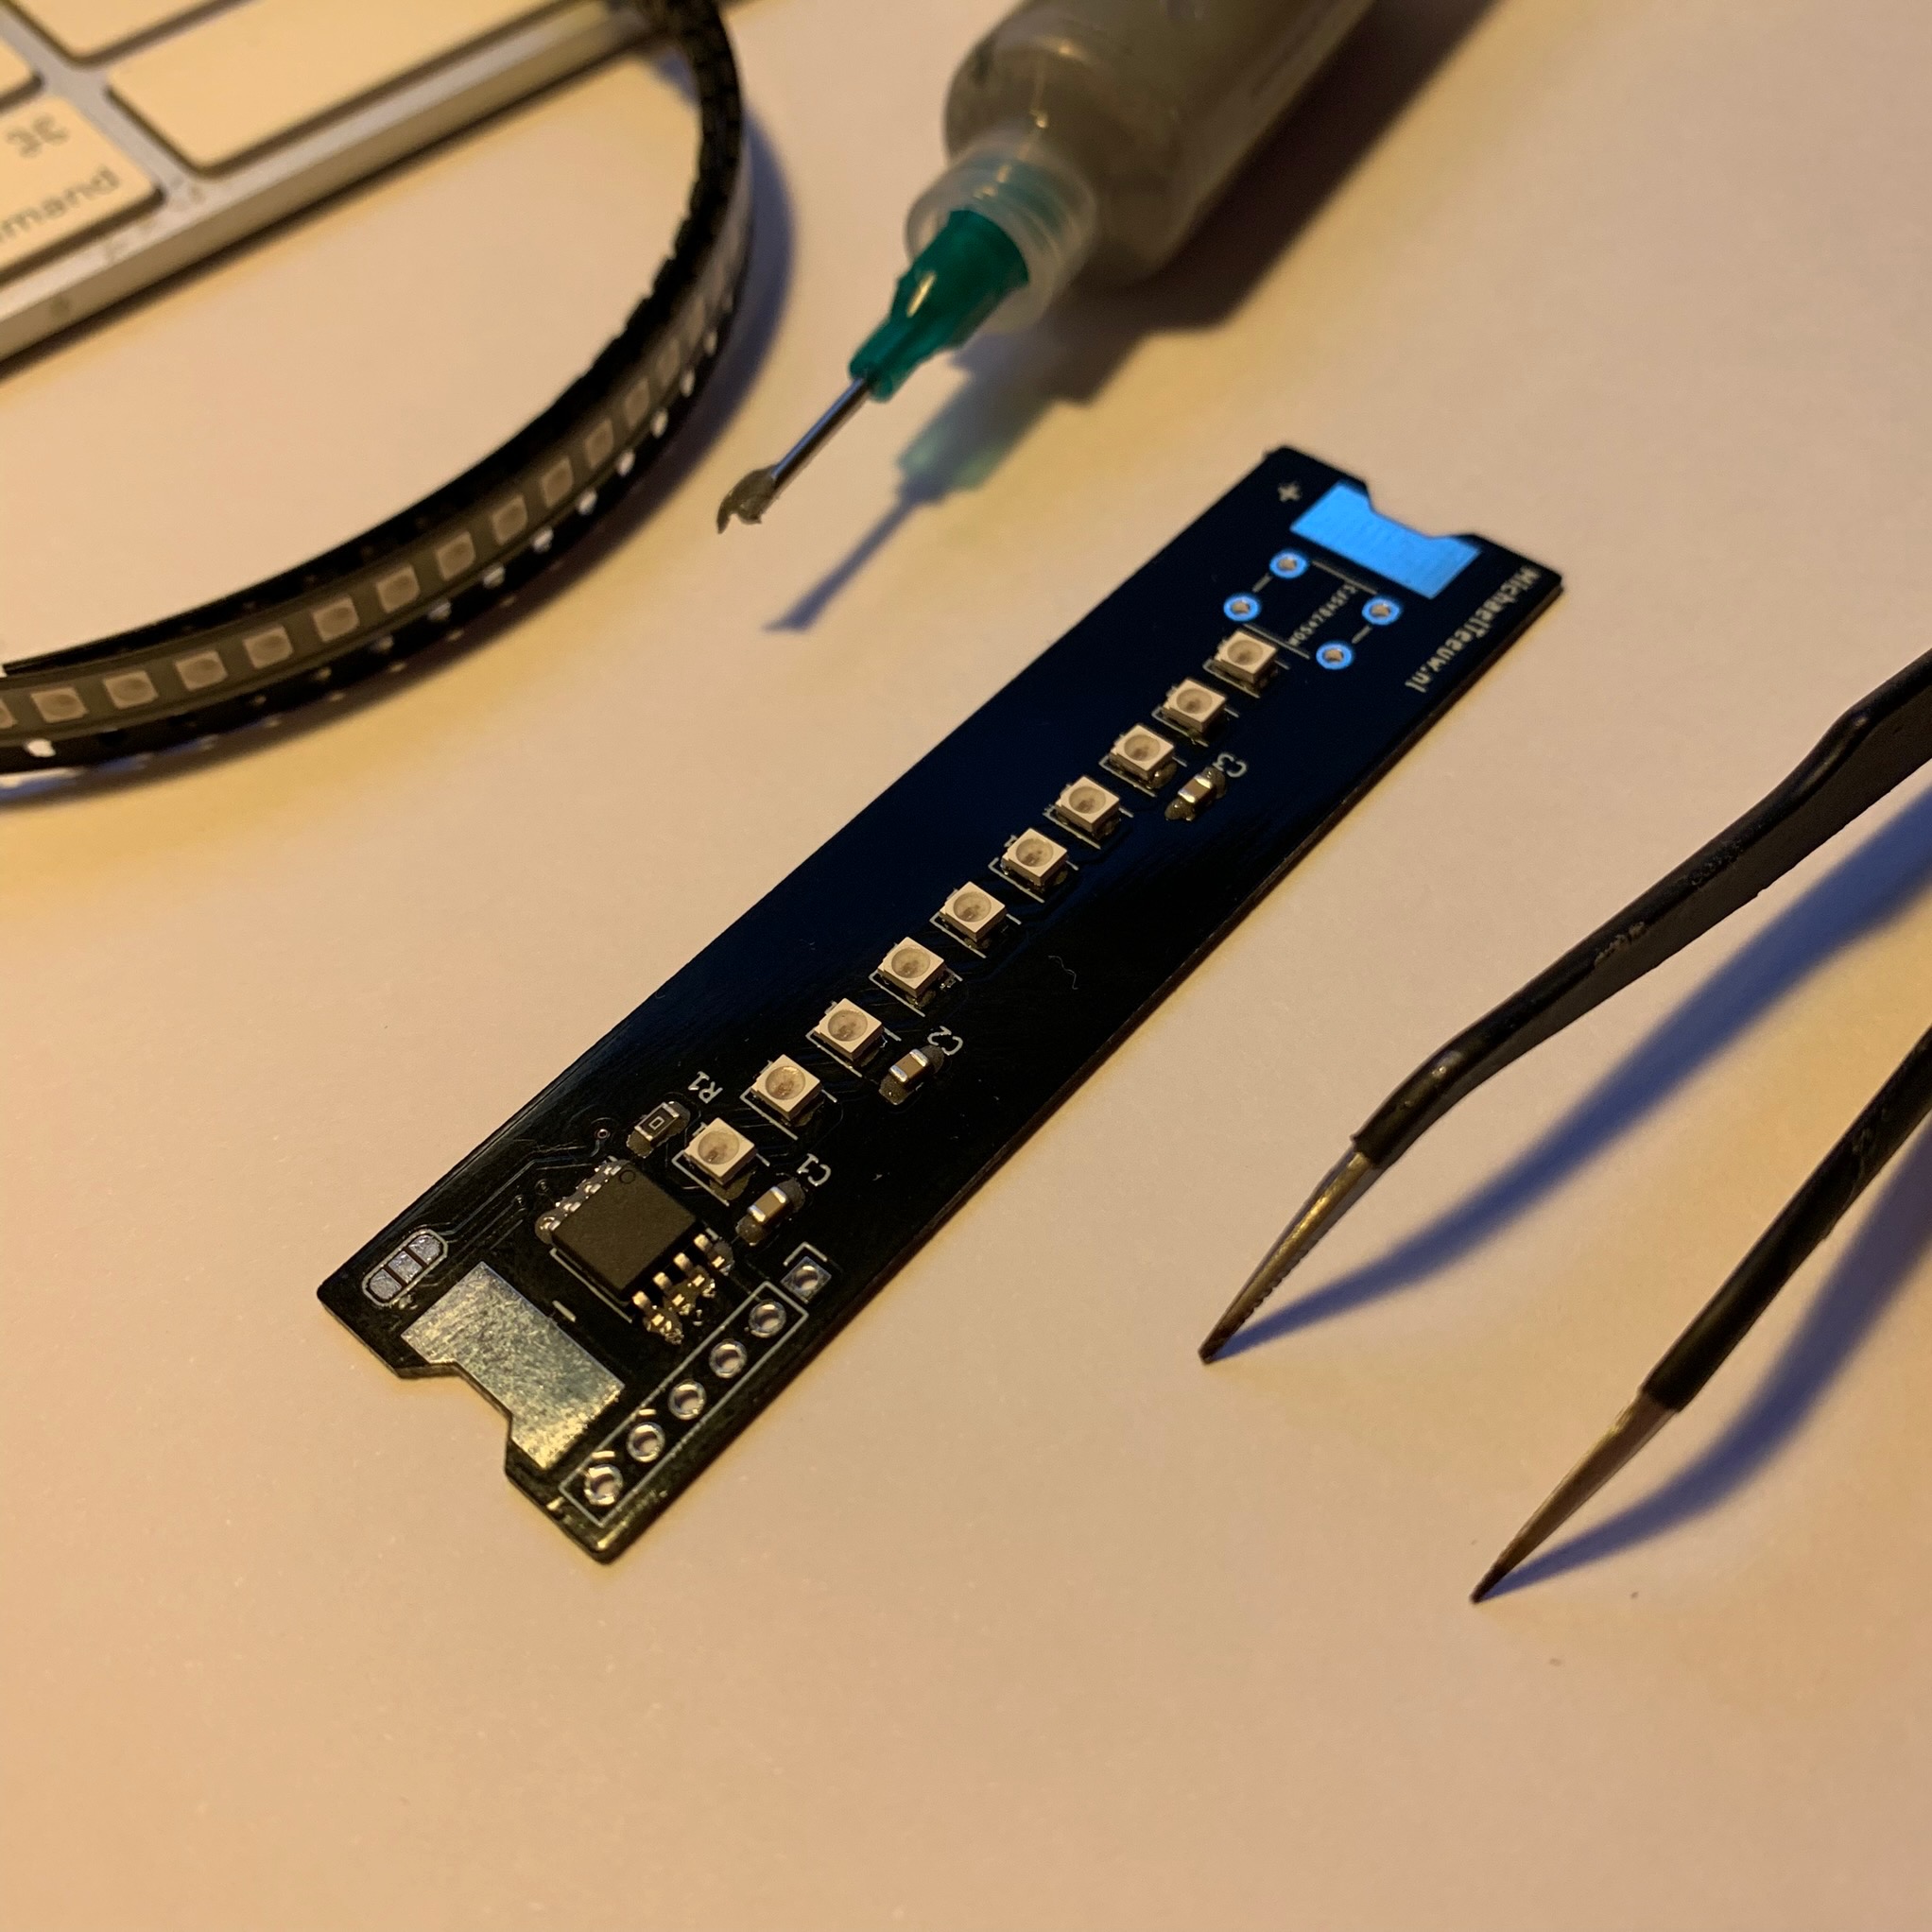
After squirting on some solder paste and placing the 15 surface mount components it was ready so be soldered.
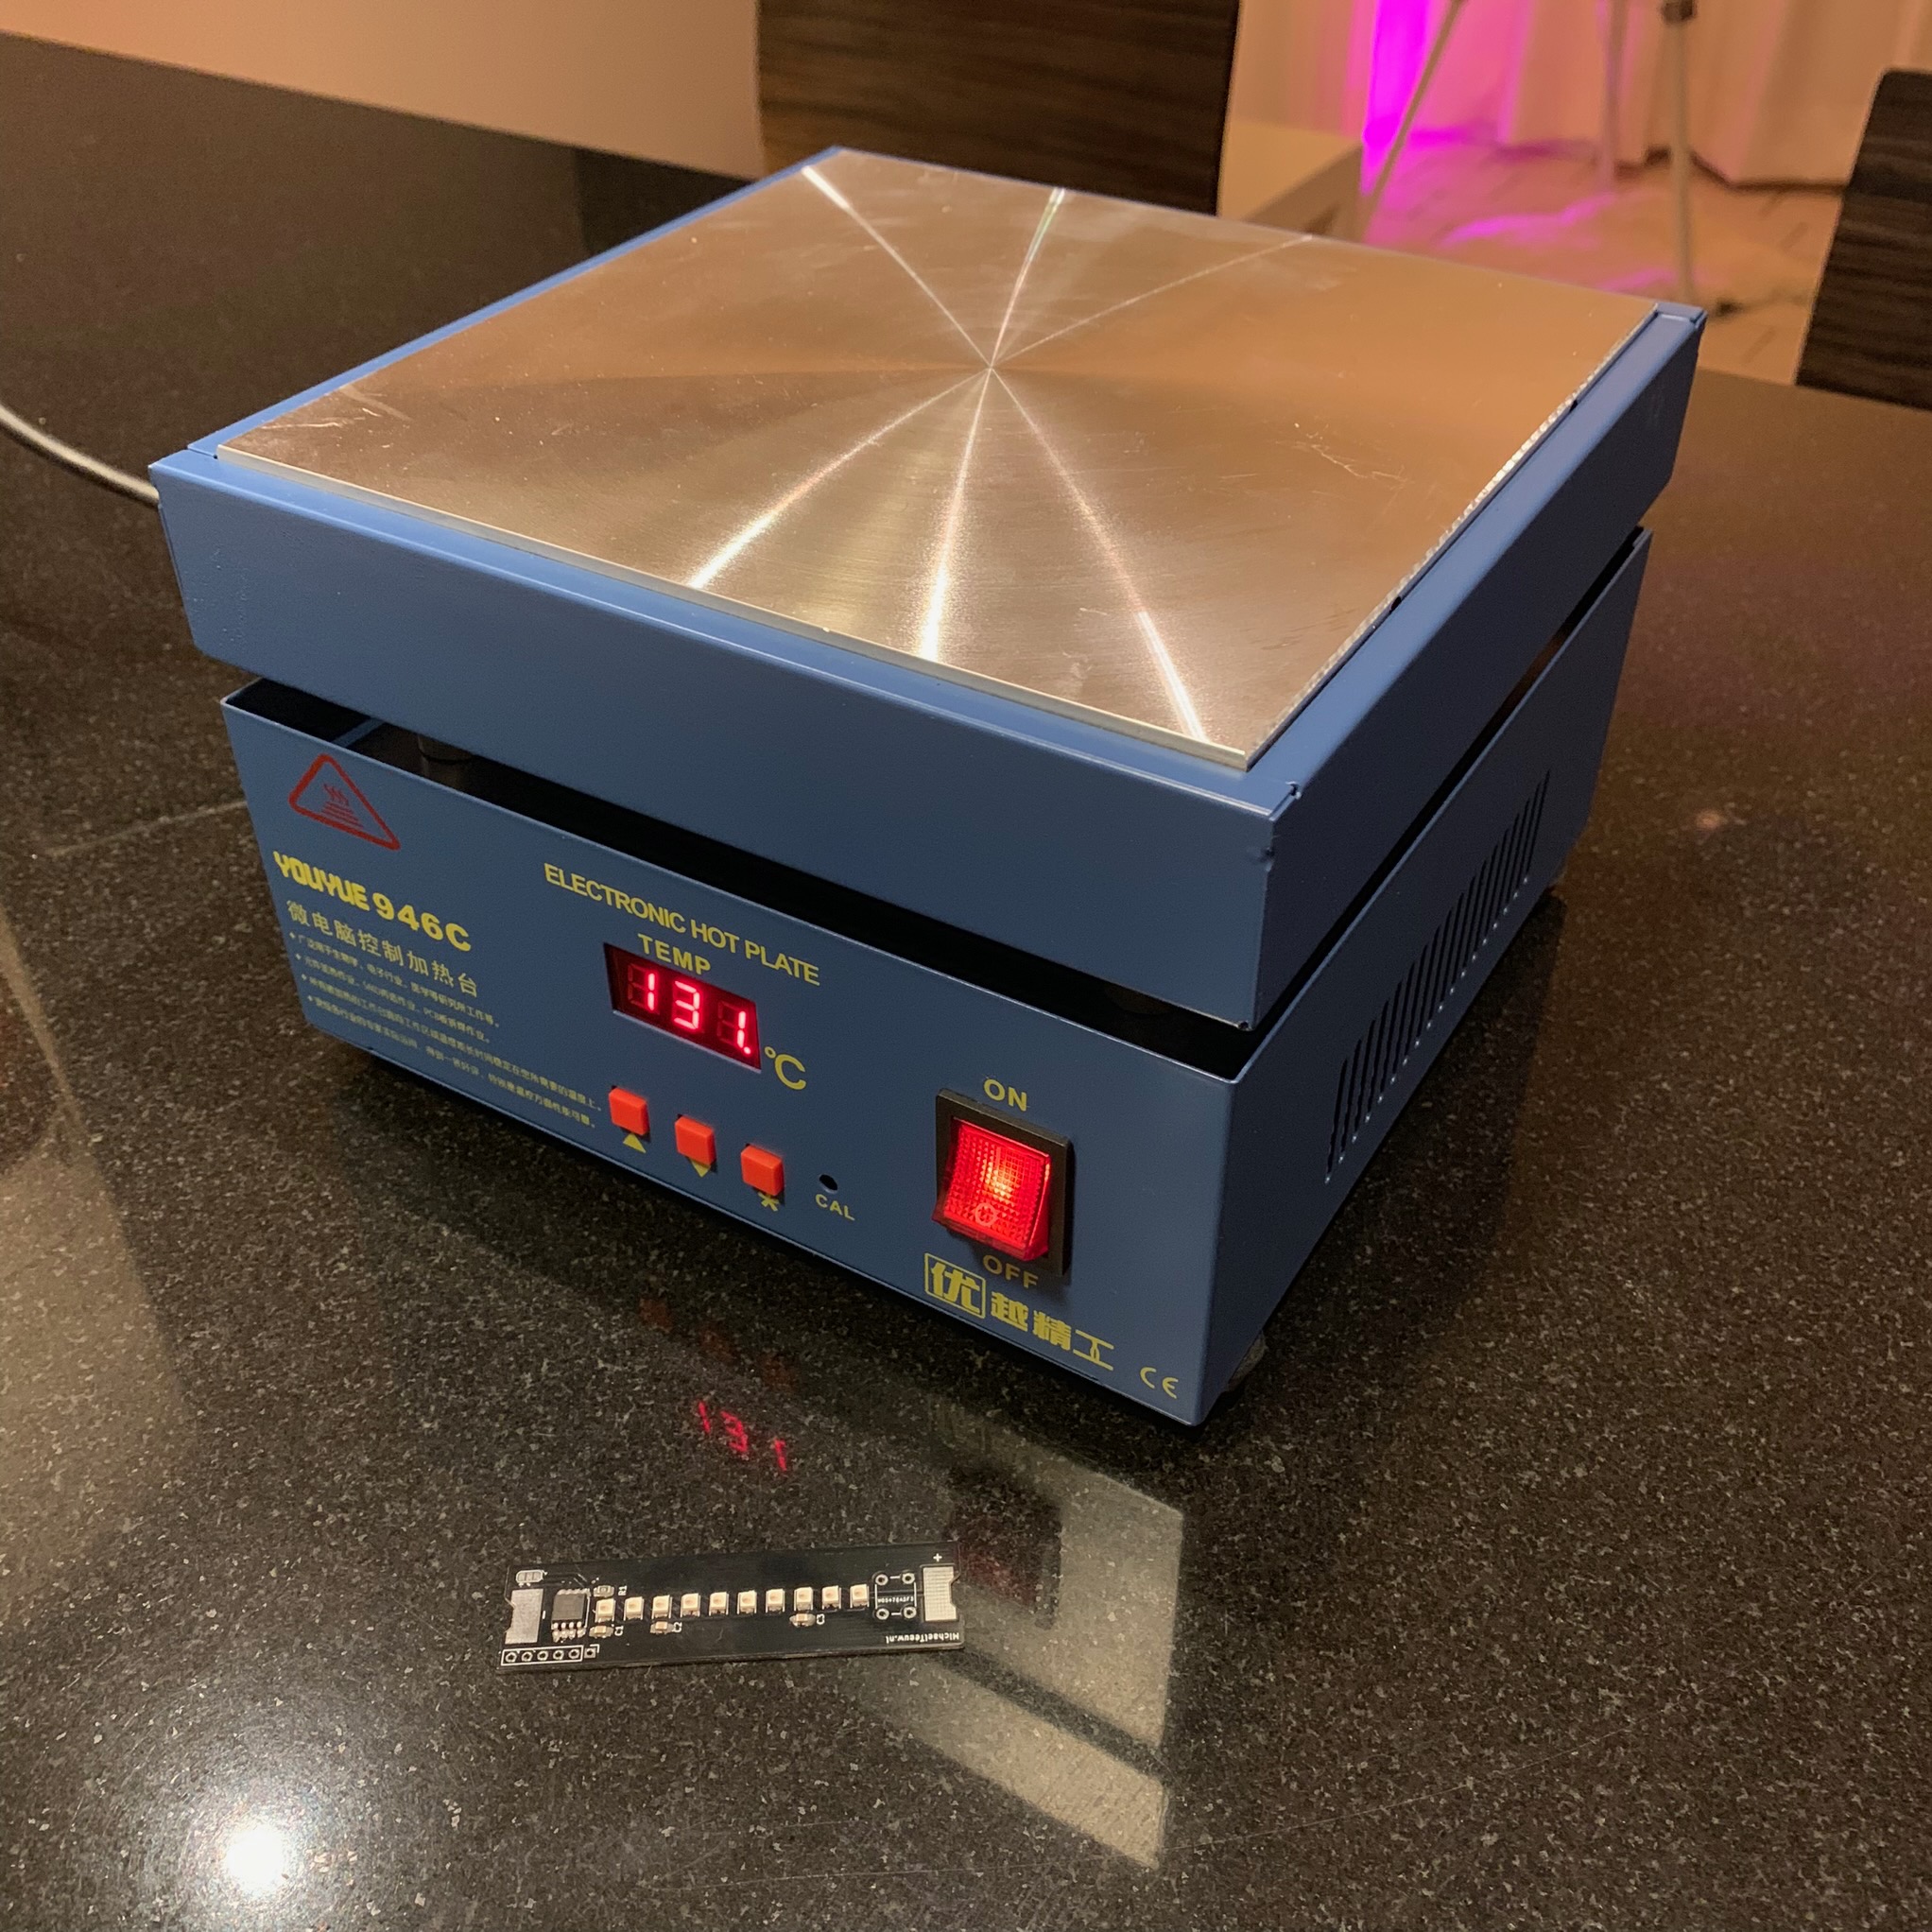
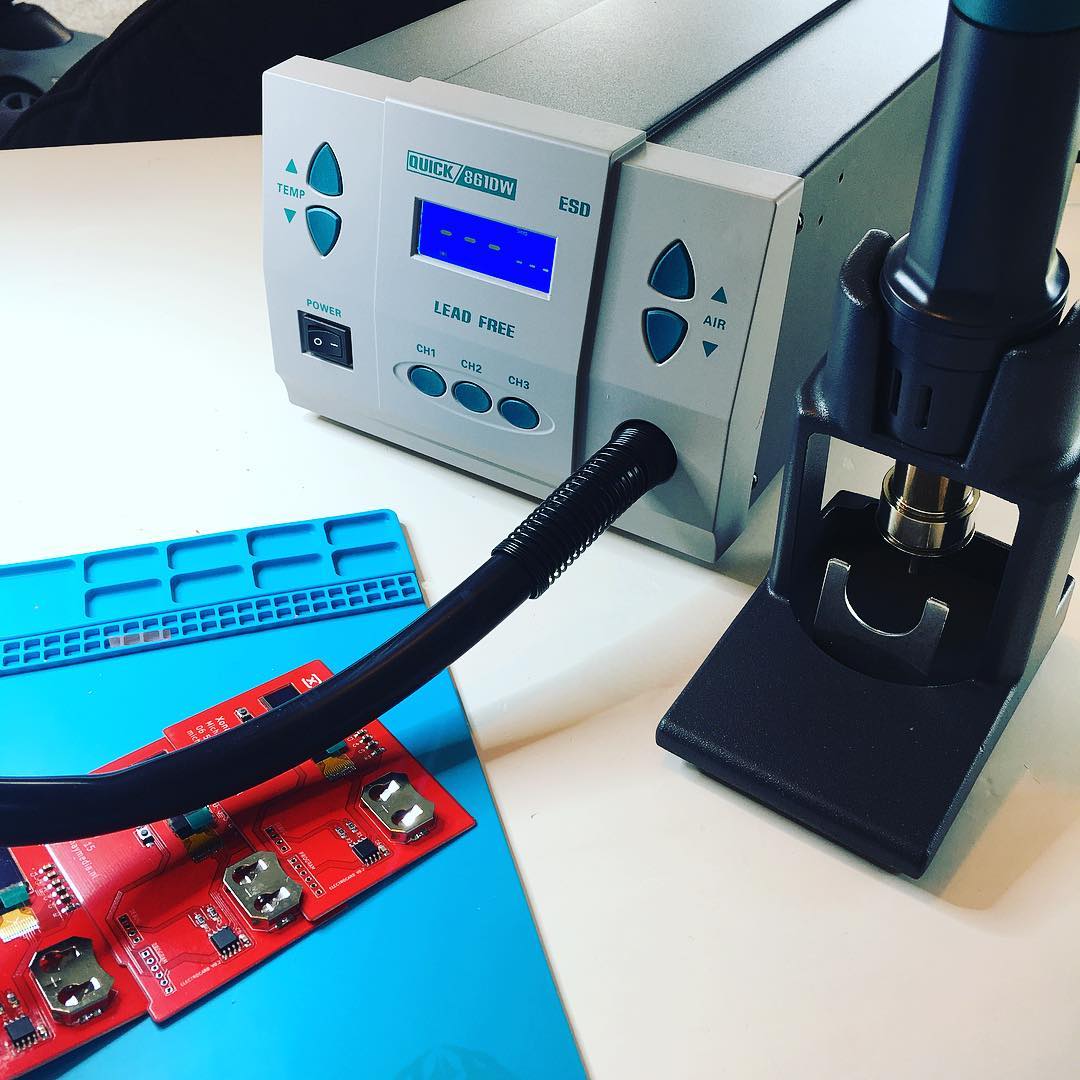
I don’t own a reflow oven, but I do own a reflow hot plate, which should allow me to accomplish the same result: 15 components that stick to the board. And to be honest, trying out soldering on this hot plate was the real reason to make this PCB, so let’s give it a try!
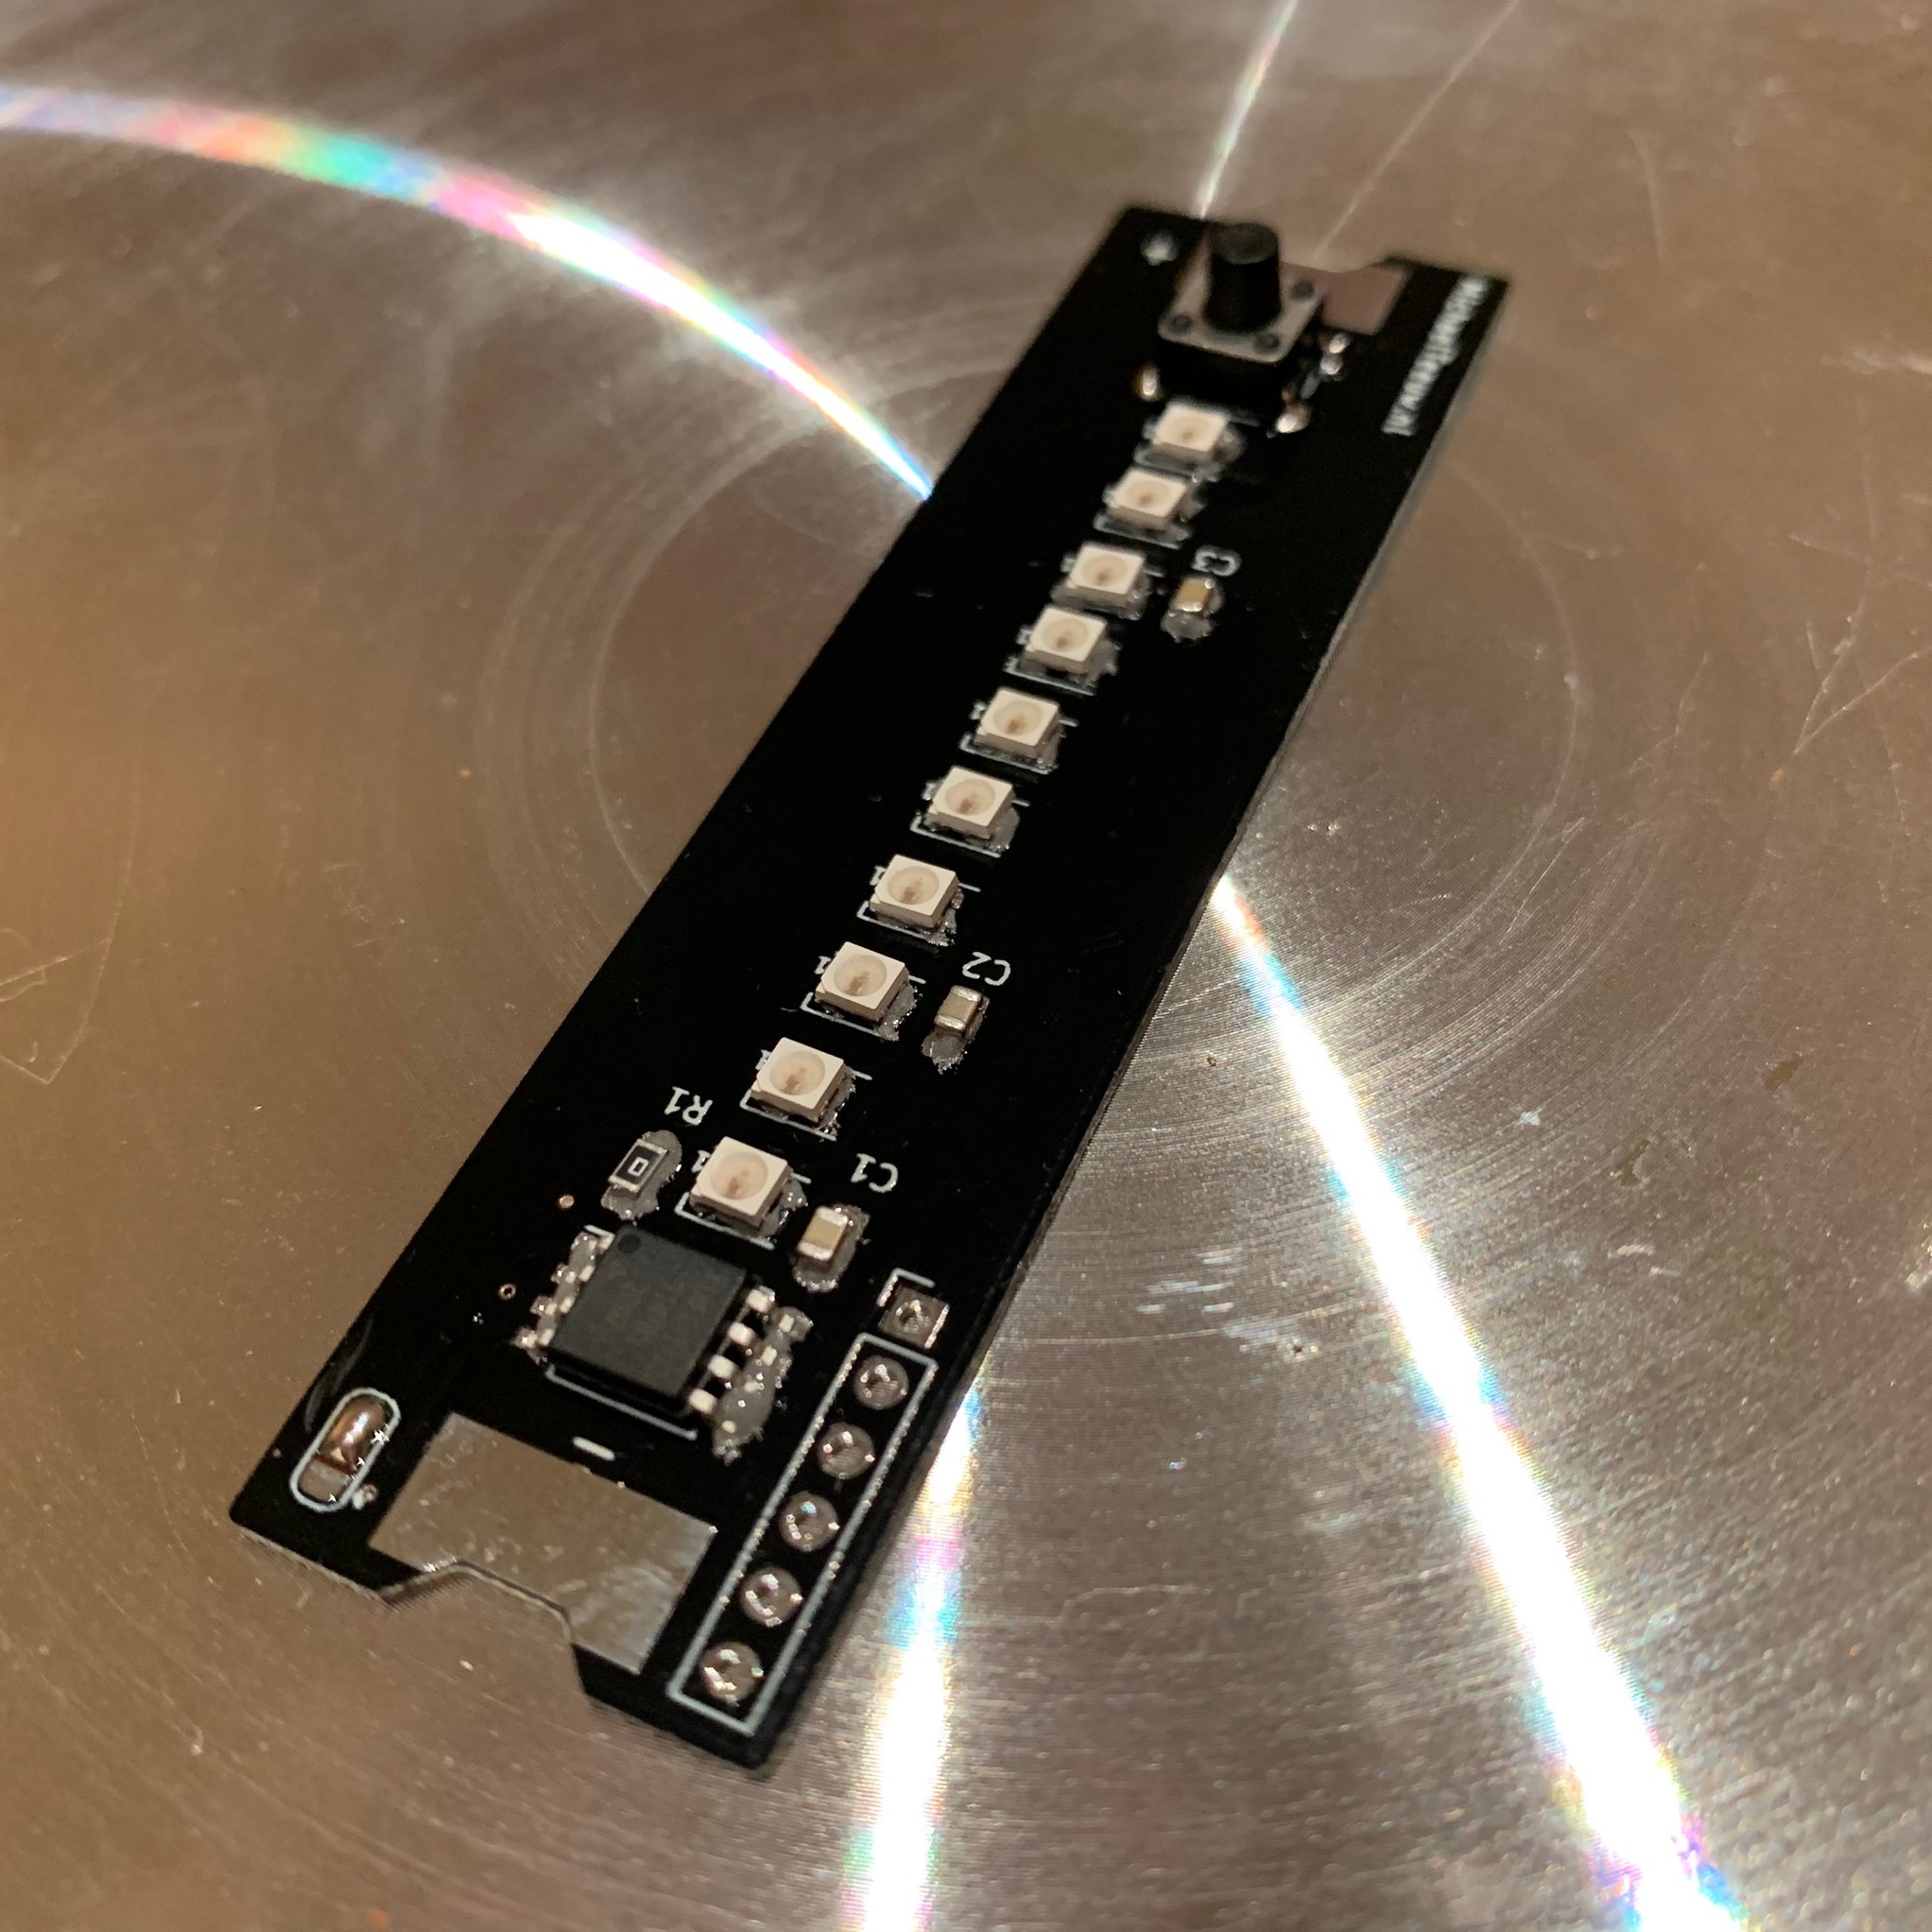
In my first test I heated the plate up to 180 degrees celsius and then place the PCB on the surface continuing to heat it up until 250 degrees celsius. It turned out the components didn’t like the sudden 180 degrees from the bottom, so it took some fiddling with my tweezers to fix all the tombstoned components. In a second test I placed my PCB on the place from the start, but that vaporized most of the flux before it was halfway warming up. I need to find the sweet spot somewhere in between. For now, the boards I had soldered seem to look ok, so let’s continue with the project …

To power this Ridiculous Kitchen Timer™, I use an over-expensive 3.5 Amp 18650 LiPo Battery. So I soldered the PCB to a 18650 battery holder. Due to some fascinating miracle, both the battery holder as well as the PCB are the exact same size! They go together perfectly!
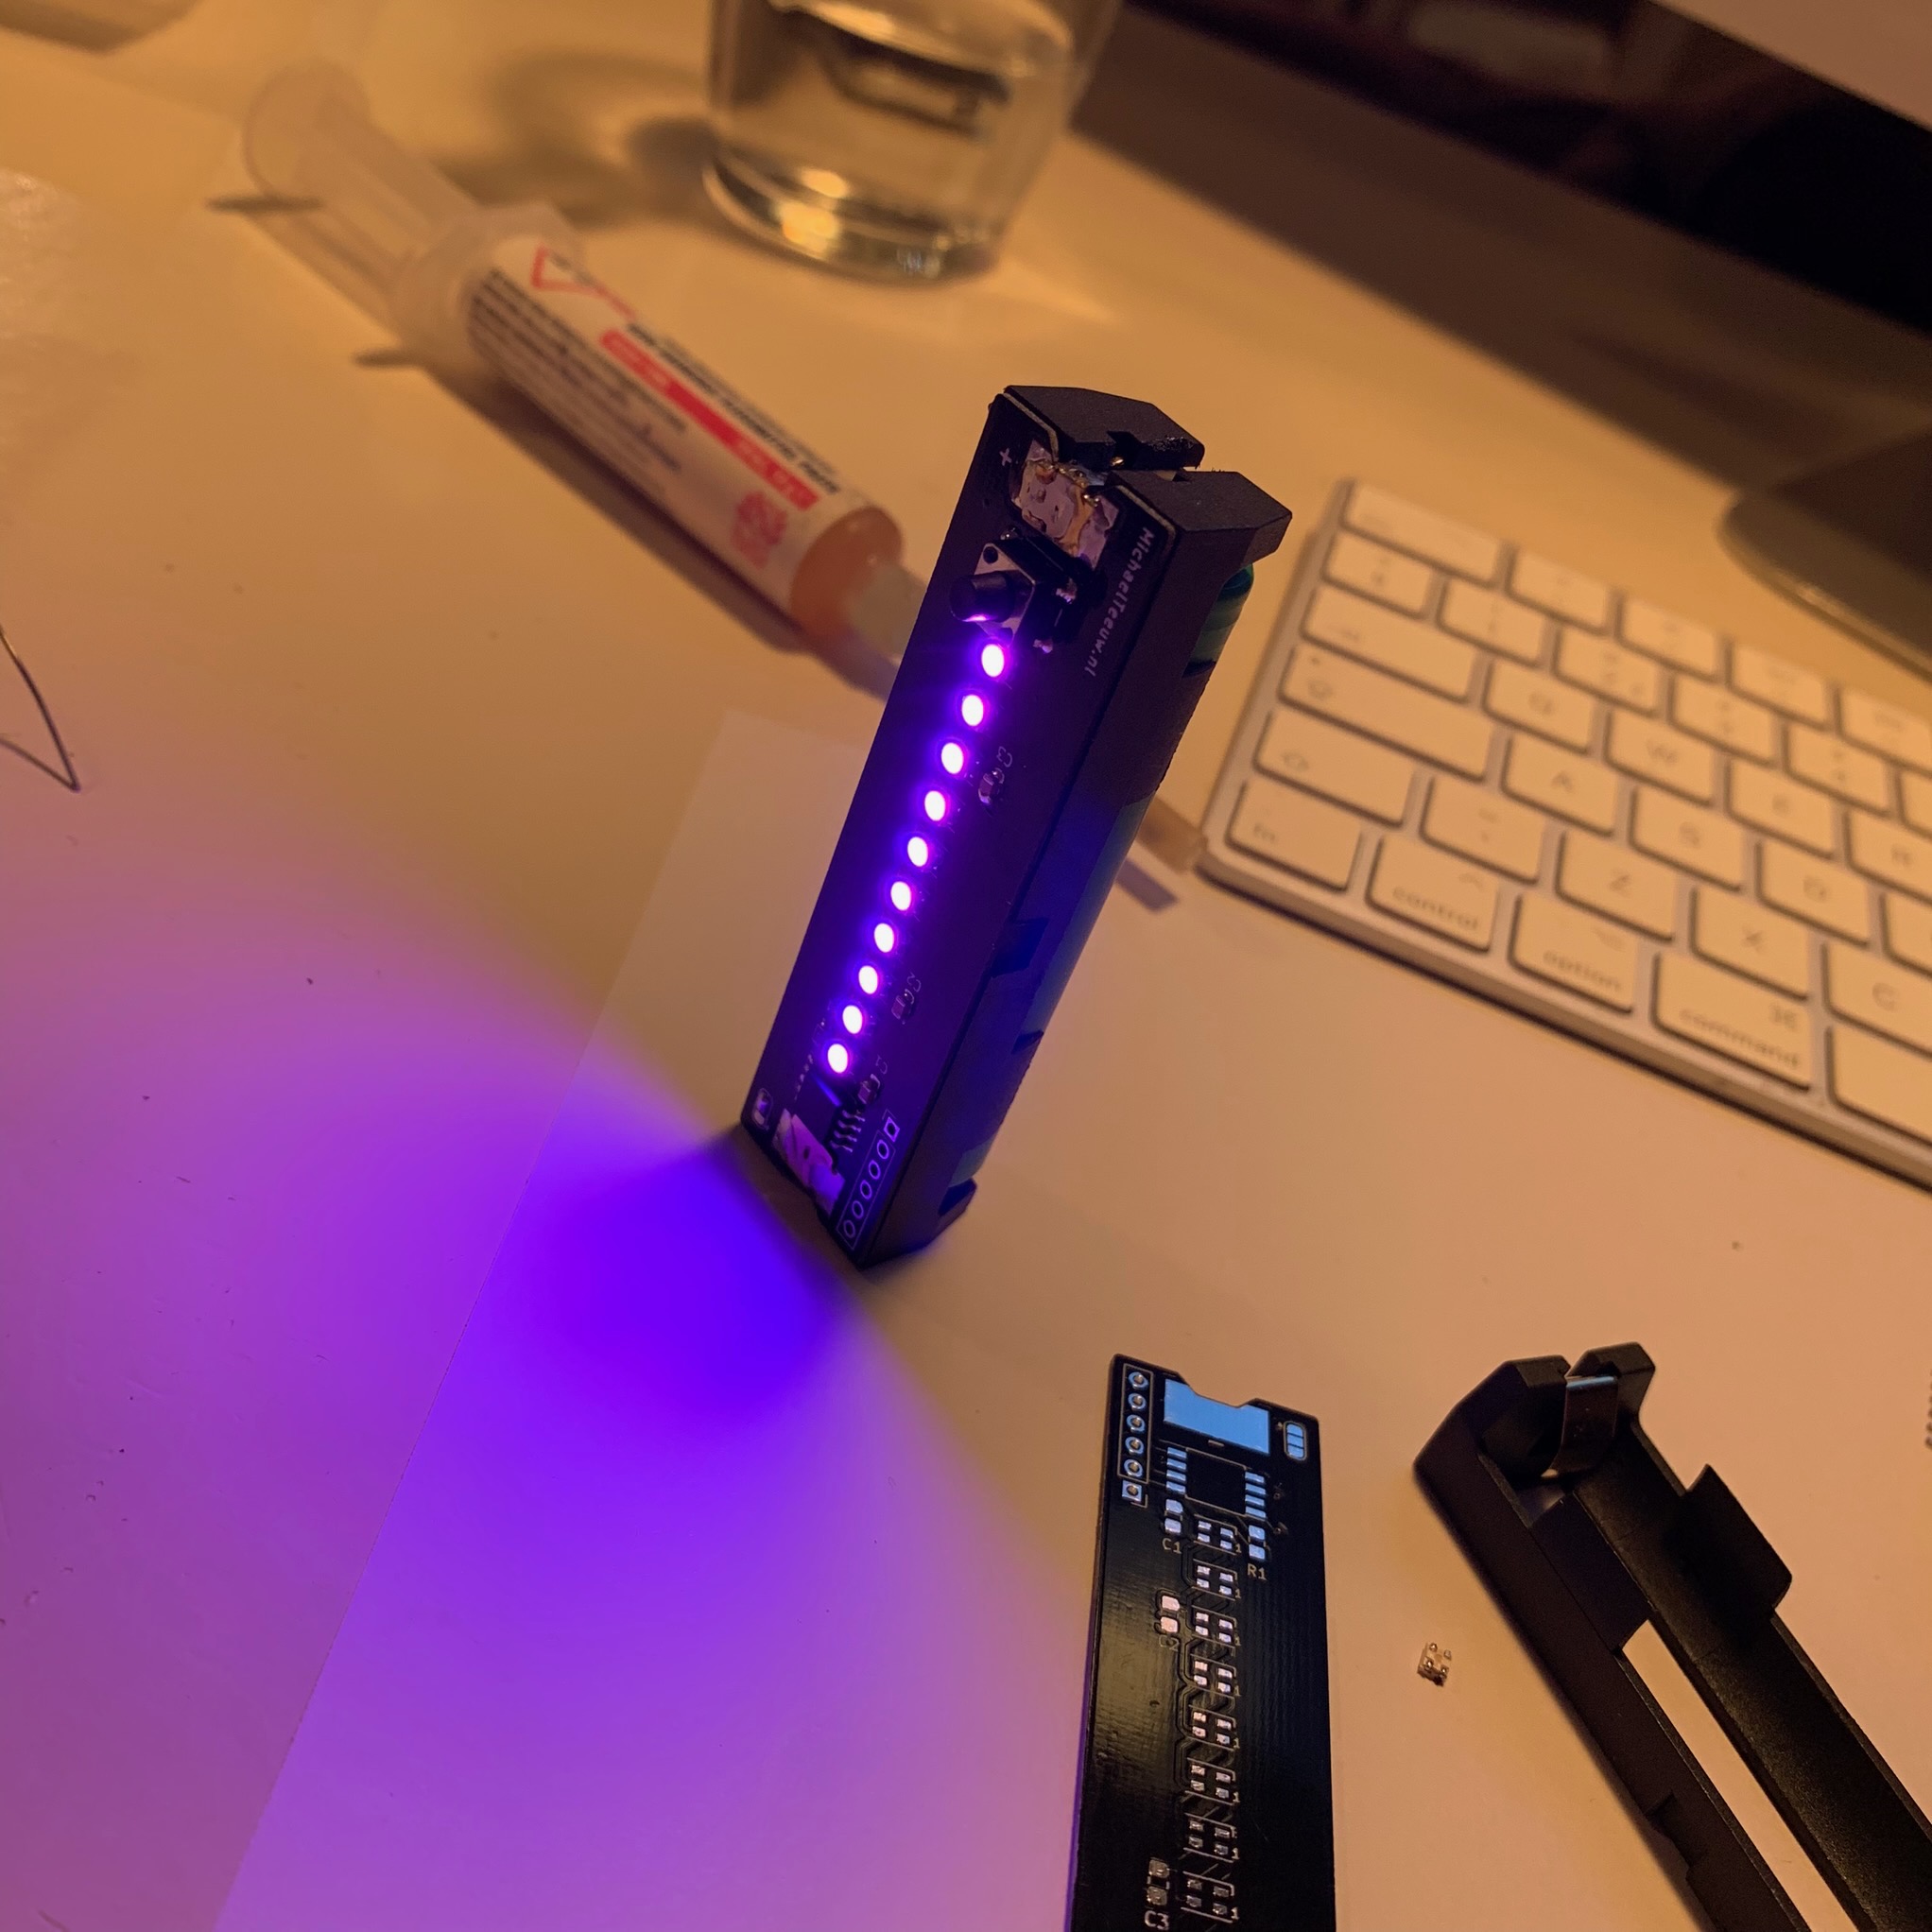
After flashing the PCB with some test firmware it seemed the board worked perfect so I assembled a second unit to make sure we can keep continue brewing coffee while I work on the next gen firmware.
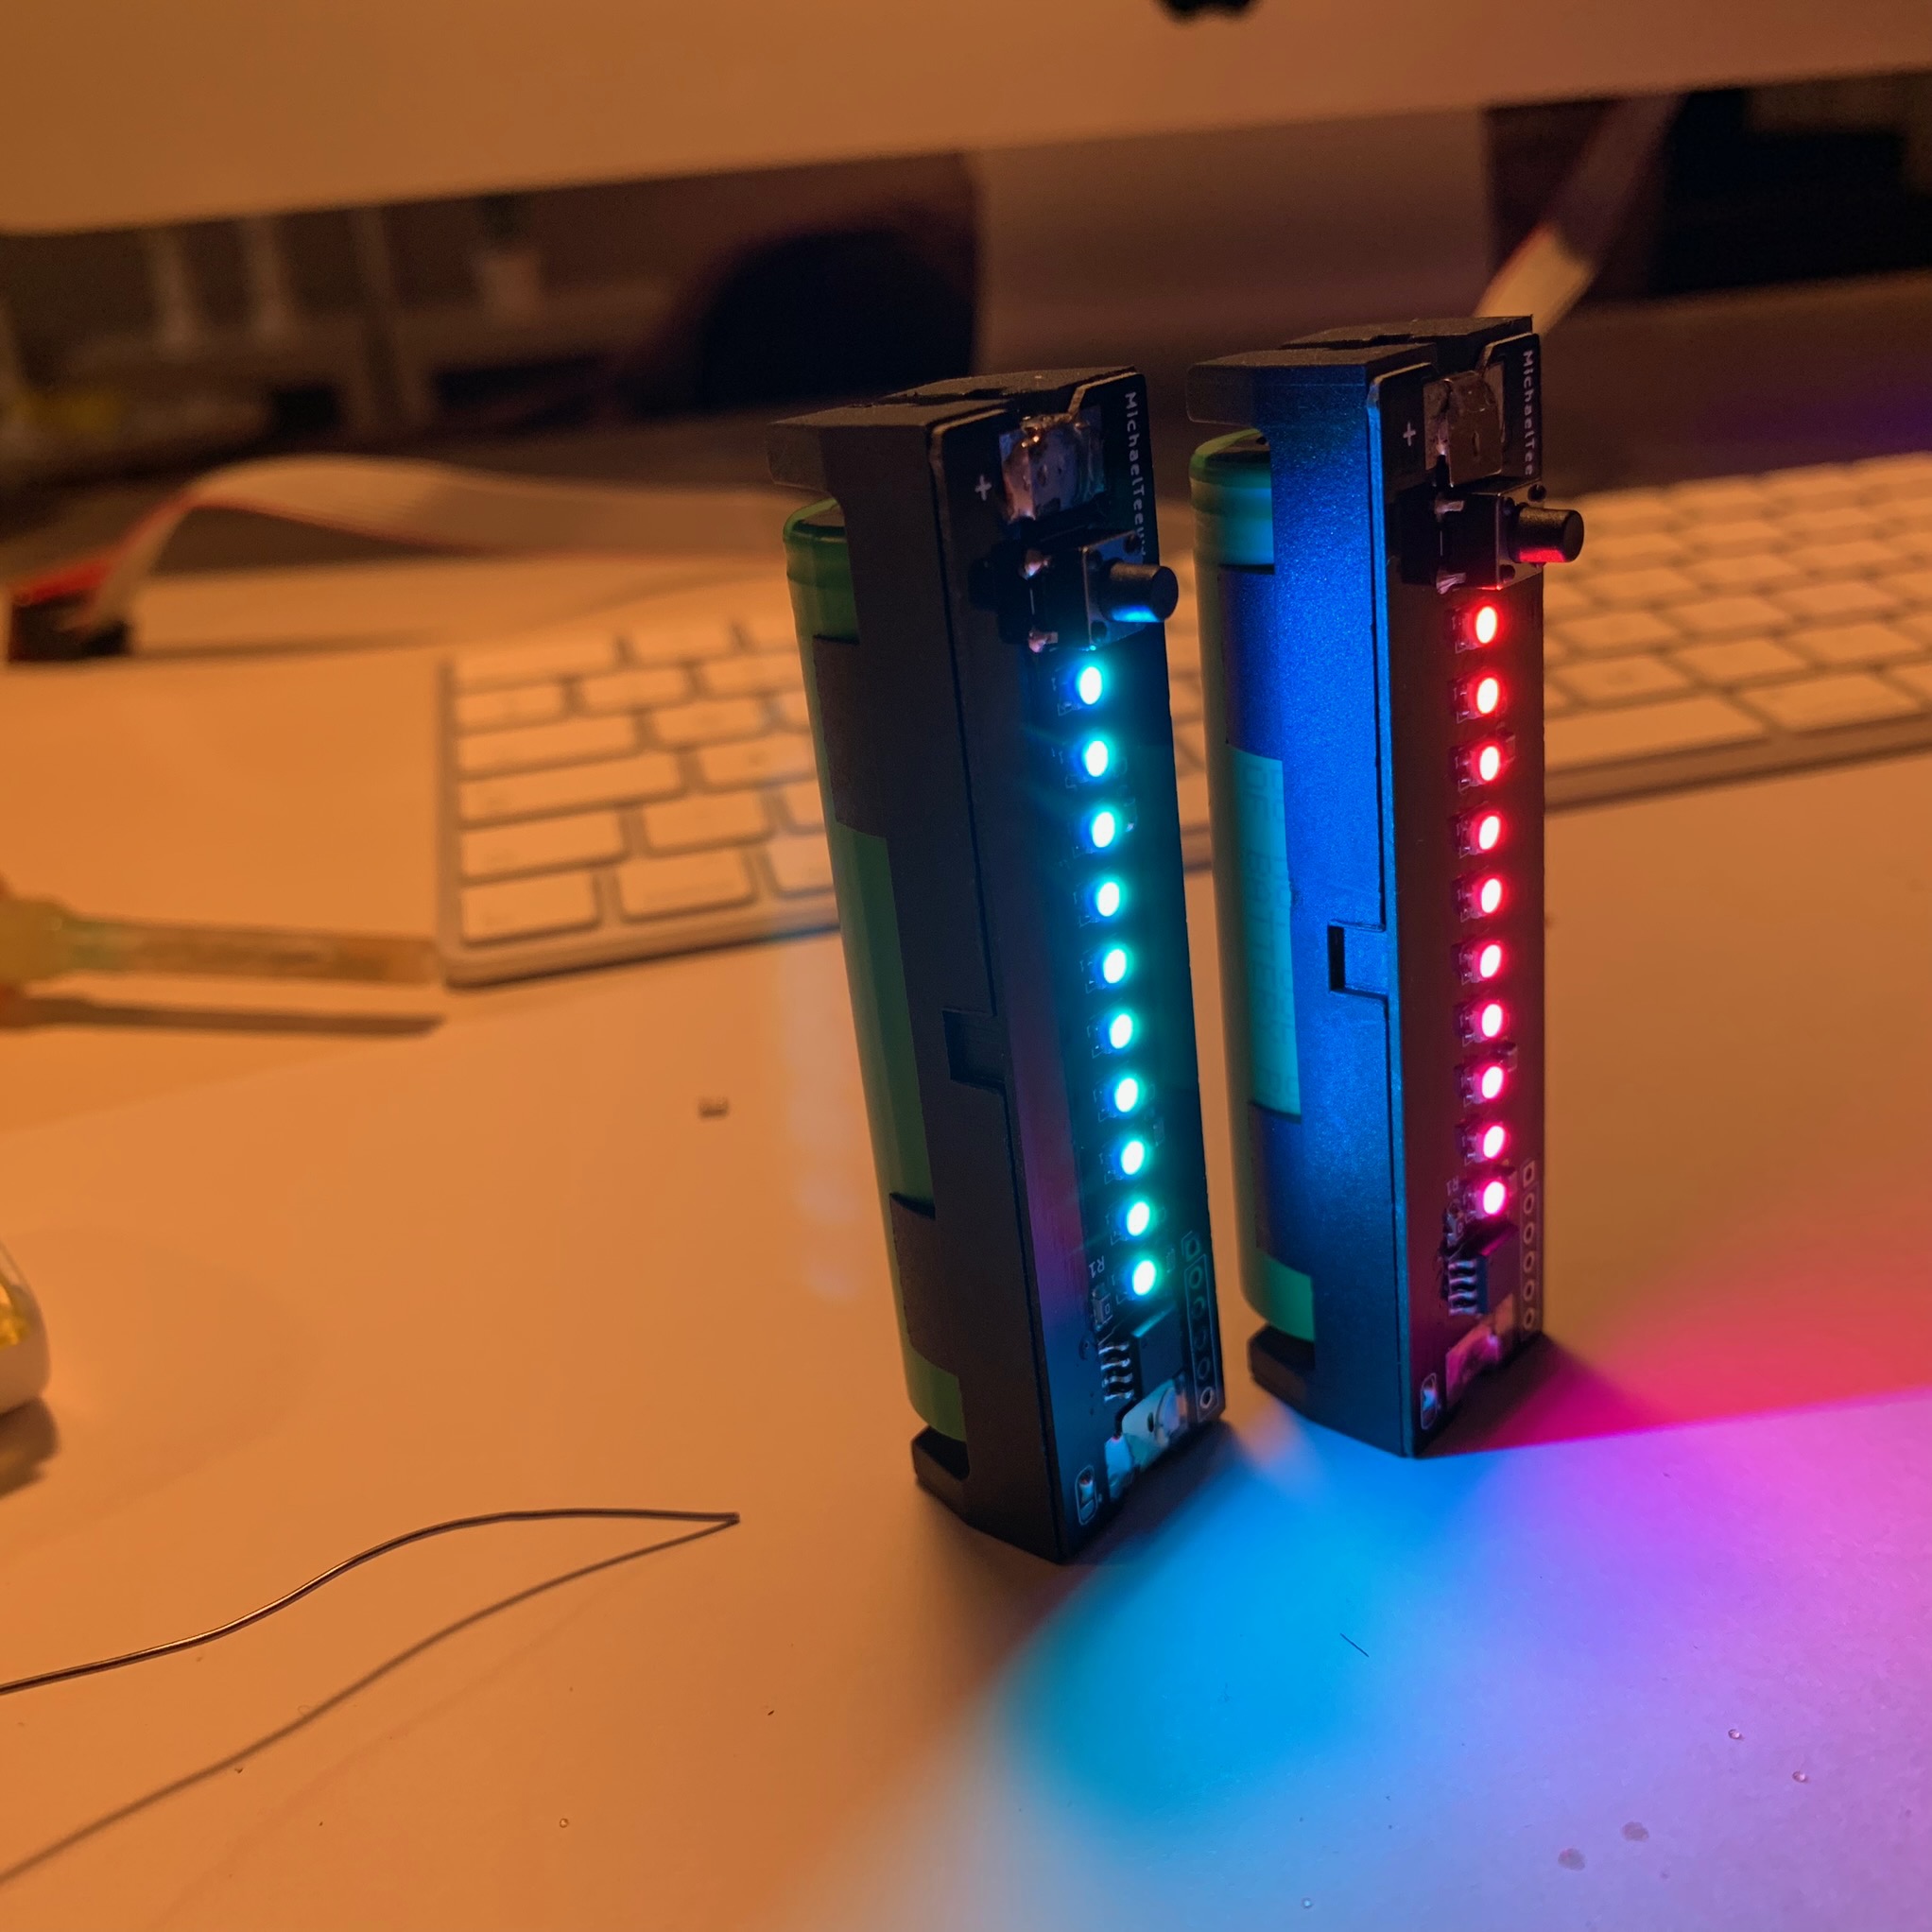
Speaking of the firmware: after making a few slight adjustments to the demo code, the Ridiculous Kitchen Timer™ is ready to be used: the 10 leds slowly light up in blue to count down the 26 seconds and then turn red to inform me to stop brewing and start drinking my coffee.
So, to conclude: this really is the most Ridiculous Kitchen Timer™. And as a matter of fact, it’s pretty flawed as well:
- It contains a dangerous LiPo battery with no under voltage protection.
- Although it’s based on a rechargeable battery, it doesn’t come with a charging feature.
- The 26 seconds is non adjustable (without reflashing the firmware).
- Is has no audible signals, like any other decent kitchen timer.
- The LEDs are so bright your retina is damaged before you’ve finished your second coffee of the day.
- With all the components (and shipping costs) combined, it probably is the most expensive kitchen timer ever produced.
- It doesn’t come with an app.
Never the less, it was a fun little project and from now on, our coffee tastes even better. And that’s the only thing that matters.

Enjoy your coffee!
