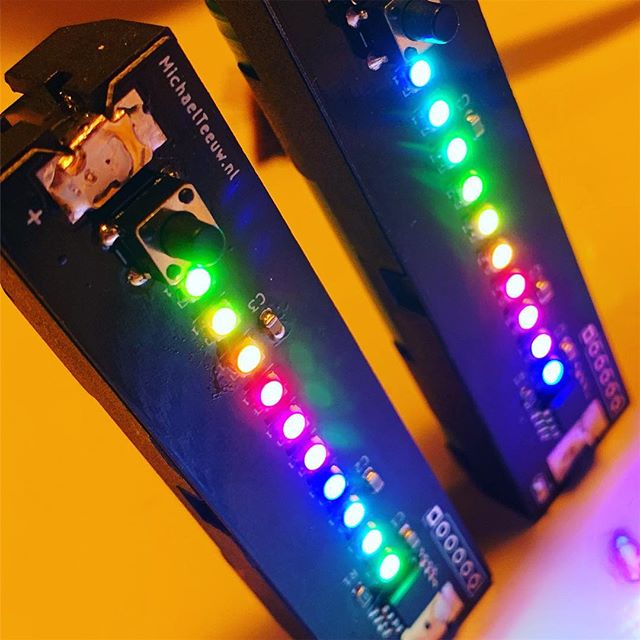
The Ridiculous Kitchen Timer™
I’m a huge coffee addict. As for many of us, coffee is the core ingredient for my projects. And since I like quality coffee we own a manually operated espresso machine. If the grind is perfect, and you use the ideal brewing time, the coffee will be able to fuel any project. But how to measure the perfect brewing time? The Ridiculous Kitchen Timer™ to the rescue!
Electrocard:
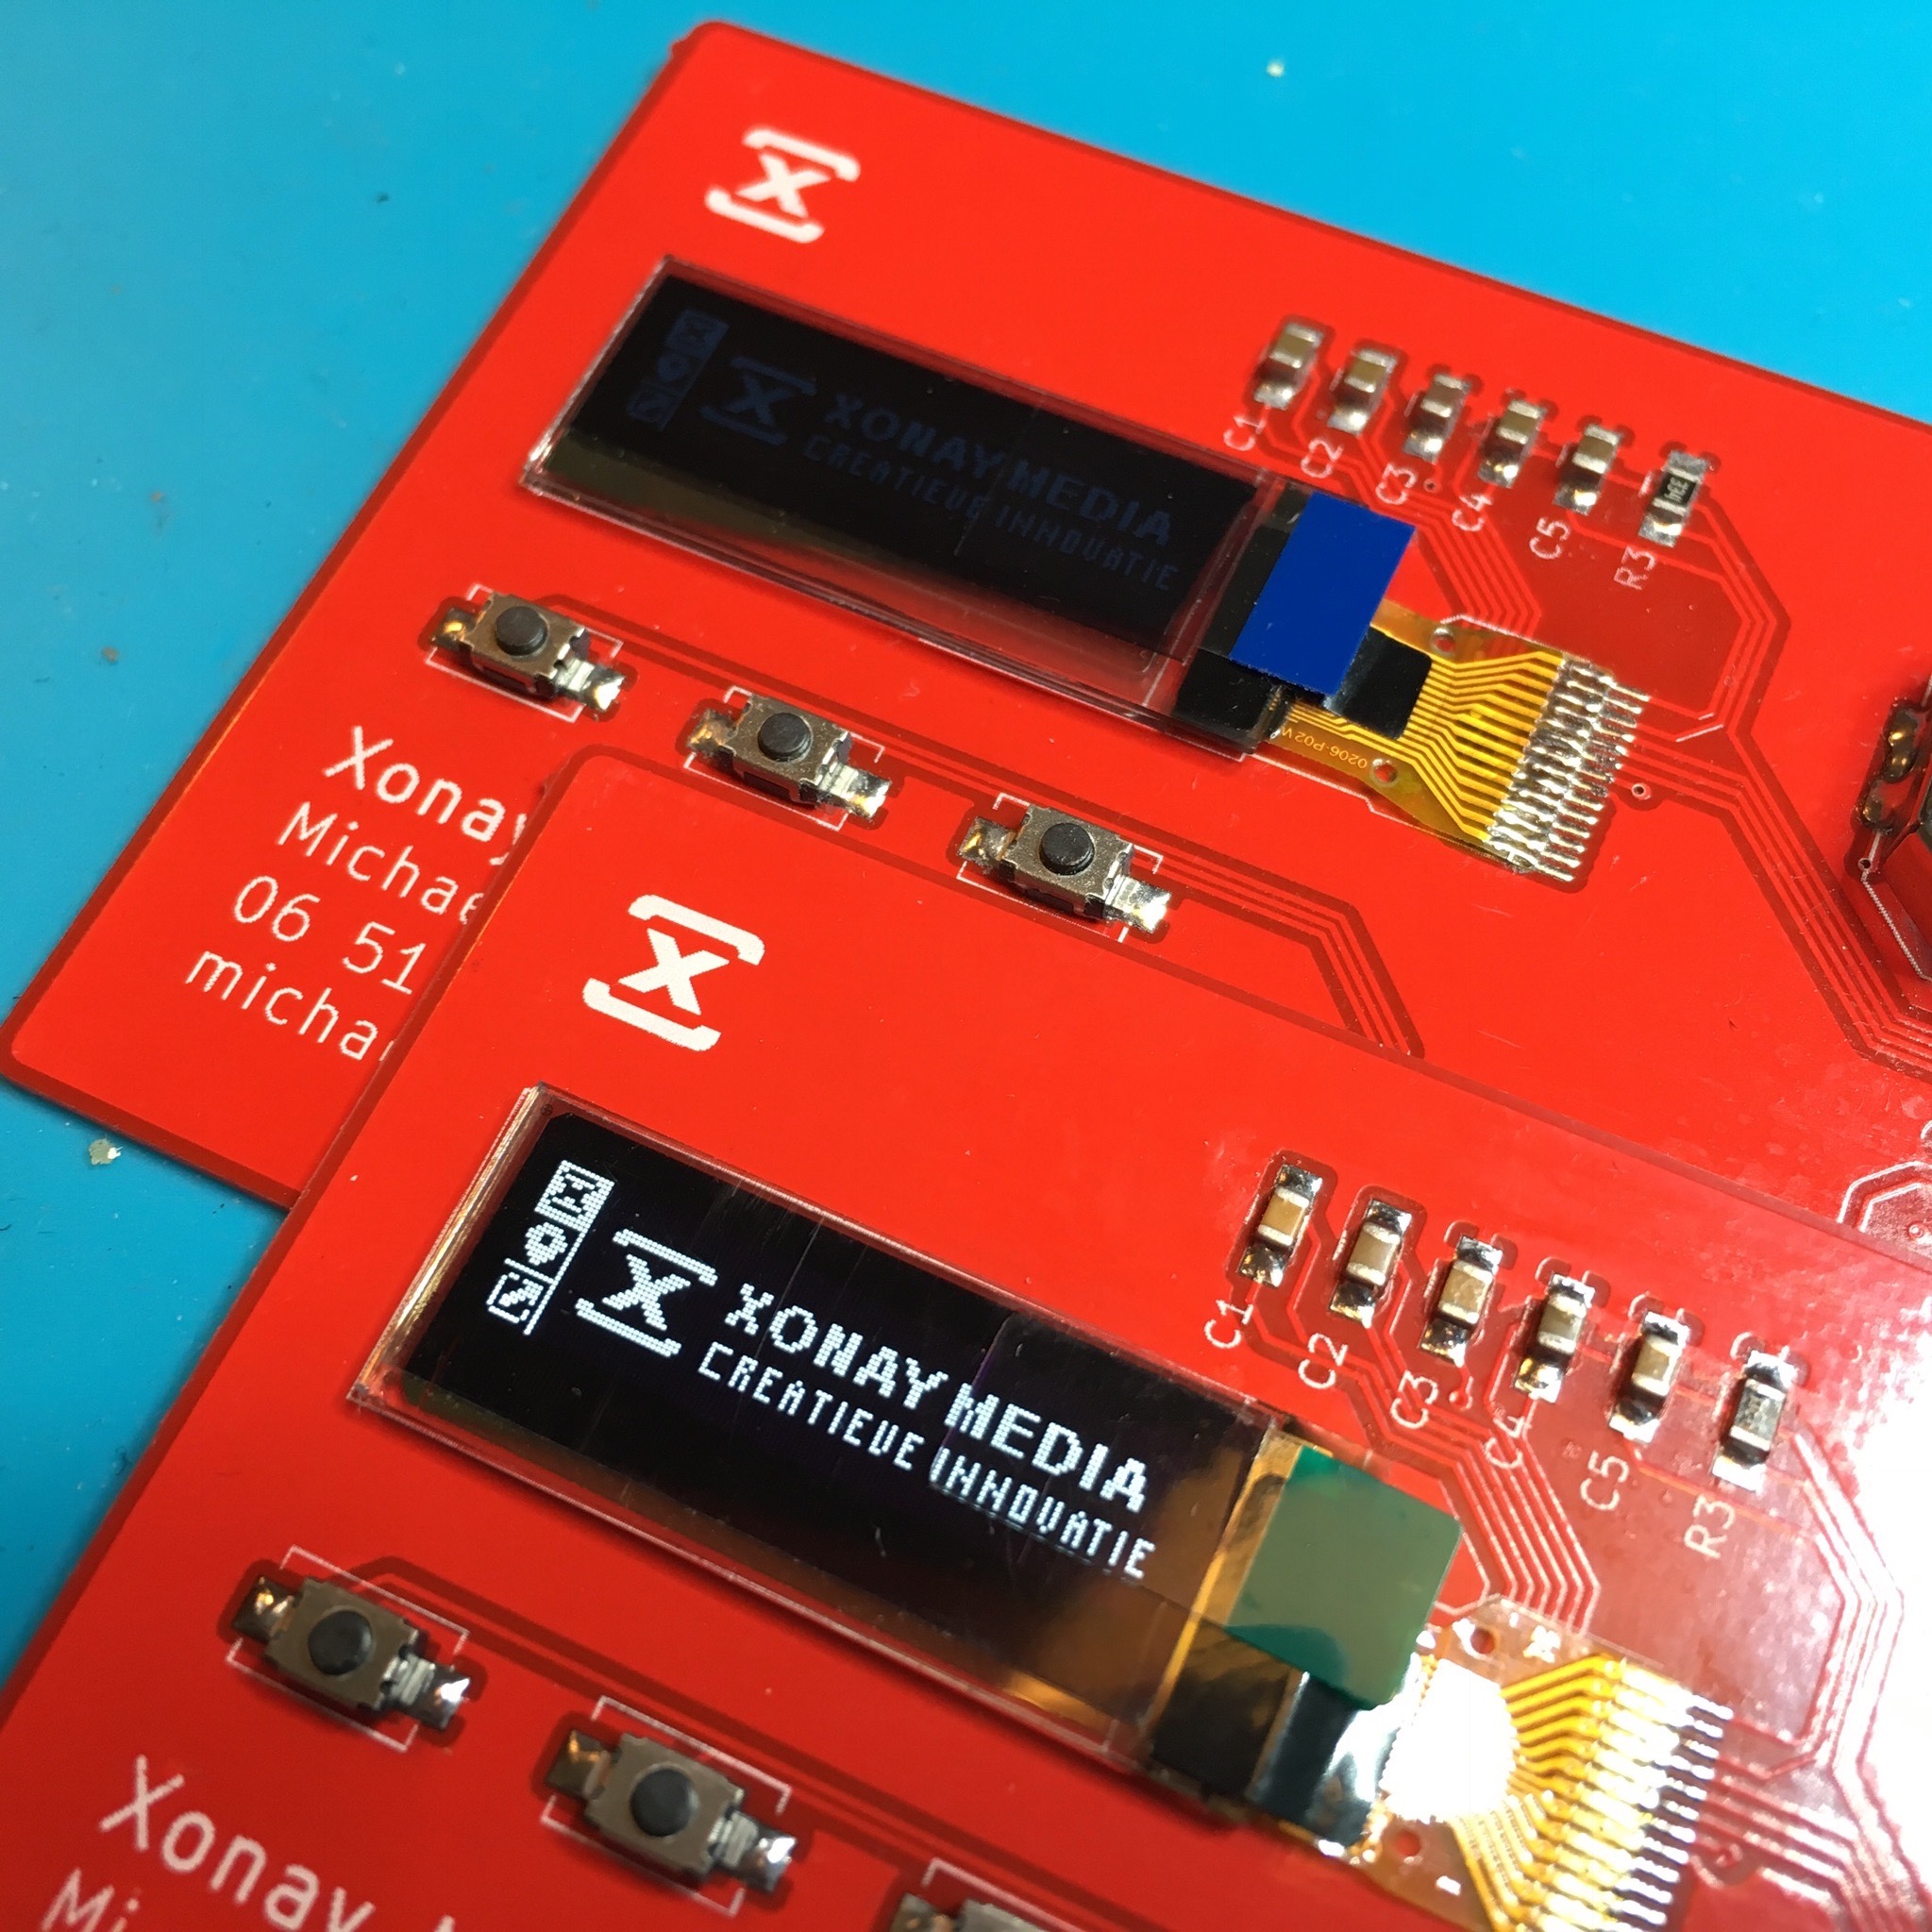
Shine bright like a diamond!
So, in the last batch of Electrocards I assembled, one of the displays had a very poor brightness. A fun project to see if I would be able to debug this issues.
Activity Board:
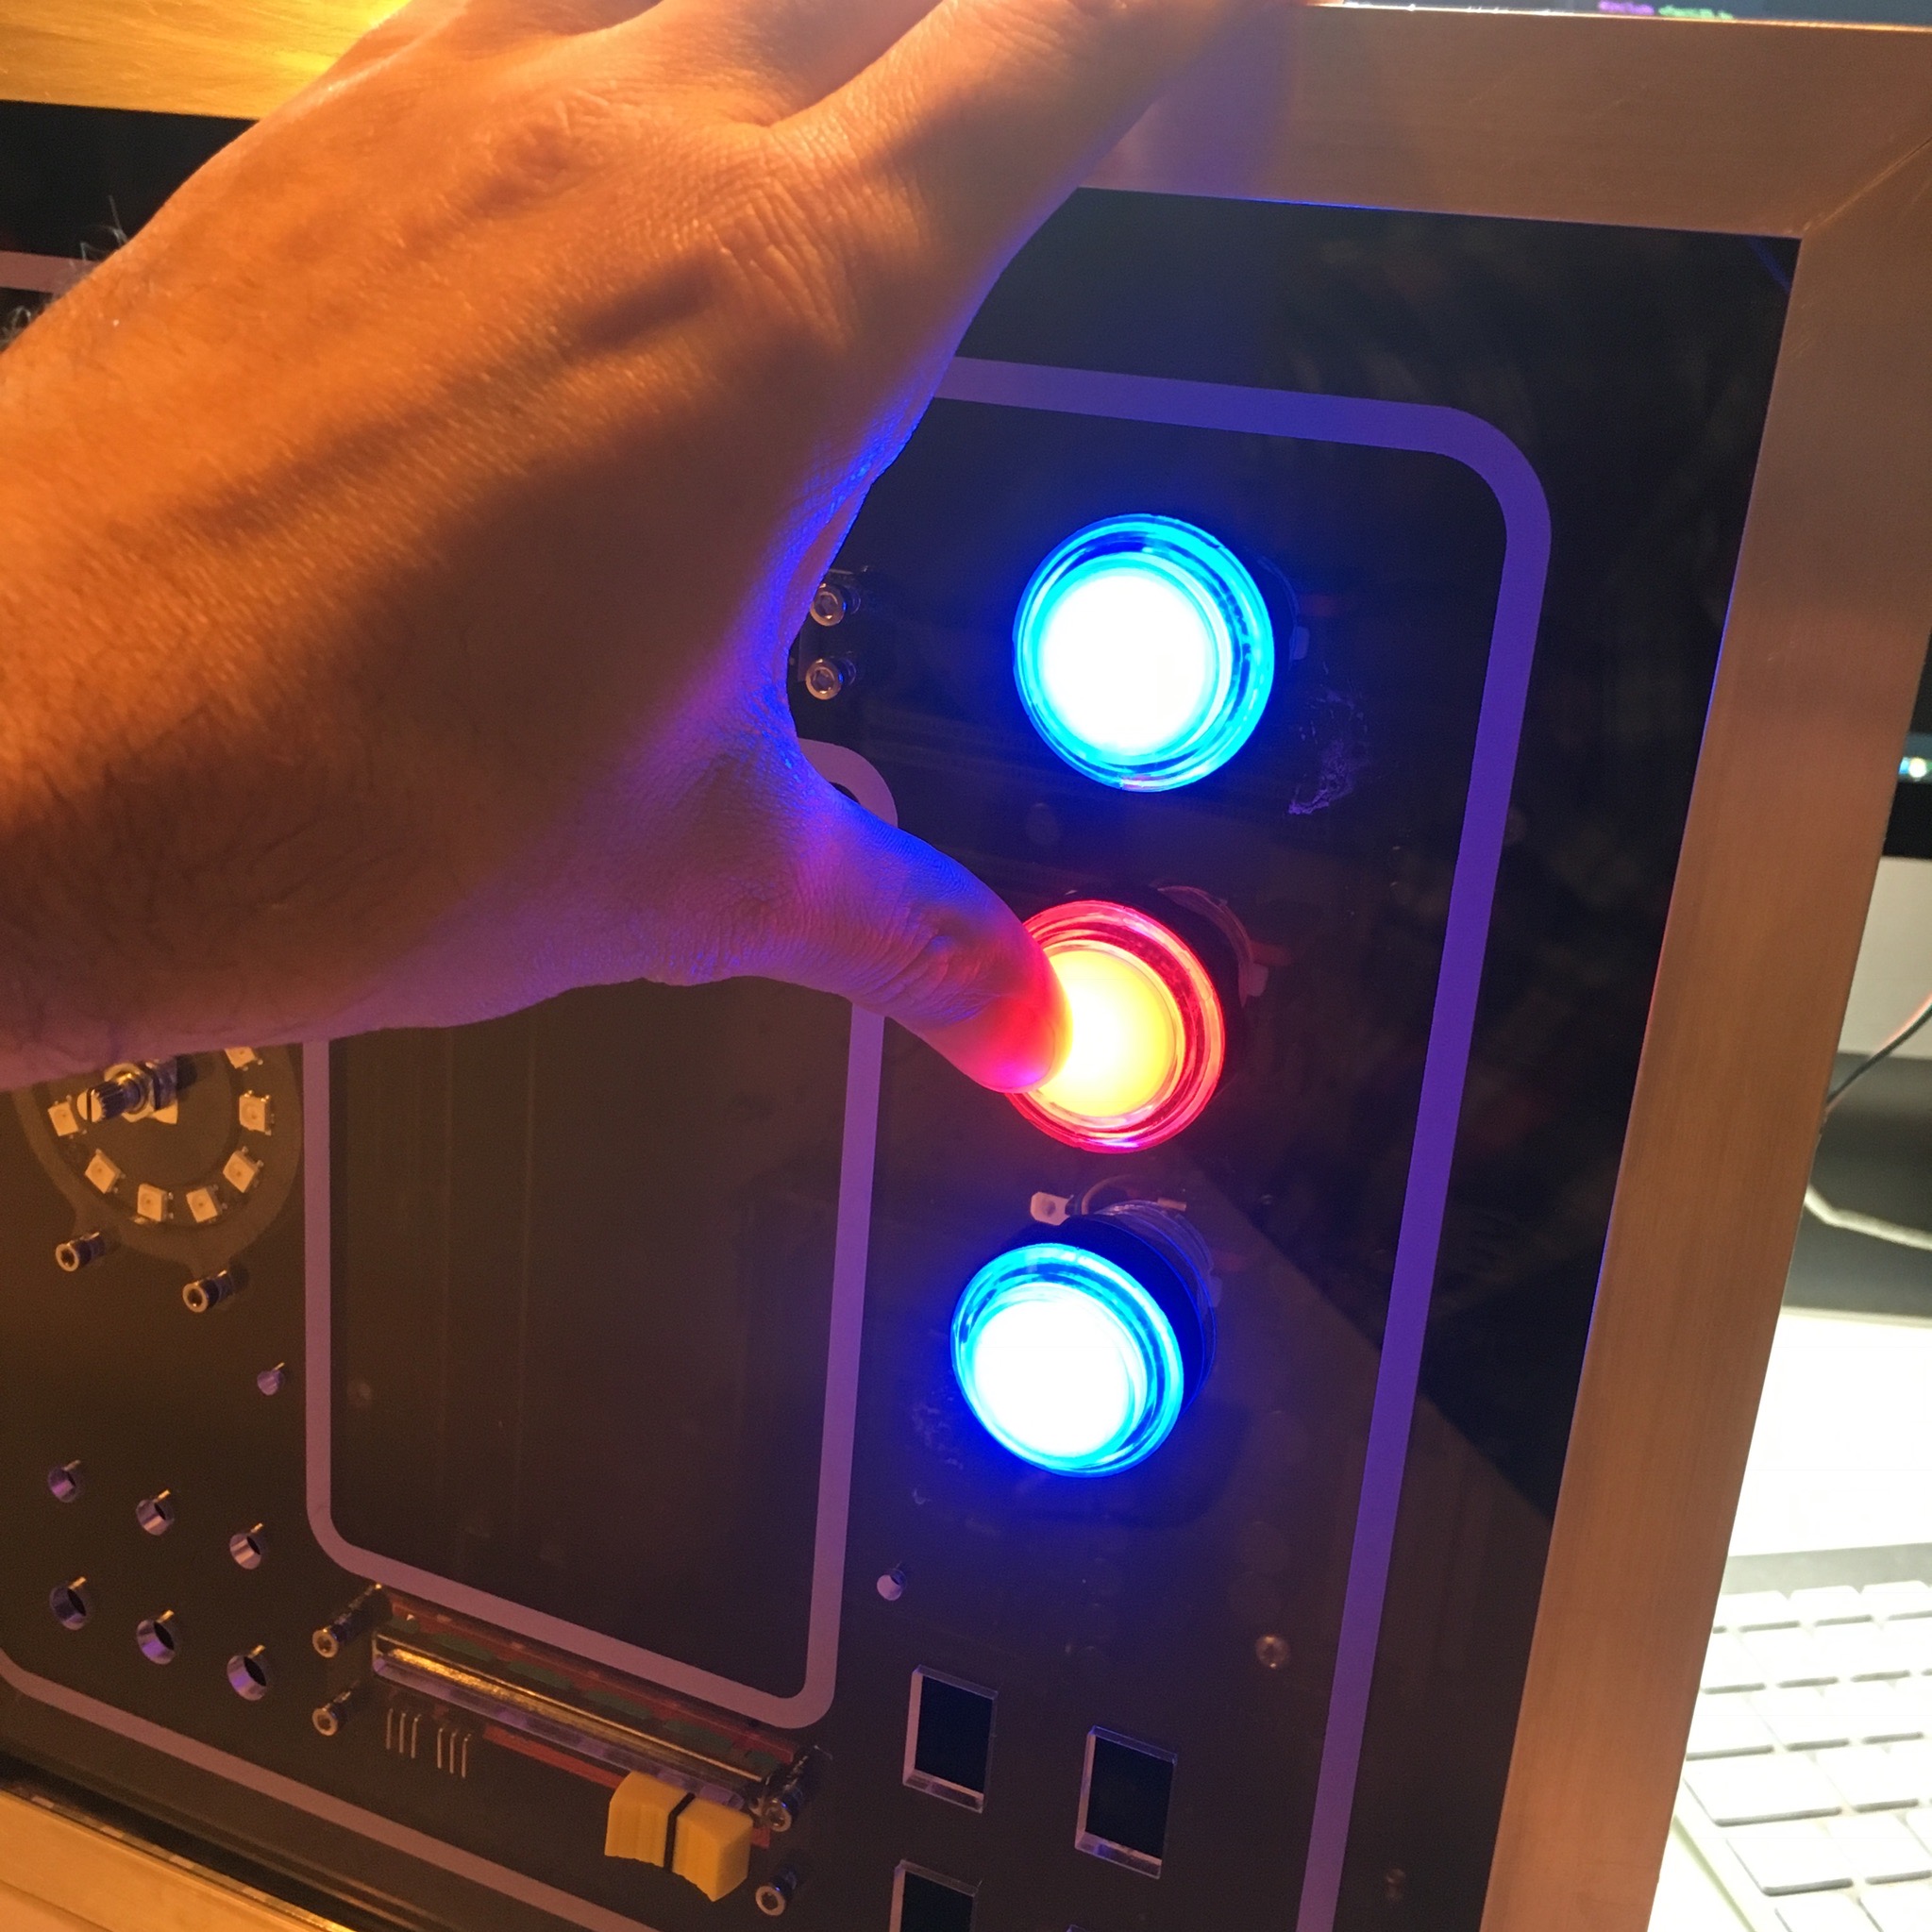
Push the button!
Now that the activity board casing is done. It’s time to start the wiring of all the components. A tedious job which I take way too serious.
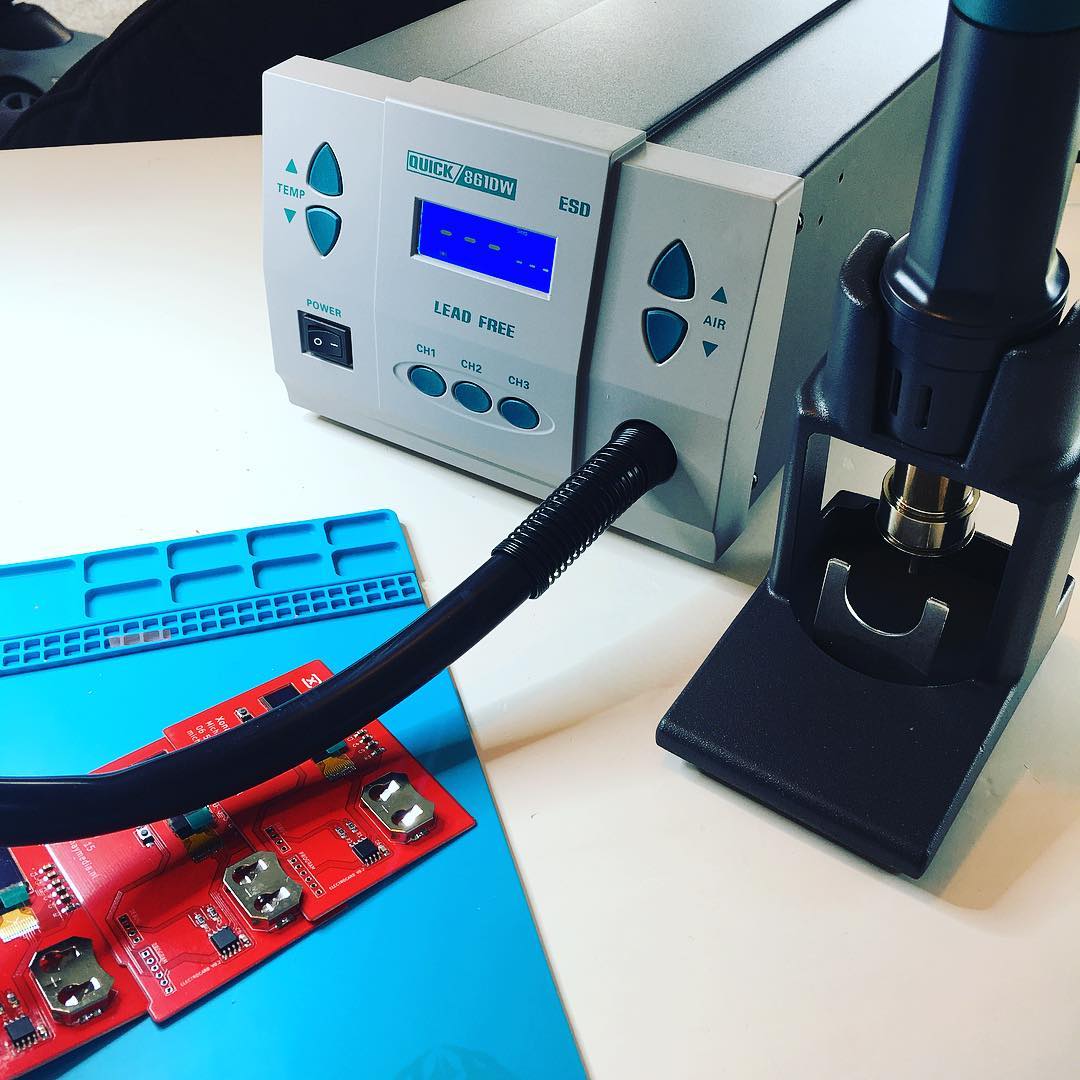
It's getting hot in here!
If you are a regular visitor of my blog, you might have noticed a slightly longer period of inactivity between my regular posts. In the past weeks I’ve exchanged my soldering iron for a nice juice on a sunny and warm beach. Regular visitors might also know that the mail man usually leaves me a nice package to come home to after my holiday. This time was no exception.
Electrocard:
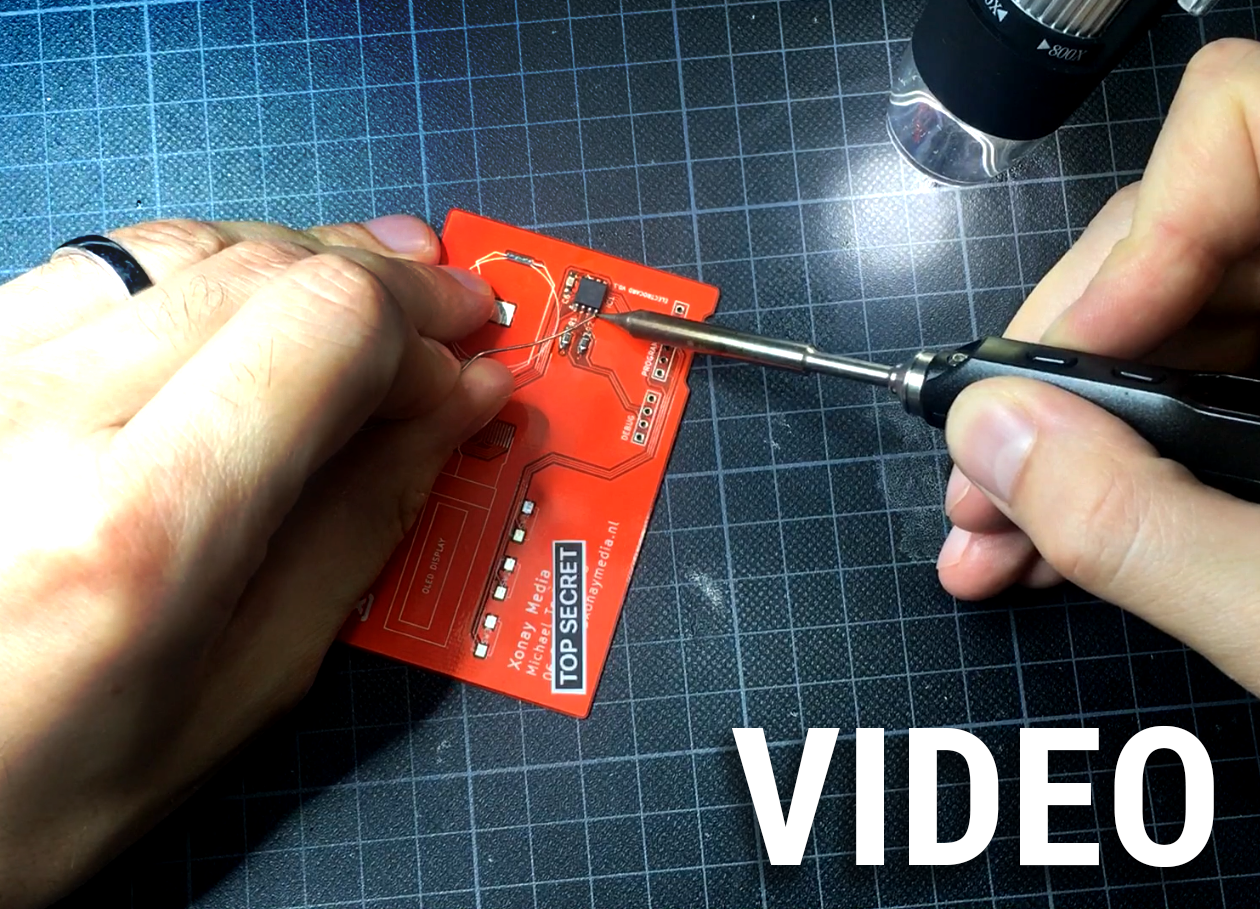
Soldering
After my beautiful shiny new PCB business cards arrived, the fun could begin. Time to start soldering! And since a blog post about soldering isn’t the most exciting, I decided to make a video showing the full process.
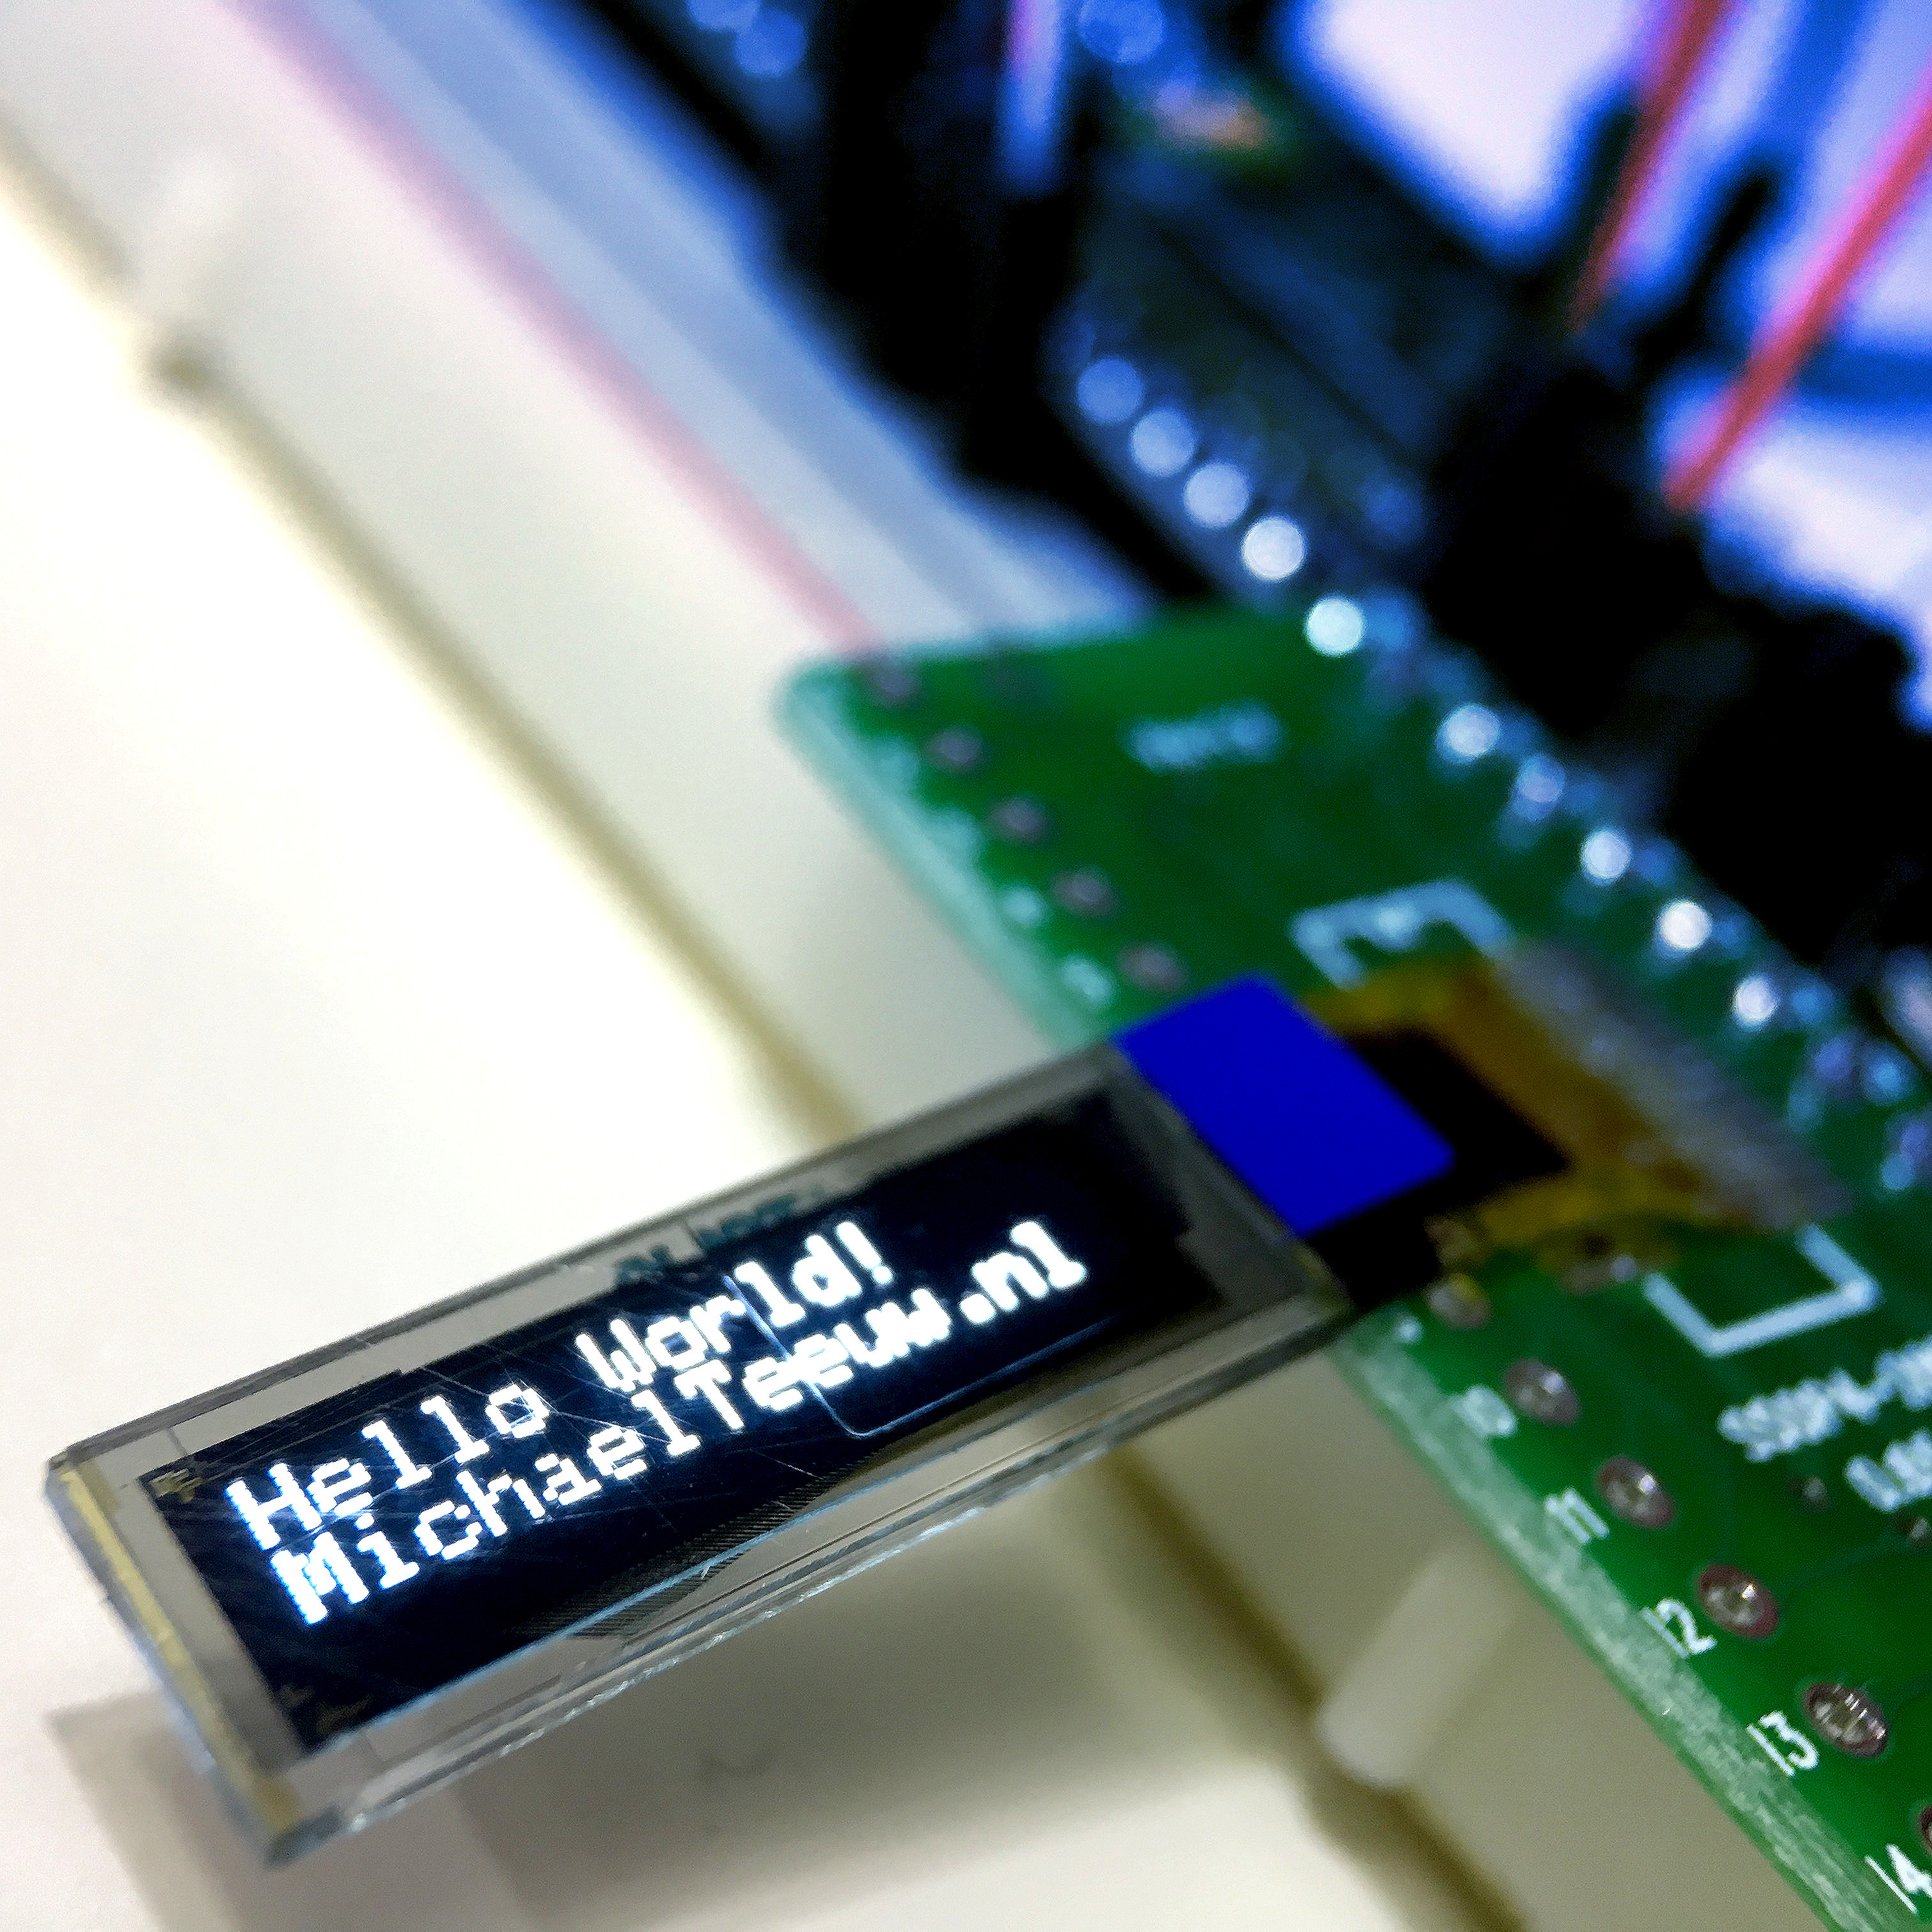
Trying out a Barebone OLED display
If you you are a tinkerer that likes to play around with Arduino’s and electronics, you’ve probably played around with a 4 pin I2C OLED display more than once. To step up my game, I thought it would be fun to give myself a little challenge and try out a barebone OLED screen without the convenient breakout board.