It’s been 10 months since my second son was born. And since then, he has been sleeping in a crib in our master bed room. And as much as I love him, It was time for him to move out. Out of our bed room at least … Time to built him a place to sleep.
We live in a 2 bedroom apartment. So moving our youngest son out of our bed room meant he had to move in to his brother’s room. Unfortunately that room isn’t big enough for two beds next to each other, so the only option was to use a bunk bed.
It turns out the big yellow and blue furniture store doesn’t sell bunk beds for kids. A regular bunk bed would be unnecessary large and would not fit in the tiny room. So the only option was for me to show my wife why she married me. (I can not think of an other reason besides the fact that I like to build stuff.)
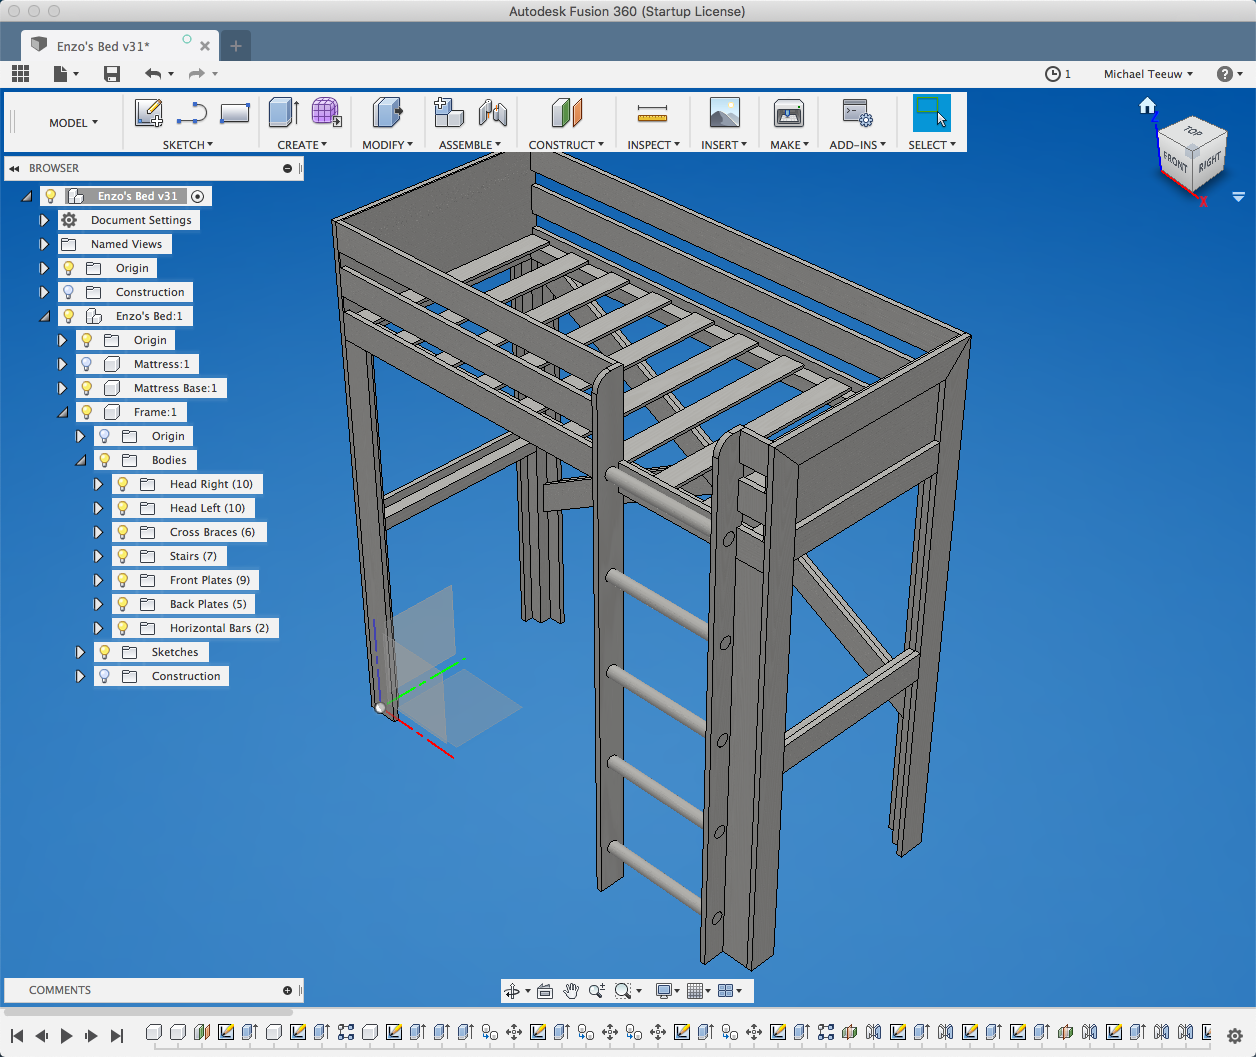
I fired up Fusion 360 and started drawing the bed I had in mind. The sizes were based on a 70x160 cm kids mattress and the fact that the baby bed my 3yo was still using should fit under it. Essentially they both would get an upgrade.
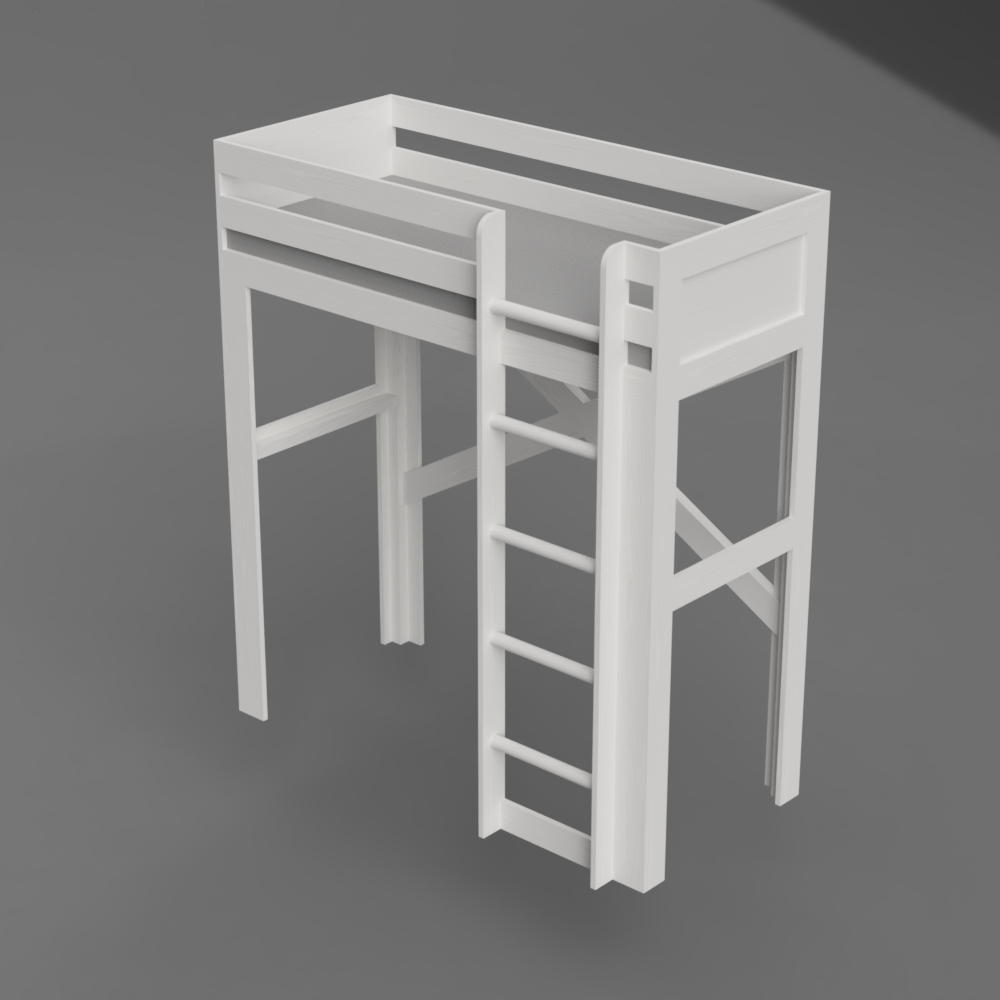
After rendering a nice image on what I had in mind I convinced my wife that it was a good idea to spent a some money on lumber and let me make a mess in the house for the following two weekends. Somehow she felt for that.
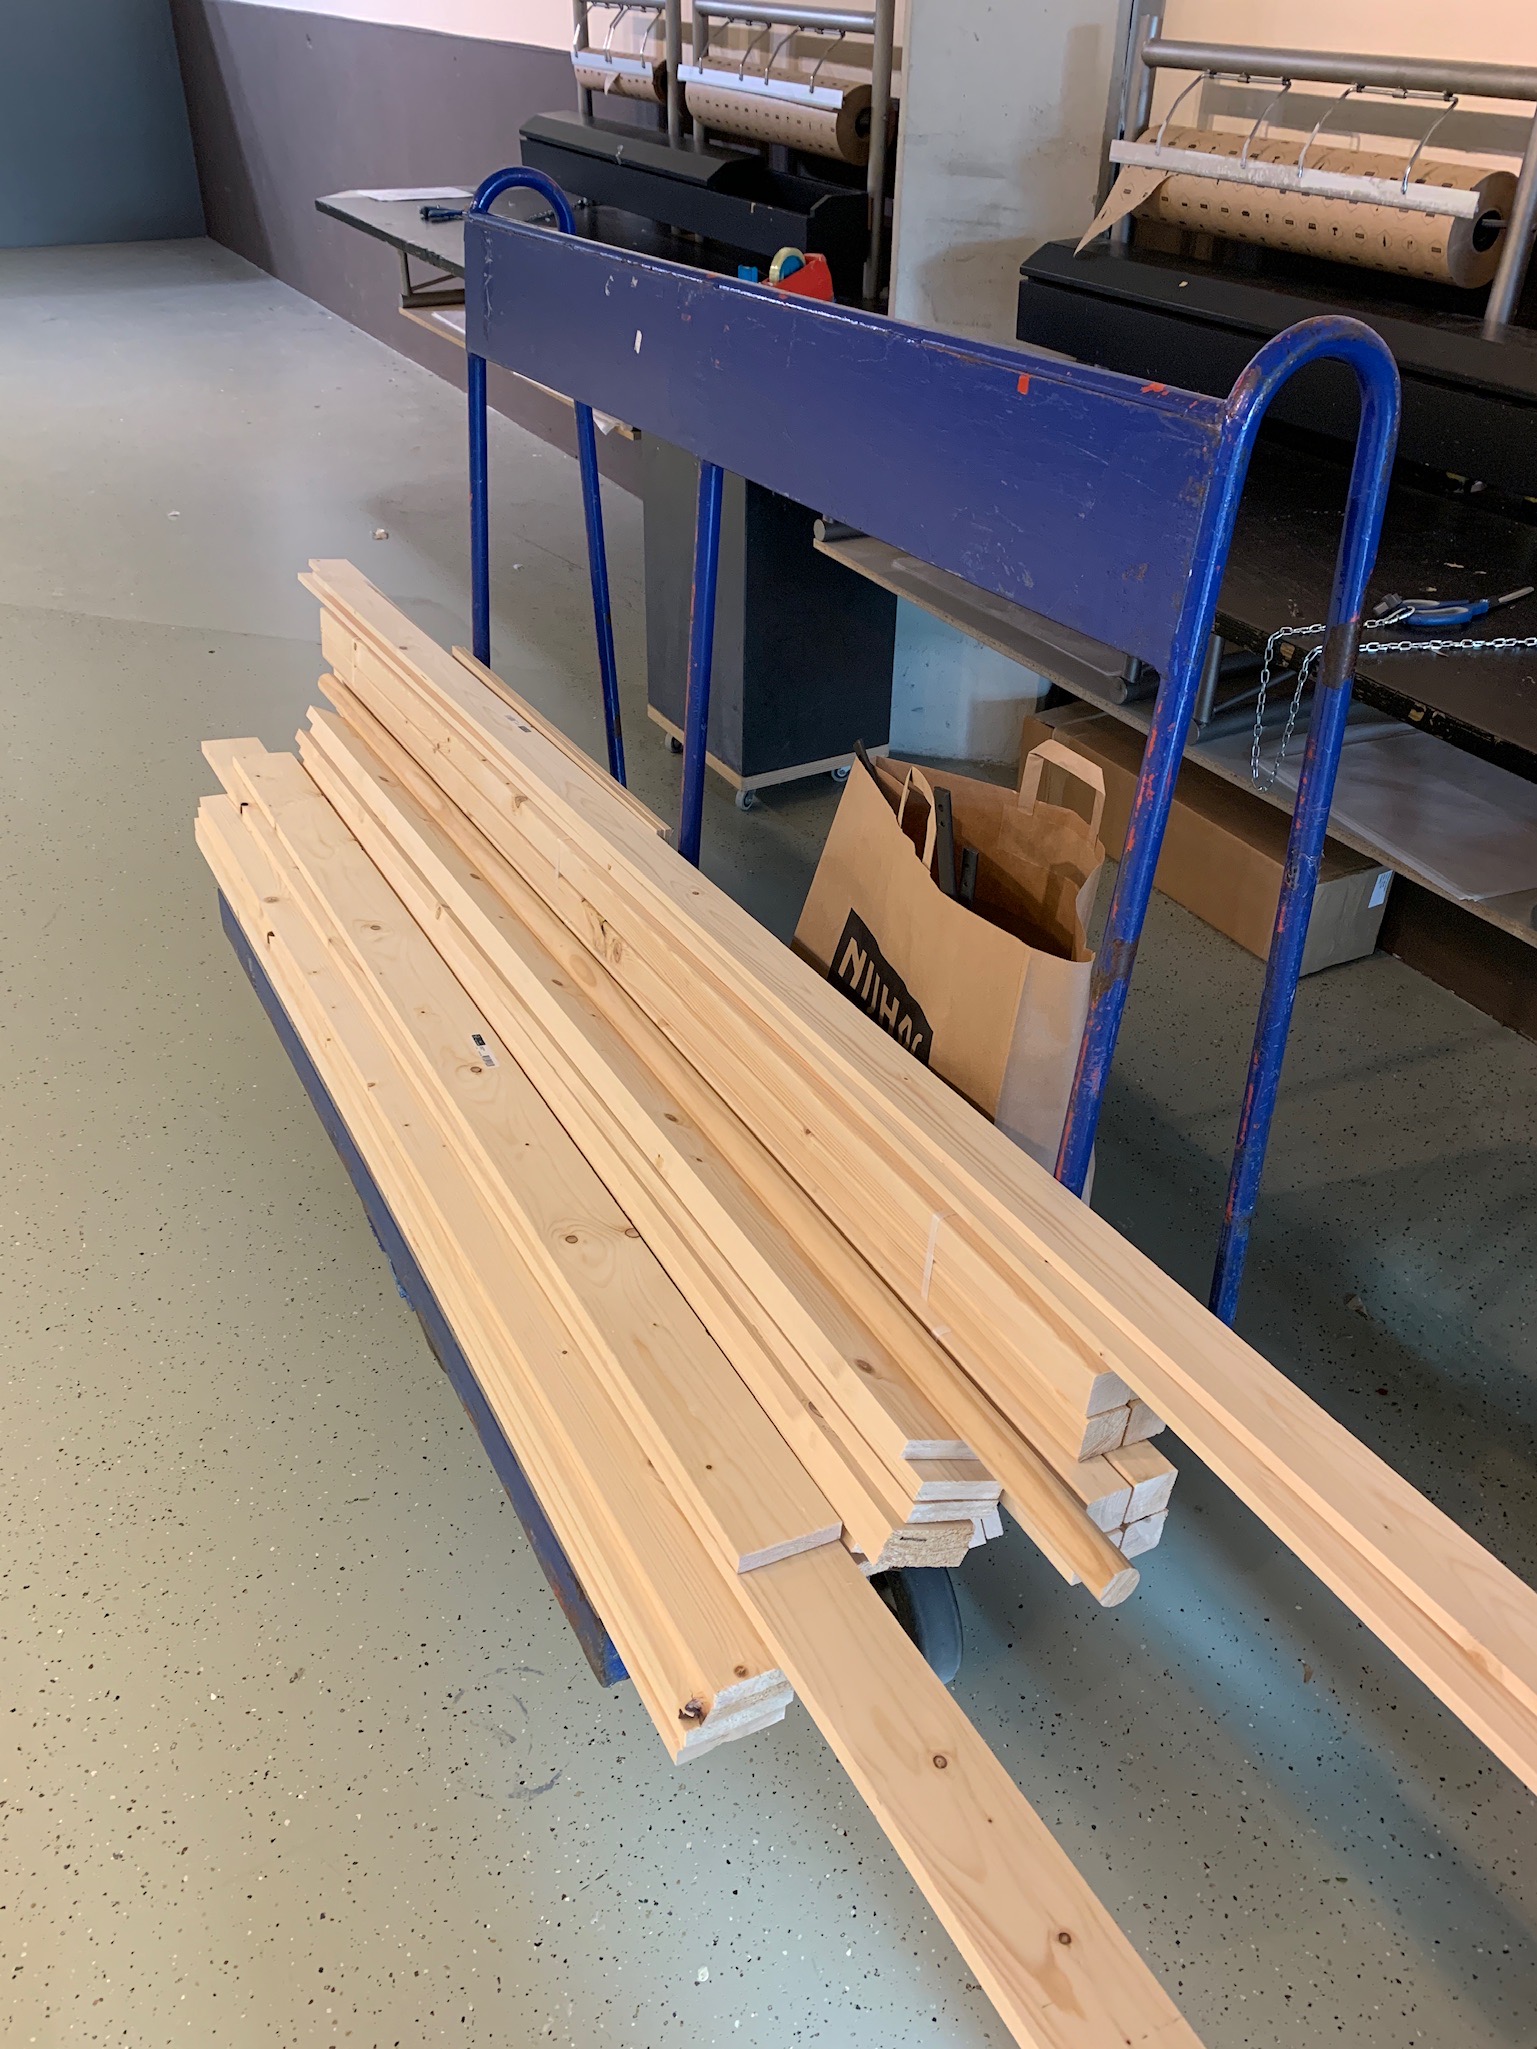
The upside of designing your ideas in CAD before you start building is that you can make a good estimation of the amount of lumber you need. And boy, was that more than I expected …
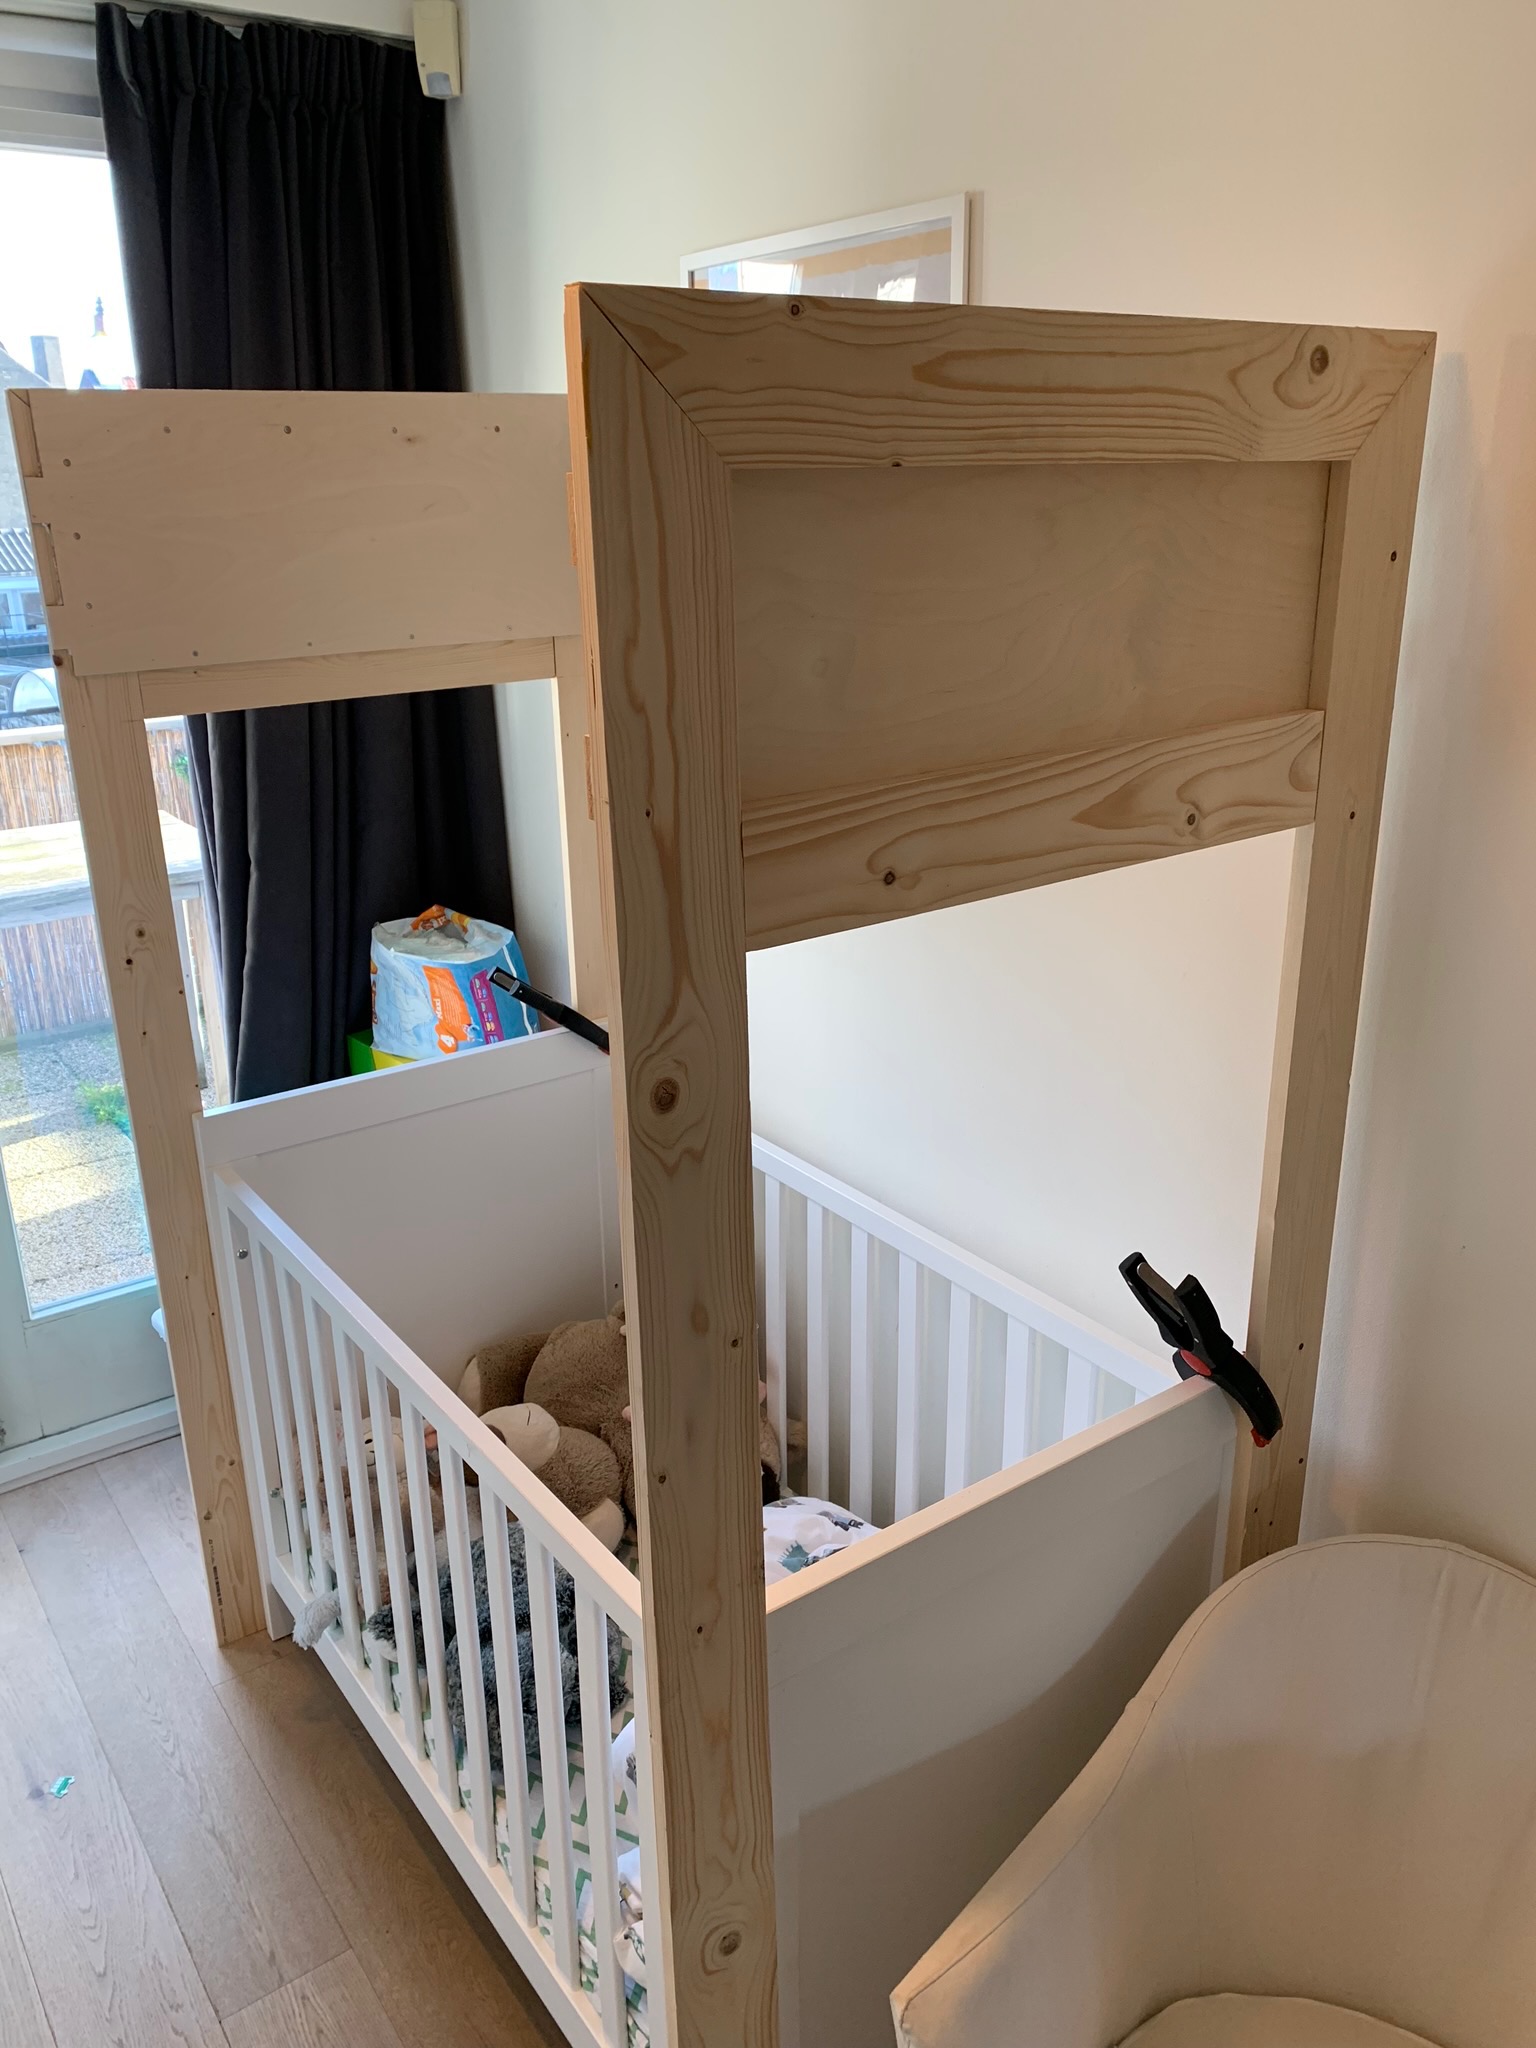
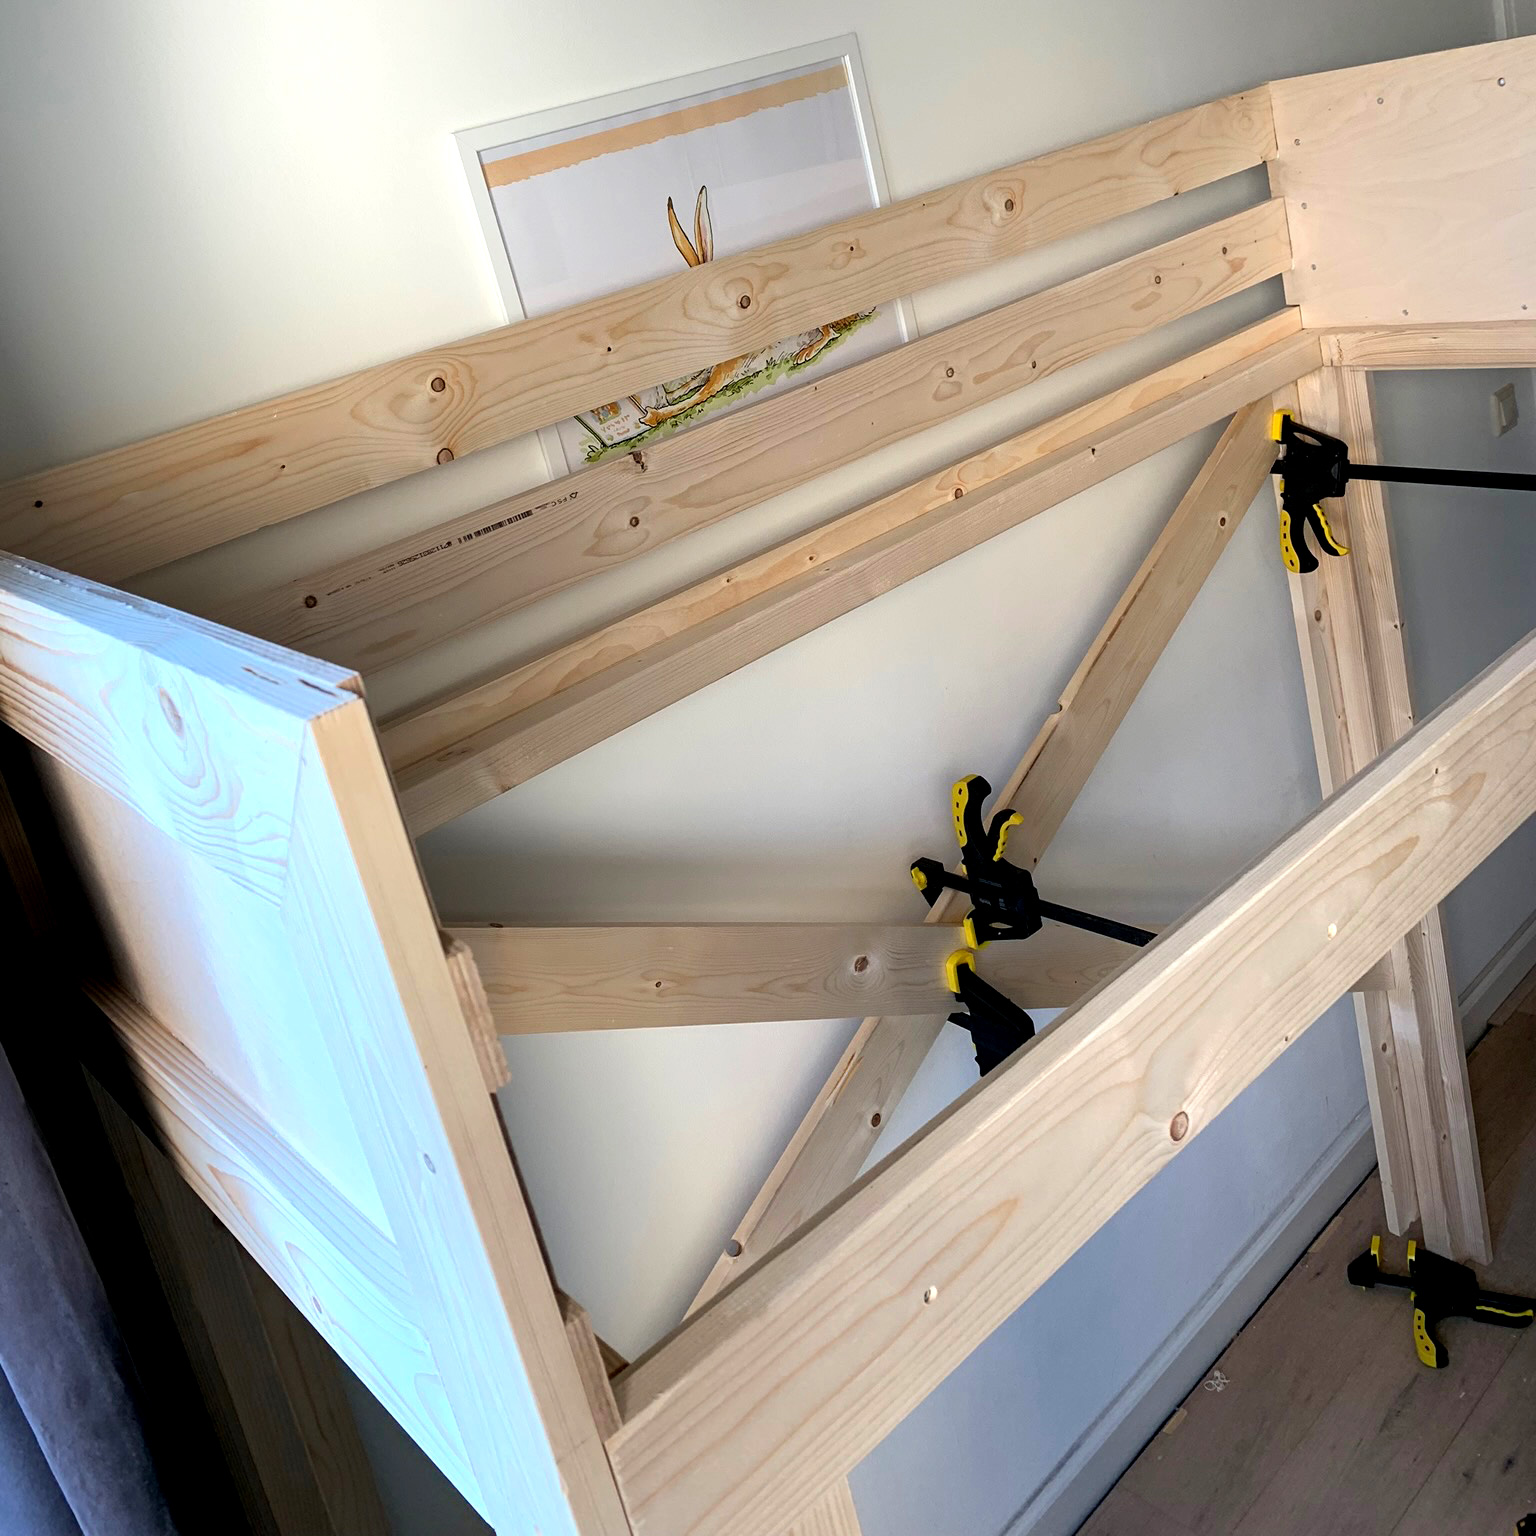
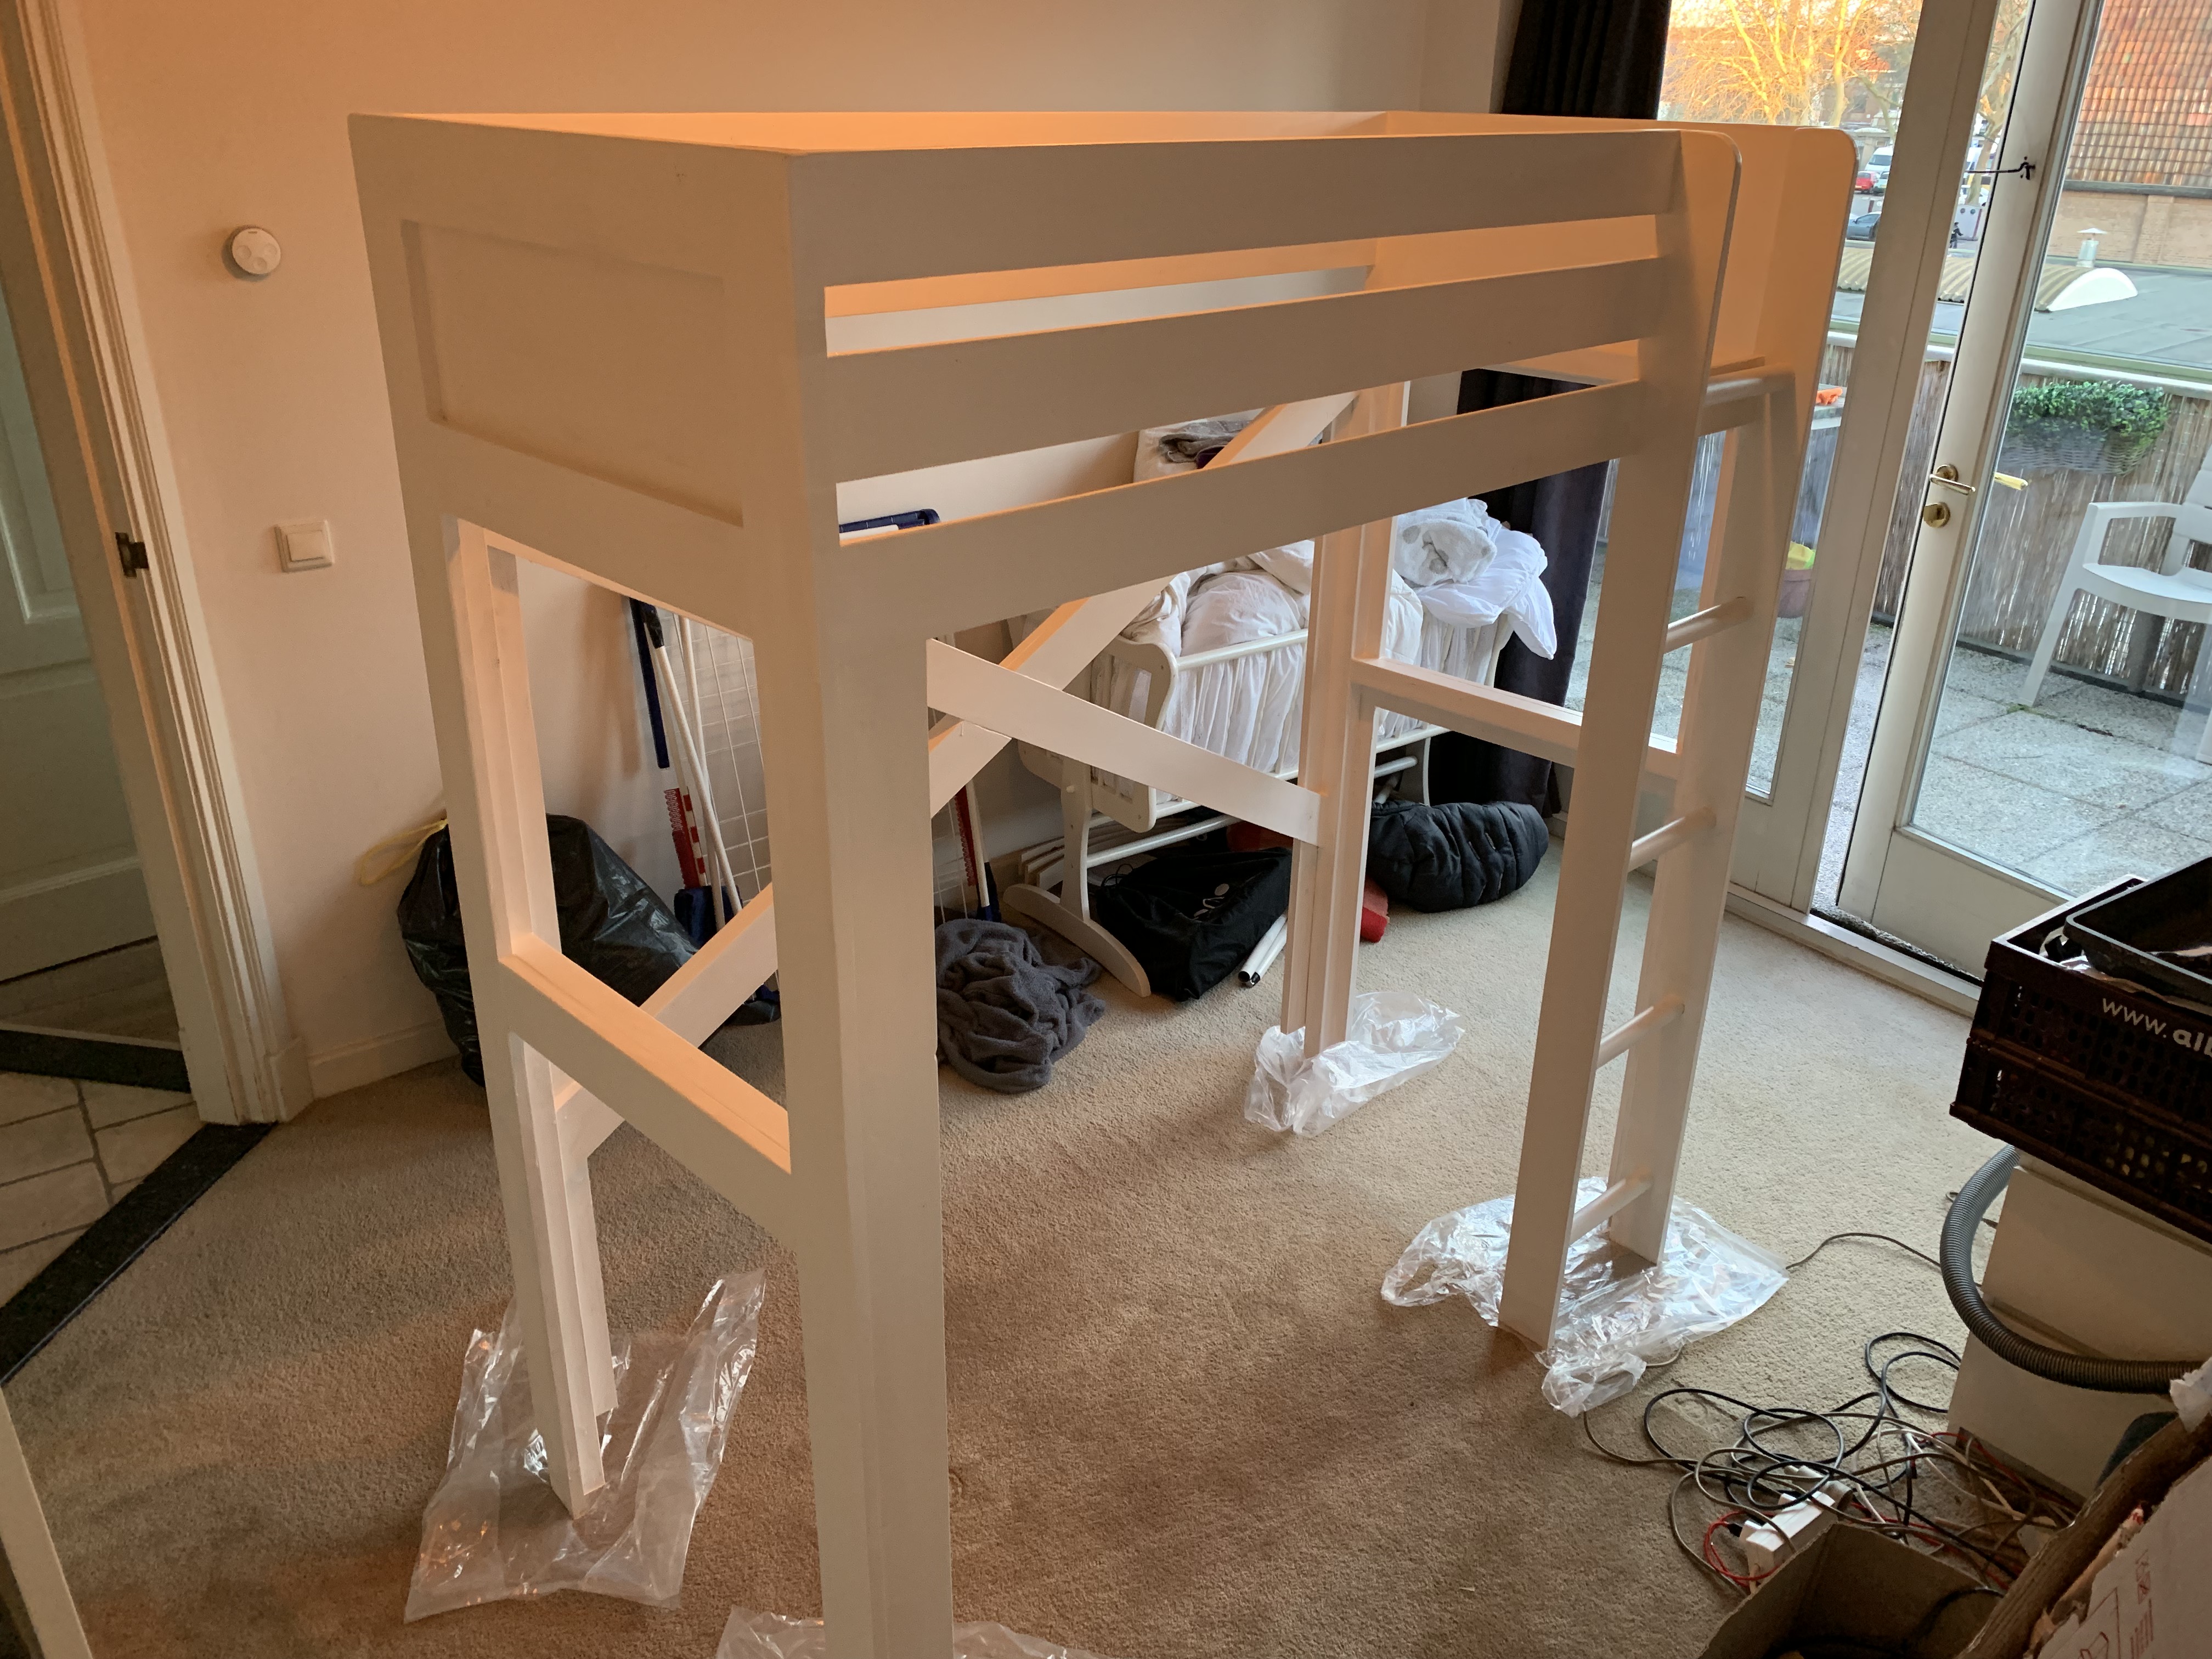
I started with the two sides. To give me an estimation of the size I clamped them to the baby bed. Eventually the bed will be 40 centimeter longer, but for now It started to look like something.
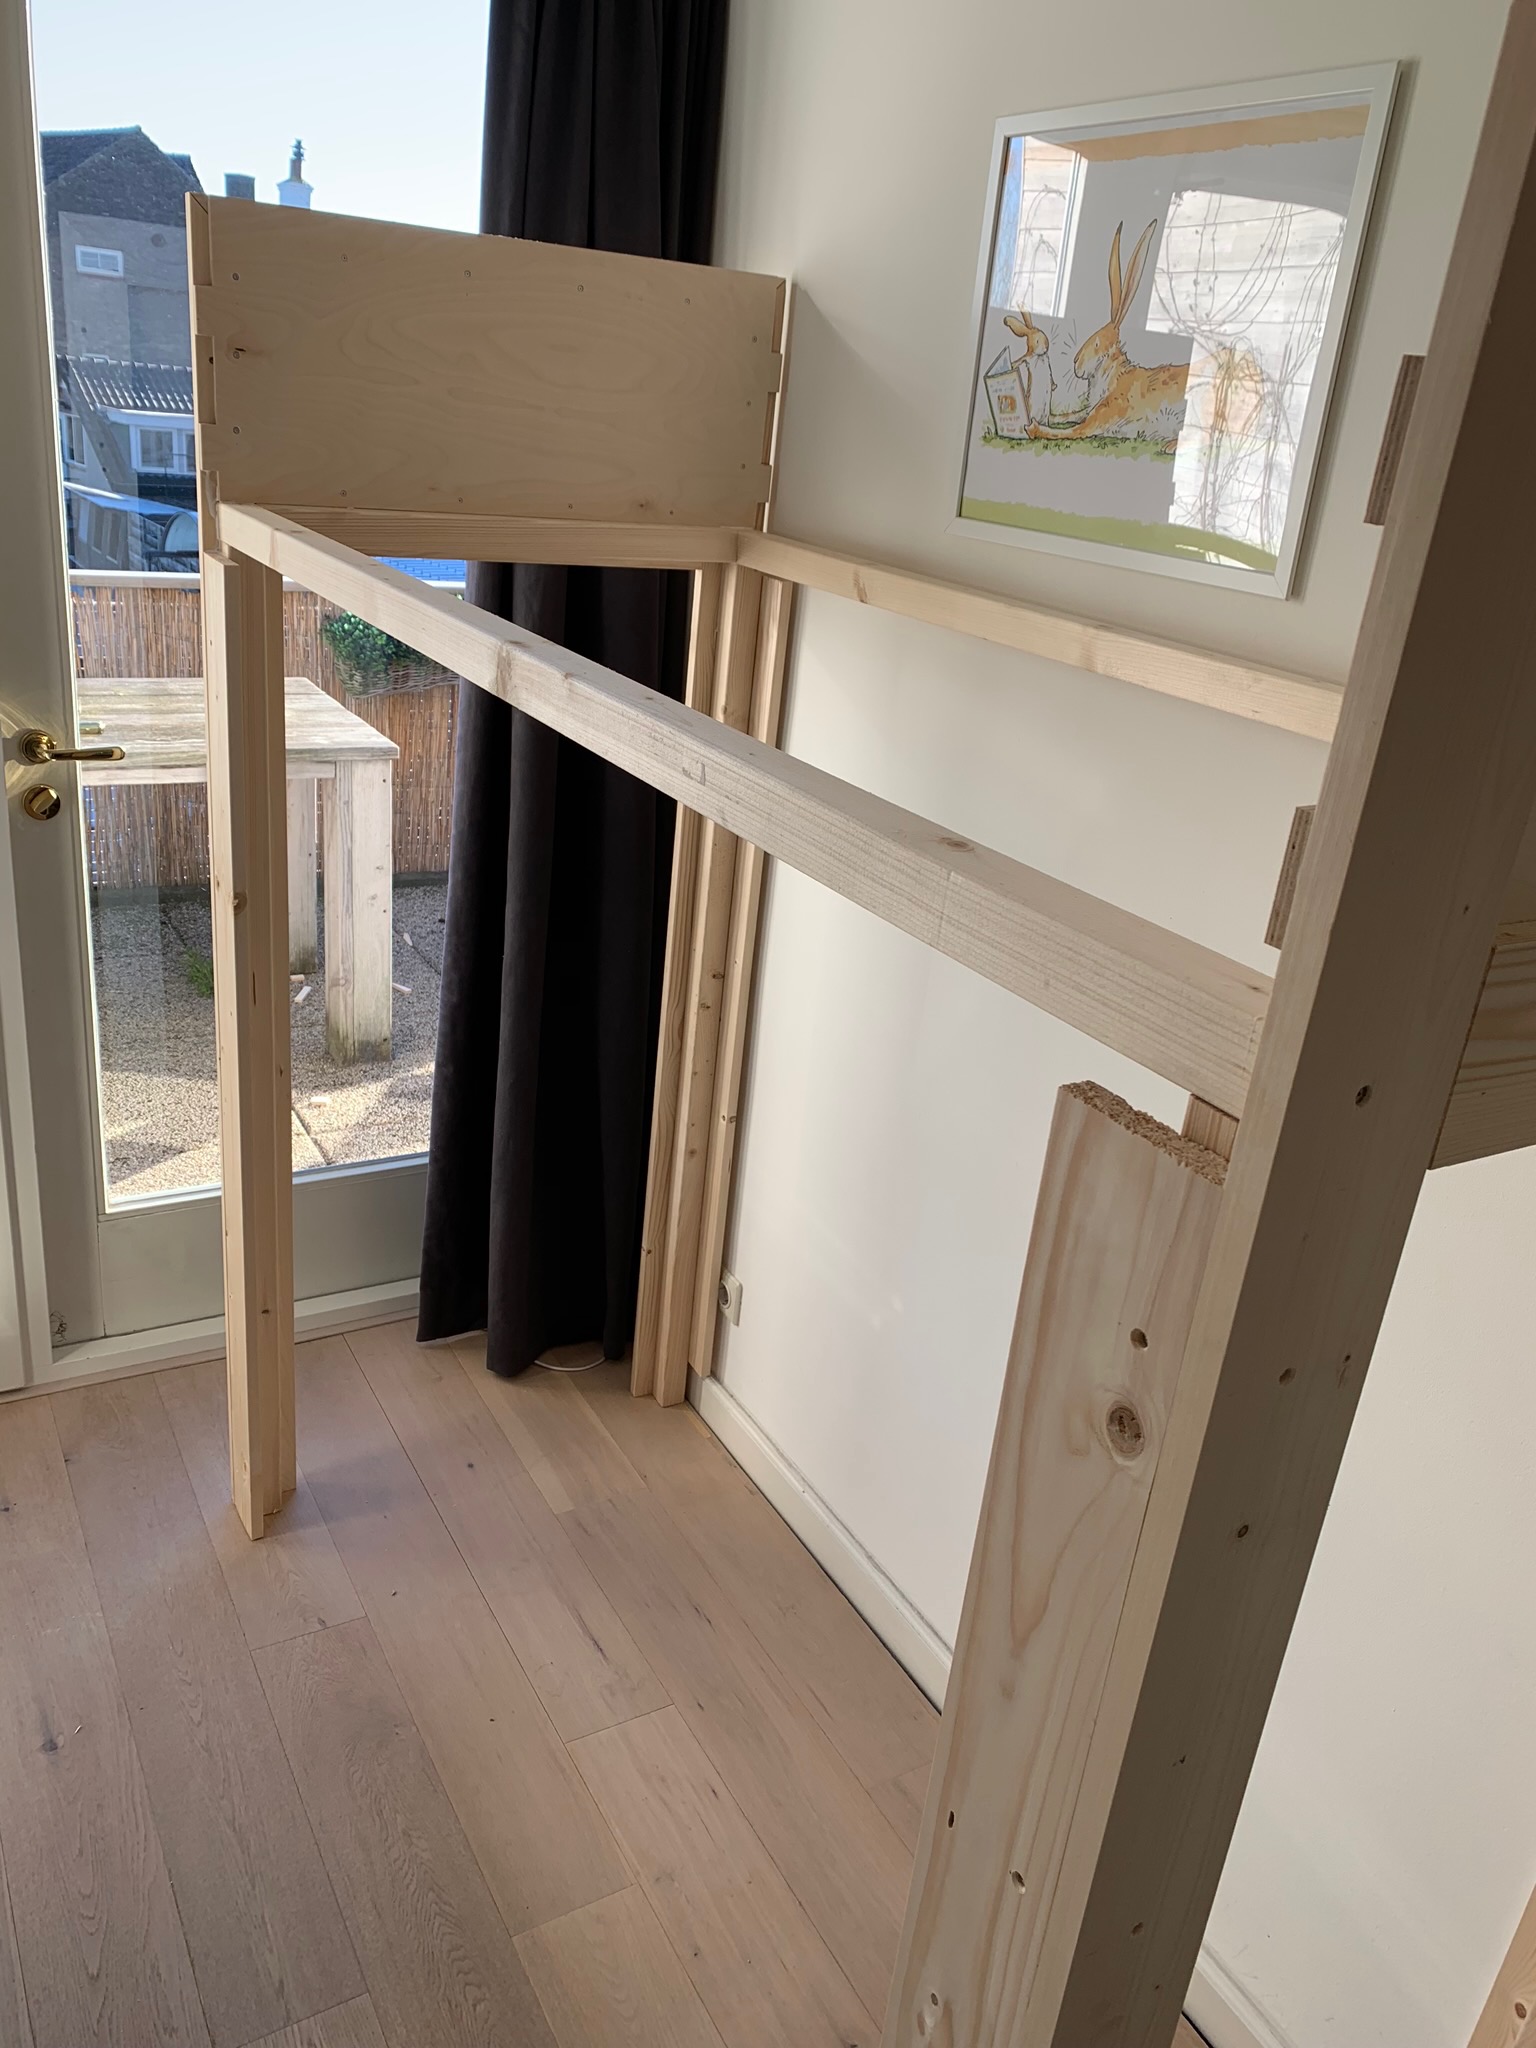
Next I added all the main 4x4cm beams that will carry the weight. Now it really started to show what size it would be.
And then it was a matter of adding some scrap pieces of wood here and there. ;) Keep in mind I don’t own a circular saw, so imagine the amount of blisters I had after sawing all these pieces.
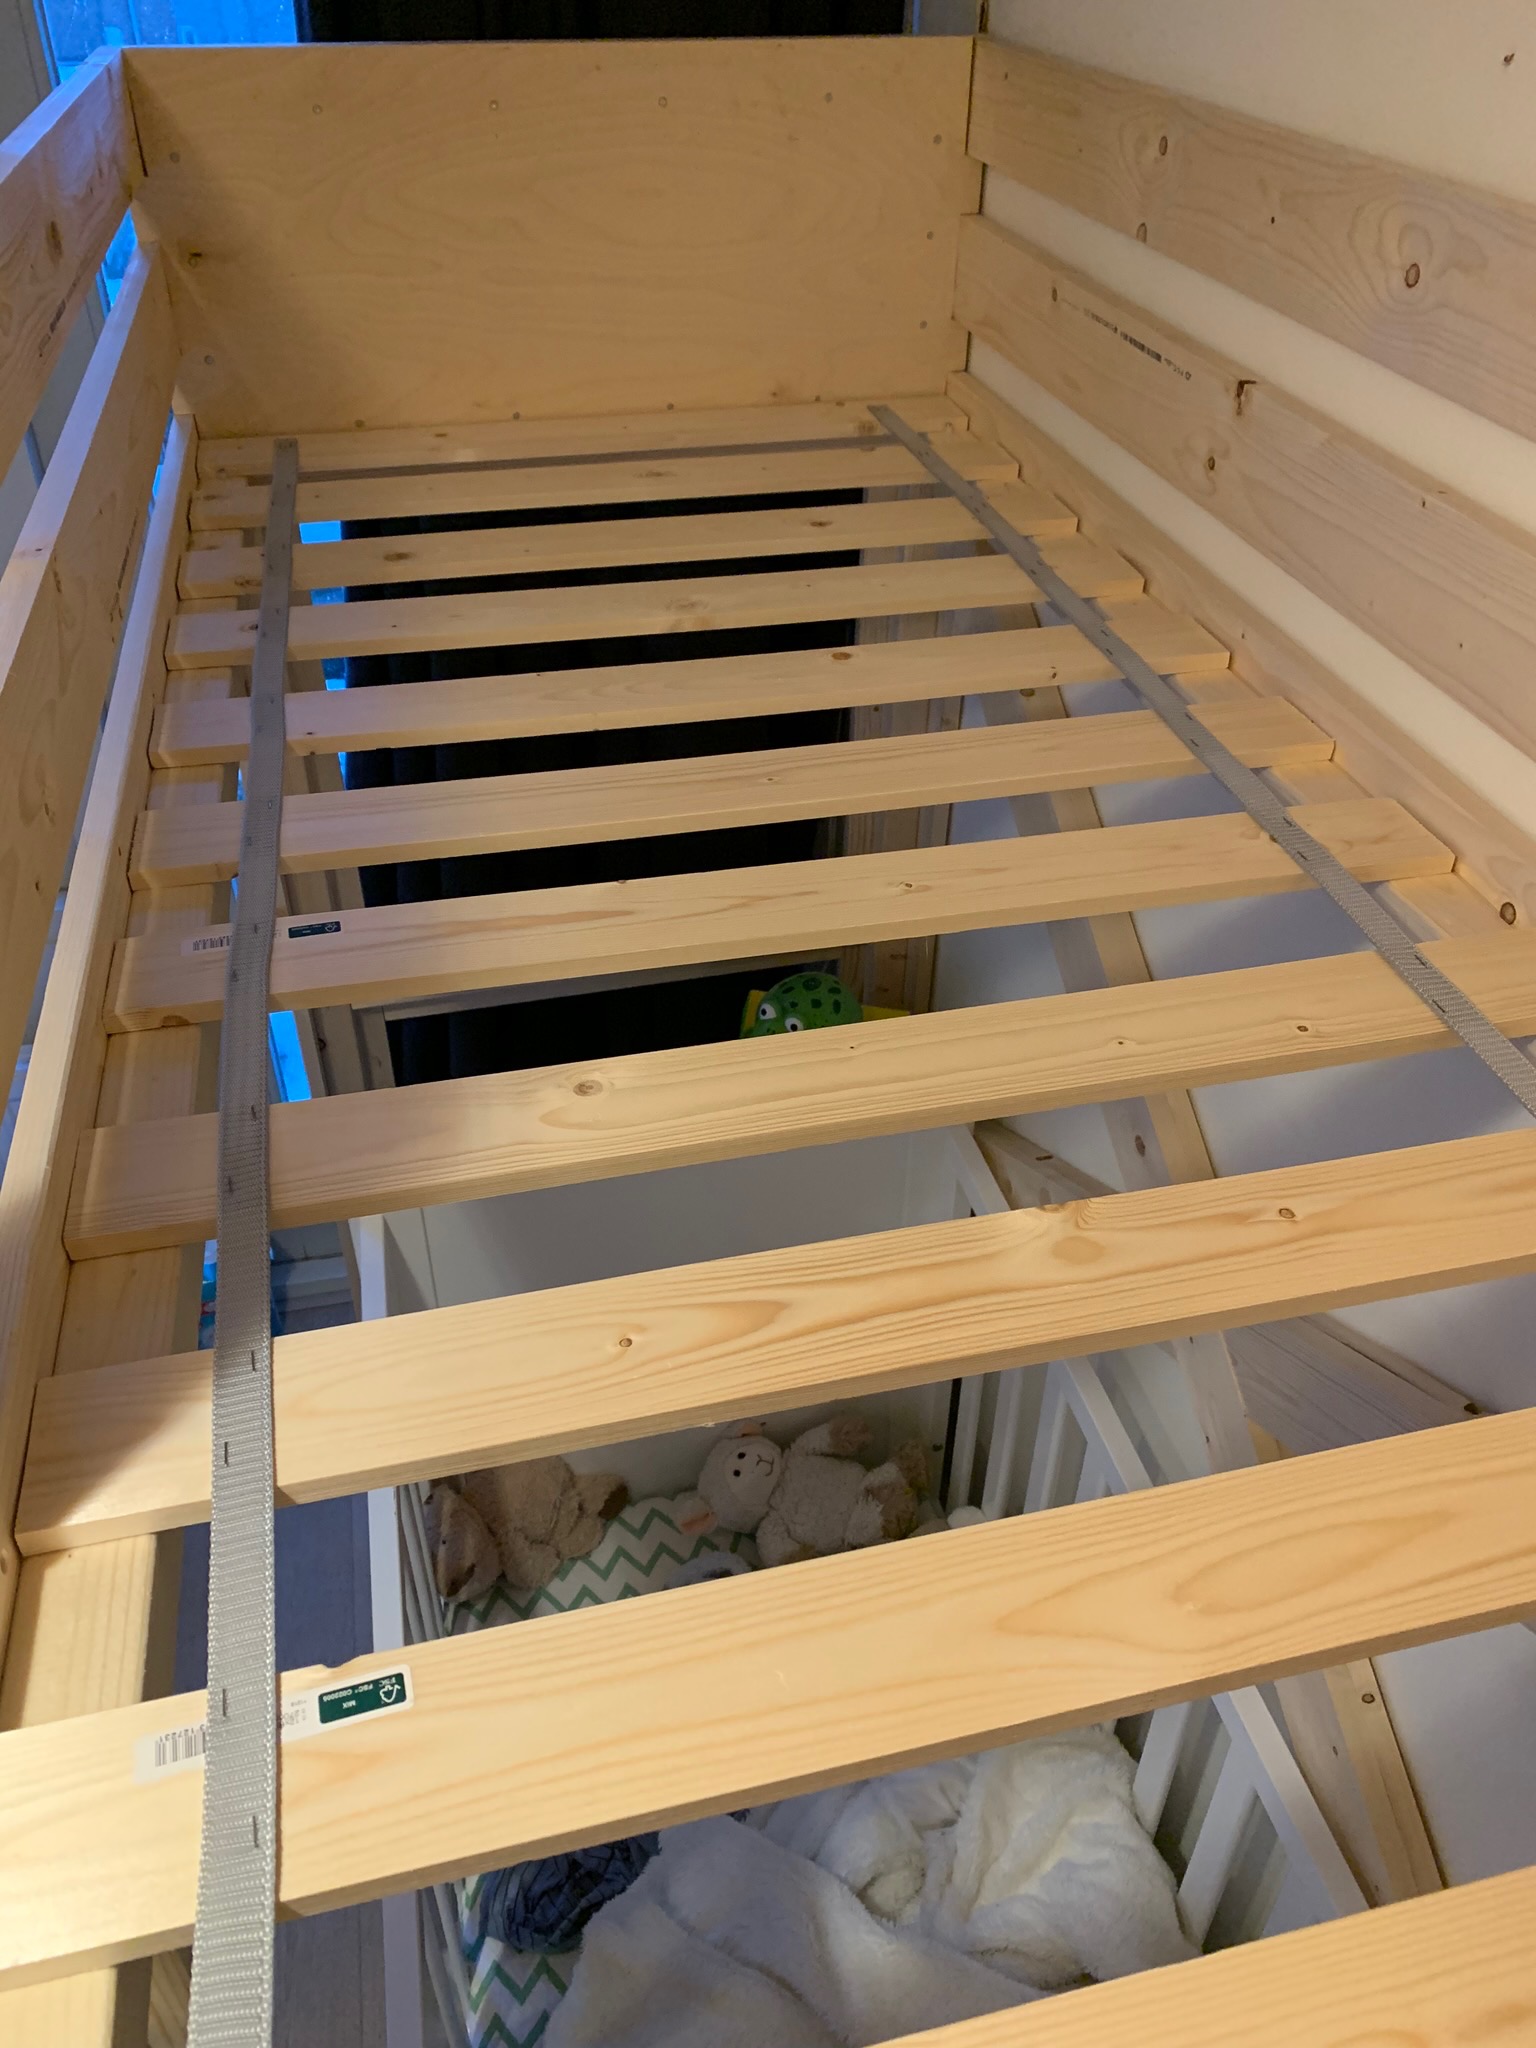
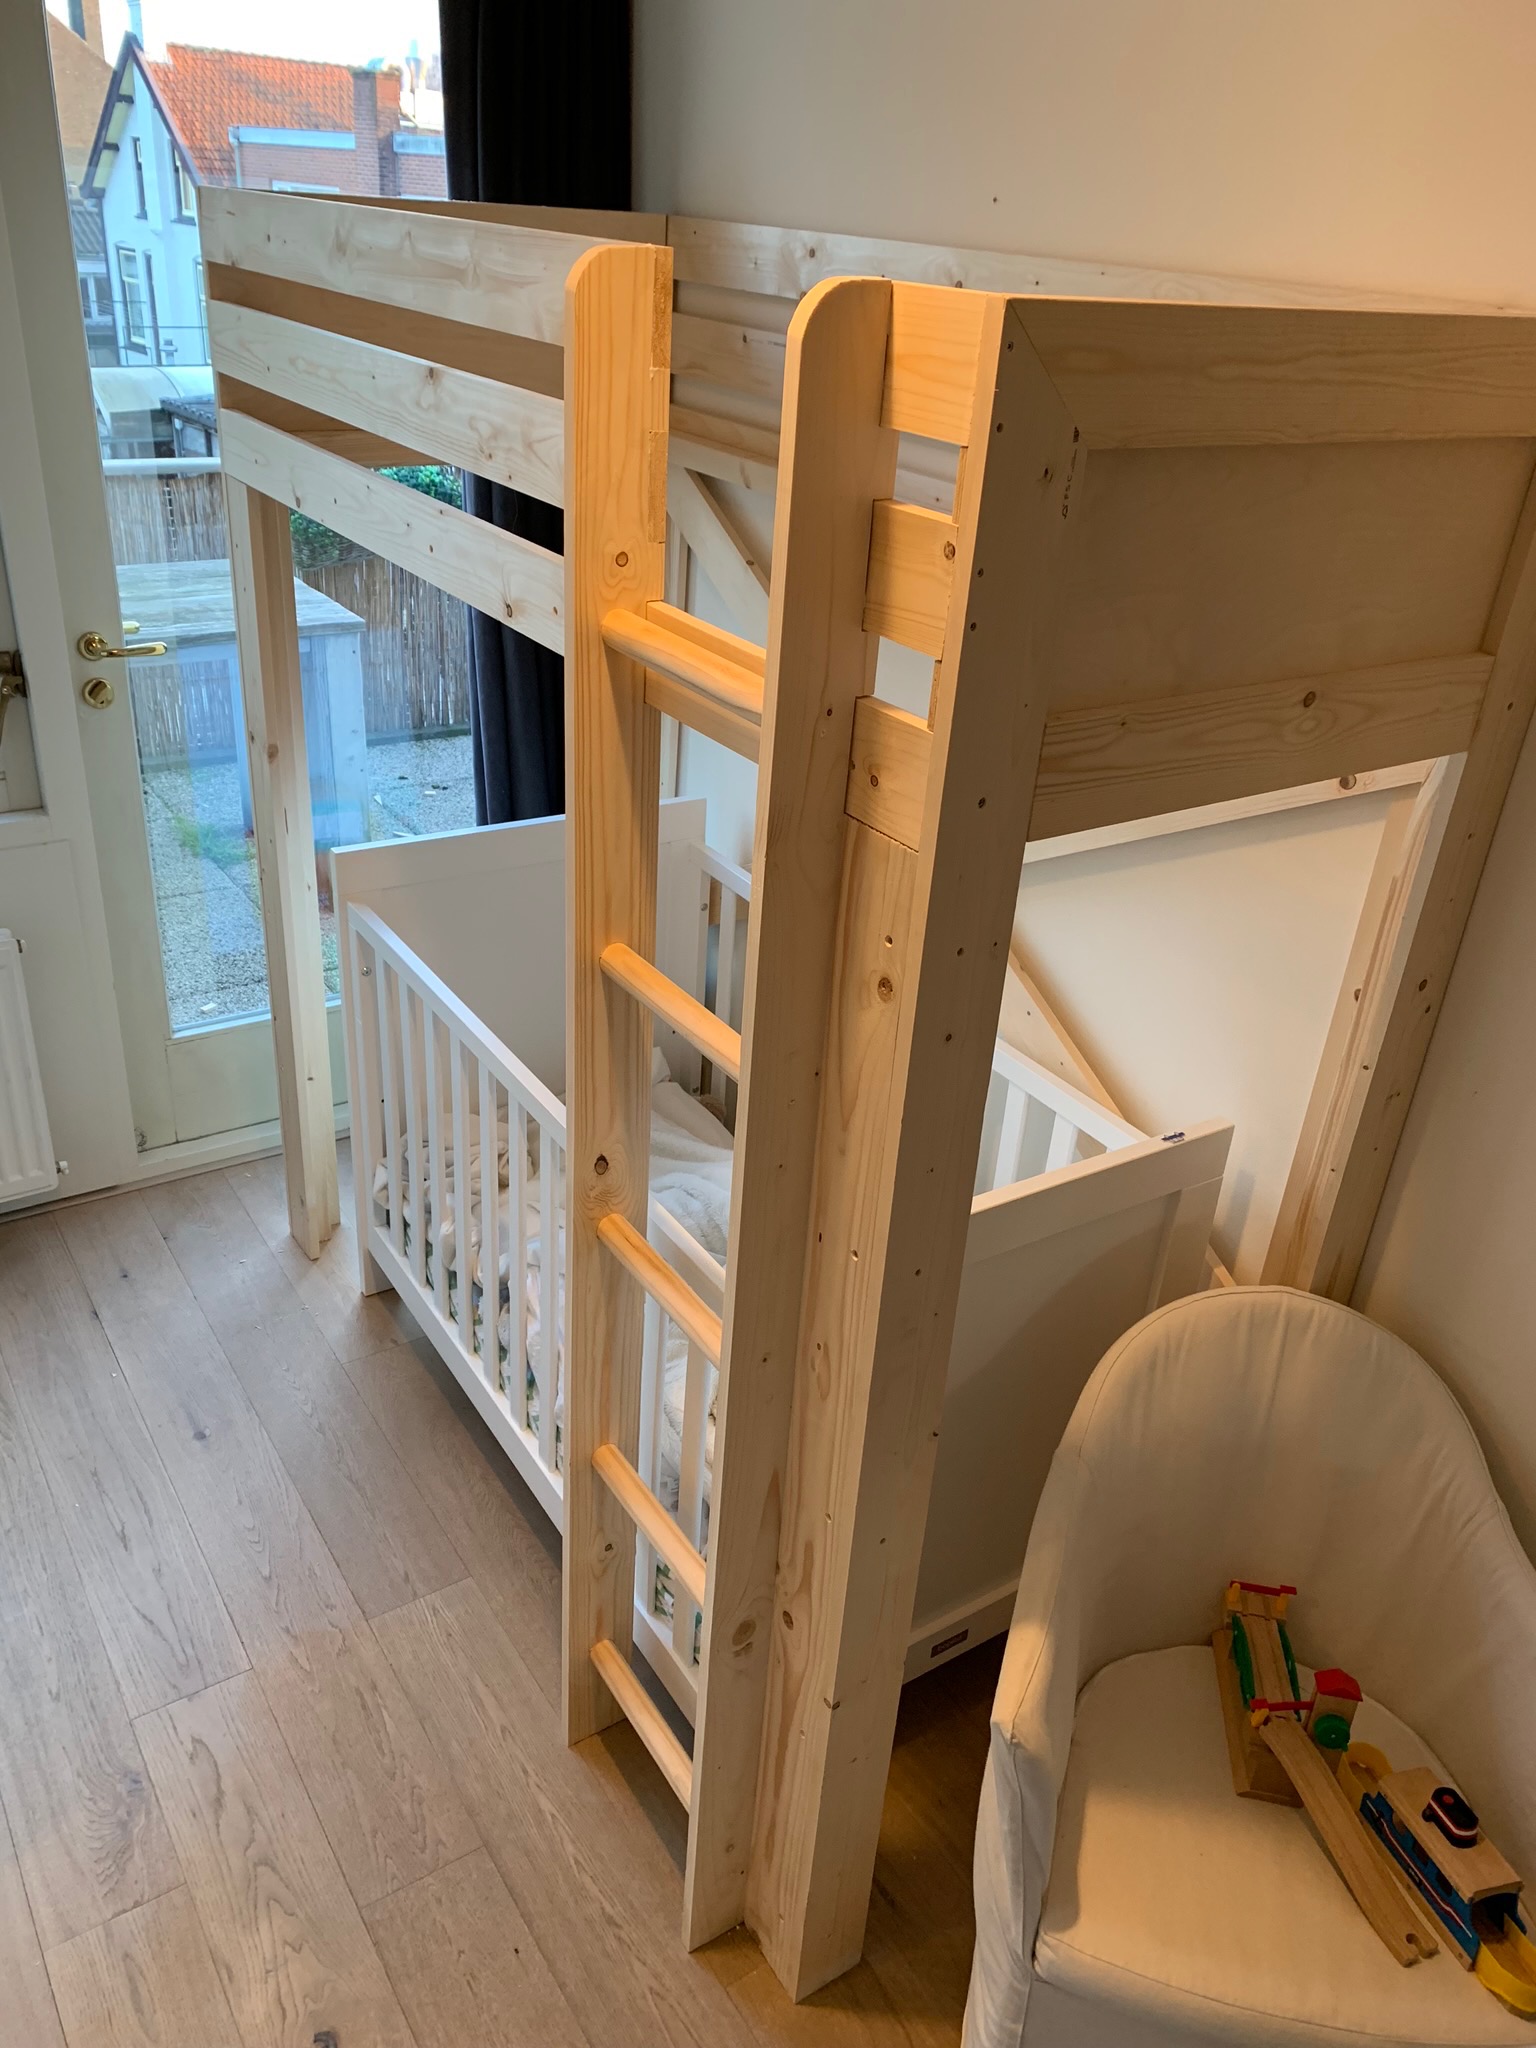
The mattress base was the last part before the quality assurance team could start testing the bed.
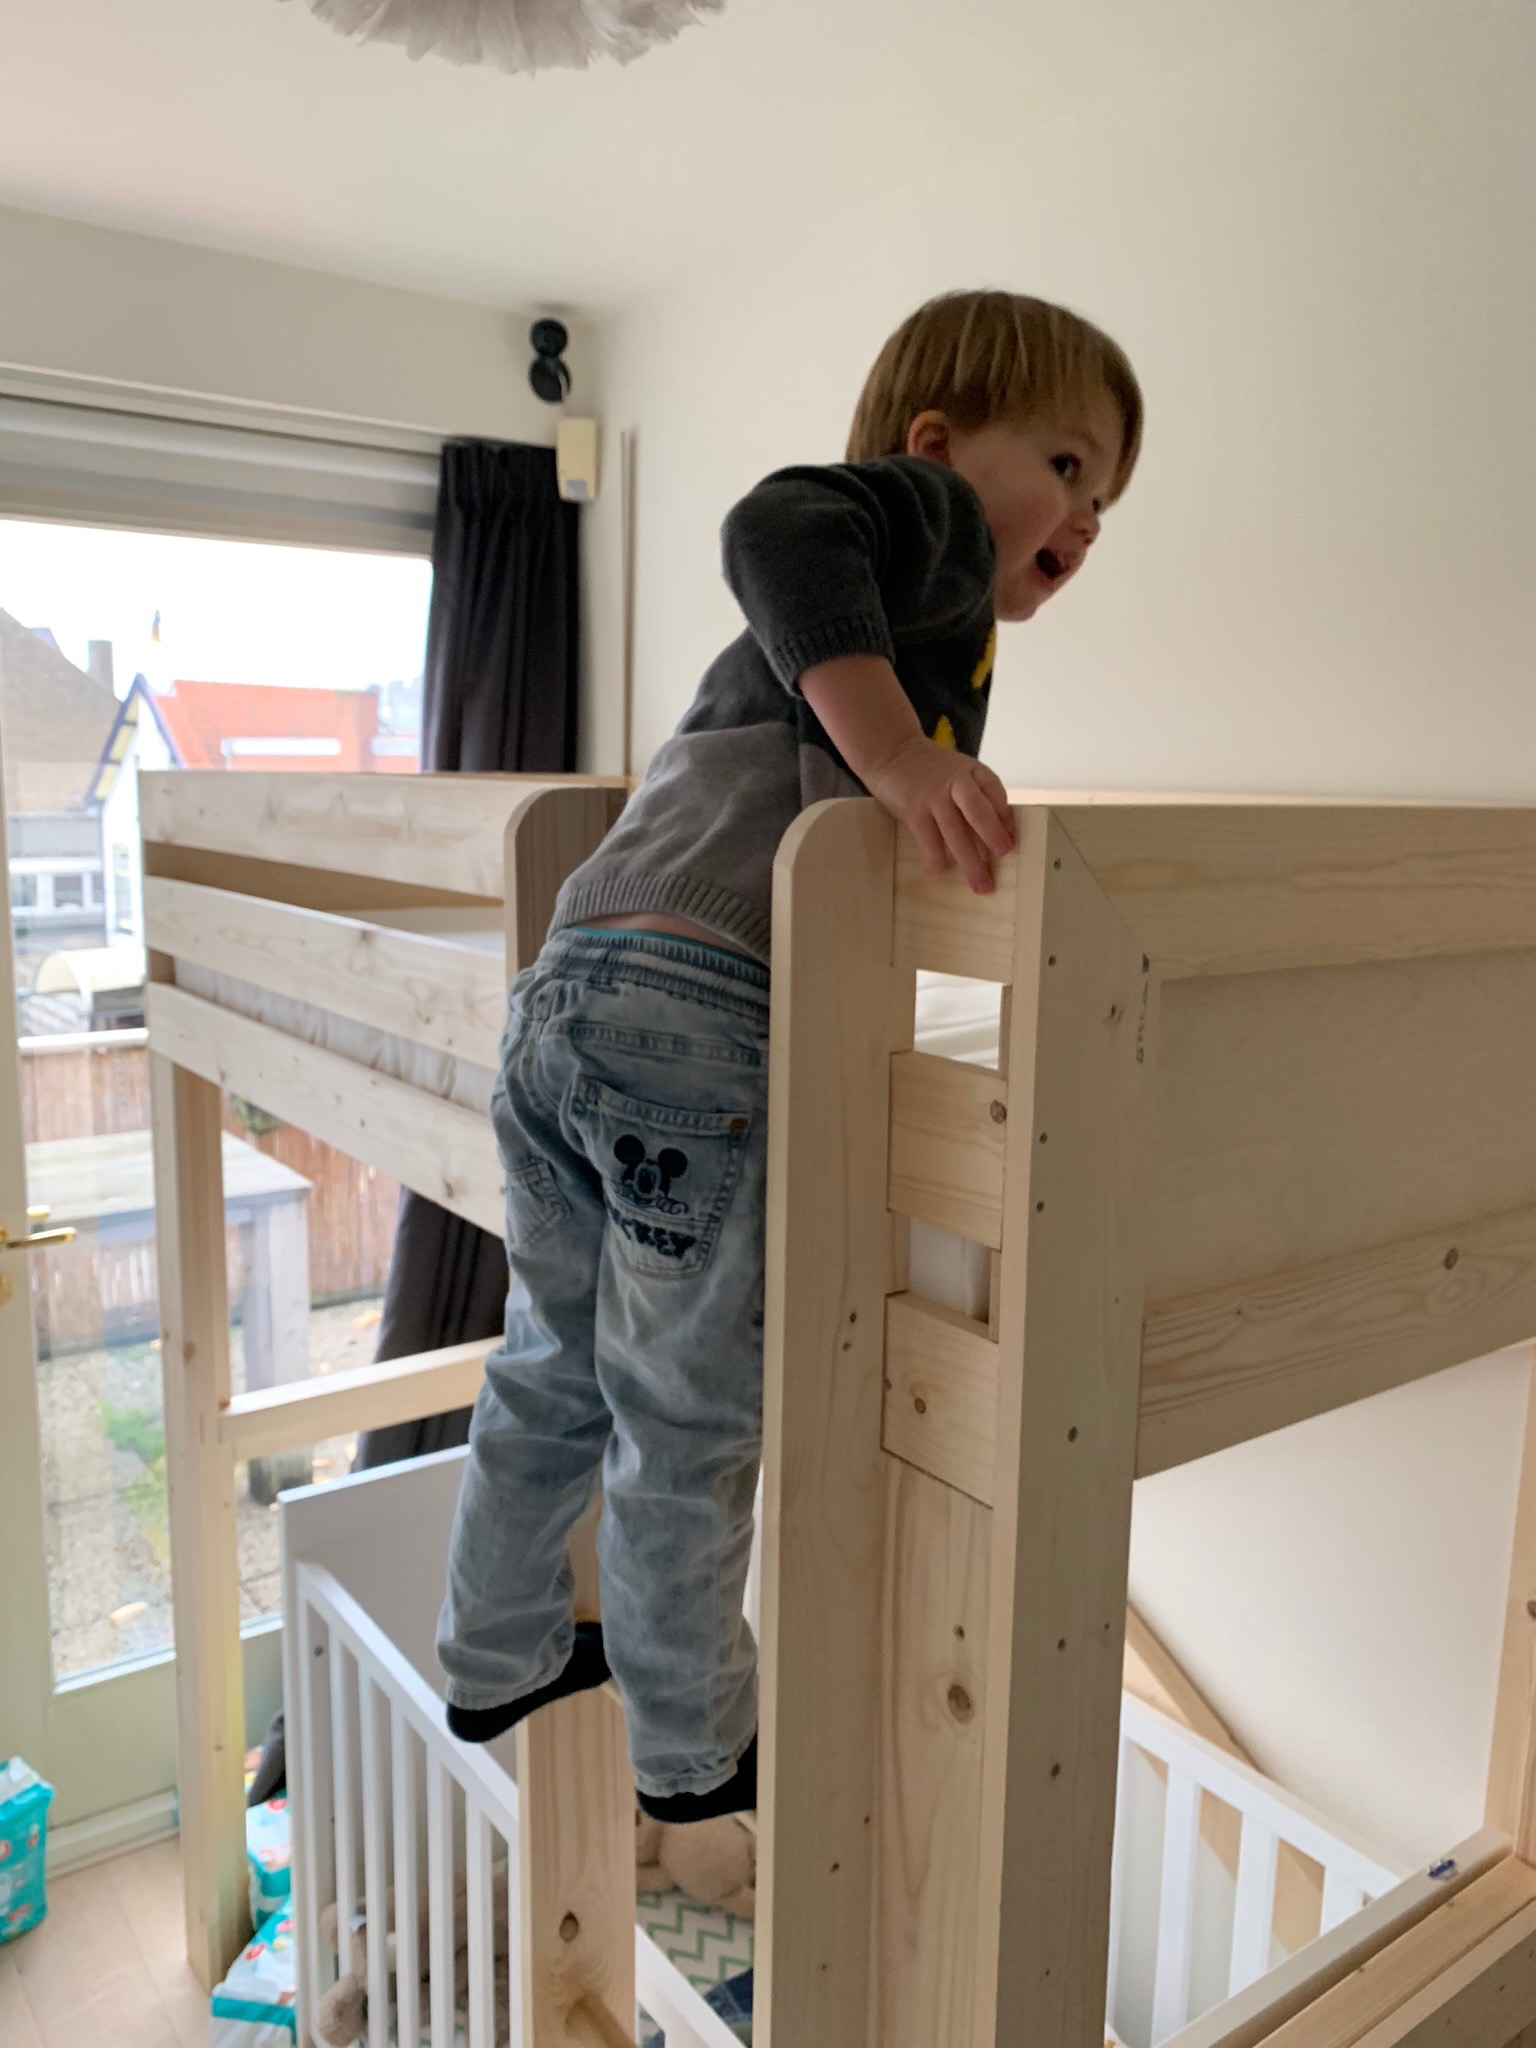
The stairs were tested on strength and safety …
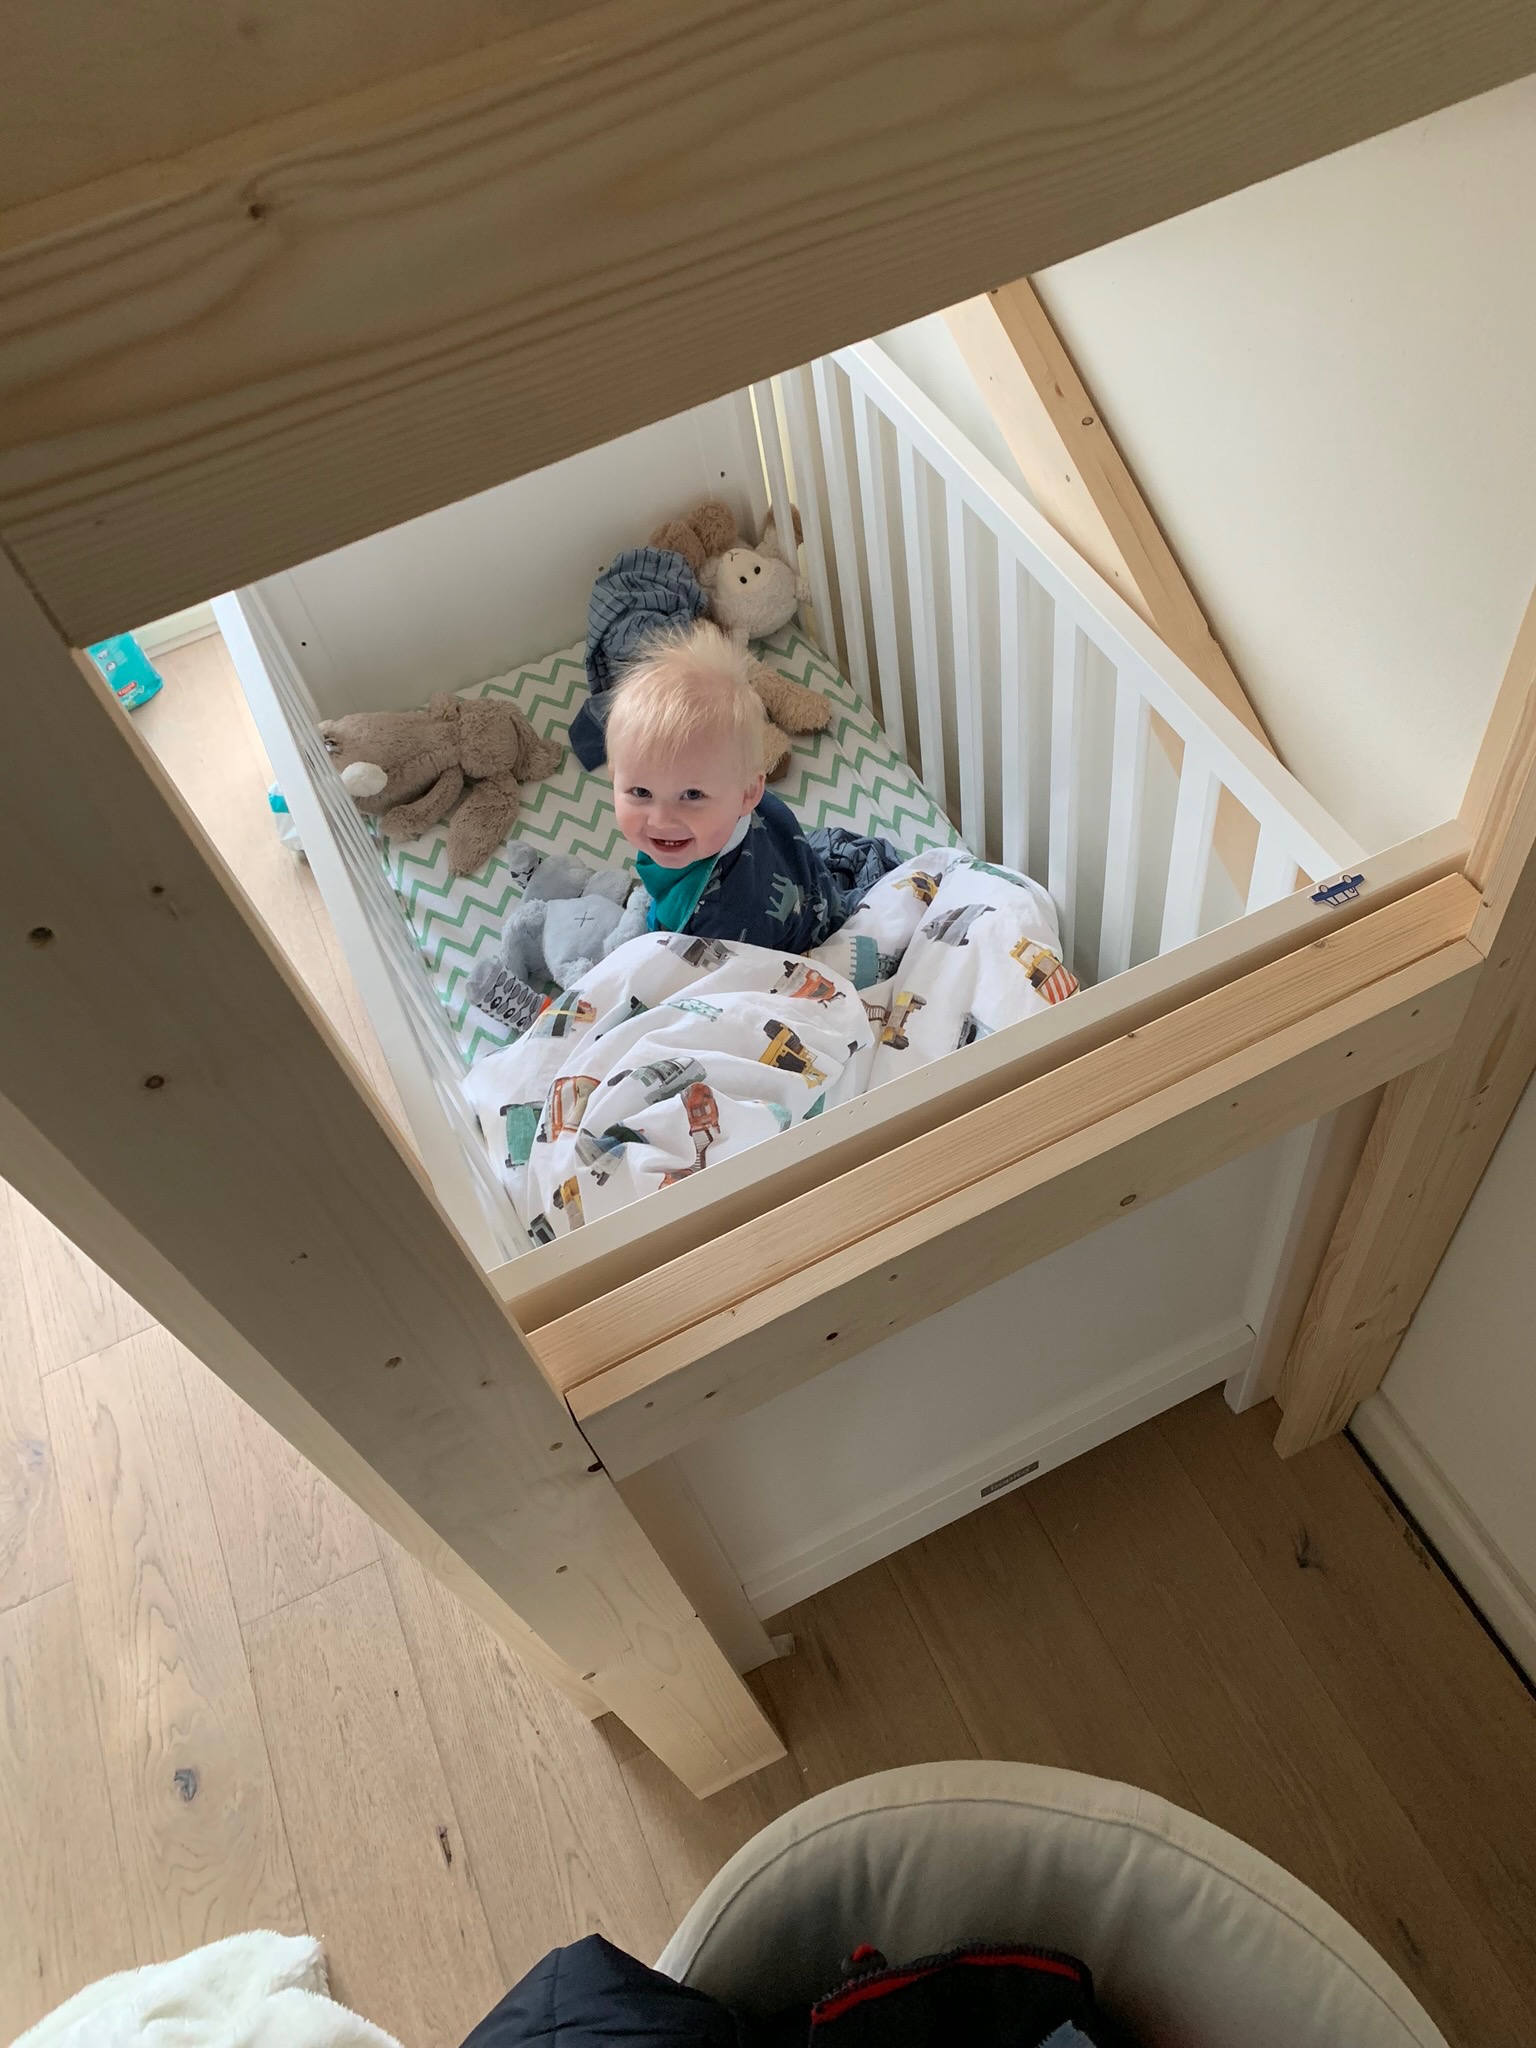
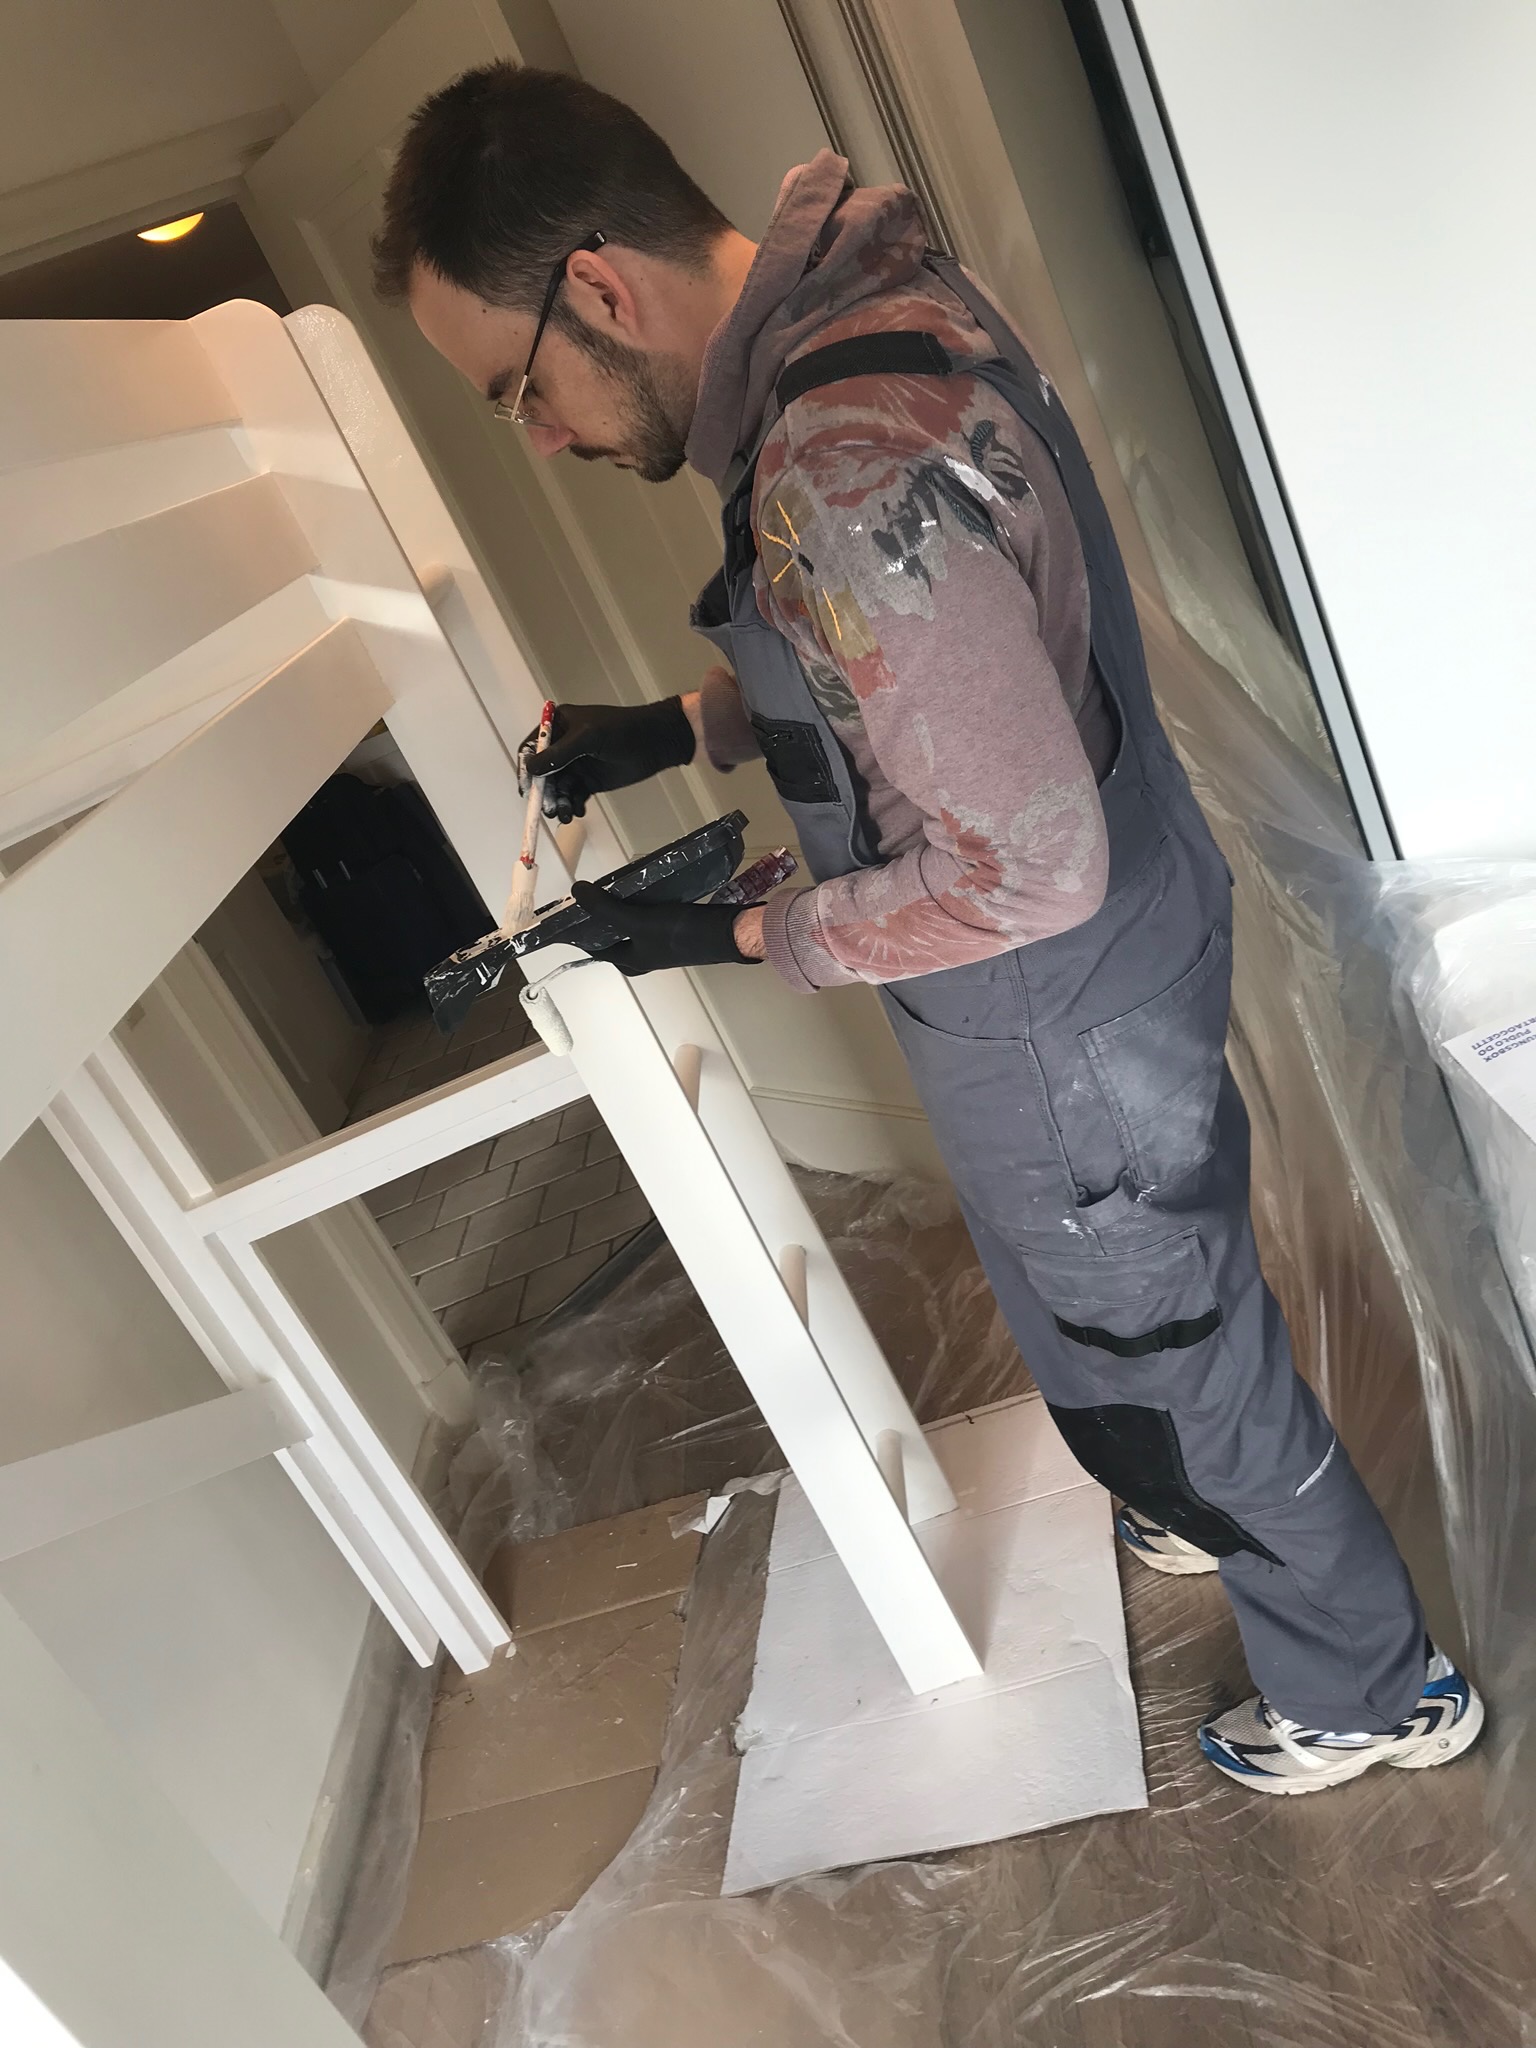
And the baby bed was checked on cosiness. And after they both approved, I could start the fun part. Sarcastically speaking. After I spent a full day on sanding during an ice cold winters day (hence no photo’s), I moved the bed back inside the house to give it it’s first layer of paint.
And as you can see by my big smile on the photo below, I really enjoy the second layer of paint as well.
So when that was done, there was only one appropriate way to finish off this project …
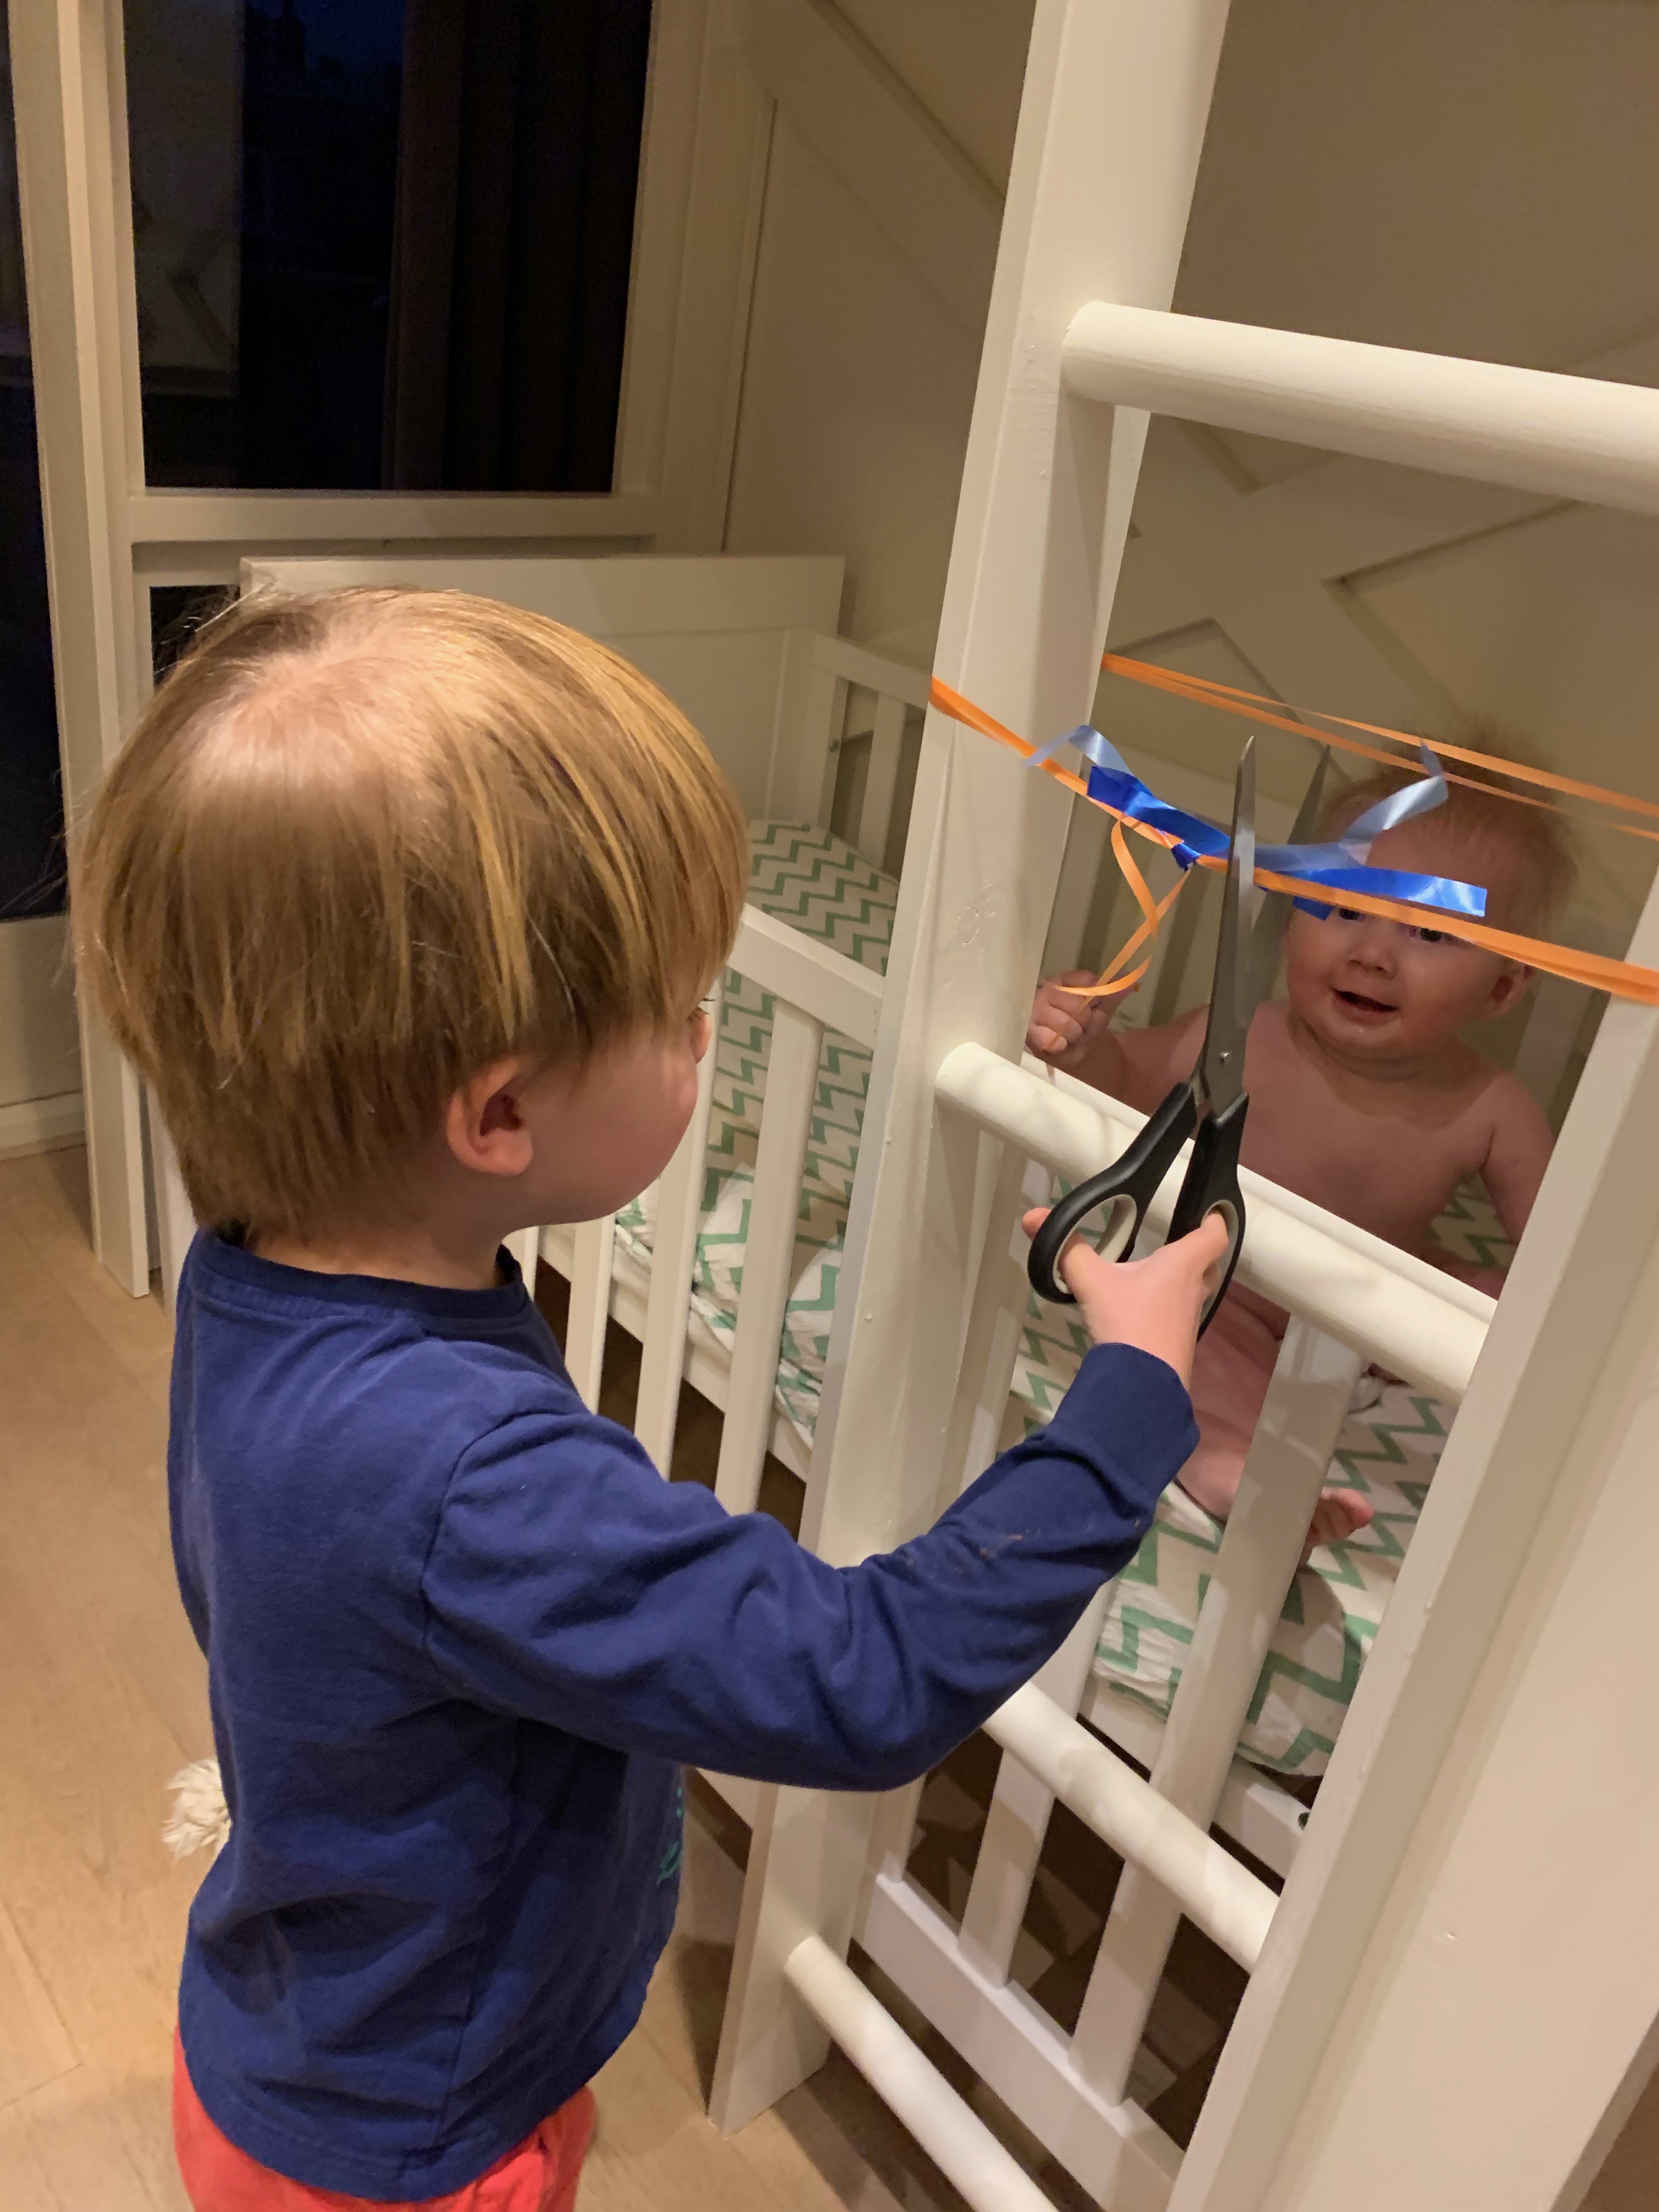
An official opening ceremony to celebrate all the fun these little guys will have together in this room.