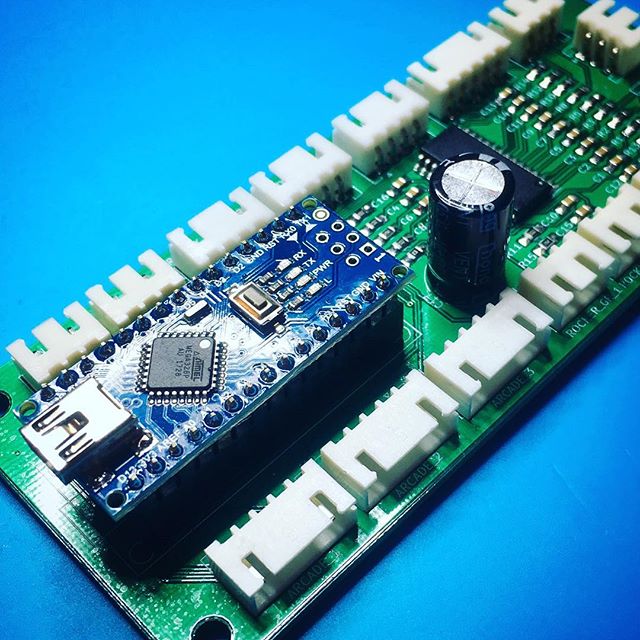
Activity Board:
Take control!
In my last activity board blog post I finished the final part of the control panel. It is time to start working on the electronics. Or to use a bit more exciting terminology: it is time to work on the activity board controller!
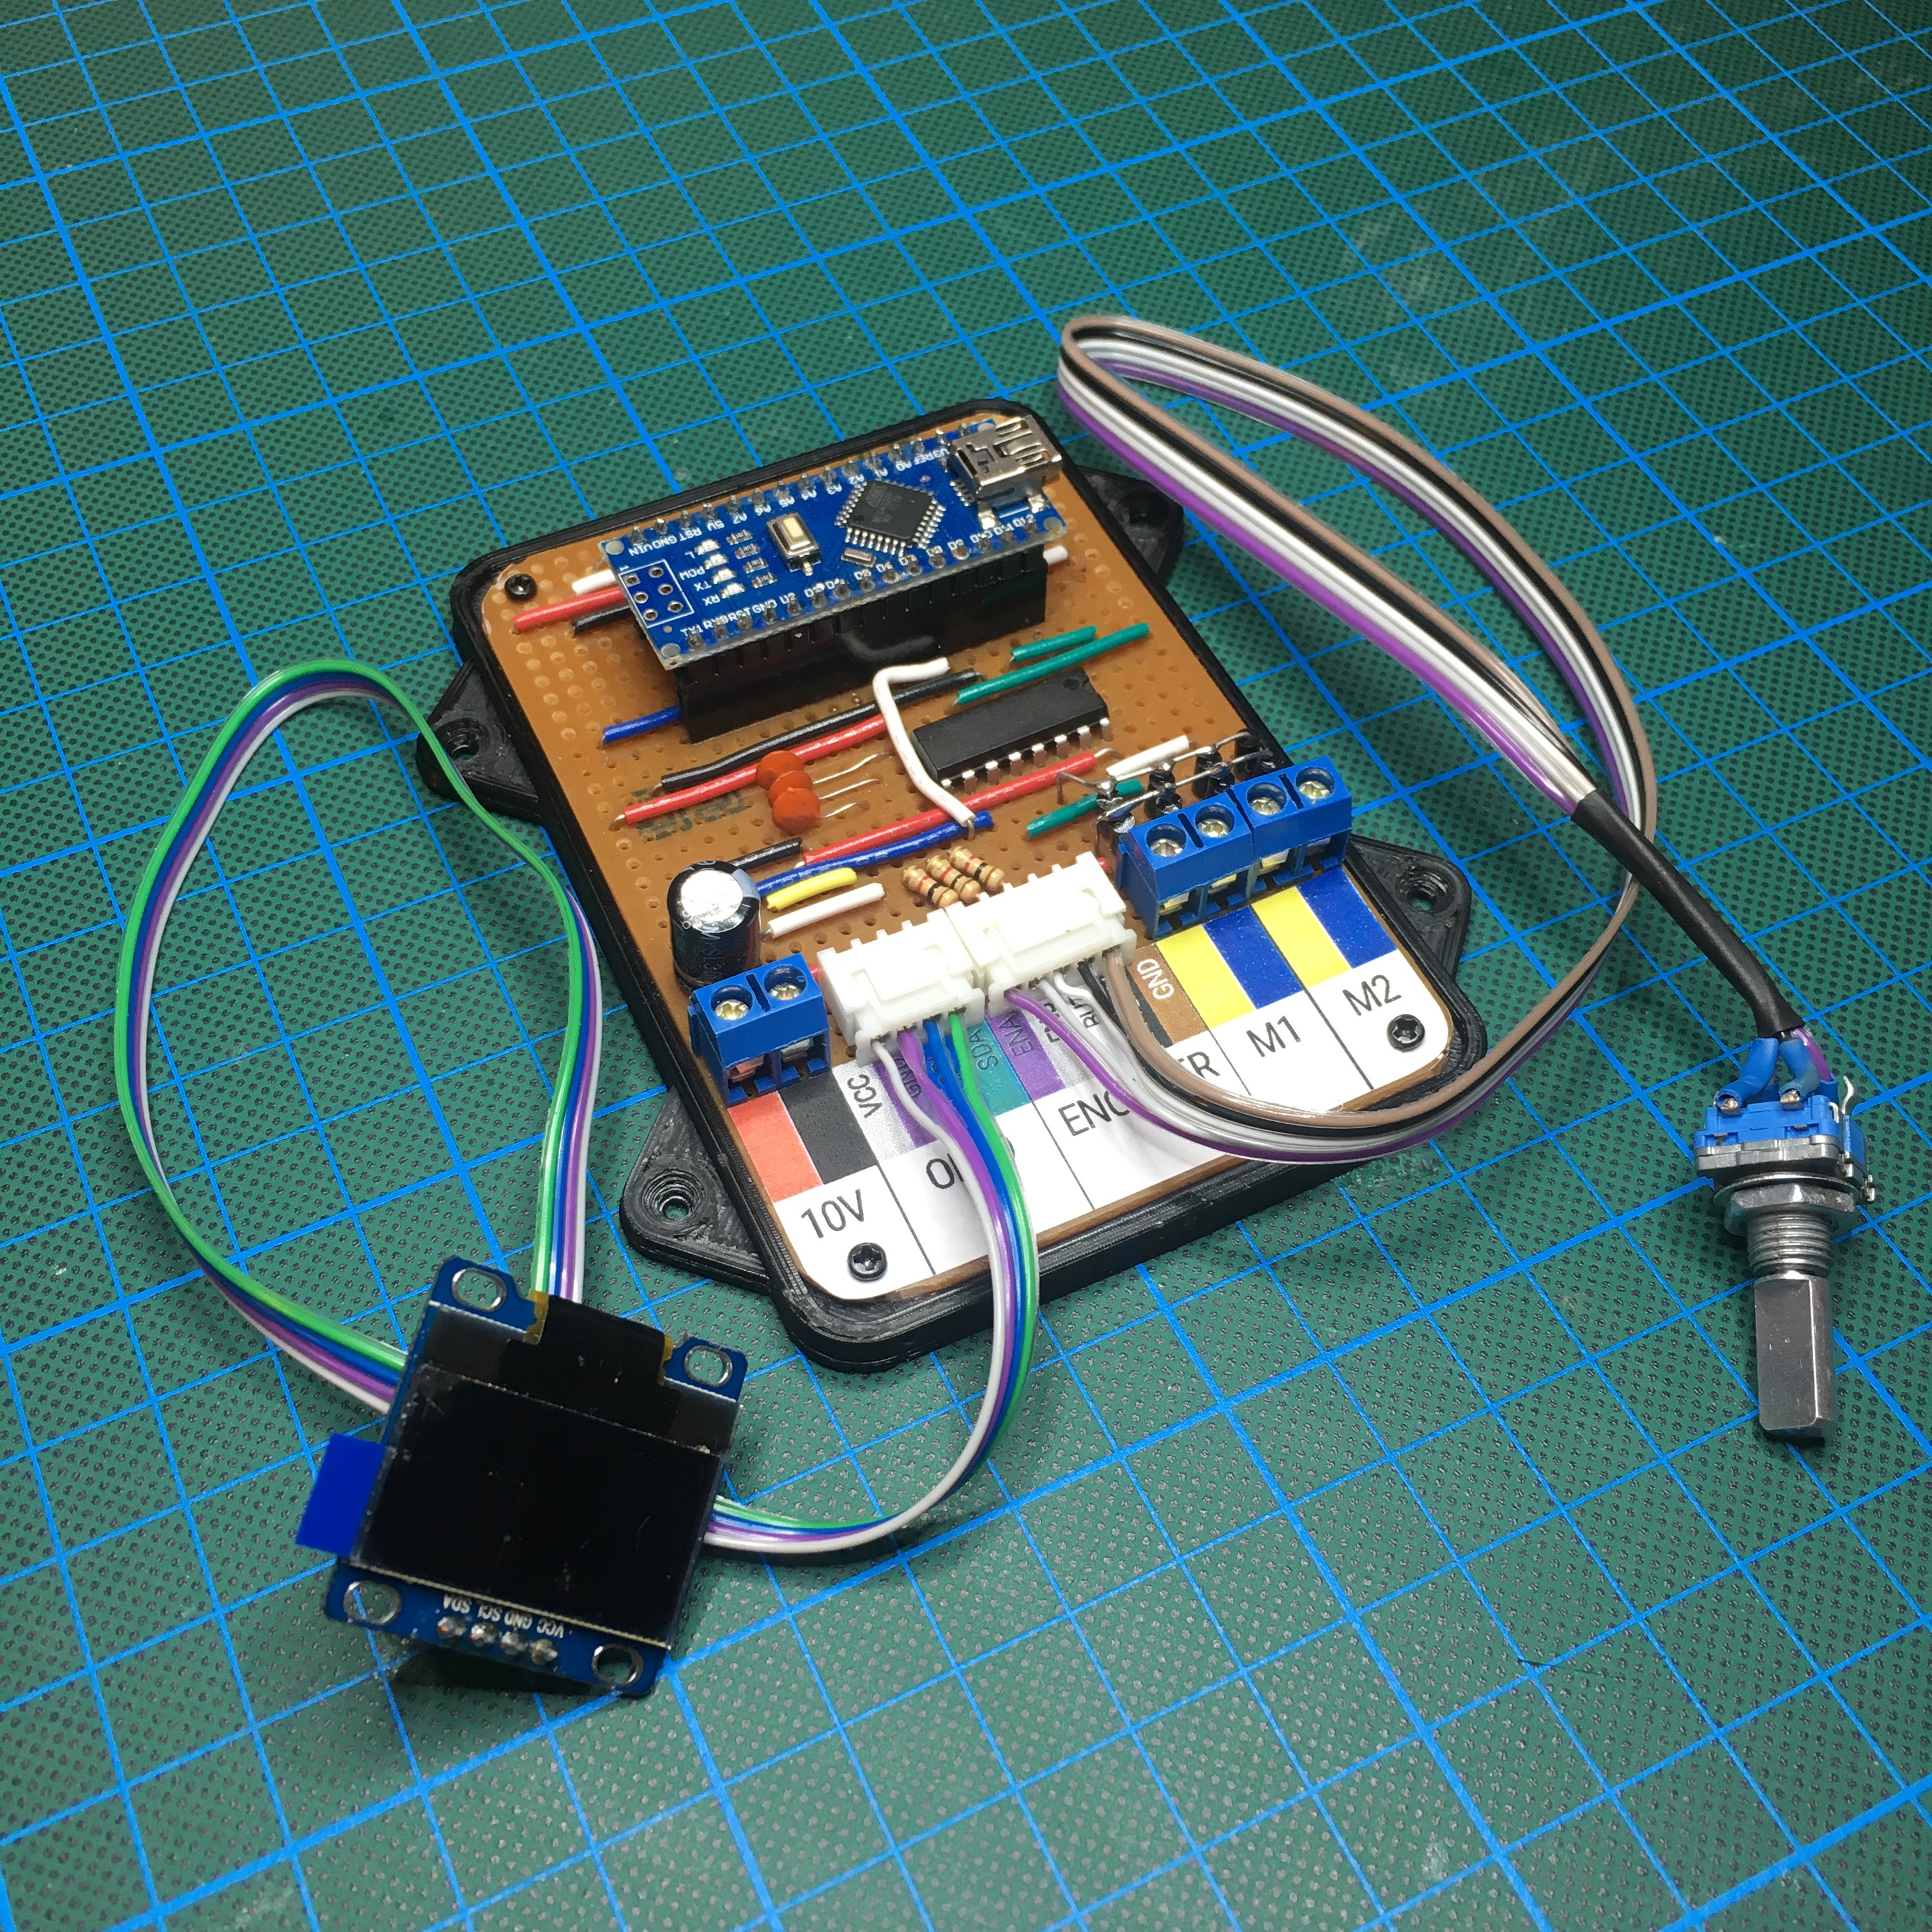
The Train Controller
A while ago my dad and I were discussing the best ways to control a small model train. As a seasoned model train enthusiast, he was looking for the best way to control a single track train. As an additional requirement, he wanted to show the trains’ speed on a small display … Challenge accepted!
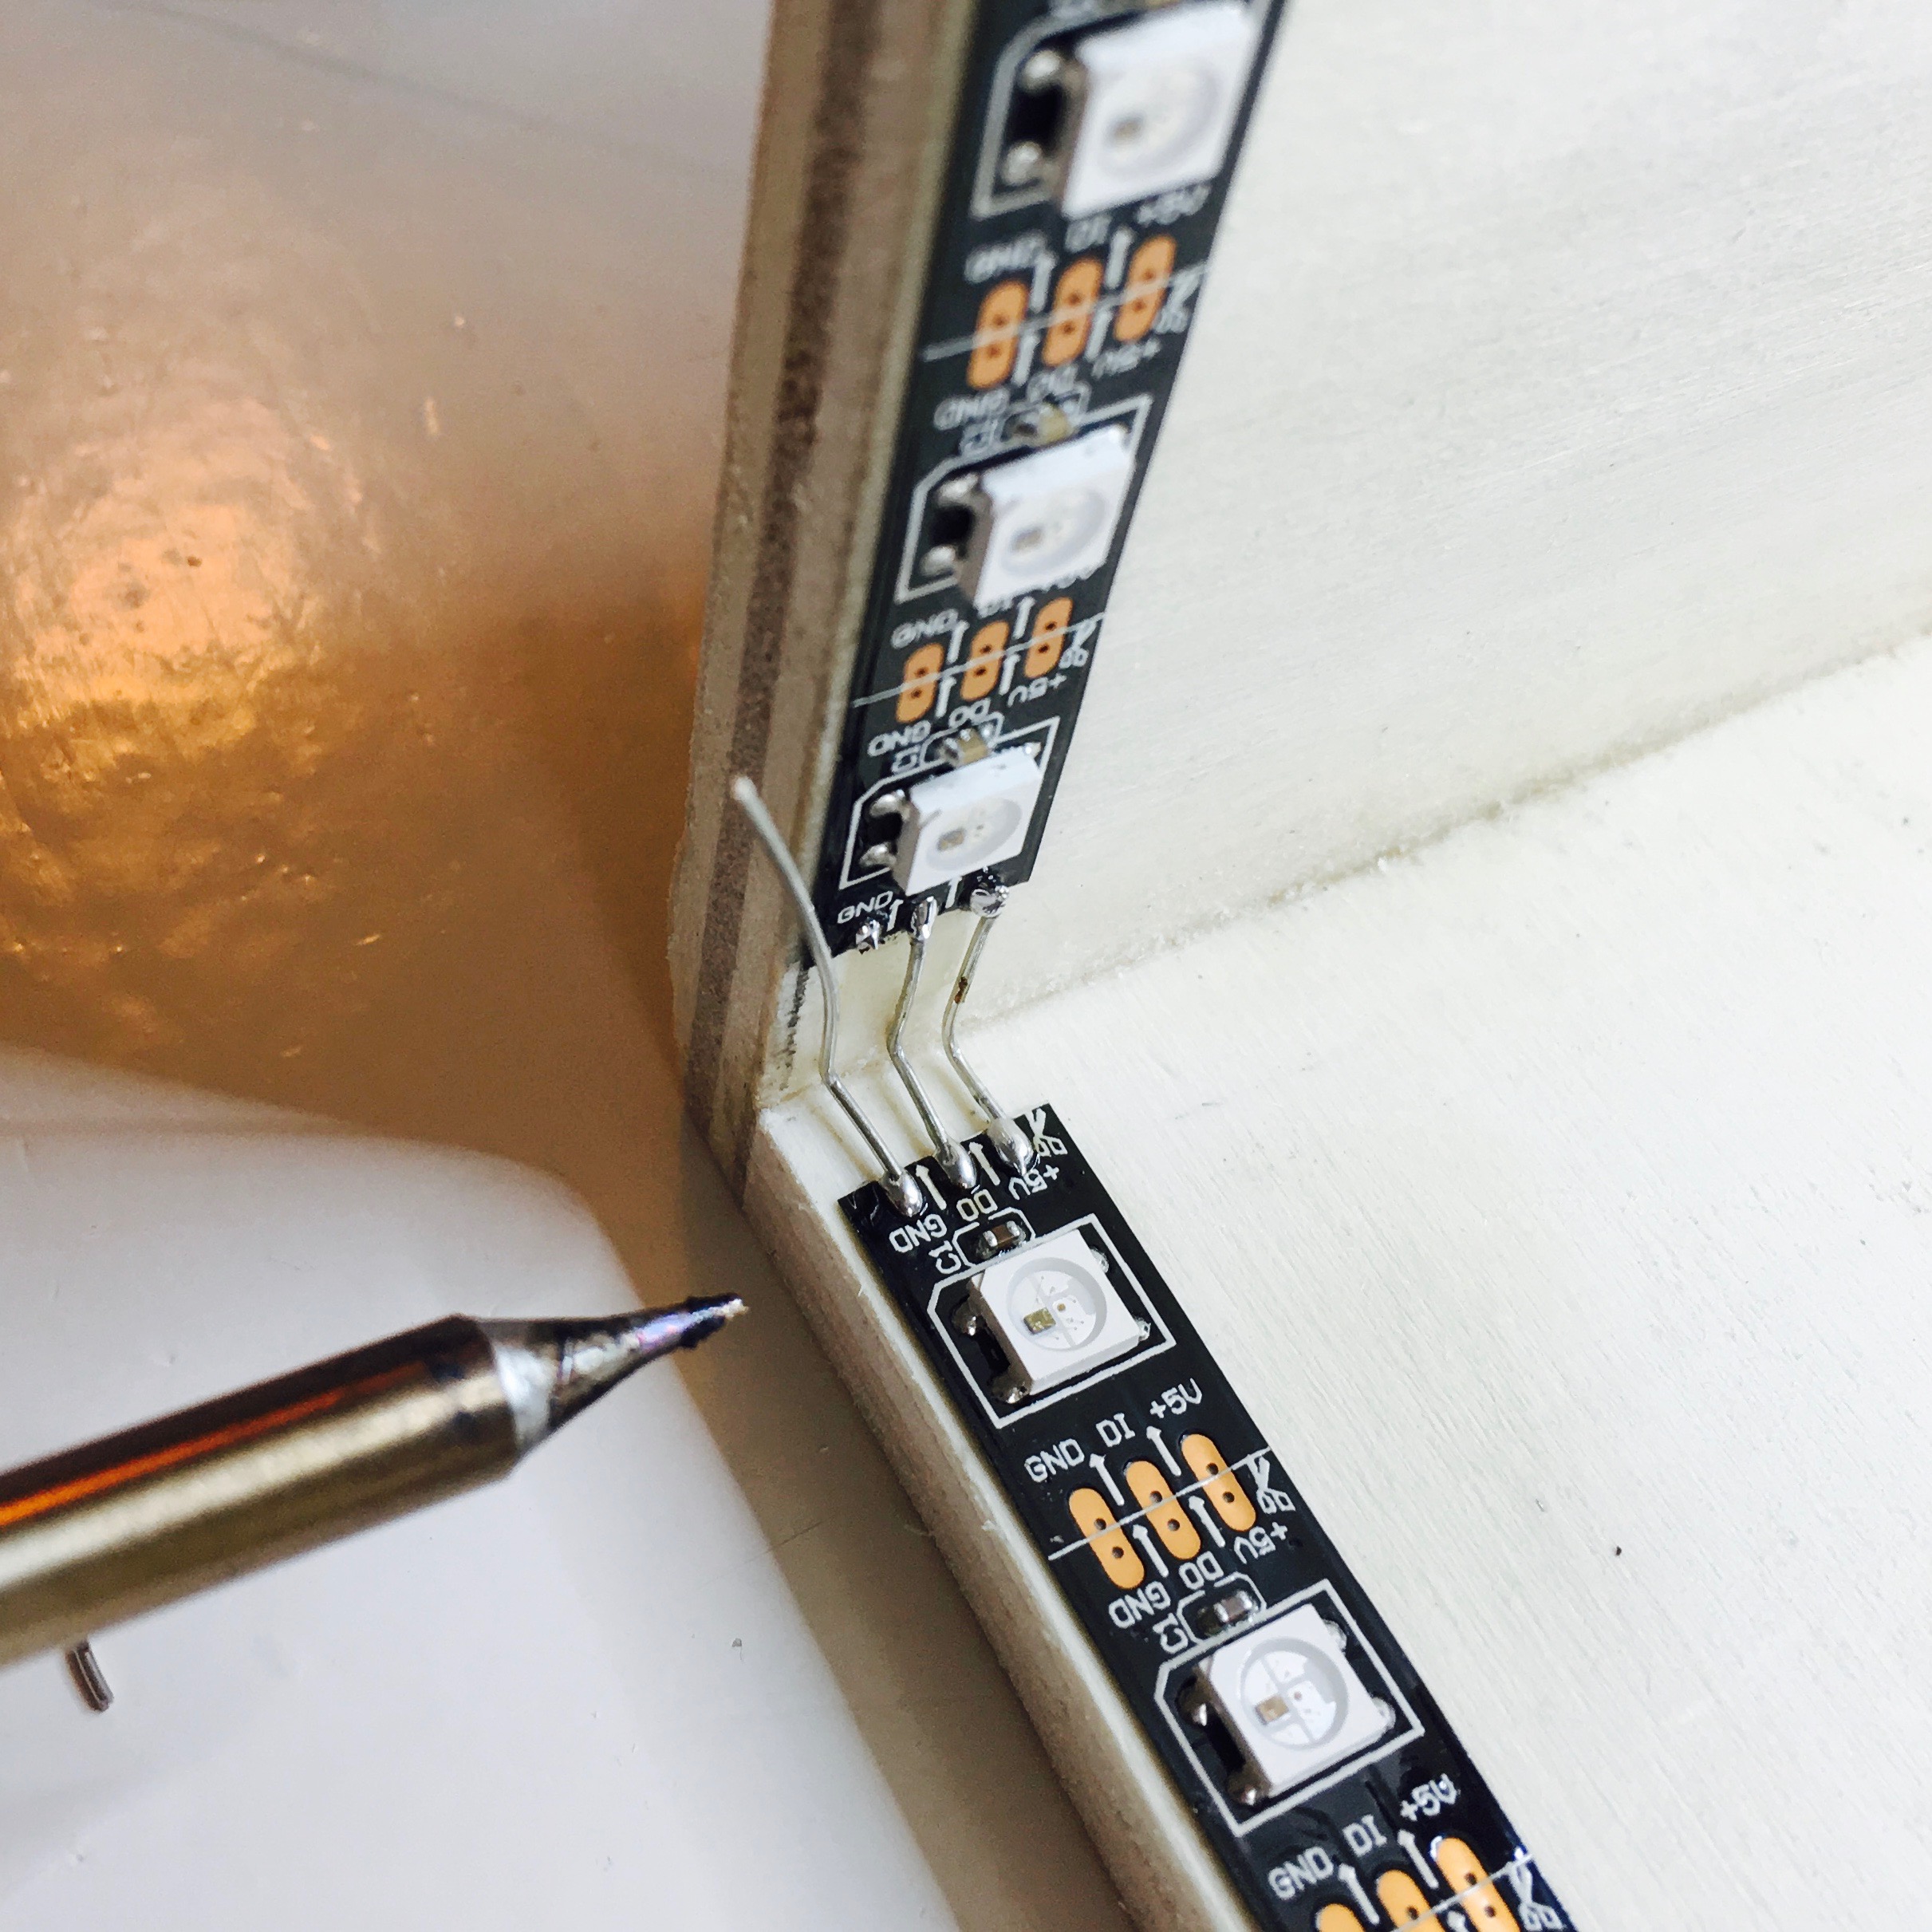
Activity Board:
Building the Box
Before I can work on the front panel design of Enzo’s Activity Board, I need to know the exact dimensions. This can be figured out either by using some math, or by simply just measuring it. I choose the latter, but this means I first need to build the box that holds everything in place …
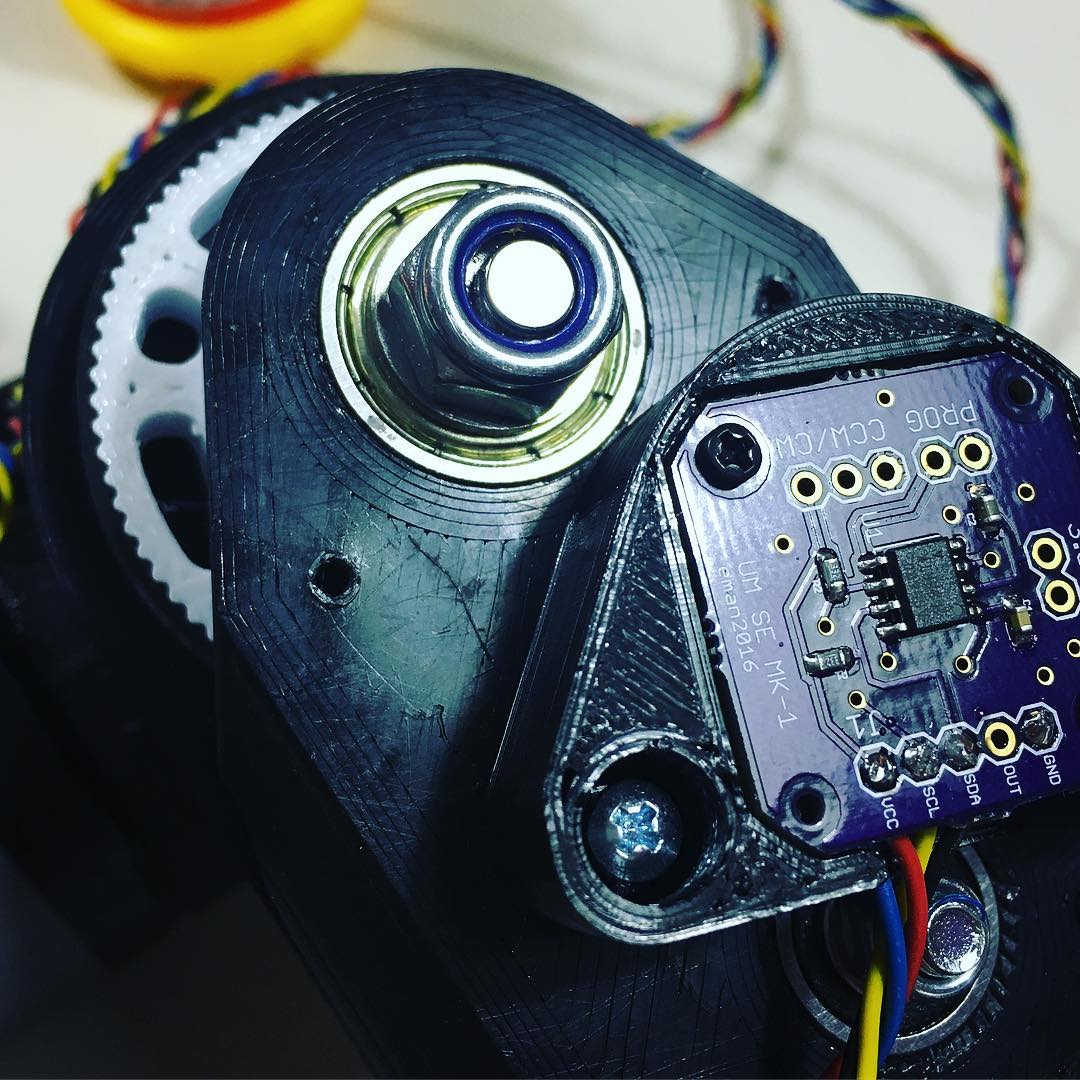
Robotic Arm:
Give me some feedback!
To improve my robot arm’s accuracy, I wanted to add an absolute position feedback mechanism. Aside from it’s accuracy, it would also prevent the need for end stops. But most importantly, it would give me a reason to play with a AS5600 12-bit on-axis magnetic rotary position sensor.
Automatic Curtains:
Take control!
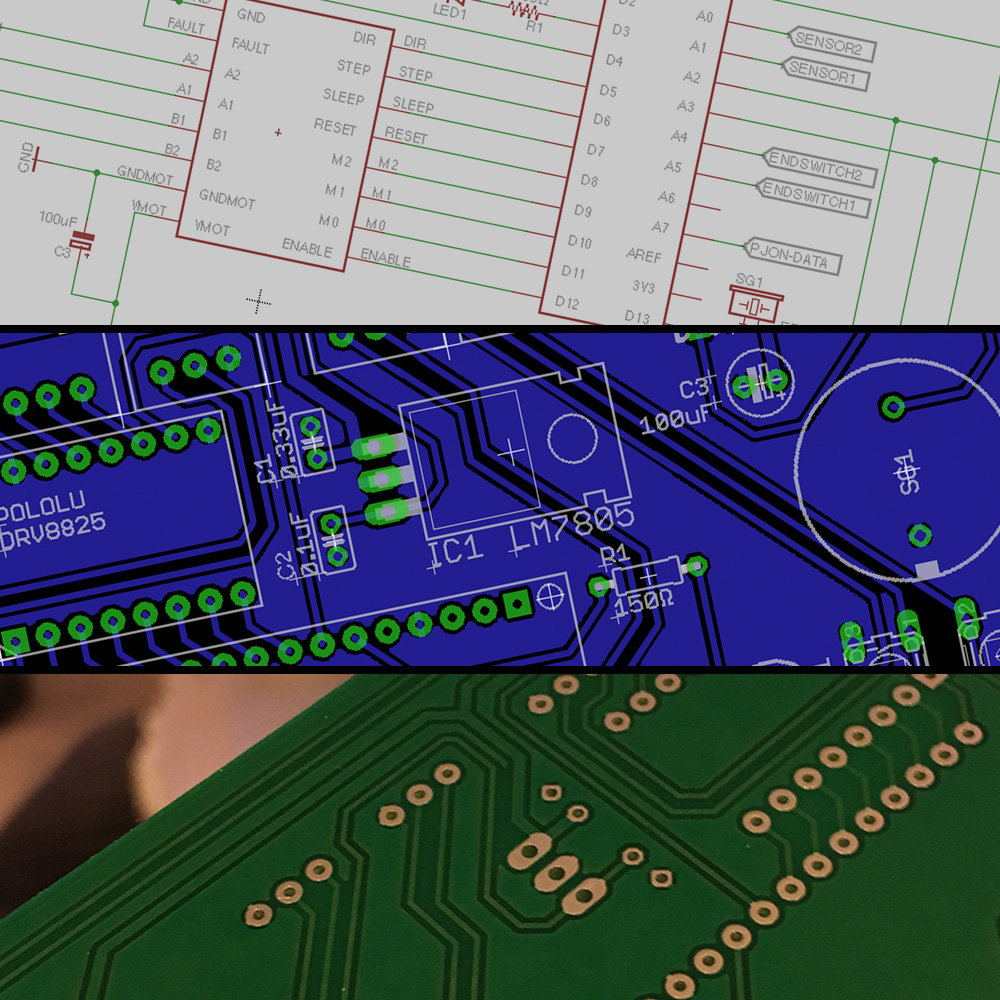
With the first final motor unit assembled, and the newly gathered knowledge about Eagle PCB it is time to work on the motor control unit.