Train Automator:
Writing the Software
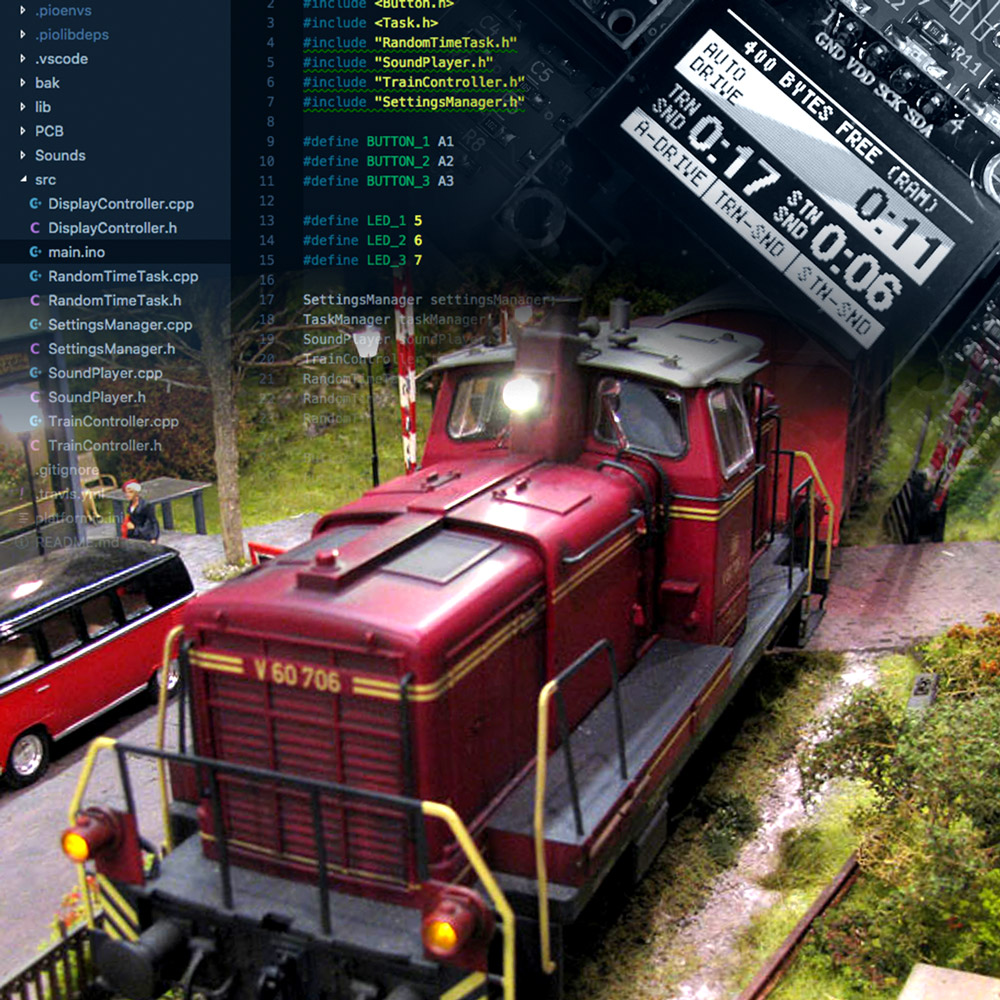
After finishing the electronics it is time to work on the software. Since the train automator runs on an Arduino Nano, it’s time to fire up Visual Studio Code and start typing some C++.
Shopping for Santa
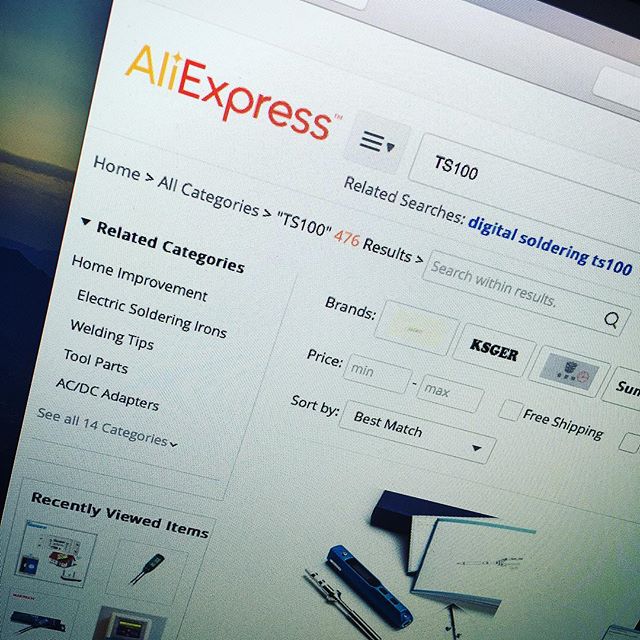
In the last few weeks I spent most of my precious spare time to do some home improvement. I repainted the living room, which means I had to move away all the furniture including my desk. So no tinkering for me these two weeks. To fulfill my maker desires, I did a lot of window shopping on Ali Express and E-bay. And since X-mas is just around the corner, I hereby present you my IADNTBBDIWI-list! (I Absolutely Don’t Need That, But Boy Do I Want It!)
Electrocard:
Shine bright like a diamond!
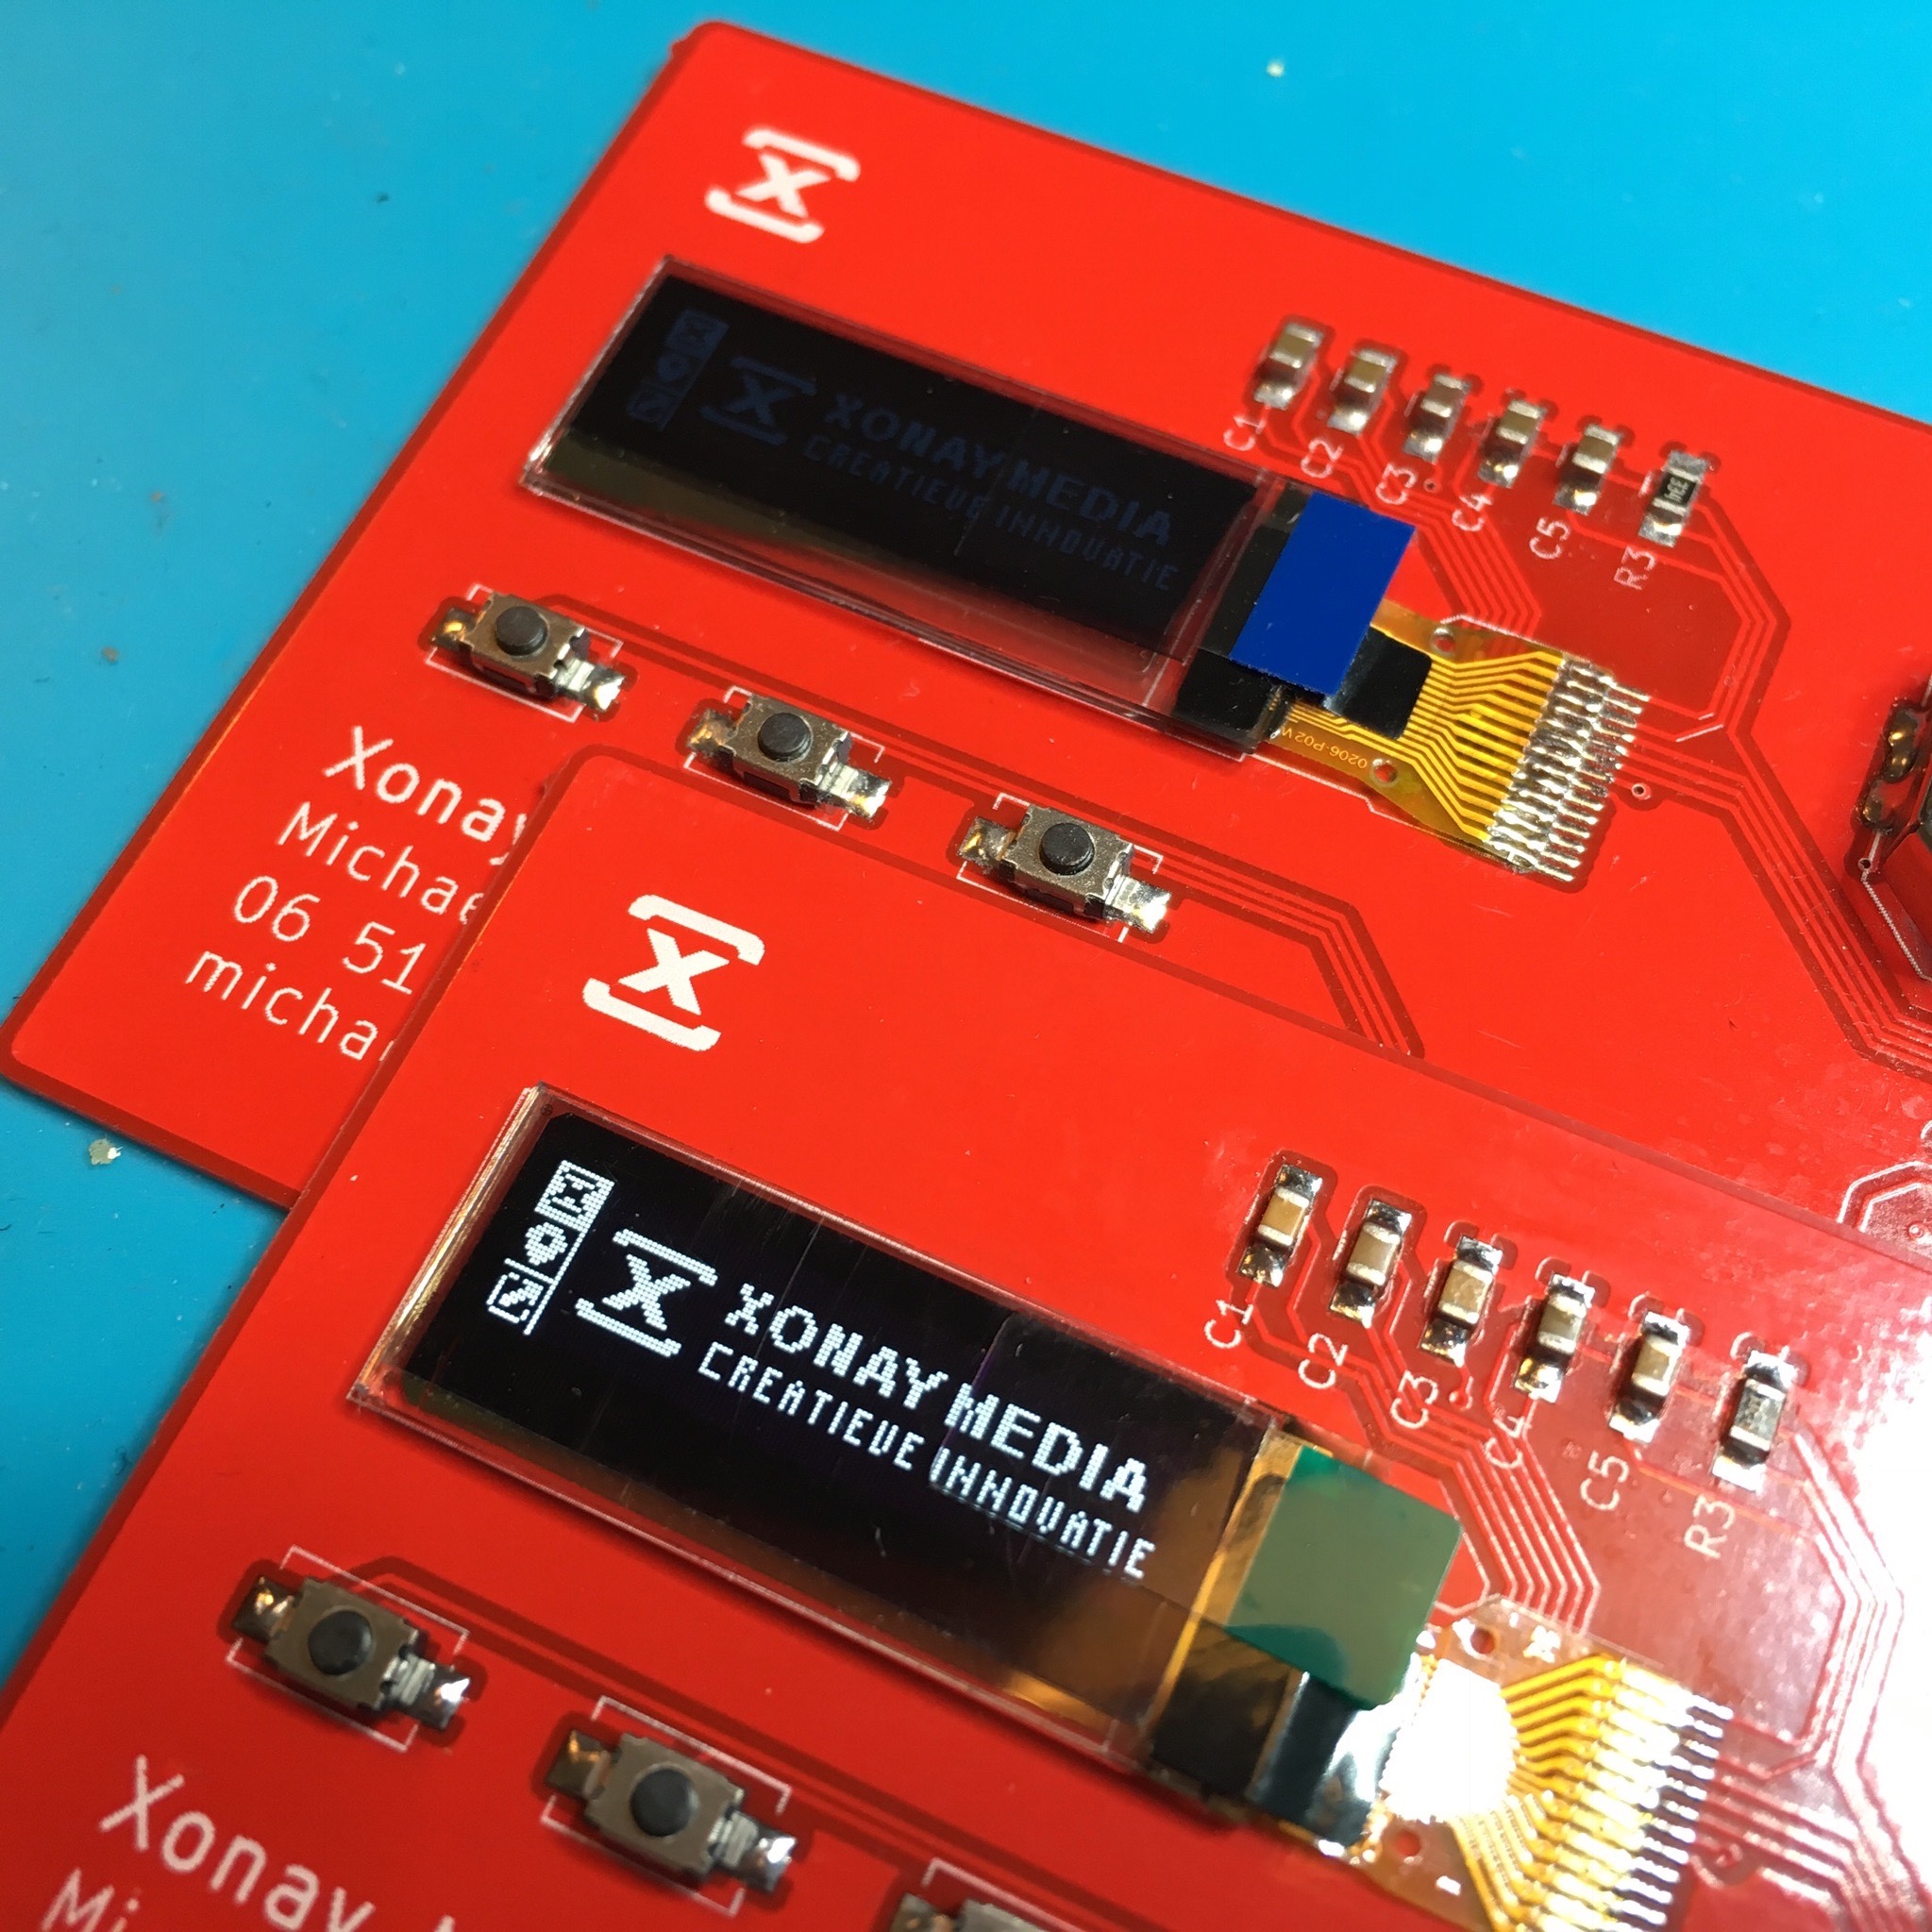
So, in the last batch of Electrocards I assembled, one of the displays had a very poor brightness. A fun project to see if I would be able to debug this issues.
Electrocard:
Writing The Software
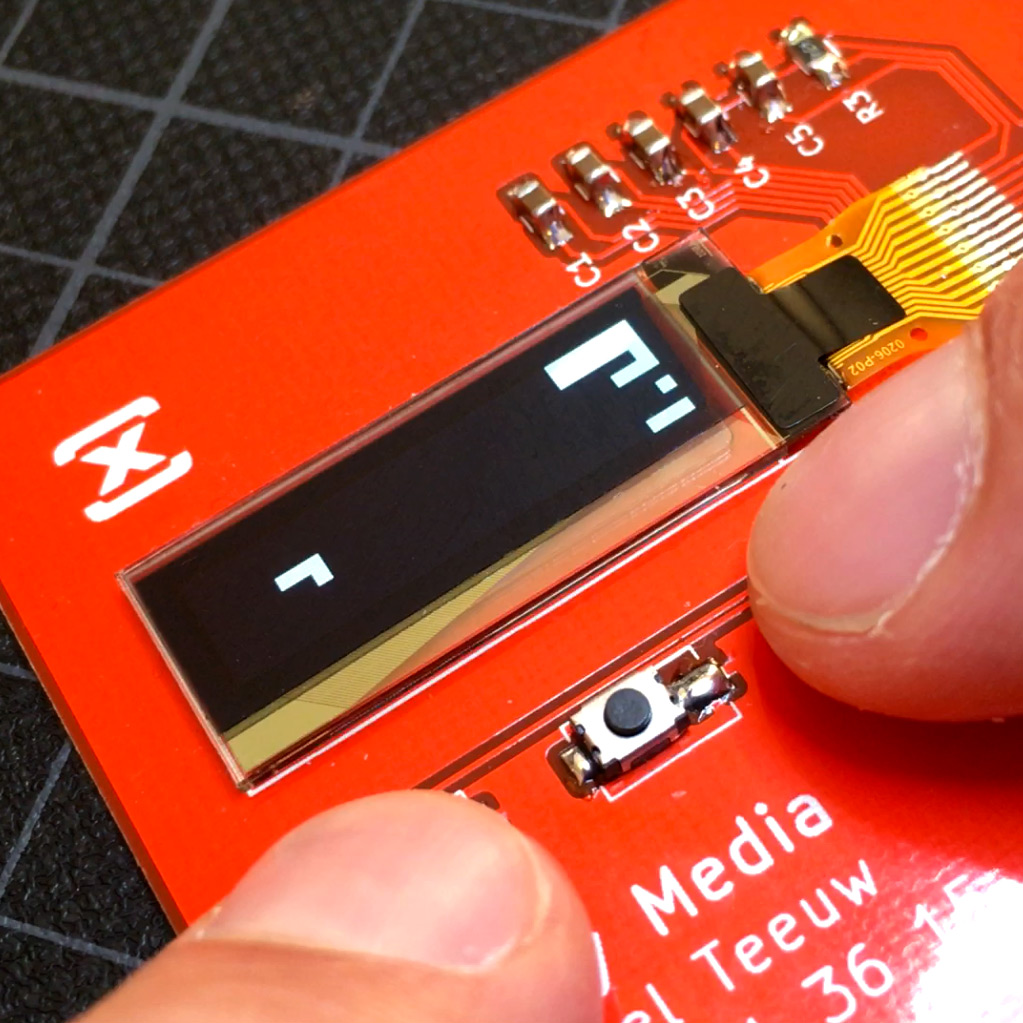
Now that the hardware part of my Electrocard is done, it’s time to start working on the software side of my electronic business card.
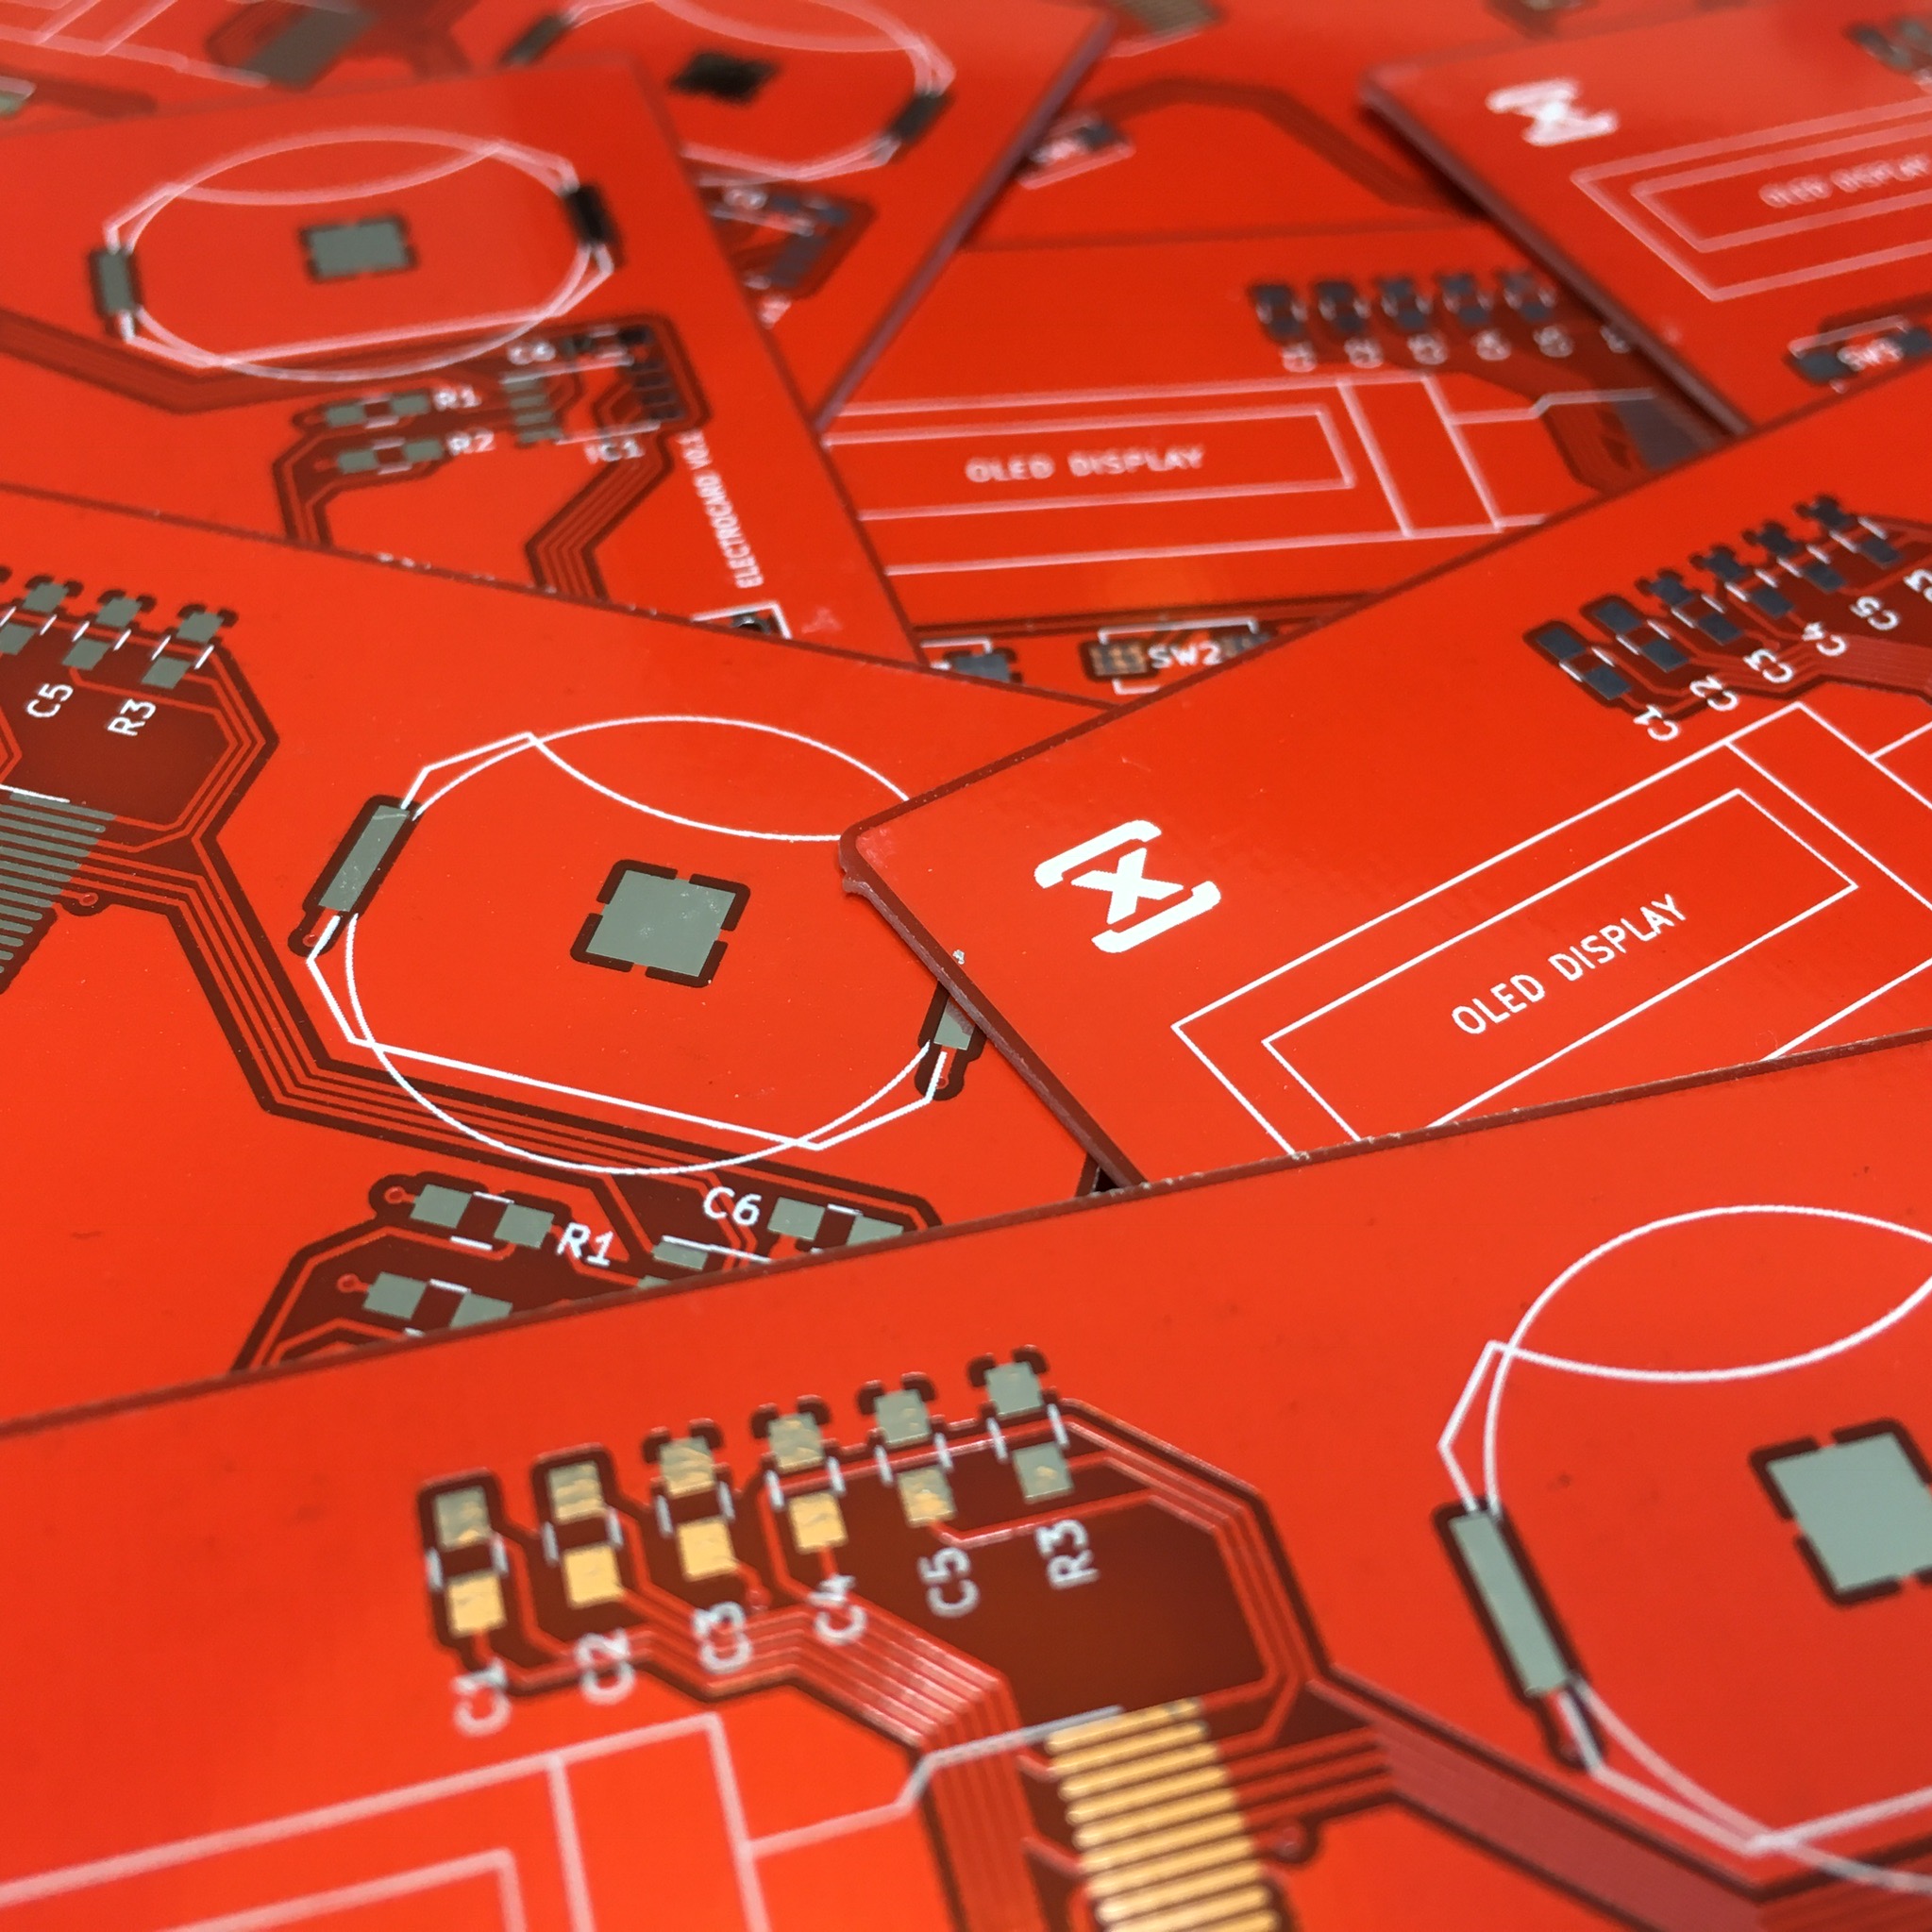
Electrocard:
The Design
Ever since I have my own company I wanted to have a PCB business card. Of course I wouldn’t be the first, but it would definitely give a nice touch to my company’s identity. And since I wanted to give KiCad a good try anyway, why not go for it?
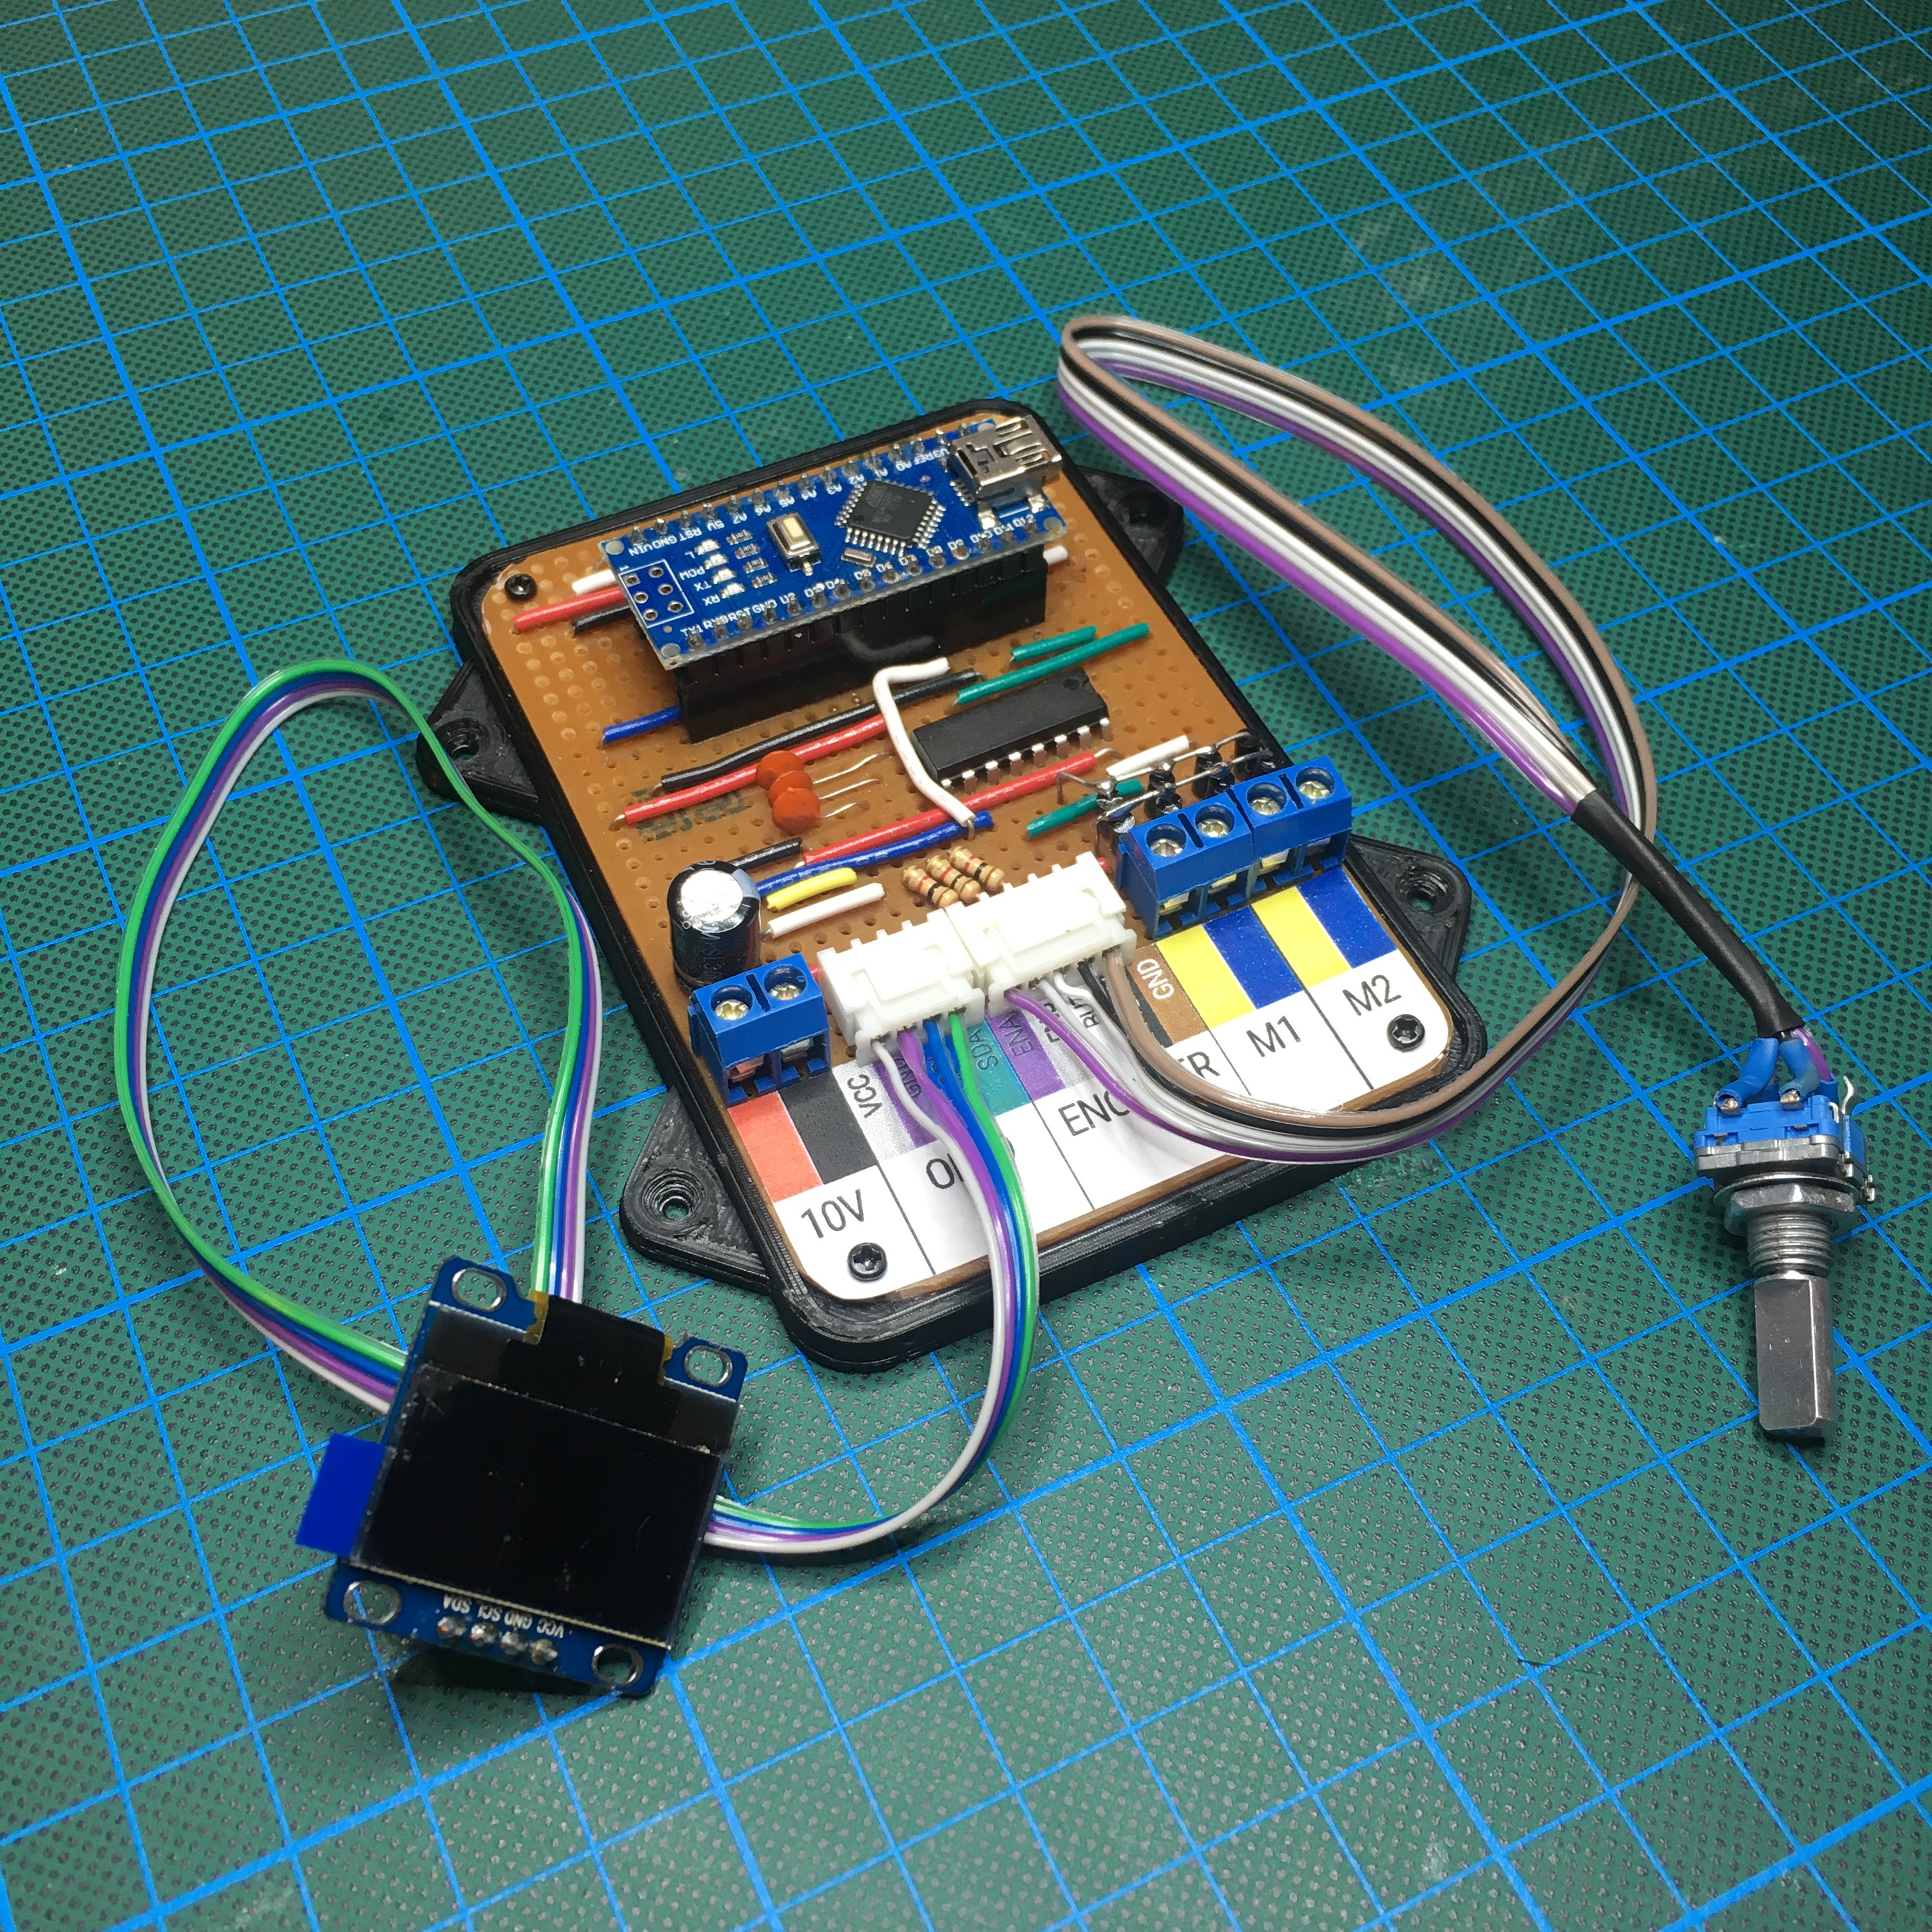
The Train Controller
A while ago my dad and I were discussing the best ways to control a small model train. As a seasoned model train enthusiast, he was looking for the best way to control a single track train. As an additional requirement, he wanted to show the trains’ speed on a small display … Challenge accepted!
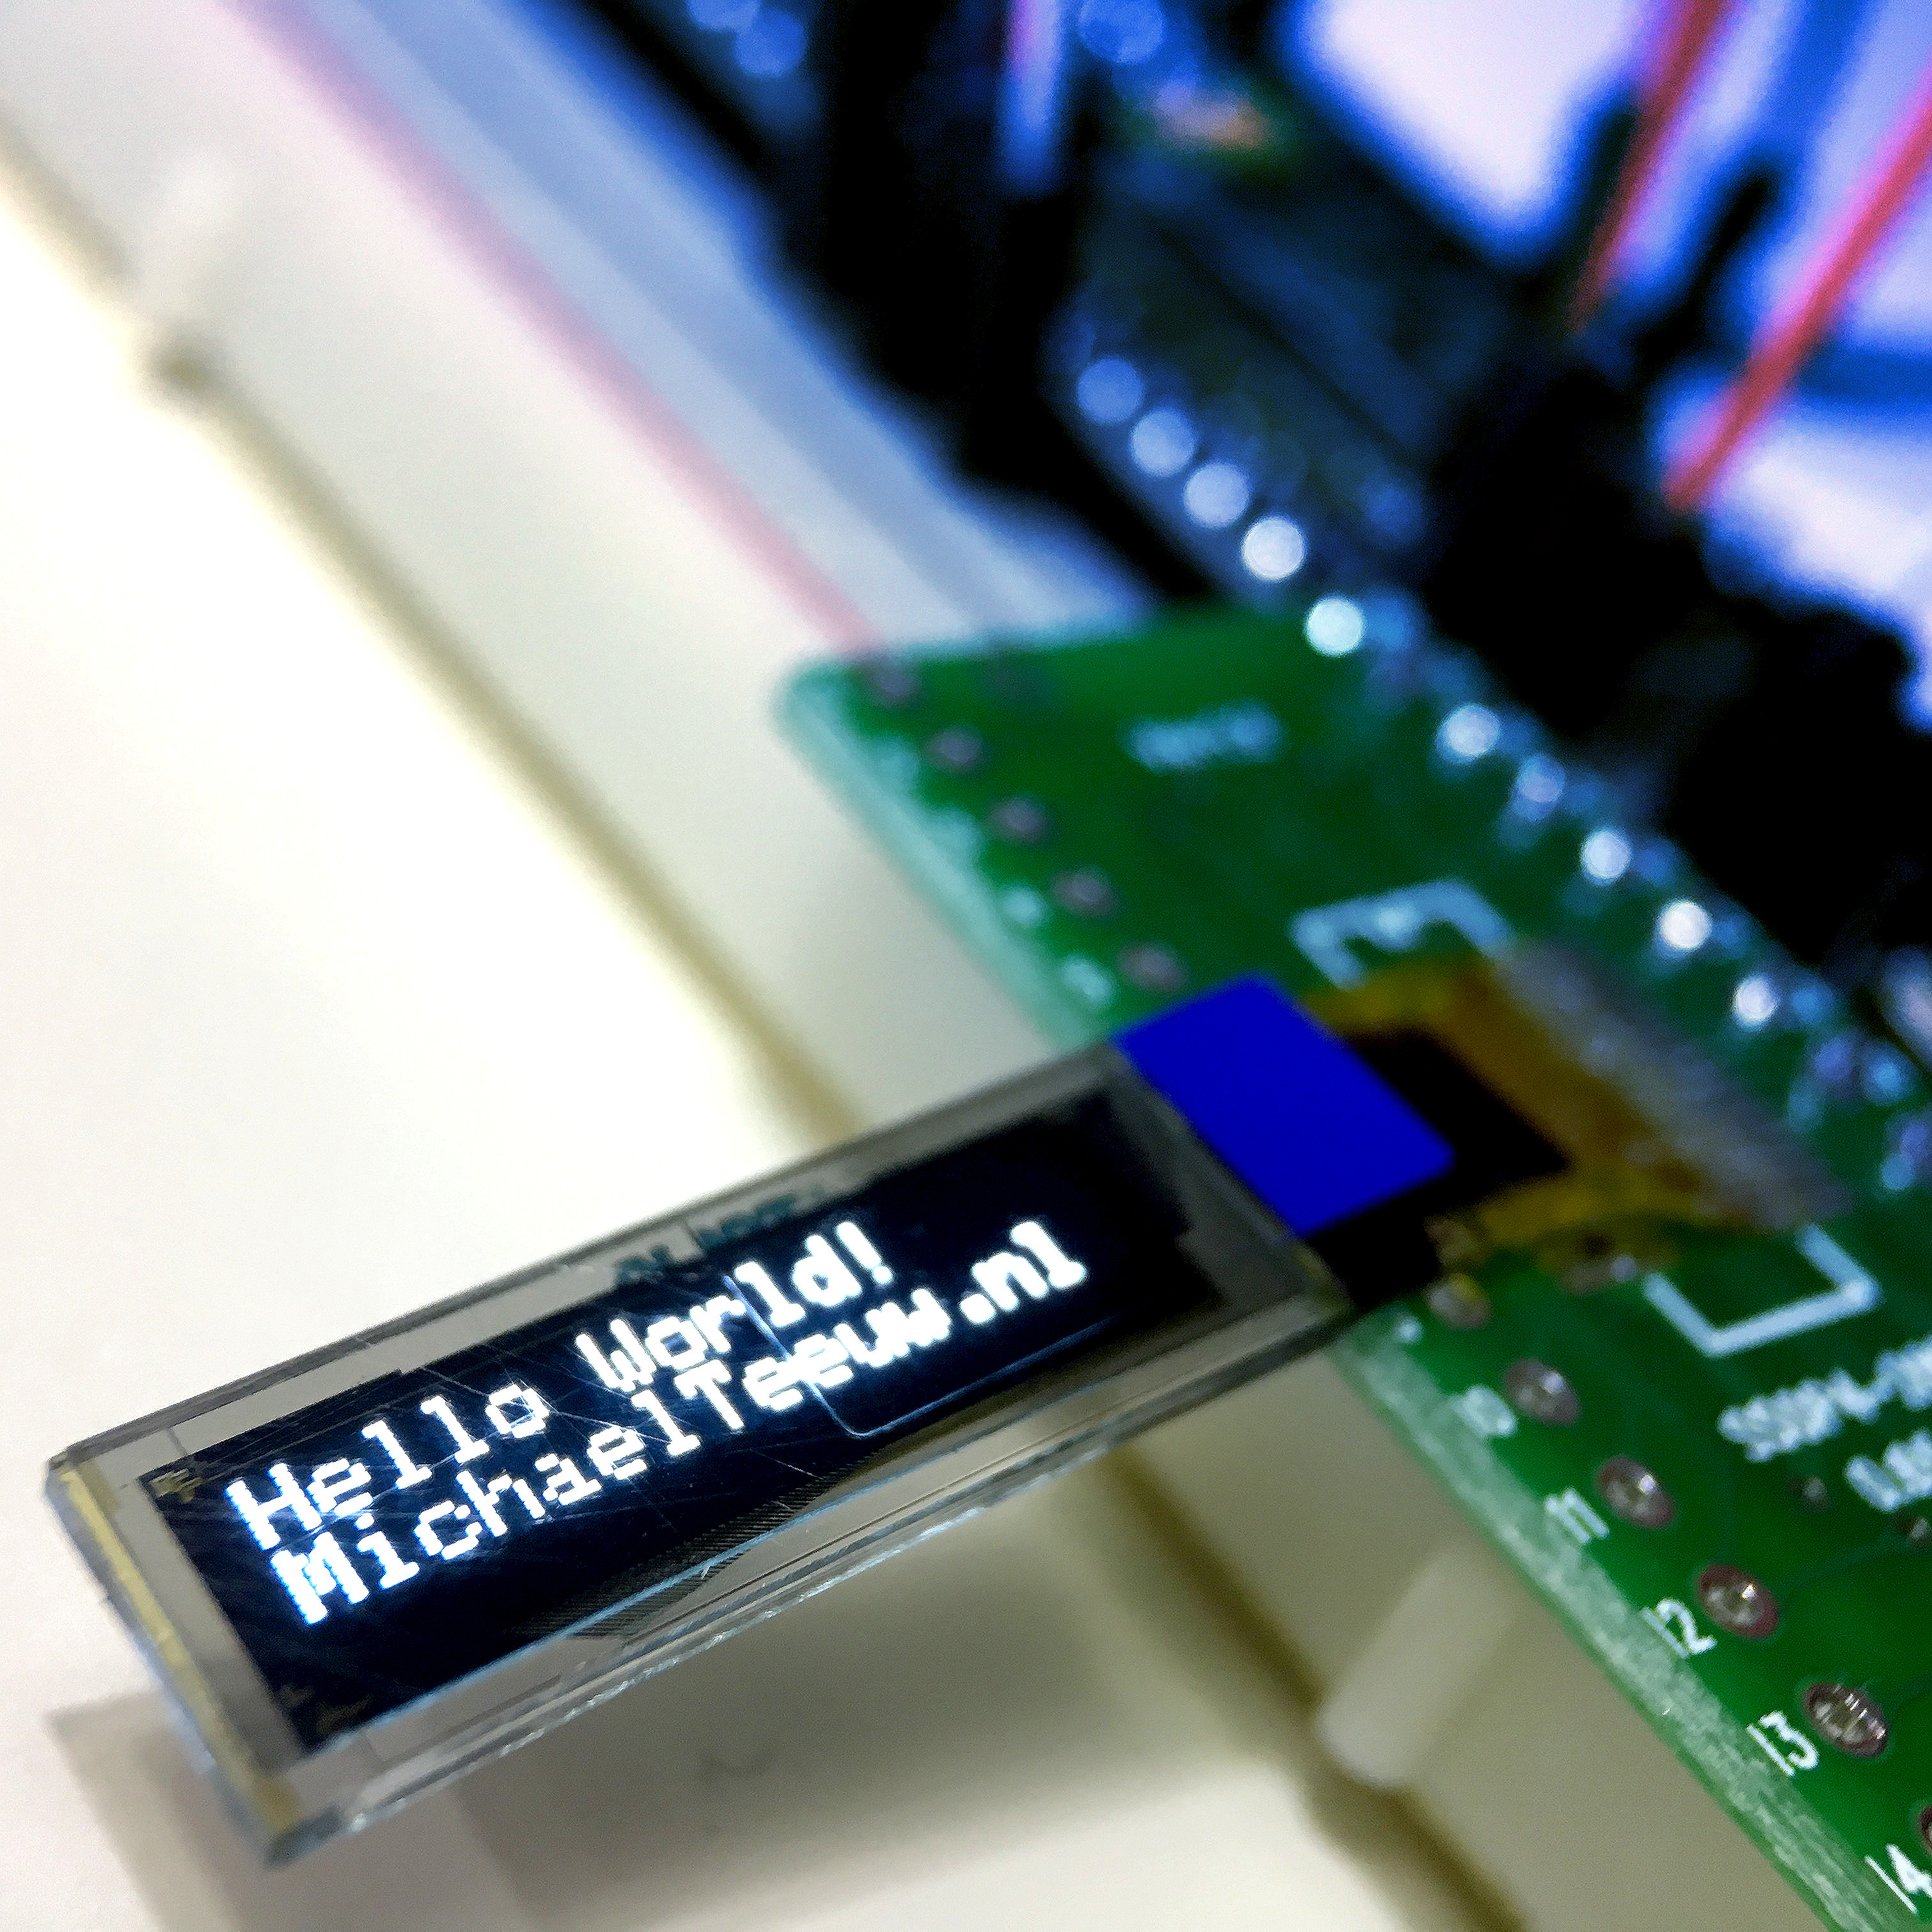
Trying out a Barebone OLED display
If you you are a tinkerer that likes to play around with Arduino’s and electronics, you’ve probably played around with a 4 pin I2C OLED display more than once. To step up my game, I thought it would be fun to give myself a little challenge and try out a barebone OLED screen without the convenient breakout board.
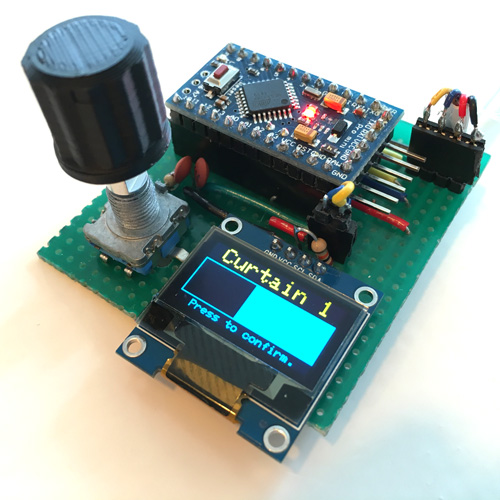
Automatic Curtains:
Prototyping complete!
After playing around with the latest version of PJON, I finally found a good way for Arduino to Arduino communication. And with some test-code up and running, it was time to implement it in my automatic curtain driver.
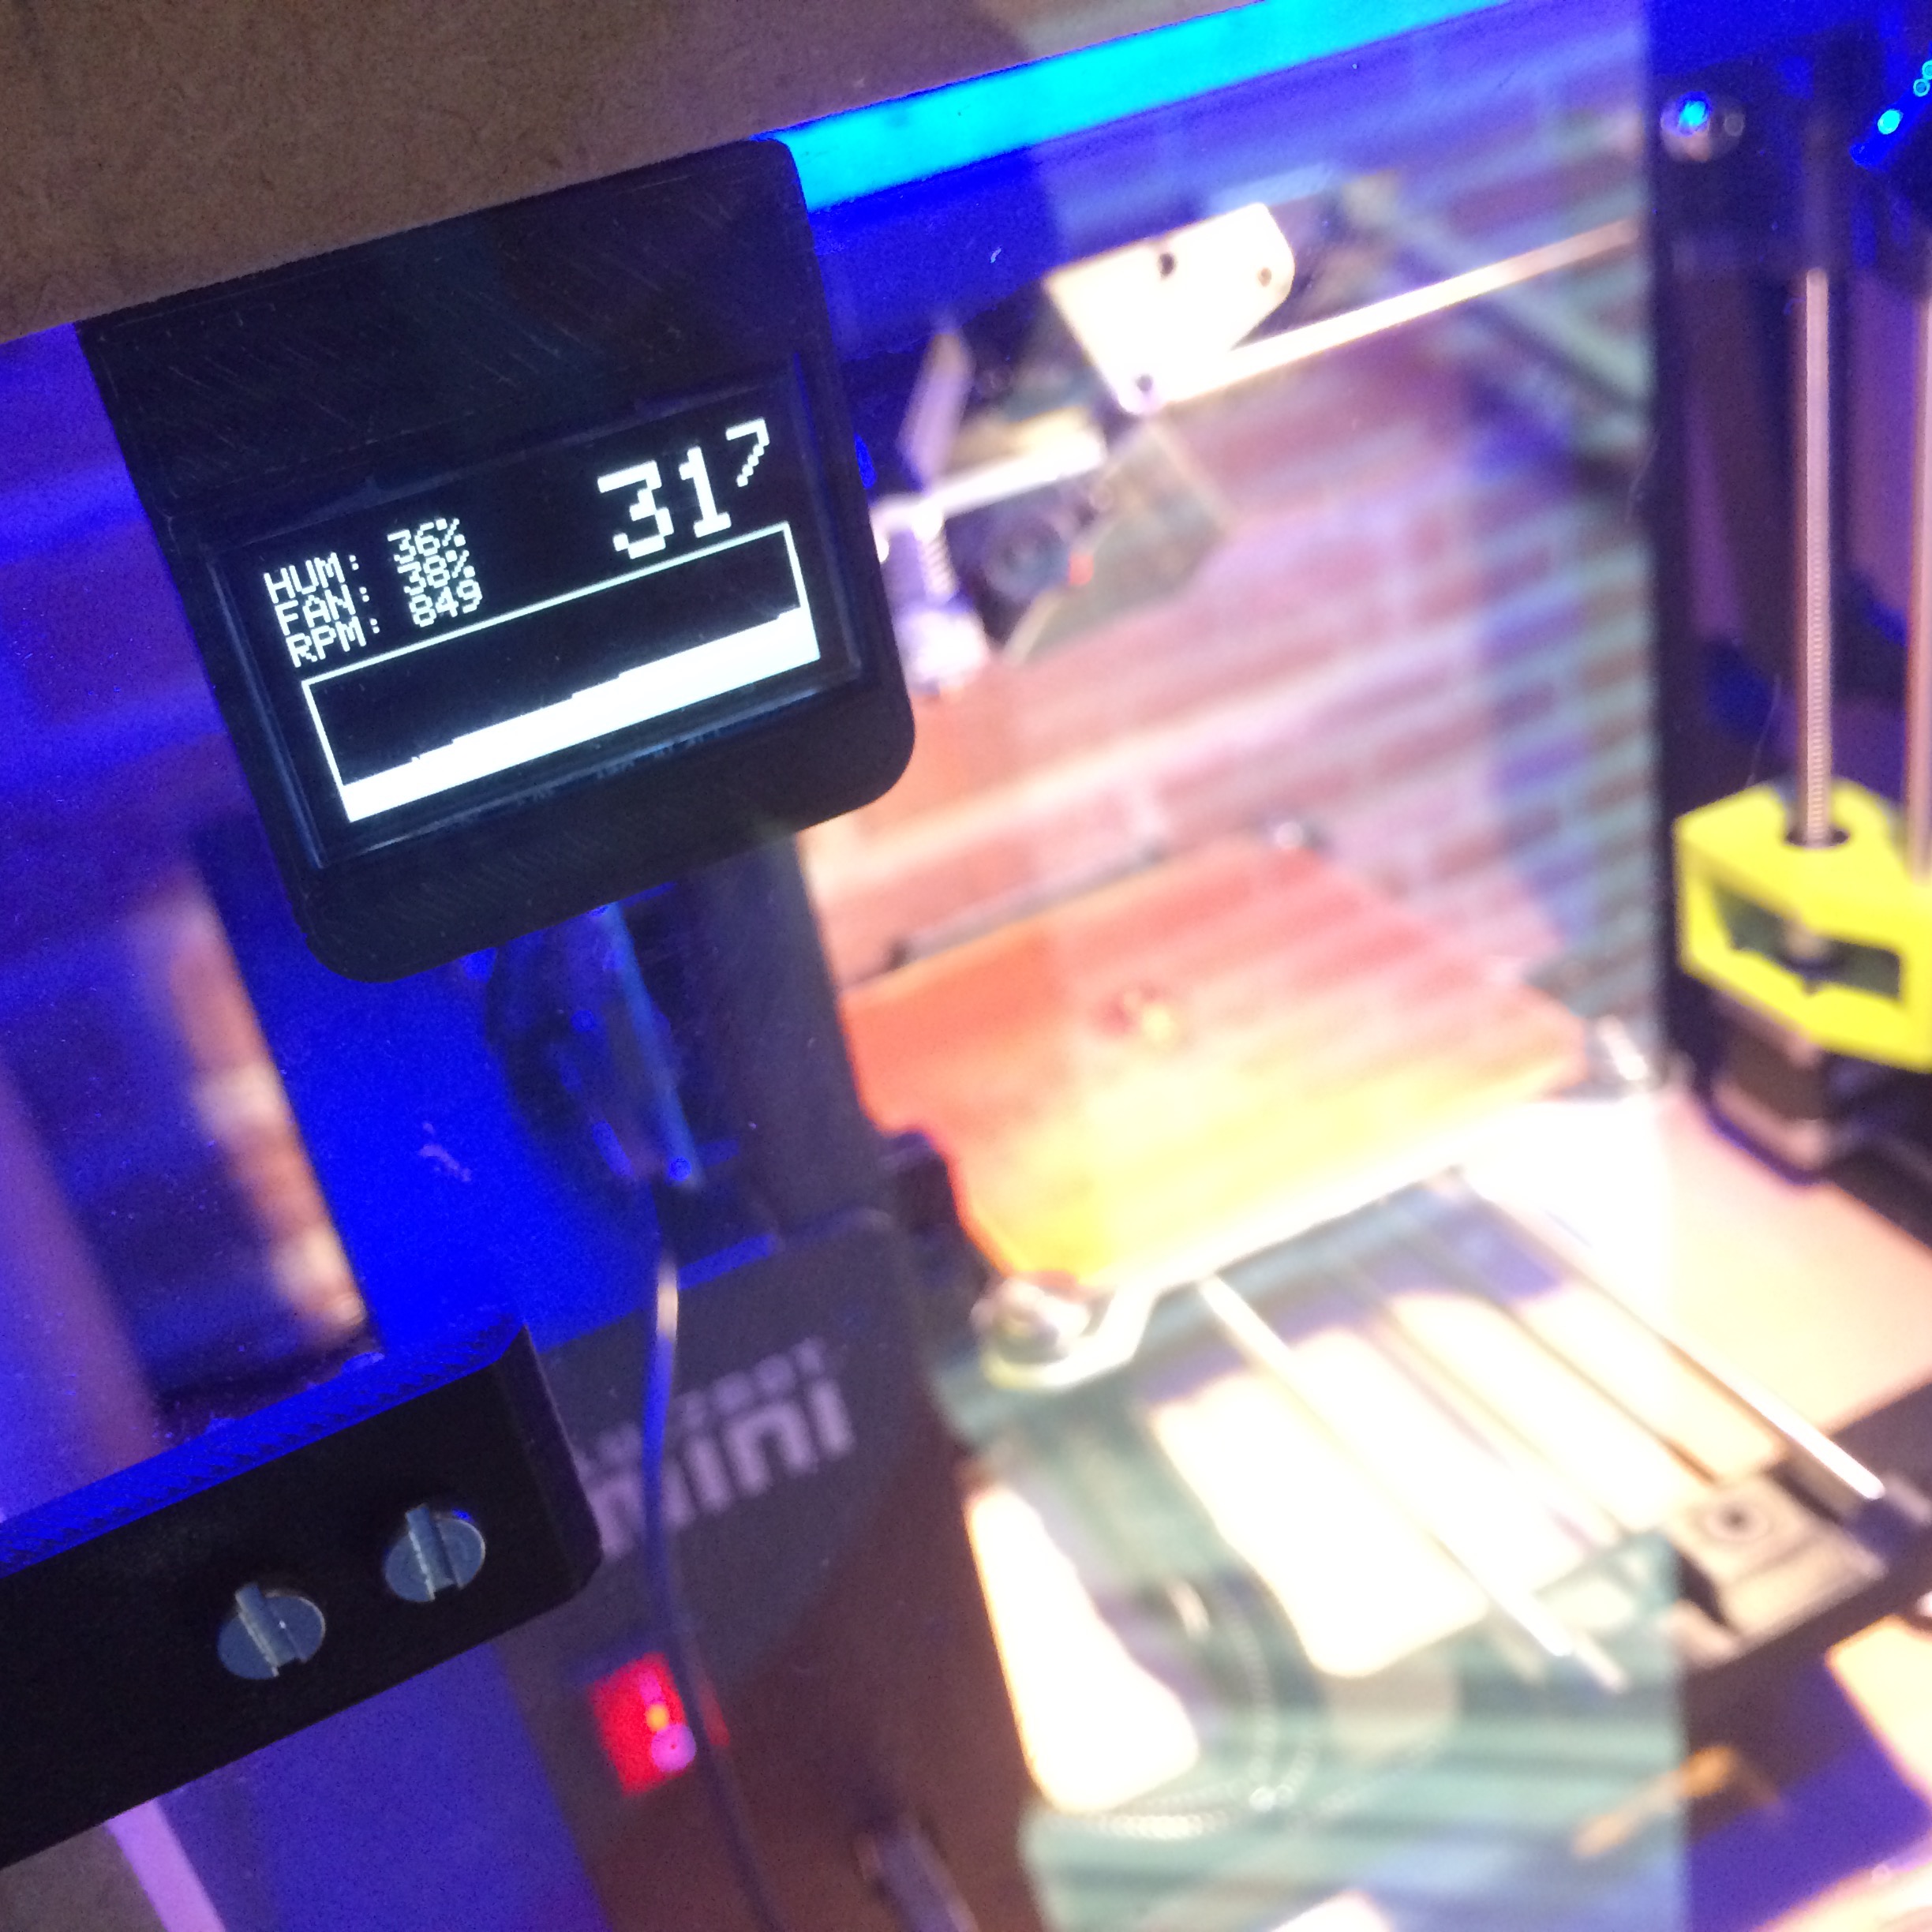
When the heat hits the fan ...
After building the Enclosure for my Lulzbot Mini 3D Printer, I started to worry my Printer wouldn’t like the built up heat. Although higher temperatures are usually an improvement for the print quality, it might affect the hardware. To prevent this, I decided to add a temperature regulated cooling fan.