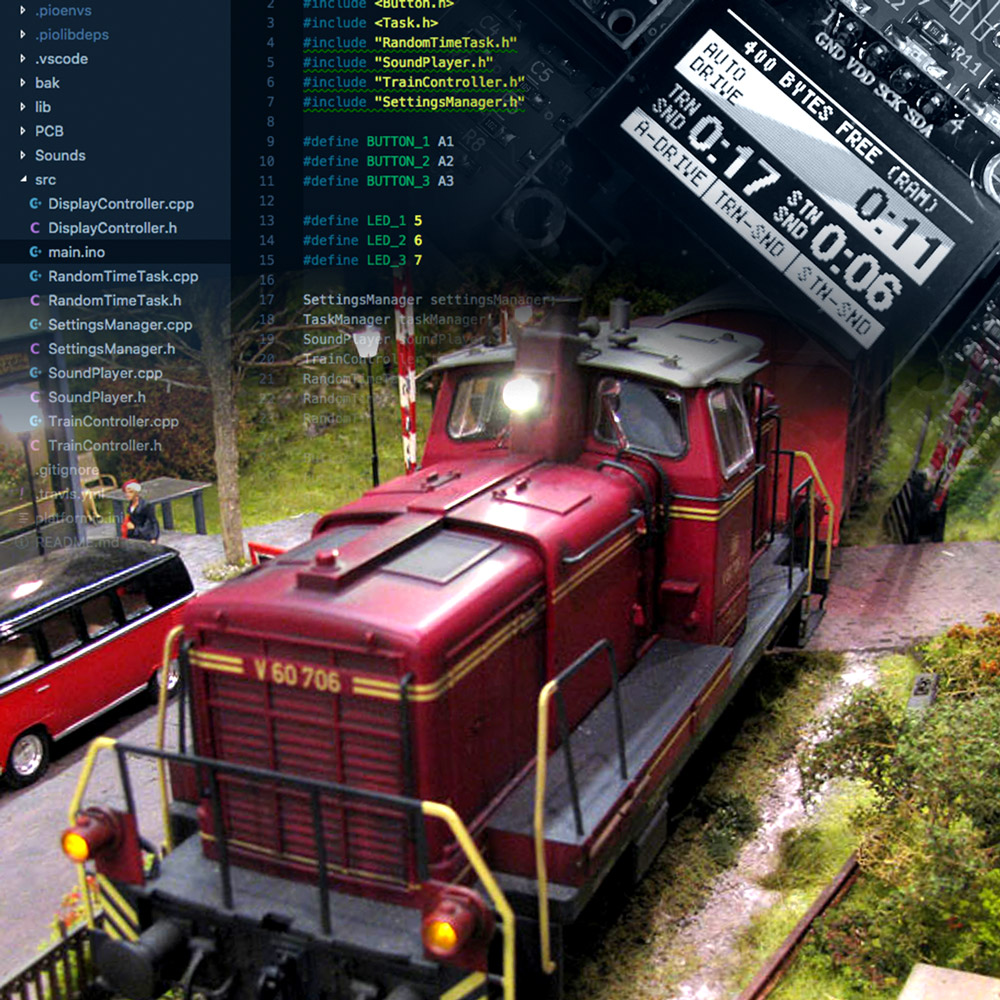
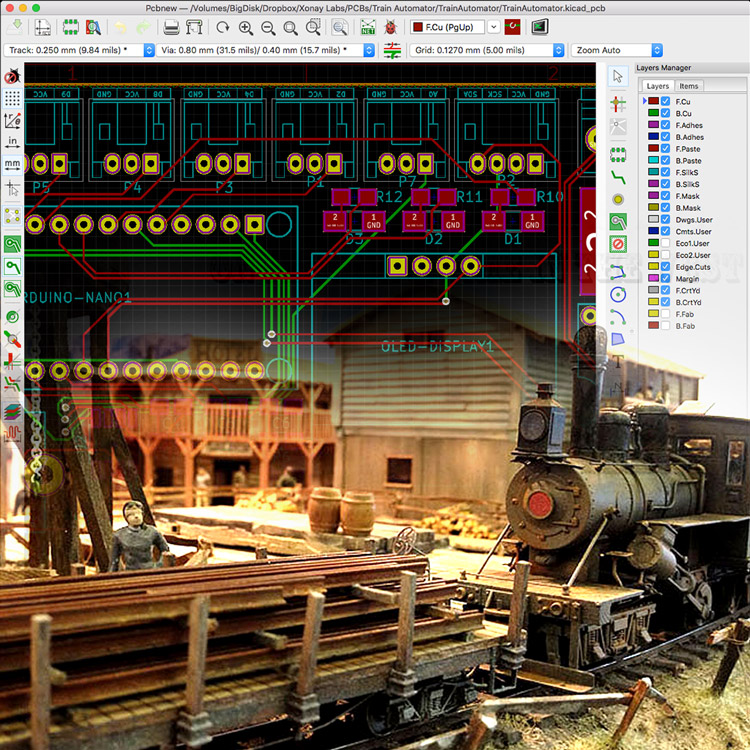
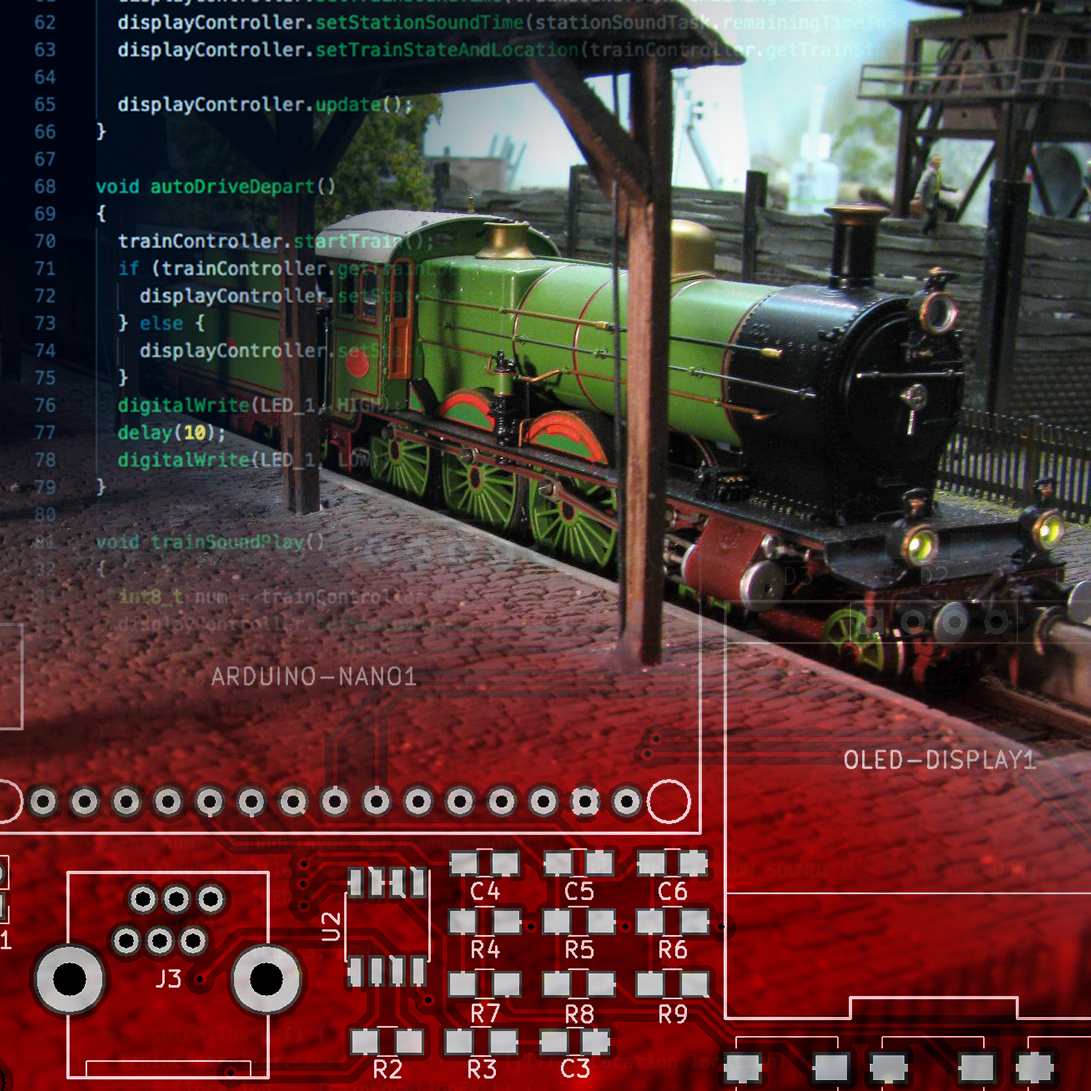
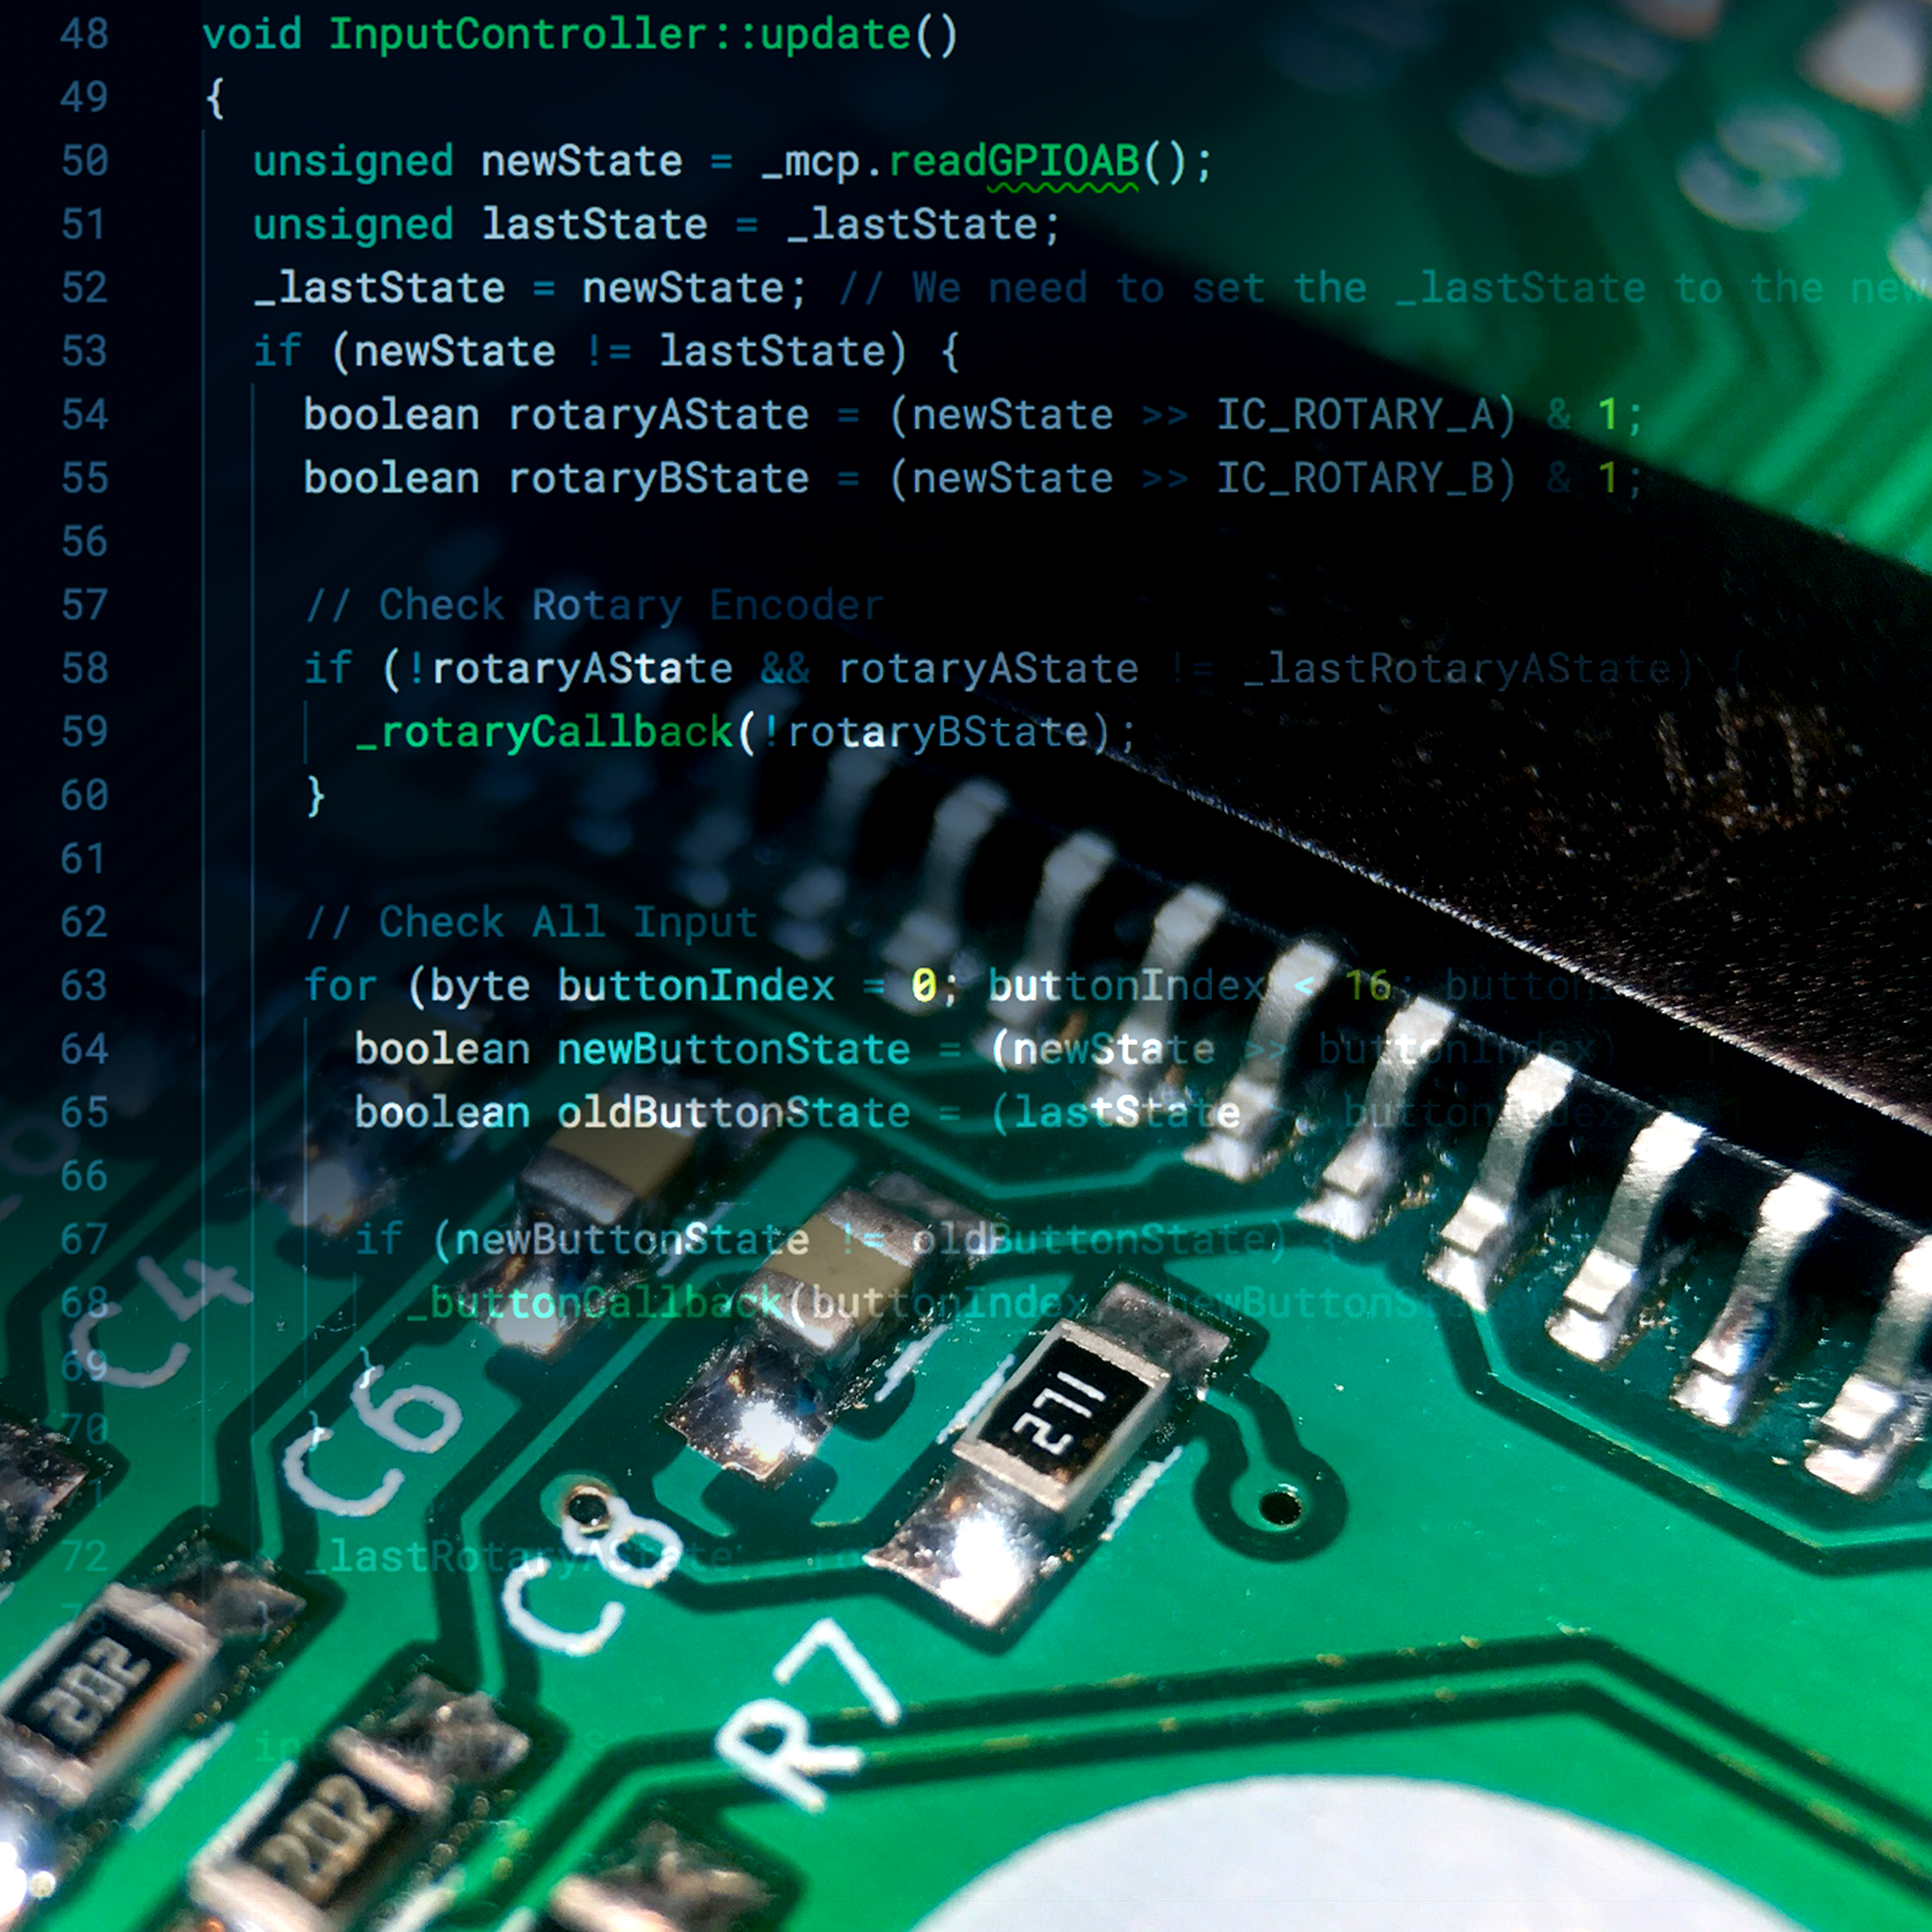
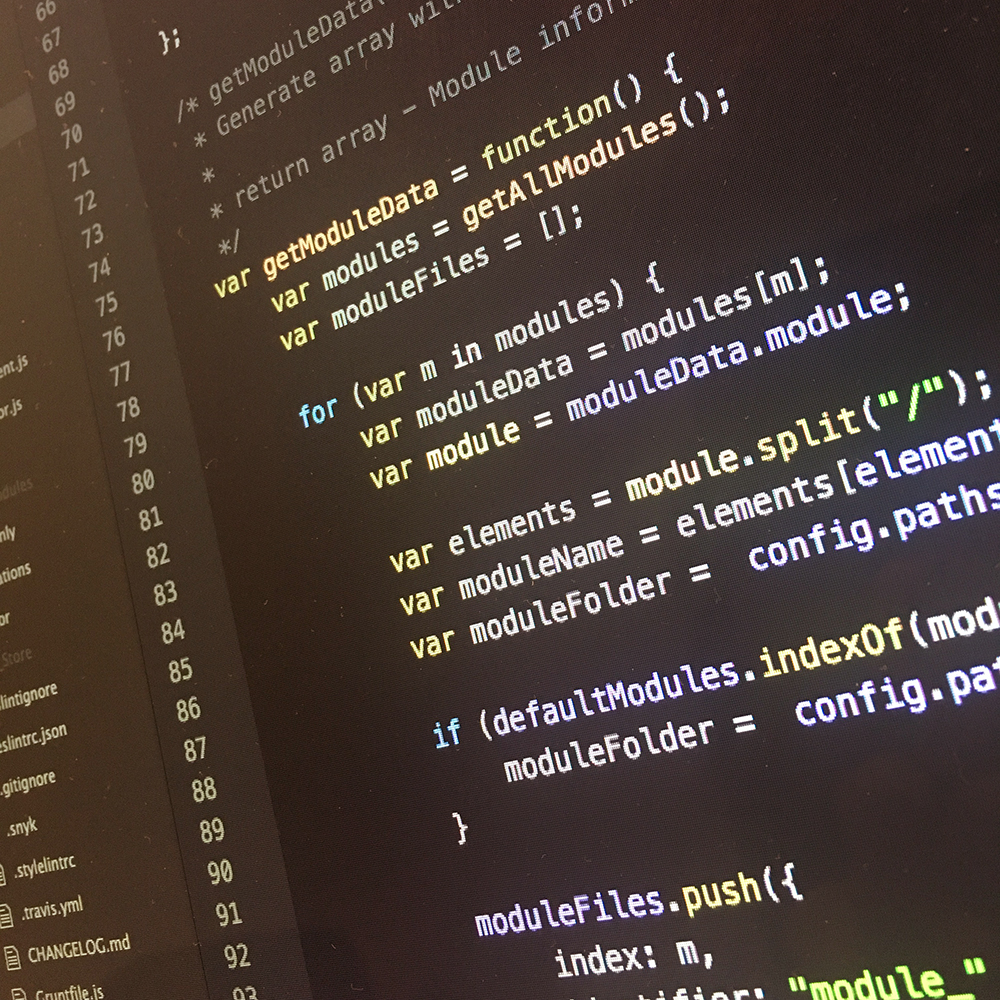
After finishing the electronics it is time to work on the software. Since the train automator runs on an Arduino Nano, it’s time to fire up Visual Studio Code and start typing some C++.
Train Automator: Designing the PCB
I’ve mentioned it a few times before: Platform.io is the perfect integrated development environment if you want to work with microcontrollers. The “new” VSCode extension makes it even better, since VSCode is my code editor of choice.
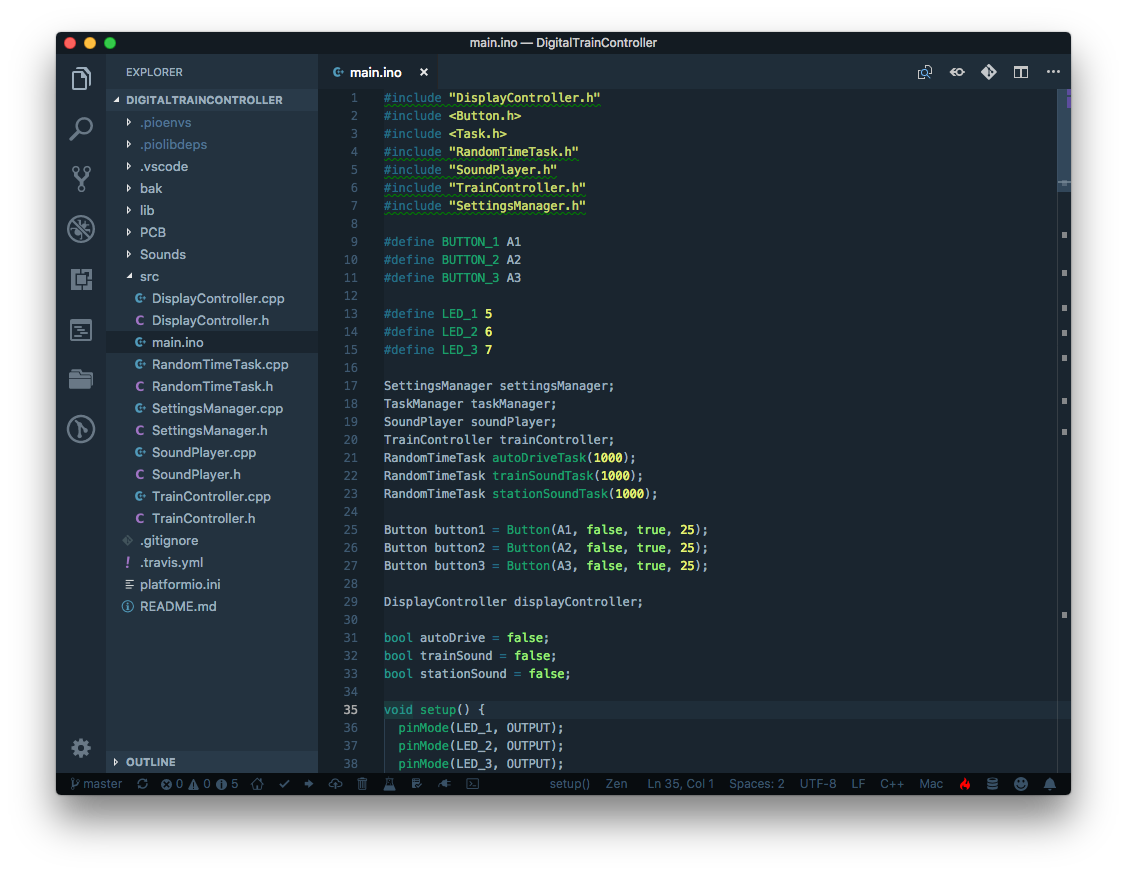
The setup for the embedded software is based around some Manager classes and Controller classes. If you are a regular reader of my blog, you know I used those term only to make my code look more professional. Why? because I have no idea what i’m doing.
Anyway, here’s the beakdown of the software:
- DisplayController: Responsible for displaying all the nessecery information on the screen. This class creates the user interface.
- RandomTimeTask: A class responsible for executing tasks at random time intervals.
- SettingsManager: Responsible for the setting settings interface, as well as storing and retrieveing the various settings stored in the EEPROM.
- SoundPlayer: Responsible for playing the sound clips via de DFPlayer Mini (MP3 player).
- TrainController: Handeling the communication with the train (via the Roco MultiMAUS system).
- main.ino: The glue between all the classes mentioned above.
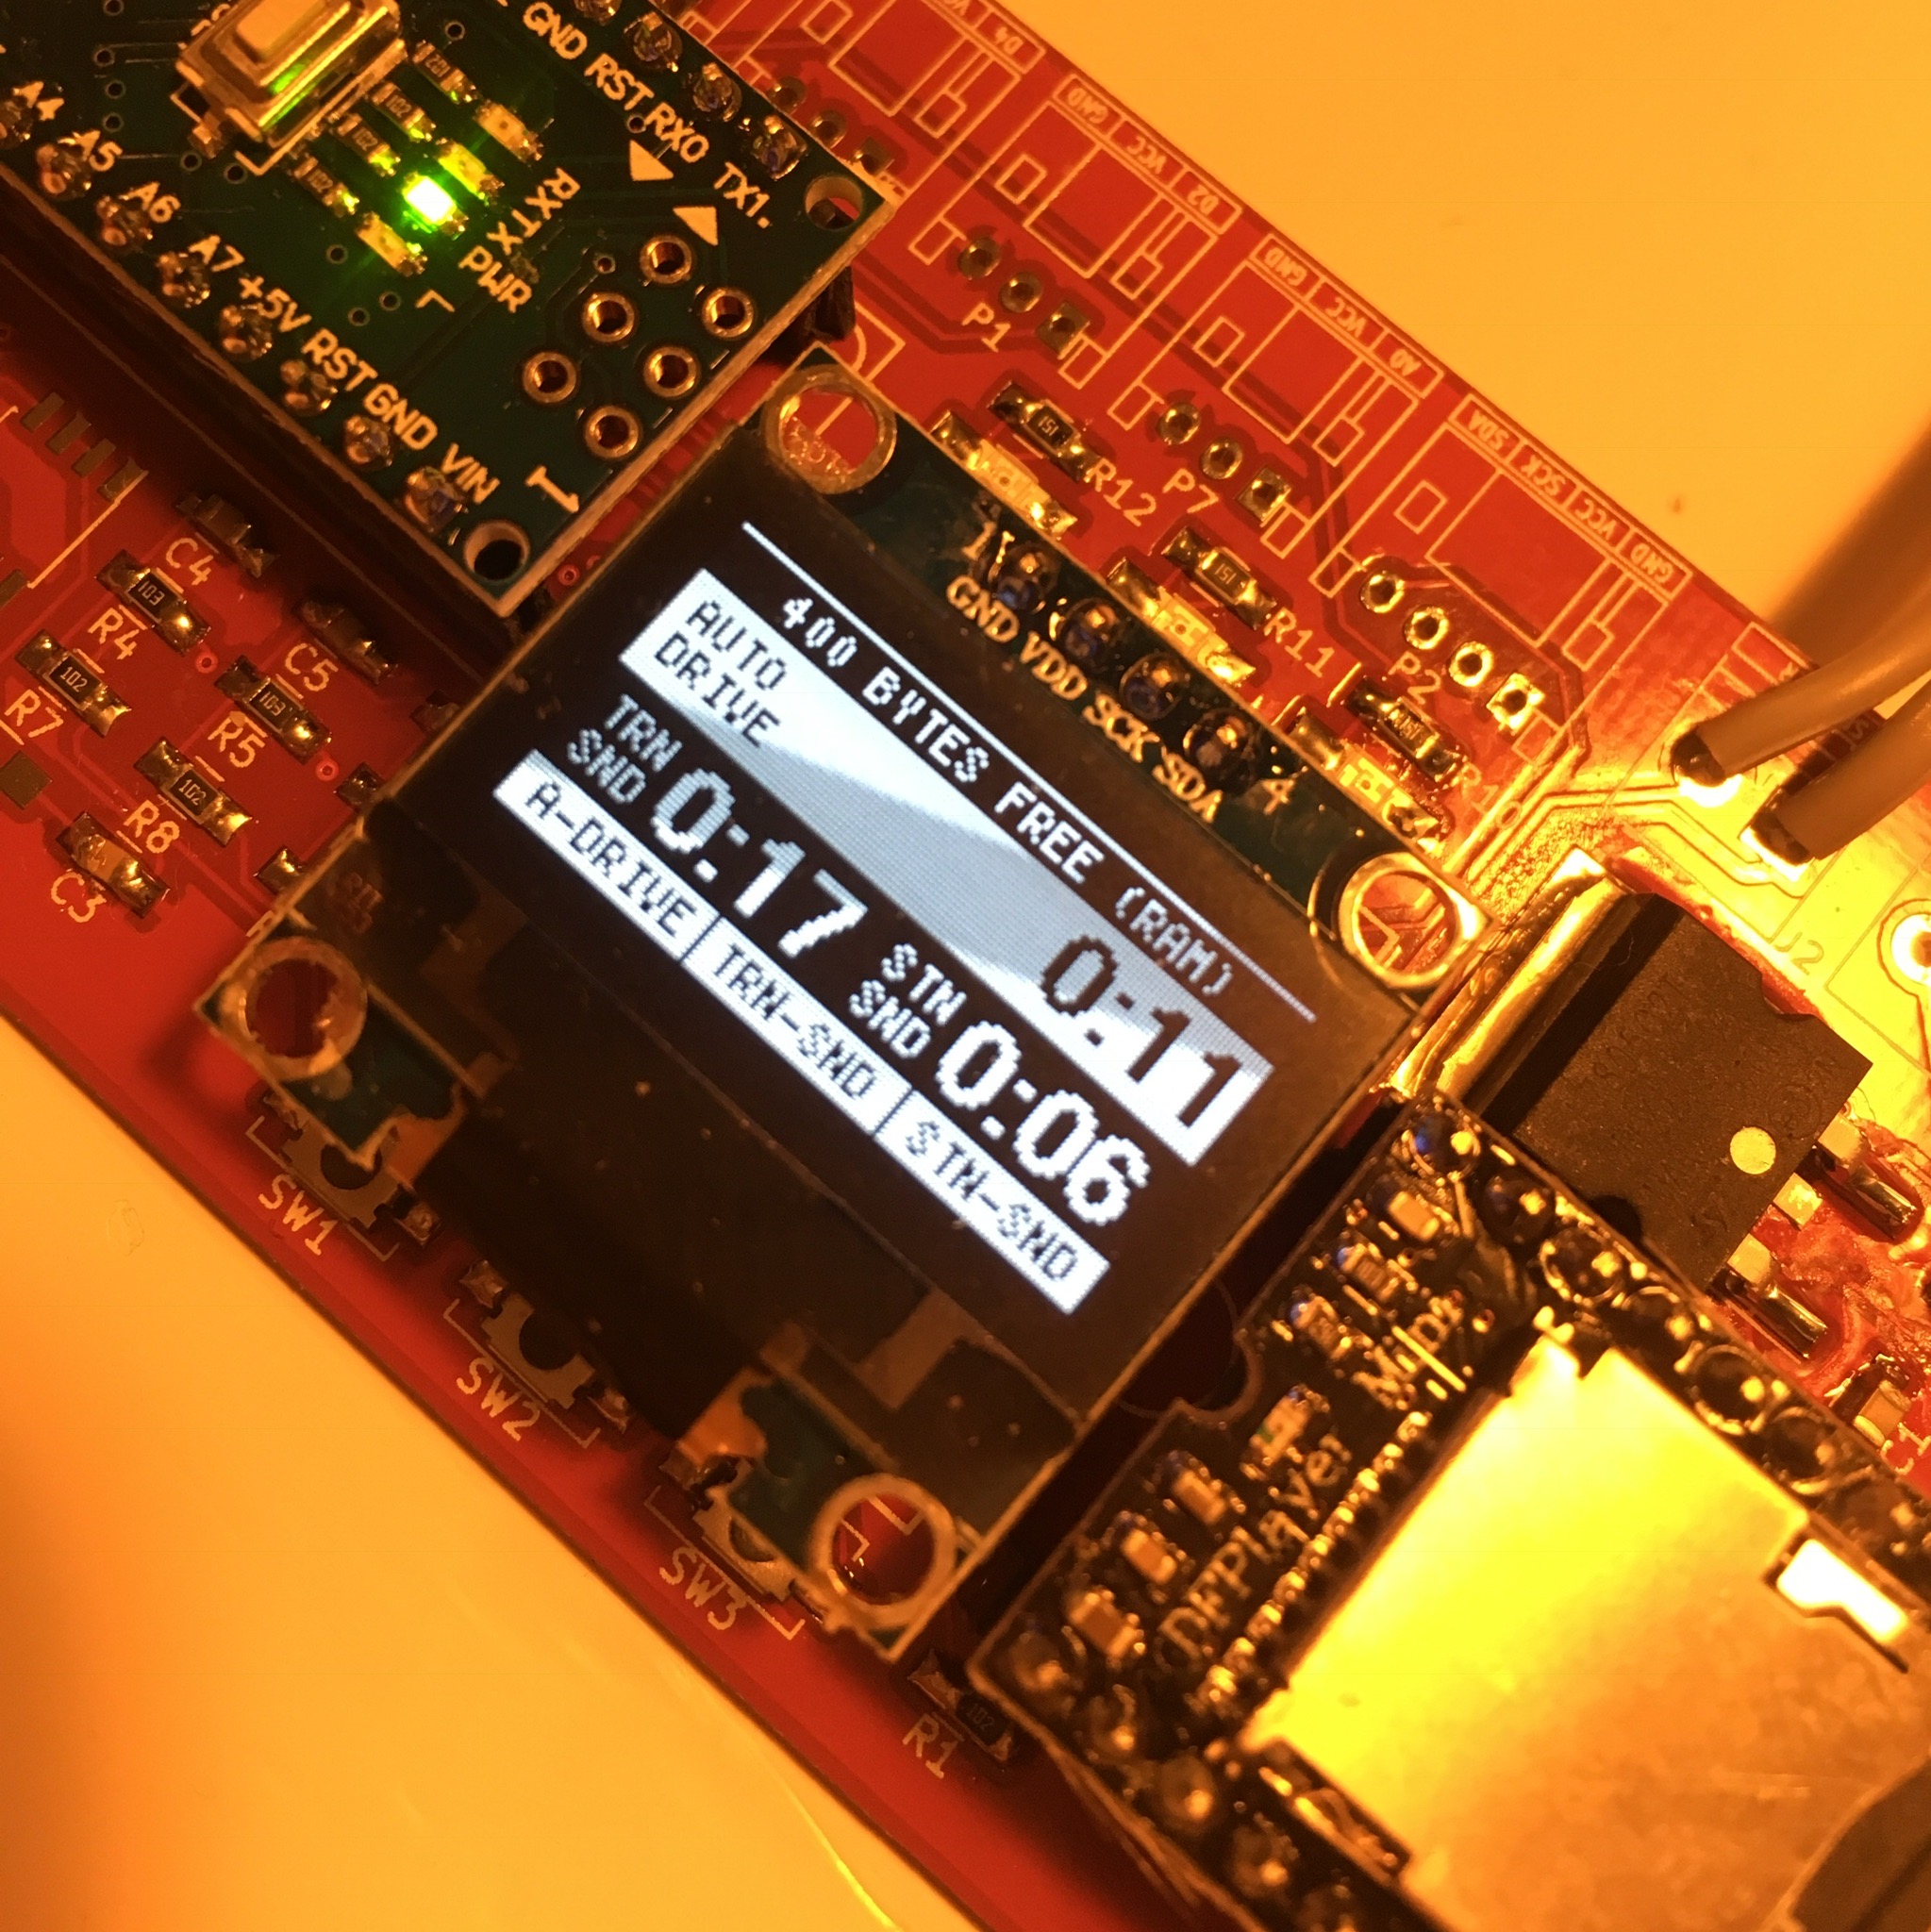
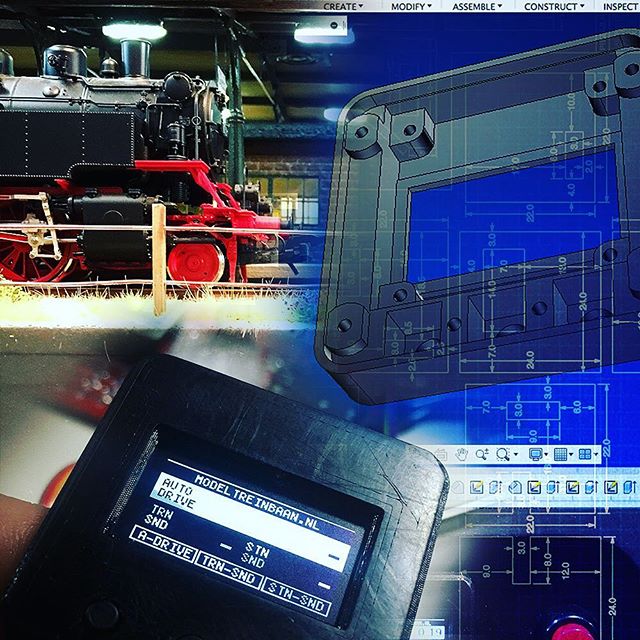
The interface allows you to toggle the three random timers (Auto drive, Train Sound, Station Sound) using the on board buttons. The display will show the countdown towards the the moment the action will be initiated.
The randomly picked delays are within a preconfigured range. By using the random intervals, my dad’s train module will get a more natural feel. Because lets face it: when does a train ever drive on the exact schedule!?

The randomly scheduled tasks (RandomTimeTask) are based on the Task library by Makuna. The possibility to build your own Task subclass was a perfect fit for this project.
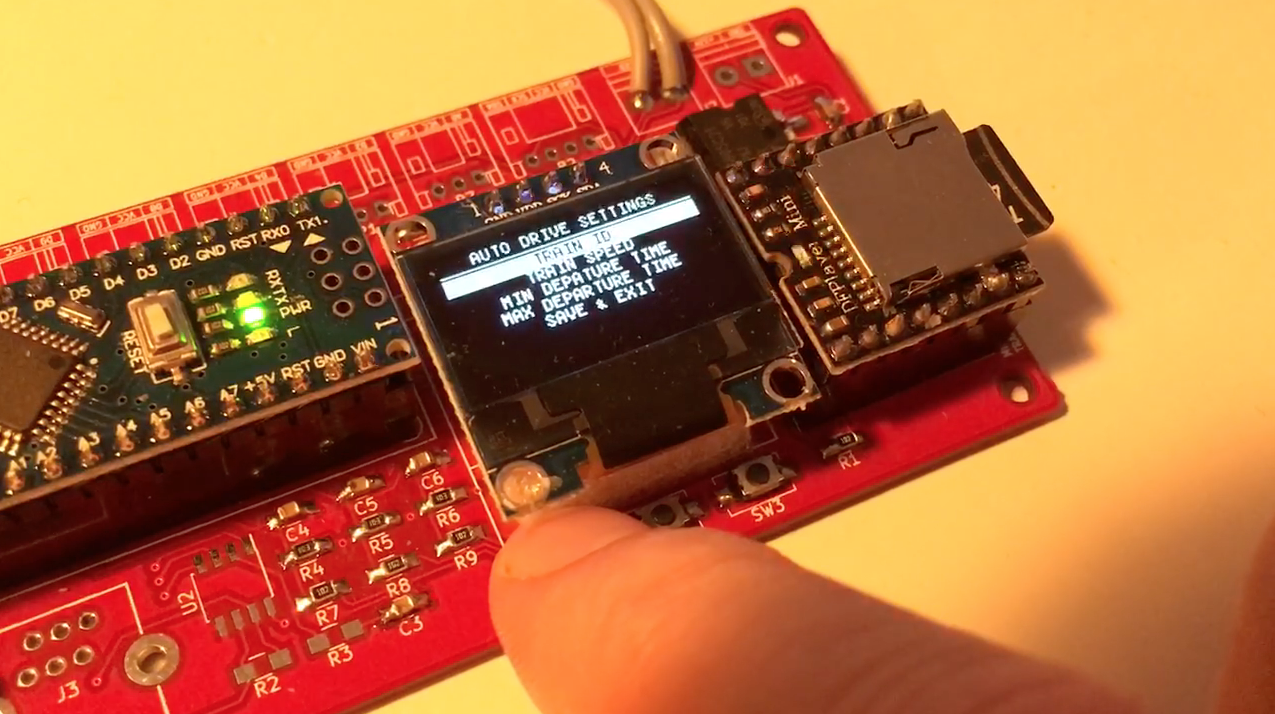
Aside from the default timer interface, you can enter the setting screen by holding one of the three buttons. This will allow you to configures things like Train ID, Train Speed, Volume, Auto Drive Minimum Delay, Auto Drive Maximum Delay, Train Sound Minimum Delay, Train Sound Maximum Delay, Station Sound Minimum Delay and Station Sound Maximum Delay.
All these settings are stored in the Arduino’s EEPROM, so they are non volatile (meaning they remain stored even when the Arduino is powered down).
Building these settings screens was extremely easy using the u8g2 graphics library. It already included all the nessecery input tools and is extremely powerful if you want to built user interfaces on small displays like the used 0.96" OLED.
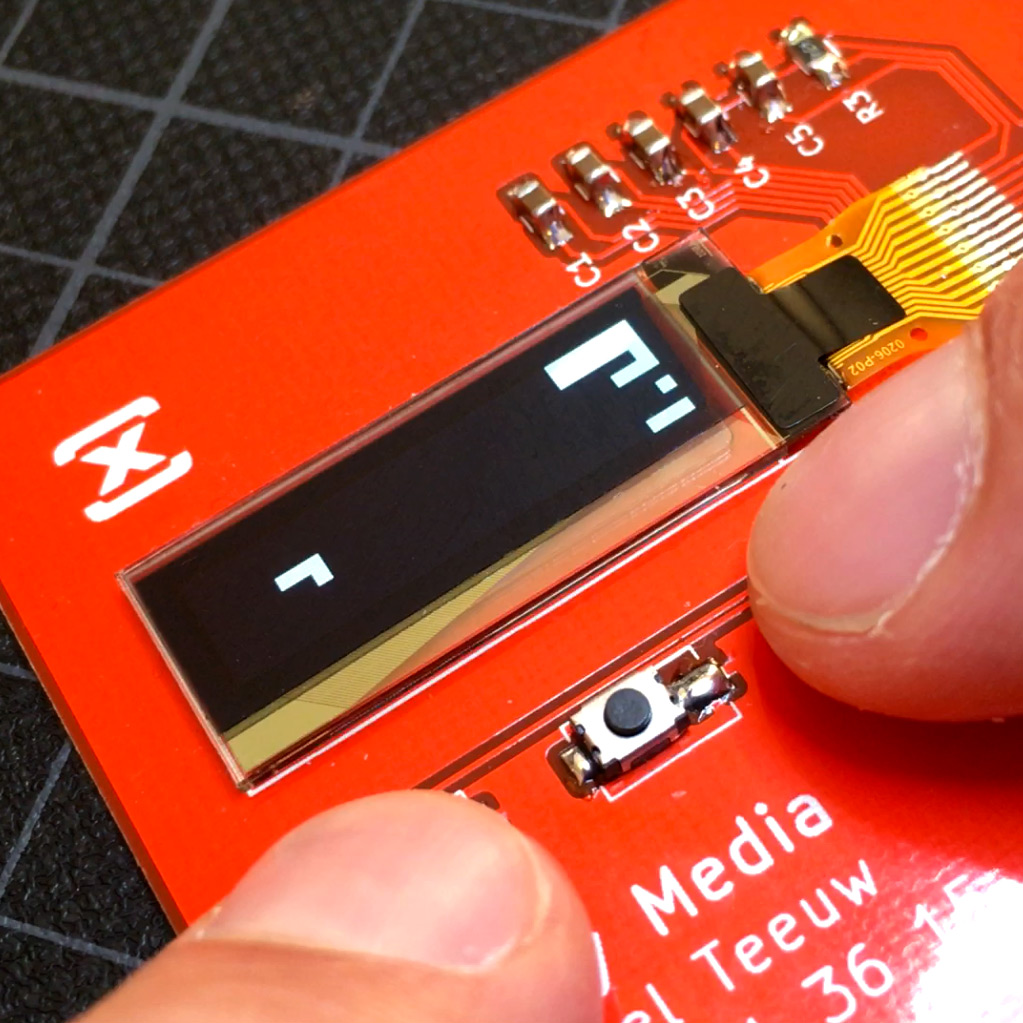
Here’s a small impression of the interface I built for this project:
Of course I couldn’t have built this project without the hard work of Philip Gahtow who wrote the awesome XpressNet library. So a big thanks to Philip!
And with both the electronics as well as the software finished, it’s time to incorporate the Digital Train Controller into my dad’s train module. Stay tuned! :)
PS. Interested in the full sourcecode and Platform IO project? Check out the GitHub Repository here. Keep in mind that it comes without ANY form of support. :)
Train Automator: Wrapping it up!
