Train Automator:
Wrapping it up!
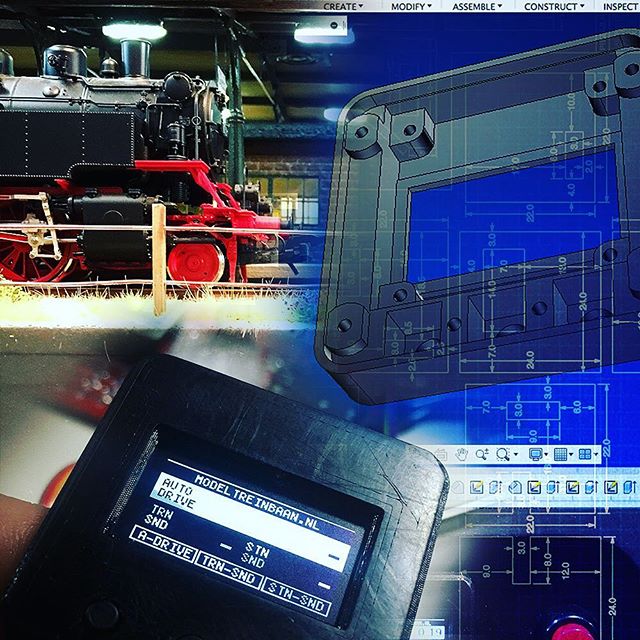
Over the course of the last few weeks I’ve been building the Arduino powered Model Train Automator. I’m sure my dad would like to start using it, so let’s wrap this project up!
Train Automator:
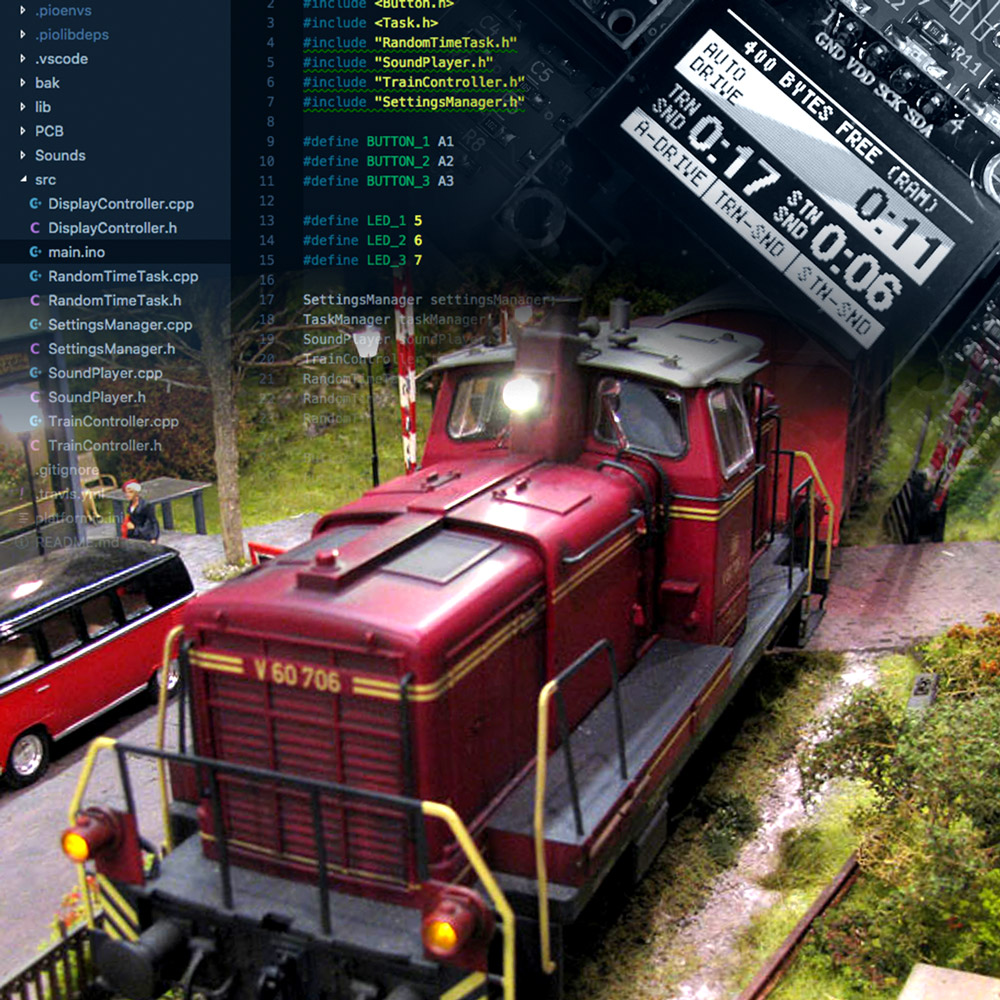
Writing the Software
After finishing the electronics it is time to work on the software. Since the train automator runs on an Arduino Nano, it’s time to fire up Visual Studio Code and start typing some C++.
Train Automator:
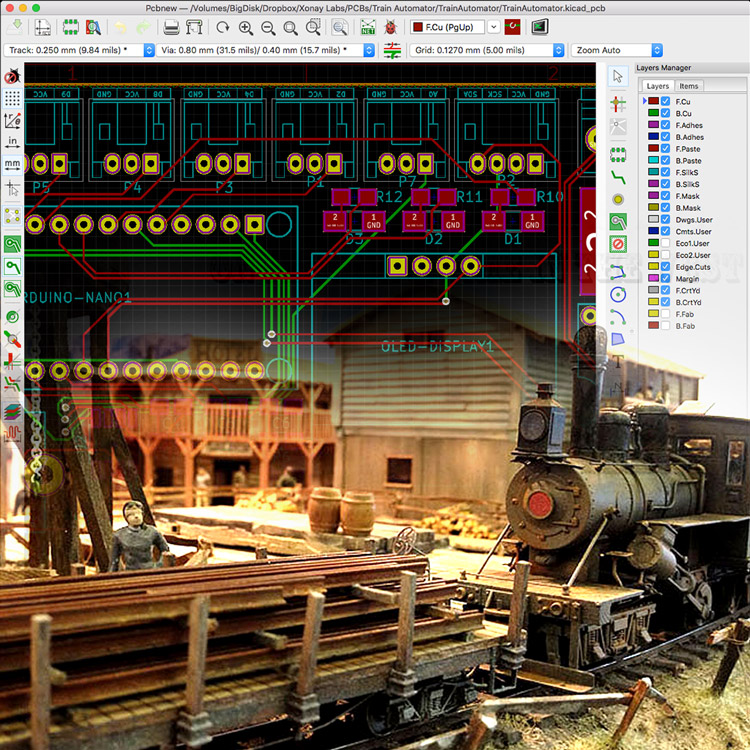
Designing the PCB
Since the prototype turned out to be a success, it is time to work on a more professional solution: a custom PCB. Of course I don’t just slap an Arduino and a MAX485 IC on a board and call it a day. I use this opportunity to add some nifty features to the custom board. You know, just to impress my dad.
Train Automator:
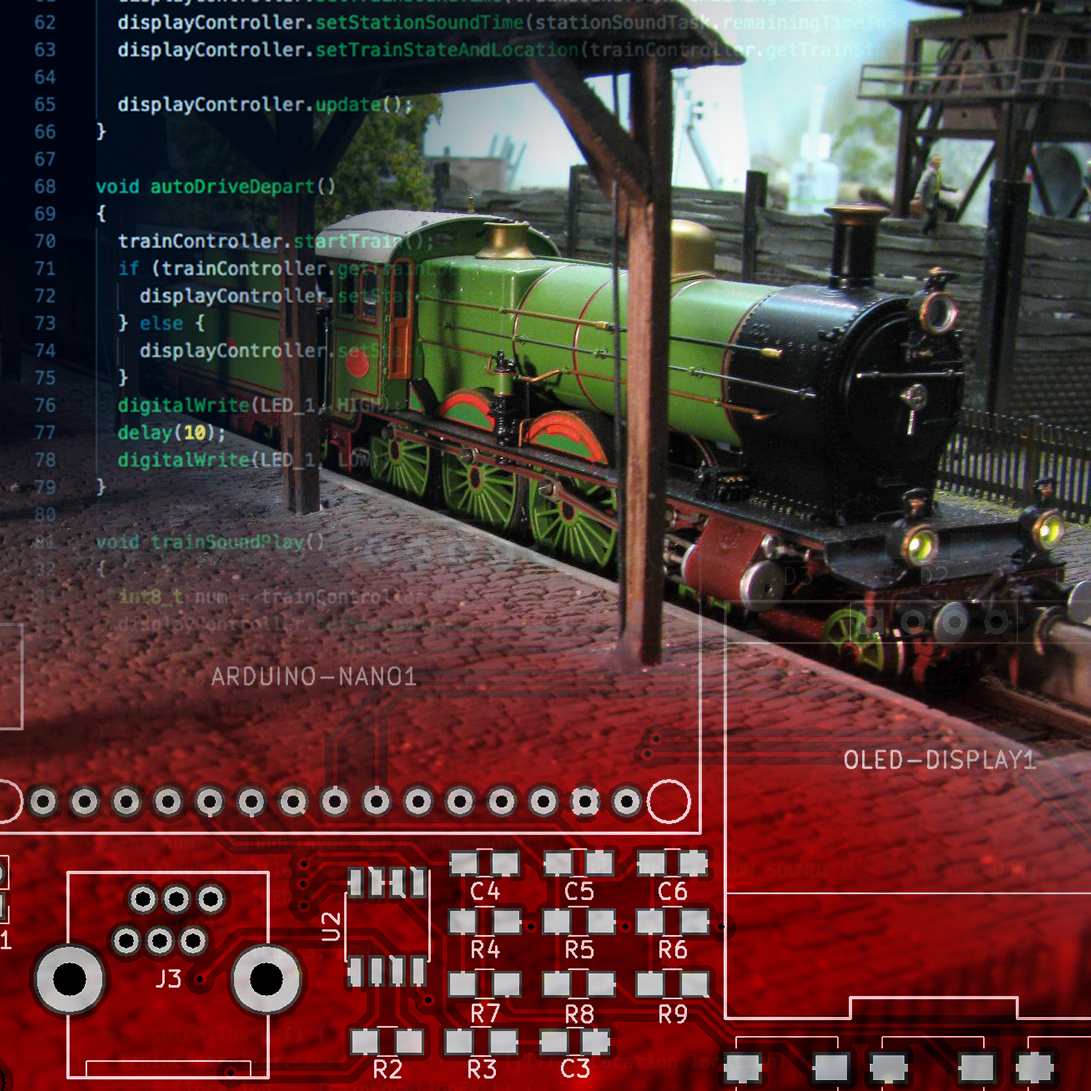
Prototyping
As my regular readers know, my dad is an avid Model Train hobbist. And altough my interest is more on the digital side of electronics, every now and then our hobbies meet. After my recent Arduino powered analog clock project, I once again will work on a project for my dad: Let’s make his trains Arduino powered!
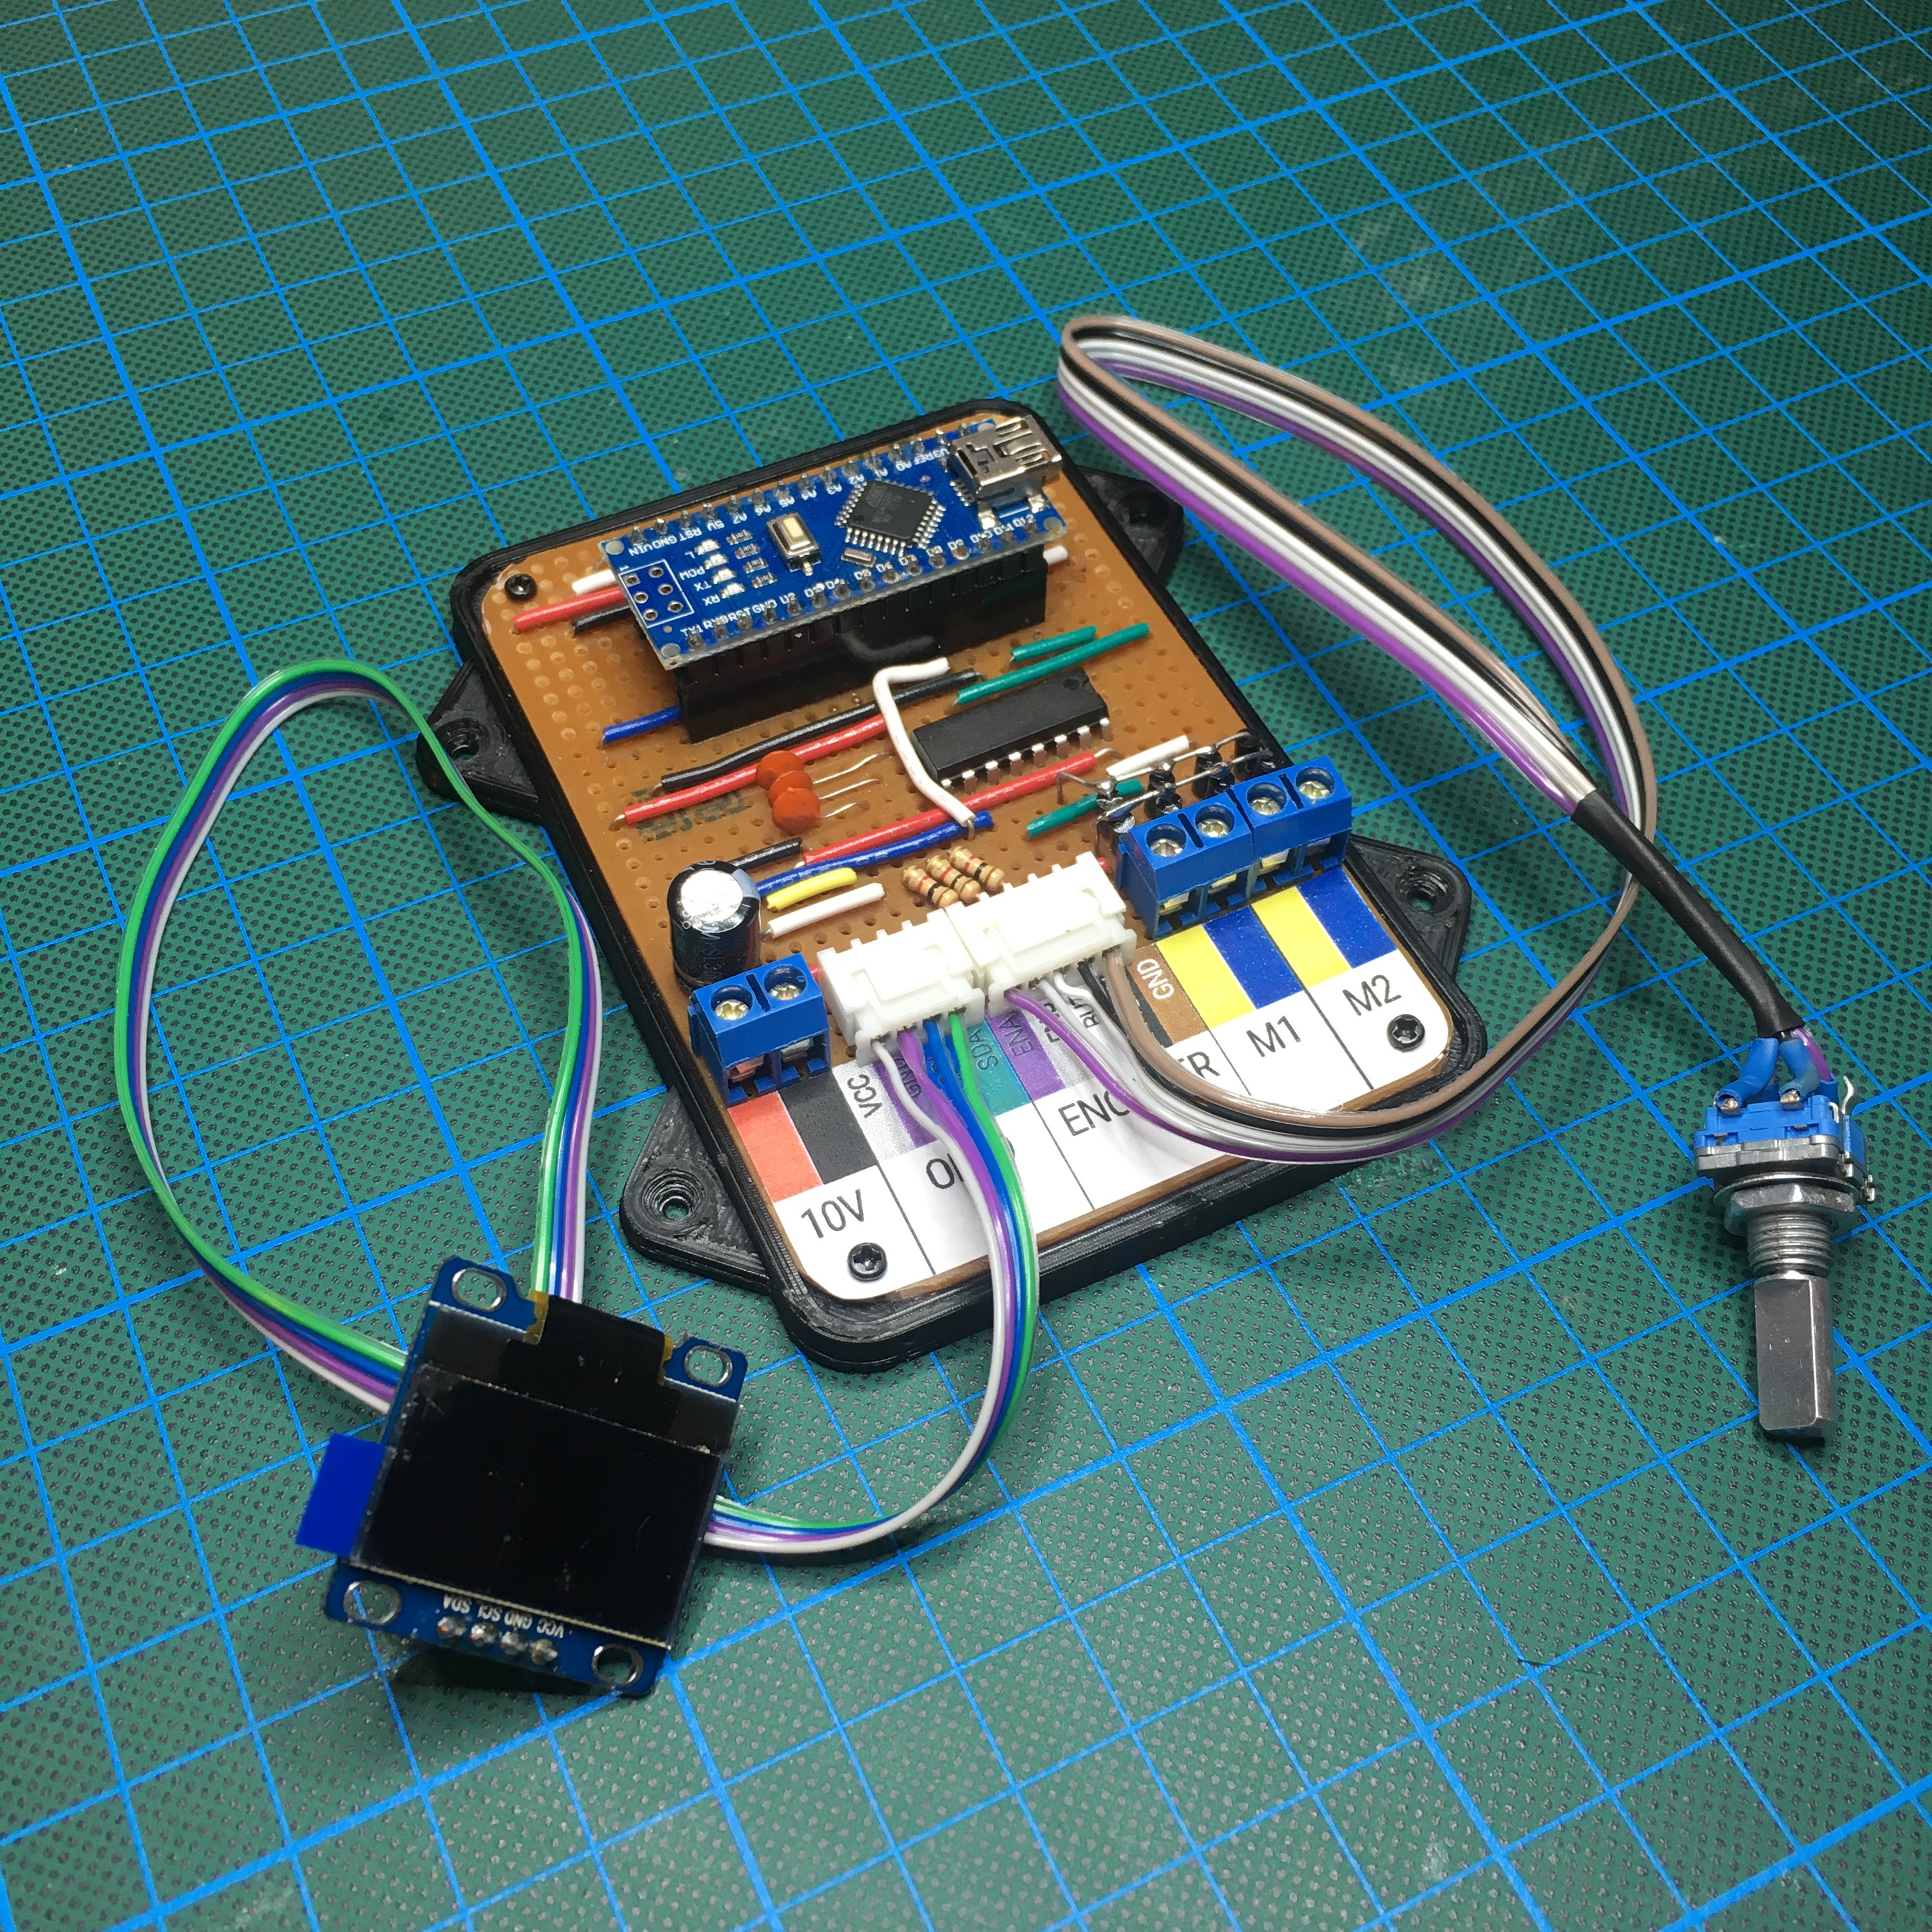
The Train Controller
A while ago my dad and I were discussing the best ways to control a small model train. As a seasoned model train enthusiast, he was looking for the best way to control a single track train. As an additional requirement, he wanted to show the trains’ speed on a small display … Challenge accepted!