Over the course of the last few weeks I’ve been building the Arduino powered Model Train Automator. I’m sure my dad would like to start using it, so let’s wrap this project up!
Train Automator: Writing the Software
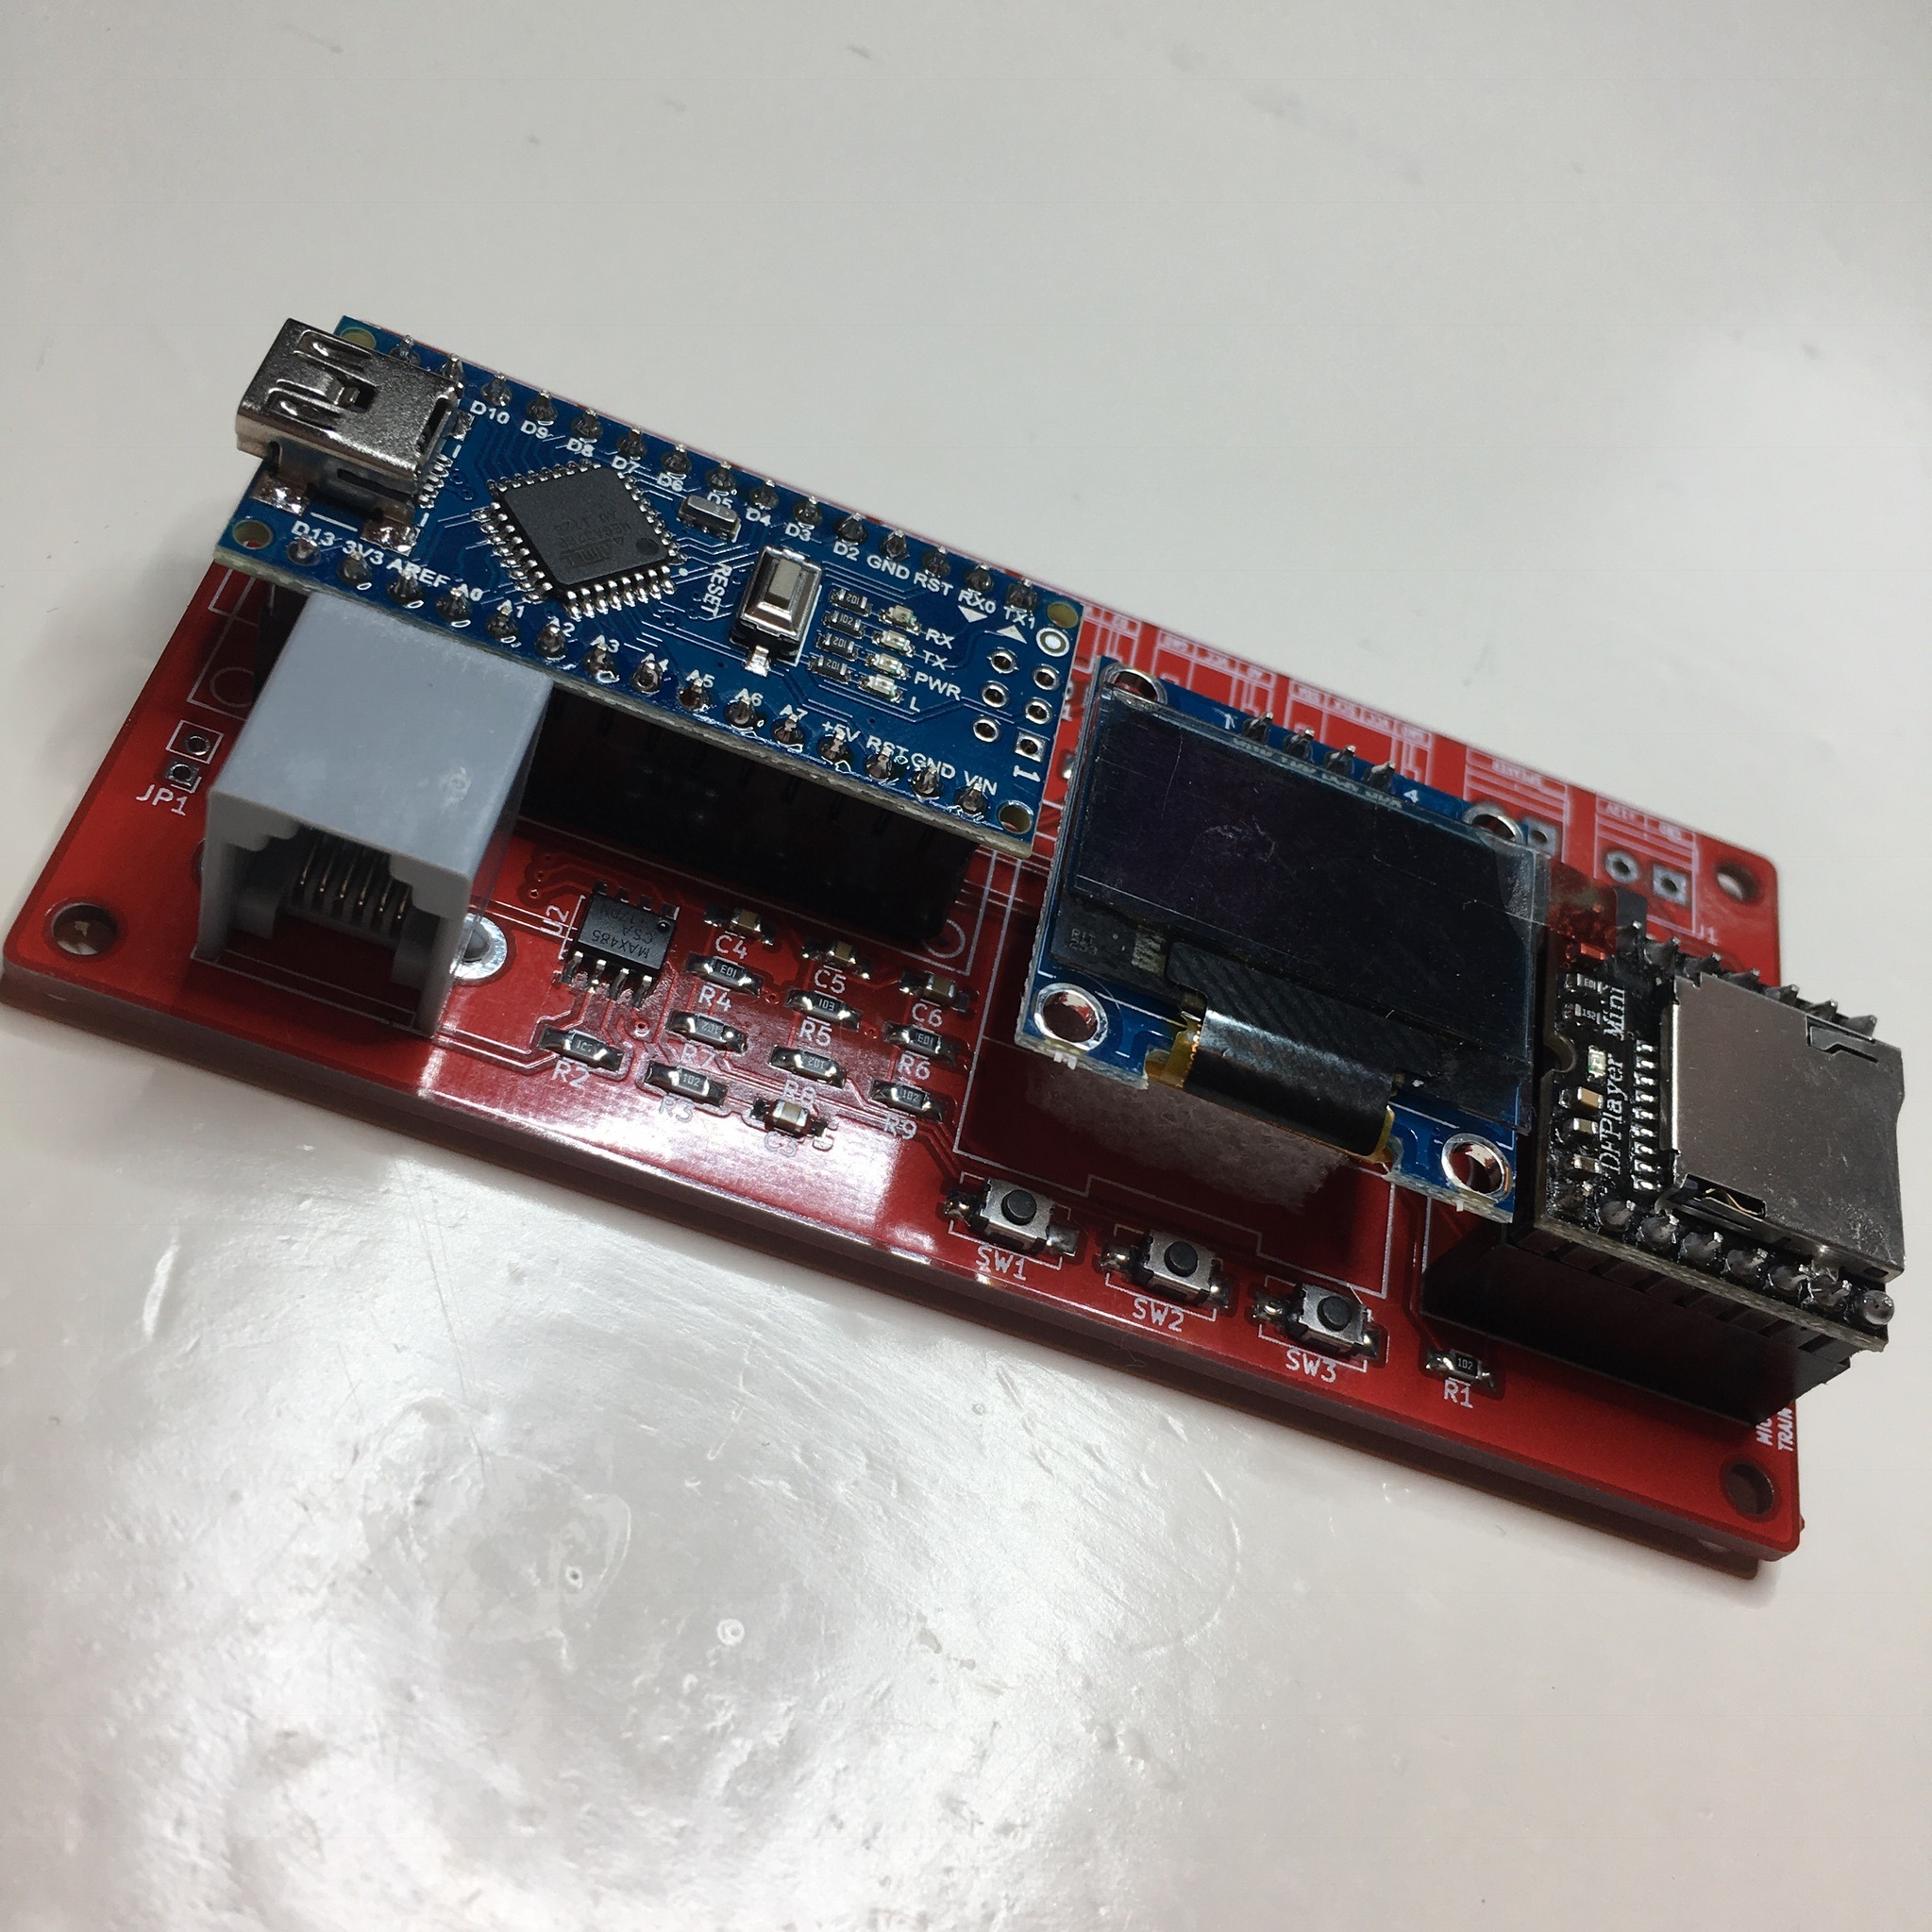
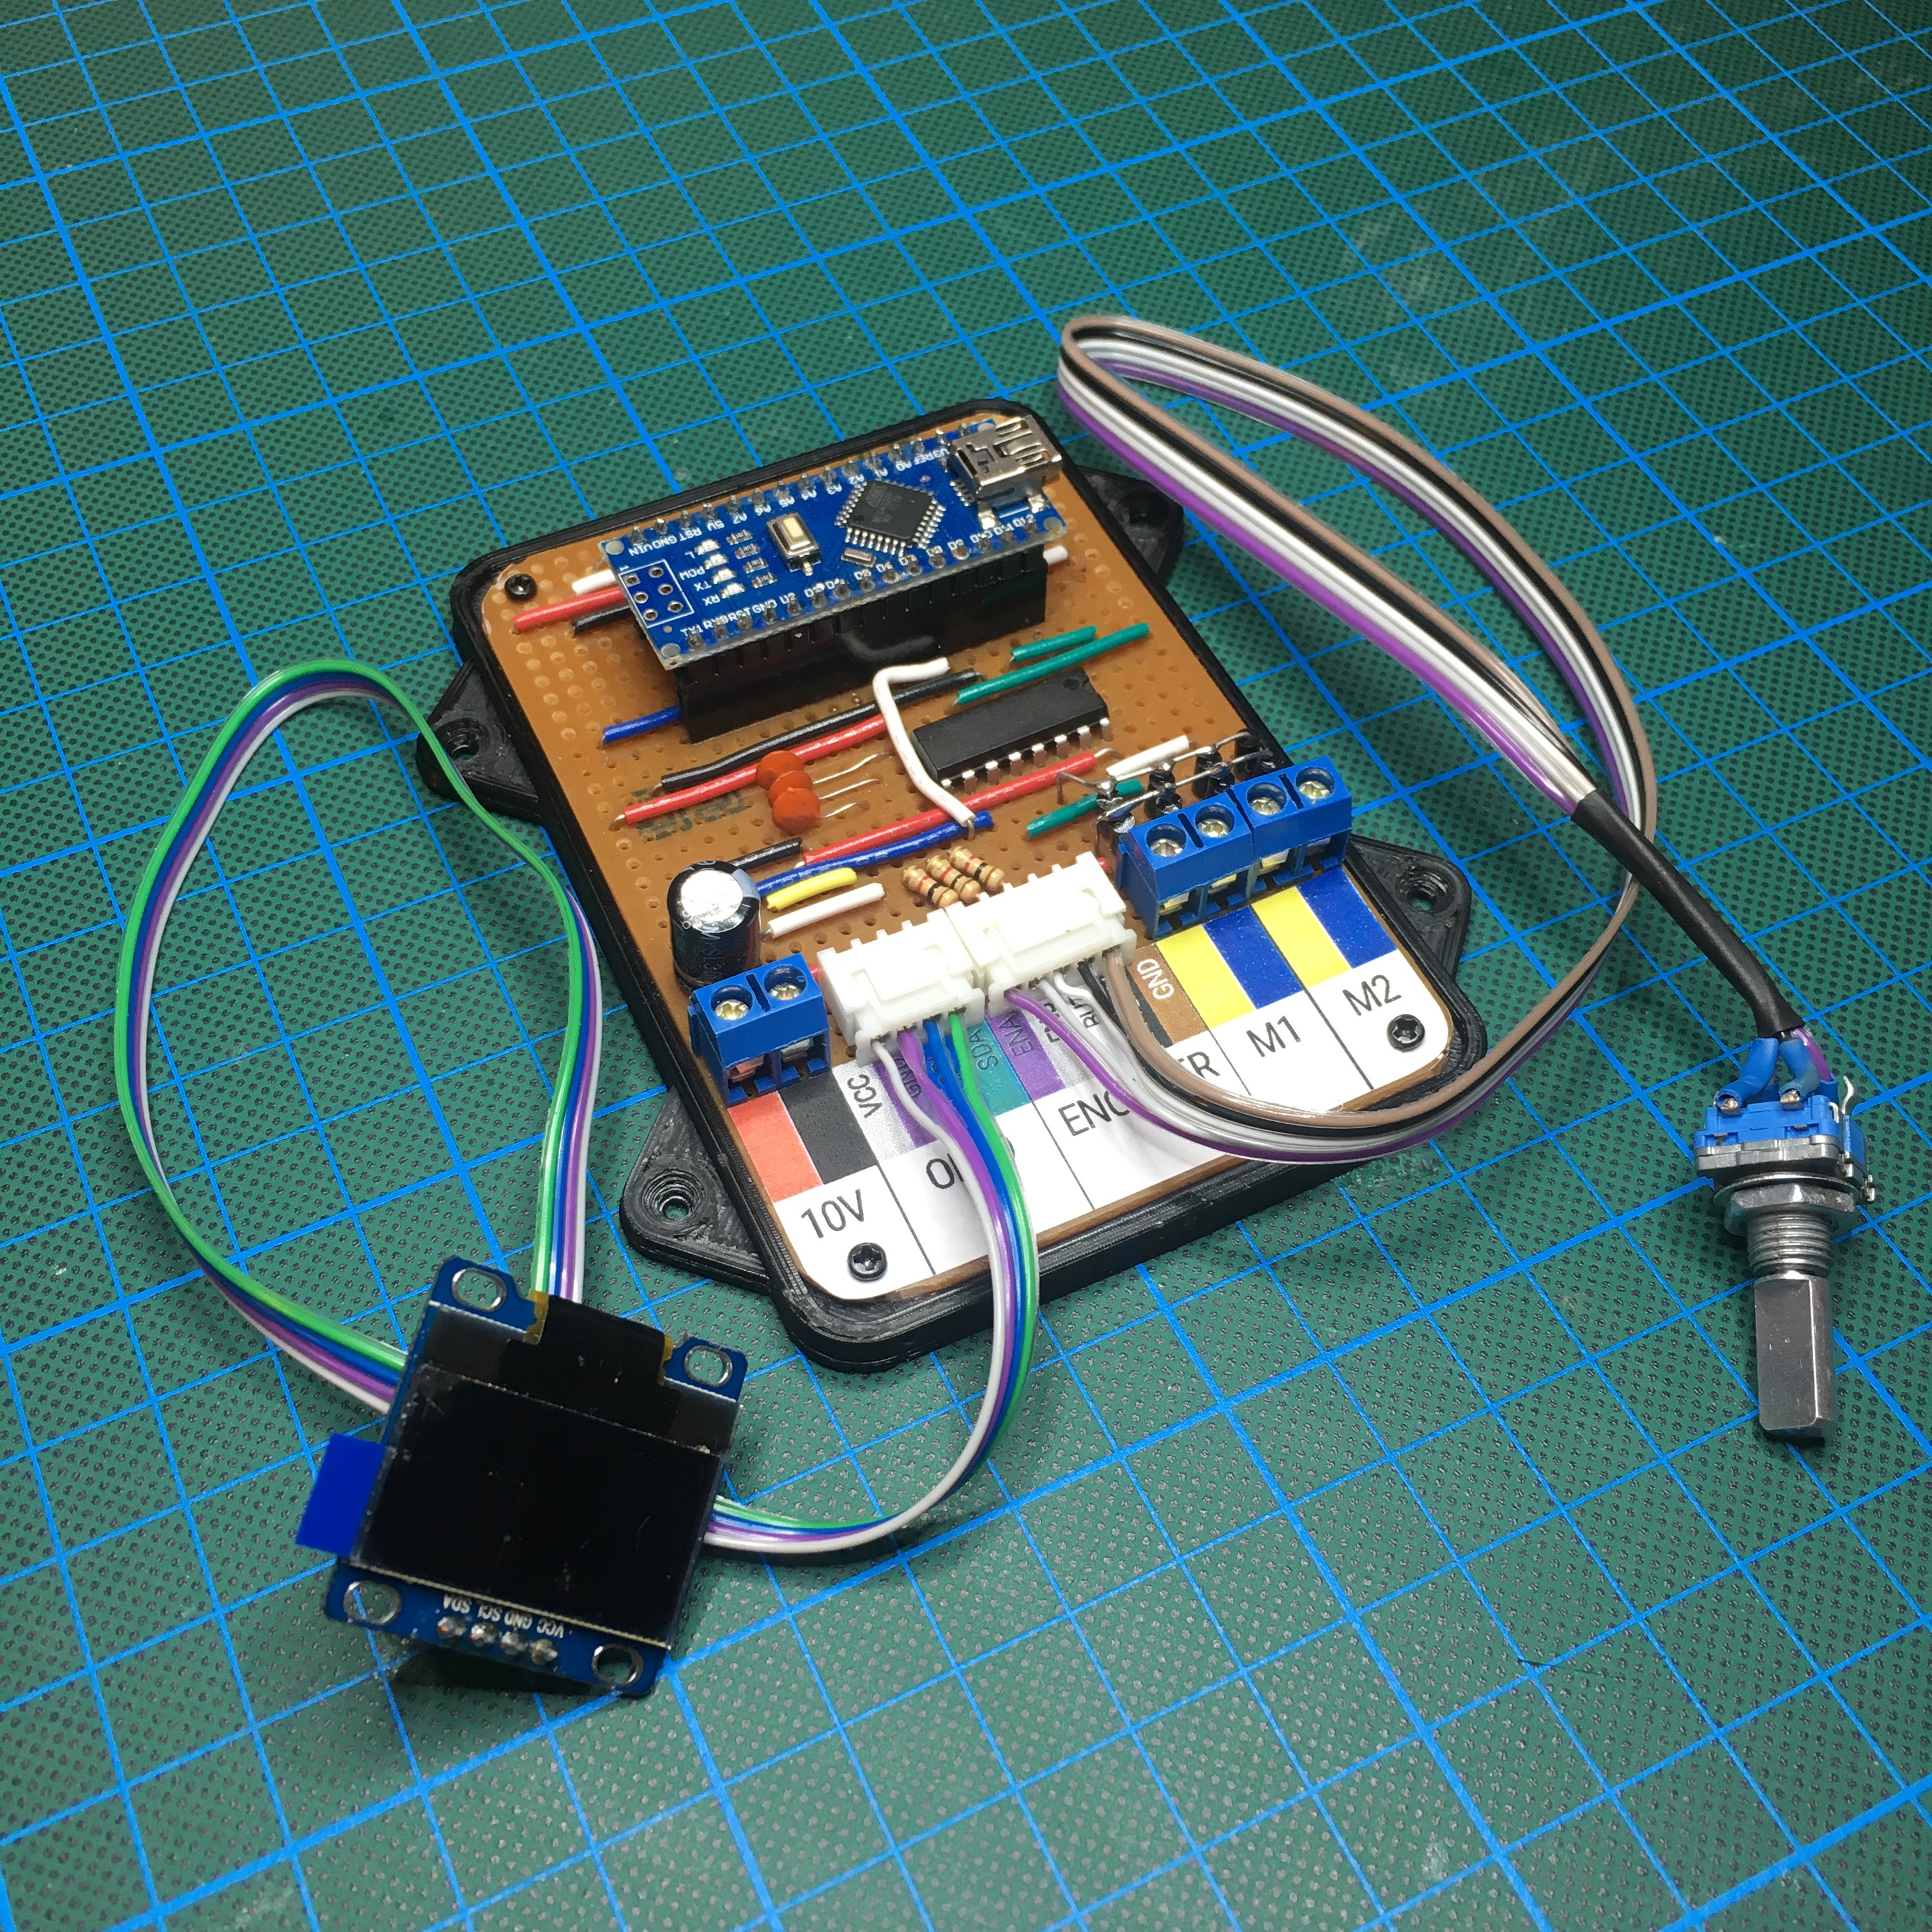
As said, we are going to wrap it up. Literally. Because as cool as the final PCB looks, it isn’t really suitable to be used in a control panel. Let’s design panel mountable enclosure!
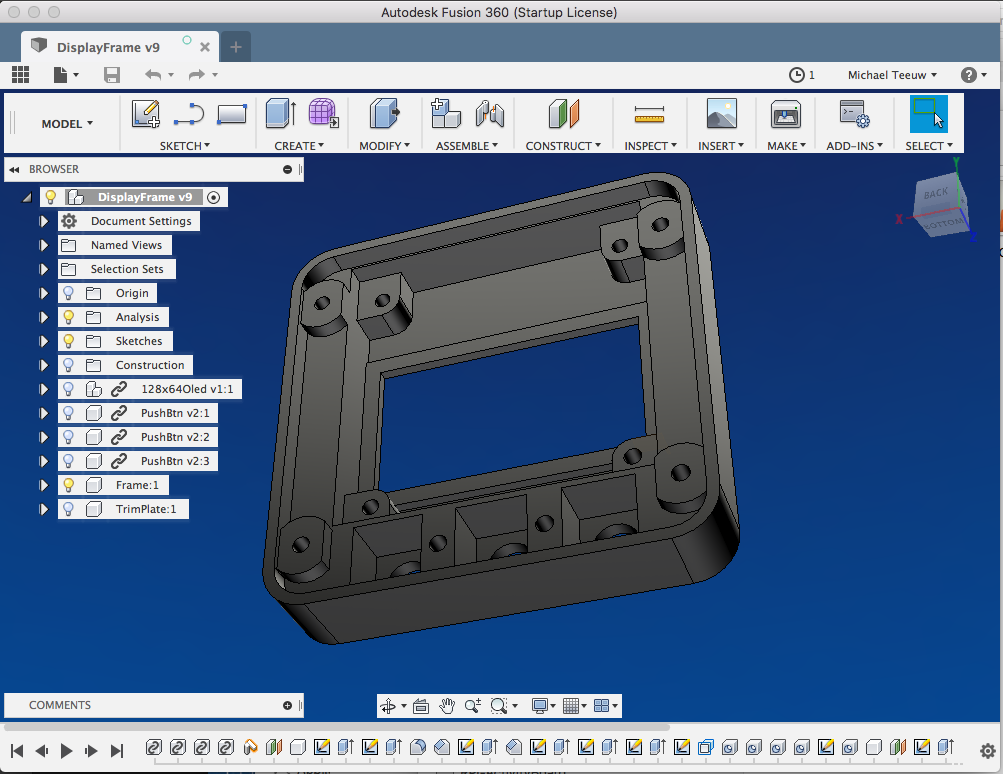
With my good friend Fusion 360 I design a mountable enclosure for the display and tree external buttons. This is the reason I should have made some connection points on the PCB to connect external buttons, but as told before, a soldering iron will fix this.
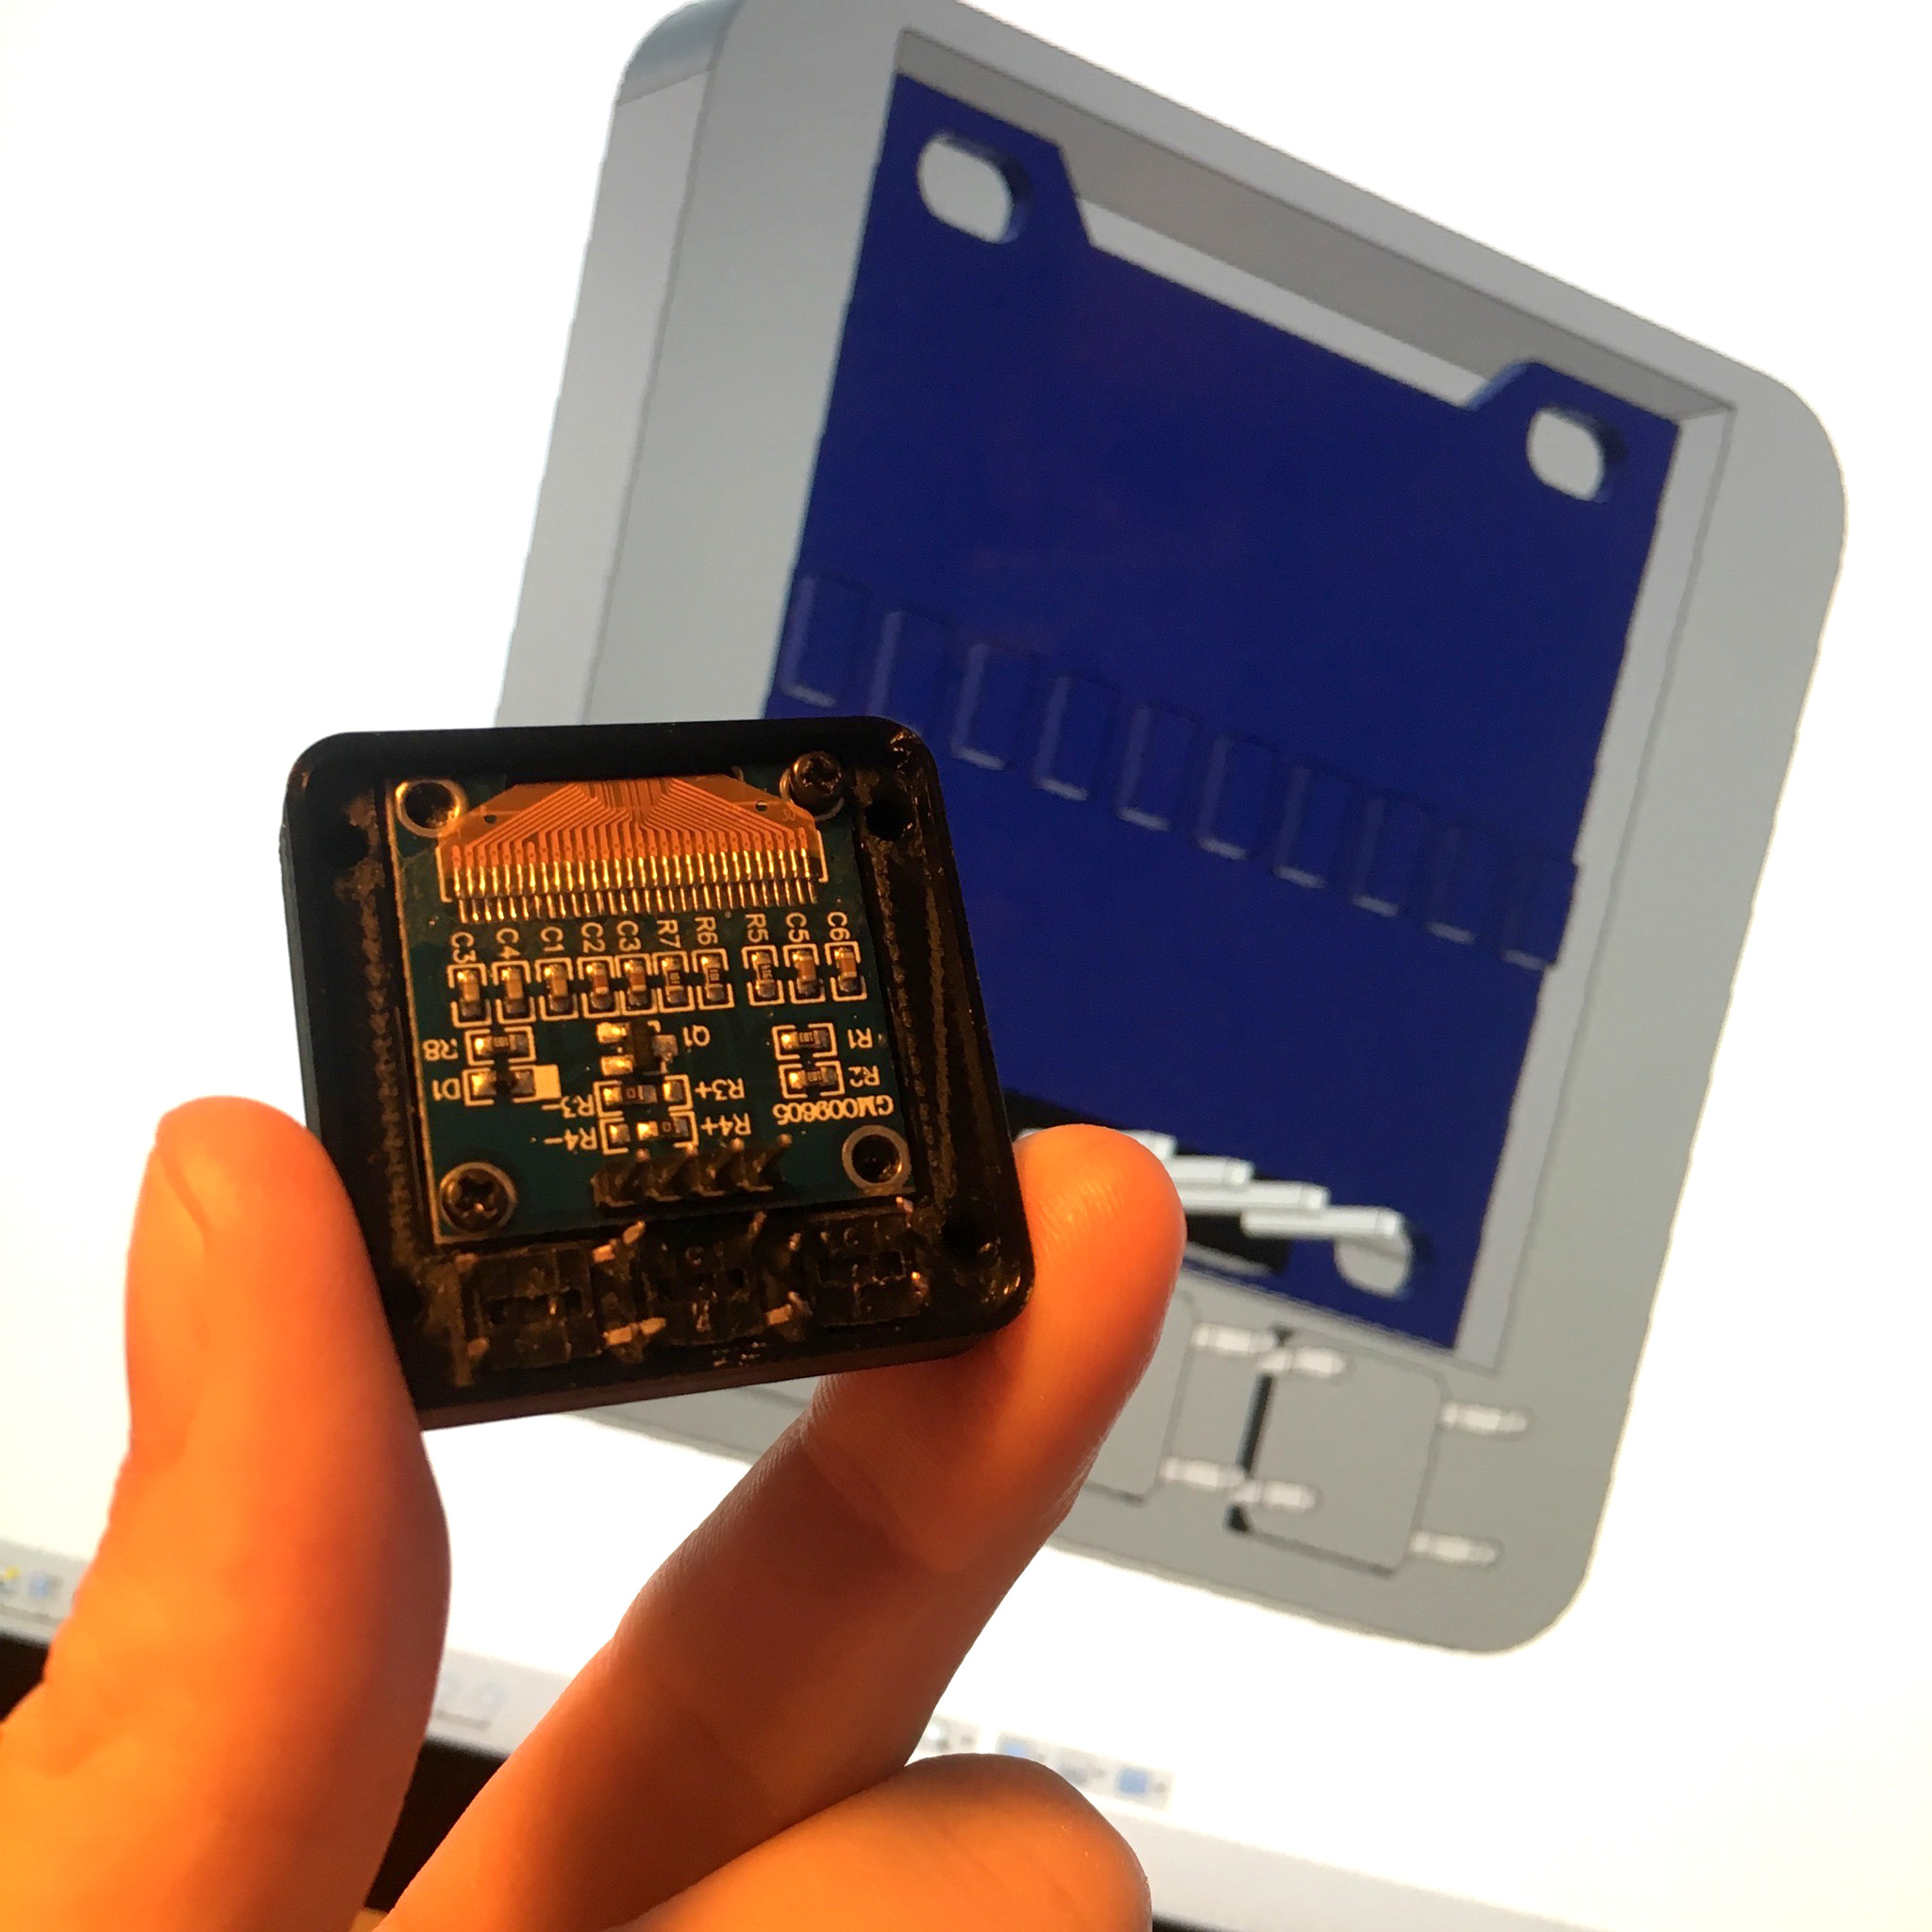
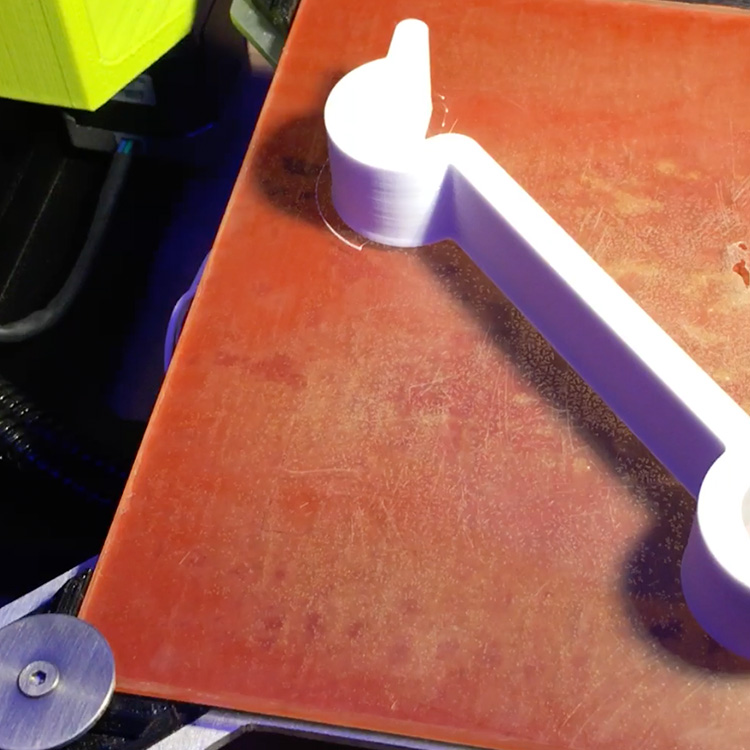
My faithful companion aka Lulzbot Mini makes my design into a real world object. No matter how many times I print something, it’s always fascinating to see the result in real life.
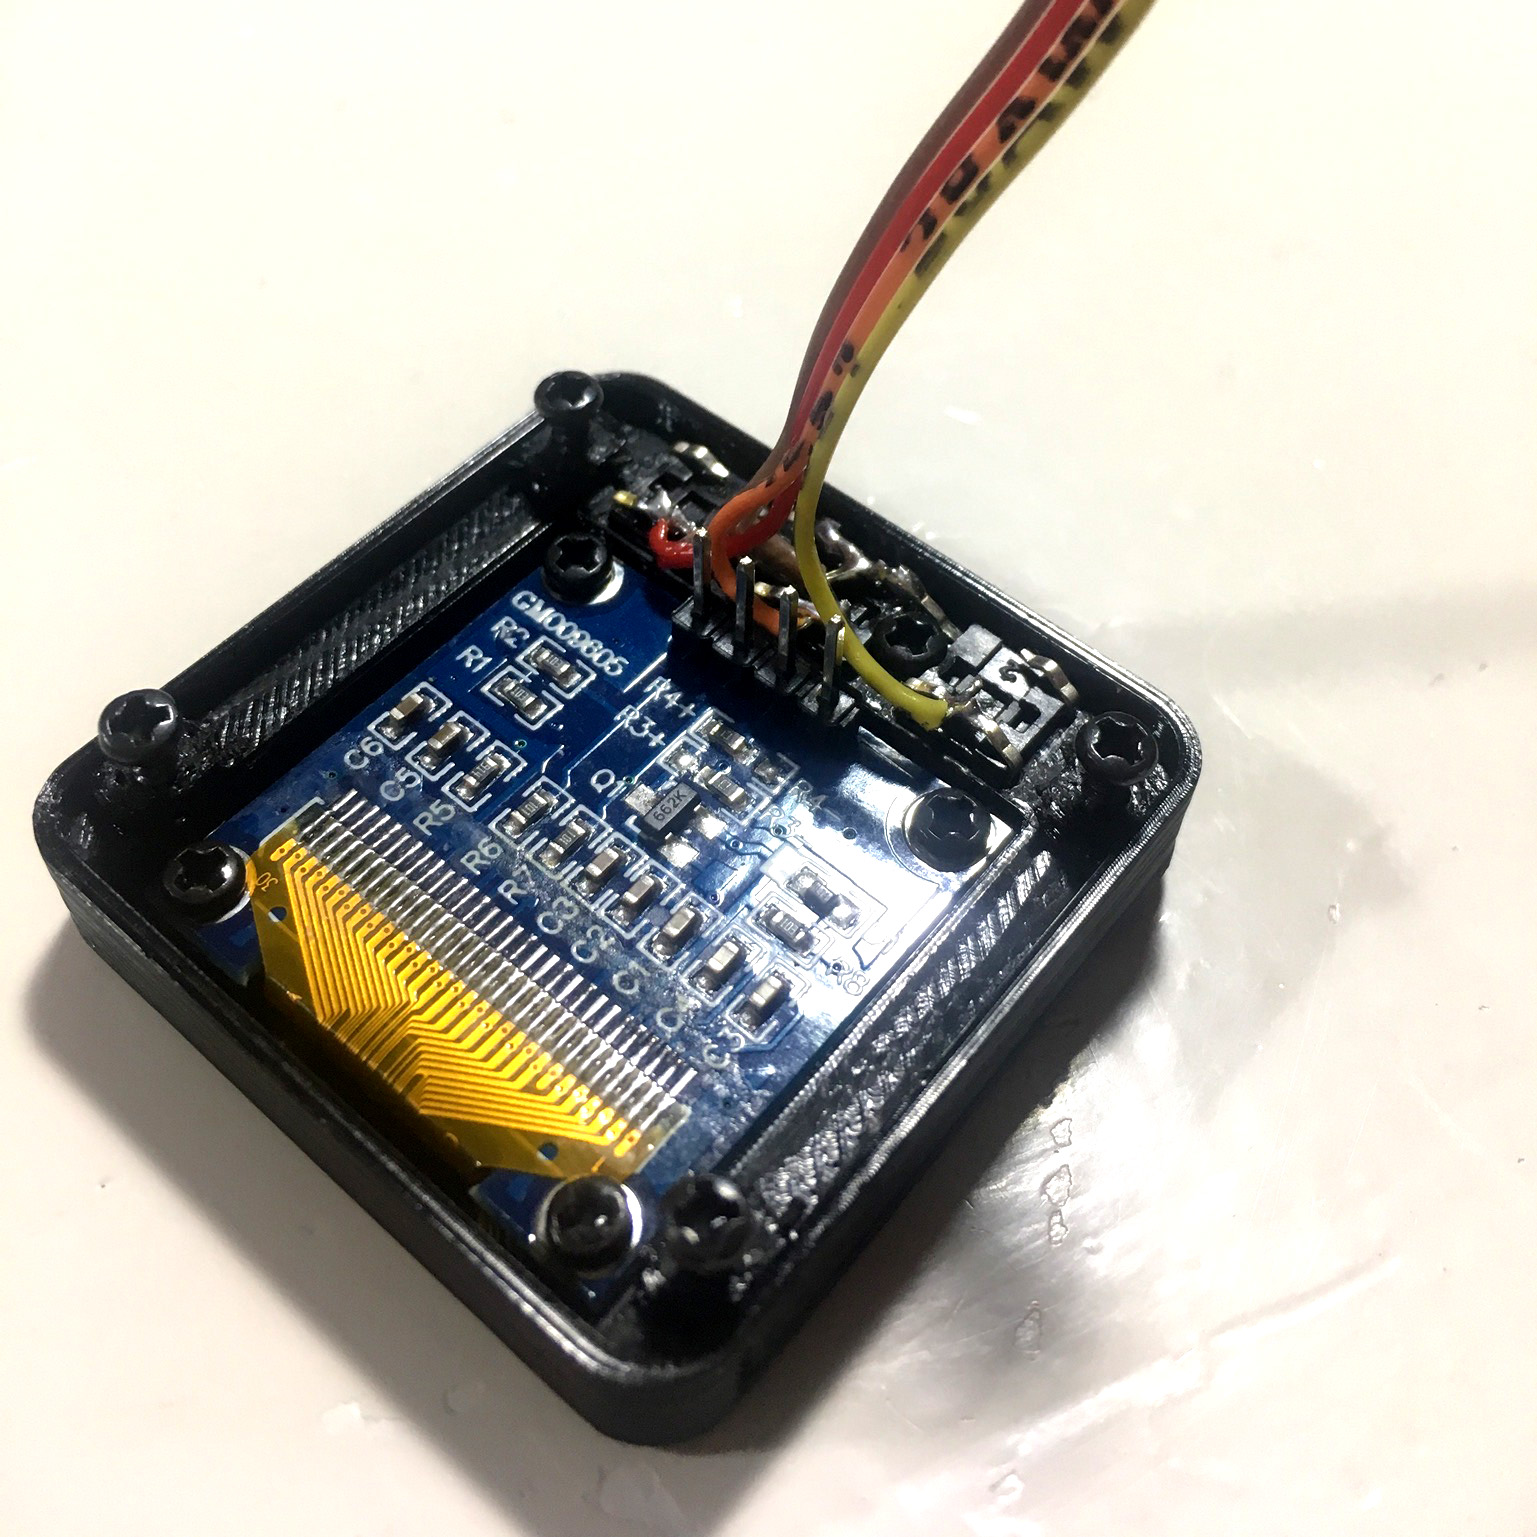
Of course it will need some connections. 4 wires to connect the tree buttons, and four wires to connect the display.
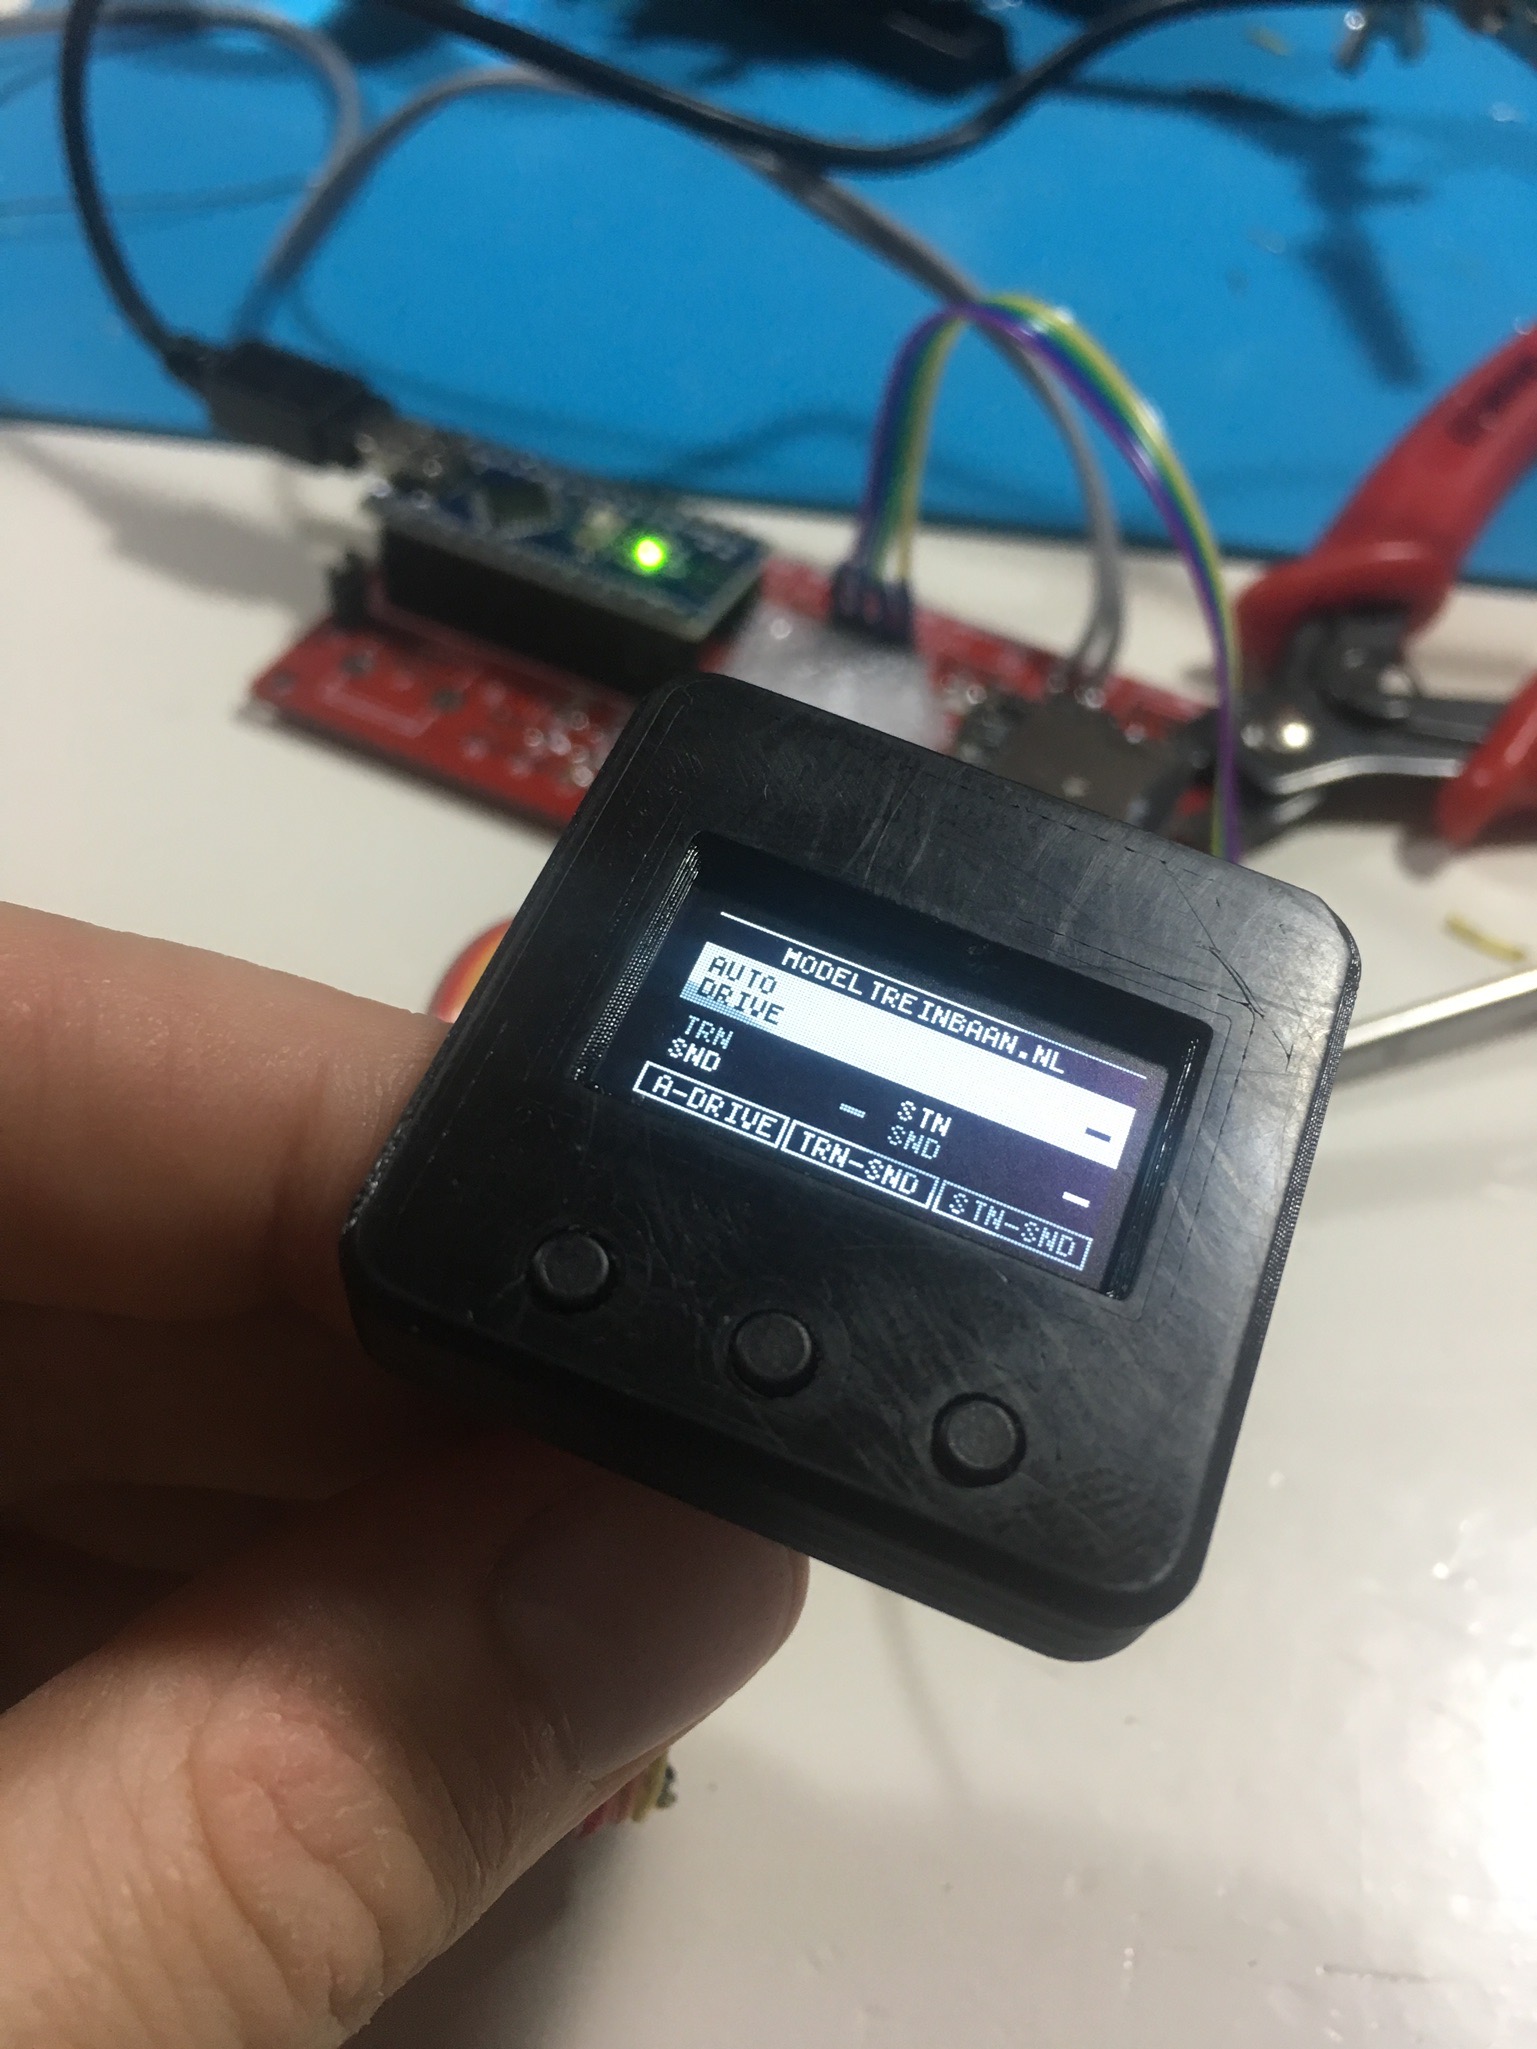
And with those connections in place, it’s time to give it a quick test. Both the display and buttons work as expected. Time for the final step: incorporate it into my dad’s train module.
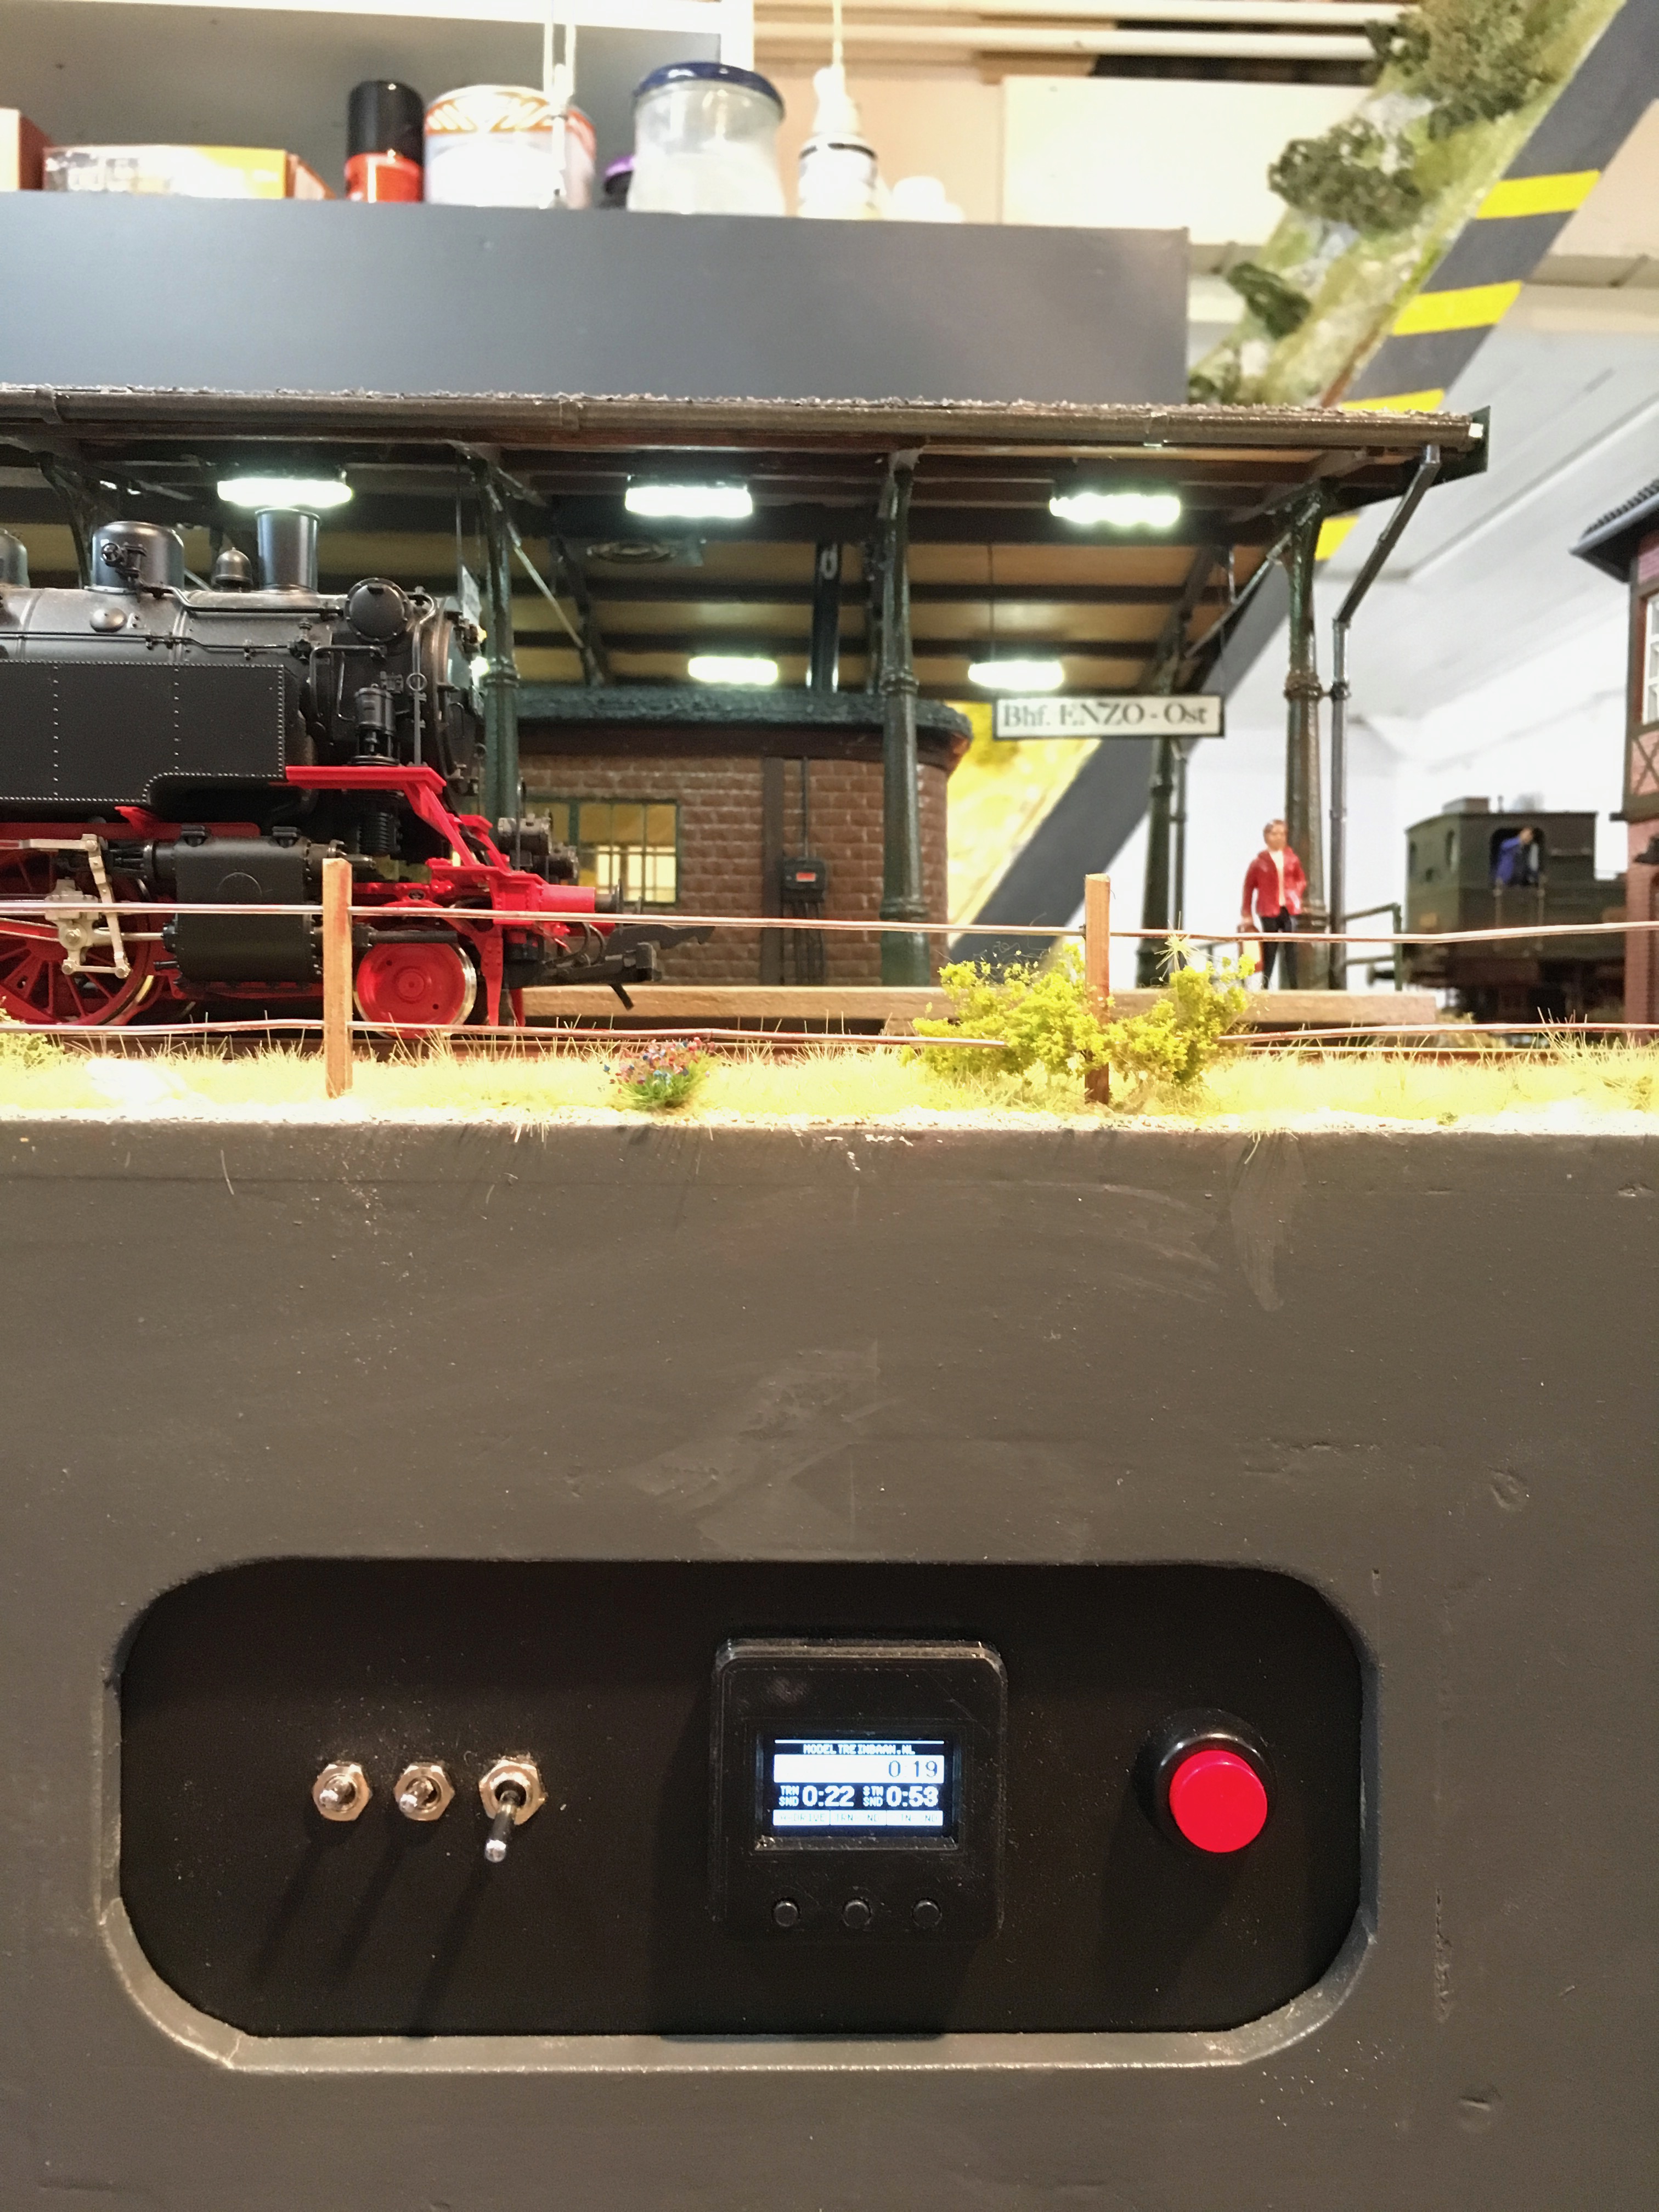
The Arduino based Train Automator is a small part of the impressive piece of art my dad has built. Hopefully it will be the finishing touch on his latest project!
If you want to read more about this train module, head over to ModelTreinBaan.nl. You might not be able to understand the dutch text, but I’m sure you can appreciate the pictures!