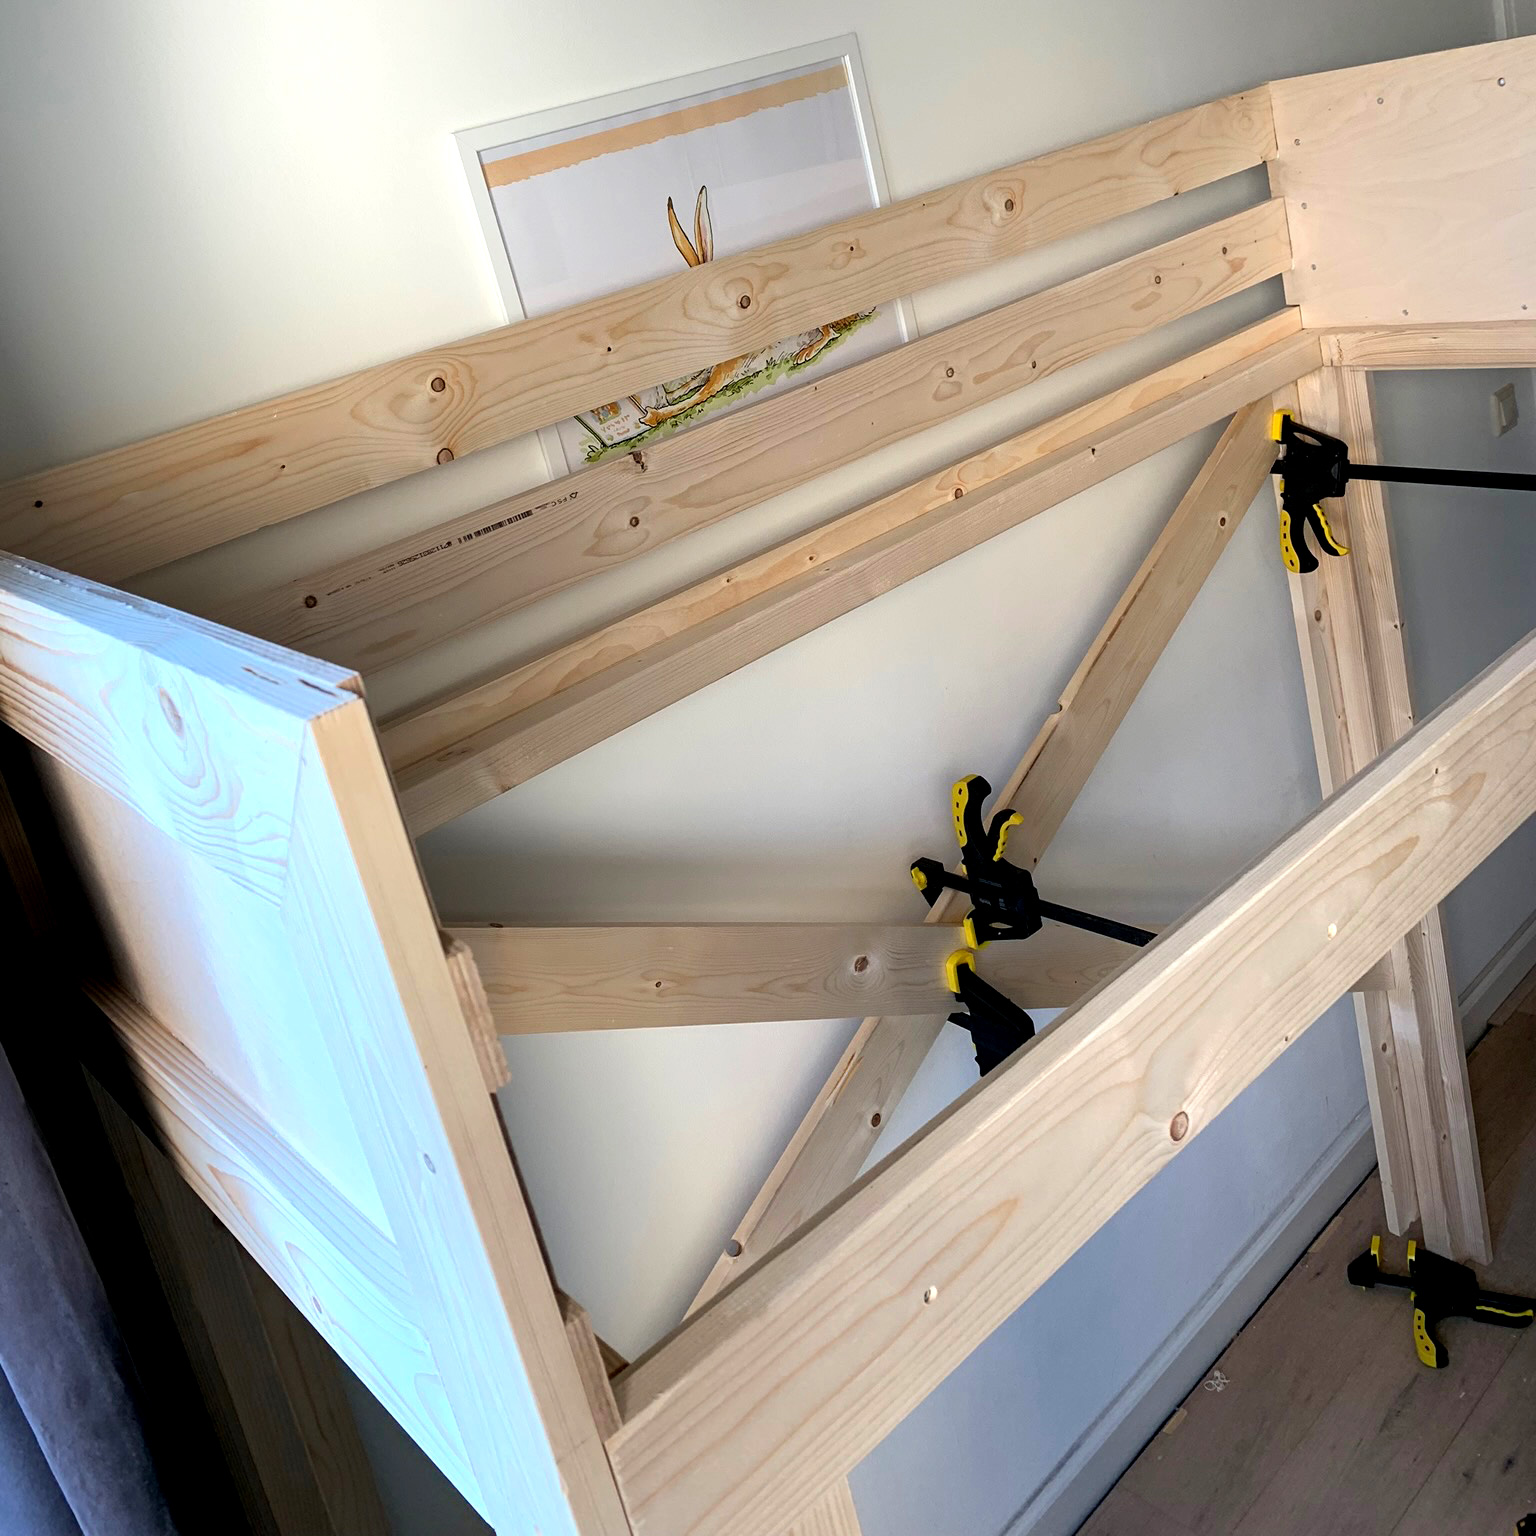
A Place To Sleep
It’s been 10 months since my second son was born. And Since then, he has been sleeping in a crib in our master bed room. And as much as I love him, It was time for him to move out. Out of our bed room at least … Time to built him a place to sleep.
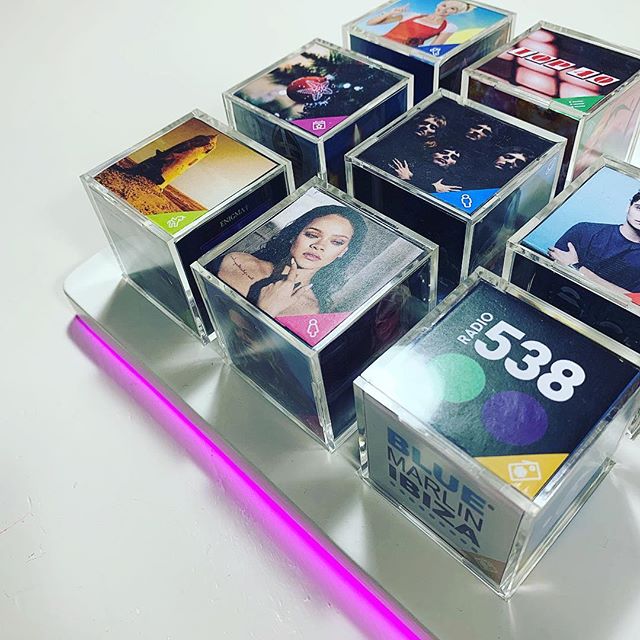
MusiCubes:
The Finishing Touch
Starting a project isn’t difficult. Finishing is. Or as they say: the last 20% is always the hardest part. But no worries, today we’ll finish this project by working on the final details.
Activity Board:
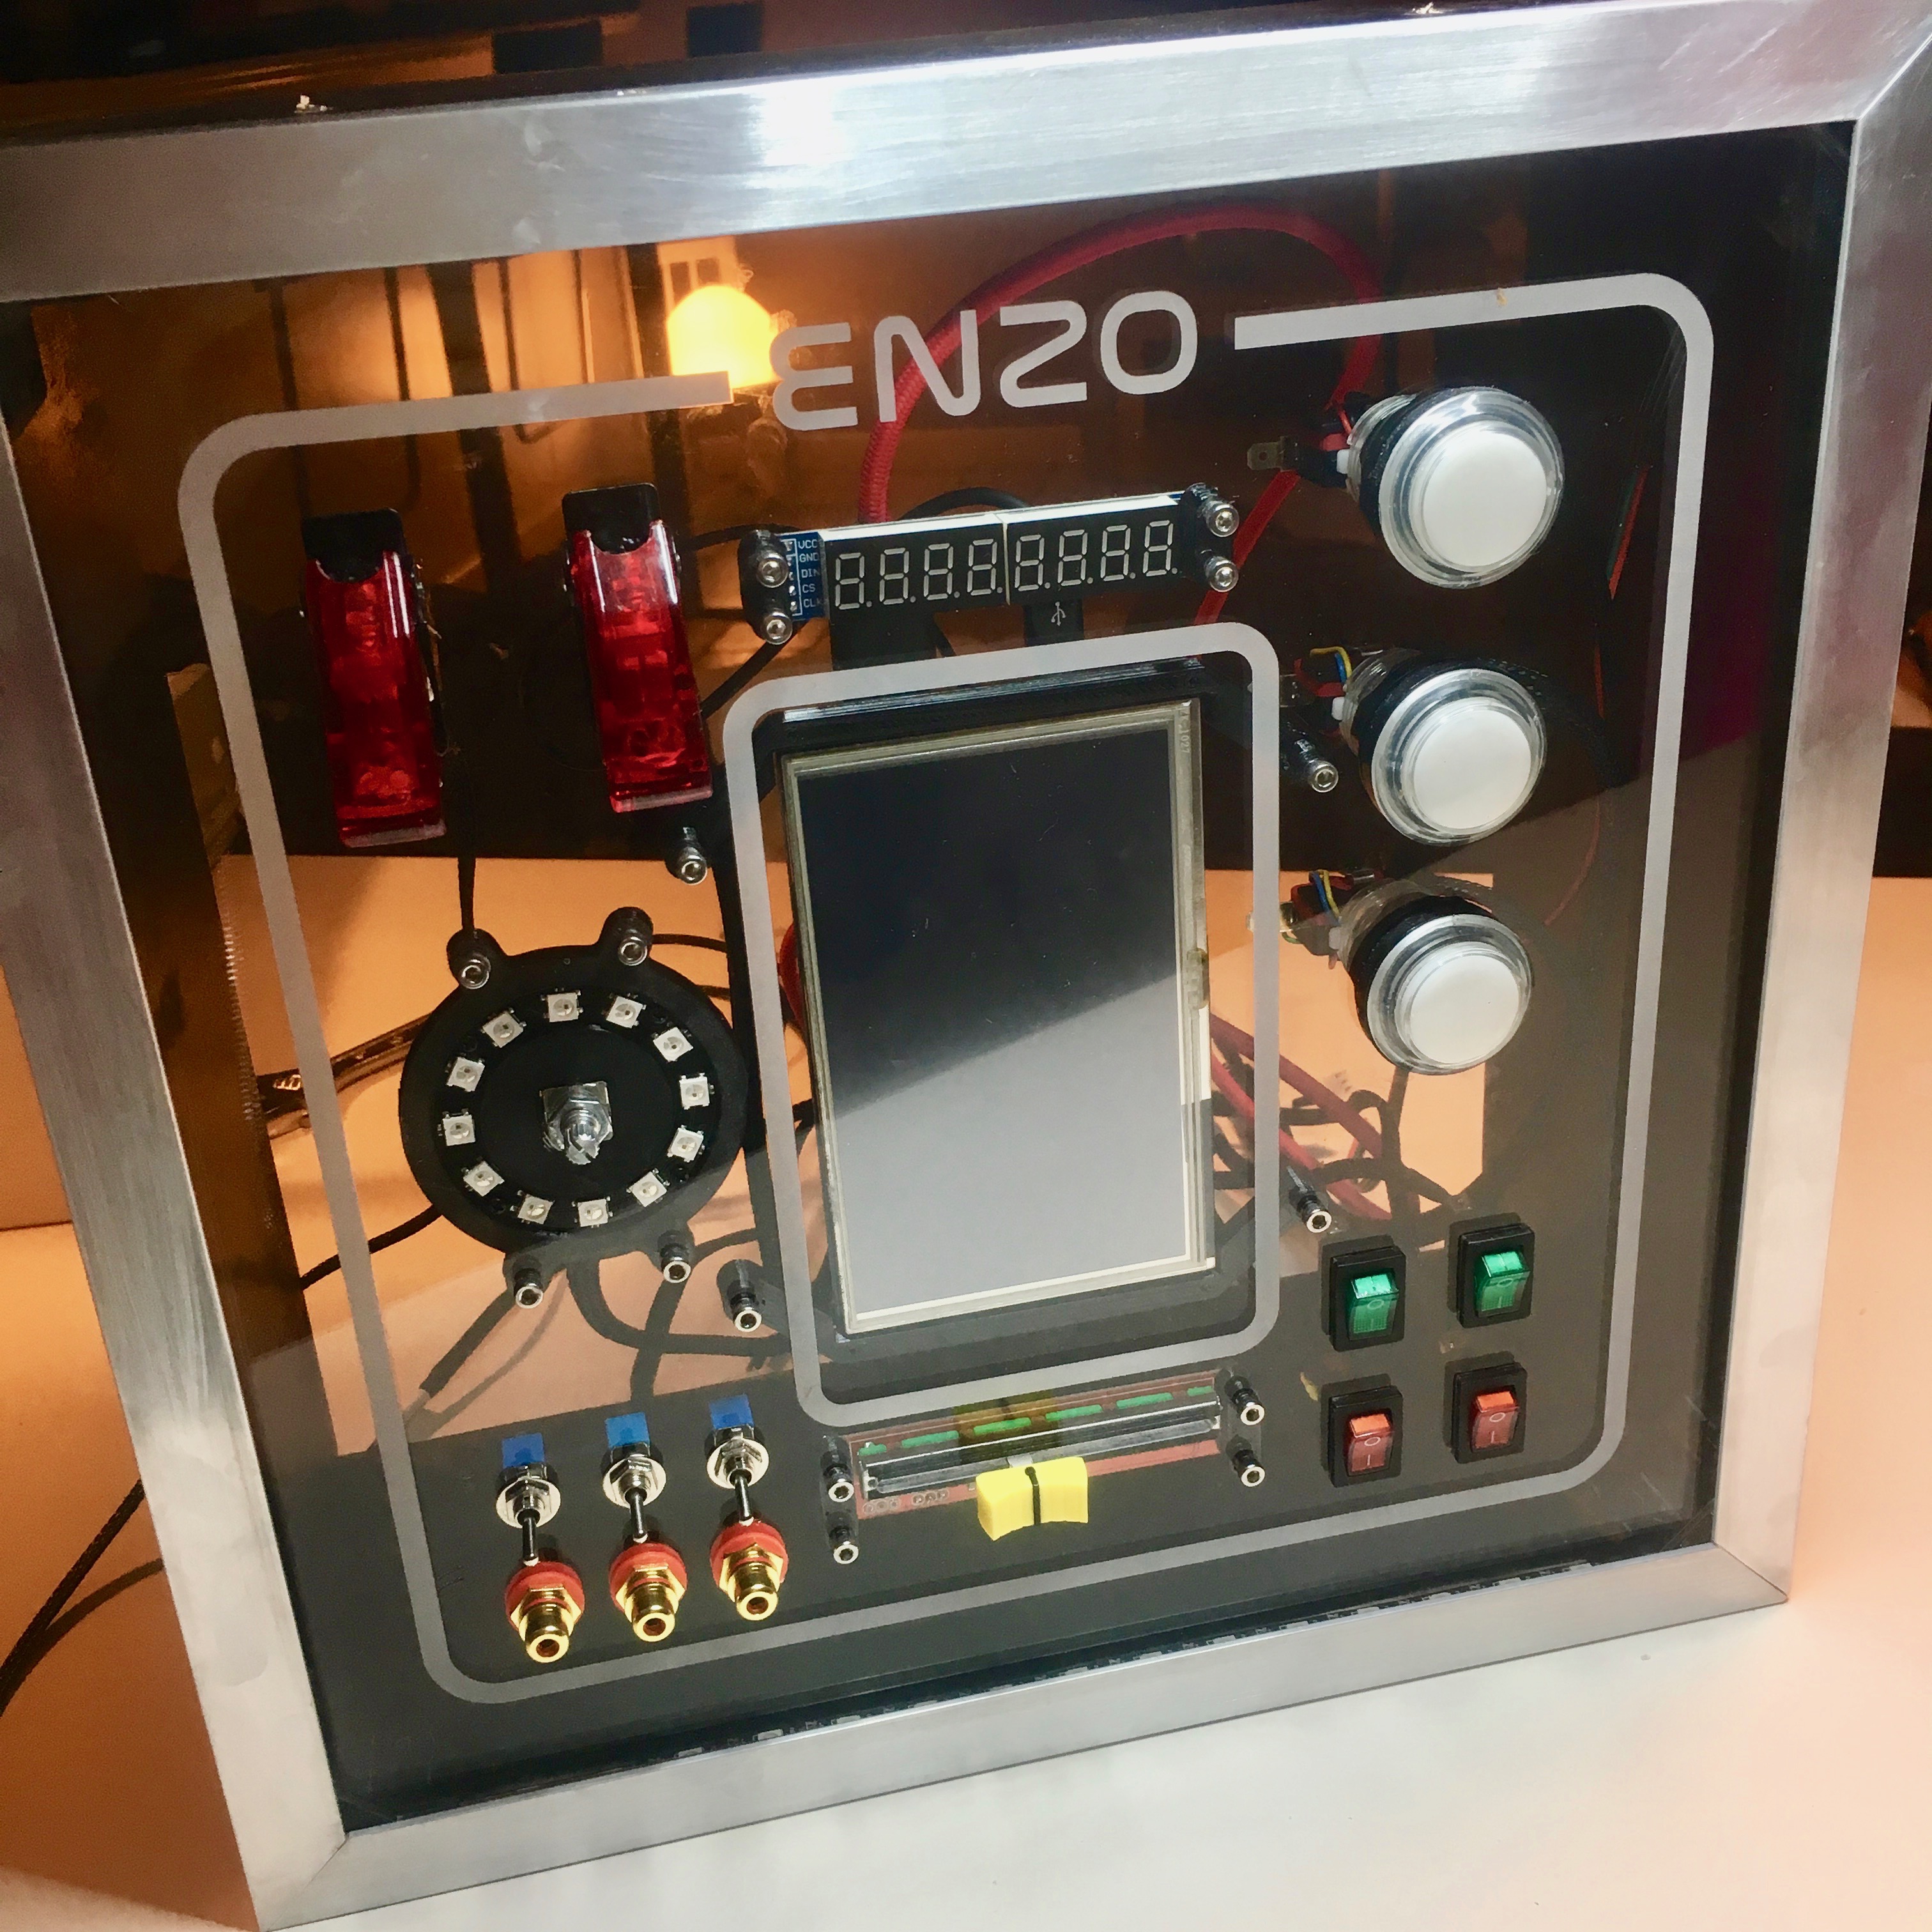
Assembling the panel
After a succesful intergration of the push buttons it is time to wrap up the front panel. With 9 switches, 3 buttons, 2 displays, 1 slide pot, 1 rotary encoder and a lot of LEDs, this includes a lot of wiring.
Activity Board:
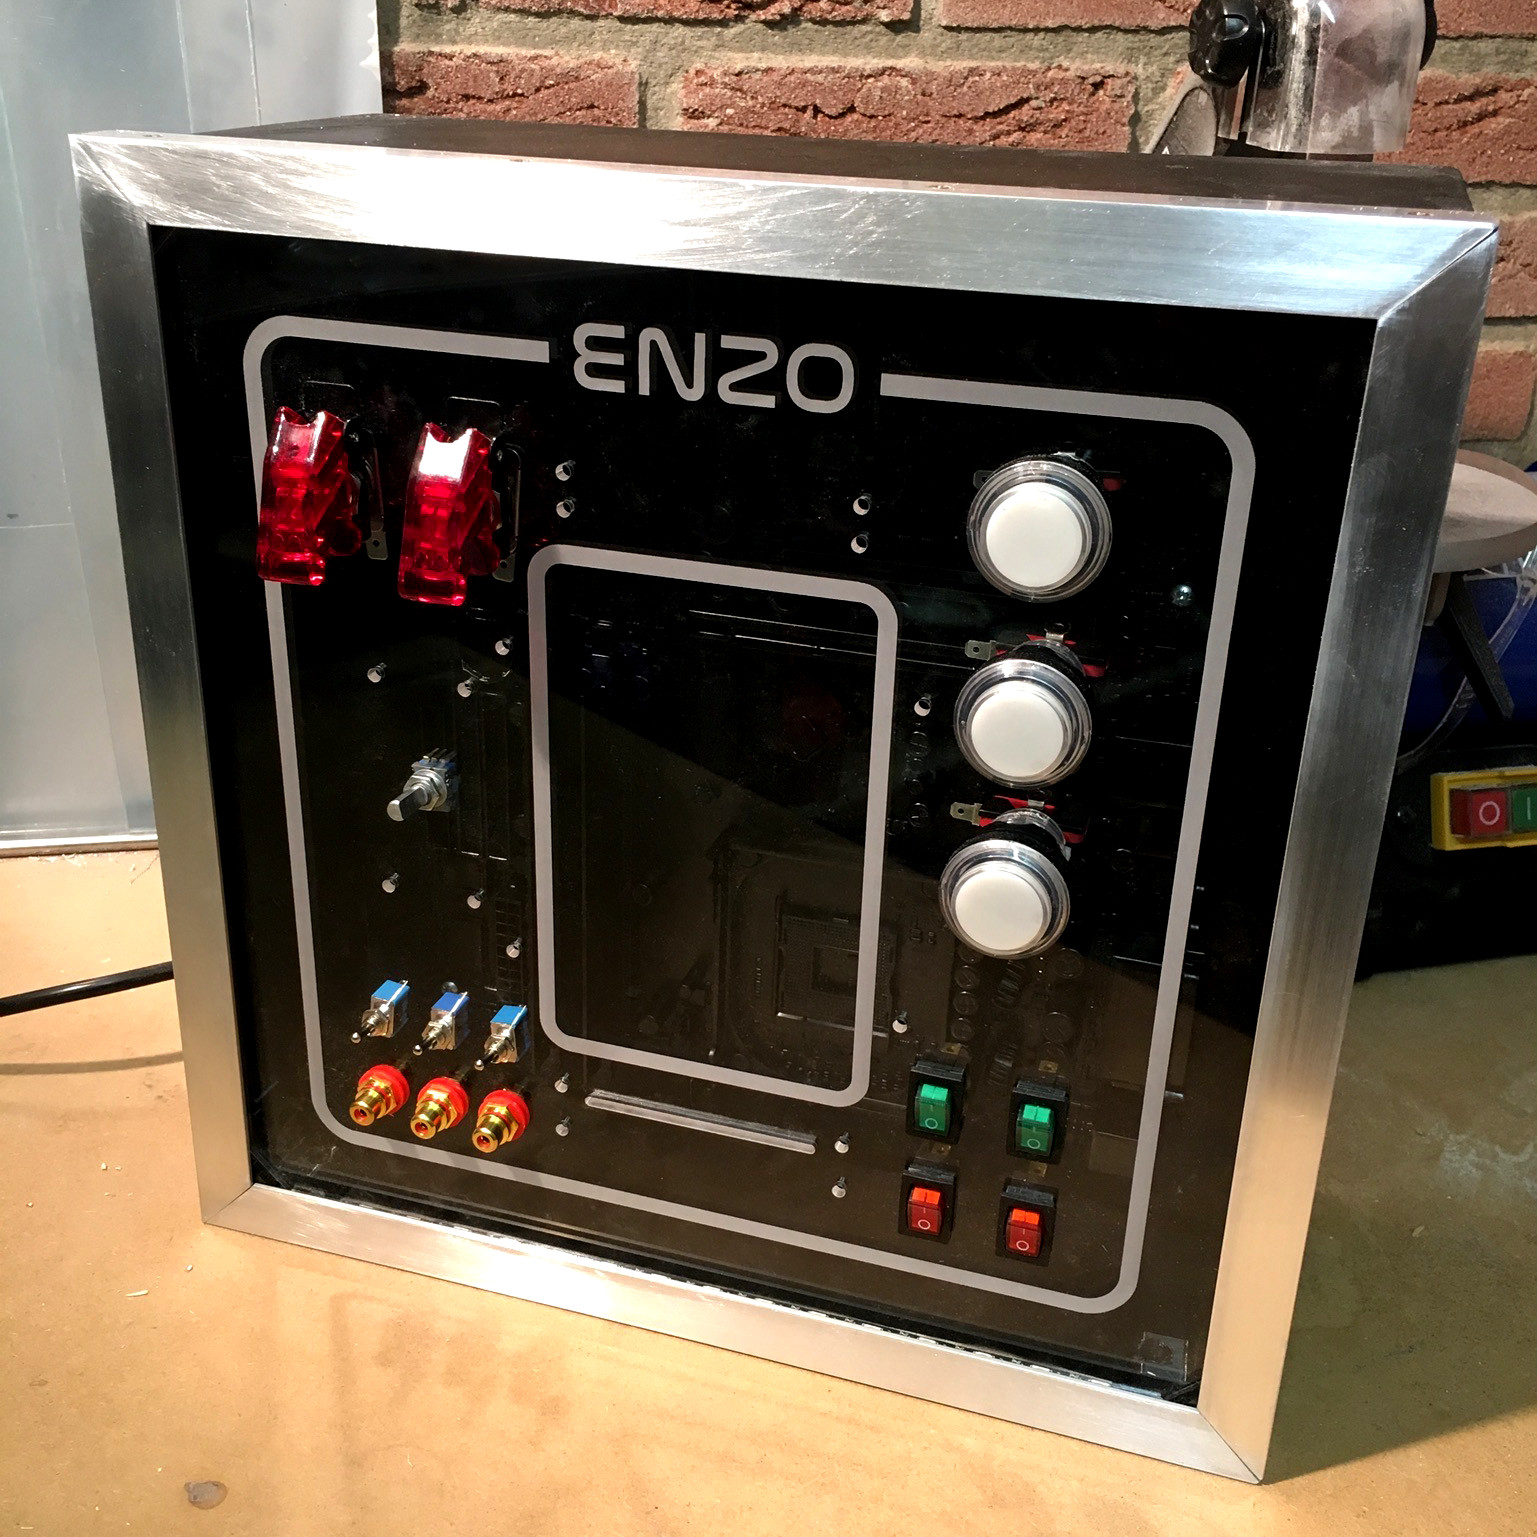
Spray Away!
After I finished the front panel, and getting an approval of Enzo, the next step in the process of the activity board is finishing the casing. A nice reason for some evenings in the shed.
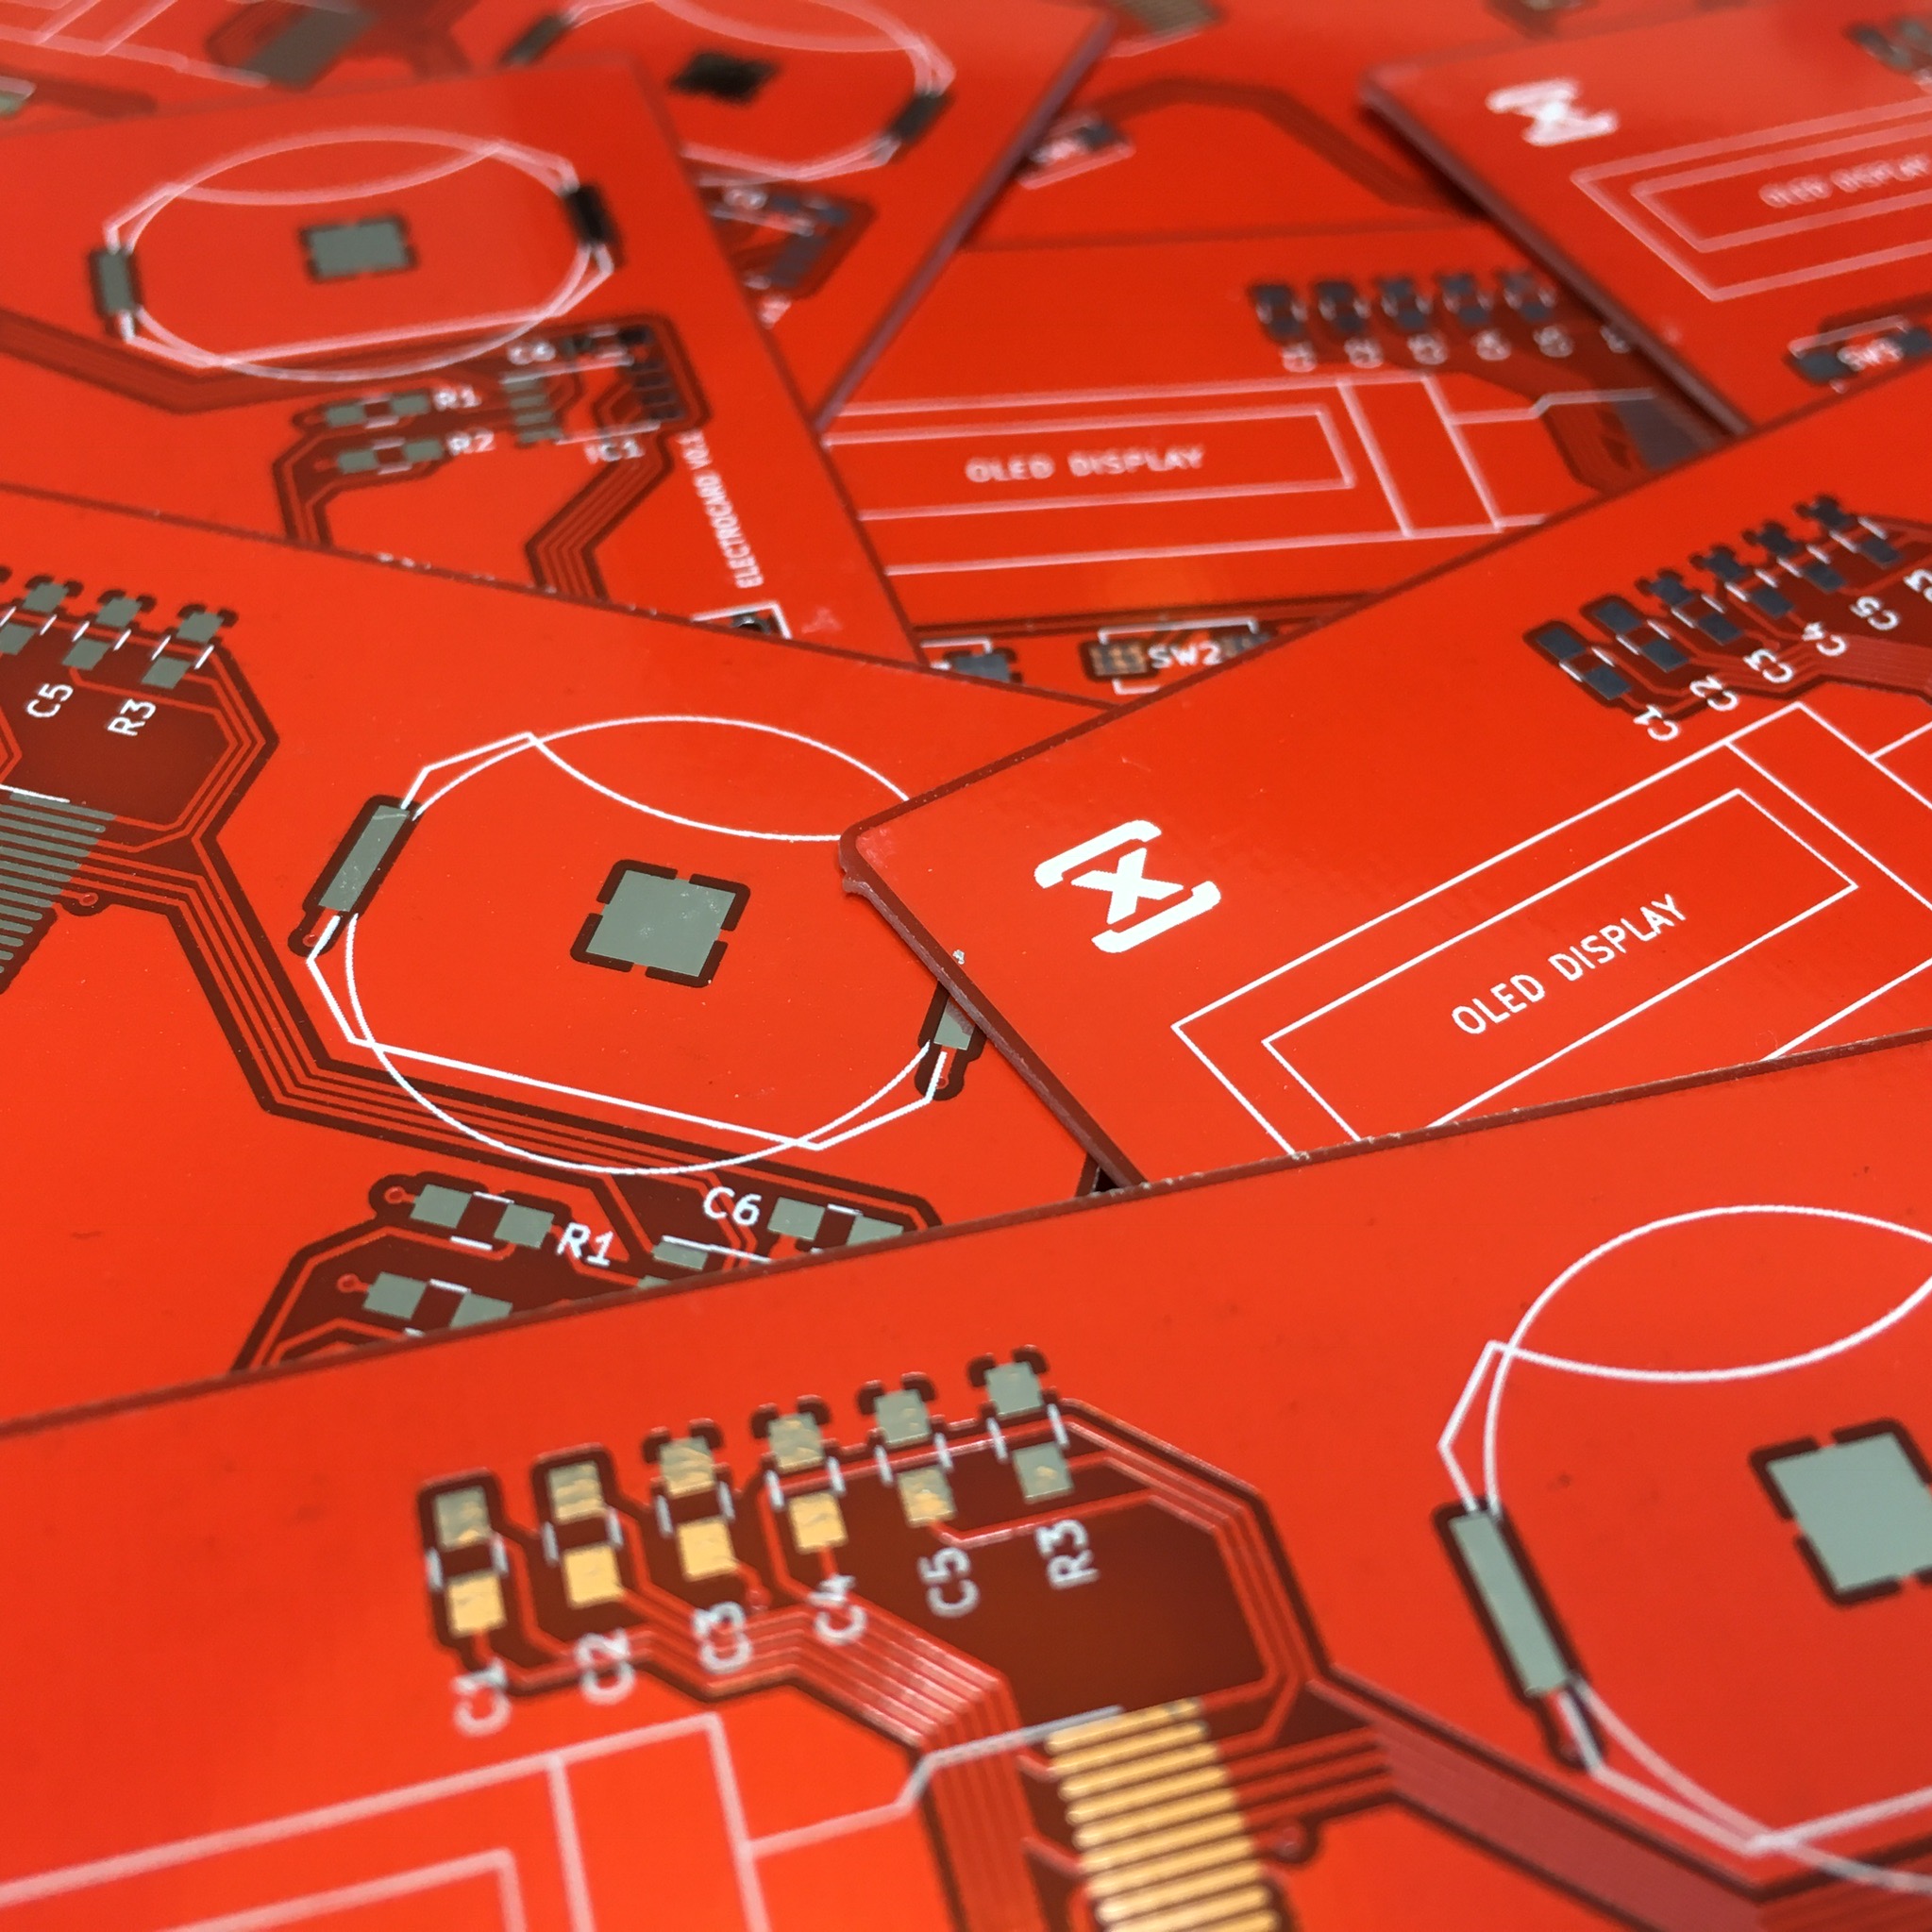
Electrocard:
The Design
Ever since I have my own company I wanted to have a PCB business card. Of course I wouldn’t be the first, but it would definitely give a nice touch to my company’s identity. And since I wanted to give KiCad a good try anyway, why not go for it?
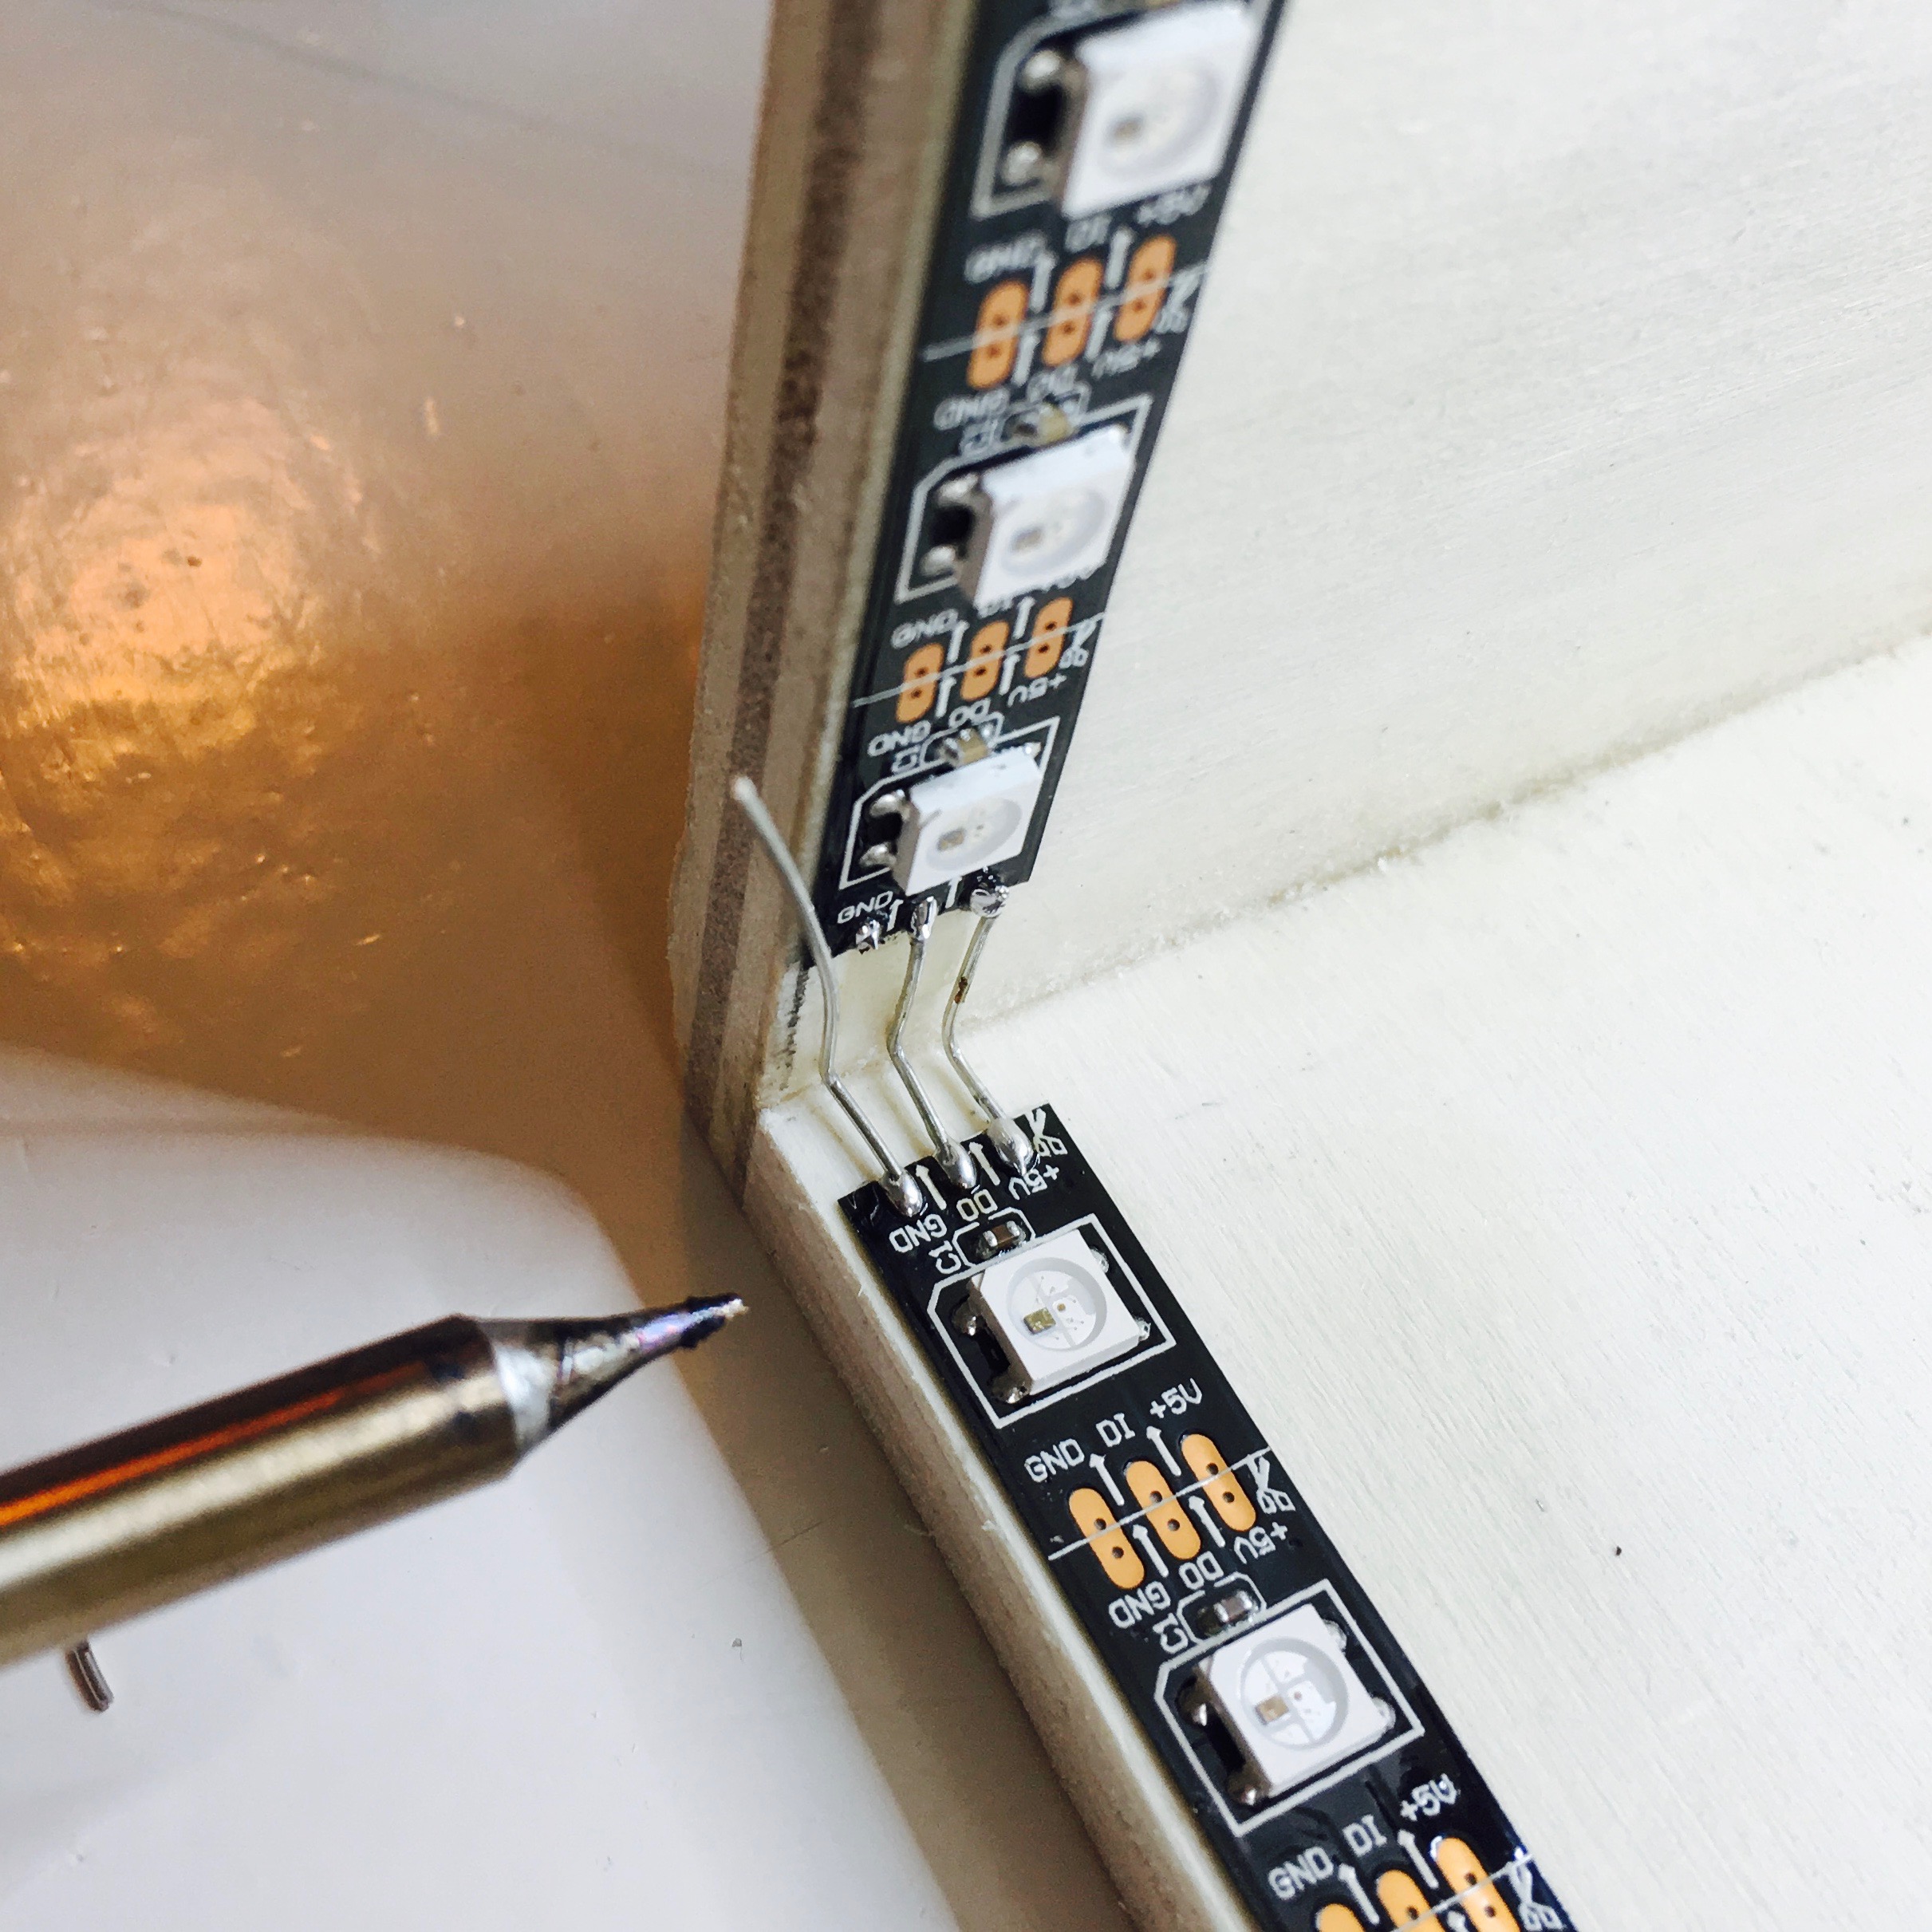
Activity Board:
Building the Box
Before I can work on the front panel design of Enzo’s Activity Board, I need to know the exact dimensions. This can be figured out either by using some math, or by simply just measuring it. I choose the latter, but this means I first need to build the box that holds everything in place …
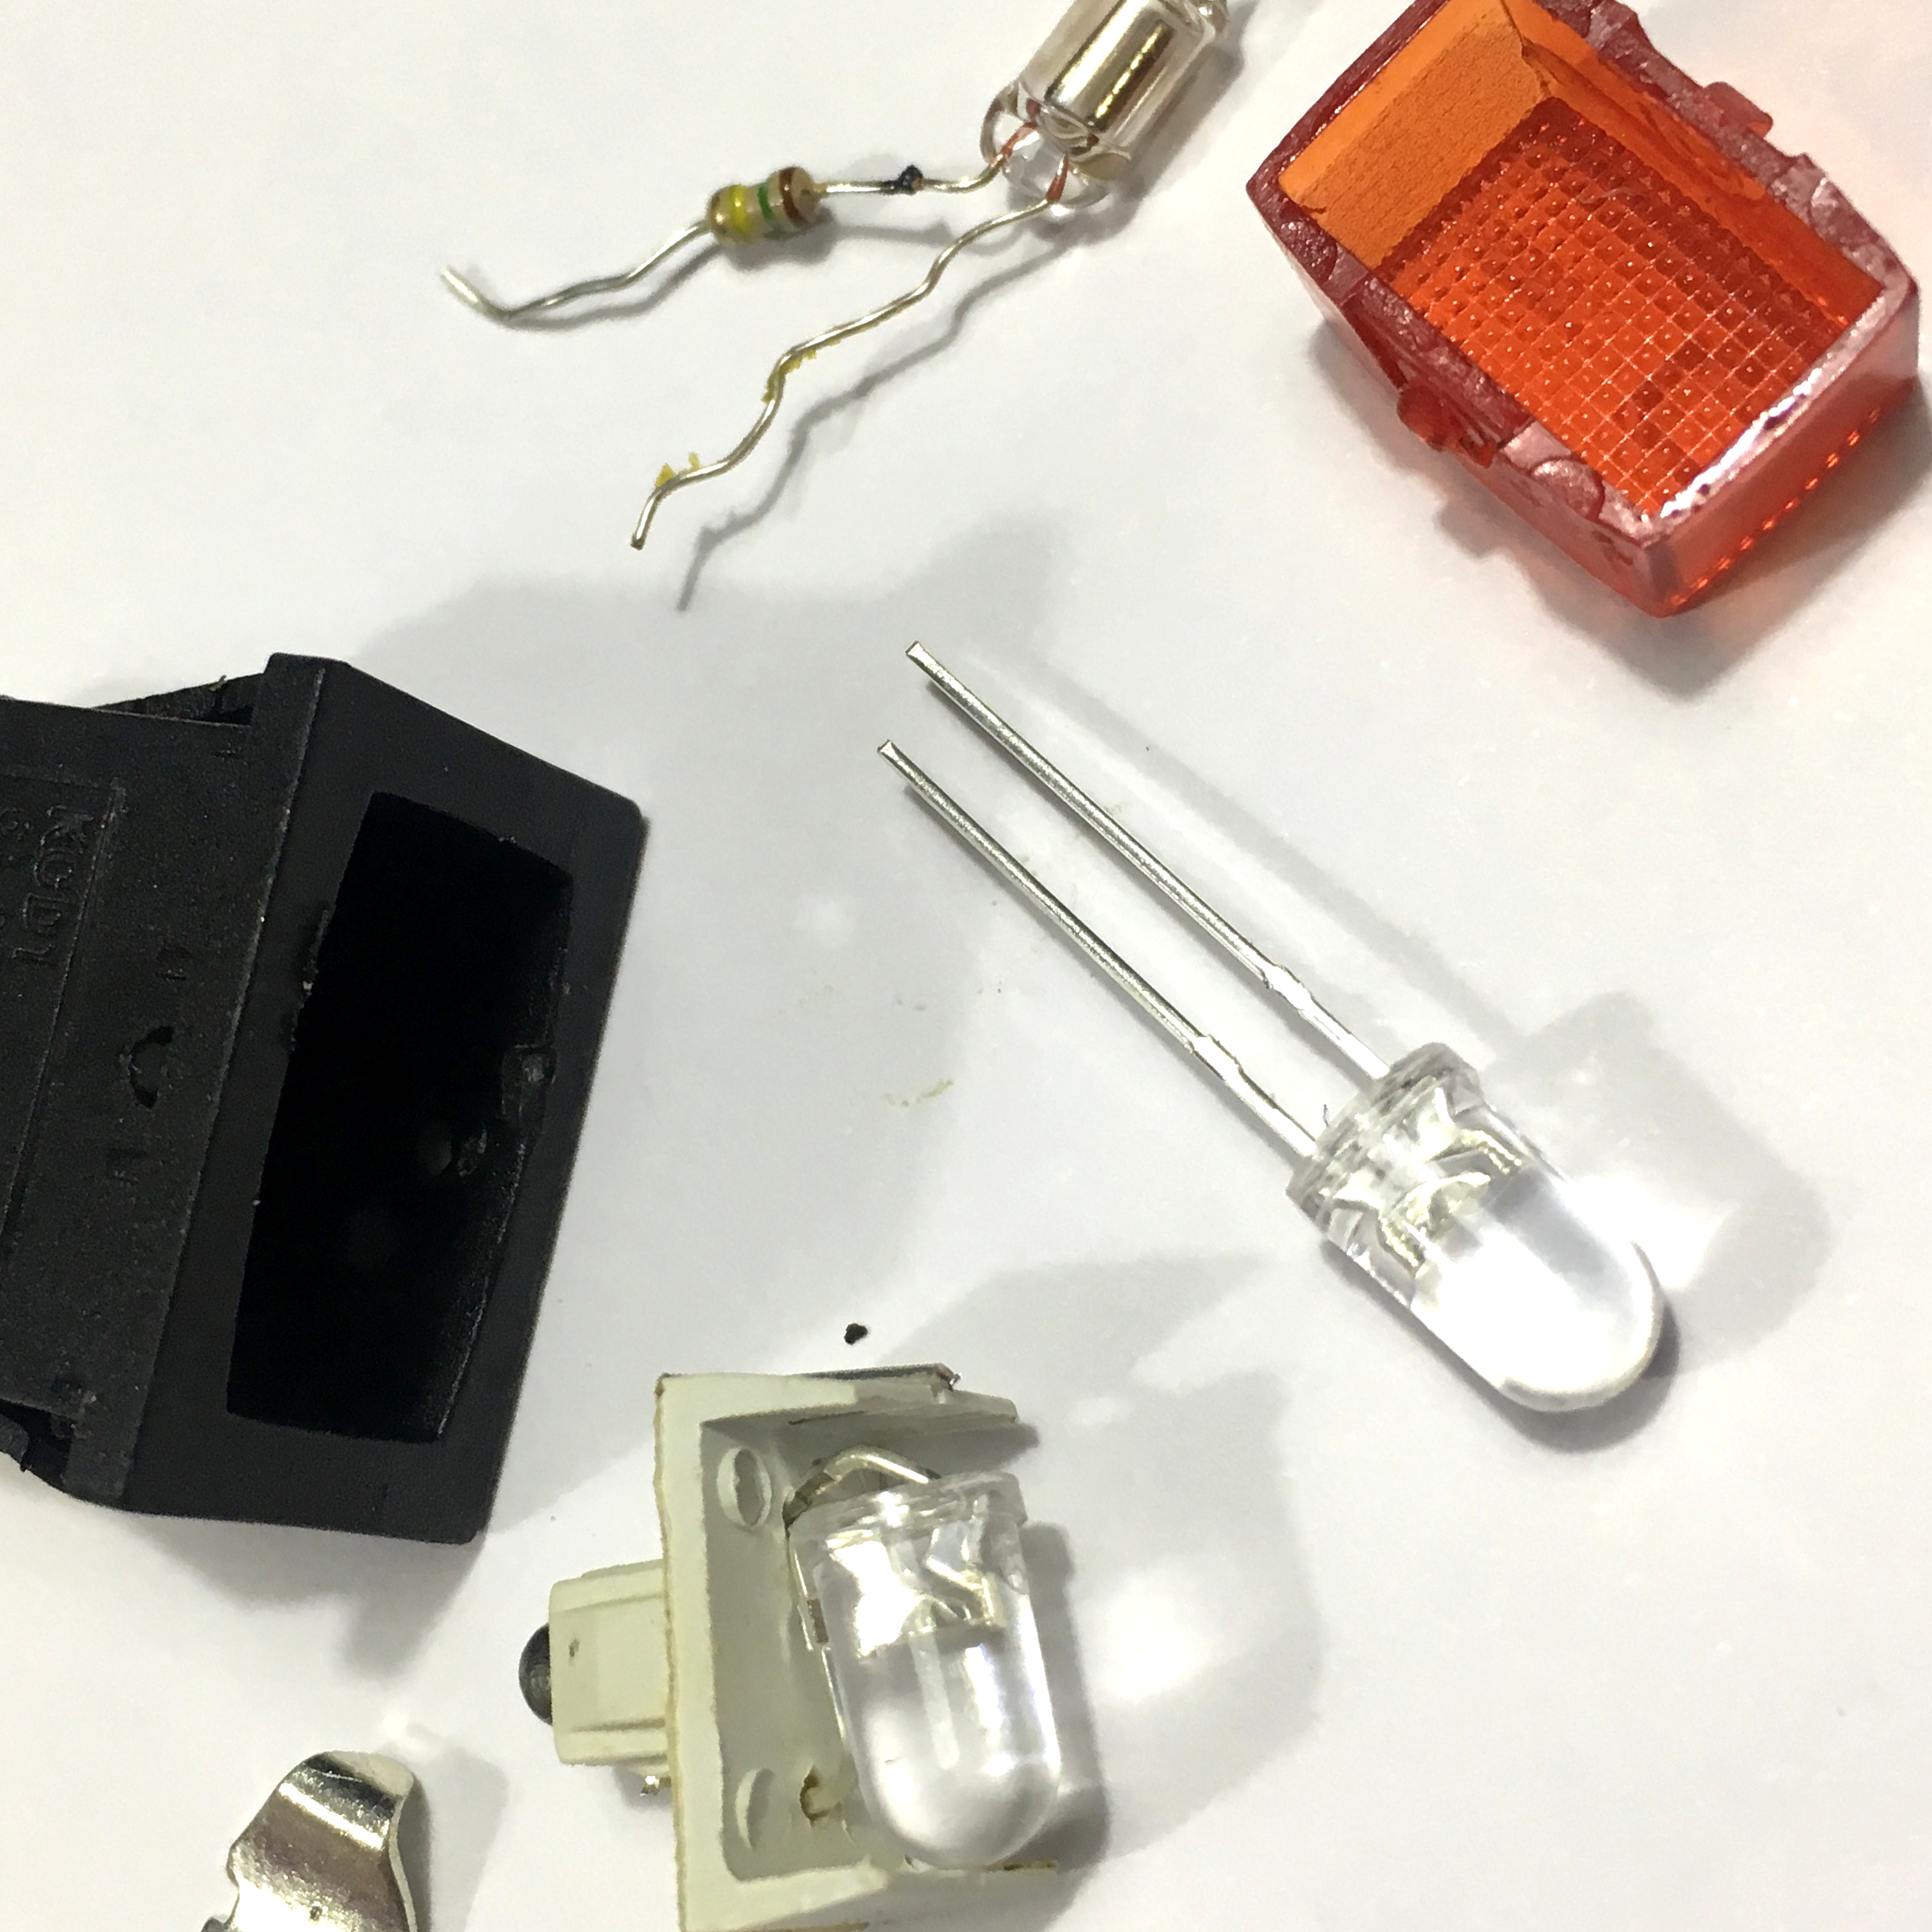
Activity Board:
Adjusting the Switches
Two weeks ago, I wrote about the Activity Board I’m building for my son. Since I want this panel to use a 5 volt power supply, i needed to tweak some of the buttons I’ll be using.
Activity Board:
Enzo's Control Room
With all of my projects that include one or more buttons, I know one thing for sure. The buttons will be extensively tested by my 1,5 year old tinkerer Enzo. My Automatic curtains need to open and closed more than a few times a day, and my robot arm’s test buttons are being pressed repeatedly even while it isn’t powered on. I think the message is clear: he wants his own buttons!
Robotic Arm:
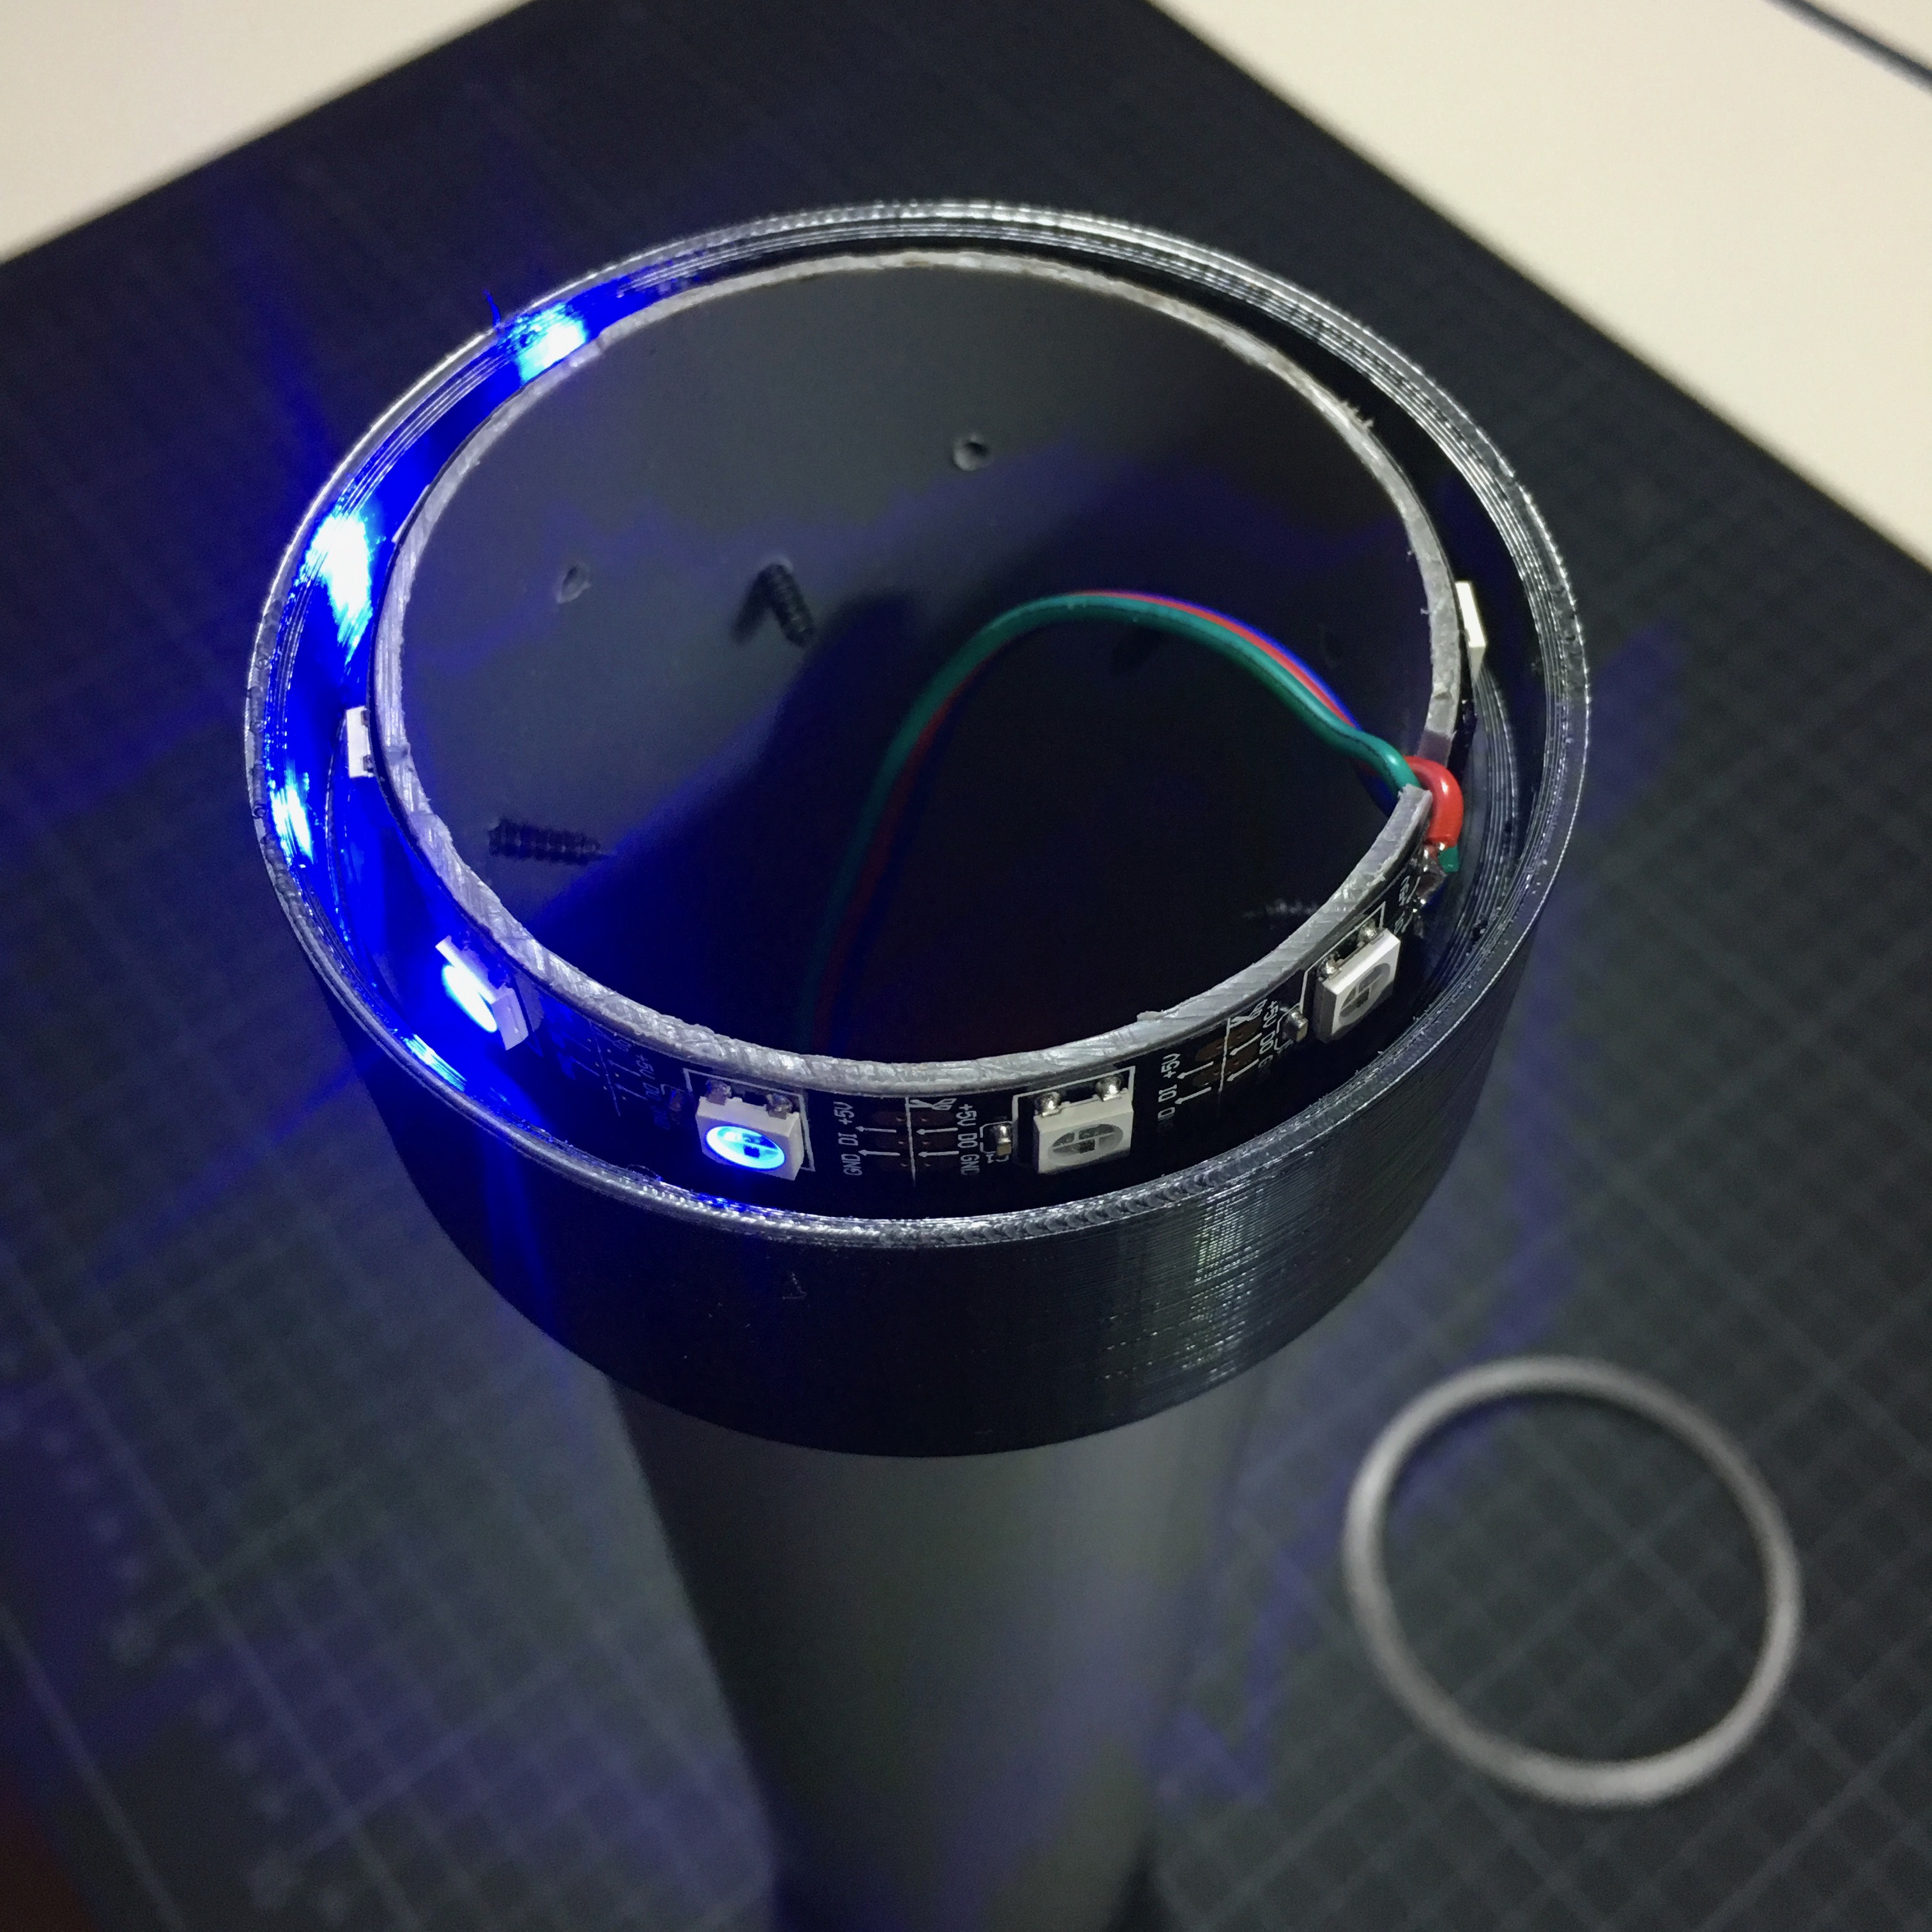
Illuminating the joint.
2 weeks ago I wrote about my new project: building my own DUM-E robot. And while I have a lot of idea’s for this project, I mainly spent my time waiting for the nessecery parts to arrive. So to ease the waiting, let’s work on making the passive side of the joint a little more sexy.
Robotic Arm:
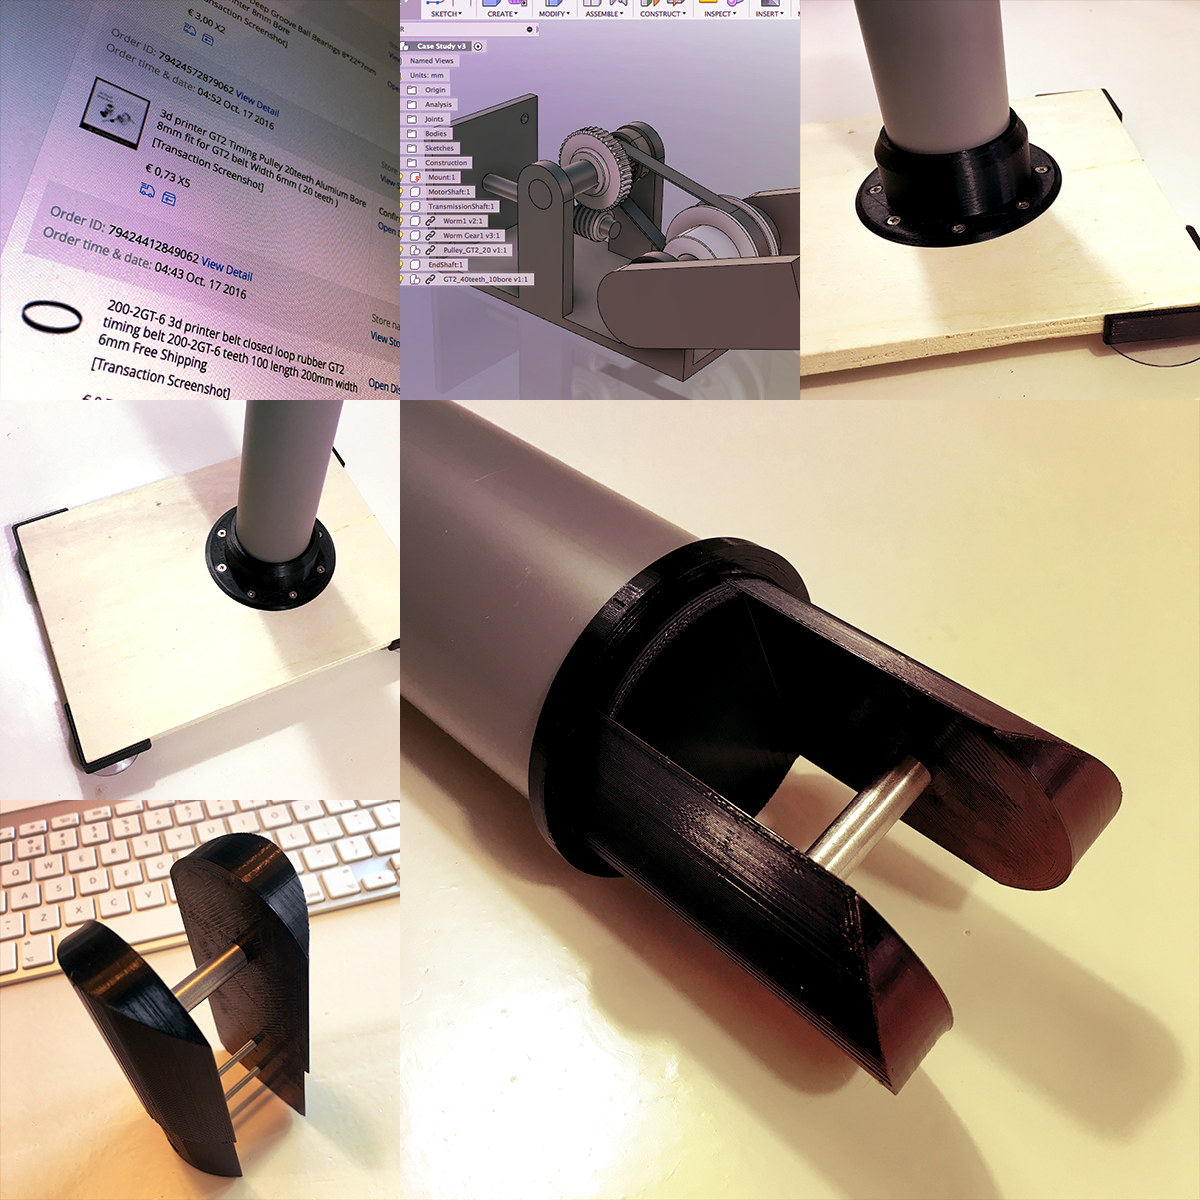
Building my own DUM-E Robot!
Let’s face it. Every maker wants to become the next Tony Stark. And even though my Power Suit looked fun, it wasn’t really capable of protecting the world against the bad guys. Let’s work on something a bit more doable …
MagicMirror:
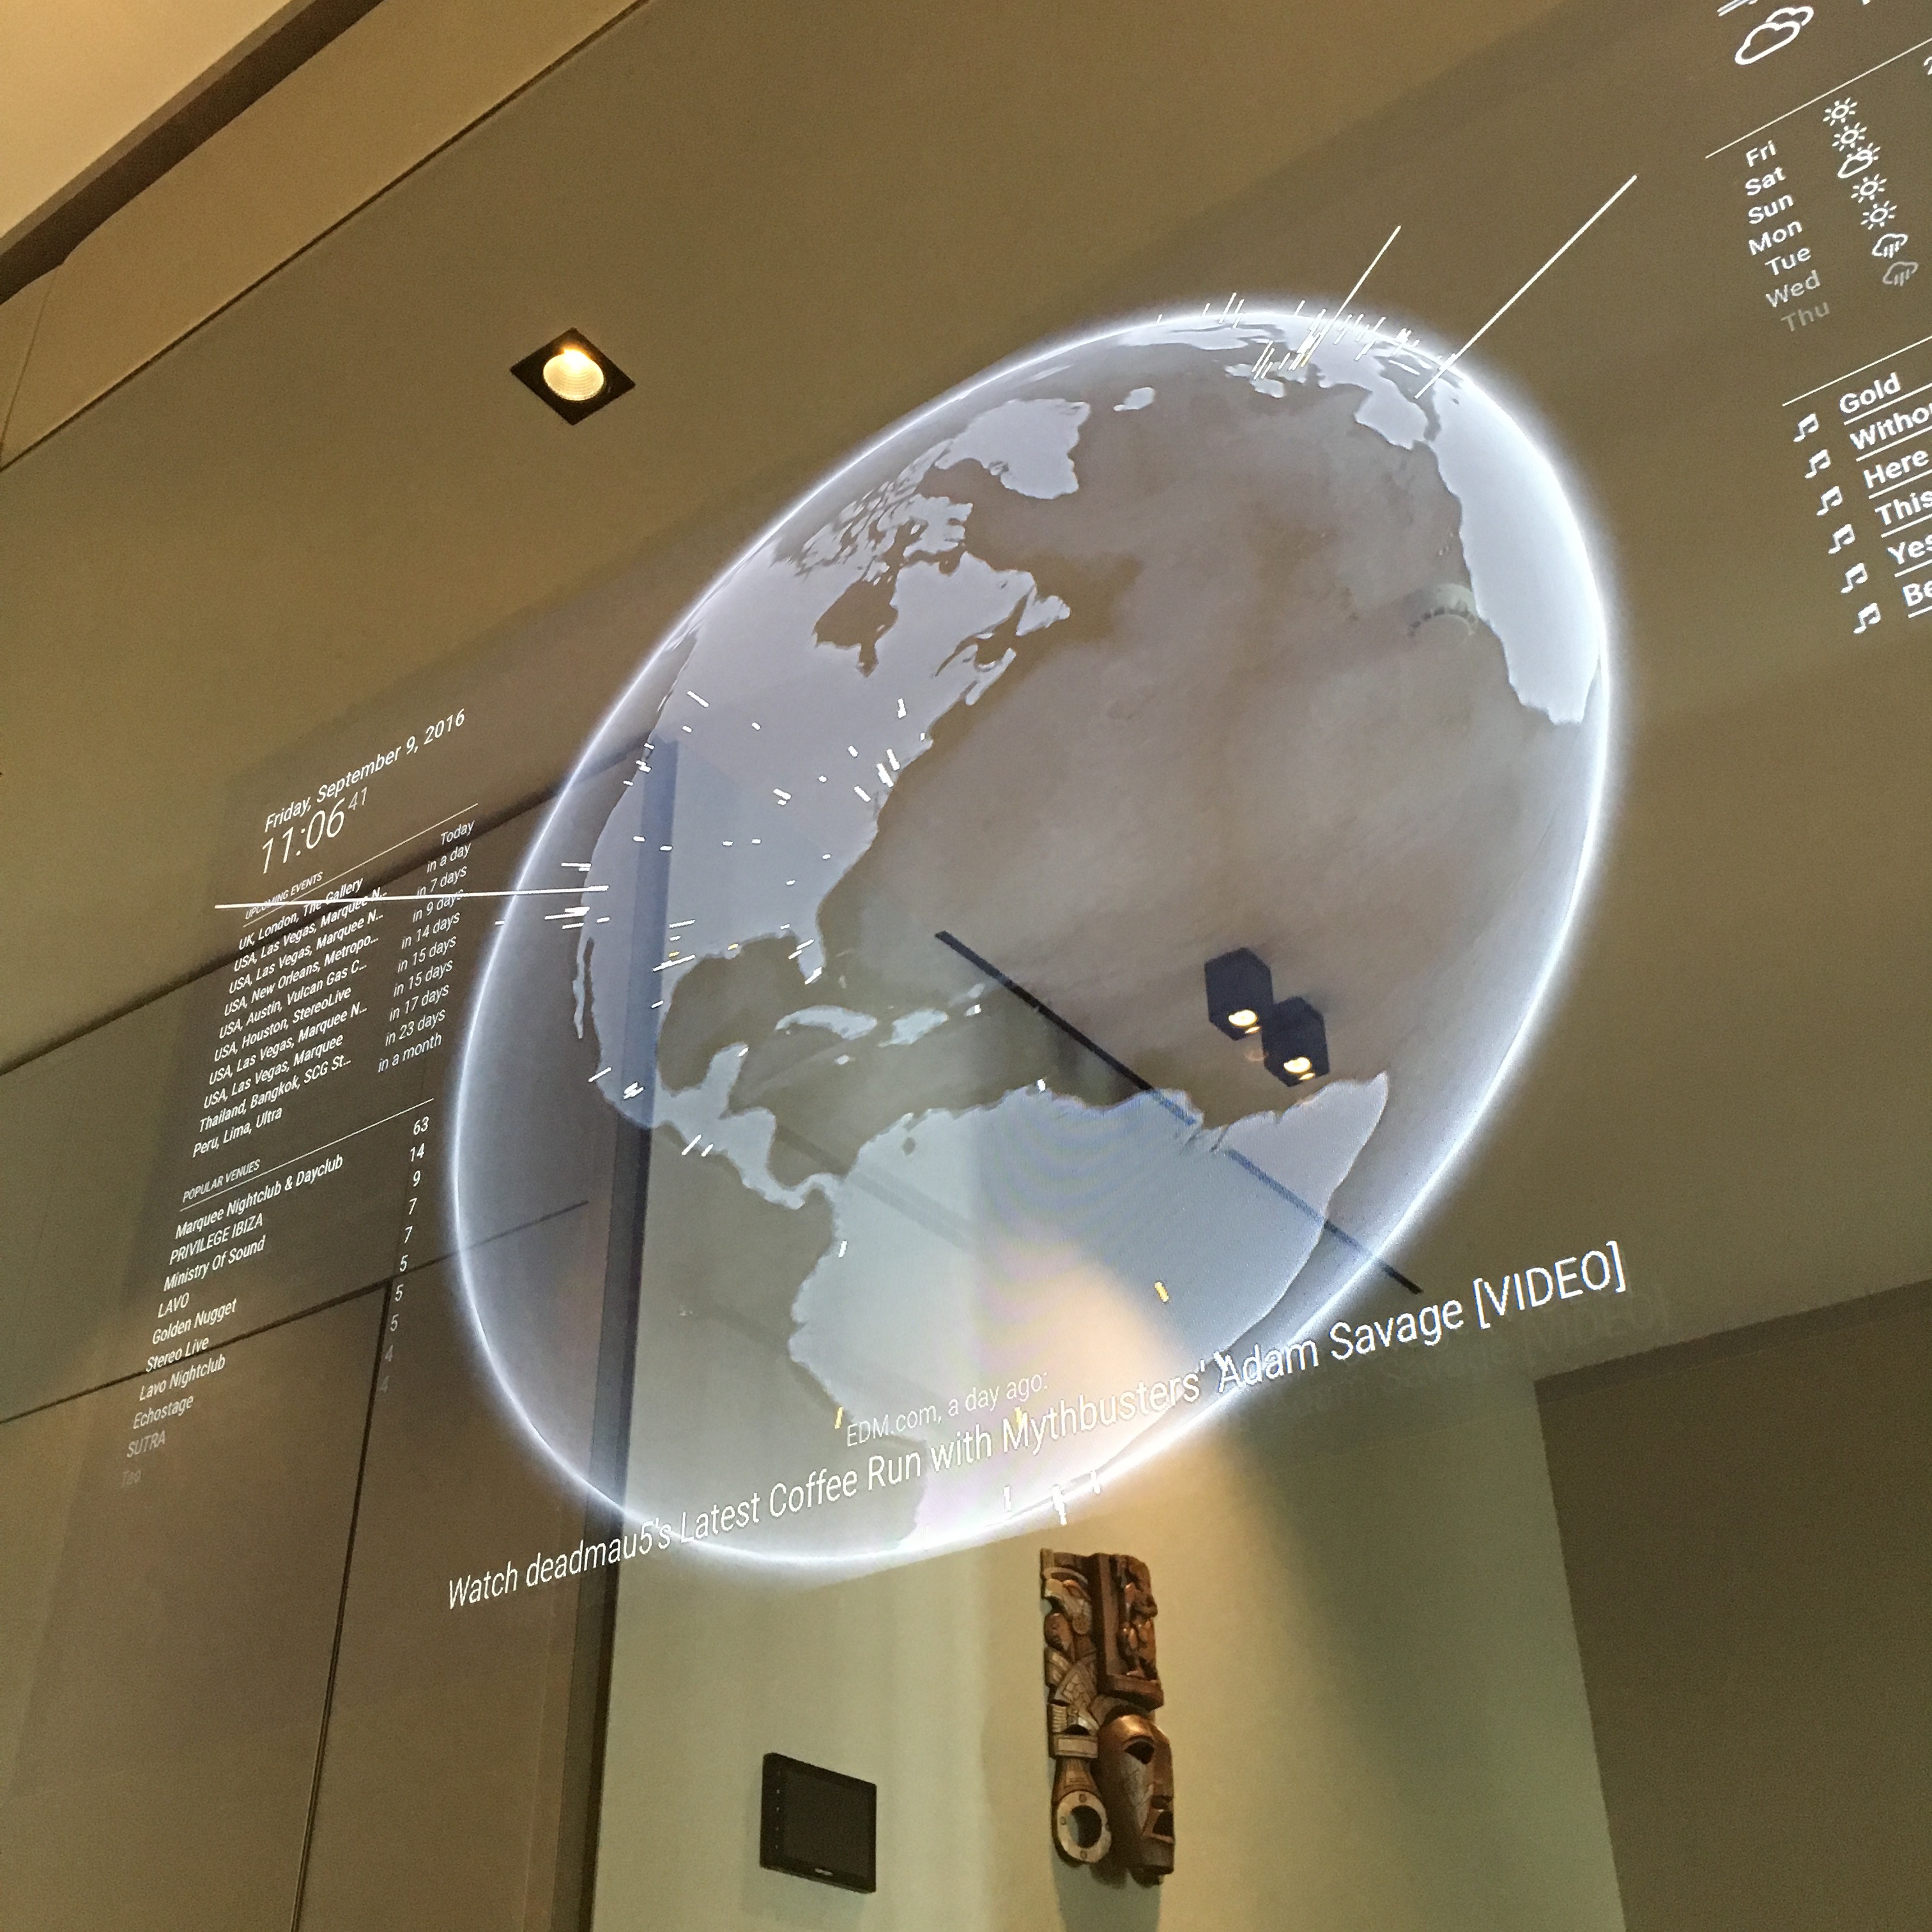
Mirror, mirror on the wall. Who has the biggest of them all?
When I initially started my Magic Mirror project, it was just to see if it was possible. It was never meant to be an open source project, let alone a commercial project. When the project eventually got more famous, it wouldn’t take long for the first commercial opportunities …
3D-parenting
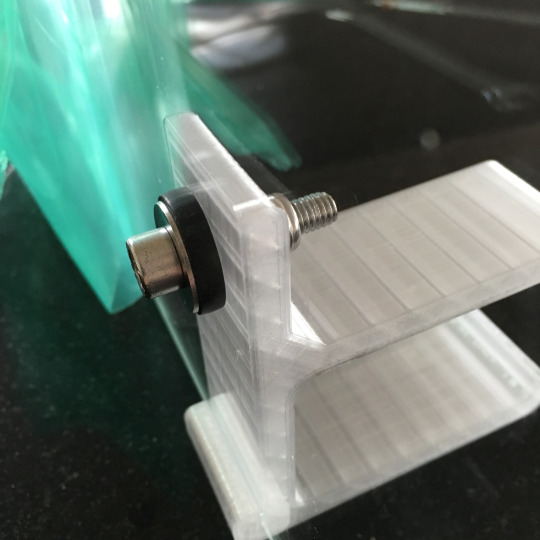
It’s June! Which means two things: it’s getting hotter each day. And my son is 9 months old. Together these facts are a good reason for a nice 3D printing project.
Automatic Curtains:
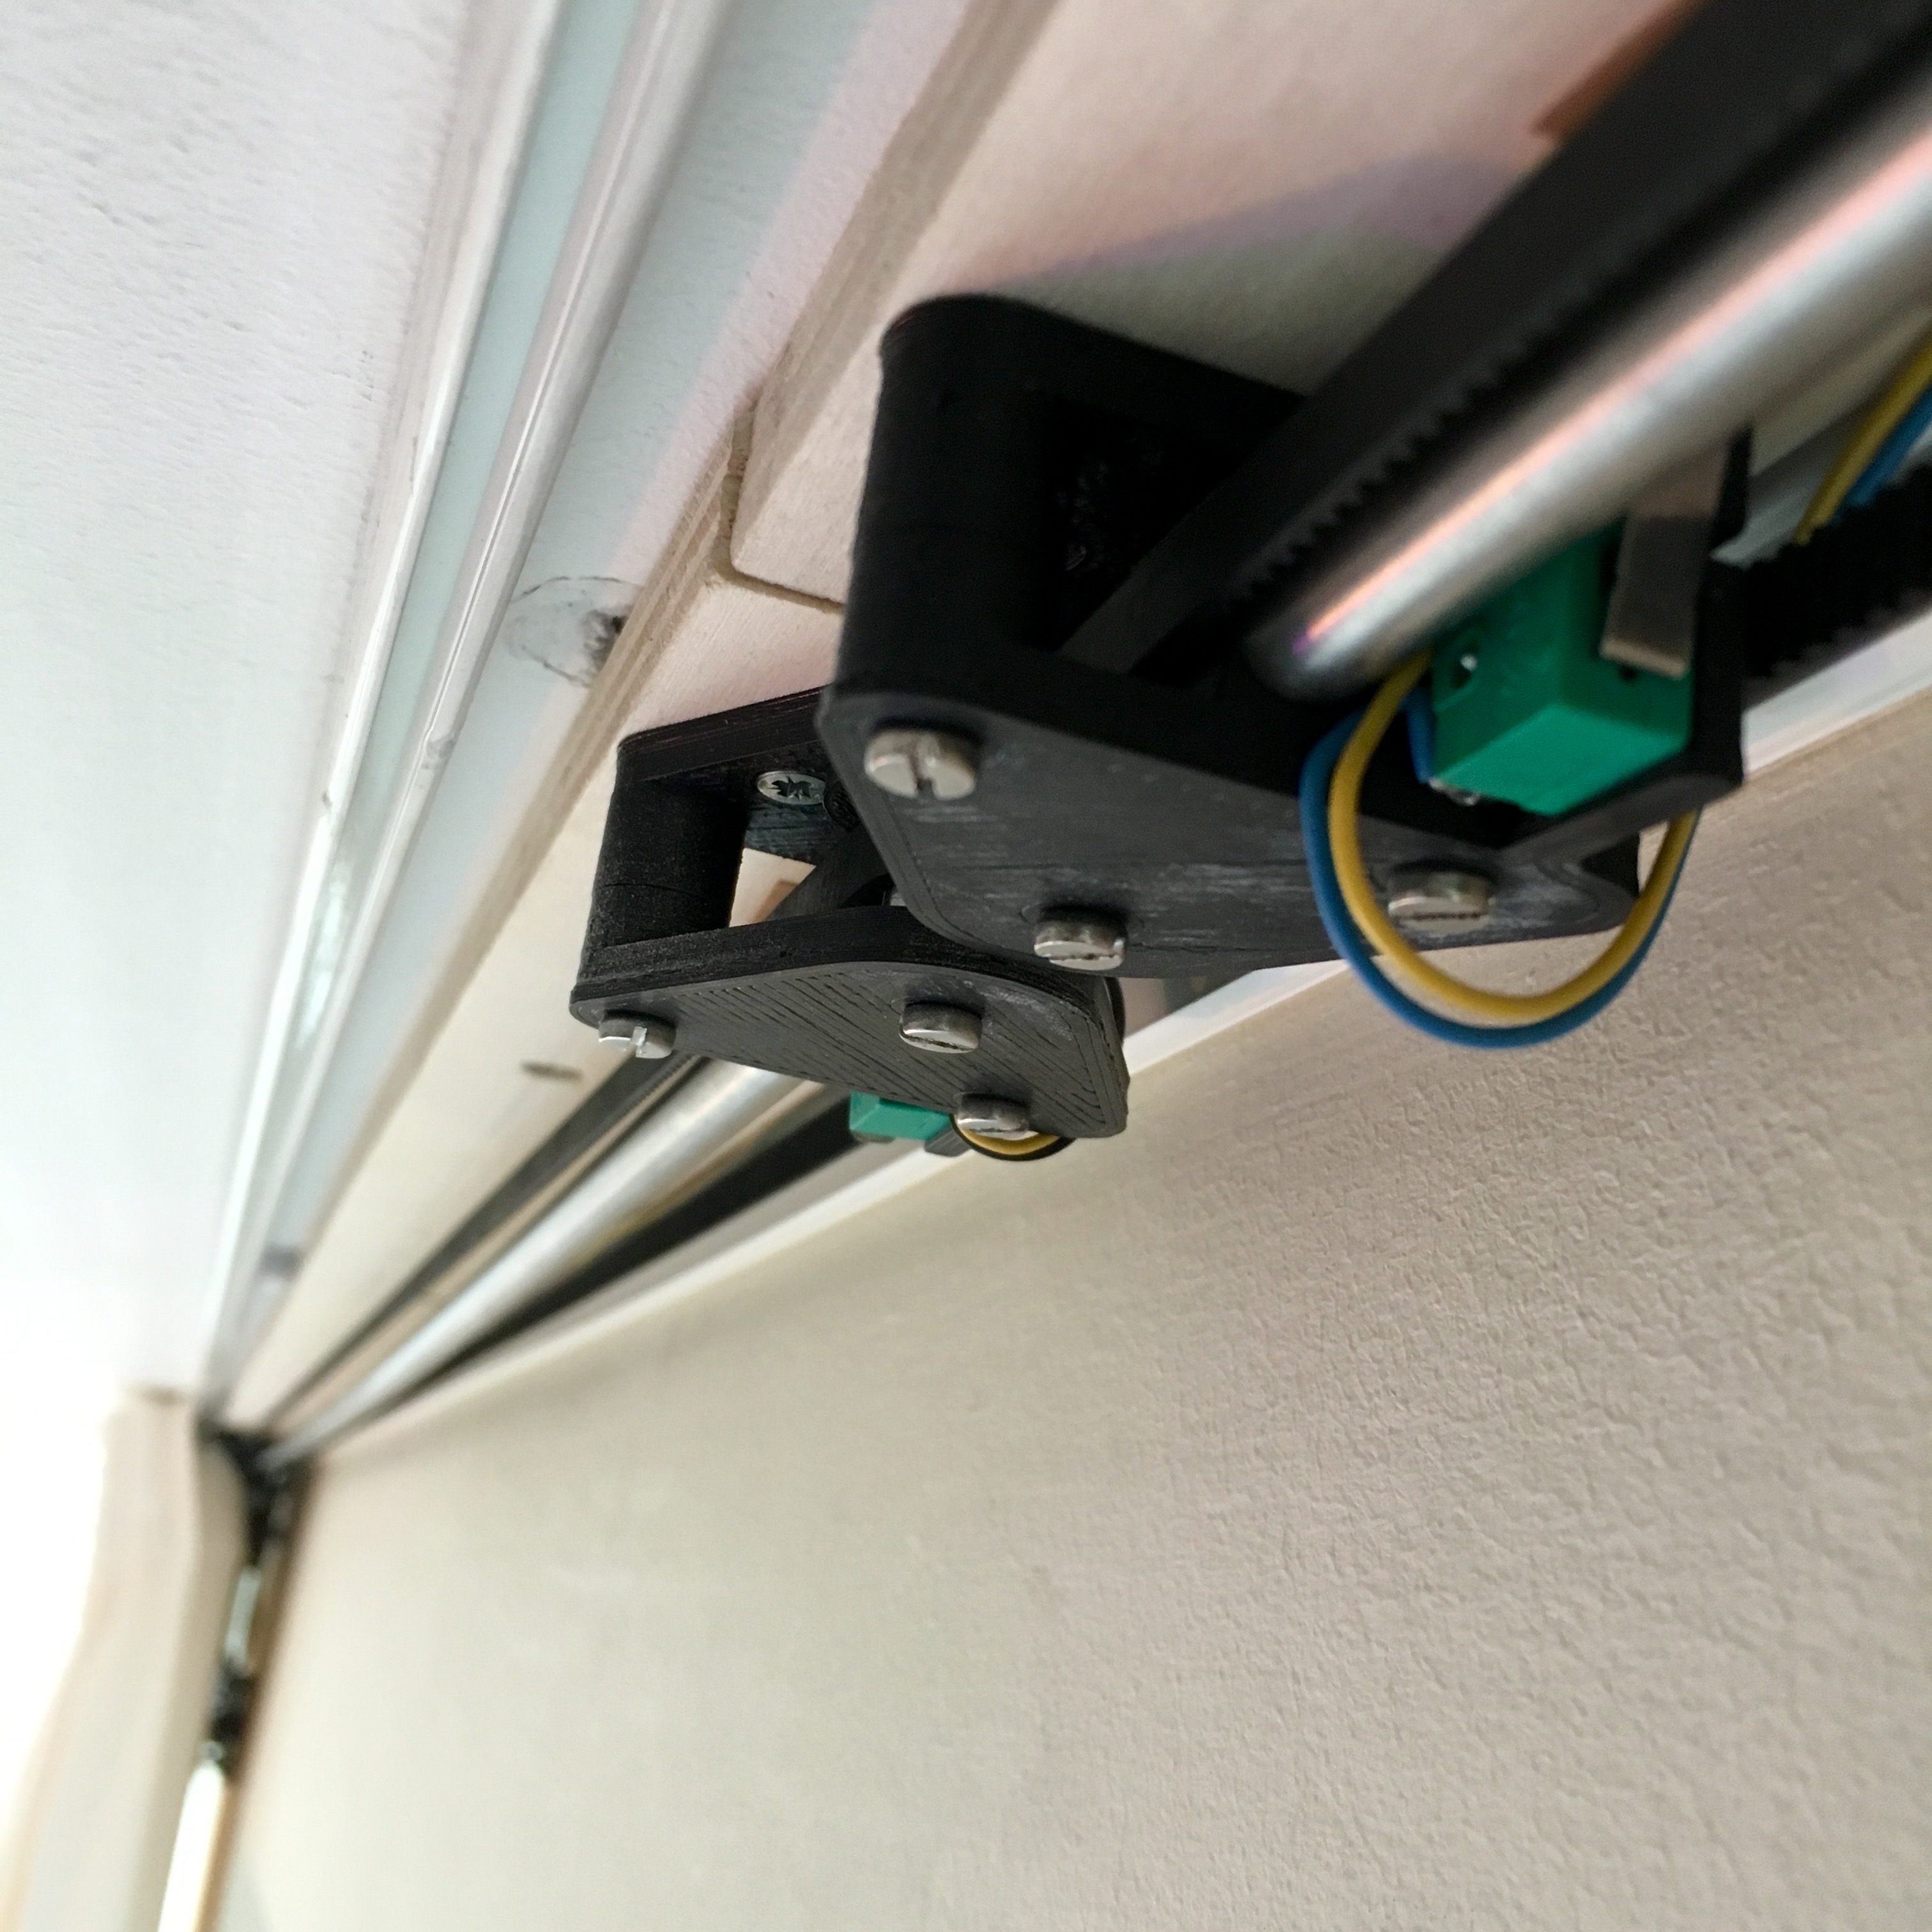
The state of the Curtains.
When I started my automatic curtain project more than a year ago, I didn’t expect it to be so much work. But with the last of the four motor units ready to be installed, the project starts to get shape.
Automatic Curtains:
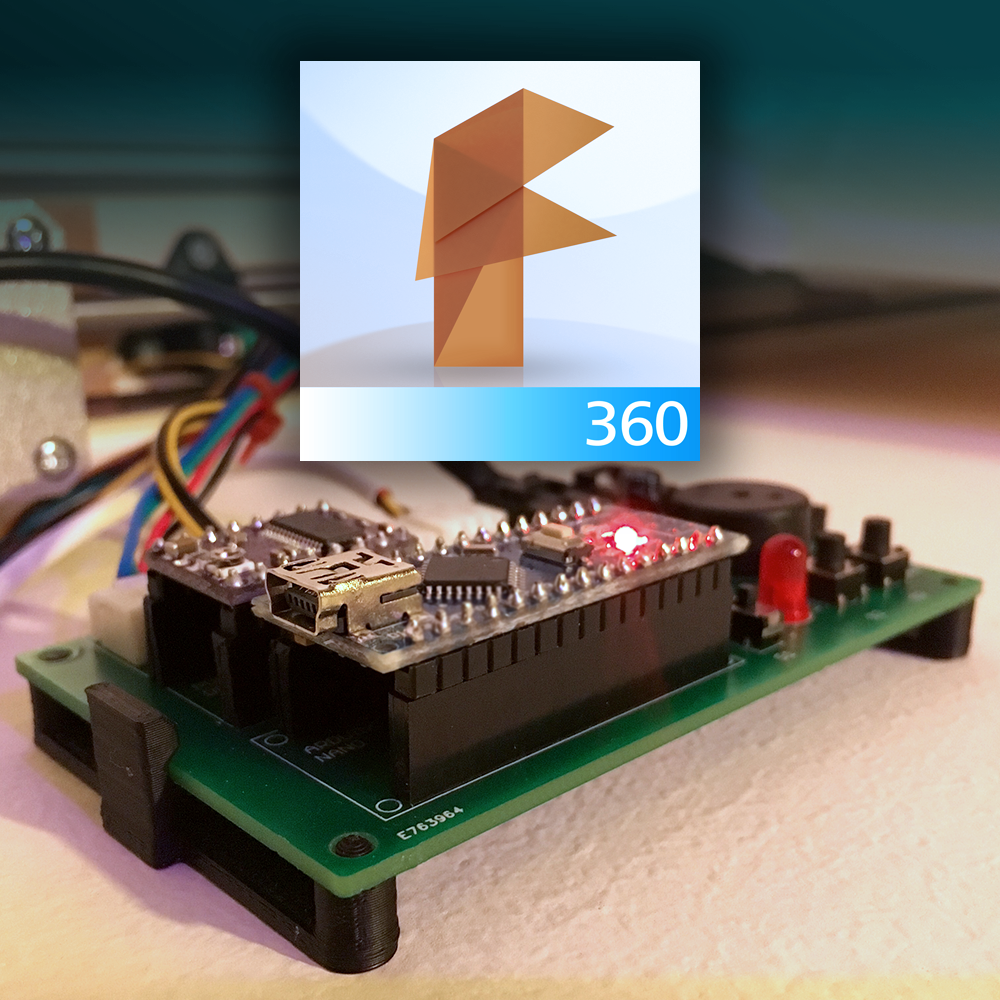
Designing a PCB Mount in Fusion 360 [Video]
With the Automatic Curtain Motor Controller ready, it’s time to mount it below the motor unit. Since I want it to be easily removable for maintenance, I used Autodesk Fusion 360 to quickly draw a 3D printable PCB mount.

The Next Big Thing
Last week I finished my Power Suit project. Although some quality couch time would be nice, I’m always working on new projects. Since I’m not sure what the next project will be, I’ll be sharing some of the ideas I currently have.