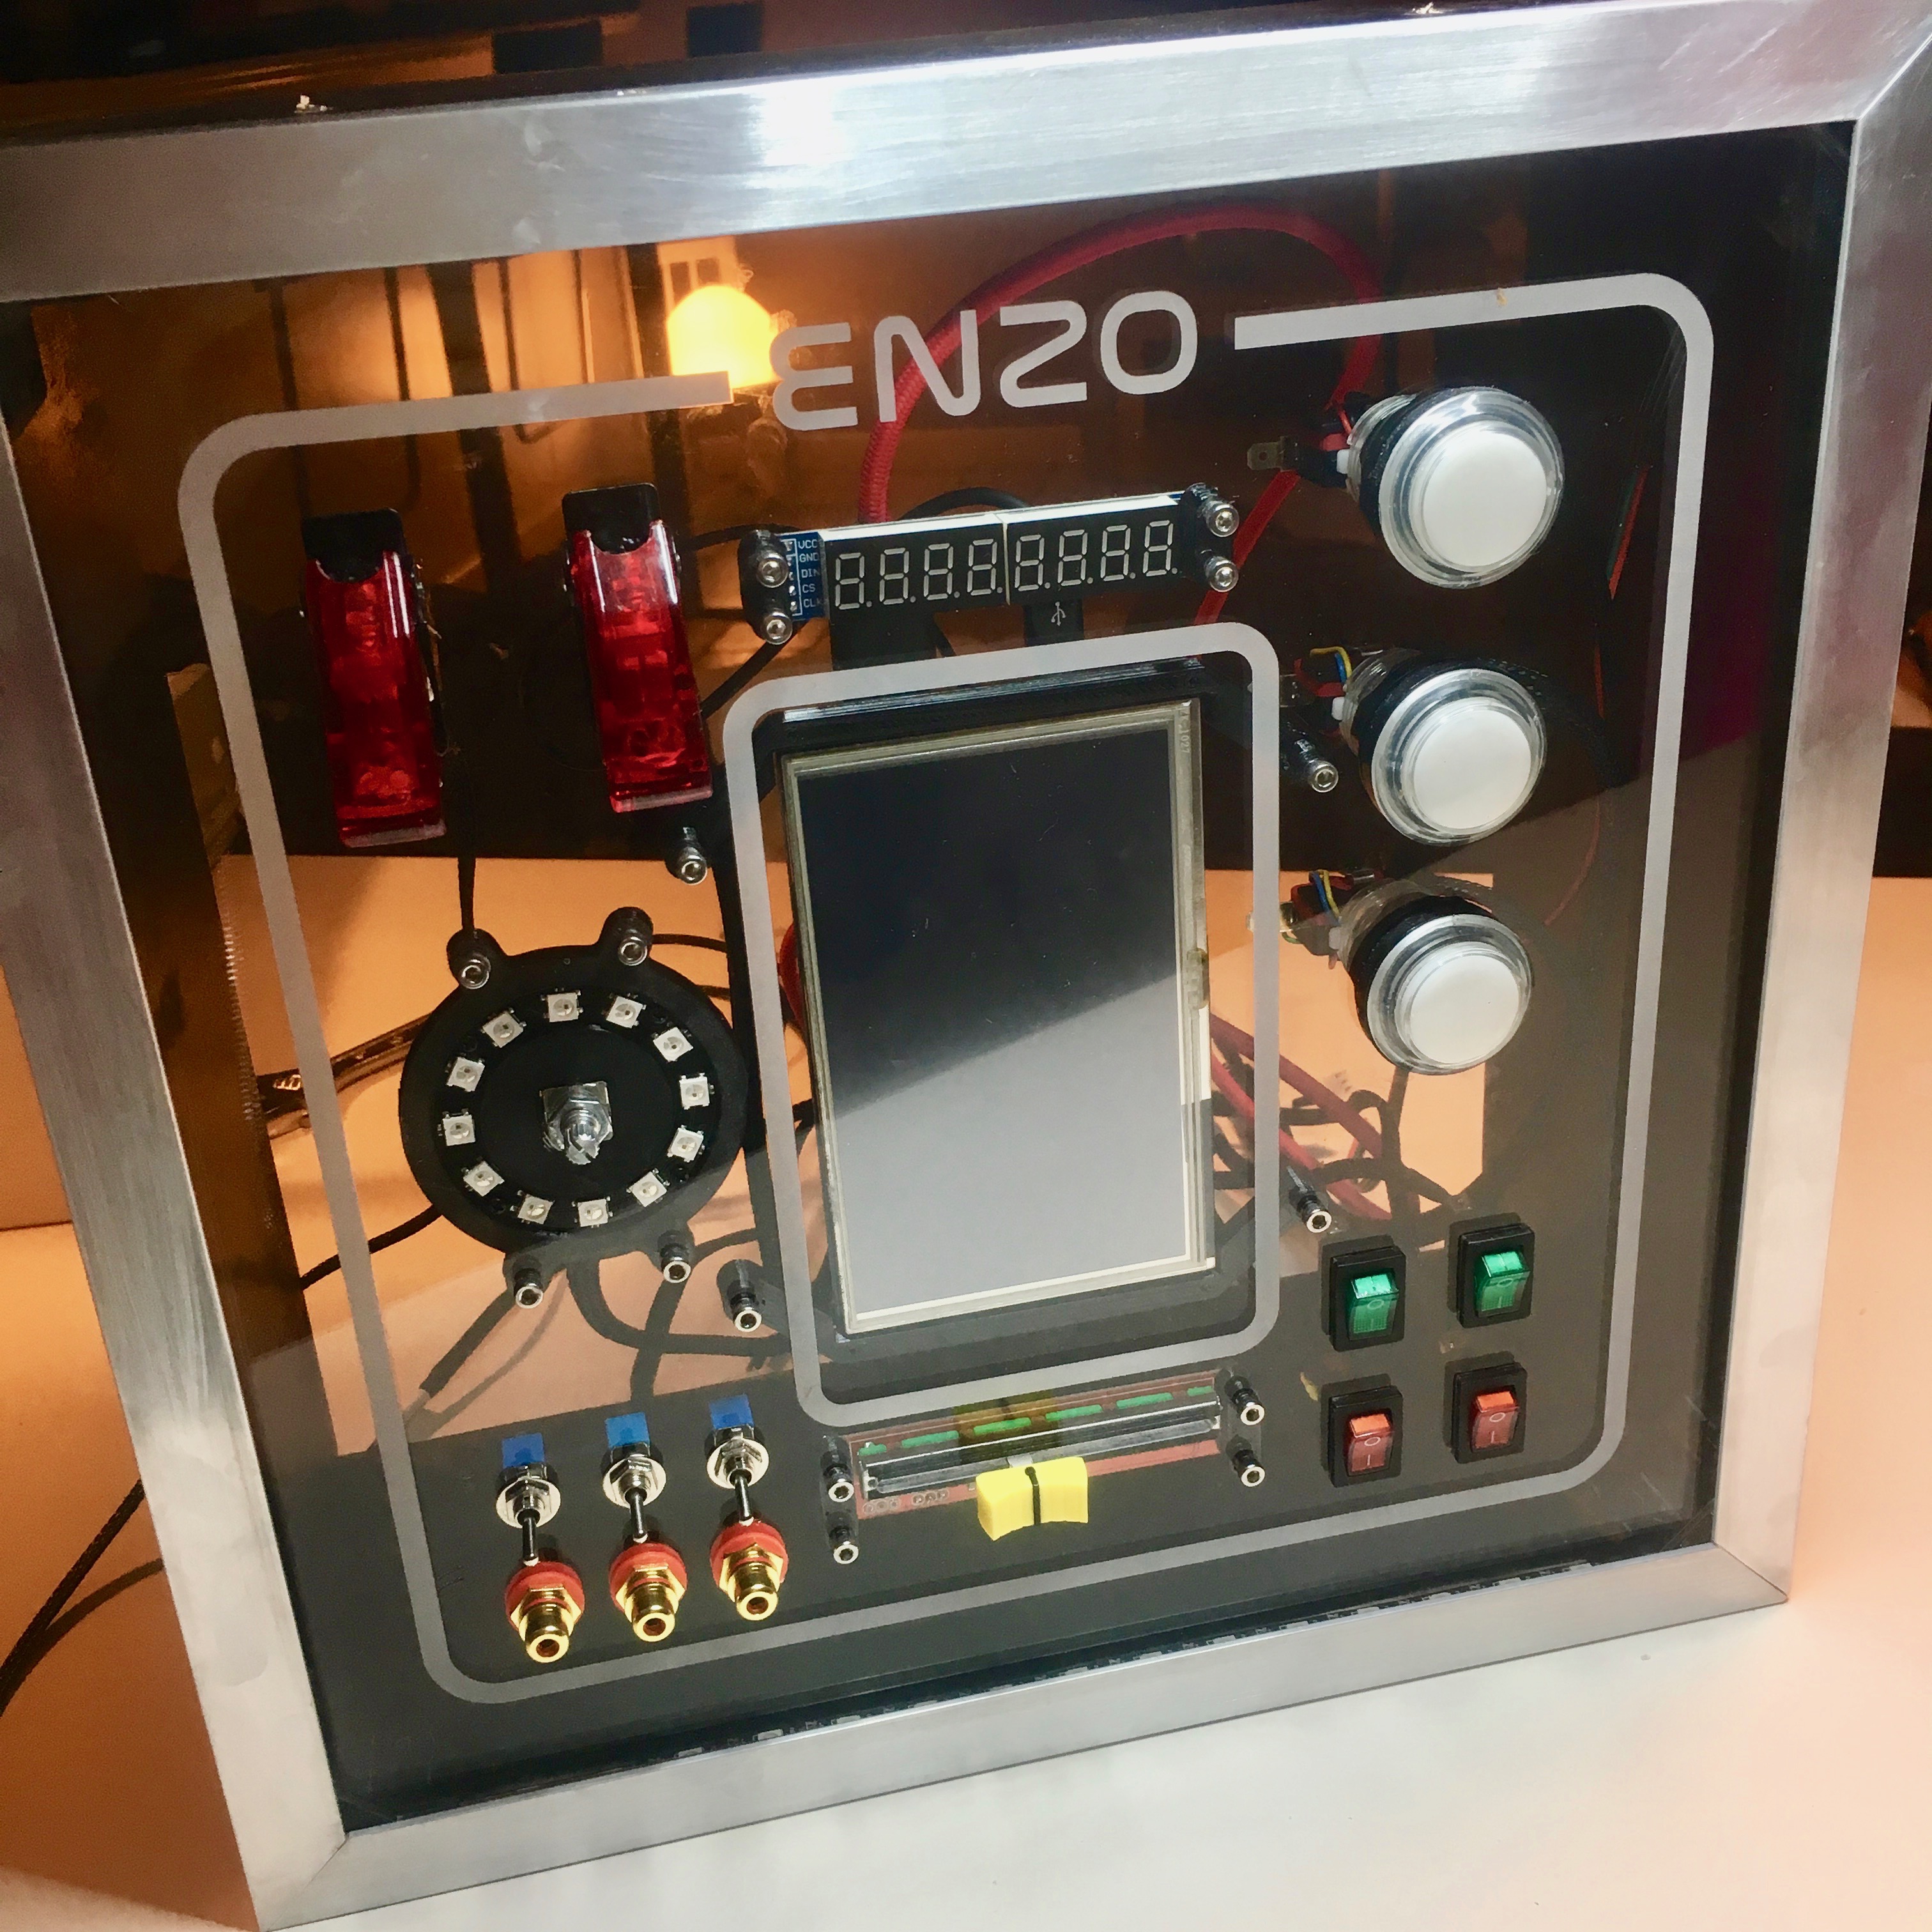
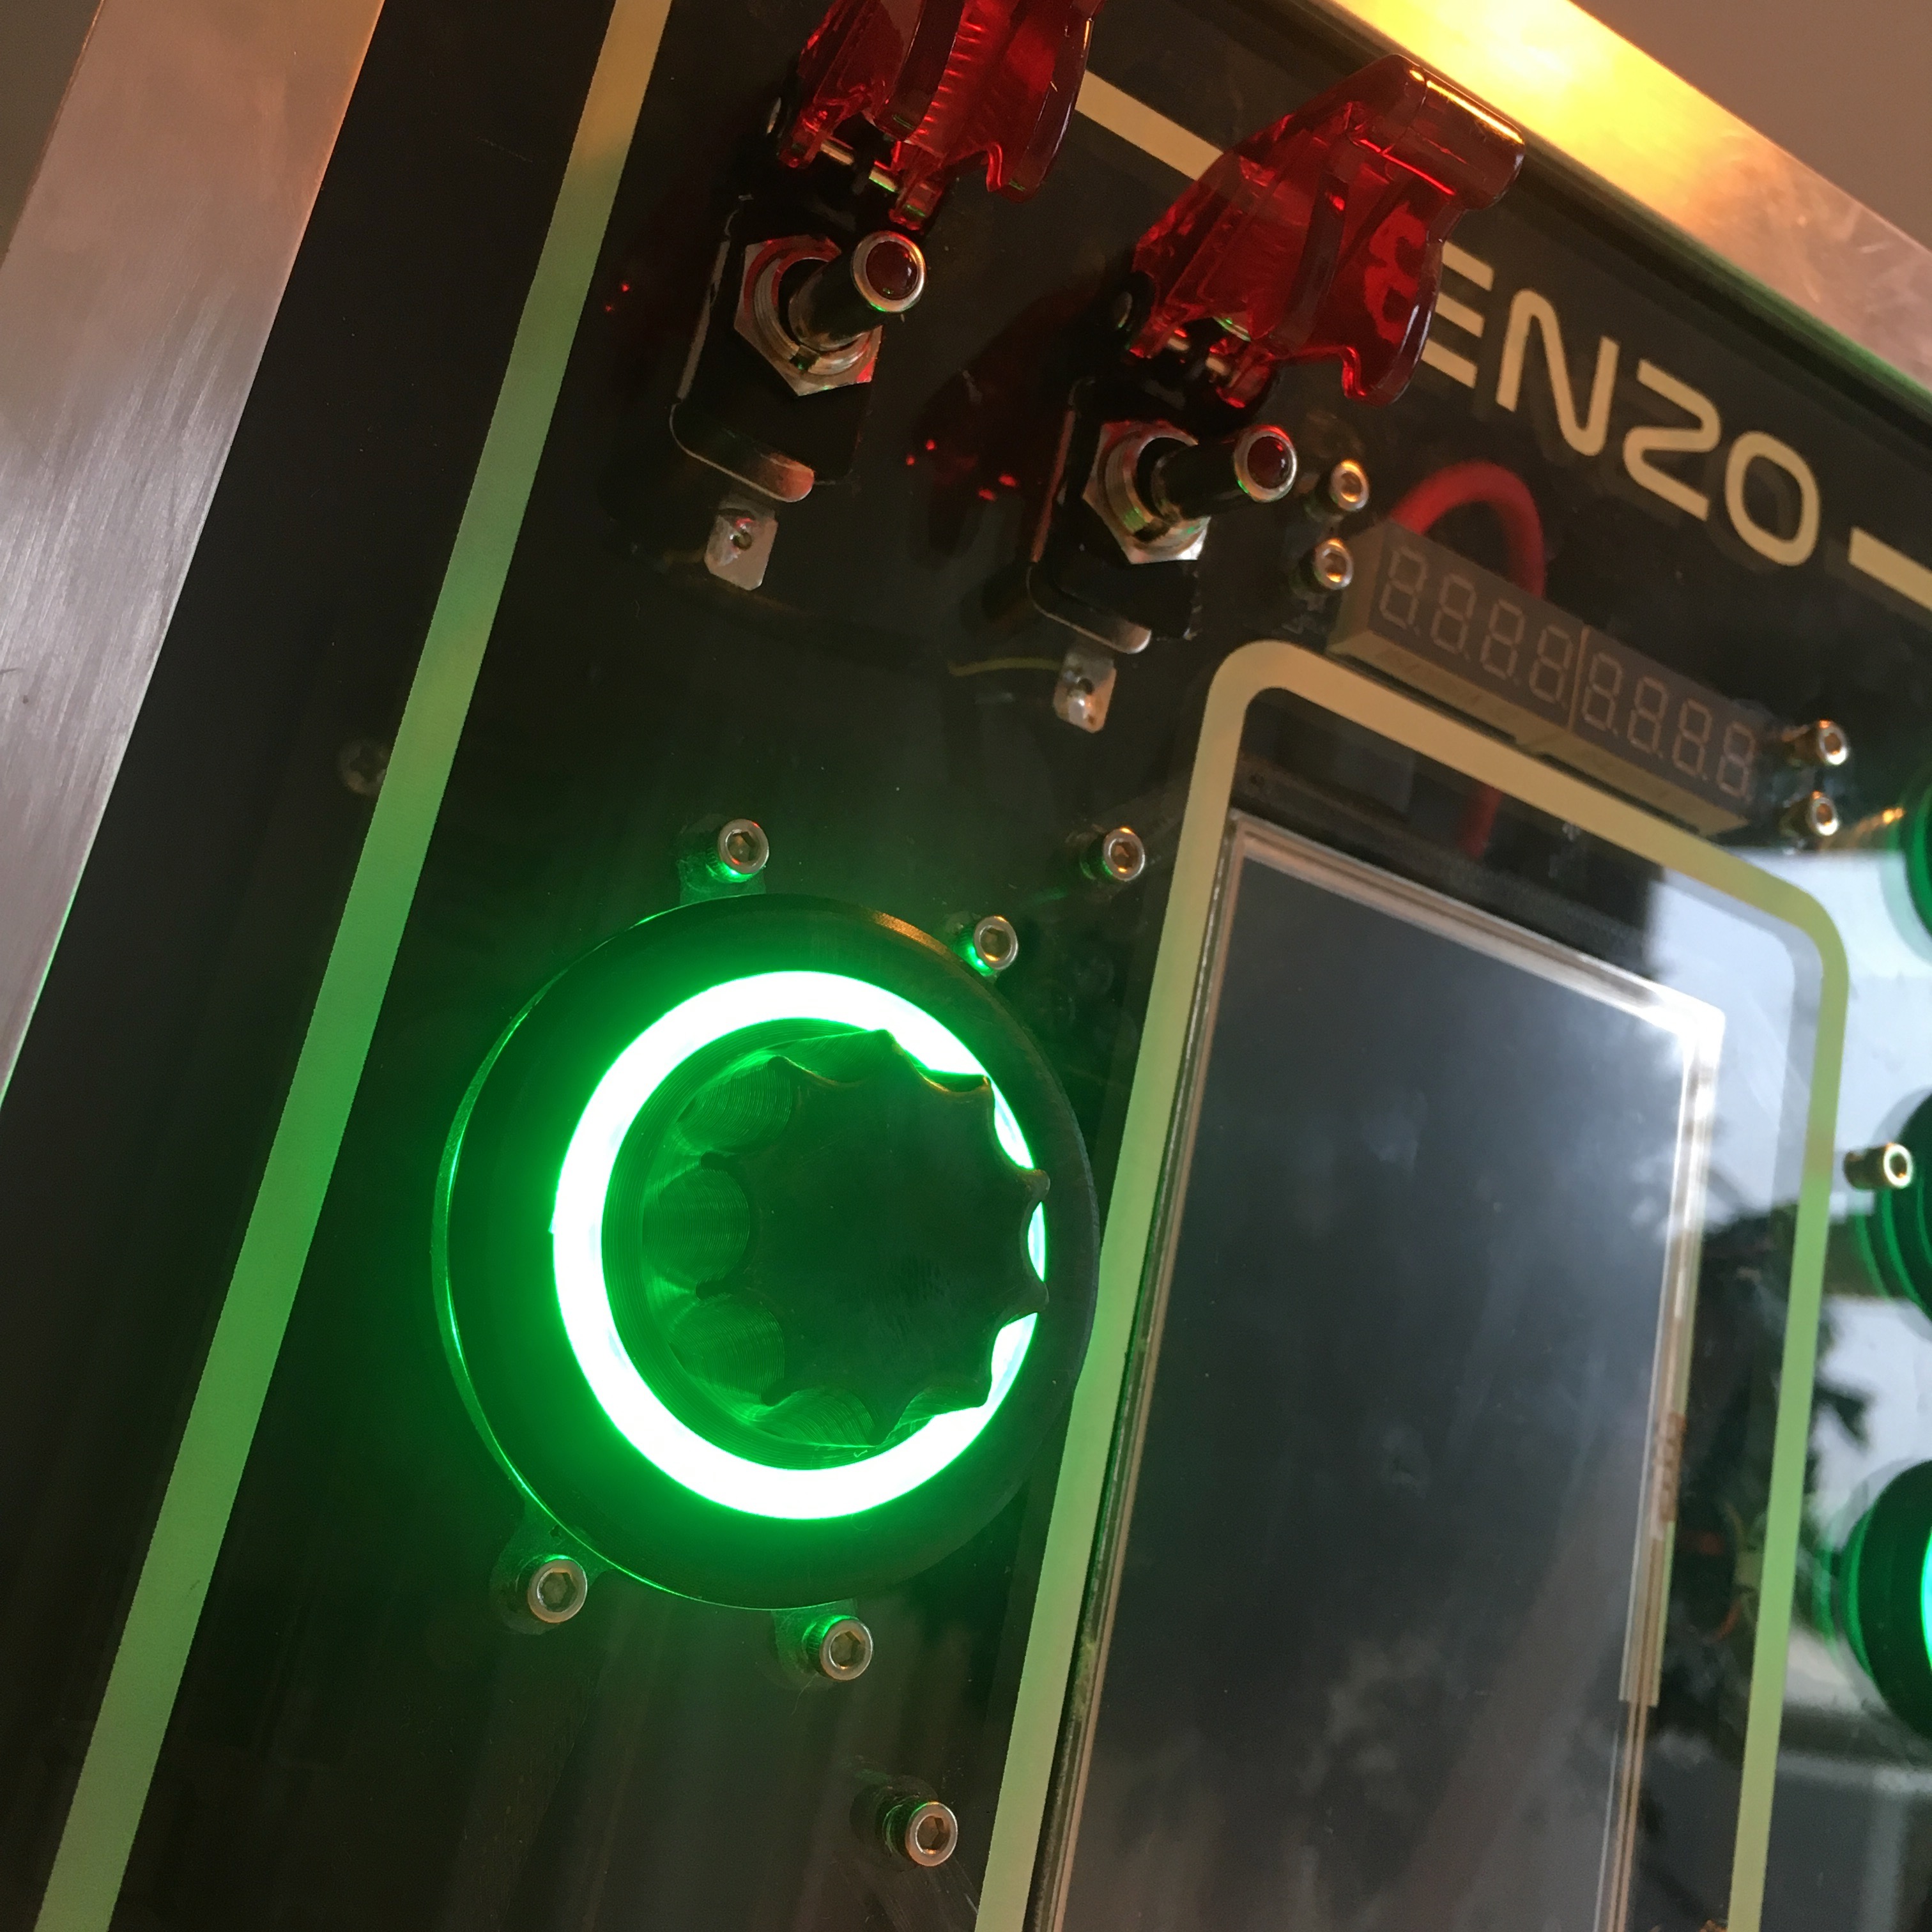
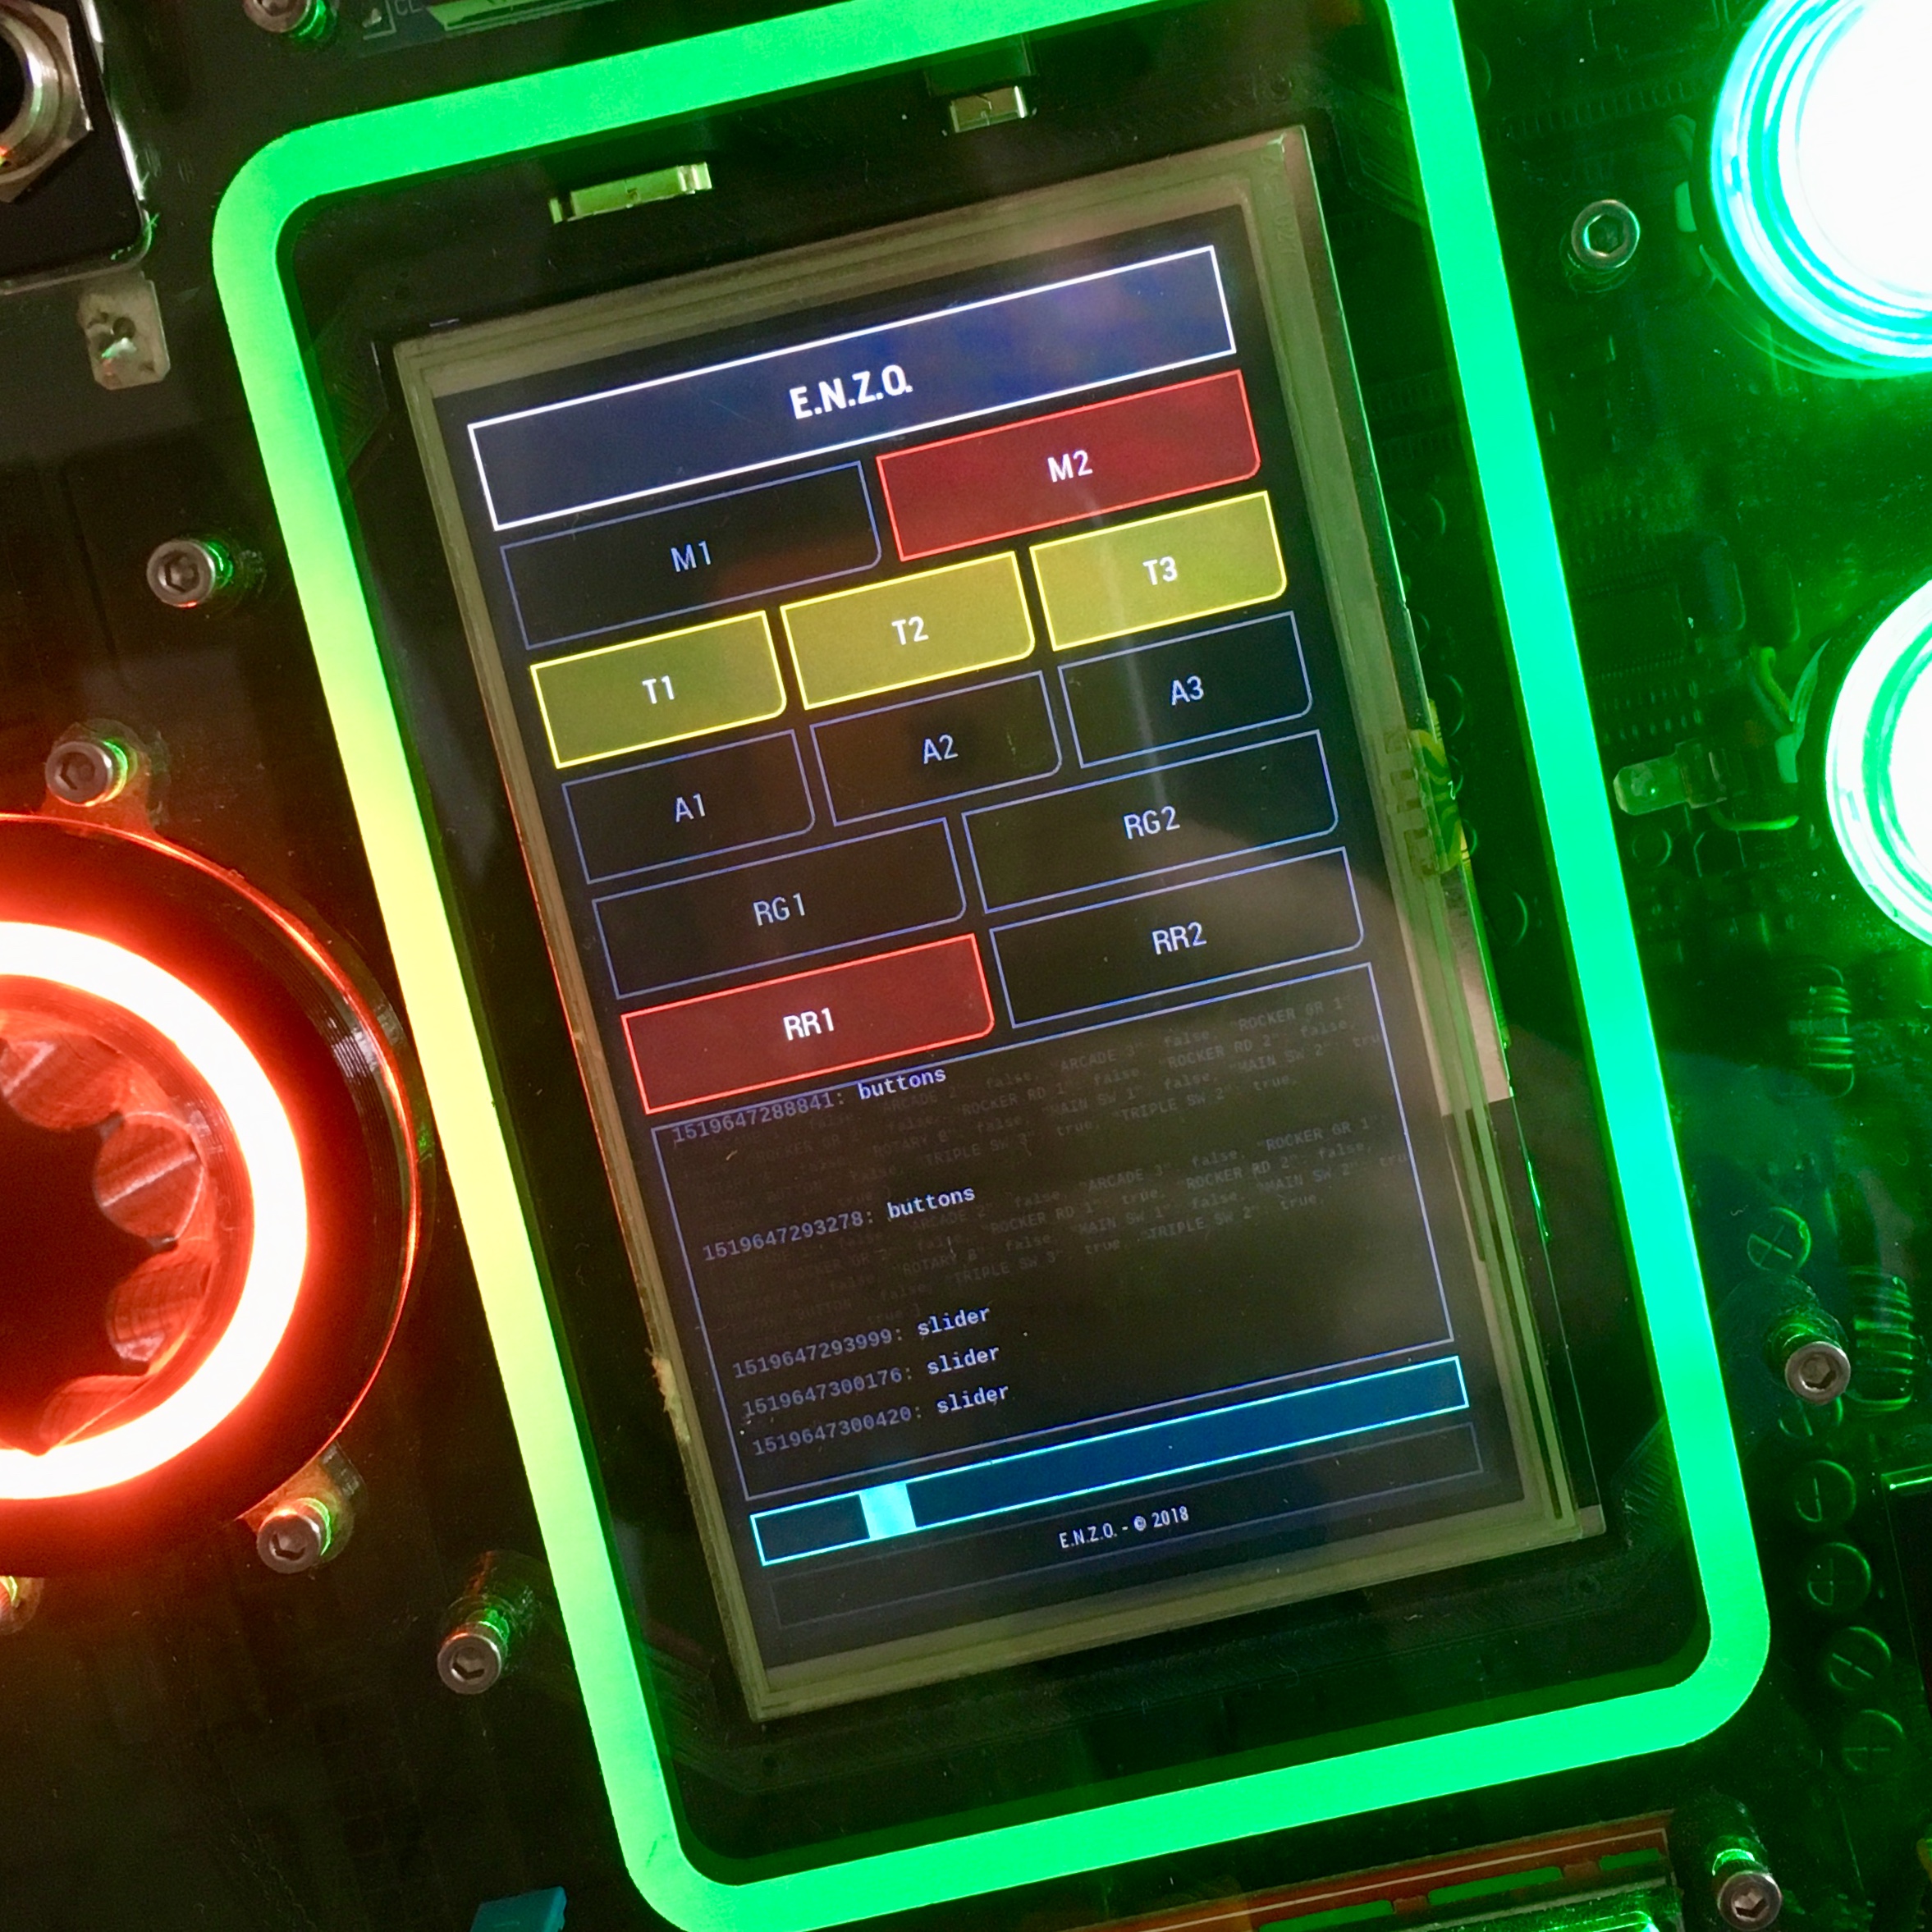
With the activity board controller finally in place and tested. It’s time to throw together the actual firmware. Let’s fire up VSCode!
Activity Board: Take control!
VSCode has been my code editor of choice for quite a while now. Microsoft did a great job in developing a light weight but super powerful code editor. And with the advent of a PlatformIO VSCode extension, this makes for THE perfect Arduino IDE.
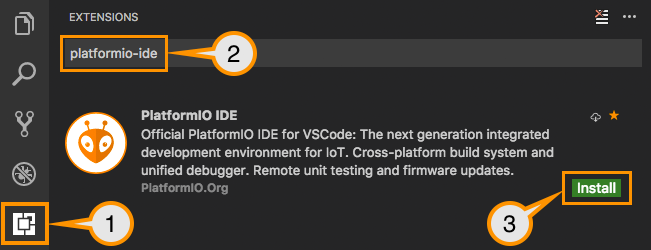
That being said, It’s time to start working on the final firmware. Or actually: the final firmware for now. Because the Activity Board will probably be a project which will receive some (software) updates over time.

All the board’s functionality will be seperated into a bunch of controllers. There is no particular reason why I called them controllers, It just sounds like I know what I’m doing. For now, the code consists of the following 5 controller classes:
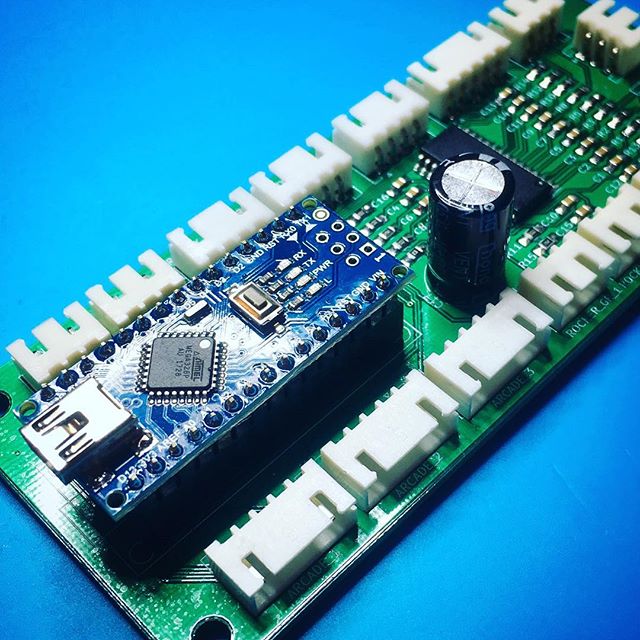
- InputController: Responsible for reading all the switch states by communicating with the MCP23017 over I2C.
- SevenSegmentController: Controls the 7-segment display by communicating with the MAX7219 seven segment display.
- NeopixelController: Controls all the WS2812B RGB-LEDs using the FastLED library.
- LedController: Controls all the regular LEDs (incorporated in some of the buttons) using the Arduino GPIO pins.
- CommunicationController: Sends JSON commands (like the buttons state updates) to a Raspberry Pi using the ArduinoJson library.
All of the controller classes have a setup() method which is called in the main.cpp setup routine, and most of the controllers have an update() method which is being called during the main run loop.
All of the update() methods are non blocking, to make sure the Activity Board stays responsive. Any necessary delays are implemented by using the elapsedMillis library. But every so often, I just simply count the update ticks to check if I need to do something.
if (tick++ % 100 == 0) {
    // do something every 100th cycle.
}

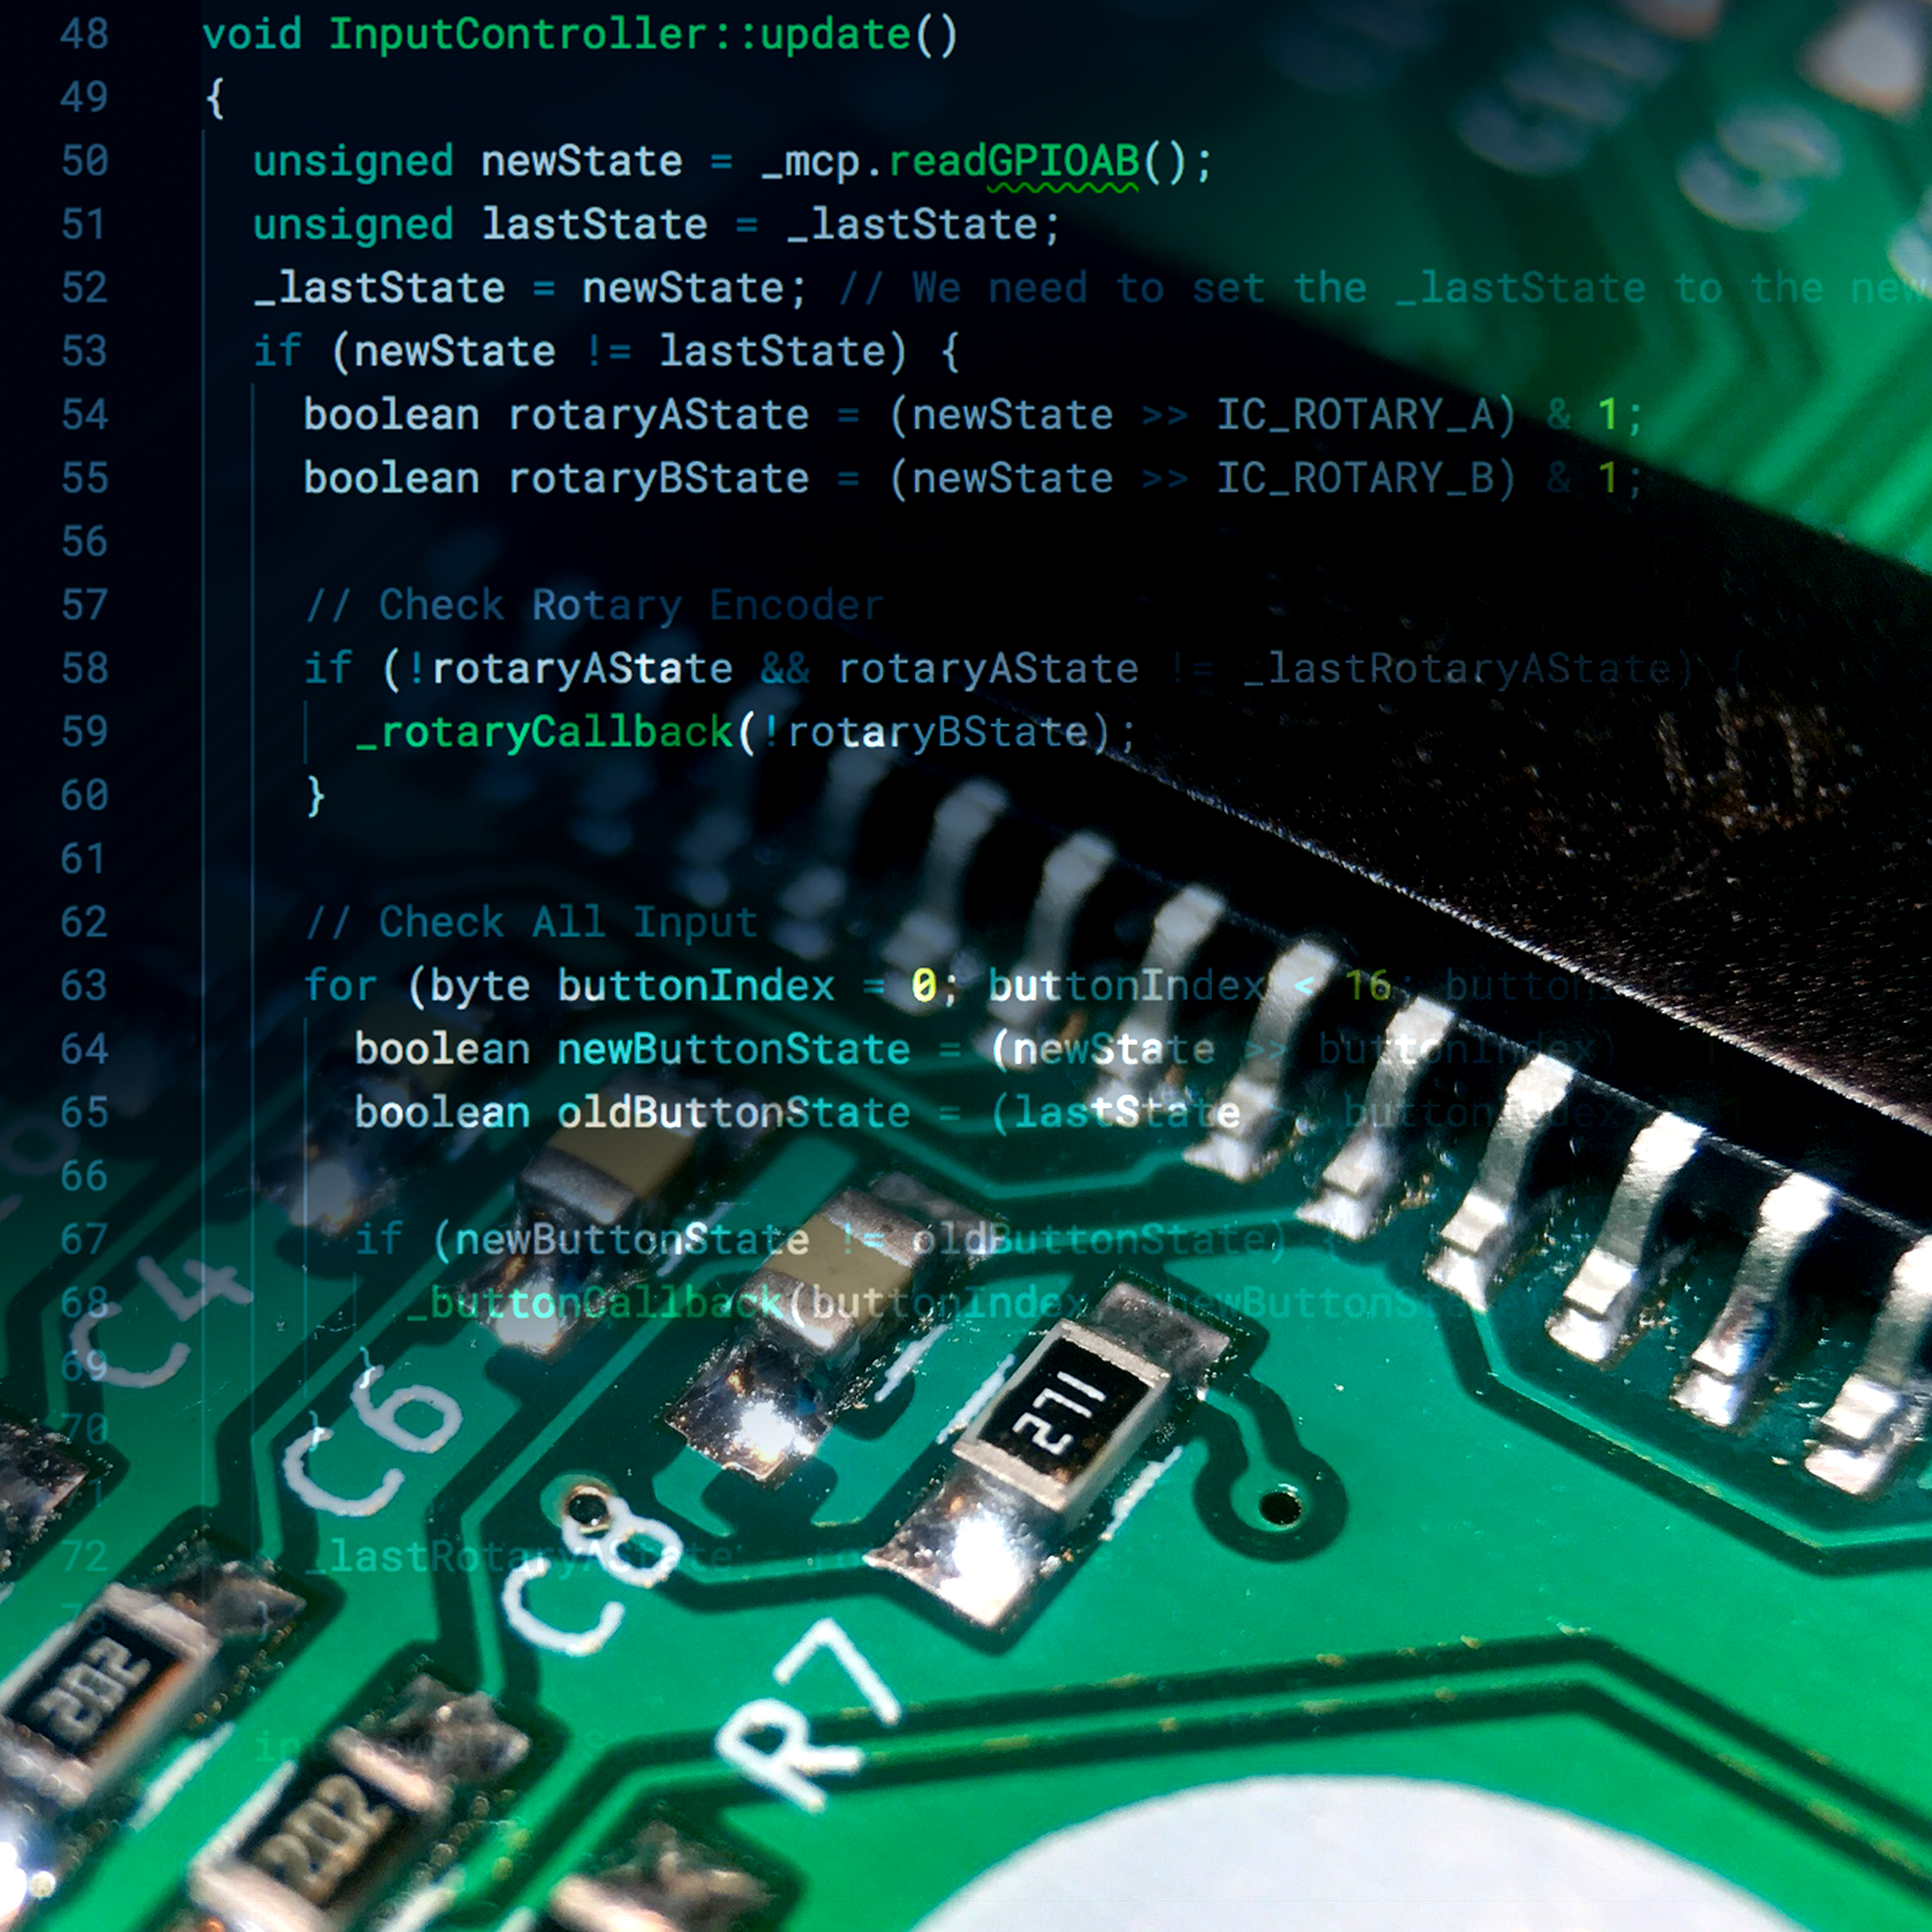
Most of the controllers are pretty straight forward, and are just there as an easy to use wrapper for the respective libraries. The only controller that is a bit more exotic, is the InputController. To be honest, this controller gave me some headaches.
Don’t interrupt me!
The MCP23017 I2C IO expander is capable of firing interrupts whenever one of the inputs changes. Because of this, I connected the two interrupt outputs of the MCP23017 to the Arduino interrupt pins (Pin 2 & 3). It turned out I only needed to connect one, since the MCP23017 can mirror the interrupt signal on both pins. Luckily this was just resulted in a redundant connection, and didn’t caused any issues.
Unfortunately there was a bigger problem which I didn’t forsee. While the MCP23017 is capable of triggering the Arduino’s interrupt pin(s), I’m not able to read out the pin states in the interrupt service routines, since I2C uses interrupts itself, which aren’t available in the interrupt service routines.

This means I can set a flag to request an update in the main loop, but I can never act on any input change in the service routine itself. Now for most of the inputs this is absolutely no problem, but for the rotary encoder I really need to check the state for both pin A and B. Now, if these two pins were both connected to the two different MCP23017 registers, I could have solved this with the two Arduino Interrupt pins. Or better yet. If I would have just connected the Rotary encoder directly to the Arduino’s interrupt pins, it would have been even easier. But of course … I didn’t.
So after a lot of grumbling, I decided to give up on the interrupts for the rotary encoder (for now), and simply read out the MCP23017 data every run loop. I might mean the encoder wouldn’t react as expected, but I could always make some hardware modifications later.
And with taking this easy route, reading the MCP23017 state was pretty straight forward, using Mizraith’s fork of the Adafruit MCP23017 library:
// Initialize the library.
Adafruit_MCP23017 mcp;

// Configure the MCP23017.
mcp.begin();                    // Use default address 0.
mcp.setGPIOABMode(0xFFFF);      // All ports input.
mcp.setGPIOABPullUp(0xFFFF);    // All ports pull up.

// Read out the 16 bits.
unsigned int newState = mcp.readGPIOAB();
And then it turned out I spent way to much time in overthinking it. Since non of my other controllers is blocking the main run loop, fetching the current state up the buttons every loop is easily fast enough to handle any rotary encoder input. Once again, it turns out KISS is the best approach: Keep It Simple, Stupid!
And with that issue out the way, it was a matter of hooking up all the controllers in my main.cpp file. Whenever an input change, execute an action for that specific input.

This setup really enables me to easily add more actions to any of the buttons. Now and in the future.
And by sending any input change as a json object over the serial port, I can continue using the inputs in my future Raspberry Pi implementation.
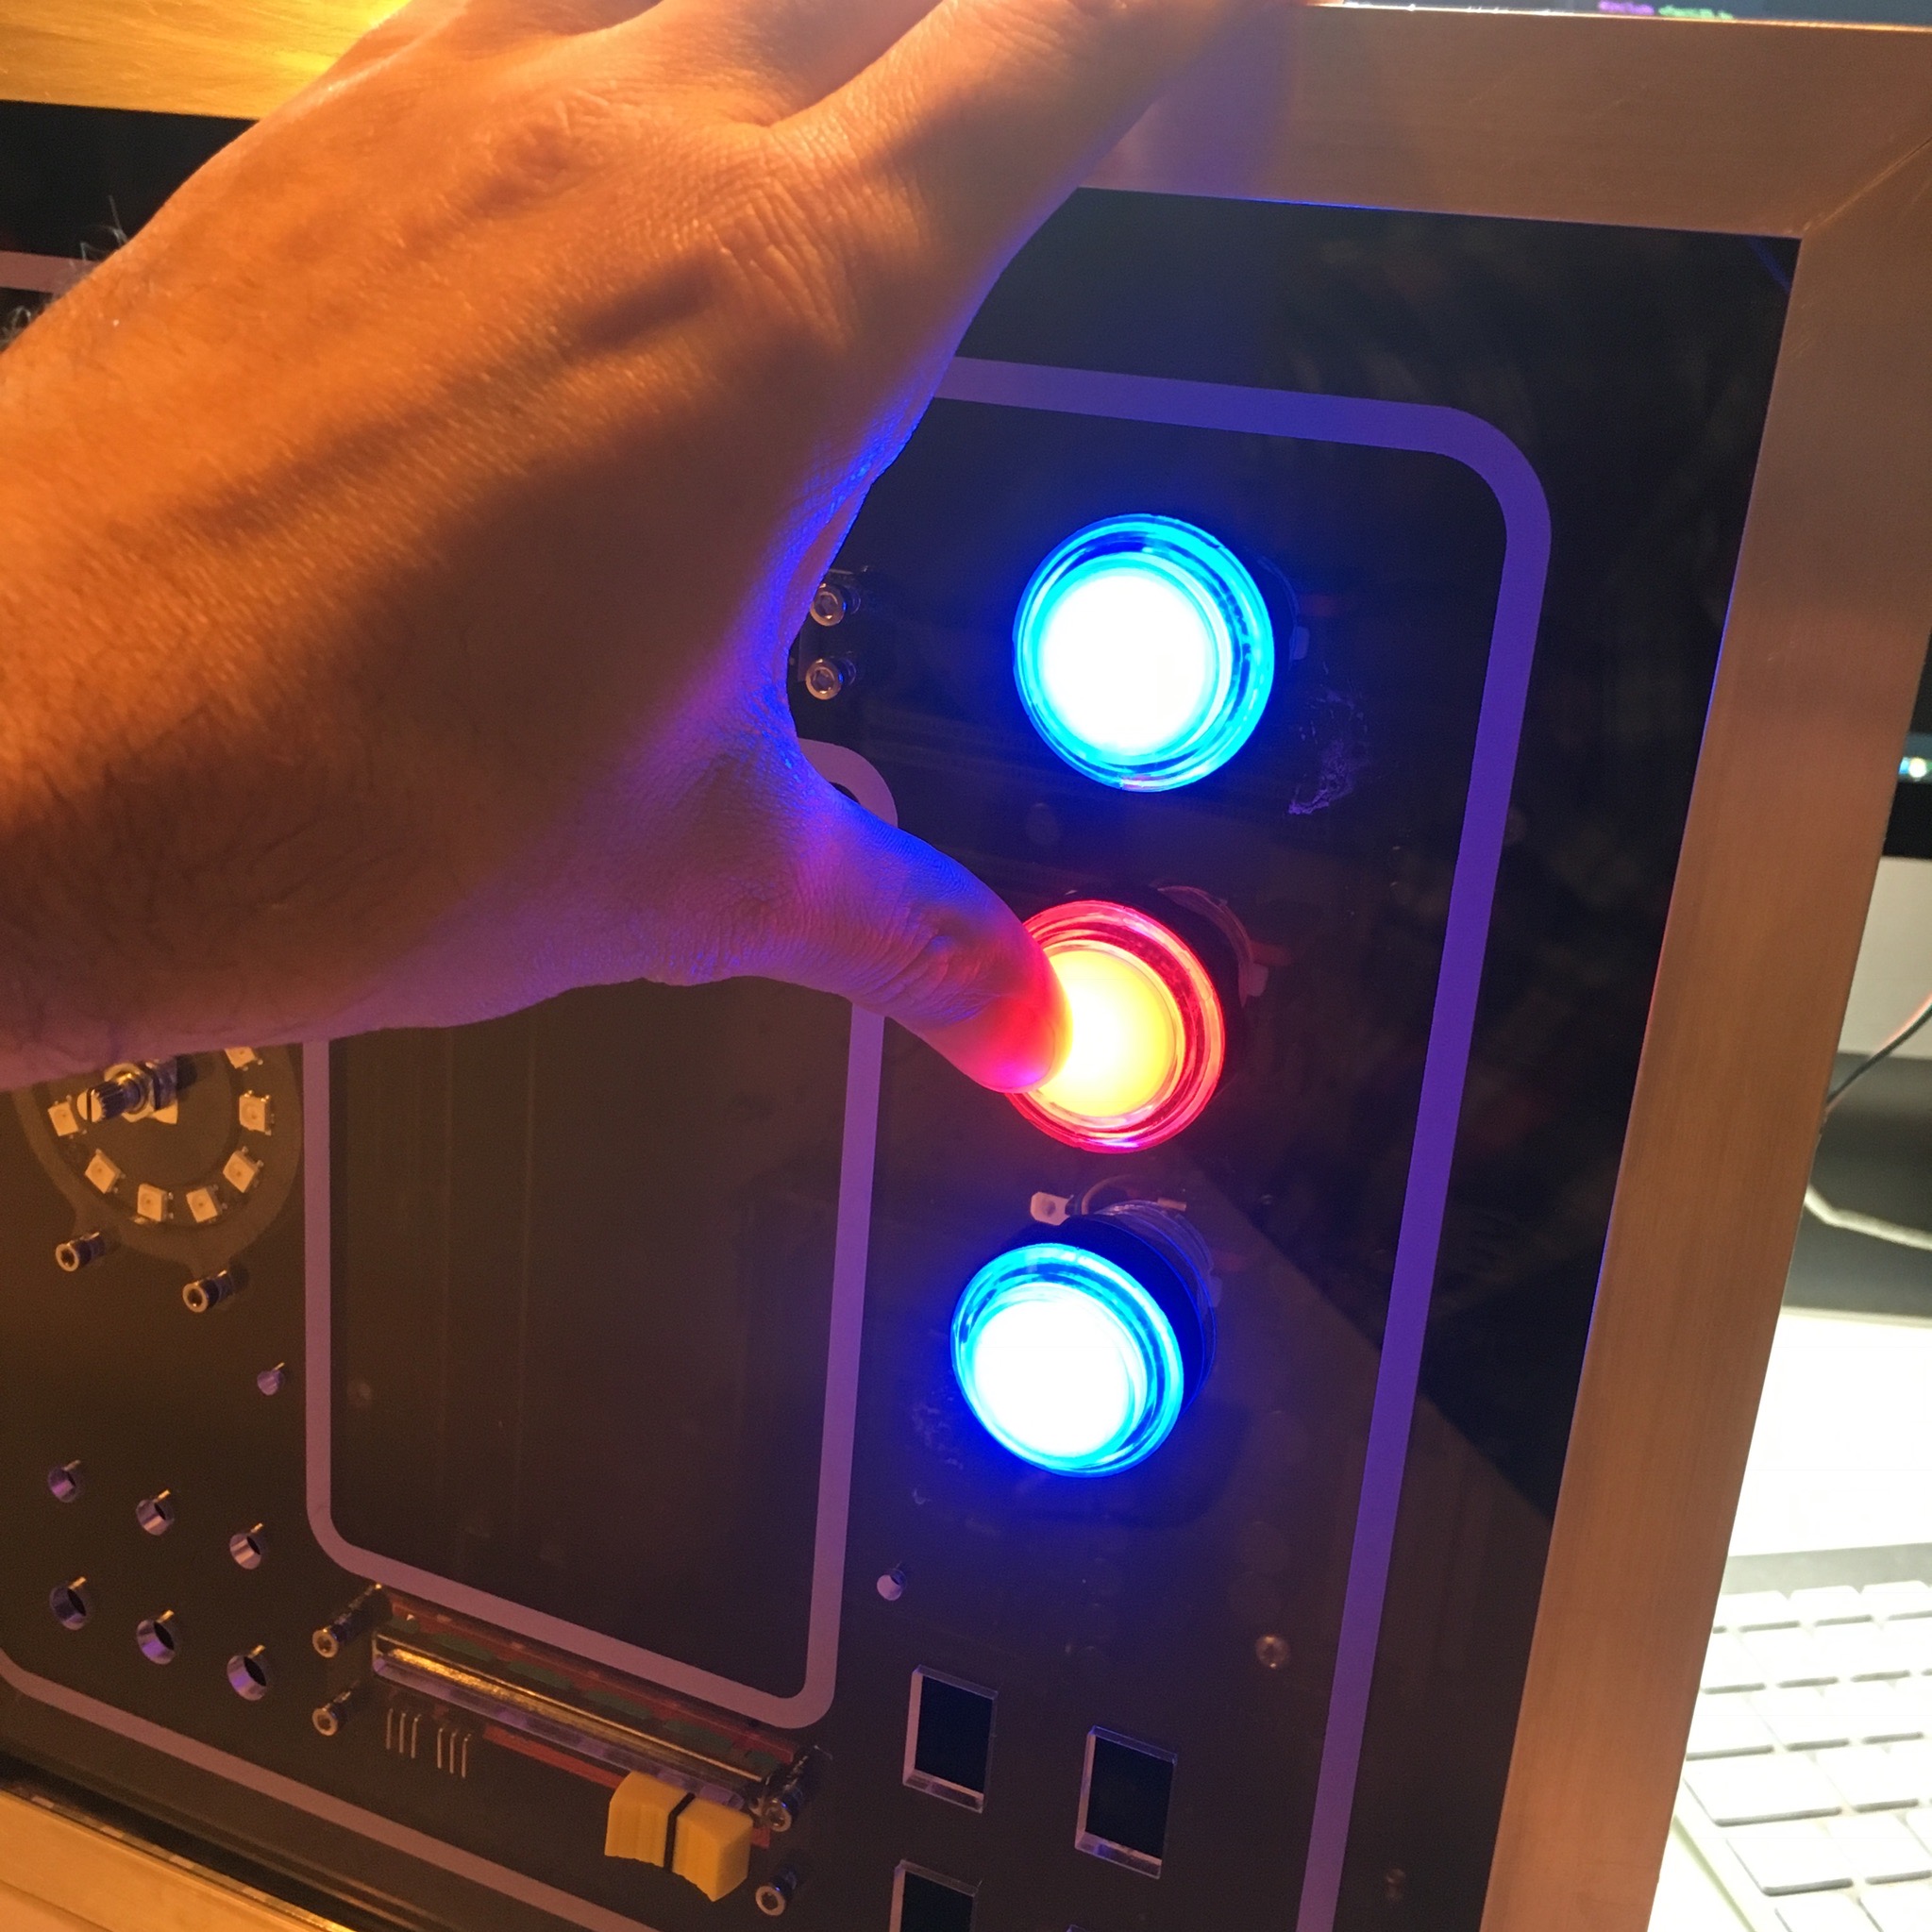
For now, it just resulted in one awesome looking activity board with a lot of light effects!
Enjoy the show!
Now, if you are interested in all the fine detail of the code, you can check out the full source code on GitHub. Of course it’s fully supplied with unit and integration tests (NOPE!). And it’s fully and well documented (NOPE!). Check it it out in the ActivityBoardController repository!
Activity Board: Bake me some Pi!
