My caliper is one of my most beloved tools. If you’re into 3D-printing and 3D-design or any other type of engineering that requires accurate measurements, you know you can’t live without it. But unfortunately, mine is flawed. Time for some fixing.
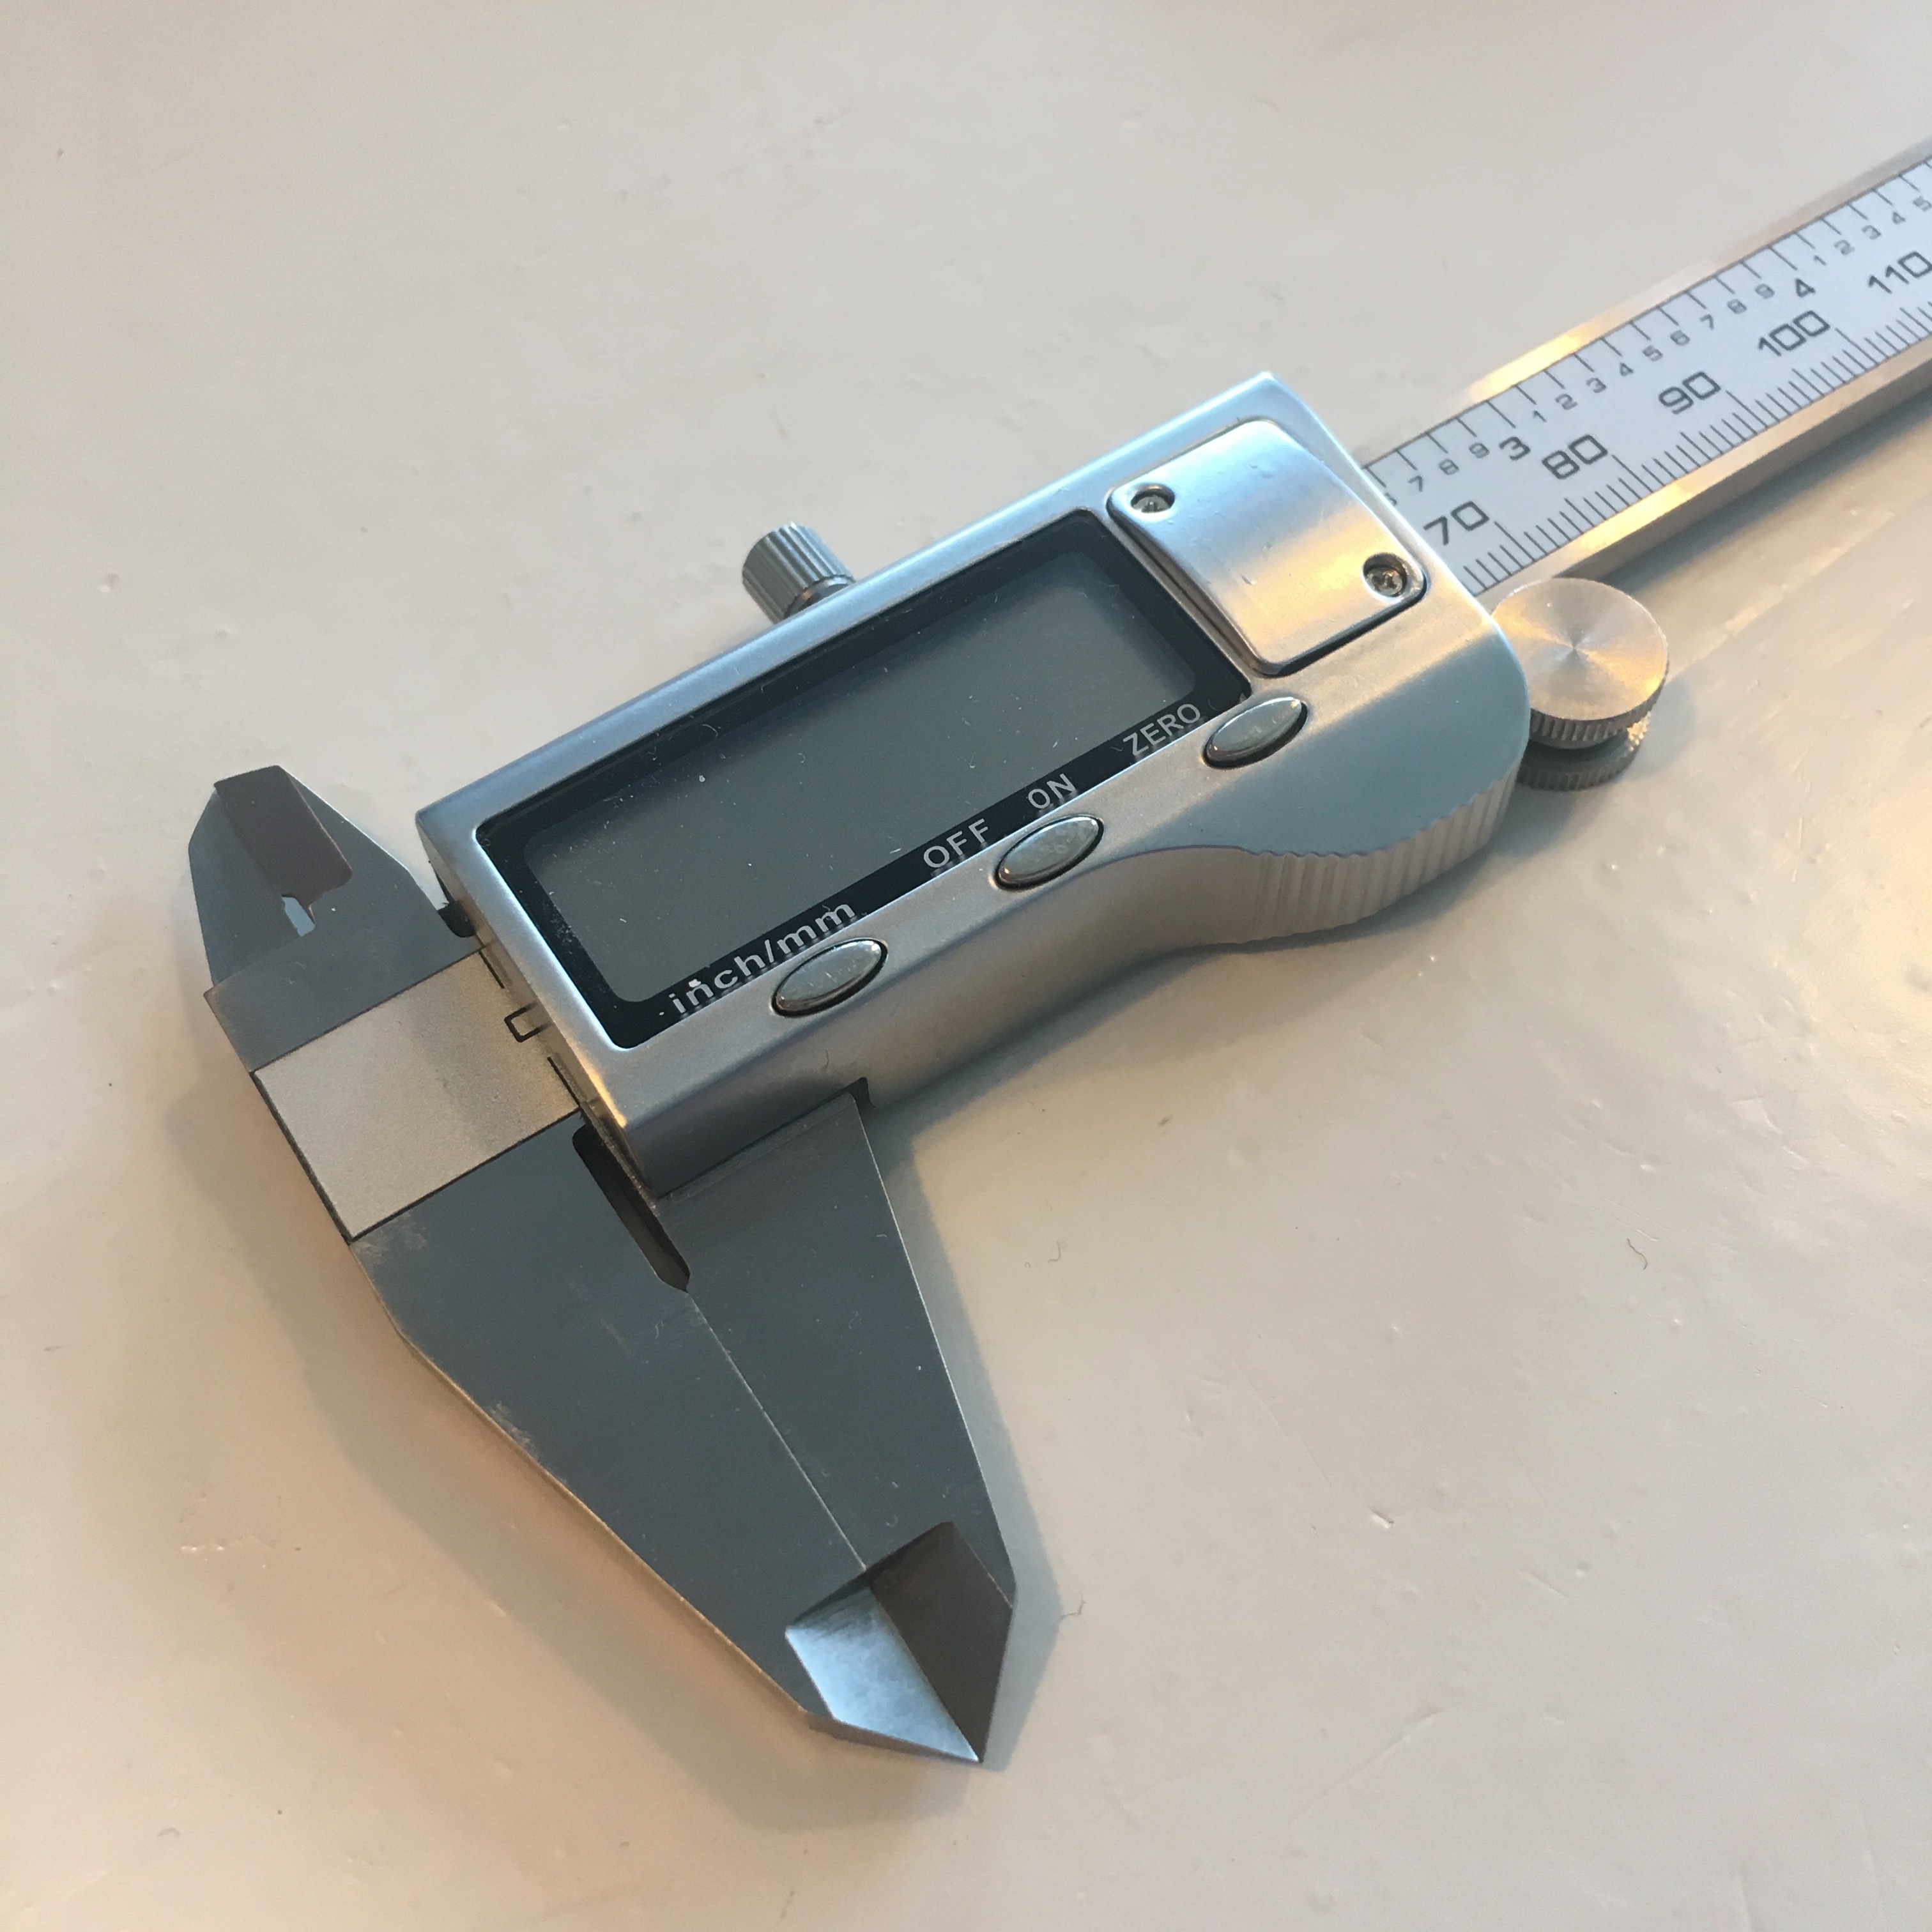
The caliper I have isn’t a €900,- piece of equipement. But they are very valuable for me. Especially since I got them as a present from my soon to be wife. Unfortunatly, it has some problems with the battery. Even if I don’t forget to turn it off, the battery is always out of juice. It turns out the power off state draws 90% of the current of the power on state. So adding bigger batteries won’t help. And even if it did, it would make the caliper way to bulky to use. The solution? Adding a REAL power switch!
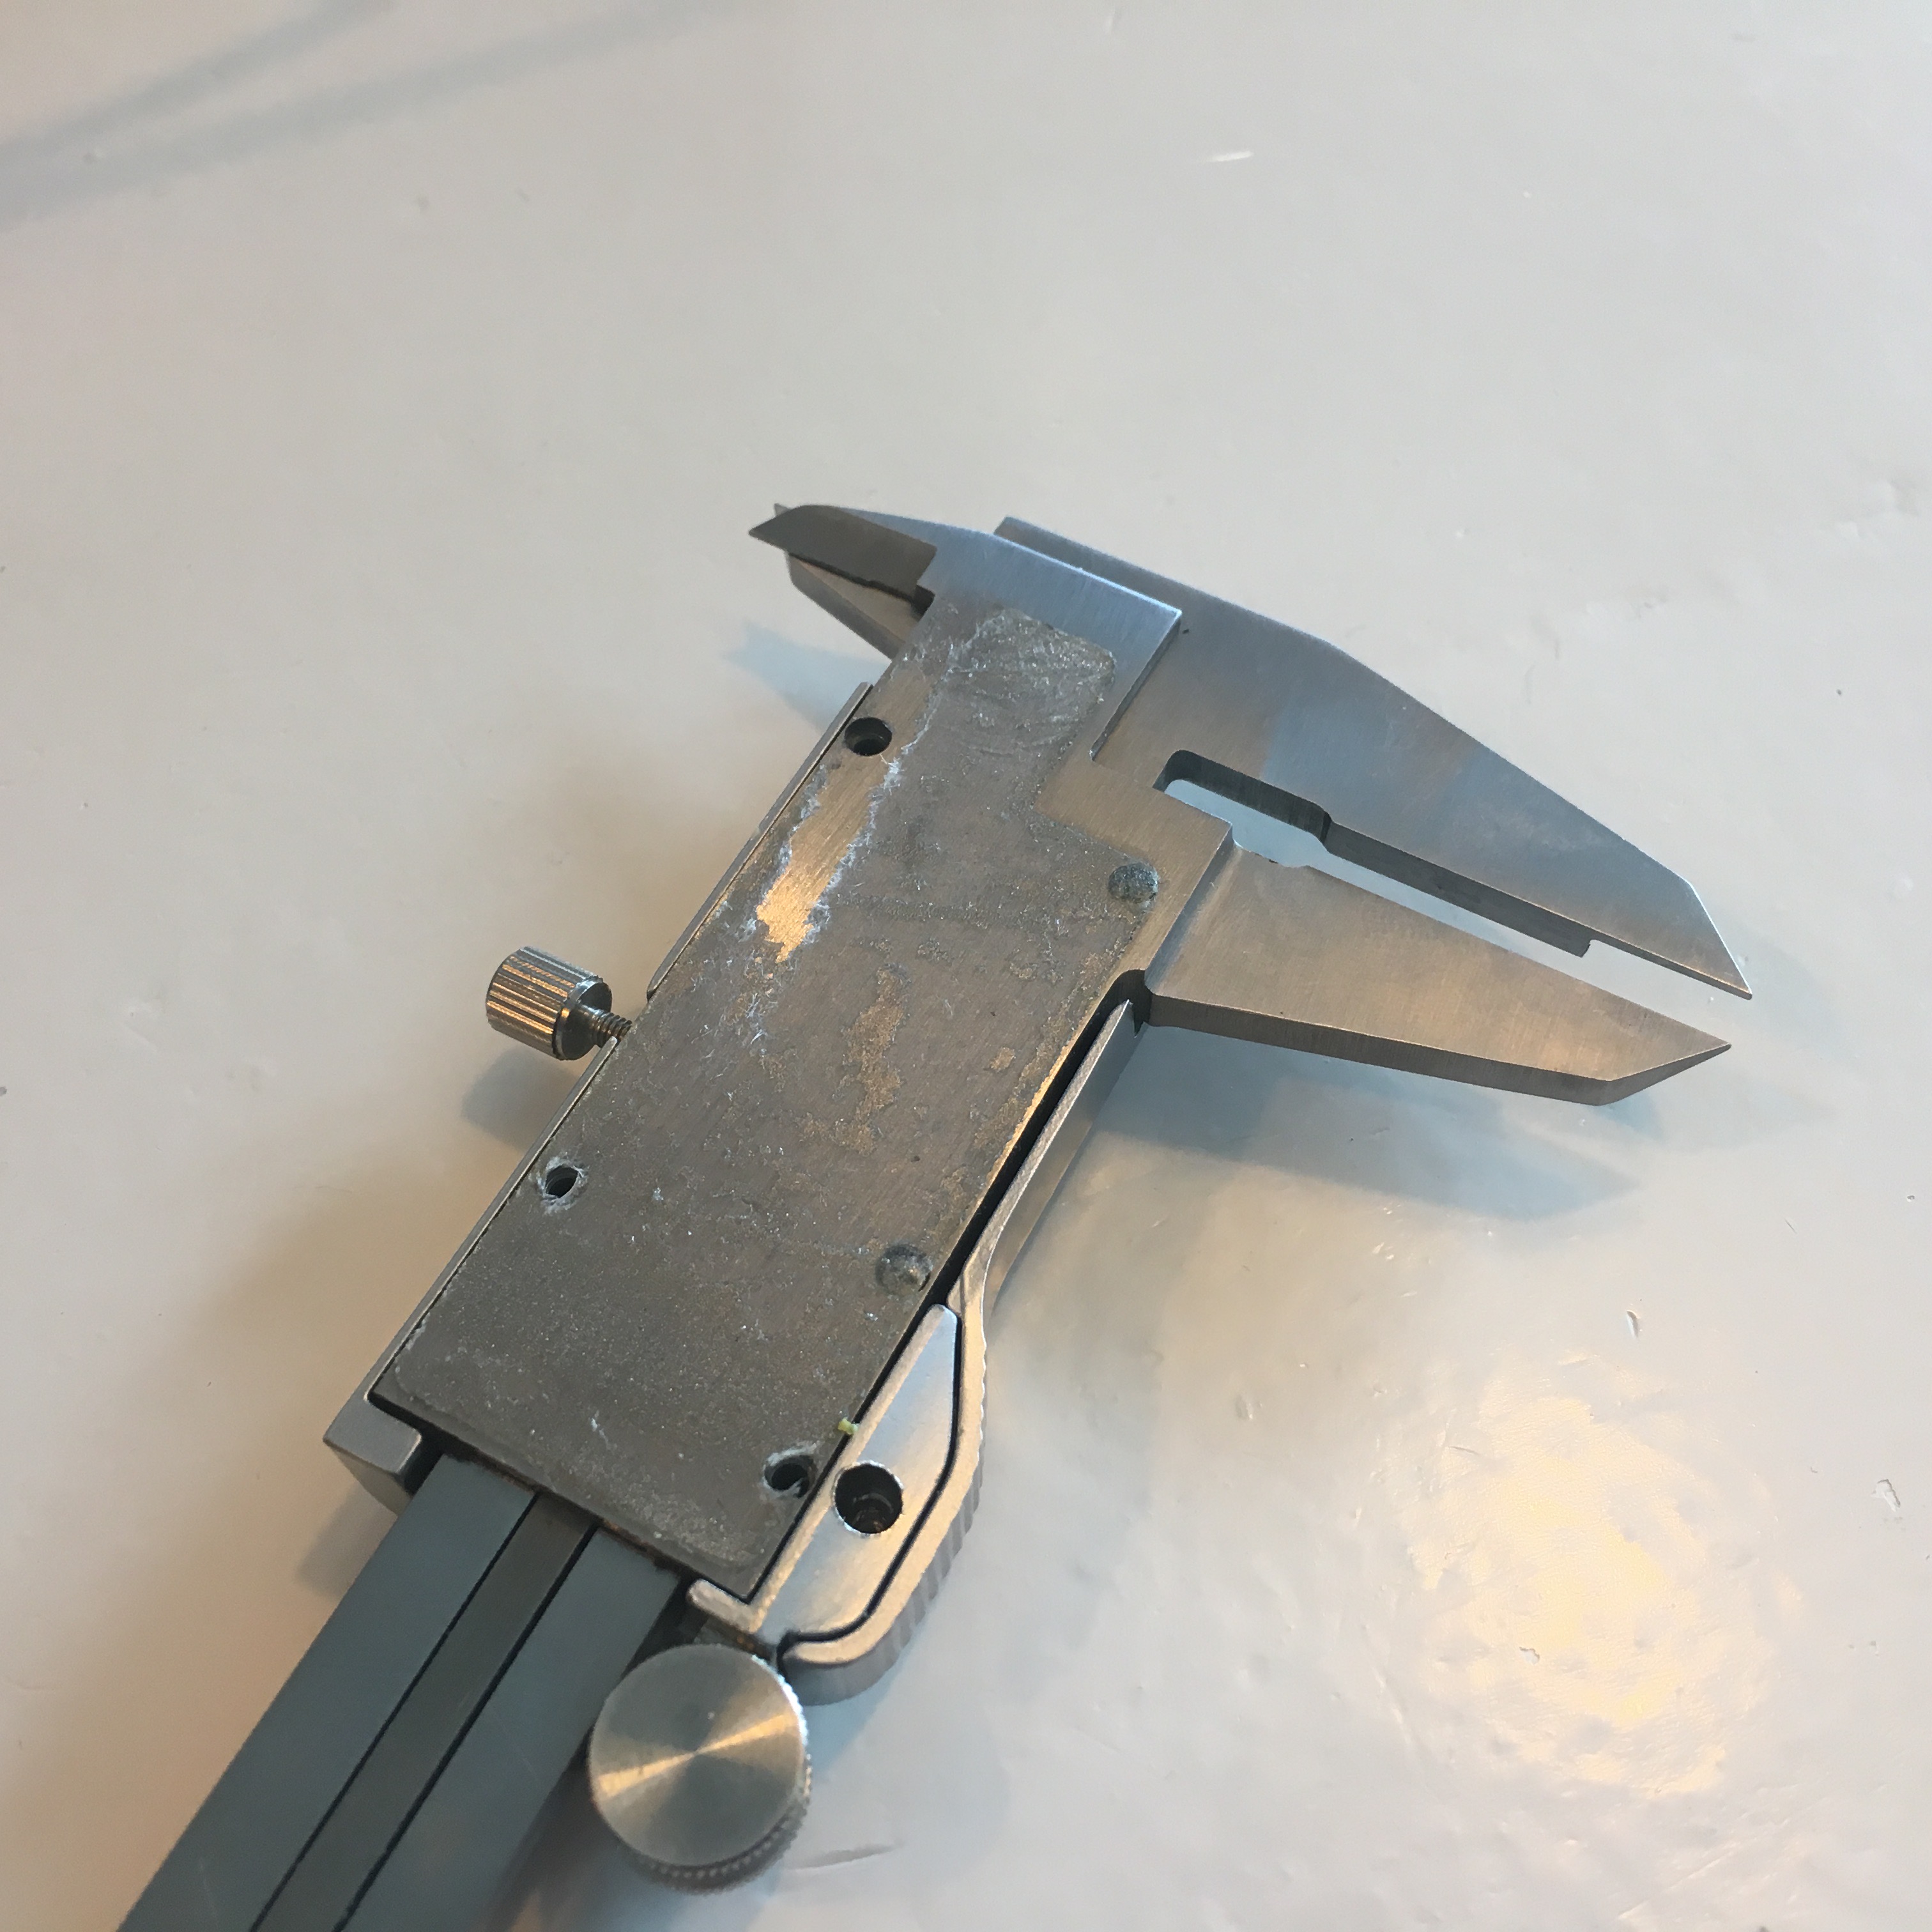
This adventure starts by removing the sticker on the back and taking out the 5 screws that mount the digital part on the analog part of the caliper.
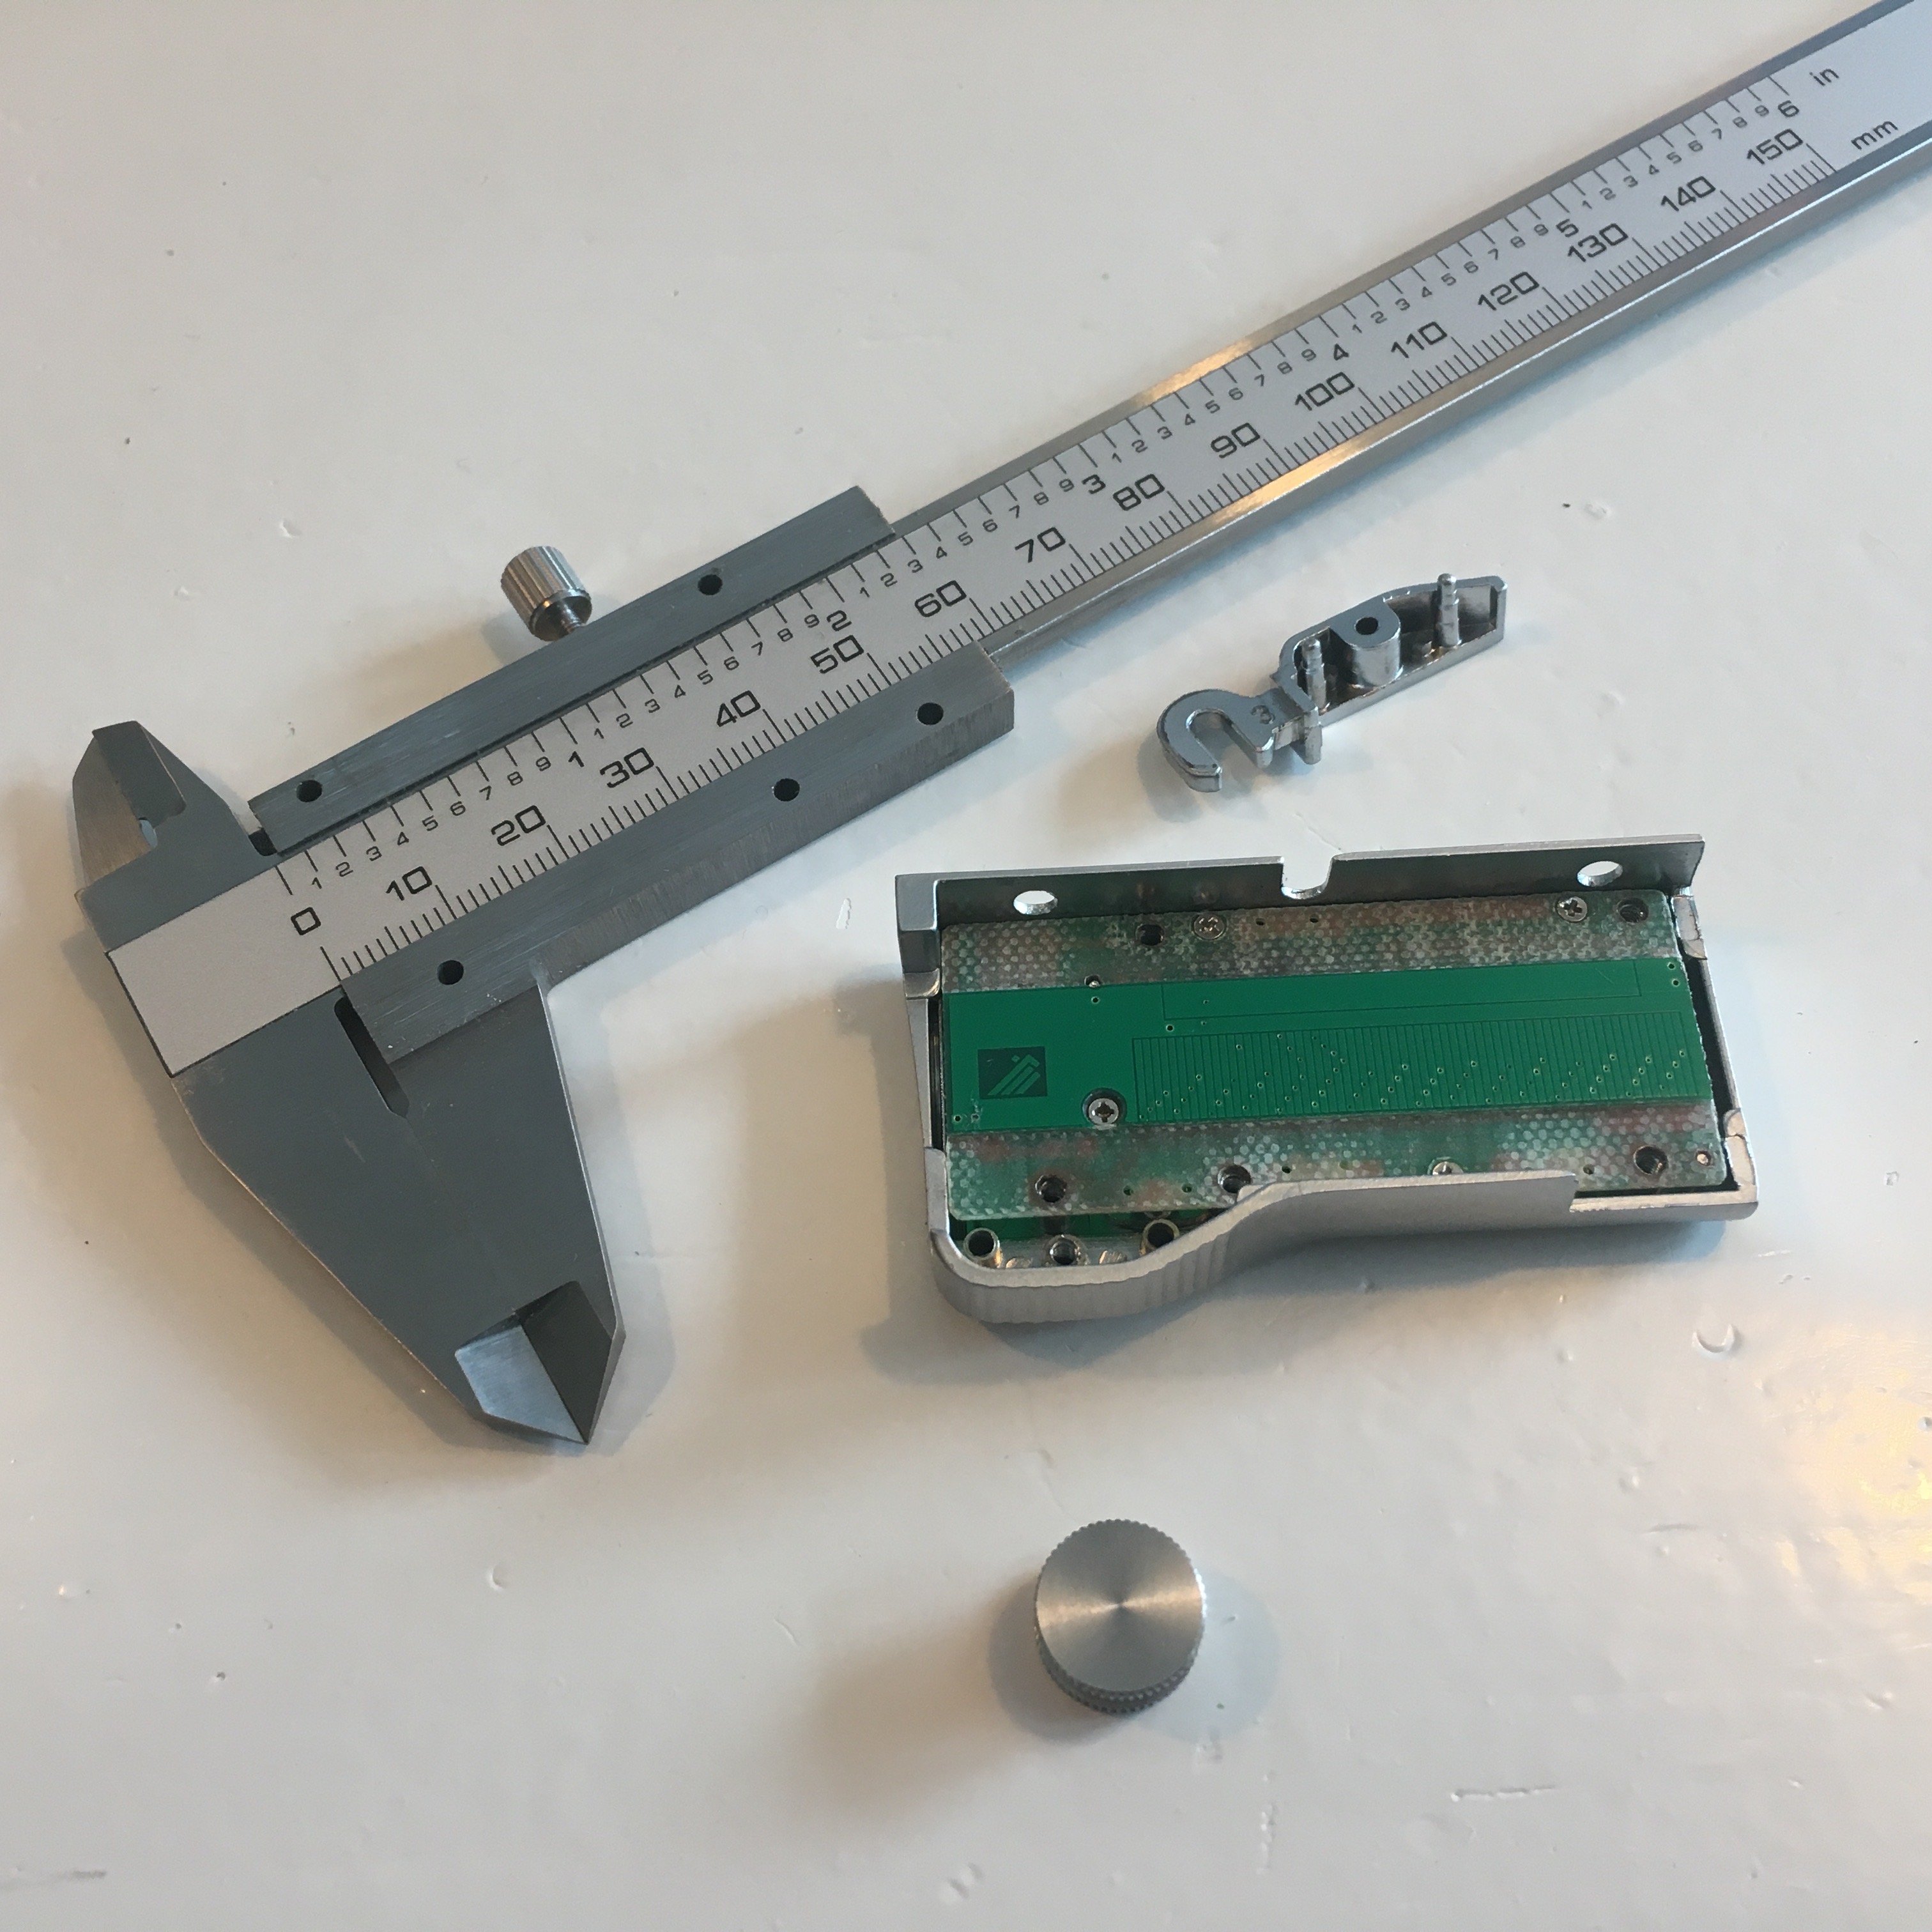
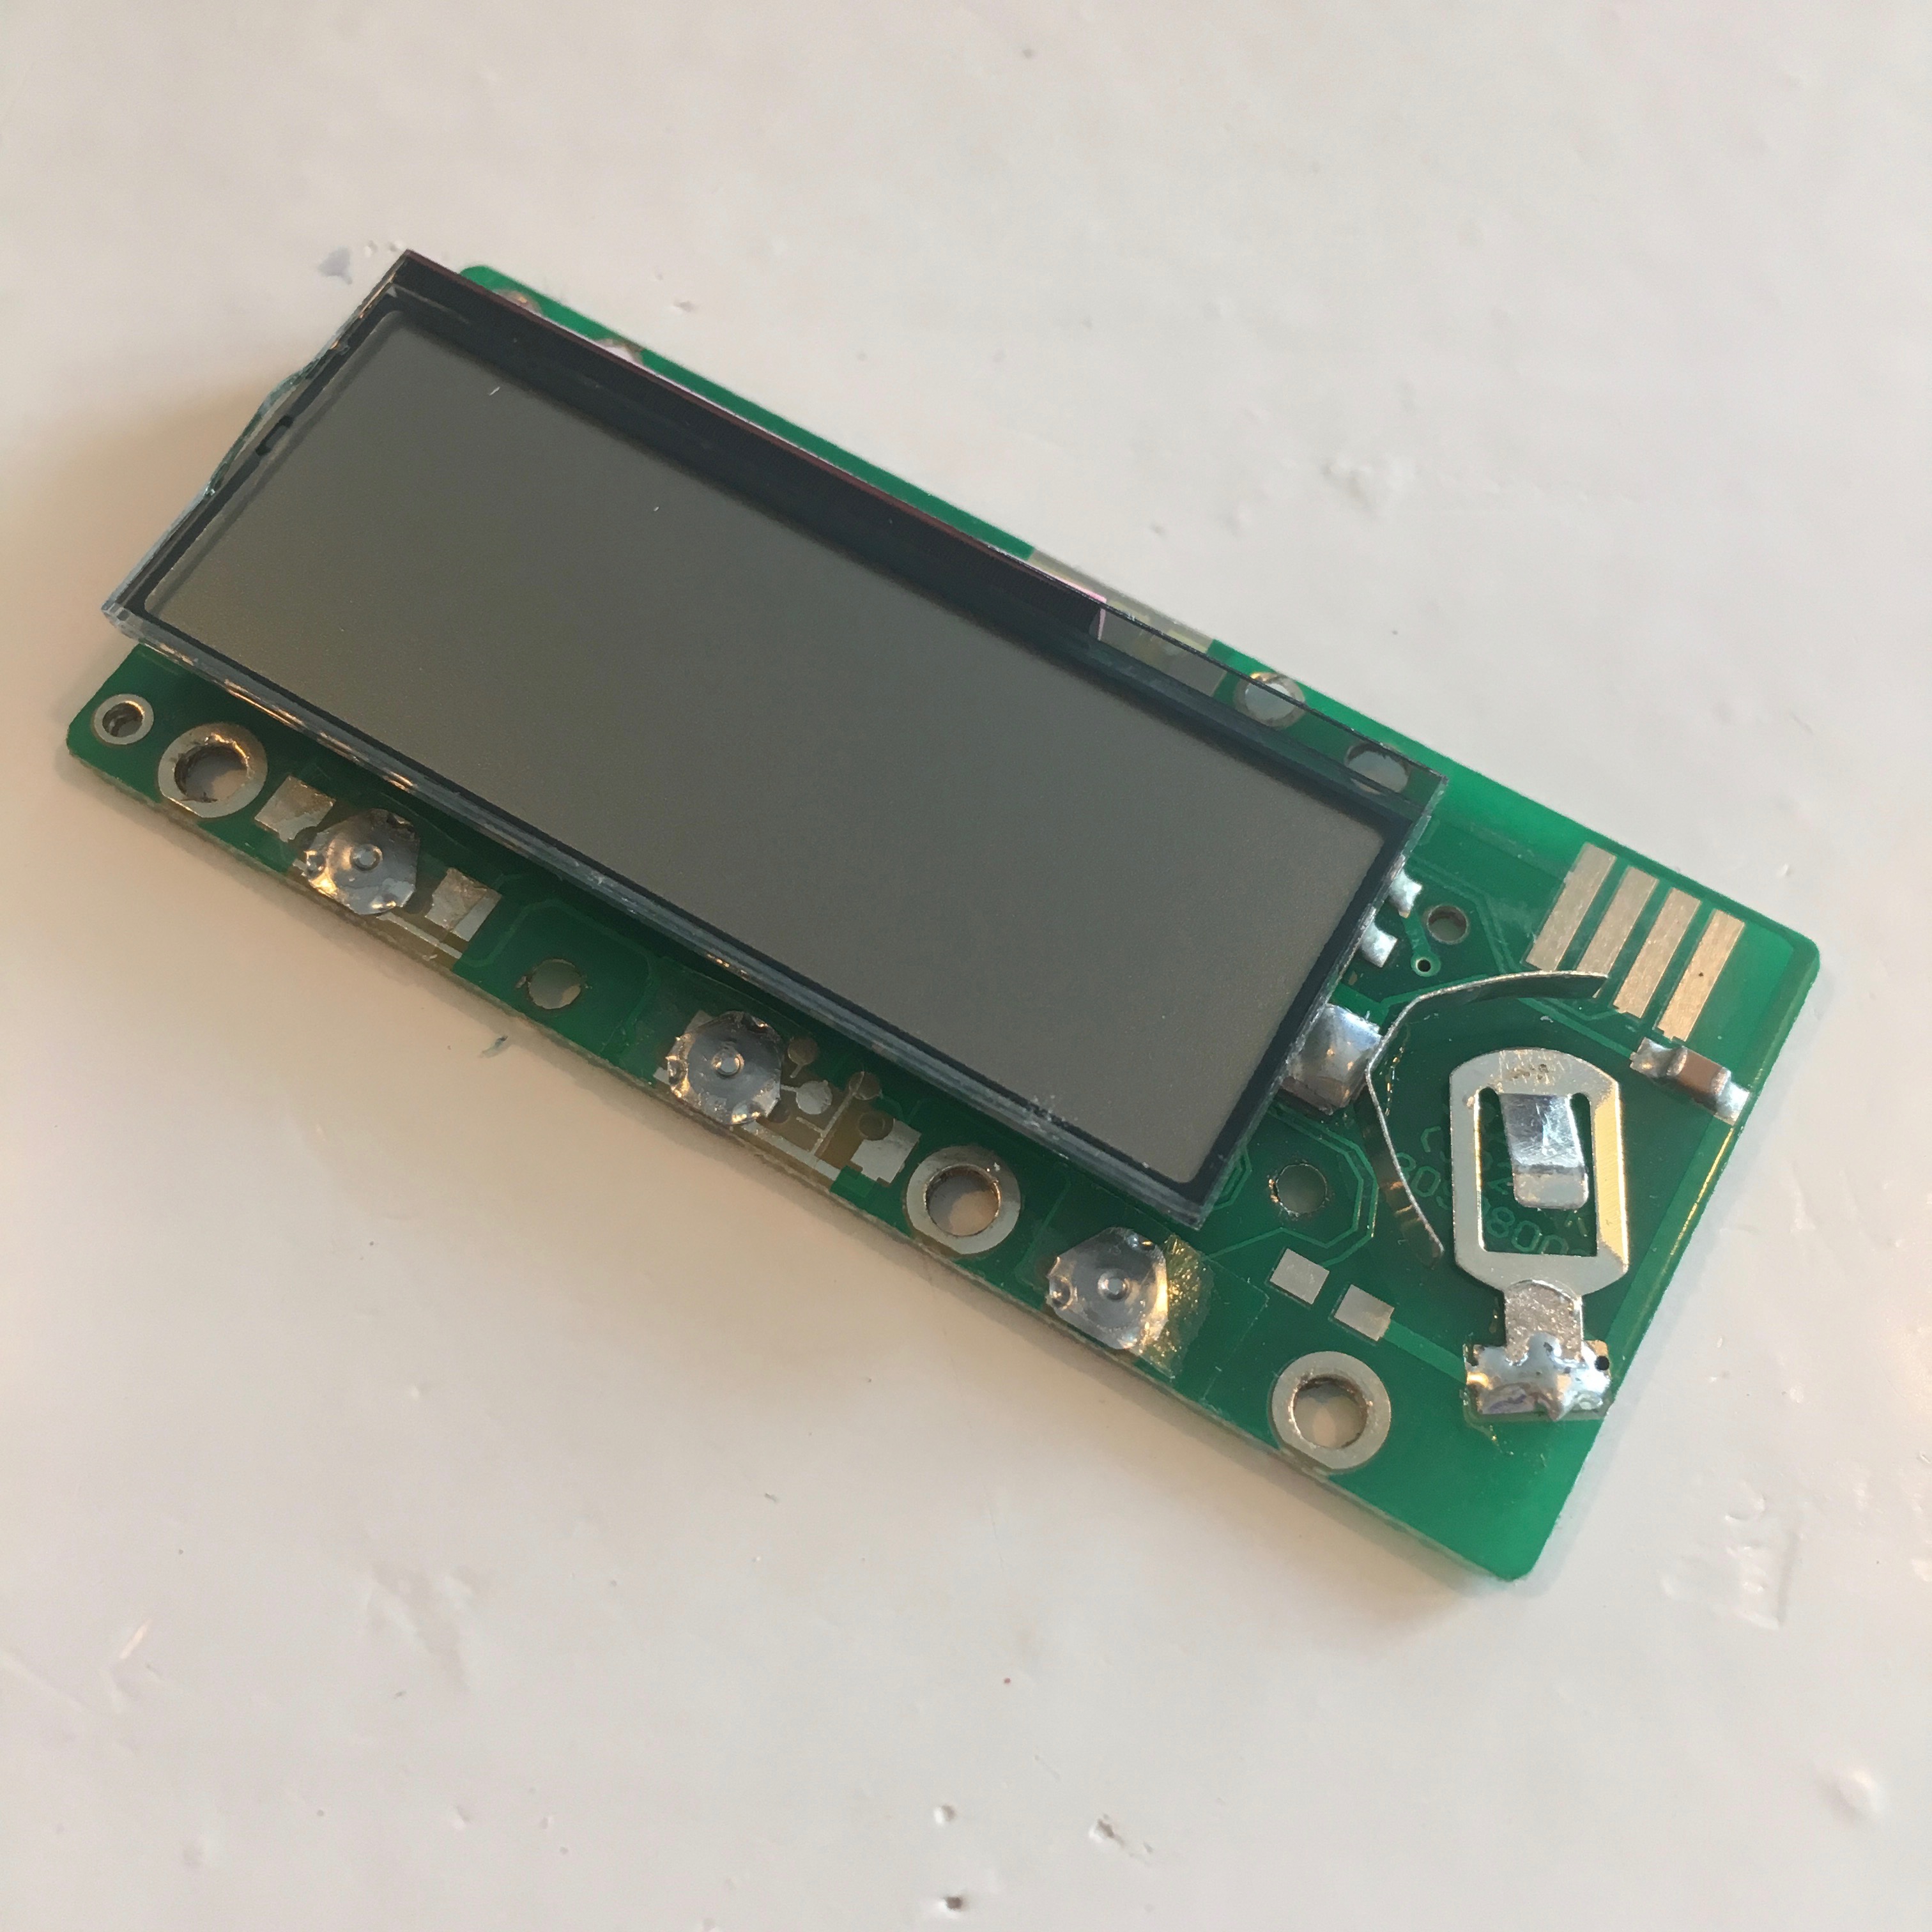
This leaves you with the two important parts. Good to know, If anything goes wrong, I still have a nice analog caliper.
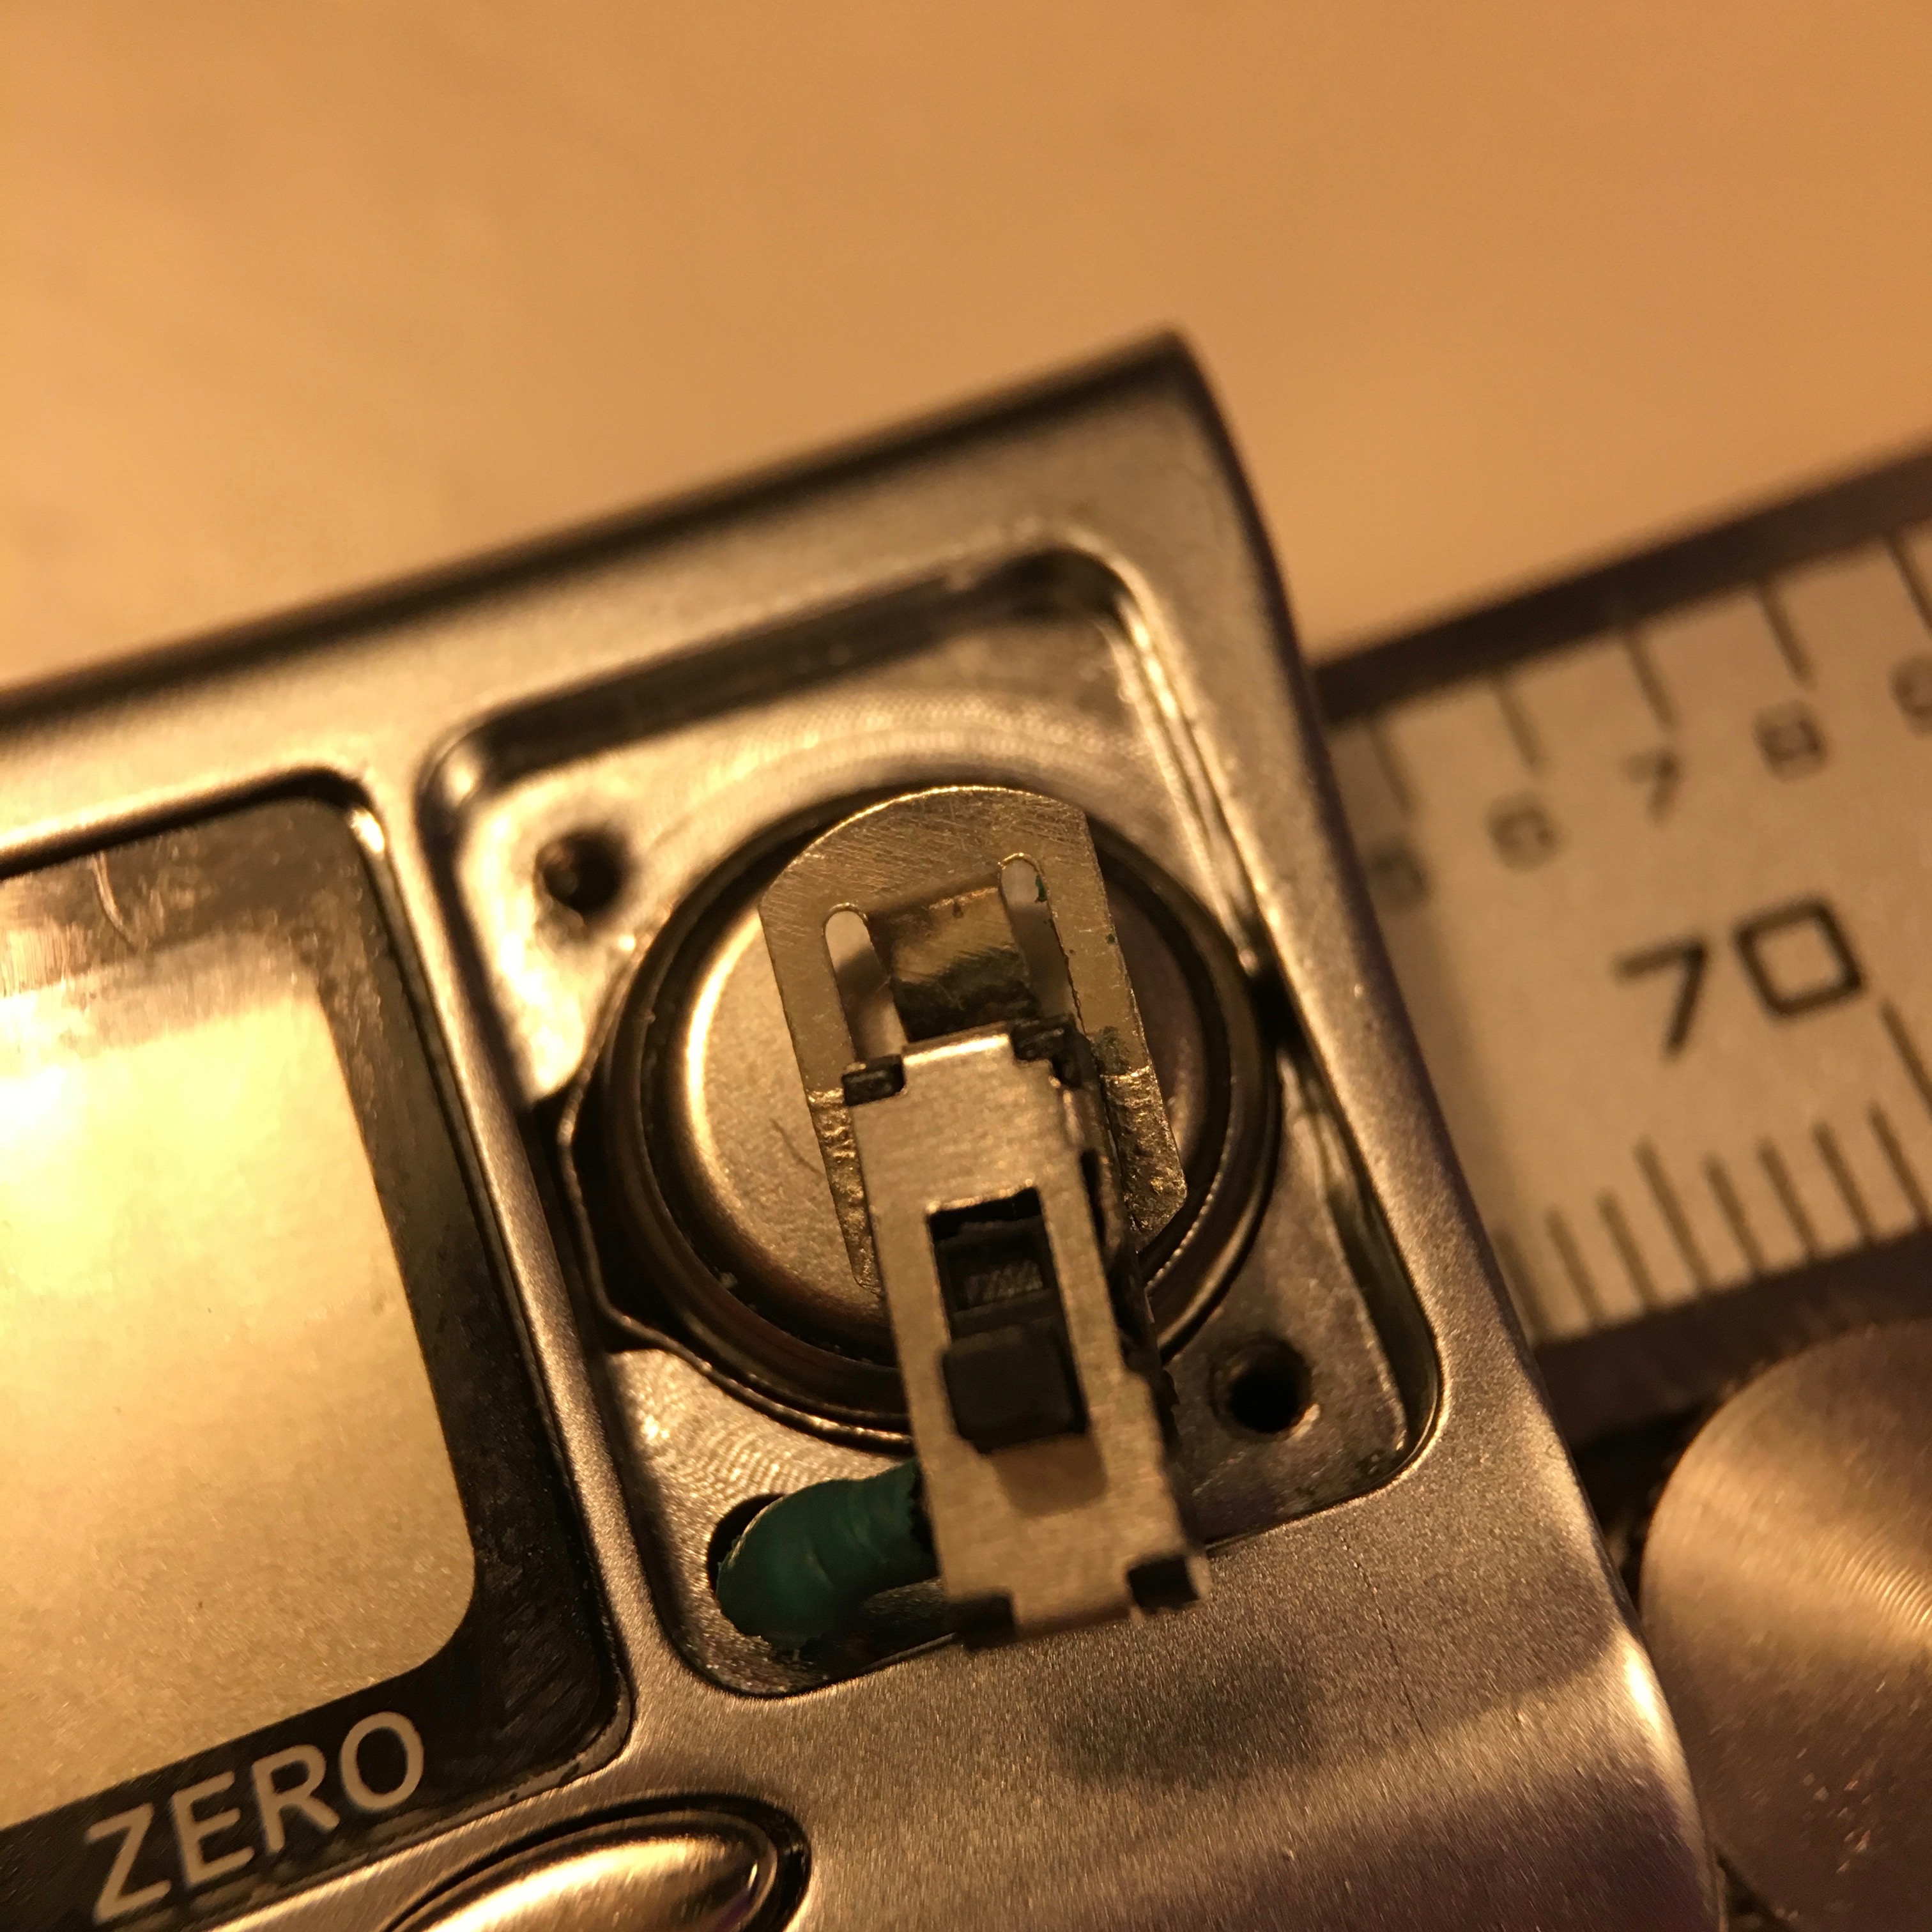
Since I’ll be flipping the battery upside down, I need to remove the spring loaded battery connector that connects to the battery’s negative side.
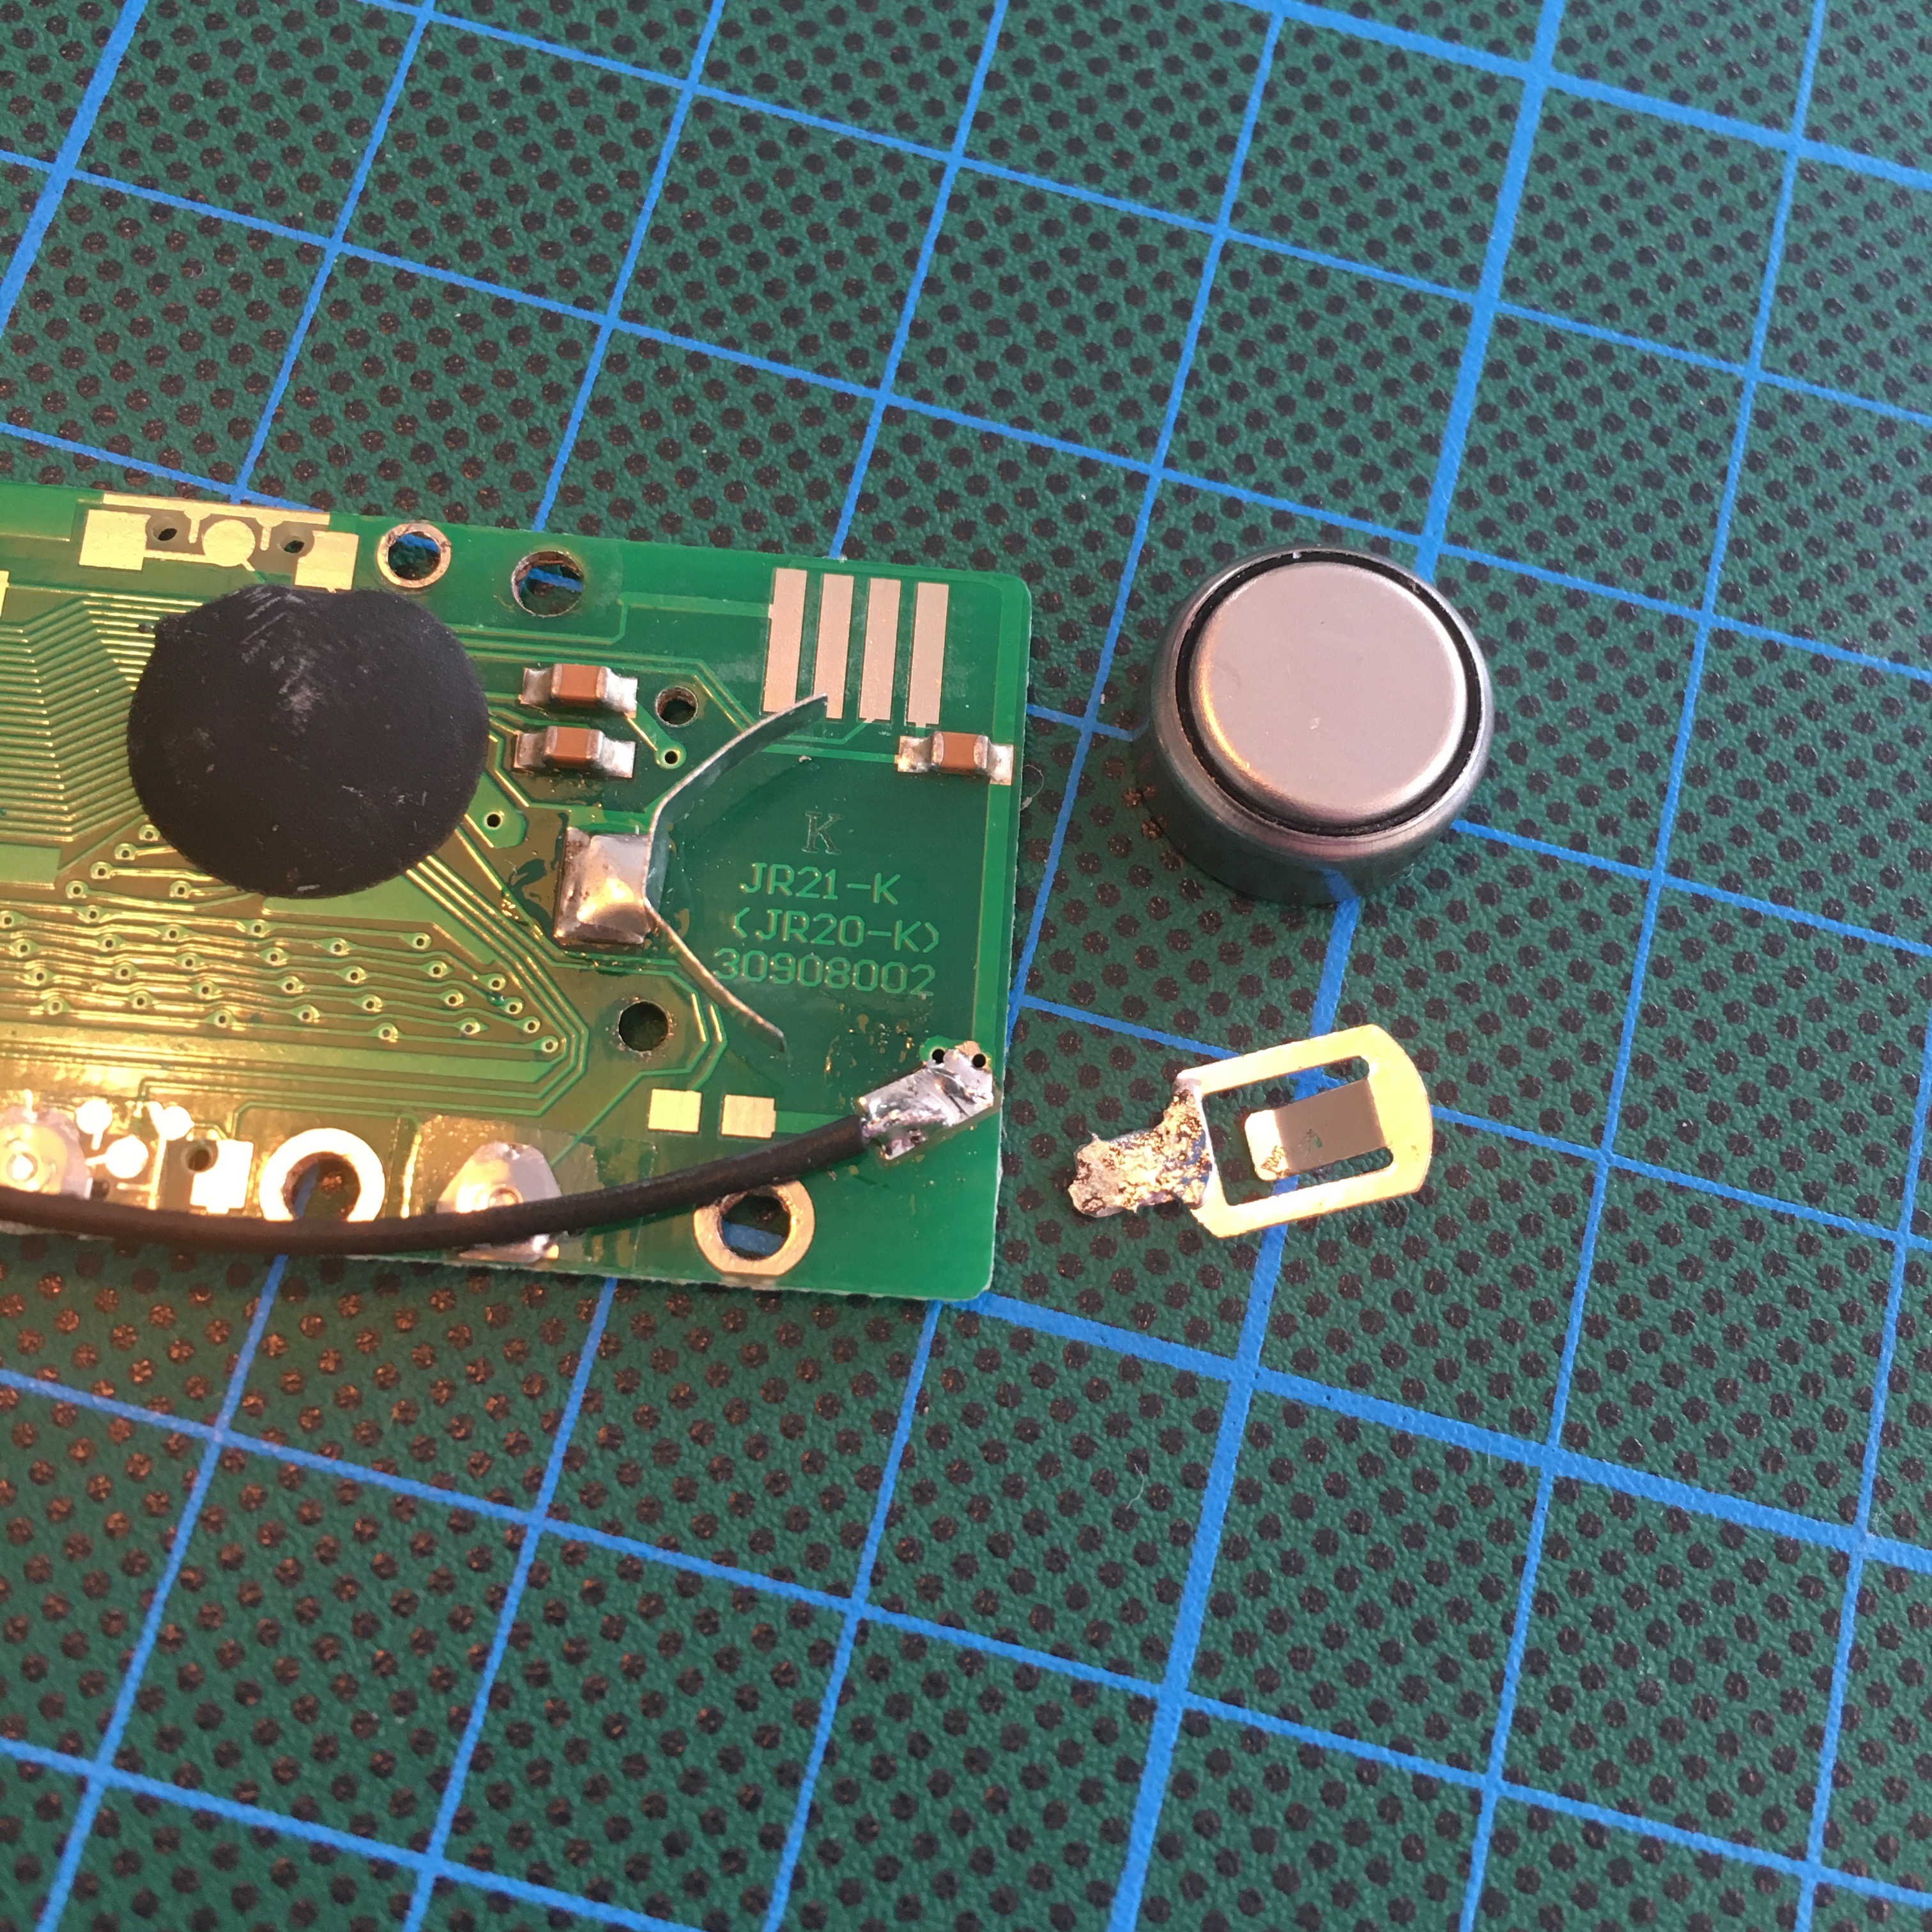
Desoldering is a piece of cake. And since the iron is hot anyway, this is the time to add a piece of wire that will connect to the switch. Now, don’t throw away that spring loaded battery connector. I’ll need it later on!
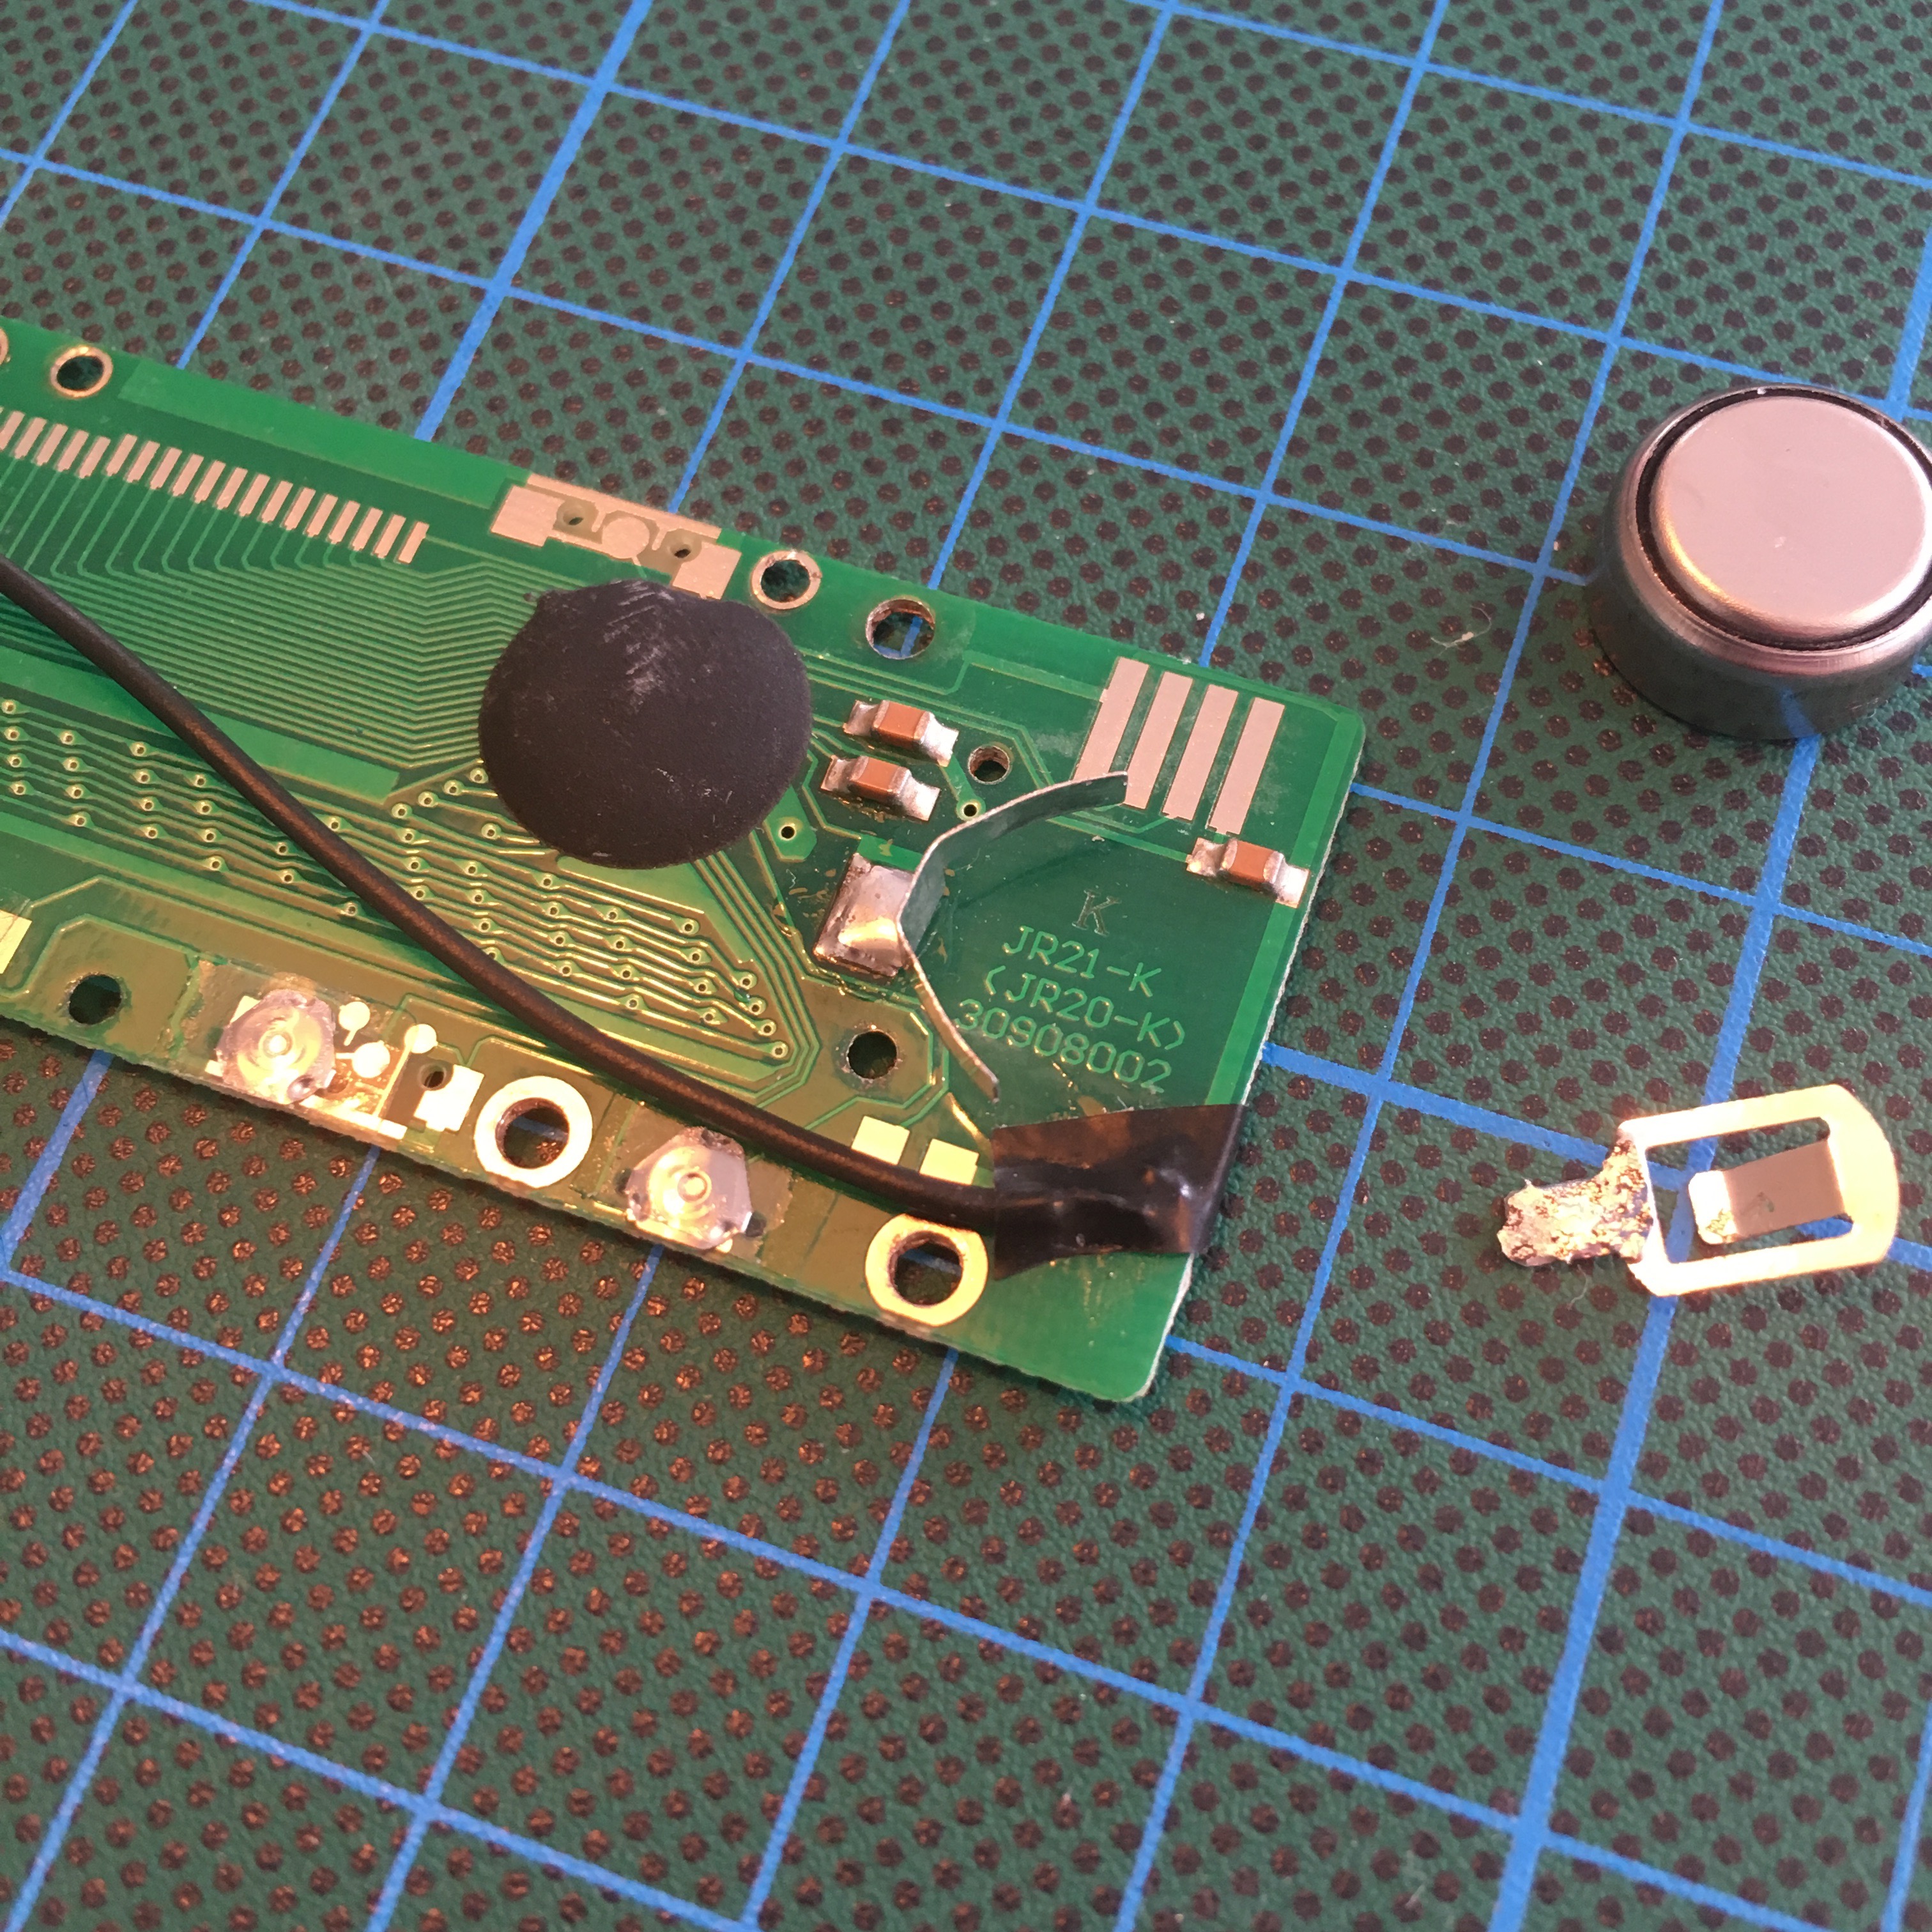
To make absolutely sure I can’t short cuircuit the battery, I added some insulating tape.
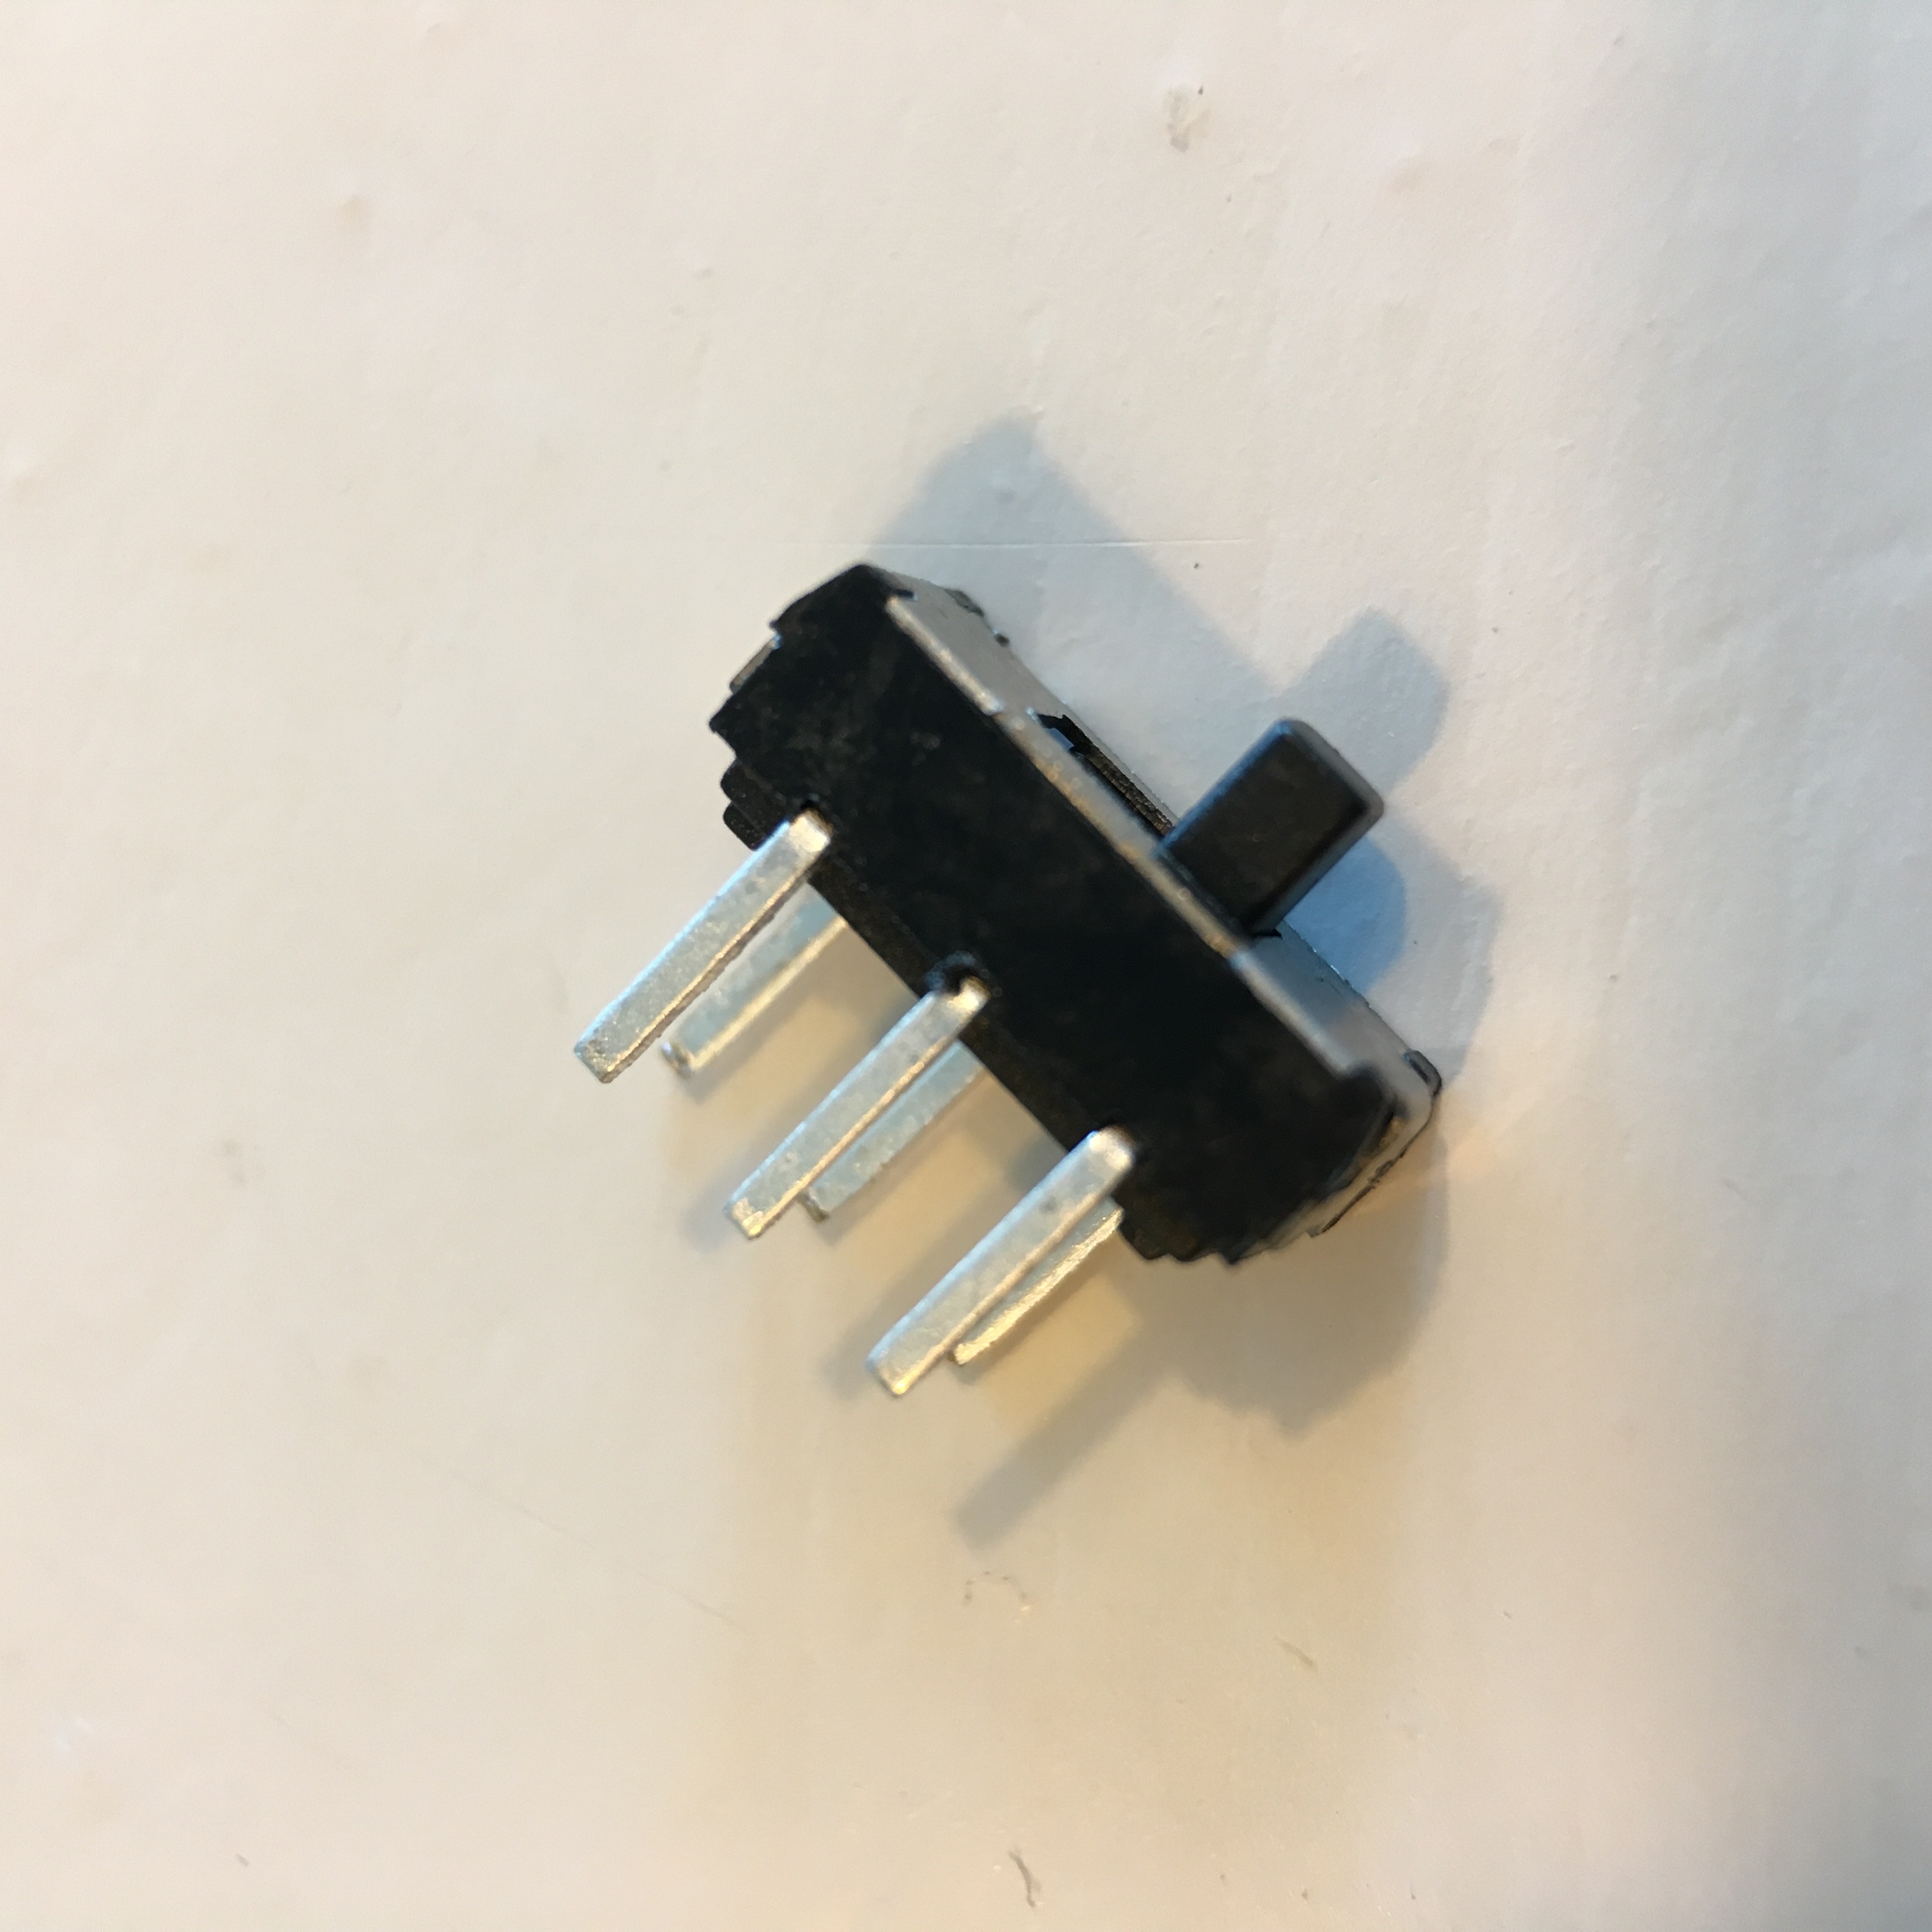
The switch I’ll be using is this 6 pin 8mm thru hole slider switch. I won’t be using 3 of the 6 pins. They are easy to remove, bending them a few times snap them right of.

The spring loaded connector will be soldered to the bottom of the switch. After making the photo above, a little dab of solder fused it in place. The switch still has the both the bottom pins, but not for long, I only need one.
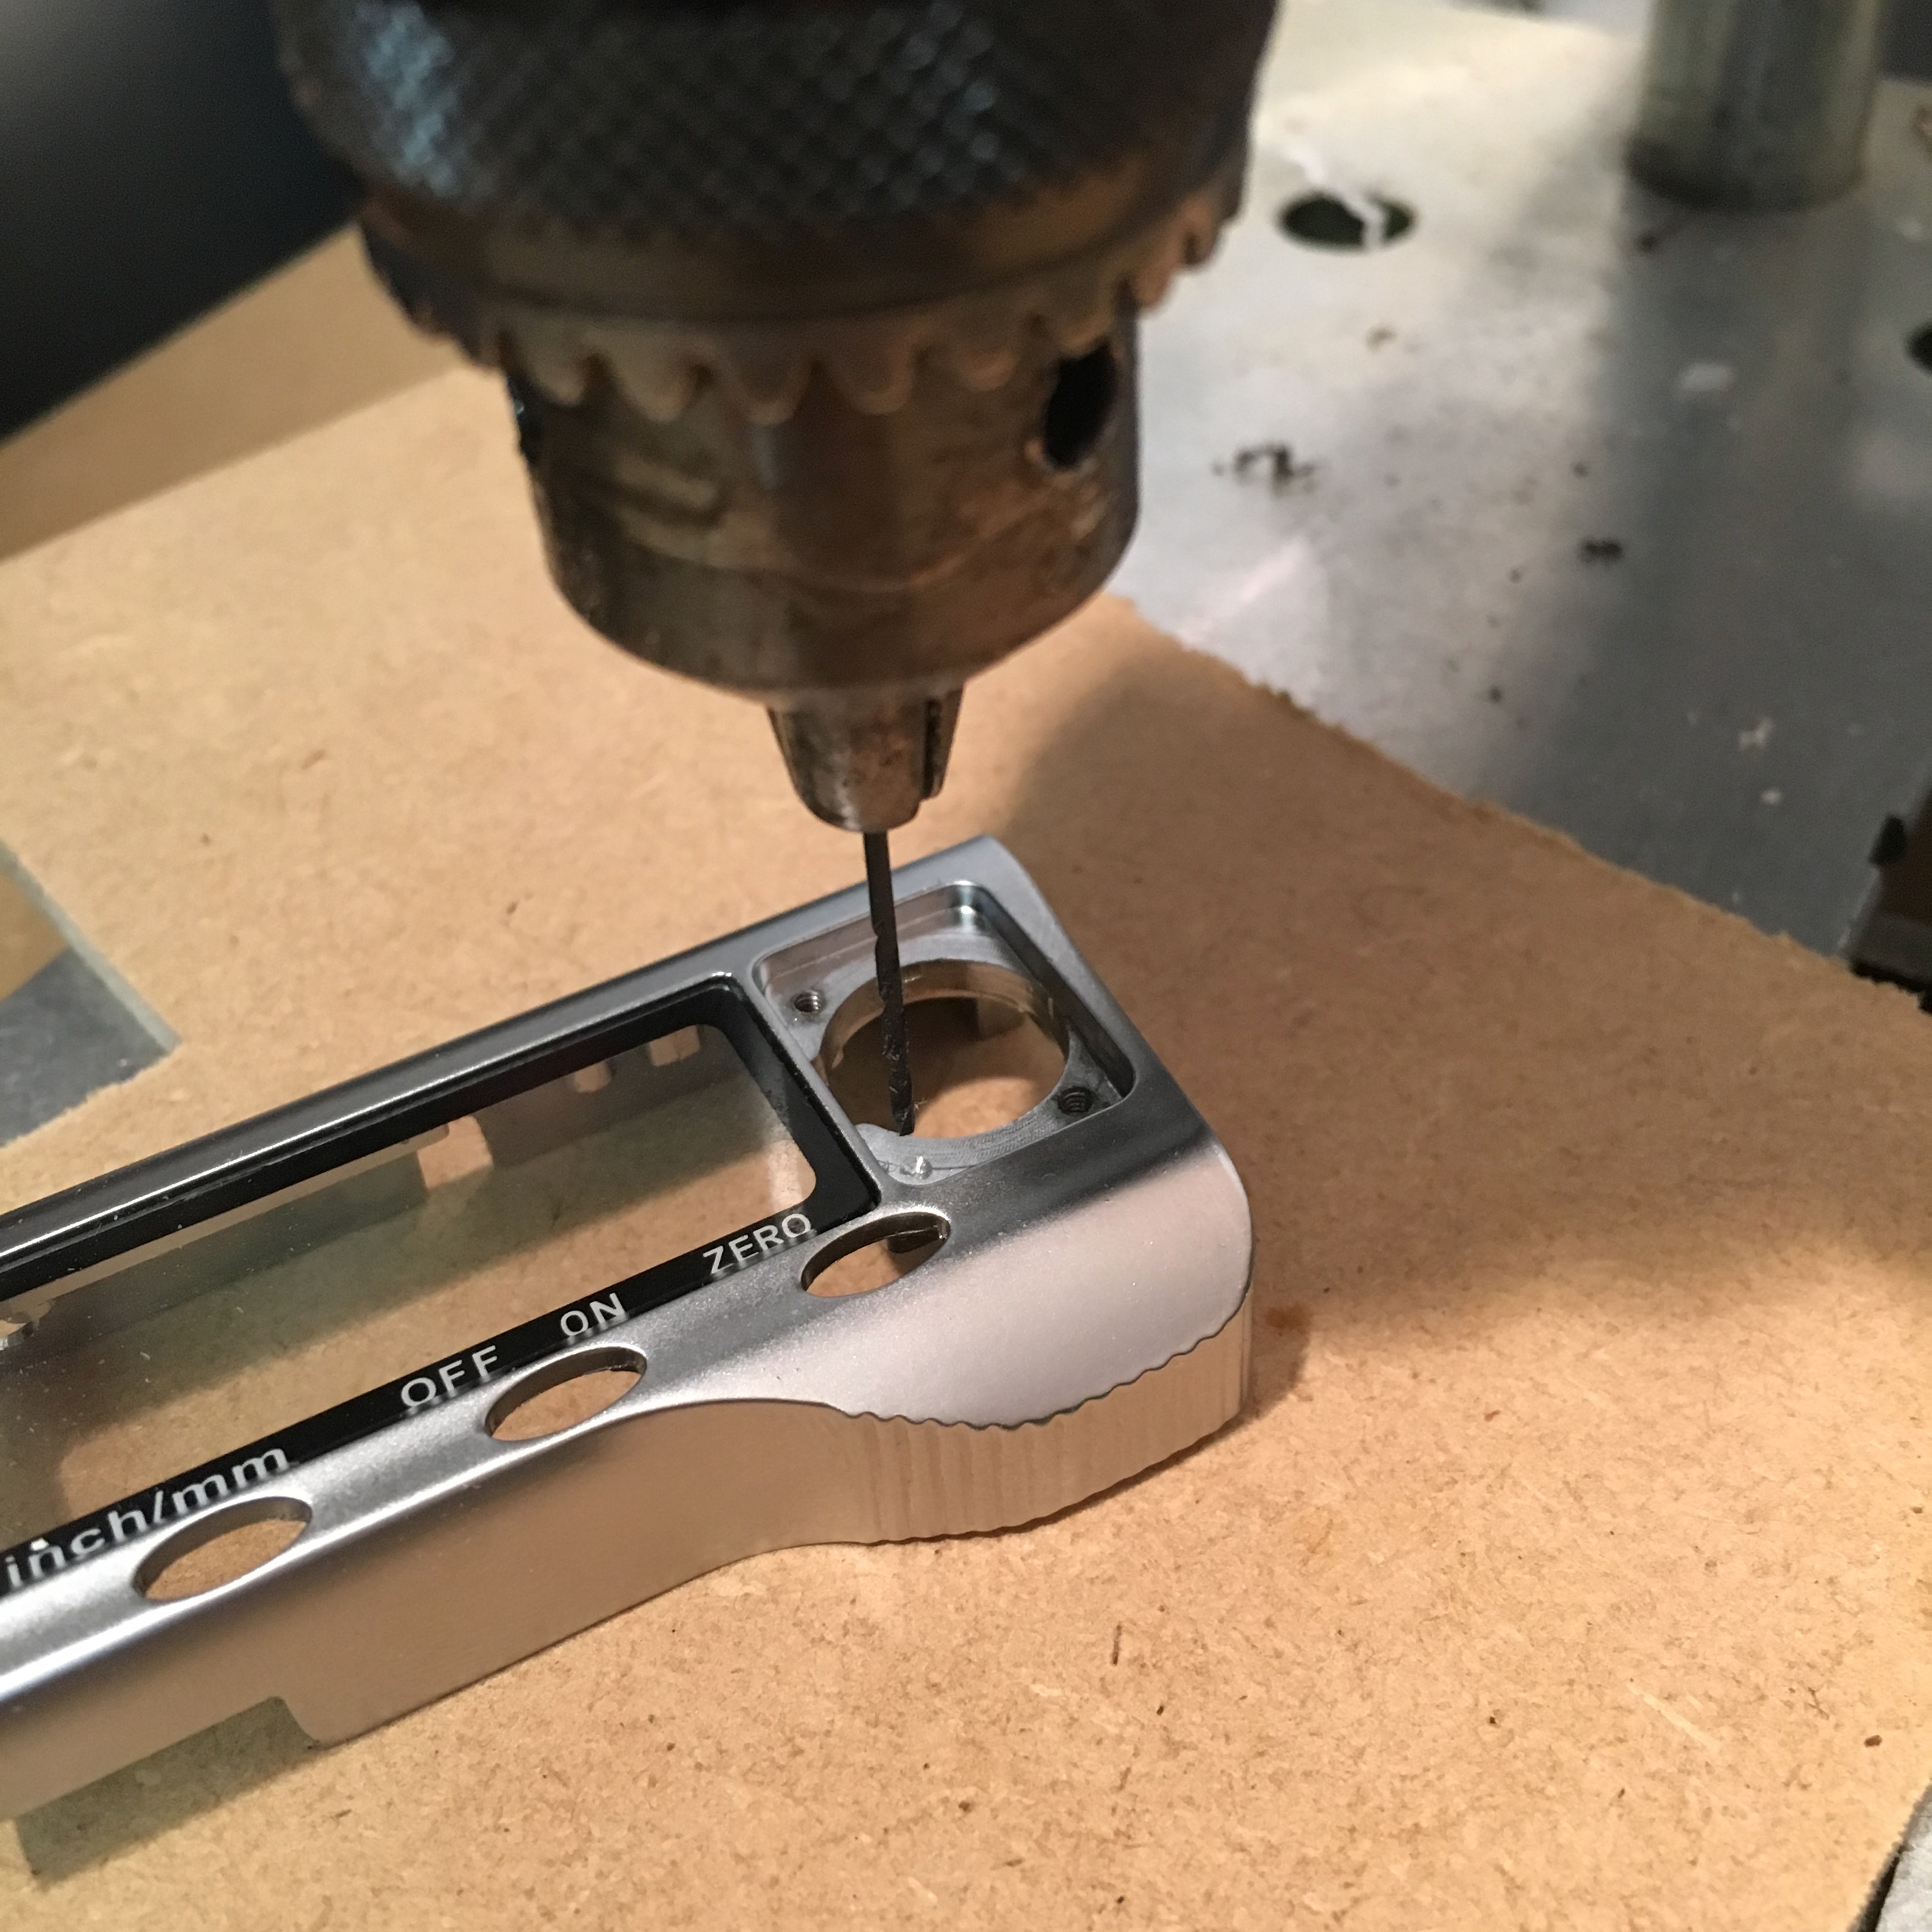
To make sure I can feed the wire I soldered to the PCB thru the casing. I drill a small 2mm hole using my miniature Proxxon drill press.
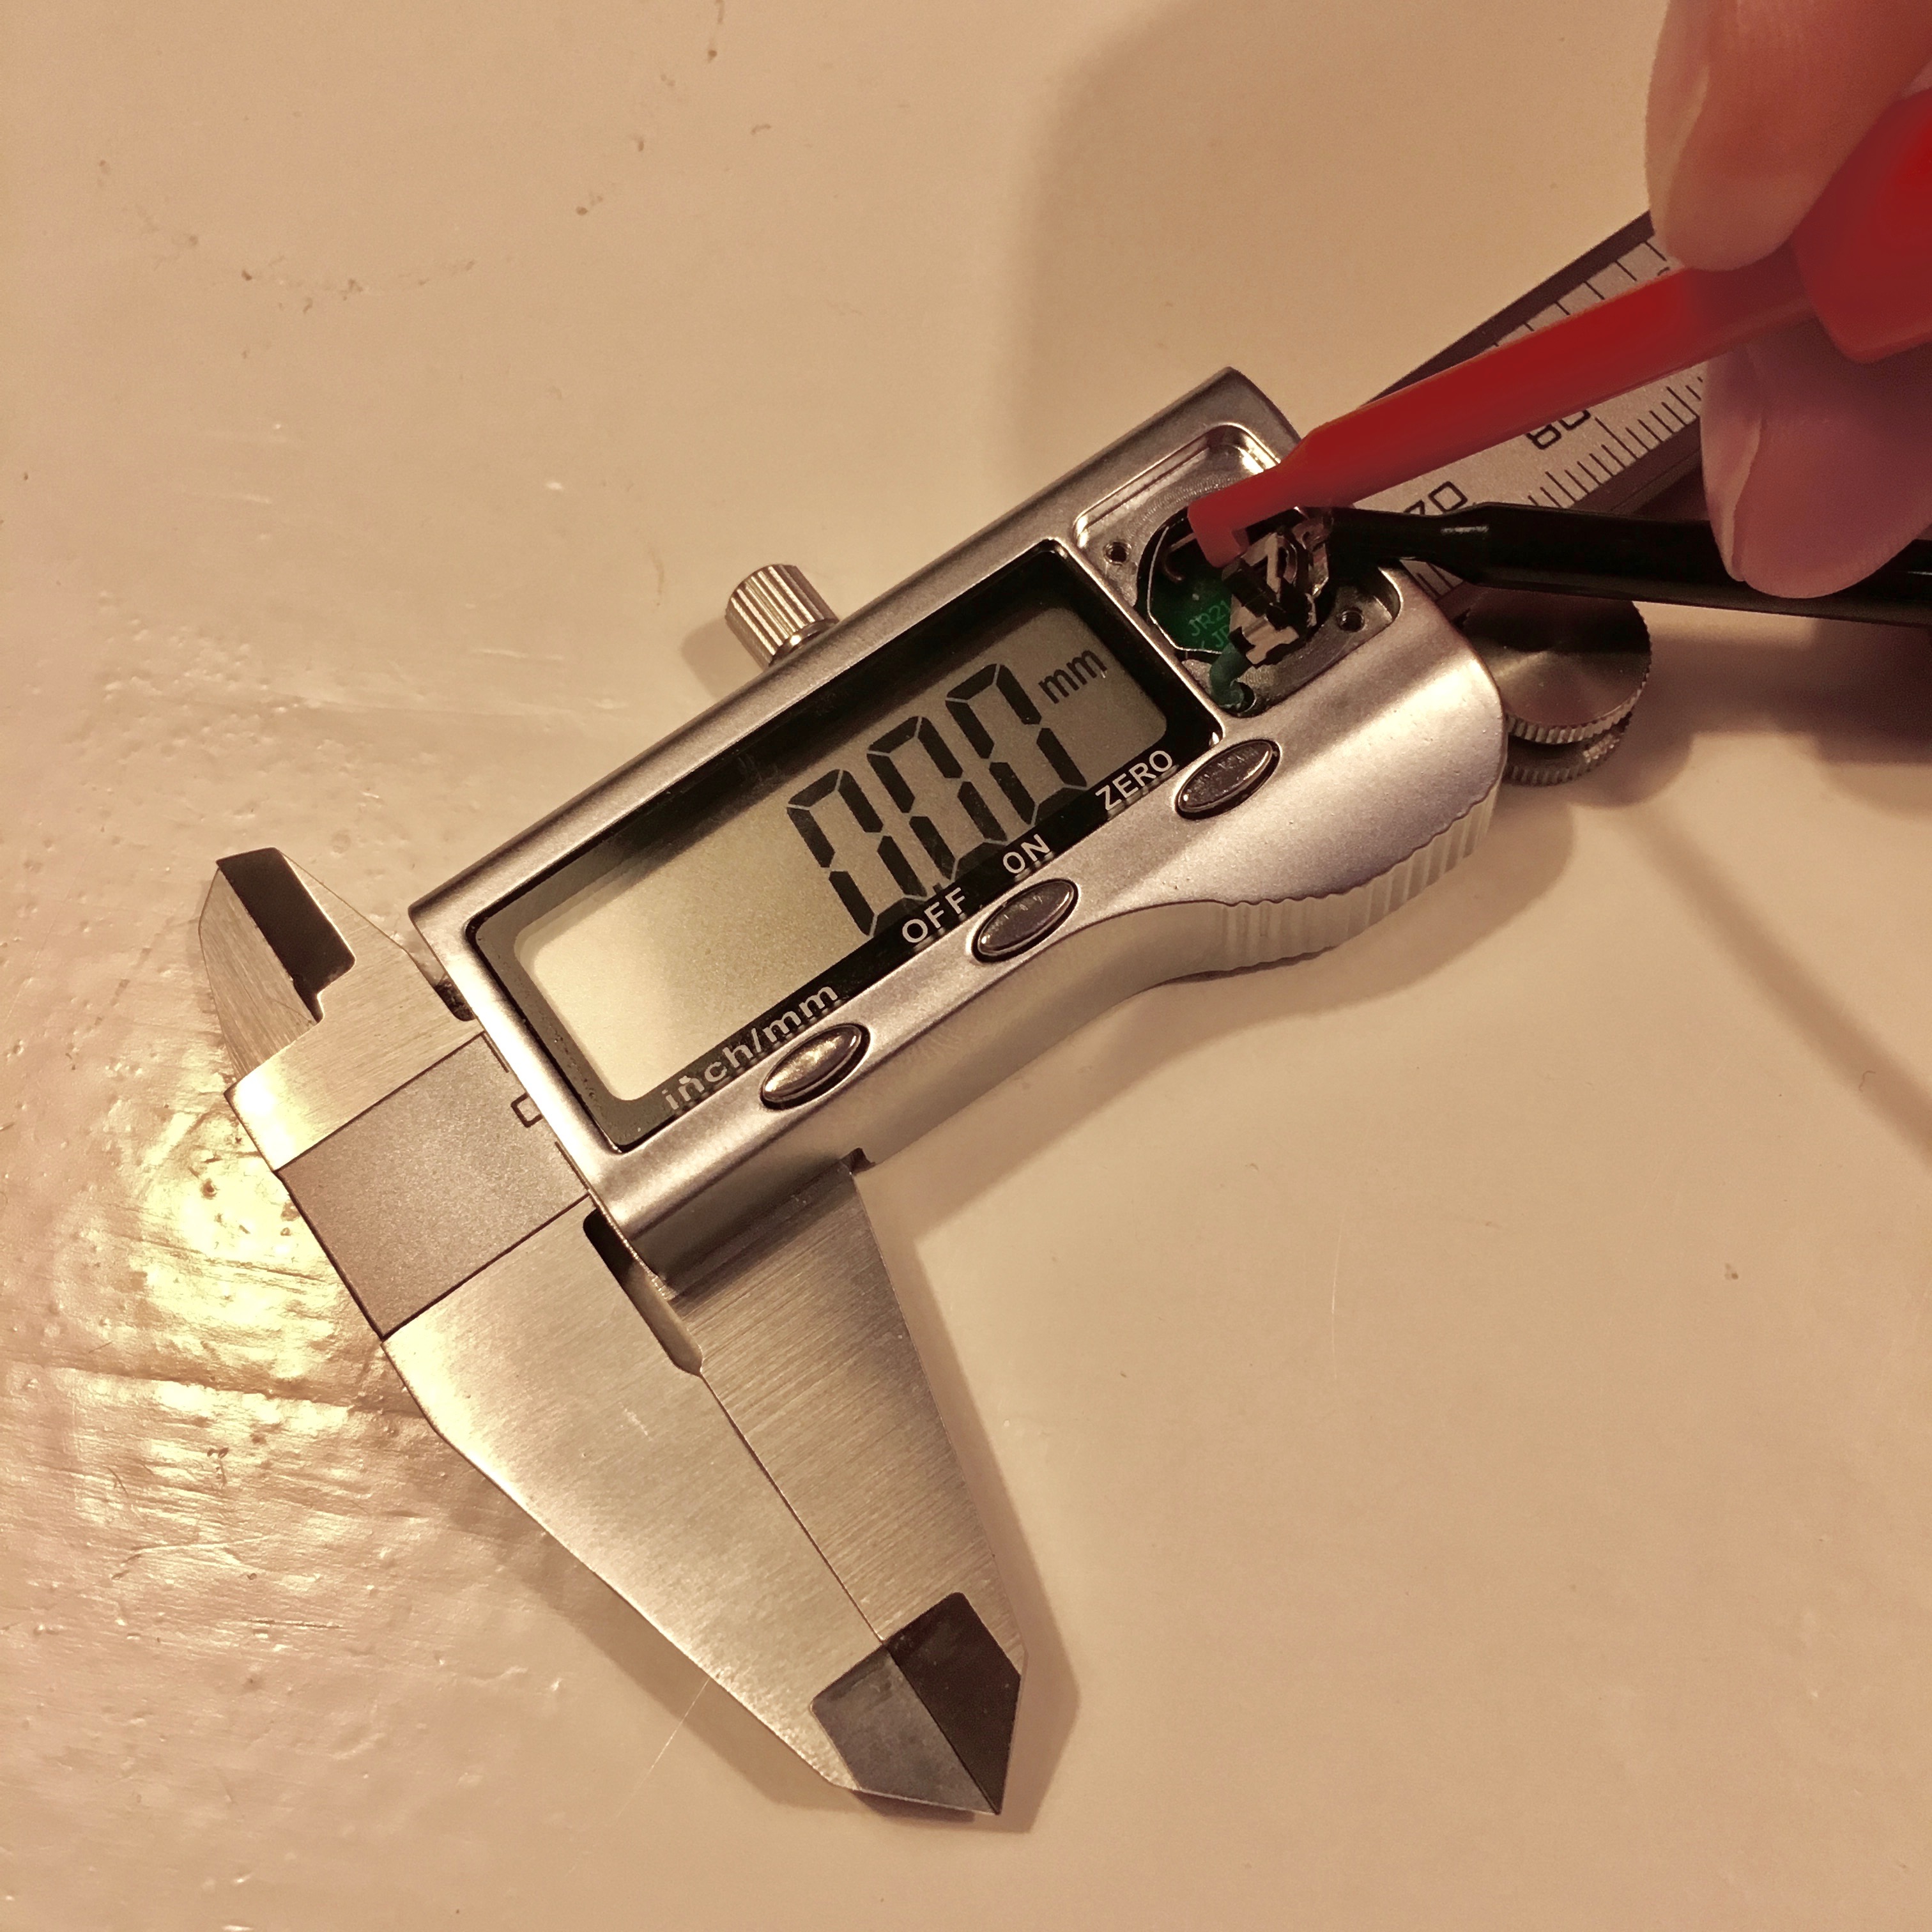
After feeding the wire thru the hole, soldering it to the switch and adding some heat shrink. I could put everything together again and give it a test spin using my power supply.
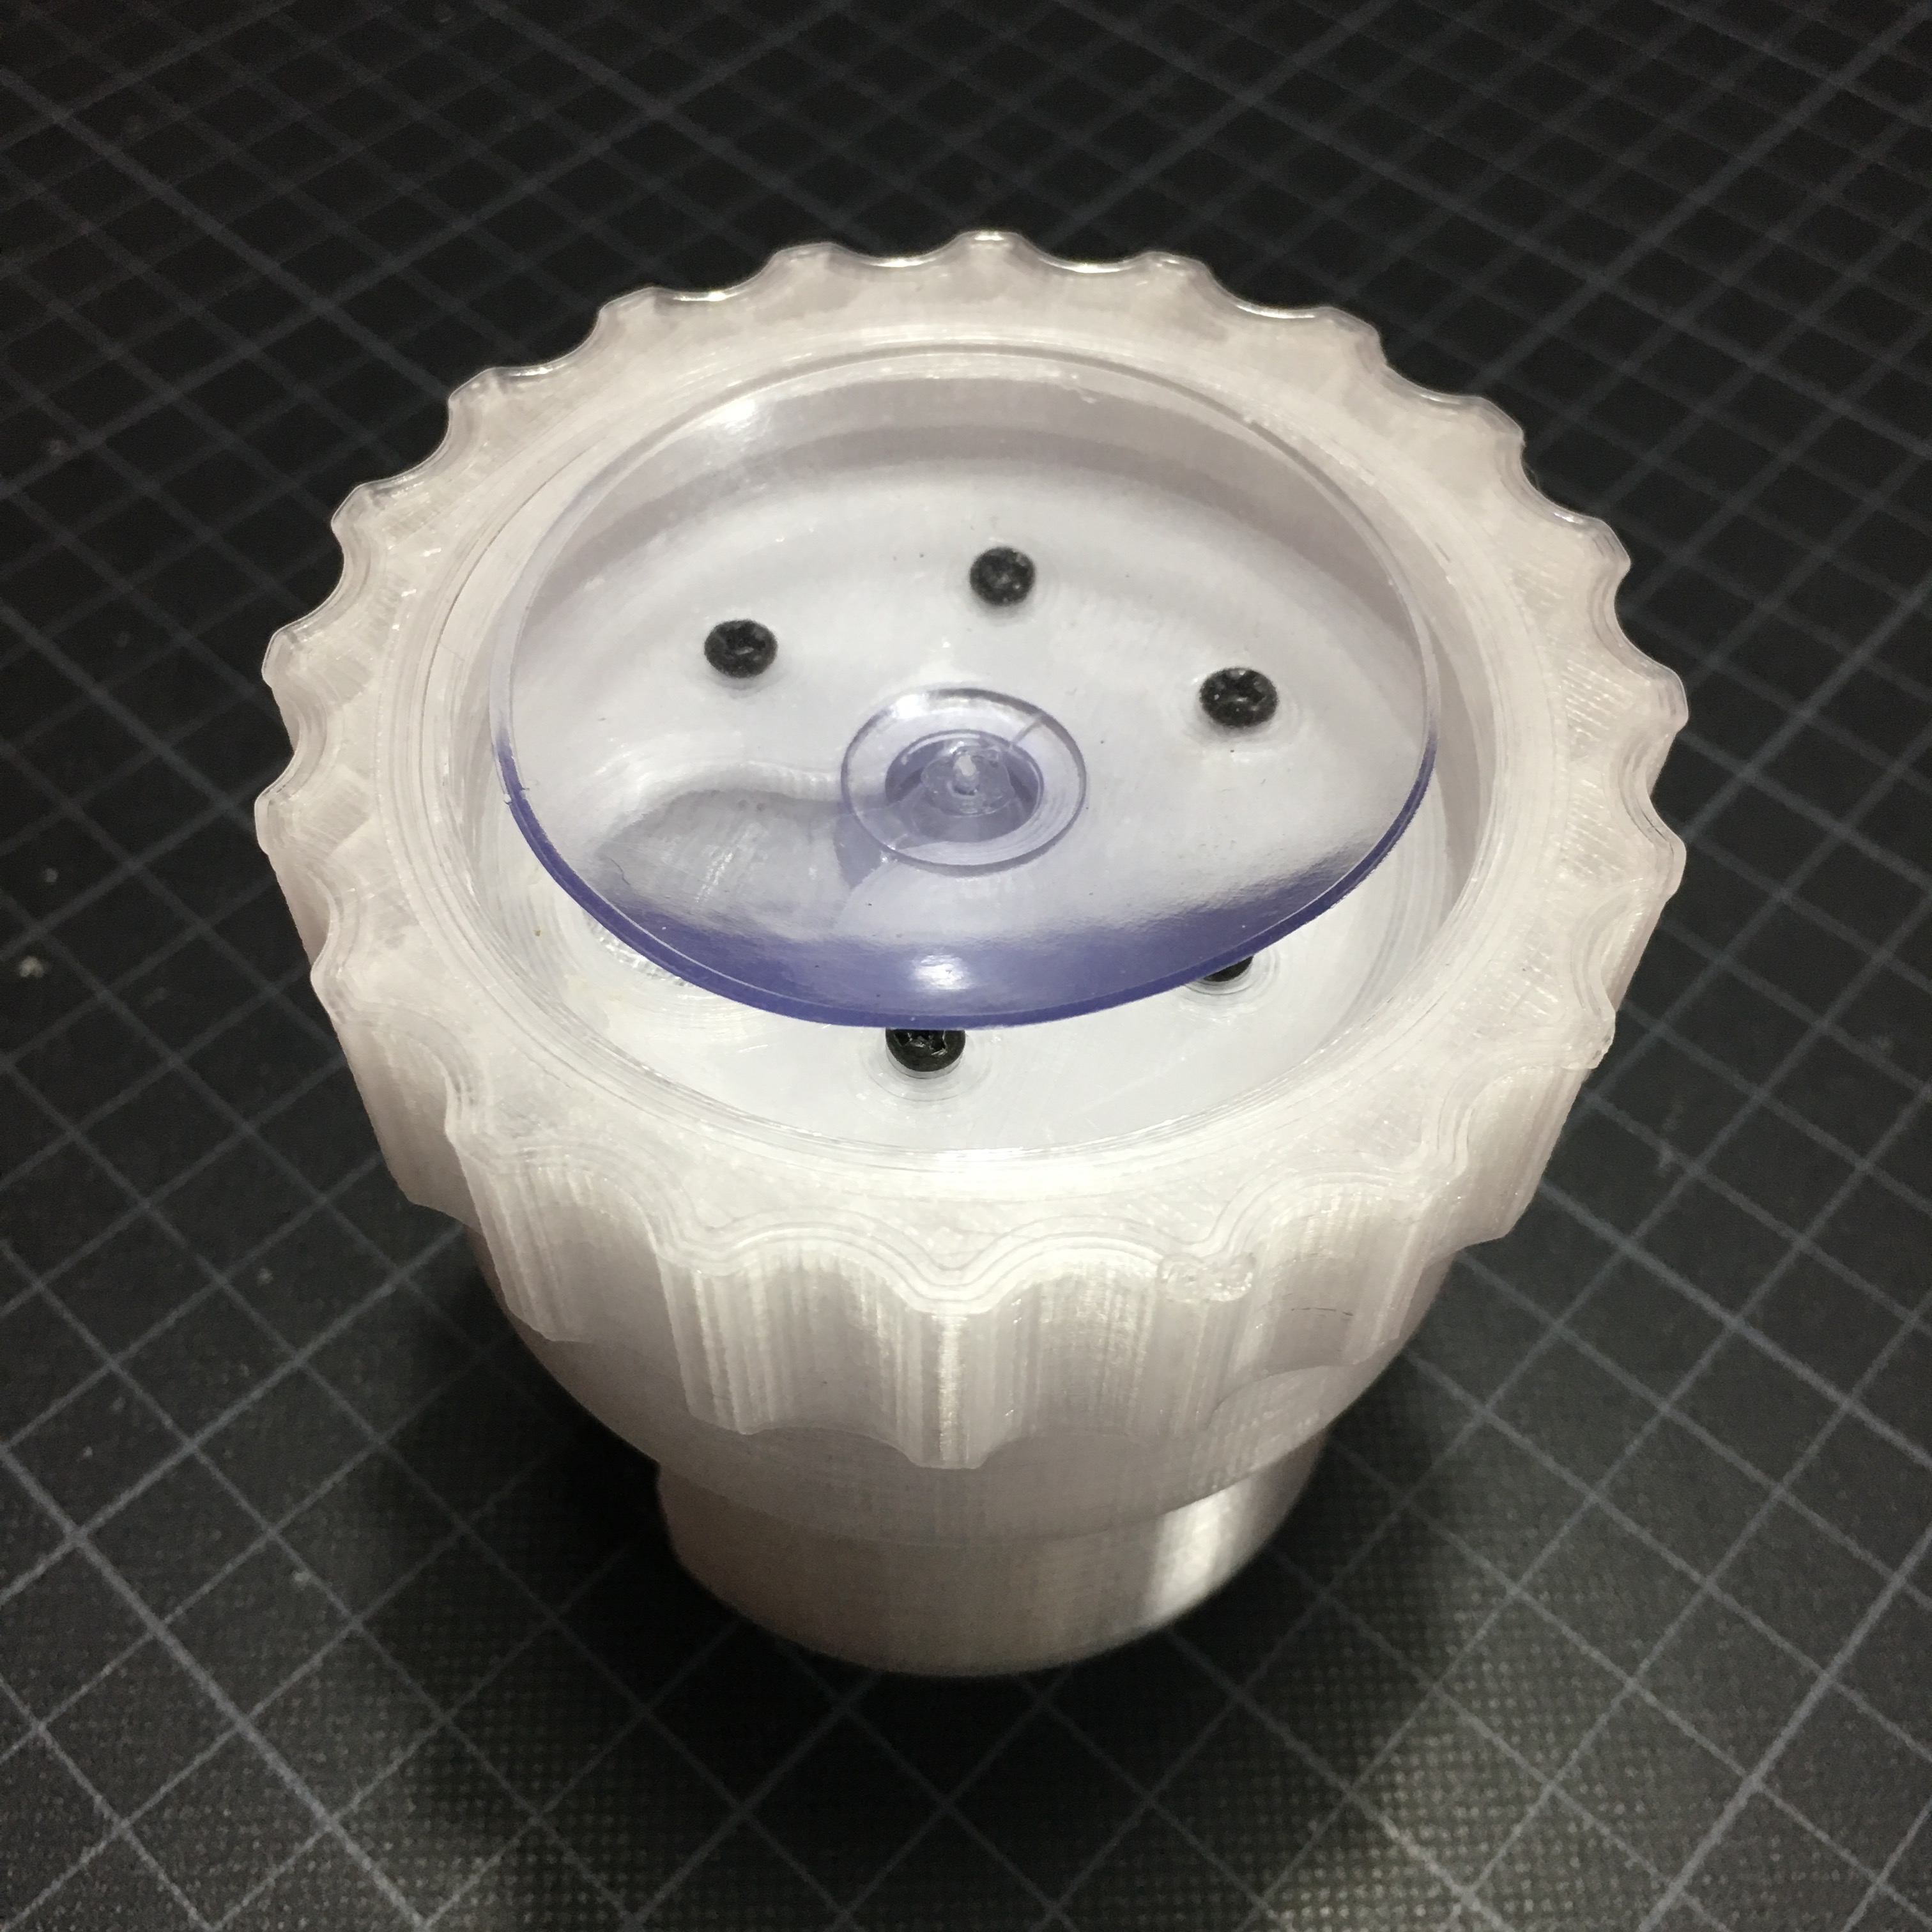
It all worked and everything fitted together nicely. Of course, the original lid would not fit anymore, so I need to design a replacement lid.
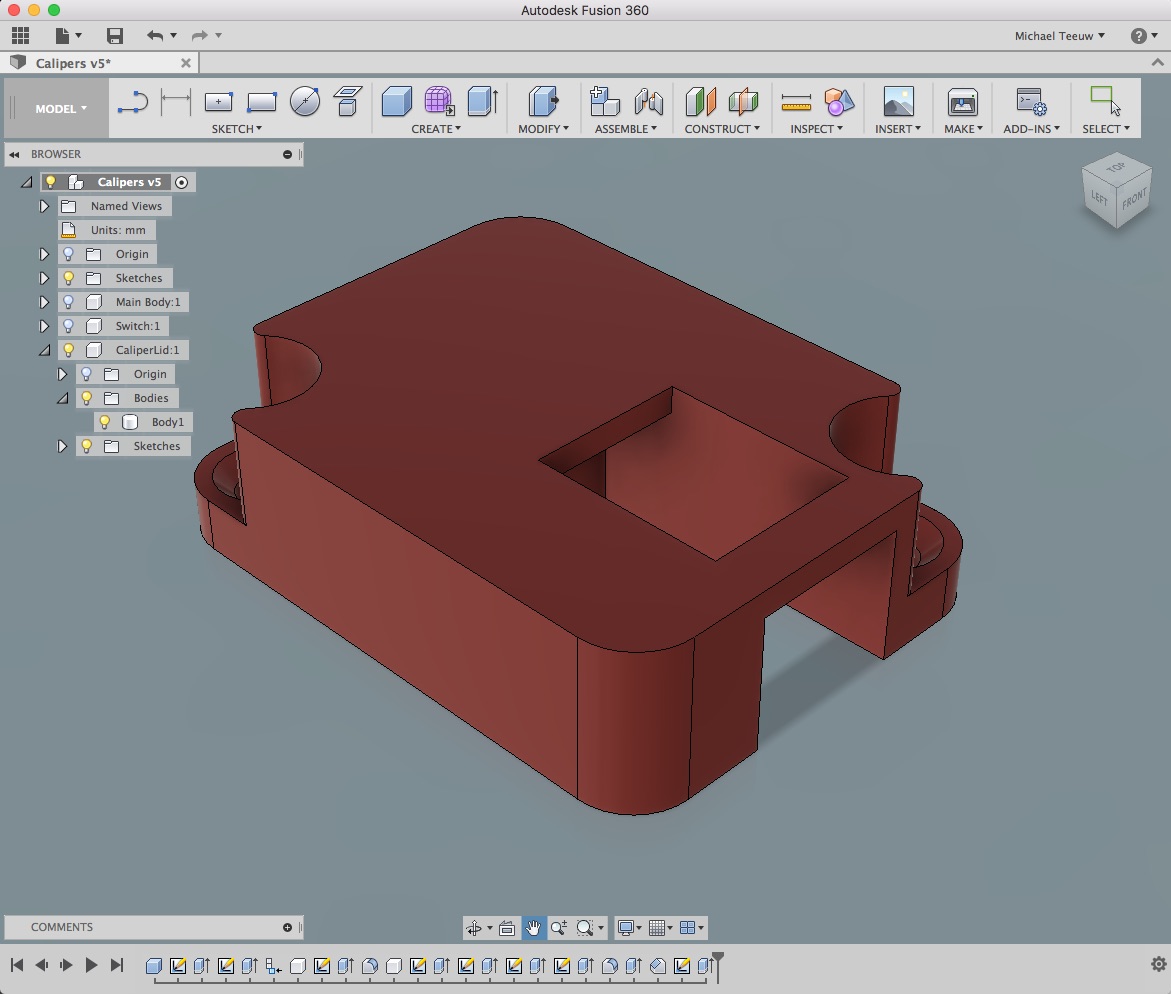
Using Fusion 360 I designed a lid which keeps the switch in place while pressing it firmly against the battery. This is probably one of the smallest objects I have every designed, but my Lulzbot Mini justified it’s name by delivering a perfect print.
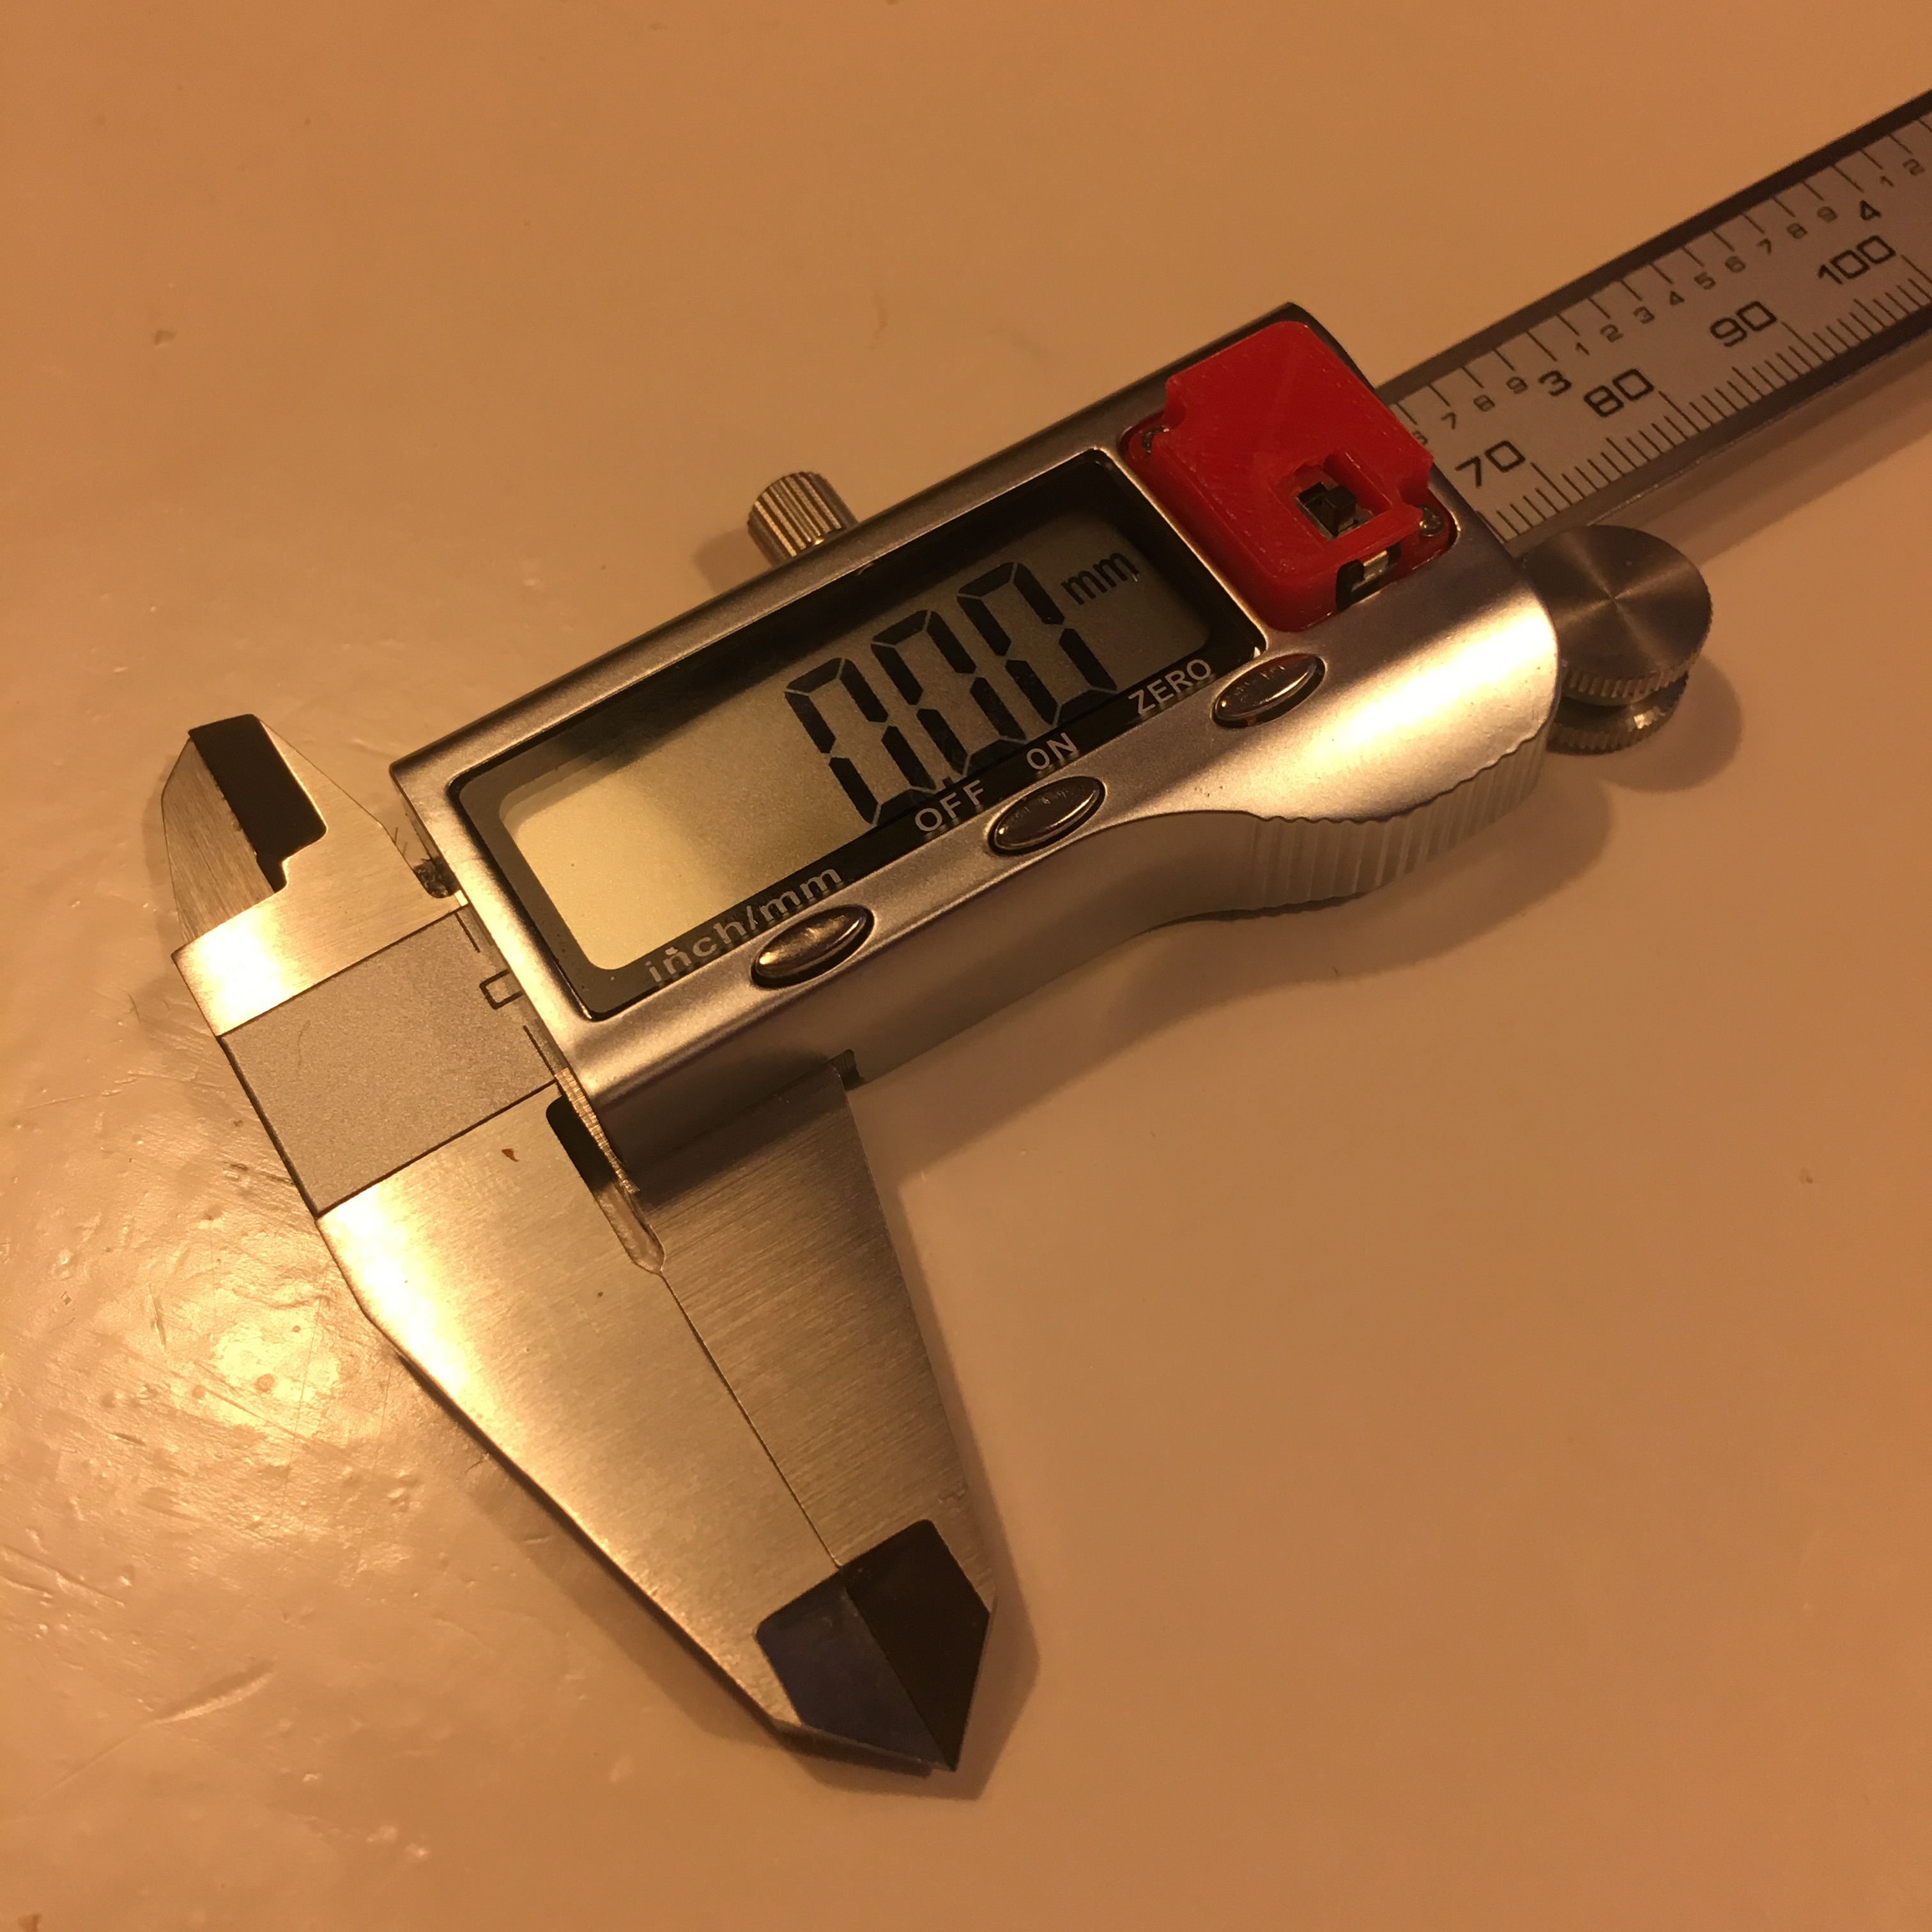
The end result is a caliper with a real power switch! It’s still lightweight and compact. Because of the red Colorfabb XT CoPolyester, it has an exciting look. Now, let’s see how long this battery will last …