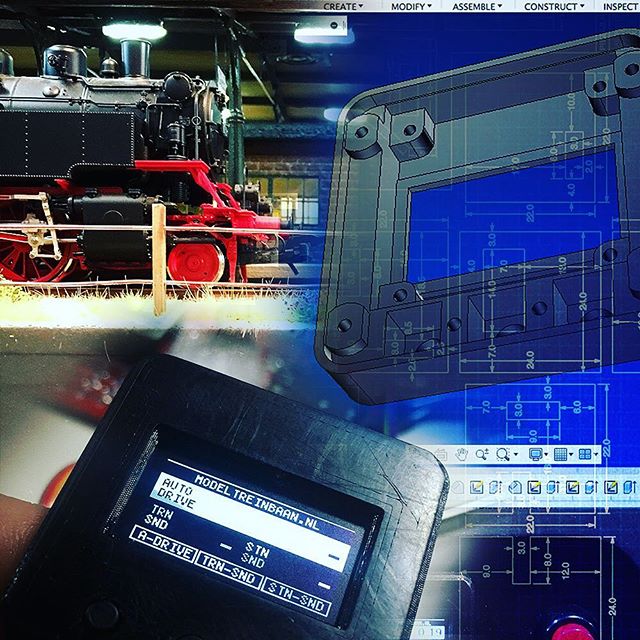
Train Automator:
Wrapping it up!
Over the course of the last few weeks I’ve been building the Arduino powered Model Train Automator. I’m sure my dad would like to start using it, so let’s wrap this project up!
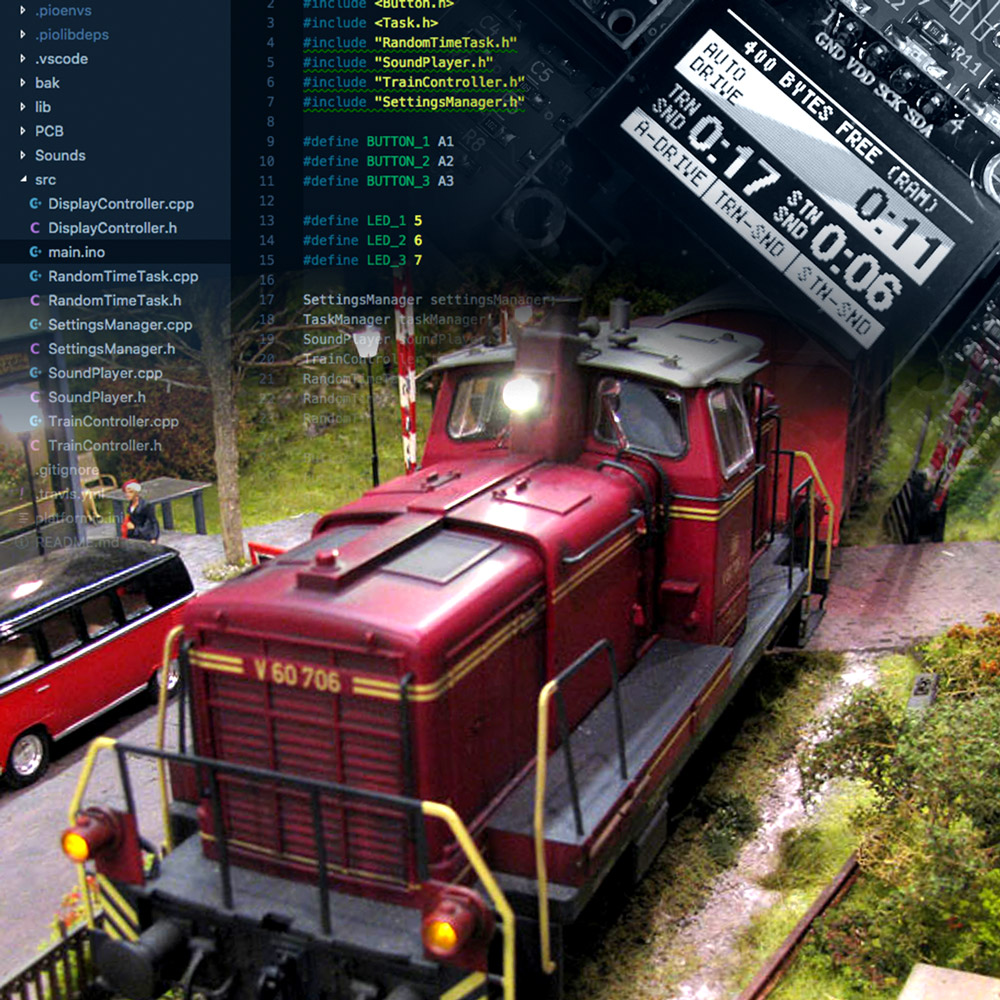
Train Automator:
Writing the Software
After finishing the electronics it is time to work on the software. Since the train automator runs on an Arduino Nano, it’s time to fire up Visual Studio Code and start typing some C++.
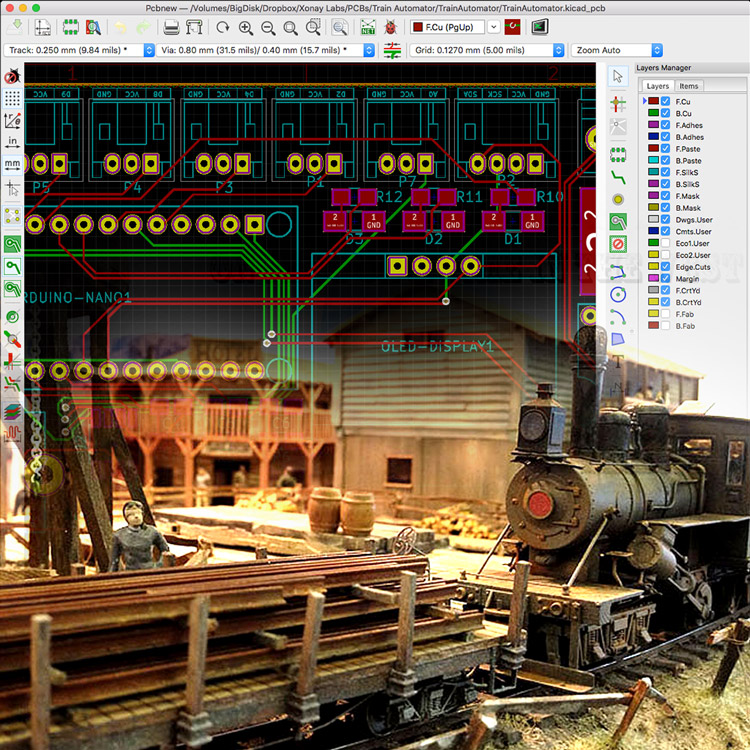
Train Automator:
Designing the PCB
Since the prototype turned out to be a success, it is time to work on a more professional solution: a custom PCB. Of course I don’t just slap an Arduino and a MAX485 IC on a board and call it a day. I use this opportunity to add some nifty features to the custom board. You know, just to impress my dad.
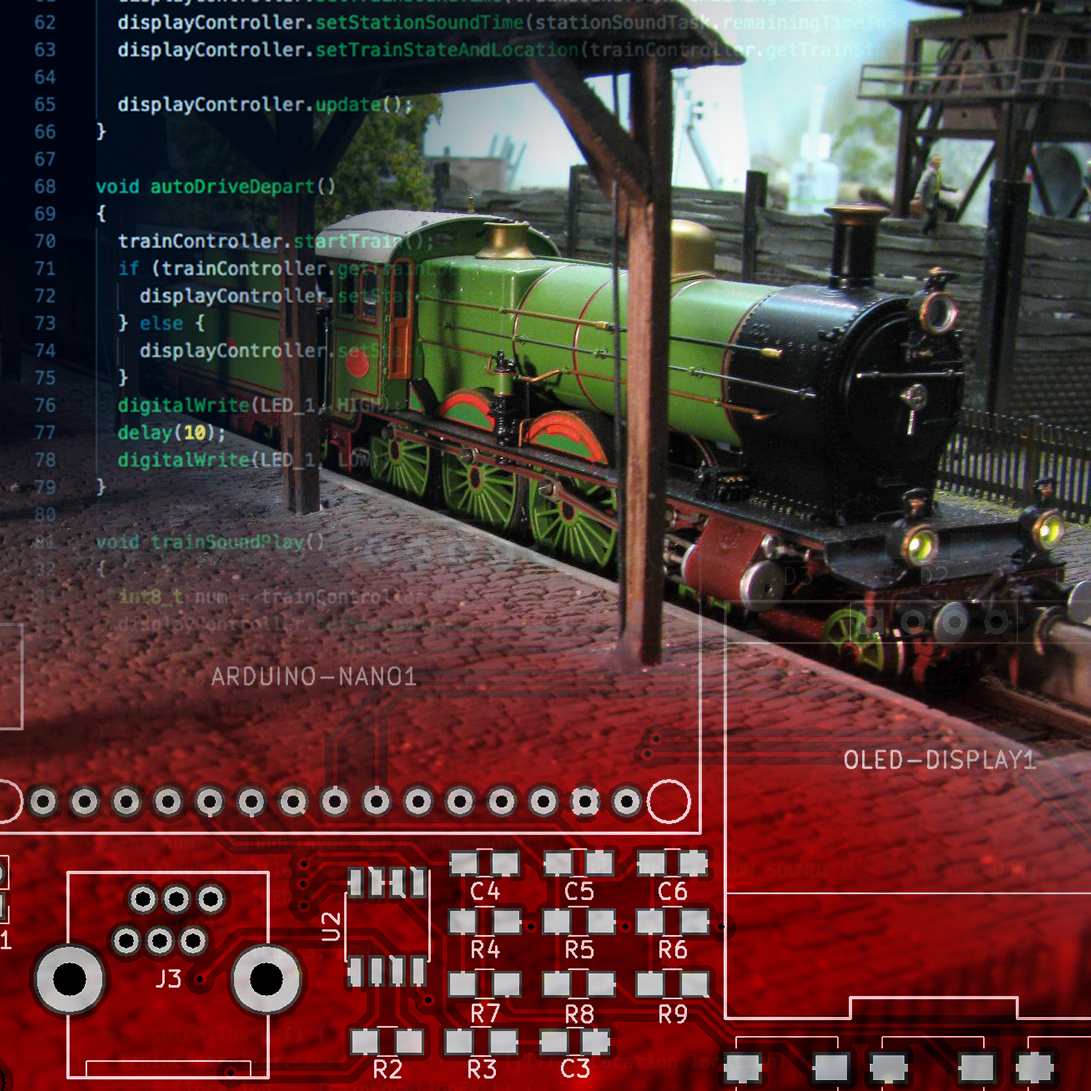
Train Automator:
Prototyping
As my regular readers know, my dad is an avid Model Train hobbist. And altough my interest is more on the digital side of electronics, every now and then our hobbies meet. After my recent Arduino powered analog clock project, I once again will work on a project for my dad: Let’s make his trains Arduino powered!
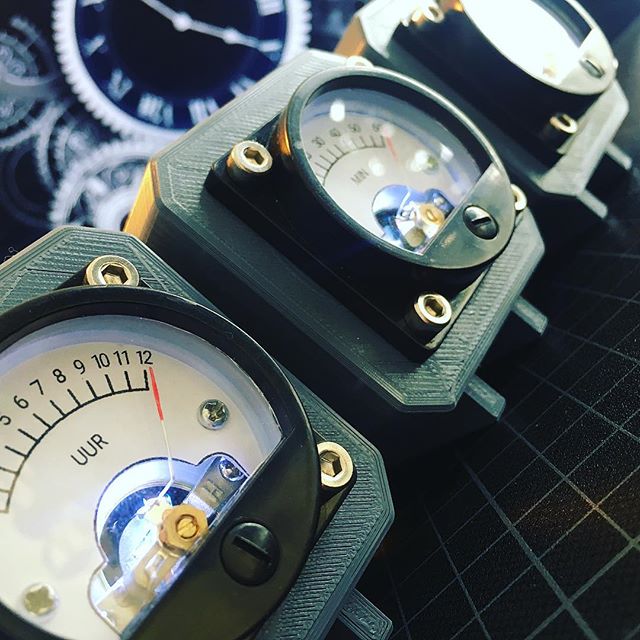
What time is it? Father's Day!
My technical enthusiasm is probably 99% inherited from my dad. So whenever I come across something fascinating, he is usually the first person to forward the link to. A little over a year, I came across some really awesome volt meter clocks. And due to his fascination of analog meters, he liked it even more than I did. Wouldn’t it be awesome to make one as a Father’s Day present?
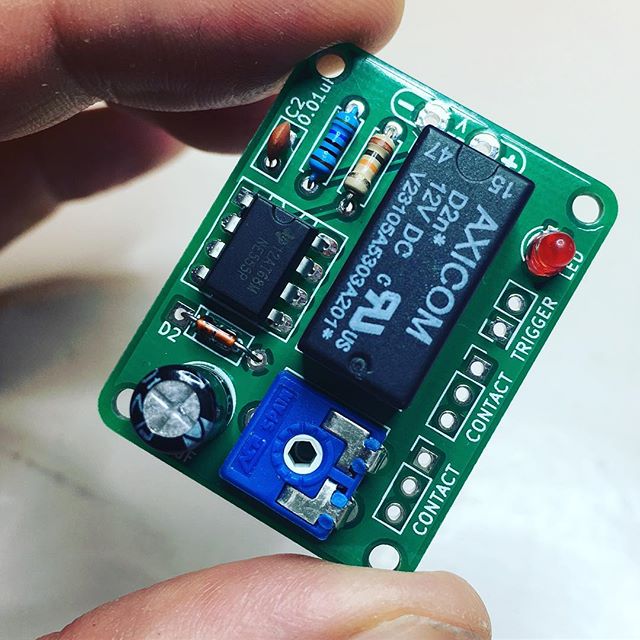
20 years of PCBs
As I’ve mentioned on my blog before, my dad is an avid model train hobbyist. This started way before I was born, so during my time as a kid living at my parents, I contributed to some of his projects. 20 years later, my contribution could use an update.
Activity Board:
Enzo's Control Room
With all of my projects that include one or more buttons, I know one thing for sure. The buttons will be extensively tested by my 1,5 year old tinkerer Enzo. My Automatic curtains need to open and closed more than a few times a day, and my robot arm’s test buttons are being pressed repeatedly even while it isn’t powered on. I think the message is clear: he wants his own buttons!